My Grandpa turned 100 in December – an occasion that deserves a celebratory cake if there ever was one! I asked him what his favourite kind of cake was, and when he answered “fruitcake”, I had a worrying flashback to the last fruitcake I encountered – which happened to be the cake at his own wedding 11 years ago when he married his sweetheart Daphne, where it took three people plus a cleaver and an axe to cut through the royal icing on the outside.
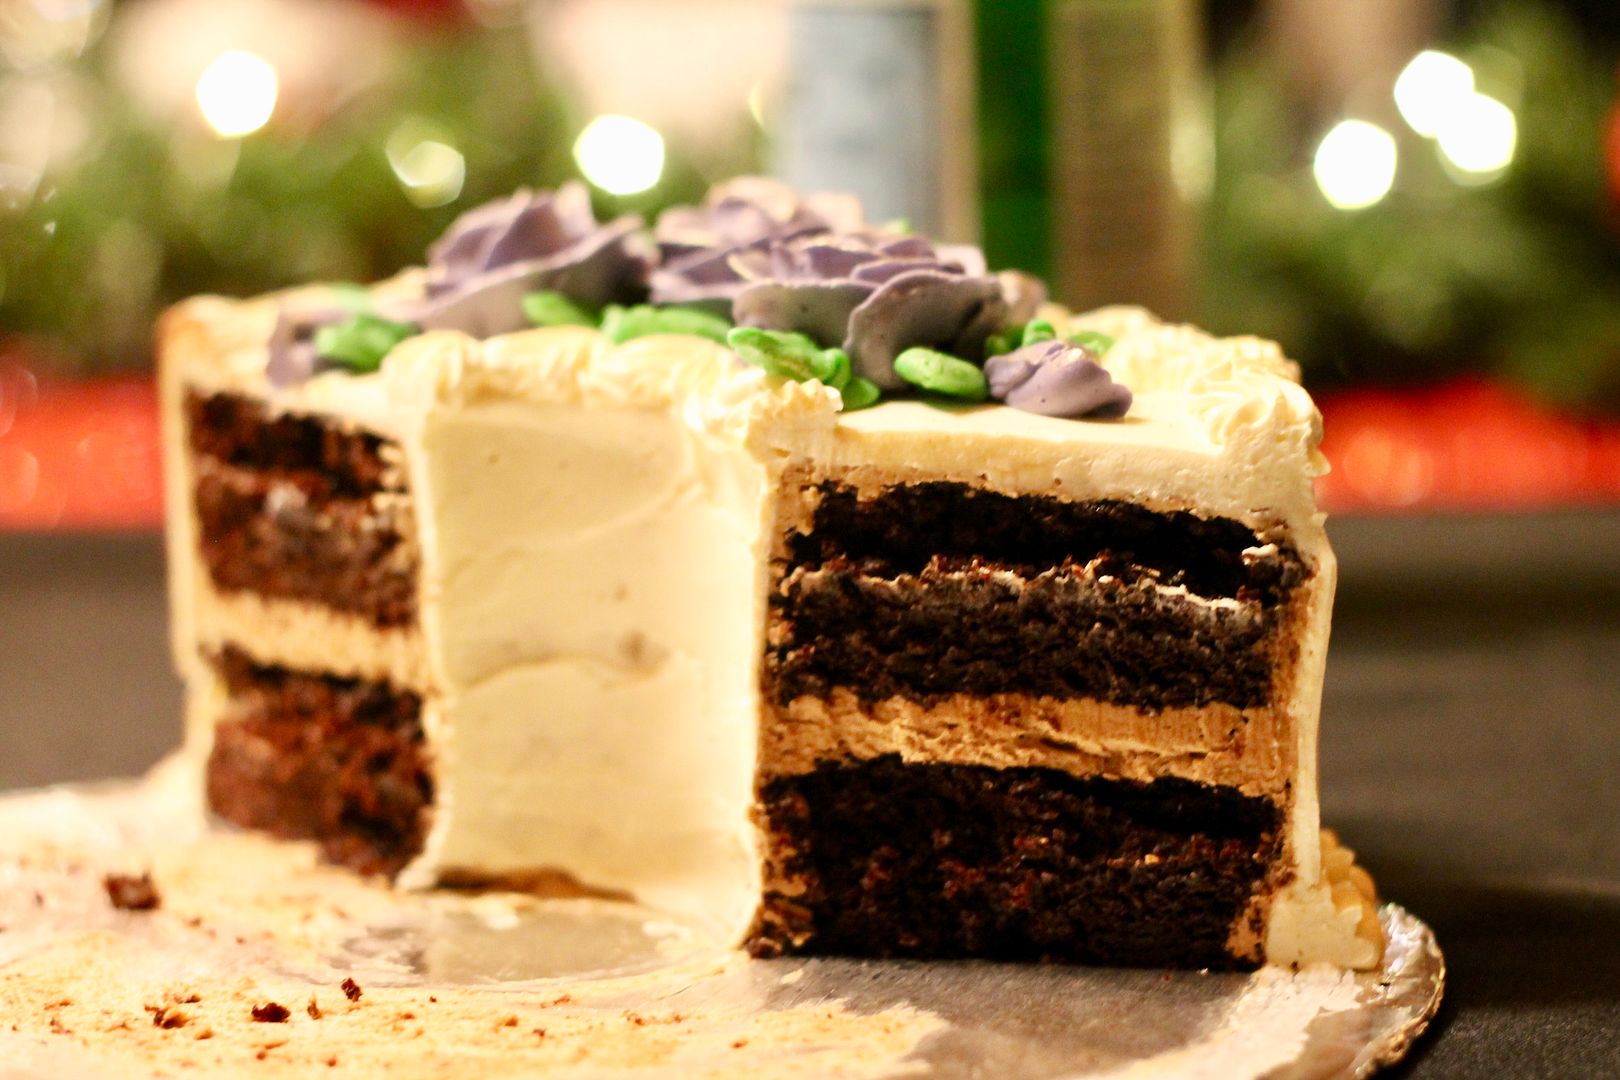
I was trying to figure out how I could somehow turn fruitcake into a delicious birthday cake when my Mum reminded me that Grandpa has a notorious sweet tooth (at least I come by it honestly!) and that he would in actual fact love any kind of cake – so I went with the ultimate crowd-pleaser: chocolate cake, in this case filled with mocha buttercream and frosted with vanilla. Judging by the response it got from the guests at his birthday party, it was the right decision!
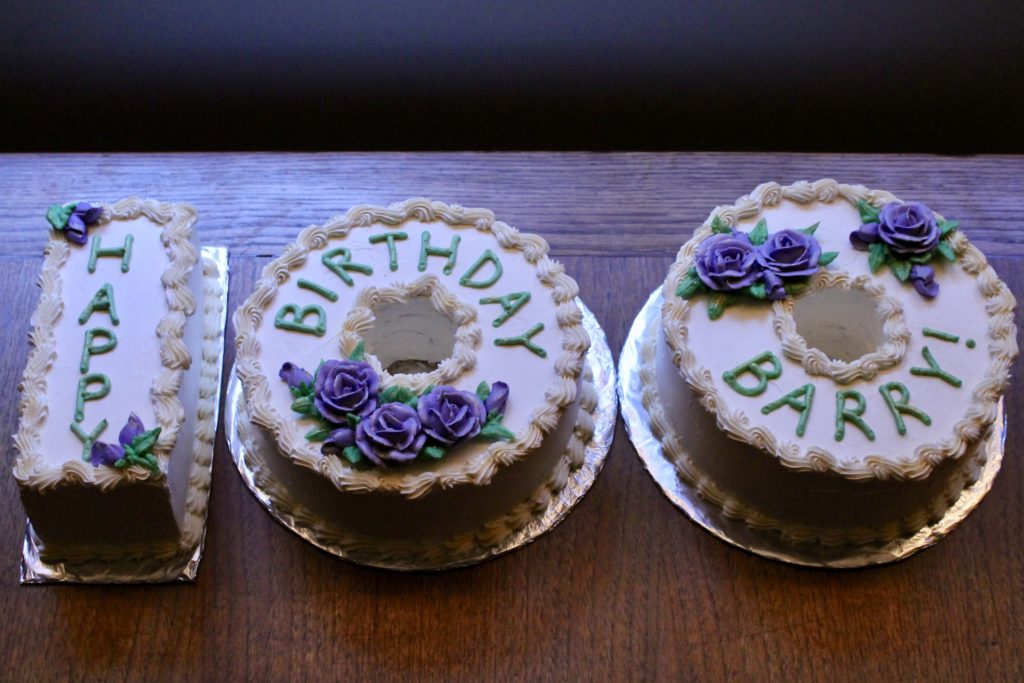
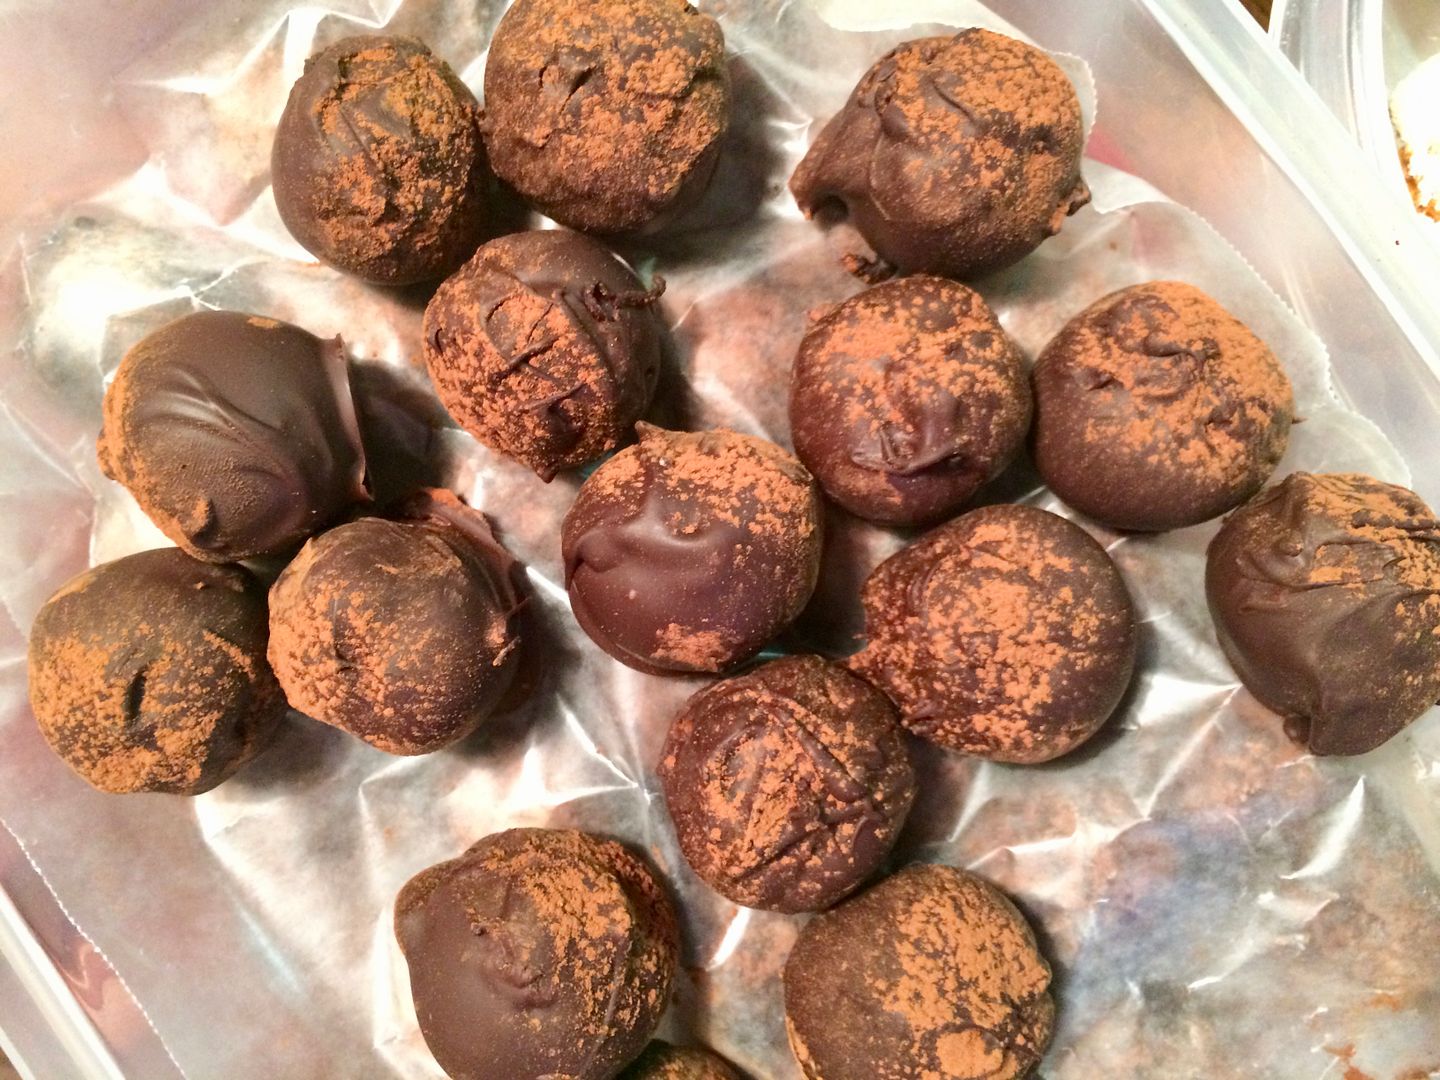
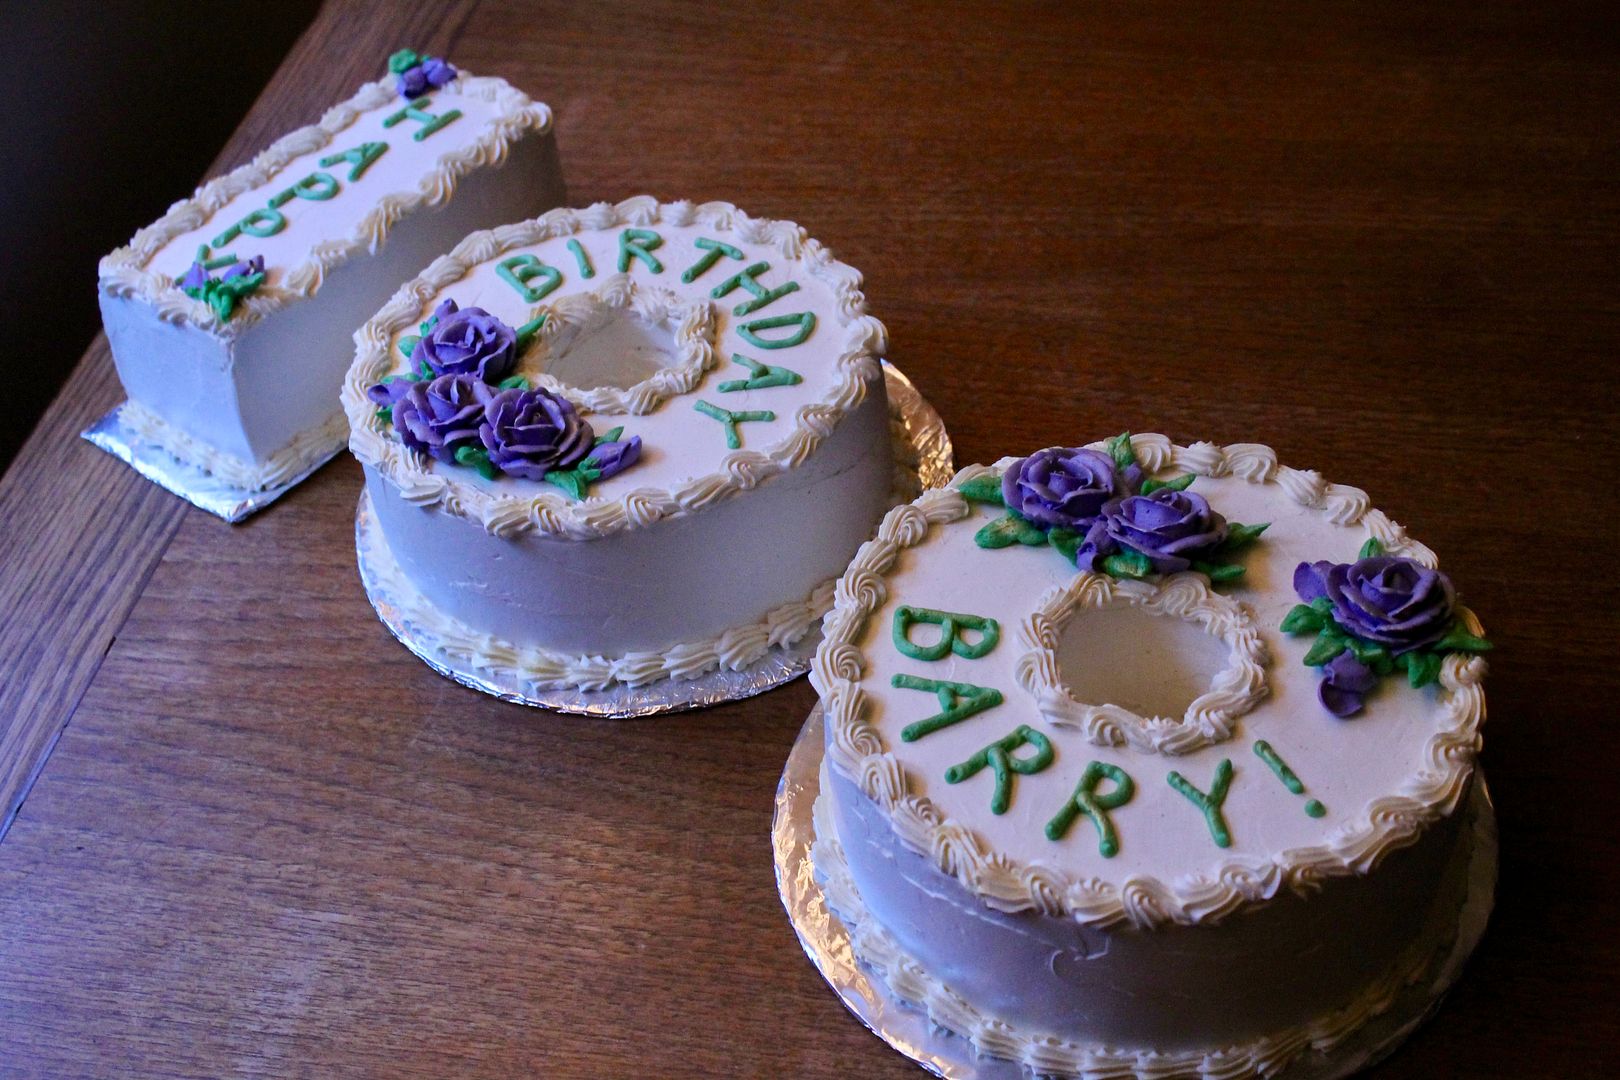
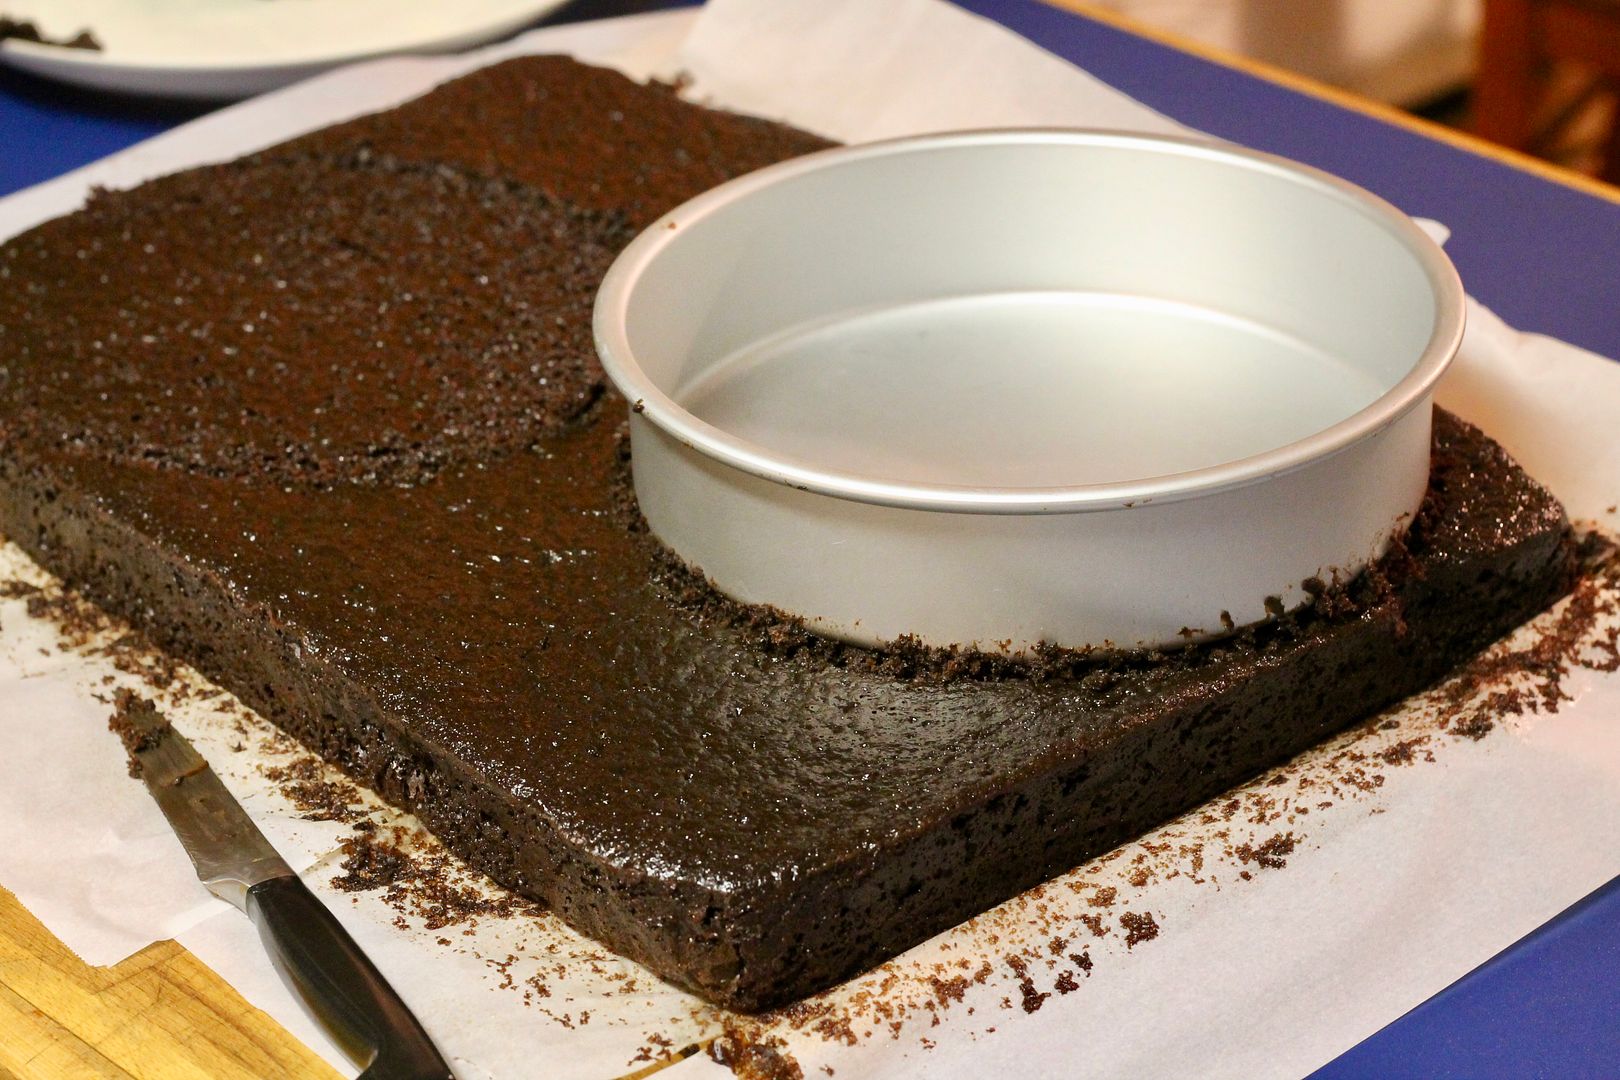
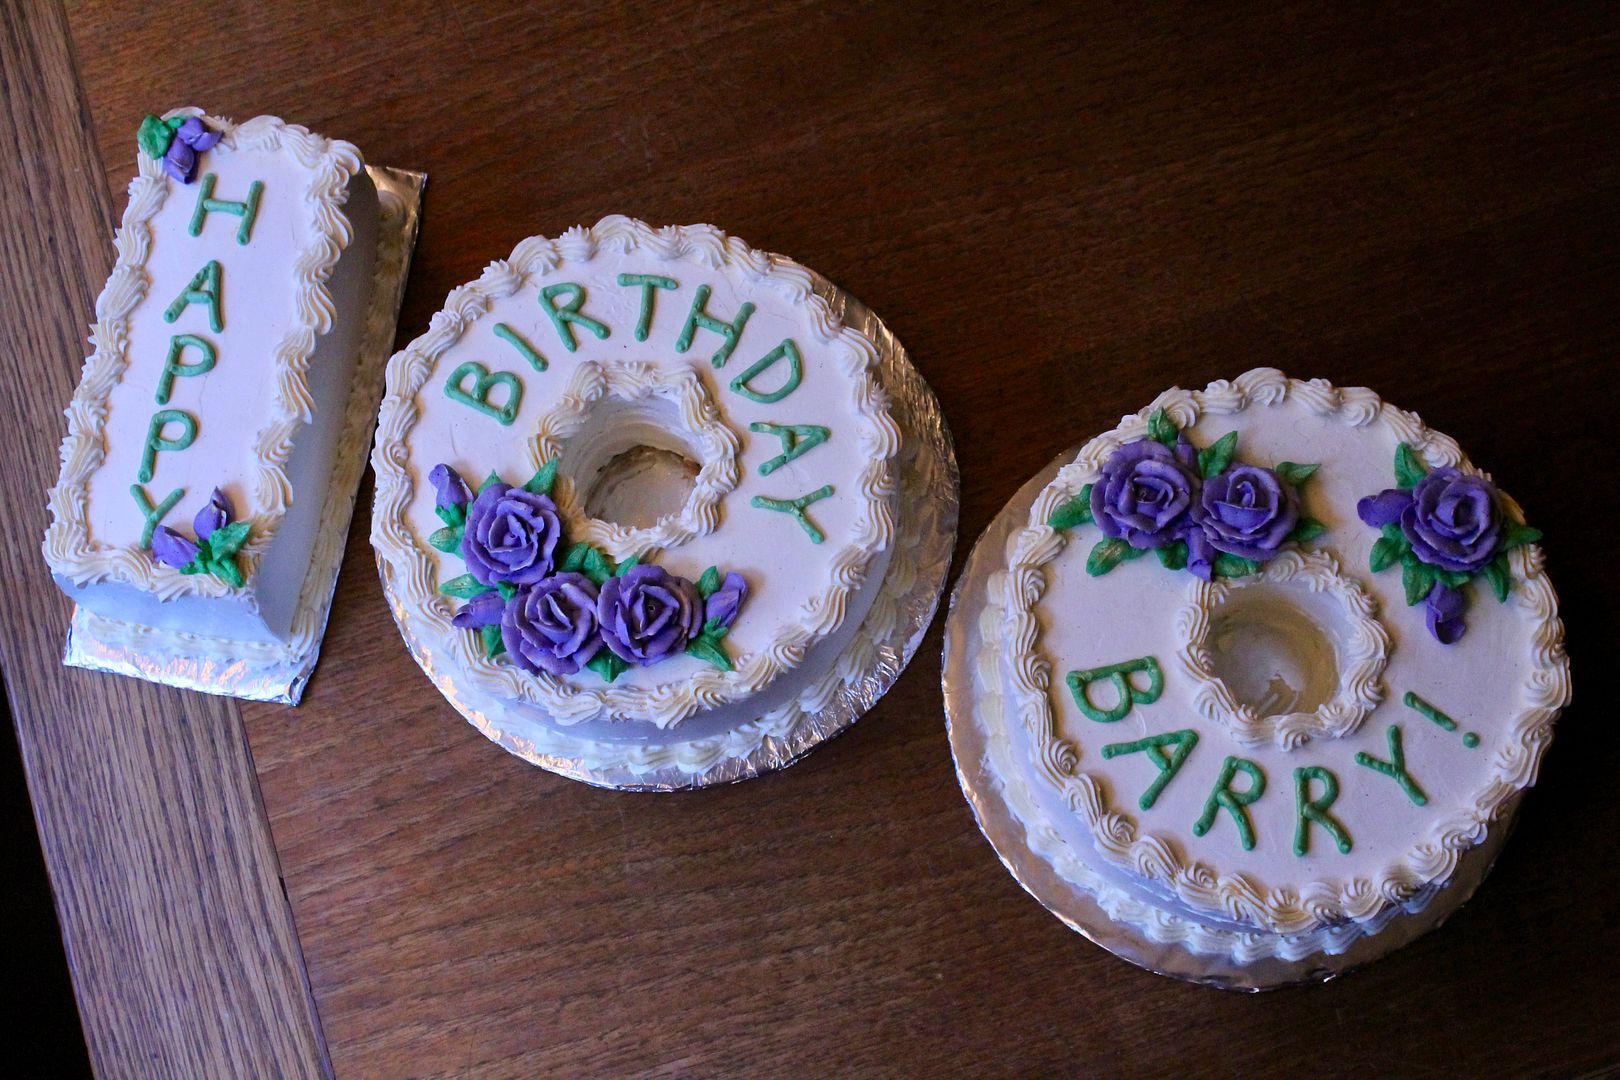
To create the shape of the number 100, I baked the chocolate cake layers in two large sheet cakes and then cut out the numbers. The cake recipe I chose is extremely delicious but also very delicate, which proved to be a bit of a challenge when cutting the cake into the shapes, so I suggest freezing the cake to make this easier (or you could use an equally delicious but sturdier chocolate cake like this one). Just keep in mind that to get the very best flavour and texture out of the chocolate cake, it must be served at room temperature. I snacked on some of the chilled scraps and got pretty worried because it tasted almost raw and the texture was pasty, but then when I tried it again after having sat at room temperature for a while, it was perfect – moist yet tender and airy, and very chocolatey. Also, cutting out the cake shapes results in lots of cake scraps – which I kept and later turned into some pretty fantastic rum balls, using this recipe as a guide and using cake crumbs instead of brownies.
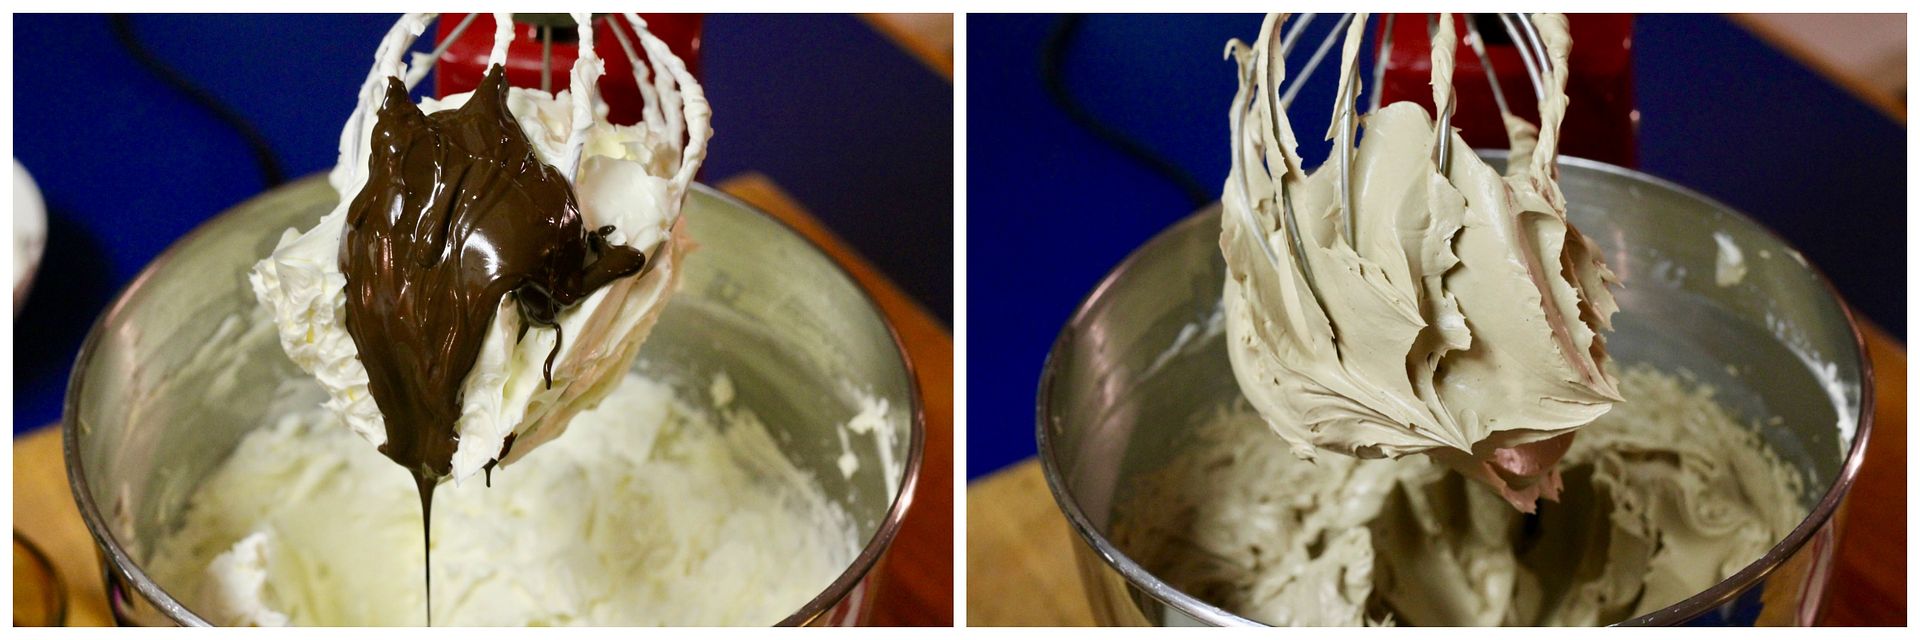
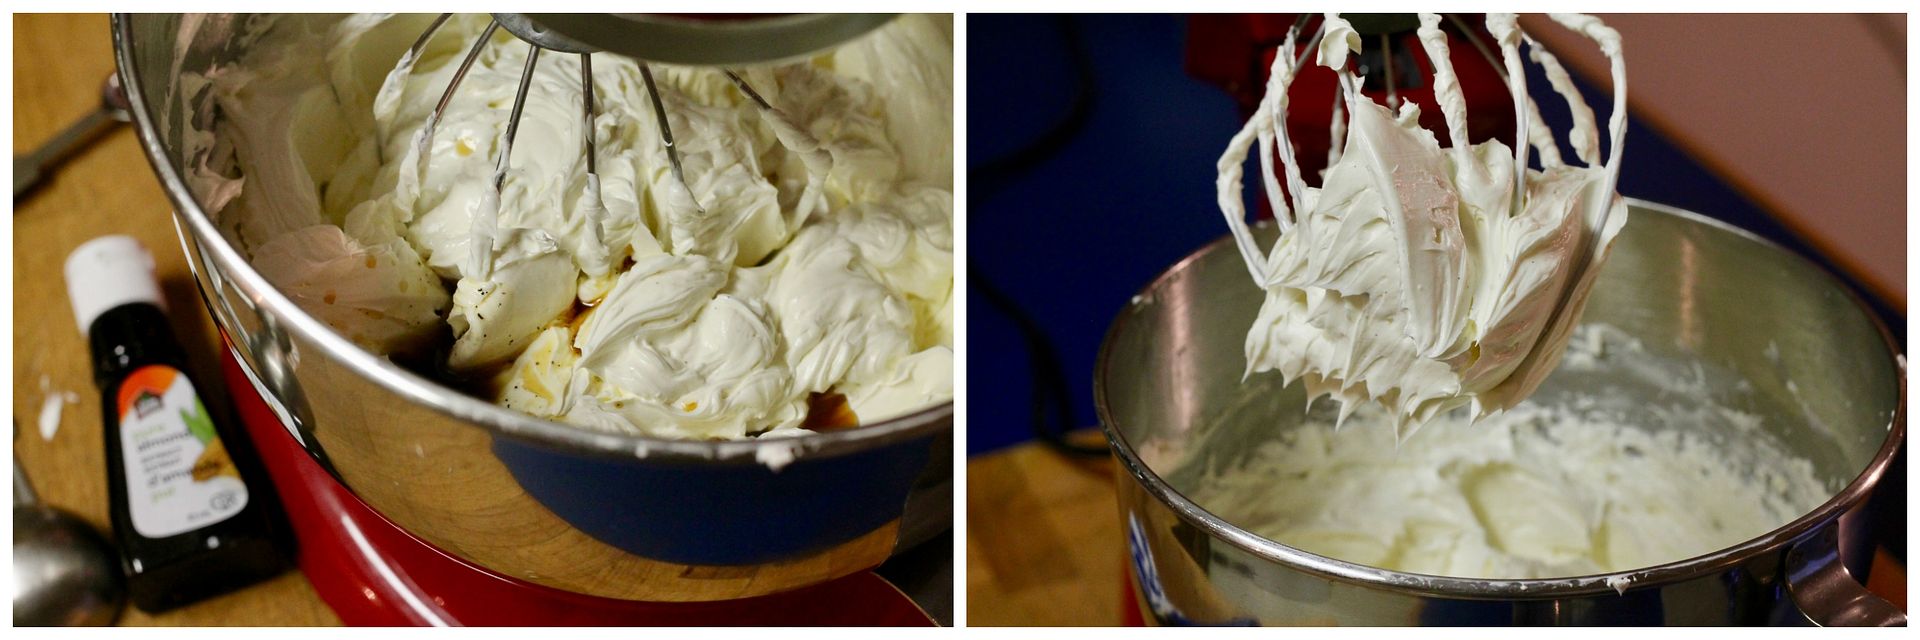
I used Stella Parks’ Swiss meringue buttercream recipe for the mocha filling and vanilla frosting, and her genius tips around checking the temperature of the final buttercream helped make sure that it was perfectly creamy and soft enough to easily spread over the delicate cakes, and it was also wonderful for piping scalloped borders and roses. The mocha filling echoes the coffee used in the chocolate cake layers, and the vanilla buttercream includes a hint of almond extract to boost the vanilla flavour. Stella suggests using toasted granulated sugar in the buttercream, which gives it a less sweet, more complex taste. I recently discovered (also from Stella) that granulated sugar makes an excellent pie weight when par-baking a pie crust – and as a bonus, you end up with lightly toasted sugar to use in other recipes – so I had some on hand to use. I wouldn’t say that toasted sugar is a make-or-break ingredient here – plain granulated sugar will do fine – but if you’re into experiments, this is a good one.
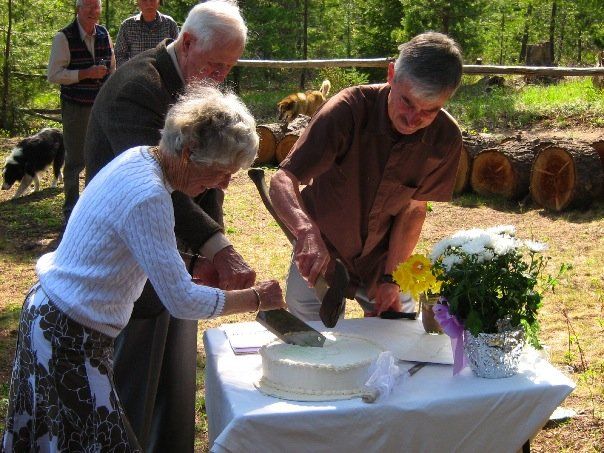
Despite the delicate texture of the chocolate cake layers, once the cake was filled, frosted, and chilled overnight, it was actually pretty sturdy – sturdy enough to weather being transported by foot on the ferry to Vancouver for Grandpa’s birthday party. The trip took several hours, so the cake had plenty of time to slowly come to room temperature before being served. We lit candles and sparklers and sang happy birthday, and then everyone dug in. Several guests actually told me this was the best cake they’d ever eaten – thank goodness I didn’t make a fruitcake 😉
Grandpa’s 100th Birthday Cake
Makes about 30 servings total. Click here for a printable PDF of the recipe.
To make this cake, you will need to scale the cake and buttercream recipes below as follows:
- 2 recipes Double Chocolate Cake, baked in two 18″ x 13″ pans
- 1 recipe Mocha Swiss Meringue Buttercream
- 1 1/2 recipes Double Vanilla Swiss Meringue Buttercream
Double Chocolate Cake
From Smitten Kitchen. Makes one 18″ x 13″ sheet cake. Don’t try to double this recipe in one batch – the batter won’t fit in your mixer!
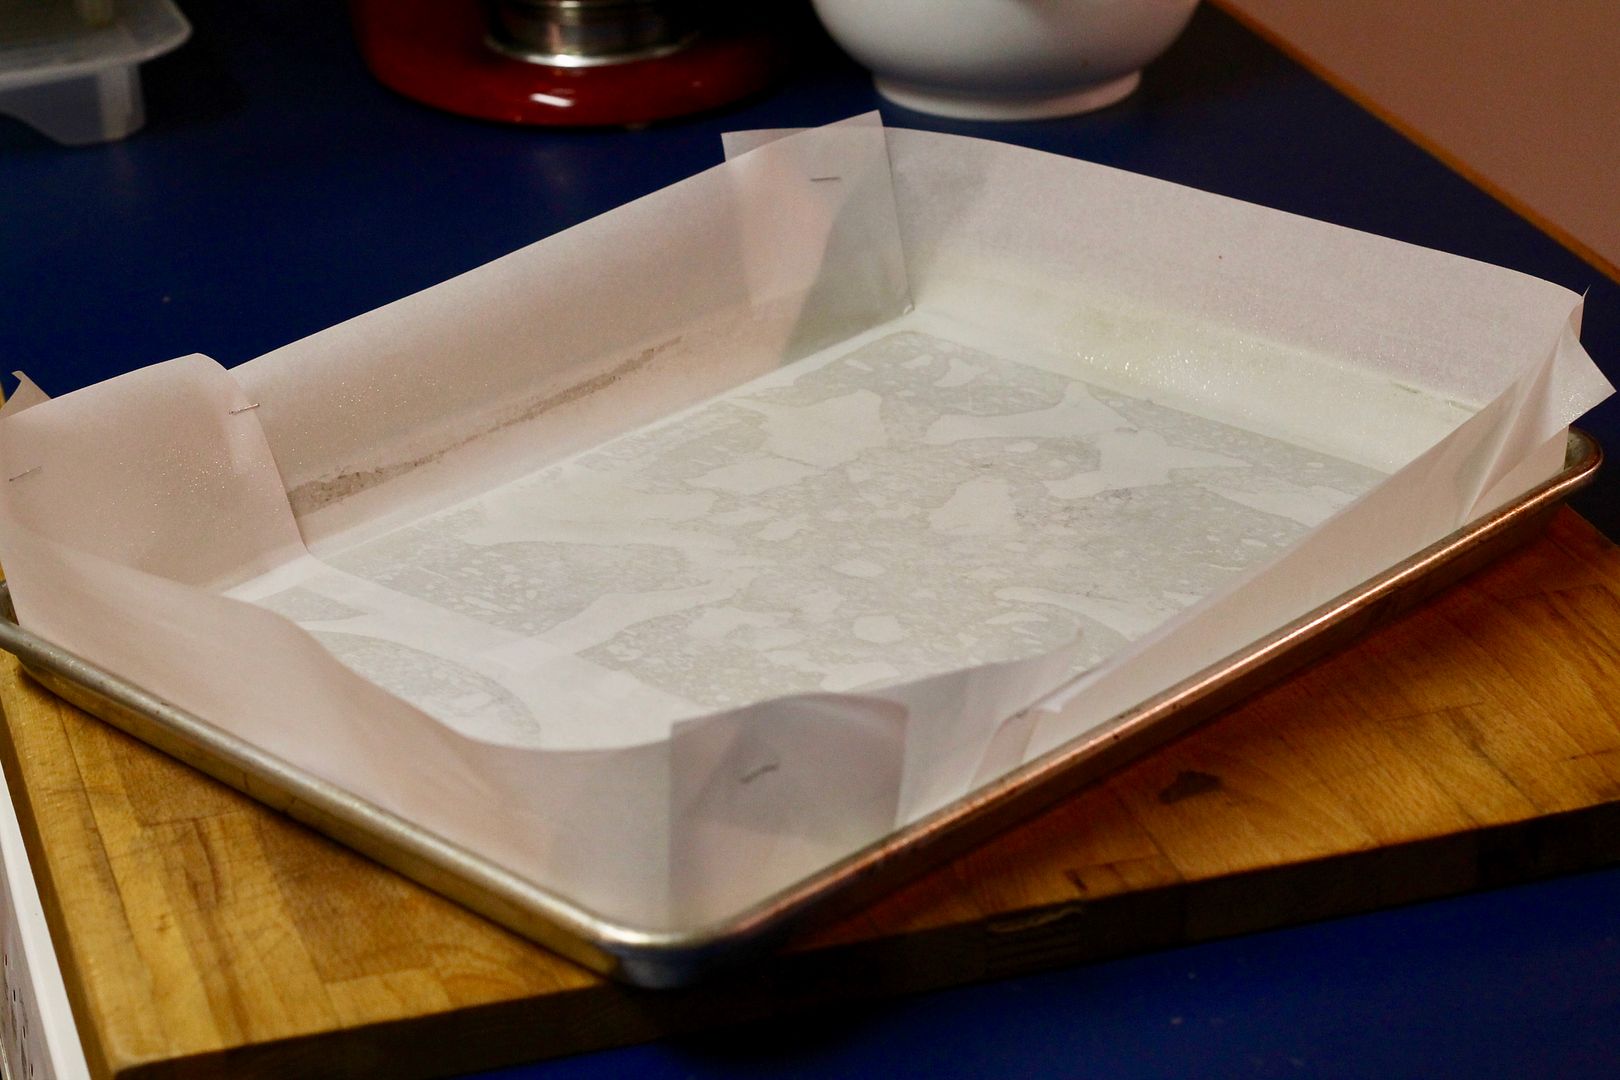
Preheat the oven to 300˚F (275˚F convection). Spray an 18″ x 13″ rimmed baking sheet (aka a half-sheet pan) with baking spray, then line it with parchment paper, extending the paper into a 2″ rim on all four sides and using staples to secure the paper at the corners (you want to make sure the paper overlaps at the corners so that it holds the cake batter). Spray the paper lightly with the baking spray.
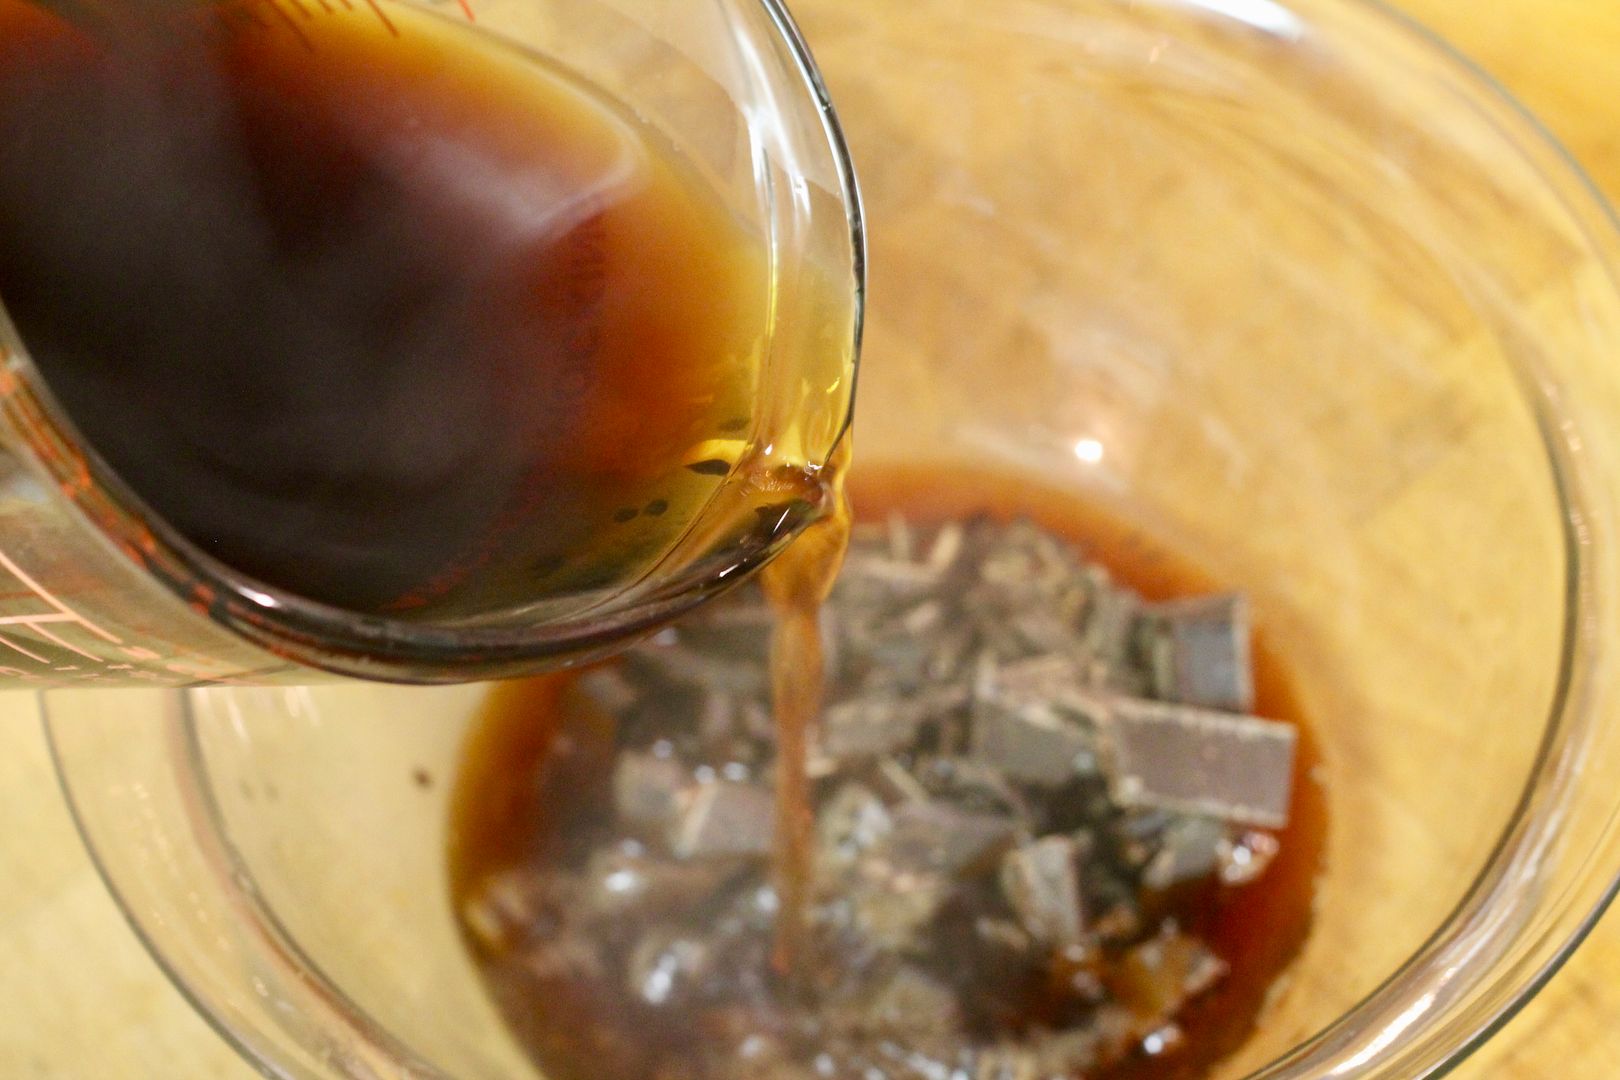
In a bowl, combine:
85 g semi-sweet chocolate, finely chopped
355 ml hot coffee
Let stand to melt the chocolate, then whisk until smooth.
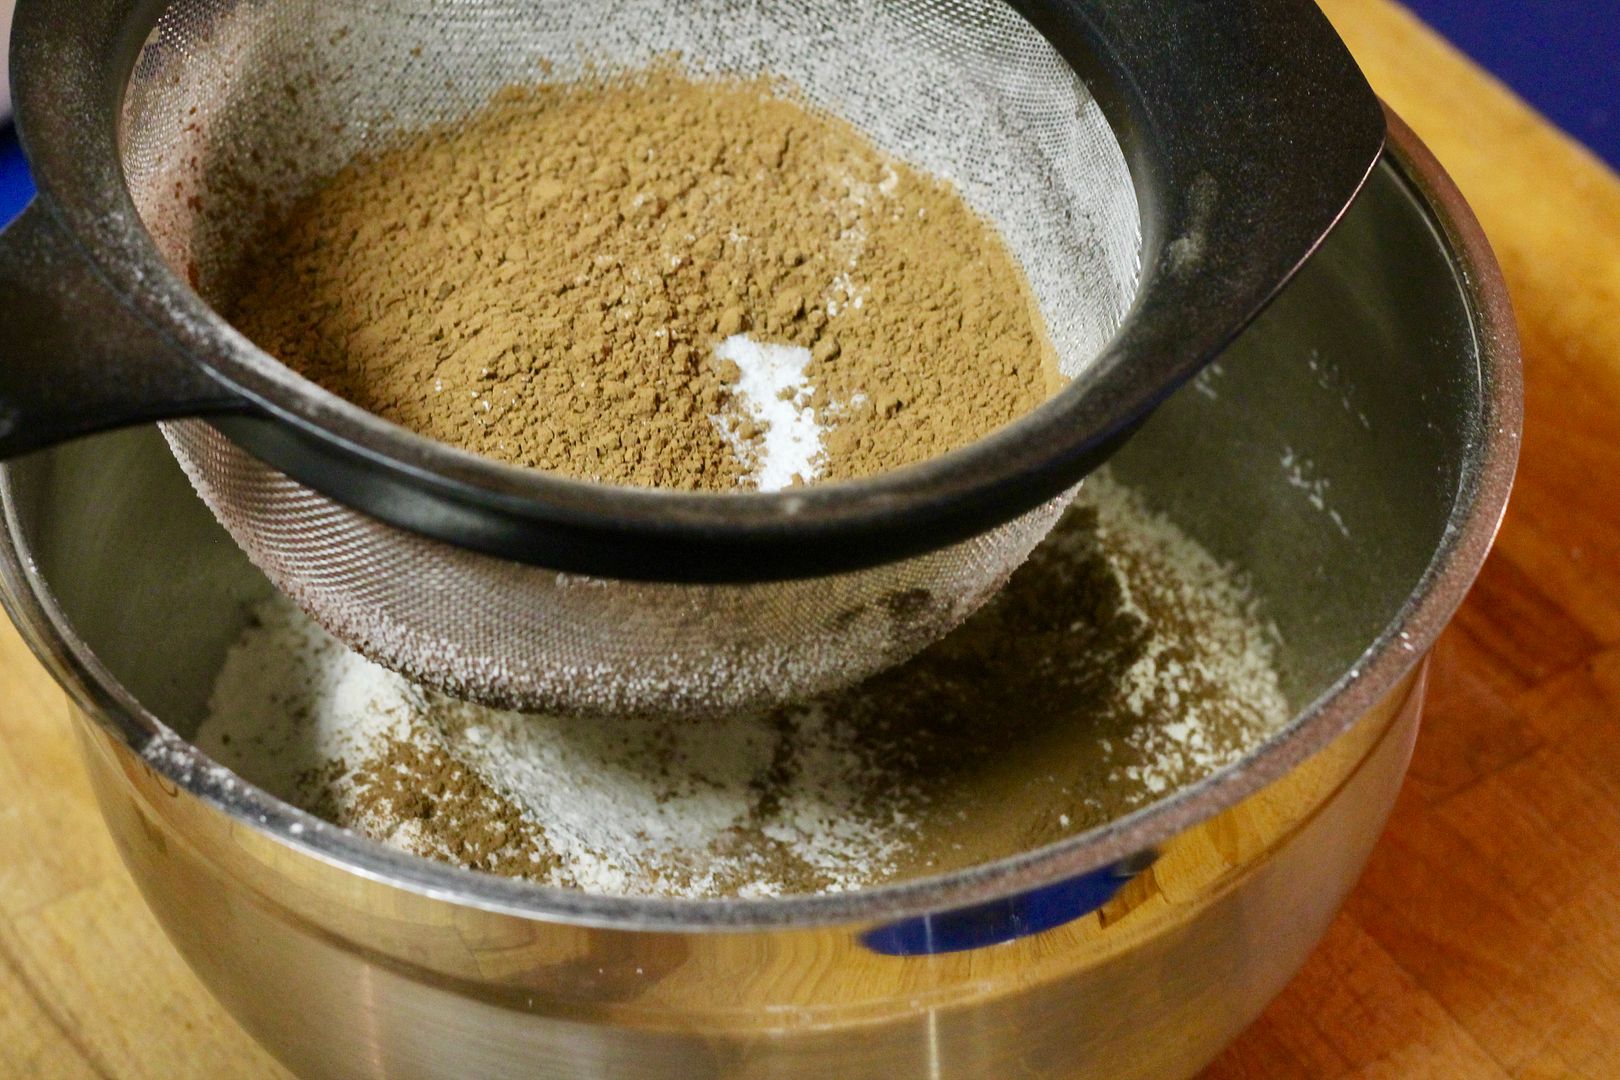
In a large bowl, sift together the dry ingredients:
300 g granulated sugar
315 g all purpose flour
130 g natural cocoa powder (not Dutch process)
2 tsp baking soda
3/4 tsp baking powder
1 1/4 tsp fine sea salt
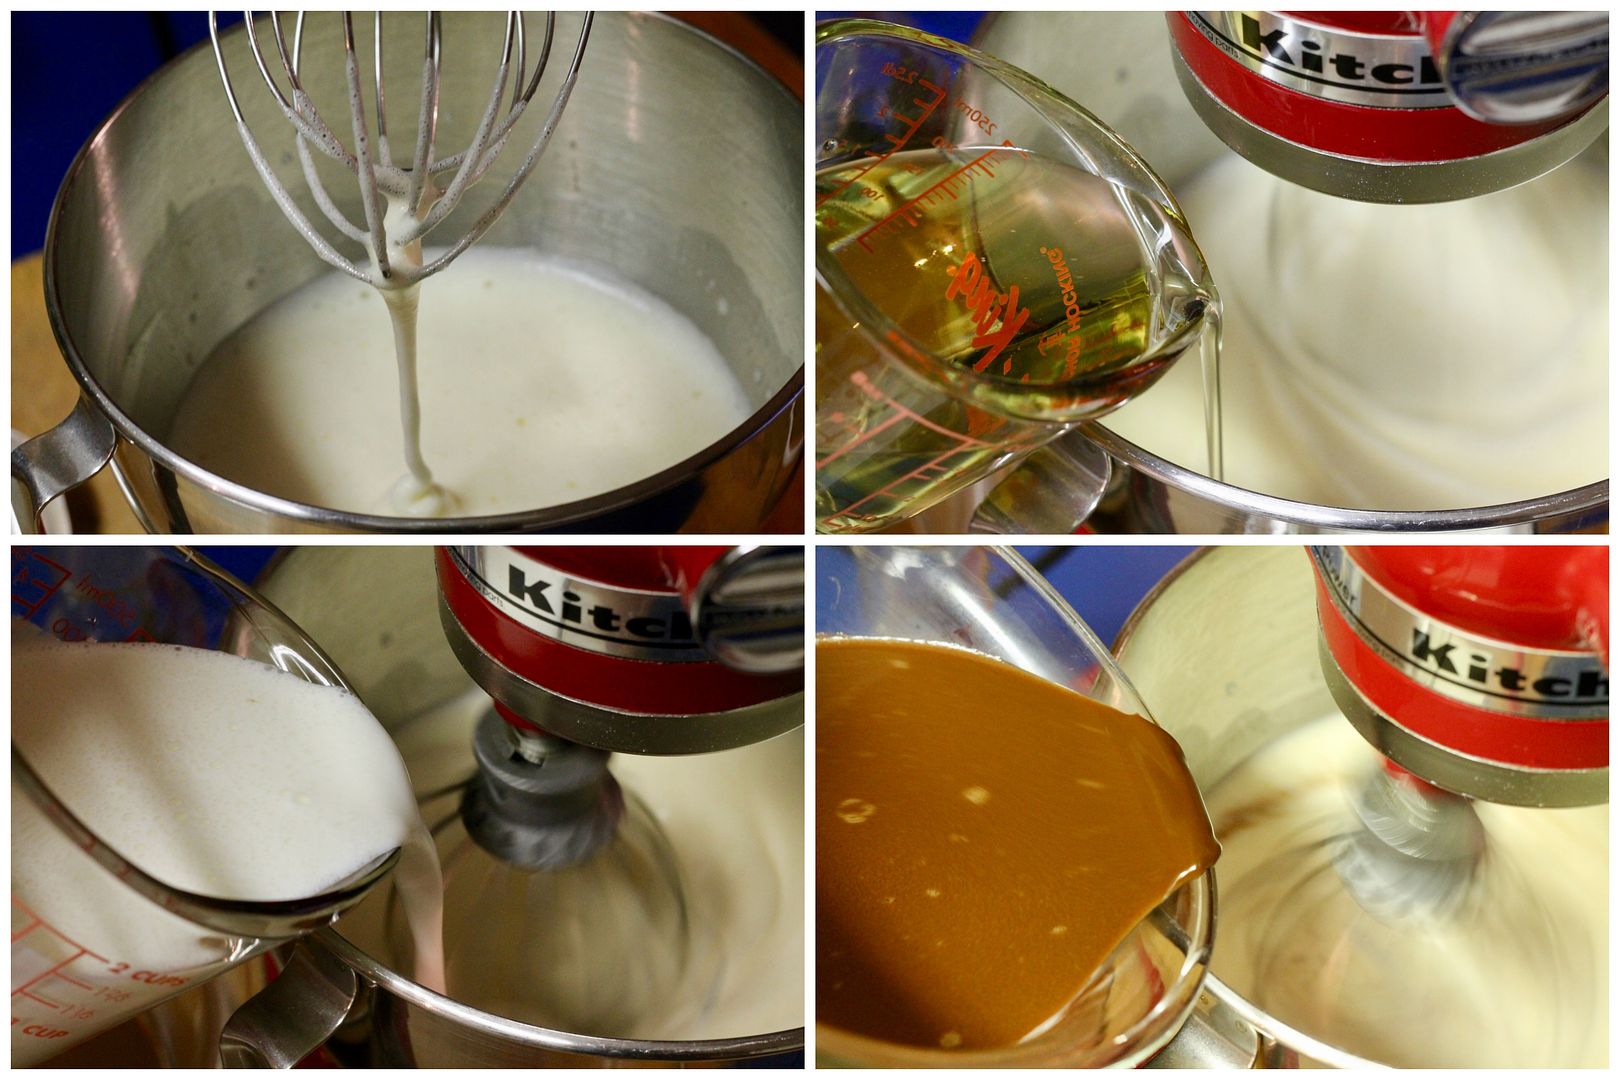
In the bowl of an electric mixer with the whisk attachment, beat 3 large eggs on medium high speed until light, thick, and lemon coloured. With the mixer running on low speed, slowly add:
175 ml vegetable oil
355 ml well-shaken buttermilk
3/4 tsp vanilla extract
melted chocolate-coffee mixture
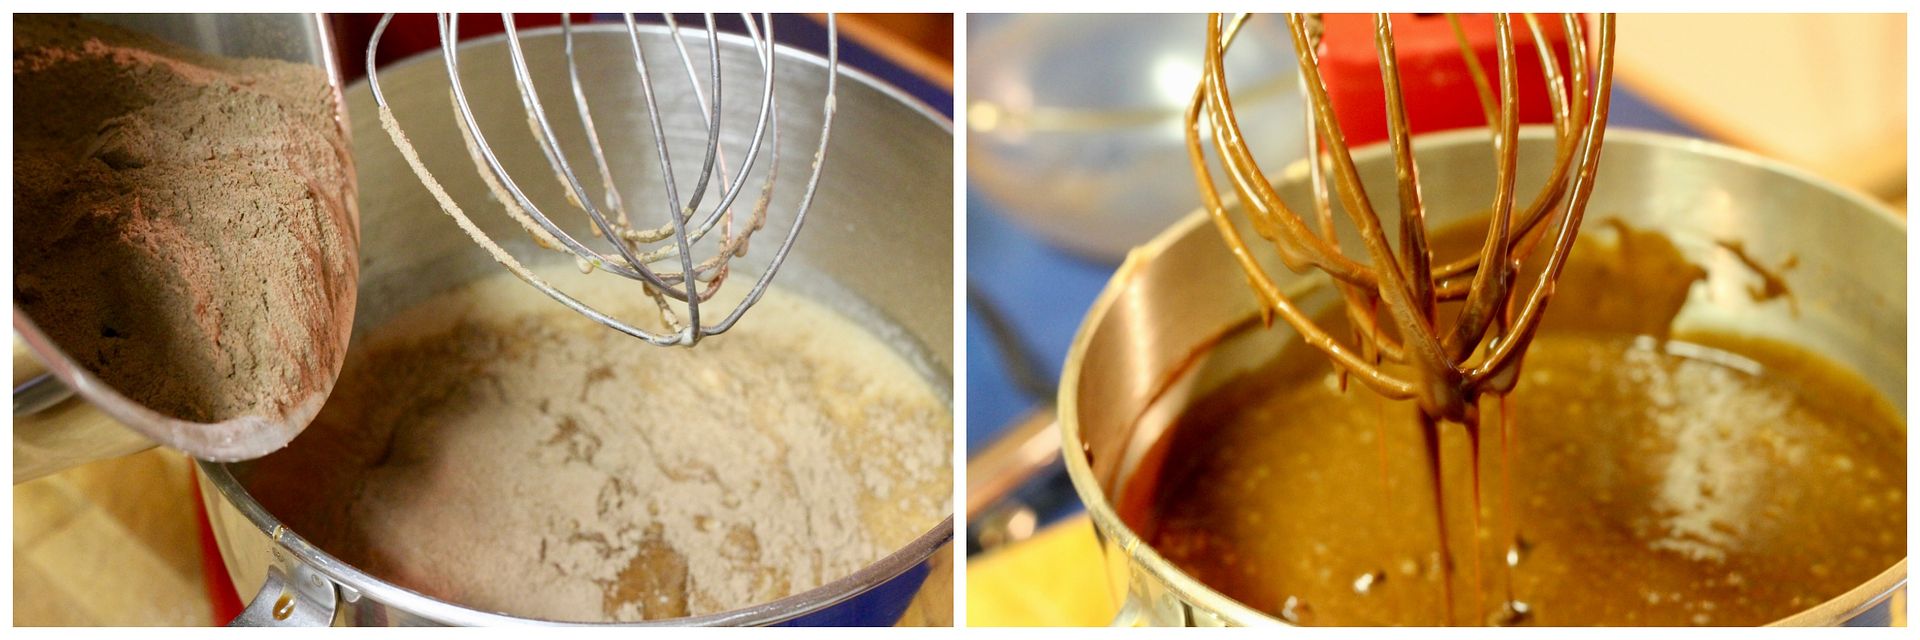
Once combined, add the dry ingredients and mix until just combined well.
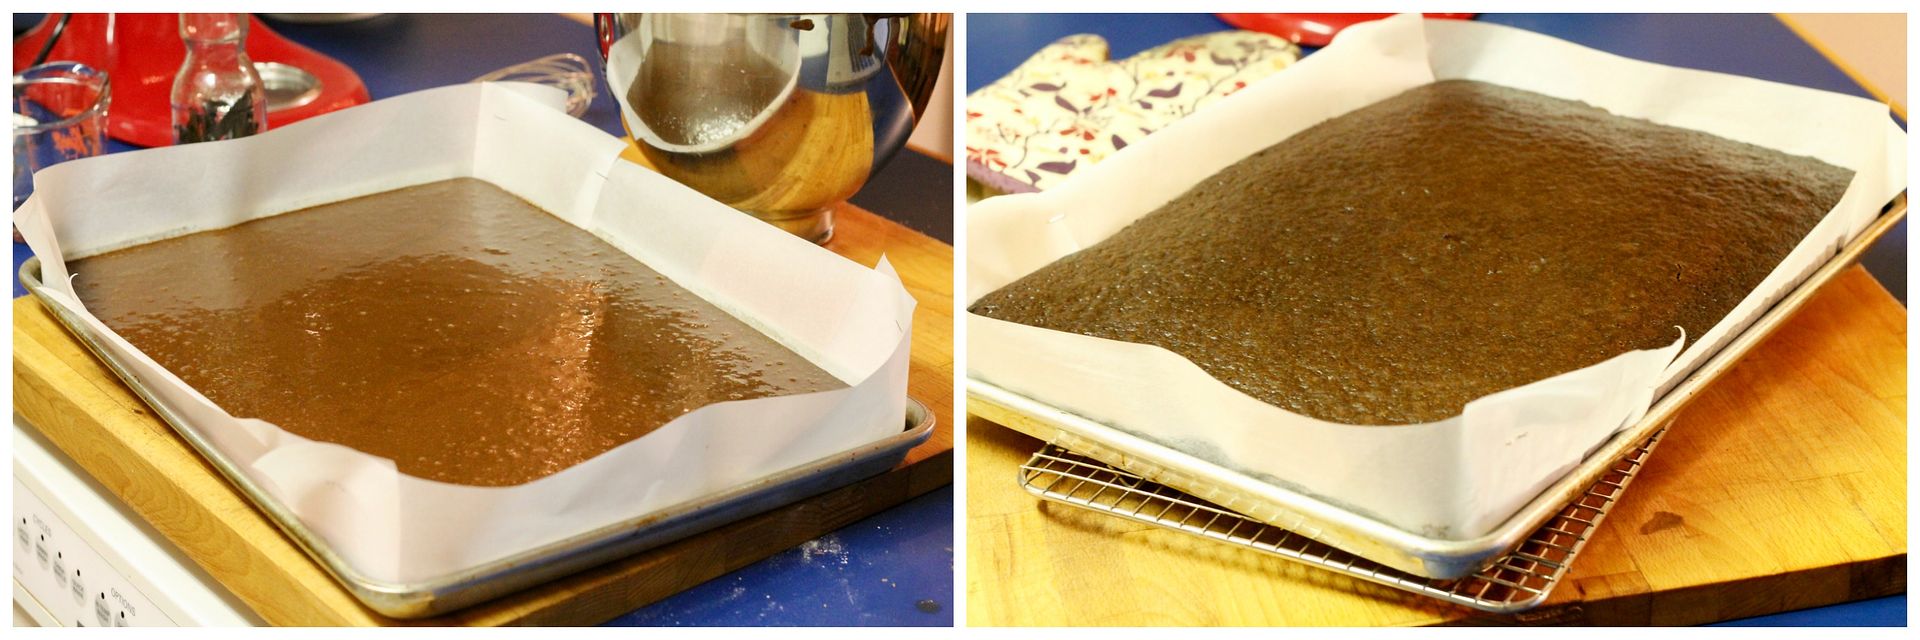
Pour the batter into the prepared pan and spread evenly. Bake in the preheated 300˚F (275˚F convection) oven for about 35 minutes, until the cake springs back to the touch and a toothpick inserted in the centre comes out clean. Let the cake cool completely on a rack. With the cake still in the pan, cover with plastic wrap and freeze before continuing.
Swiss Meringue Buttercream
From Stella Parks/BraveTart at Serious Eats. Makes about 6 cups. If you’ve ever had trouble with Swiss meringue buttercream, this is the recipe for you: taking the temperature of the meringue, butter, and resulting buttercream takes all the guesswork out!
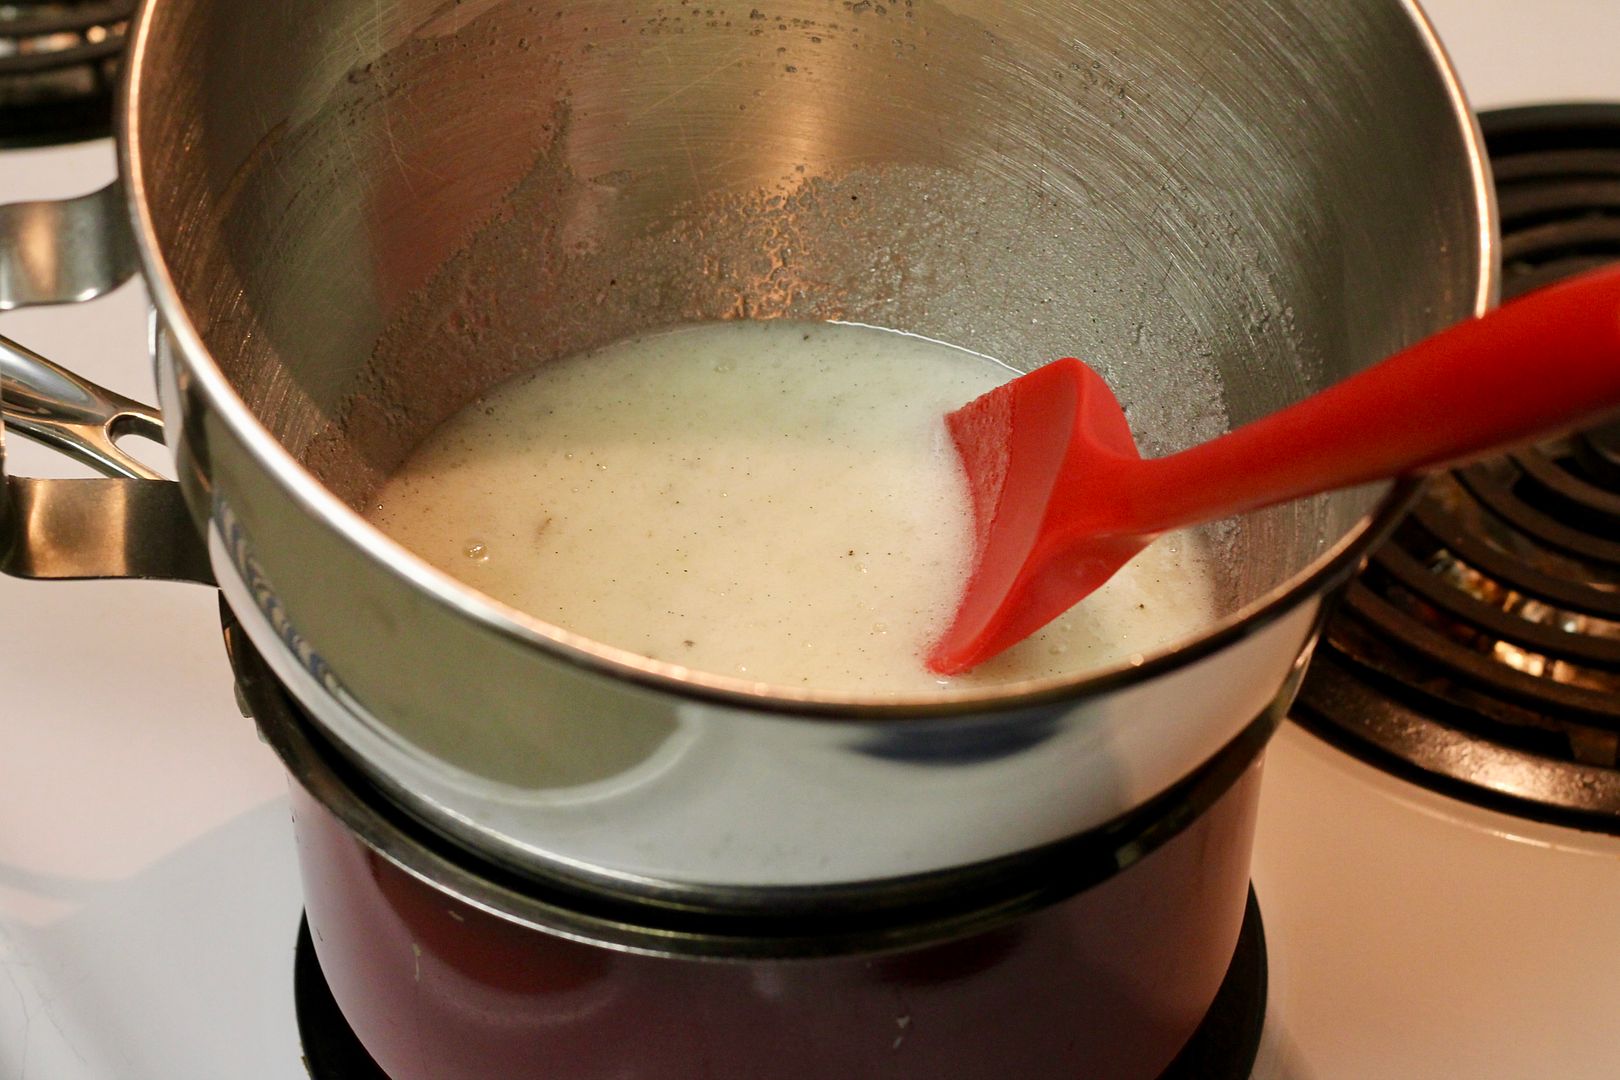
Pour about 1 1/2 inches of water in a saucepan and place over medium-high heat until steaming. Reduce the heat to maintain a gentle simmer.
In the metal bowl of an electric mixer, combine:
170 g egg whites
310 g granulated sugar, lightly toasted if you’d like
3 g kosher salt
1/4 tsp cream of tartar
seeds scraped from 1 split vanilla bean
Place the bowl with the egg whites overtop of the simmering water, making sure the bottom of the bowl does not touch the water (you can make a little ring/stand out of aluminum foil to keep the bottom of the bowl out of water, if required). With a flexible spatula, stir and scrape the egg white mixture constantly, heating it until it reaches a temperature of 185˚F, about 10-12 minutes – if it takes much longer, turn up the heat a bit. (Note that at 185˚F, the egg whites are fully cooked/pasteurized.)
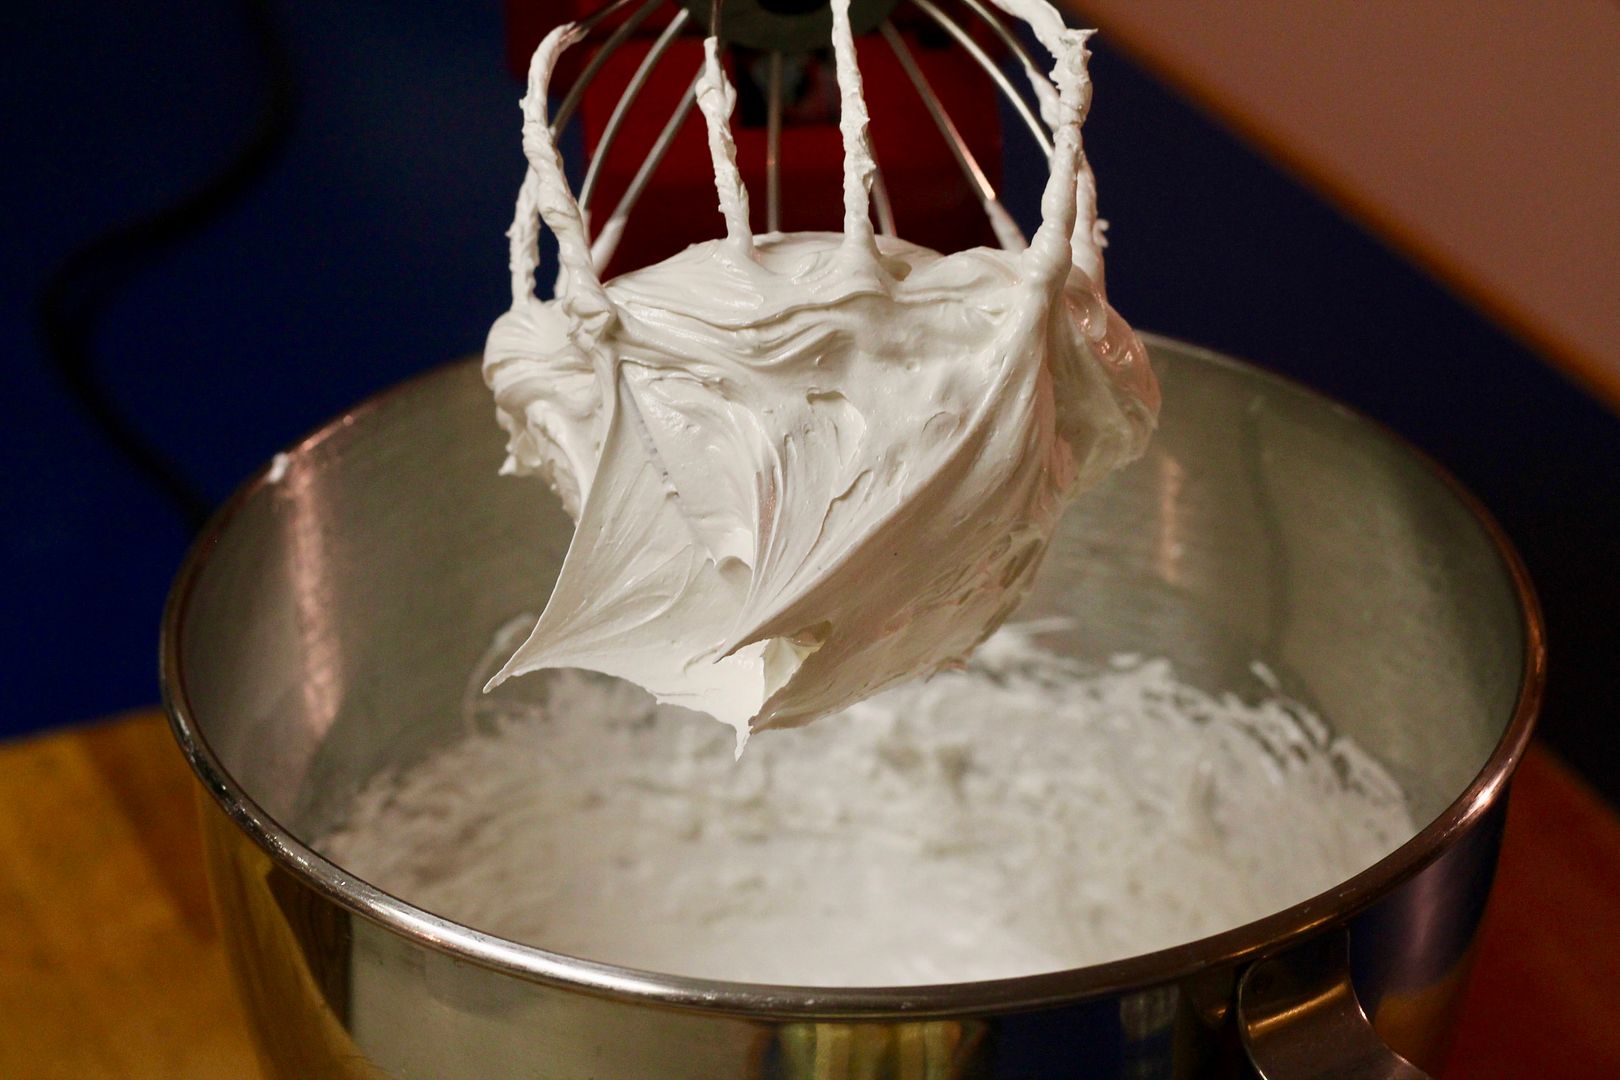
Transfer to the stand mixer and with the whisk attachment, whip on high speed for about 10 minutes until you get a thick, glossy, stiff meringue that is completely cool to the touch, around 90˚F.
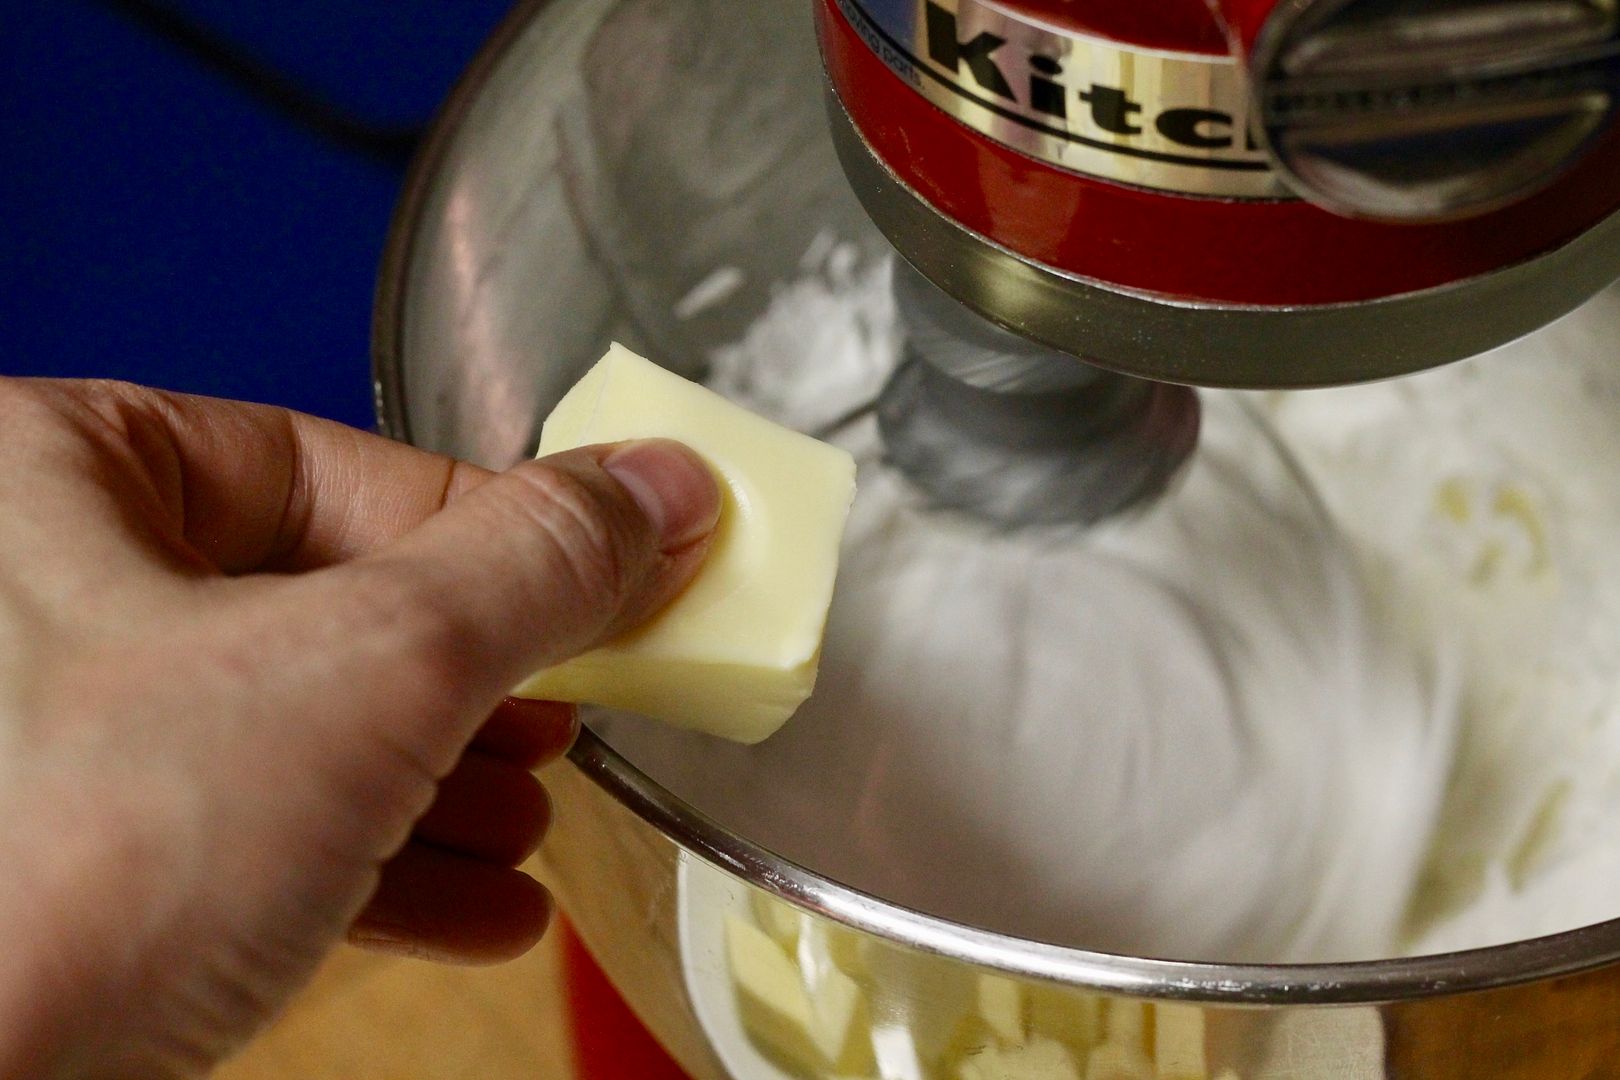
Meanwhile, cut 565 g unsalted butter into 1 tbsp pieces and let it sit at room temperature until it reaches about 65˚F. With the mixer still running, add the butter to the meringue one piece at a time.
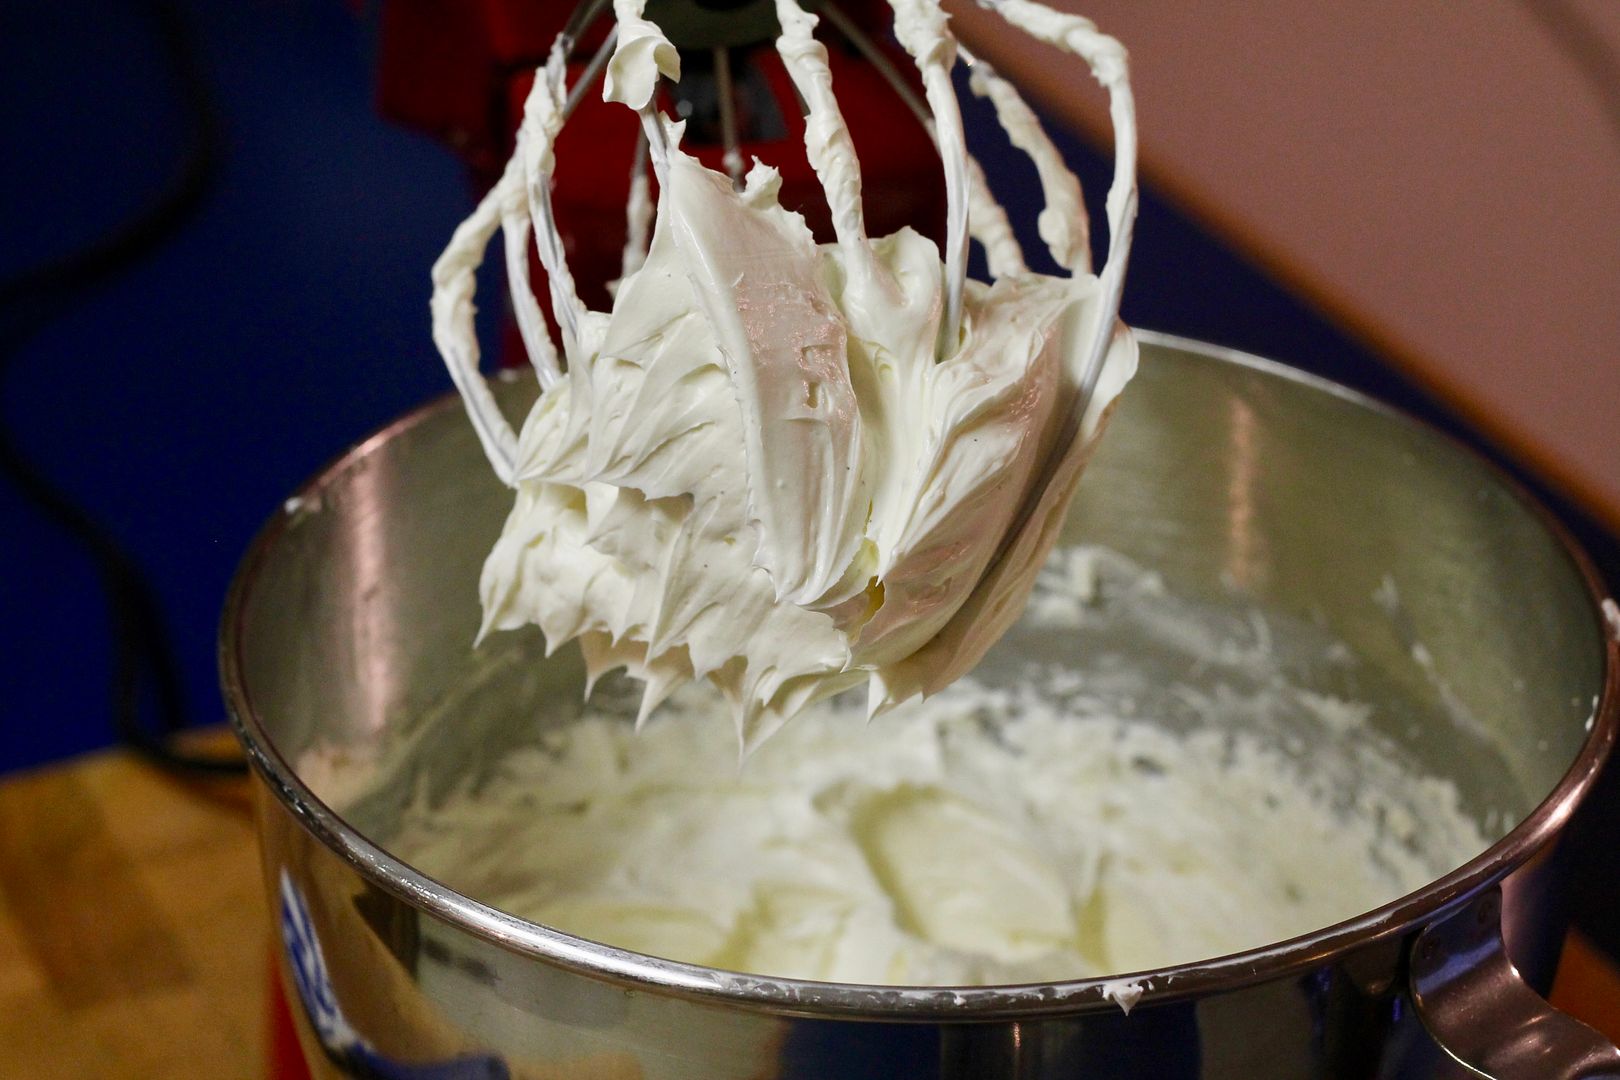
The meringue may fall and look soupy or chunky, but as the butter incorporates, it will thicken and emulsify. Once you’ve added all the butter, the resulting buttercream should be thick, creamy, and soft enough to spread easily – about 72˚F. If your buttercream is too runny (above 74˚F), chill it in the fridge for 15 minutes, then re-whip. If your buttercream is too firm or dense or chunky (below 68˚F), place the bowl back over the simmering water just until the edges start to melt slightly, then re-whip.
For Mocha Swiss Meringue Buttercream:
In a small bowl, combine:
1 1/2 tbsp instant espresso powder
2 tsp hot water
1 tsp vanilla extract
Mix well until the espresso powder dissolves. Add to the finished buttercream along with 45 g melted (cooled) semi-sweet chocolate.
For Double Vanilla Swiss Meringue Buttercream:
To the finished buttercream, add:
1 tsp vanilla extract
1/4 tsp almond extract
Cake Assembly
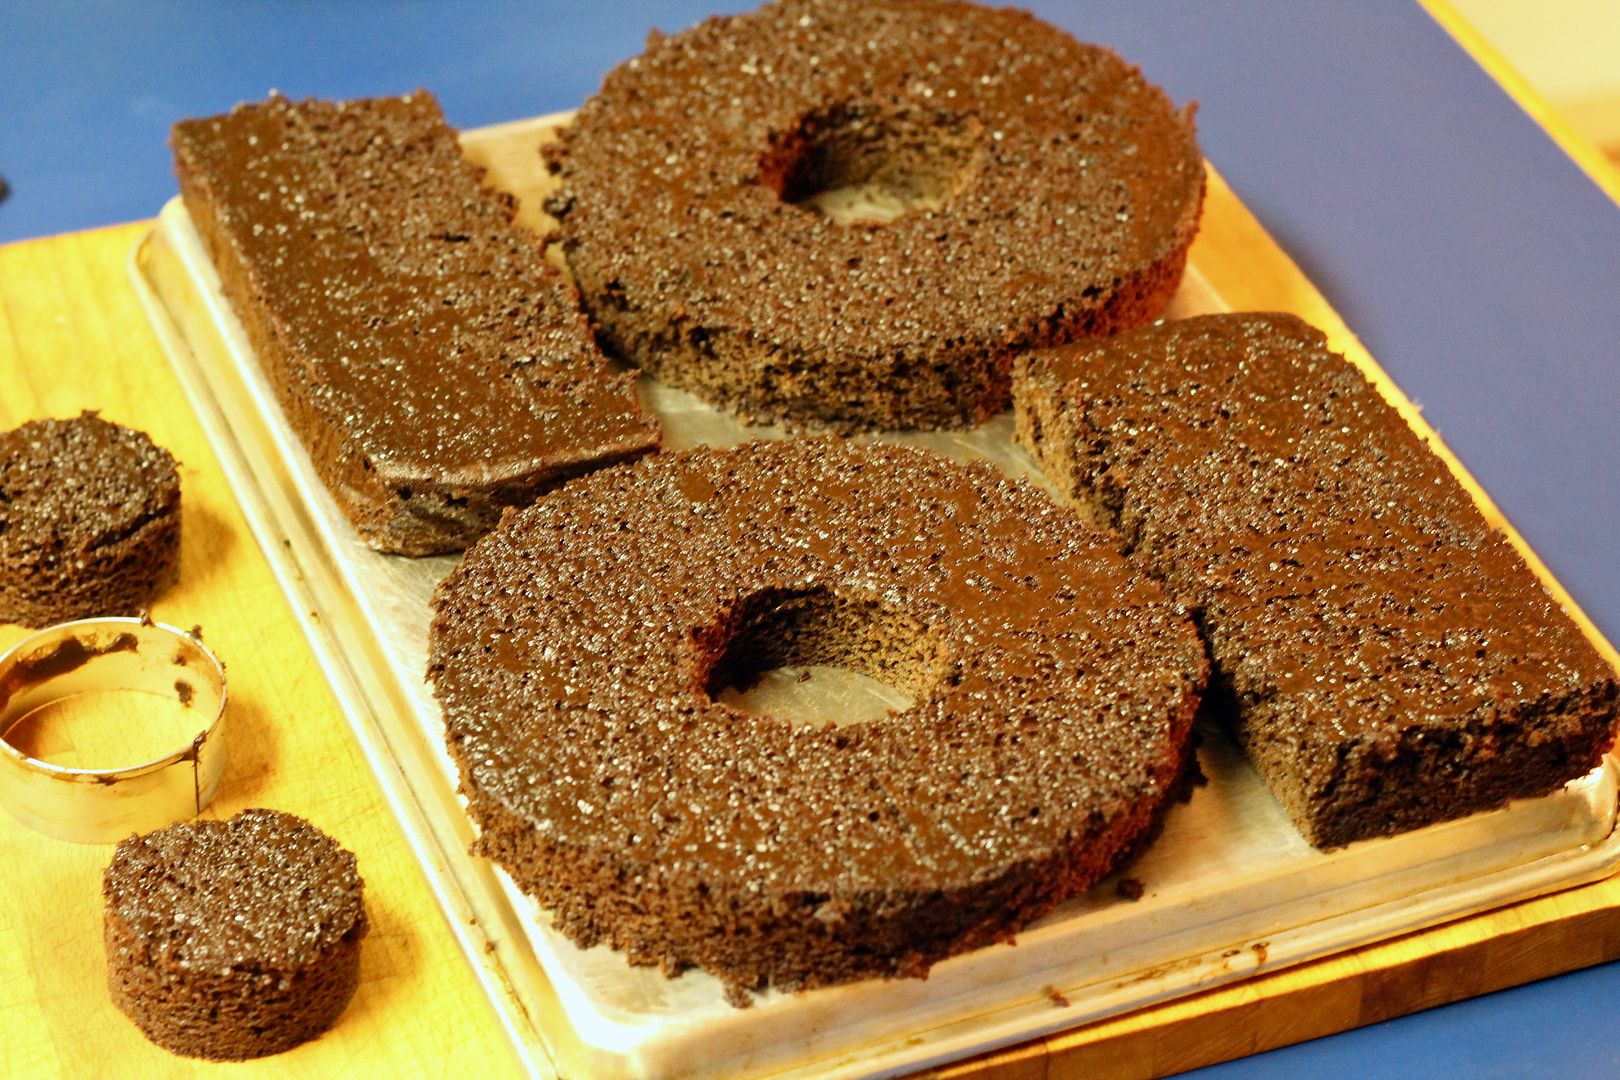
Take one frozen chocolate sheet cake, still on the parchment paper, and lay it on your work surface. Using a sharp paring knife and an 8″ round cake tin as a guide, cut out two 8″ circles from the opposite corners of the cake. Cut two rectangles, 8″ long and about 3″ wide, from the remaining cake beside each of the circles. Use a large offset spatula to loosen the cake from the parchment paper, and lift away the cut-out circles and rectangles. Set aside the scraps for another use. Repeat with the second frozen chocolate sheet cake, giving you 4 circles and 4 rectangles.
Select the two best-looking rectangles (discard the other two), and trim them to be exactly the same size so you can stack them in a double layer (to create the number one). Use a 2″ cookie cutter to punch a hole in the exact centre of the 4 circle cakes (these will be stacked together to create two zeros).
Place one of the 8″ circles on a cake board and secure with a little bit of buttercream. Top with about 1 cup mocha buttercream and spread evenly to the edges. Top with a second 8″ circle, then thinly crumb coat the cake with another 1 cup mocha buttercream. Set in the fridge to chill. Repeat with the remaining two 8″ circle cakes. For the rectangle cake, fill with 3/4 cup mocha buttercream and crumb coat with another 3/4 cup mocha buttercream.
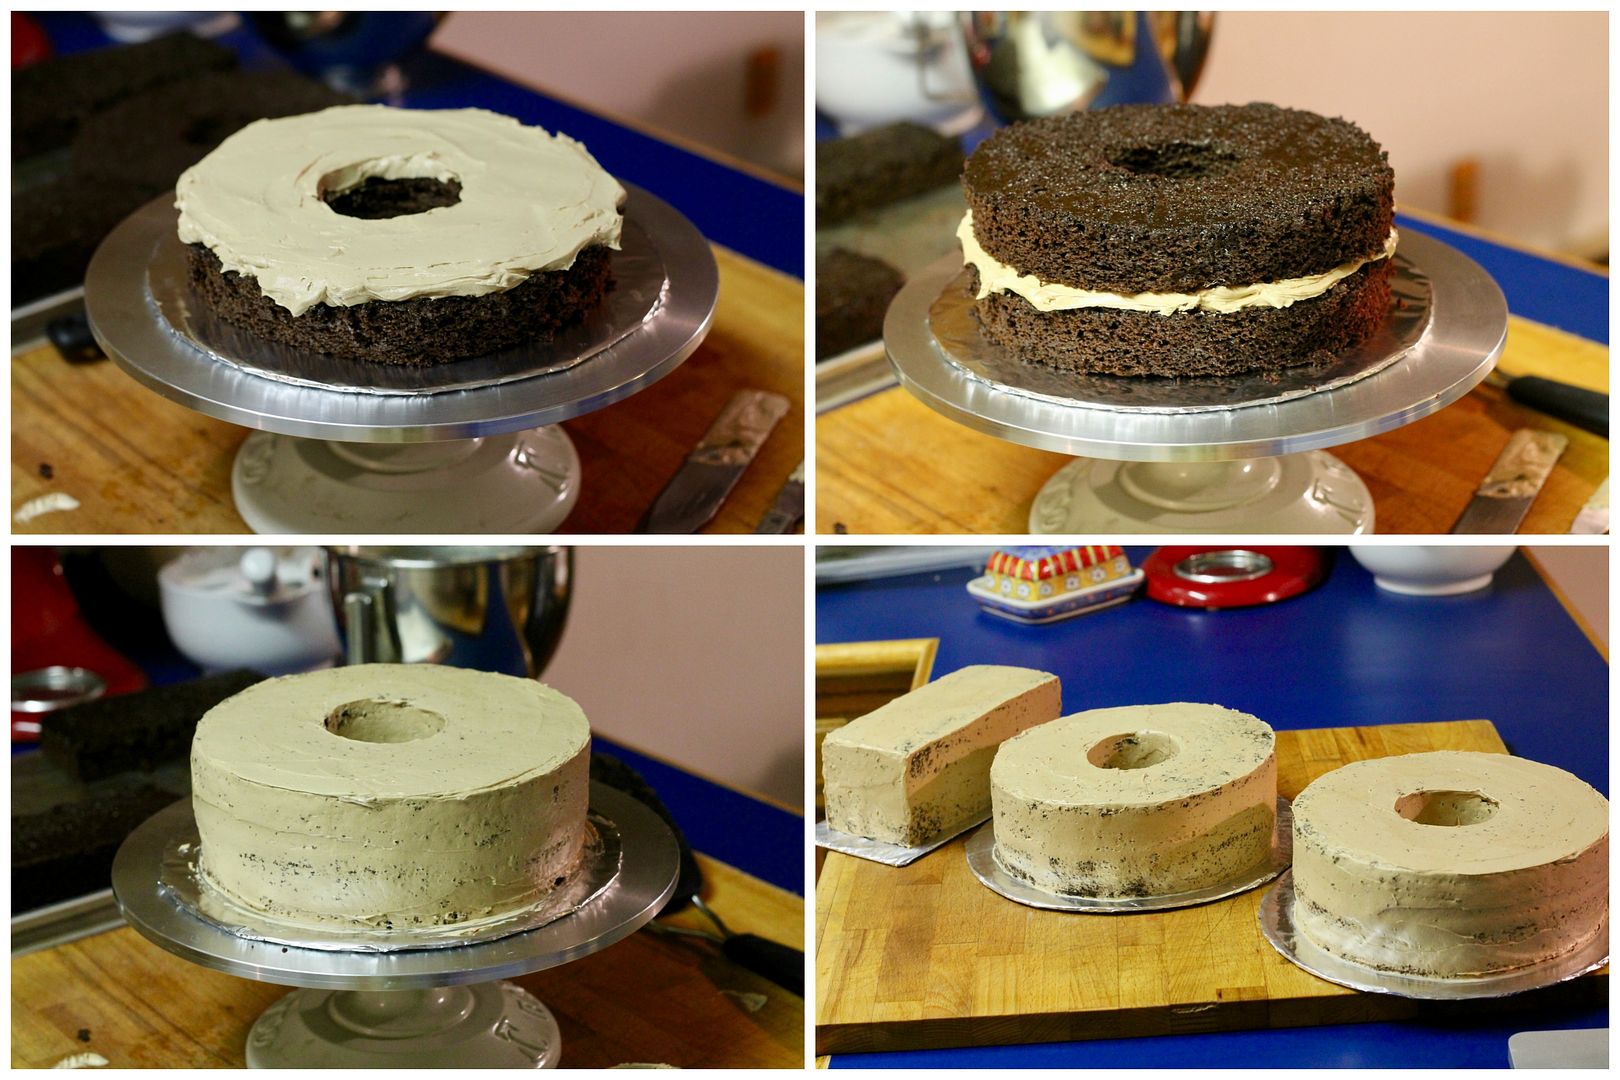
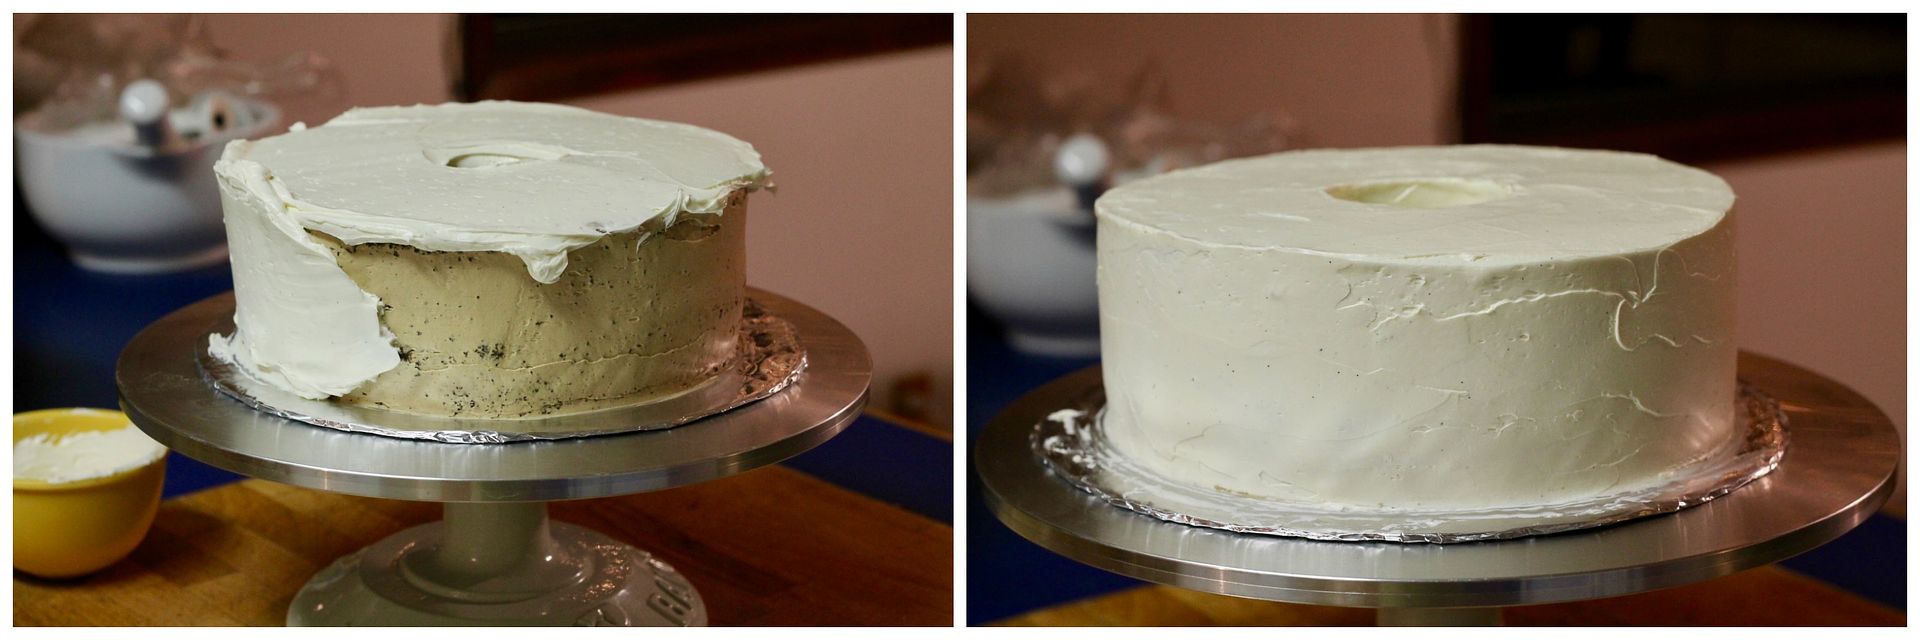
Frost each of the circle cakes with about 1 1/2 cups double vanilla buttercream. Use about 1 cup buttercream for the rectangle cake.
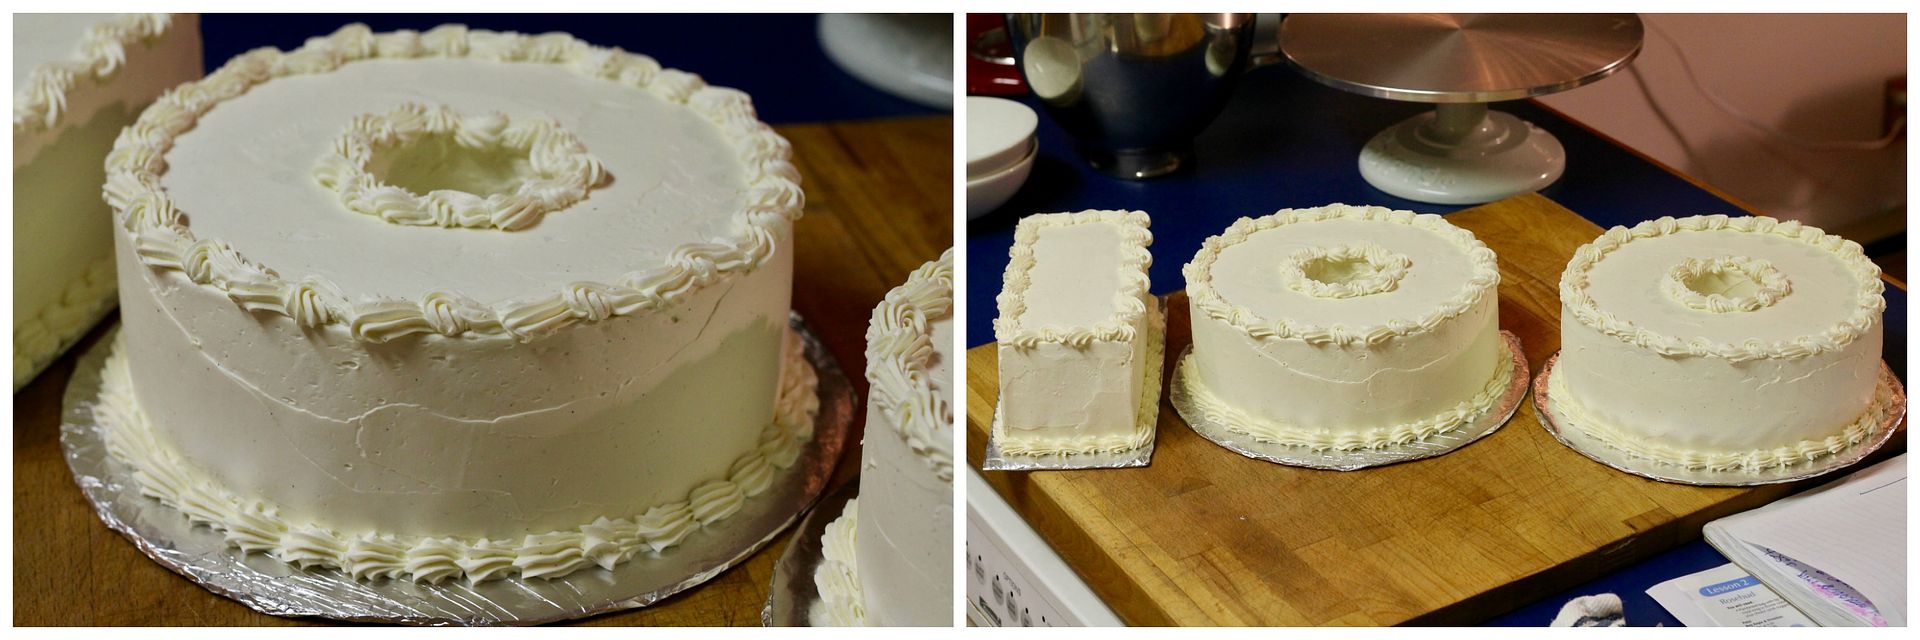
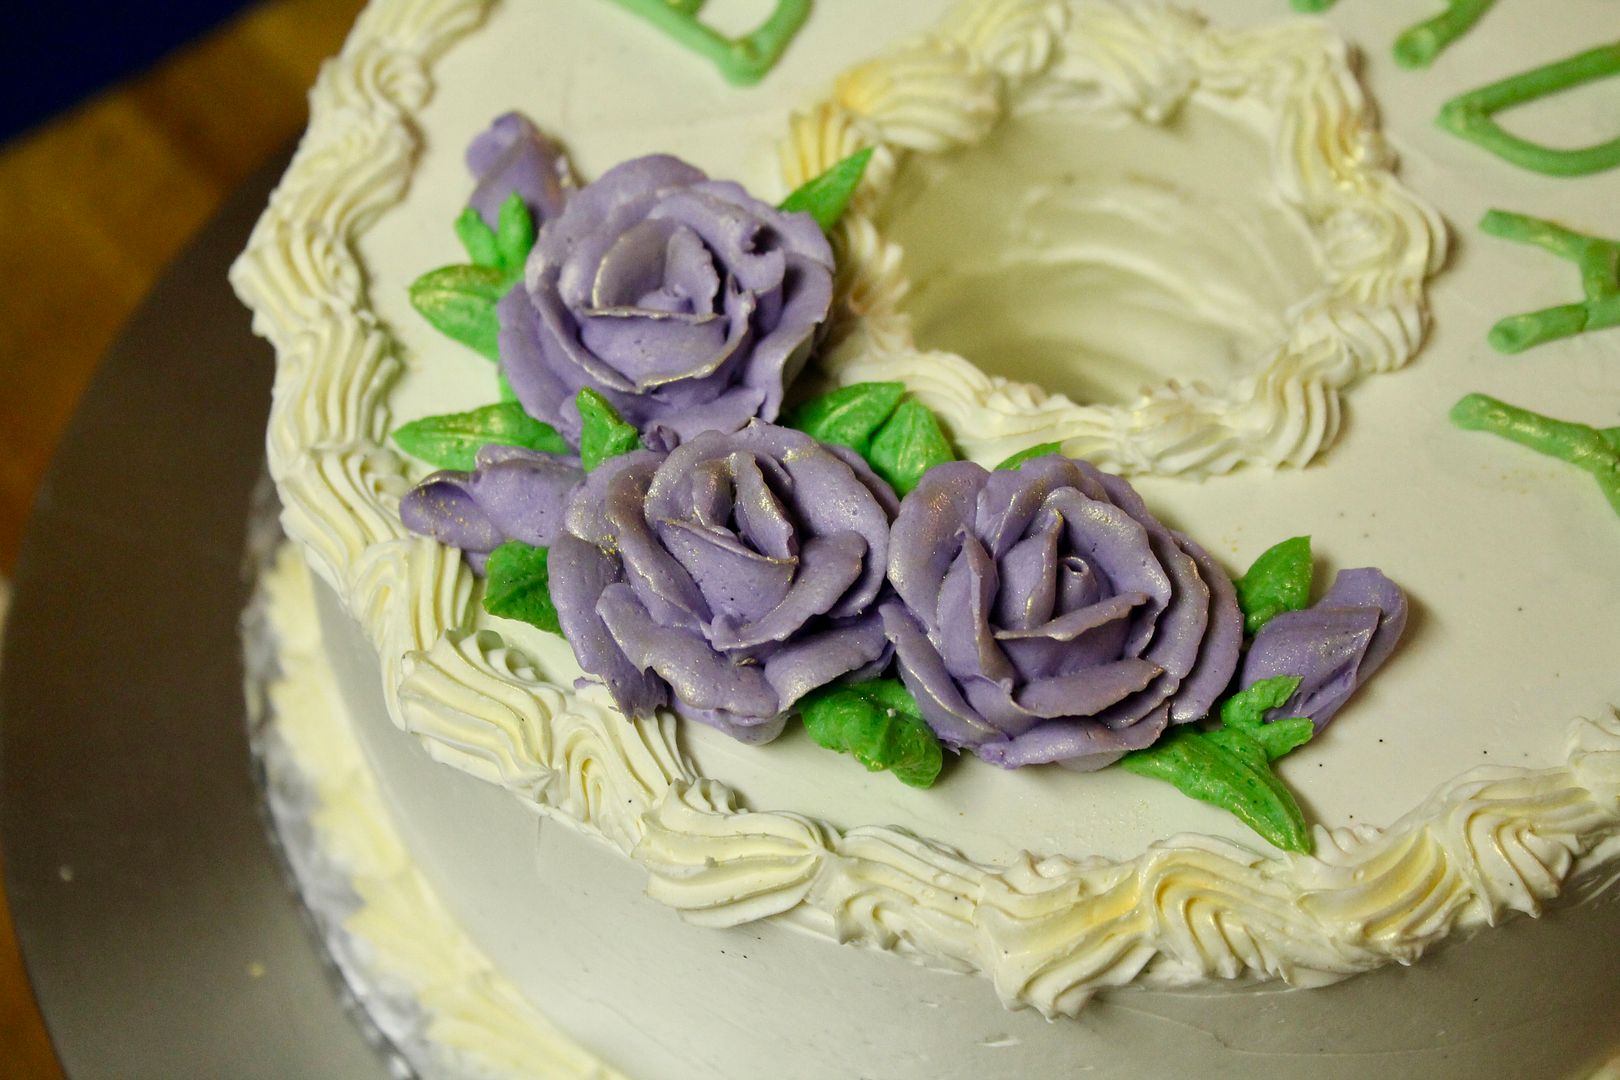
Use about 2/3 of the remaining vanilla buttercream to pipe a scalloped shell border around the edges of each cake.
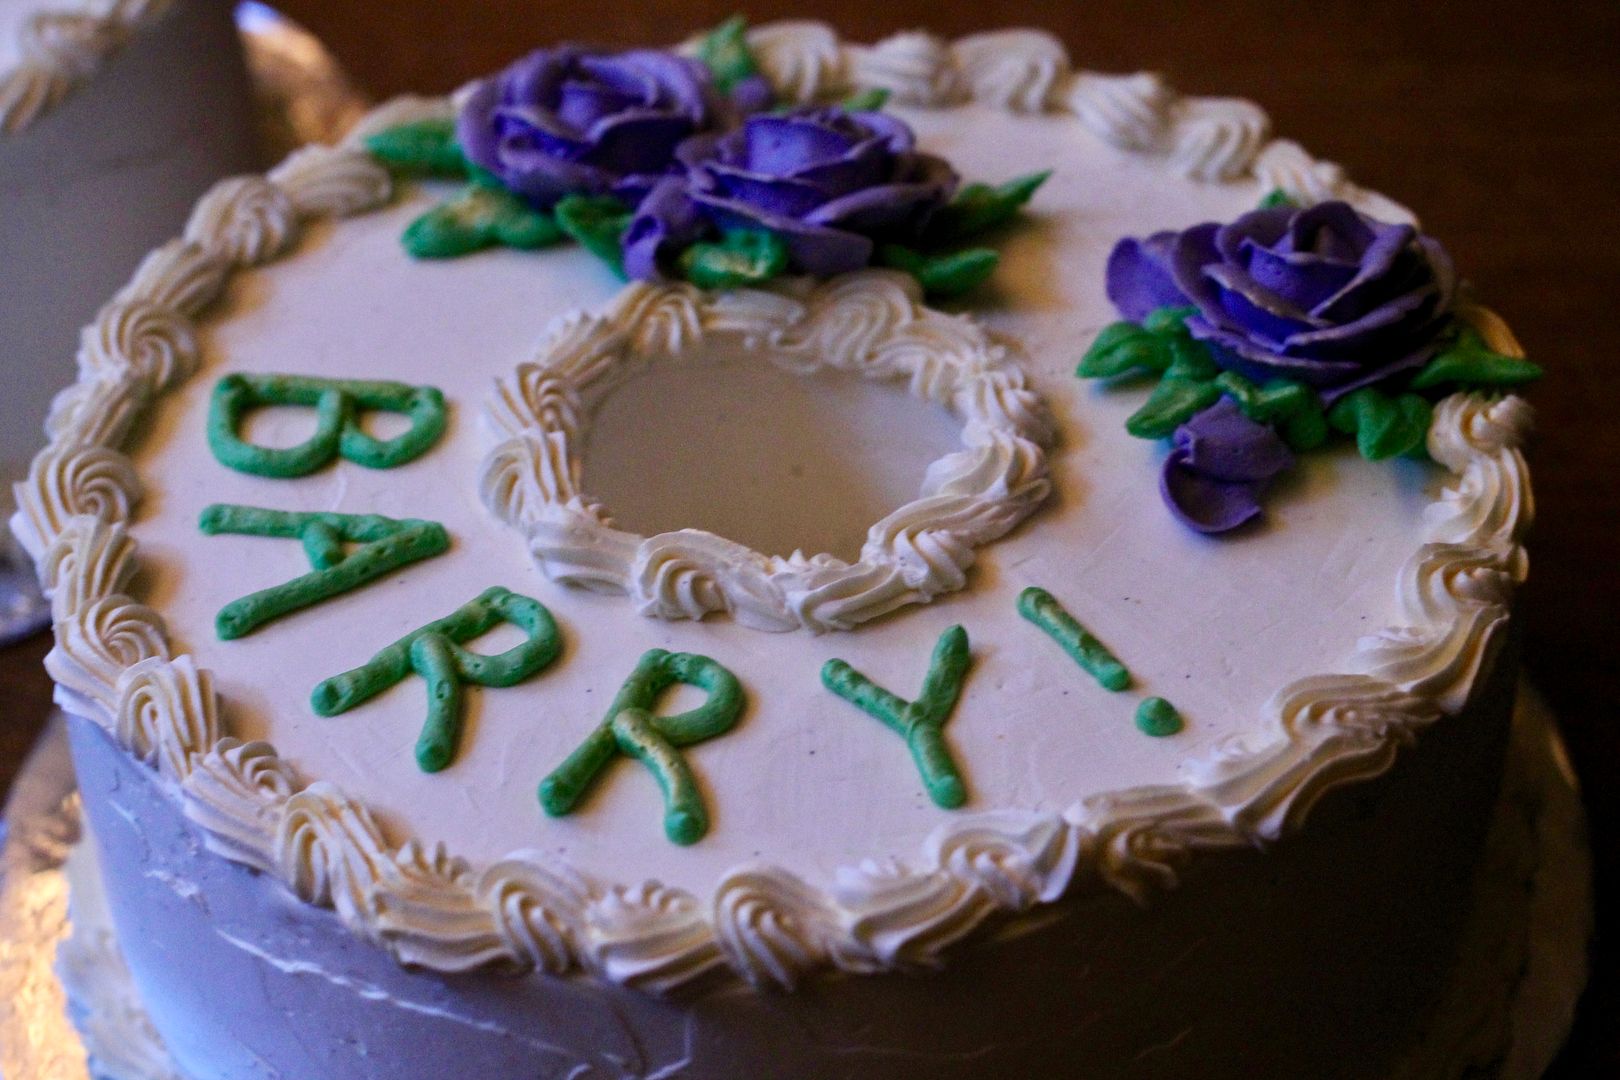
Use the final 1/3 of the vanilla buttercream for piping a happy birthday message and making roses, tinting it your desired colours using paste food colour.
This is a great tutorial for writing on cakes. This is how I learned to pipe roses.
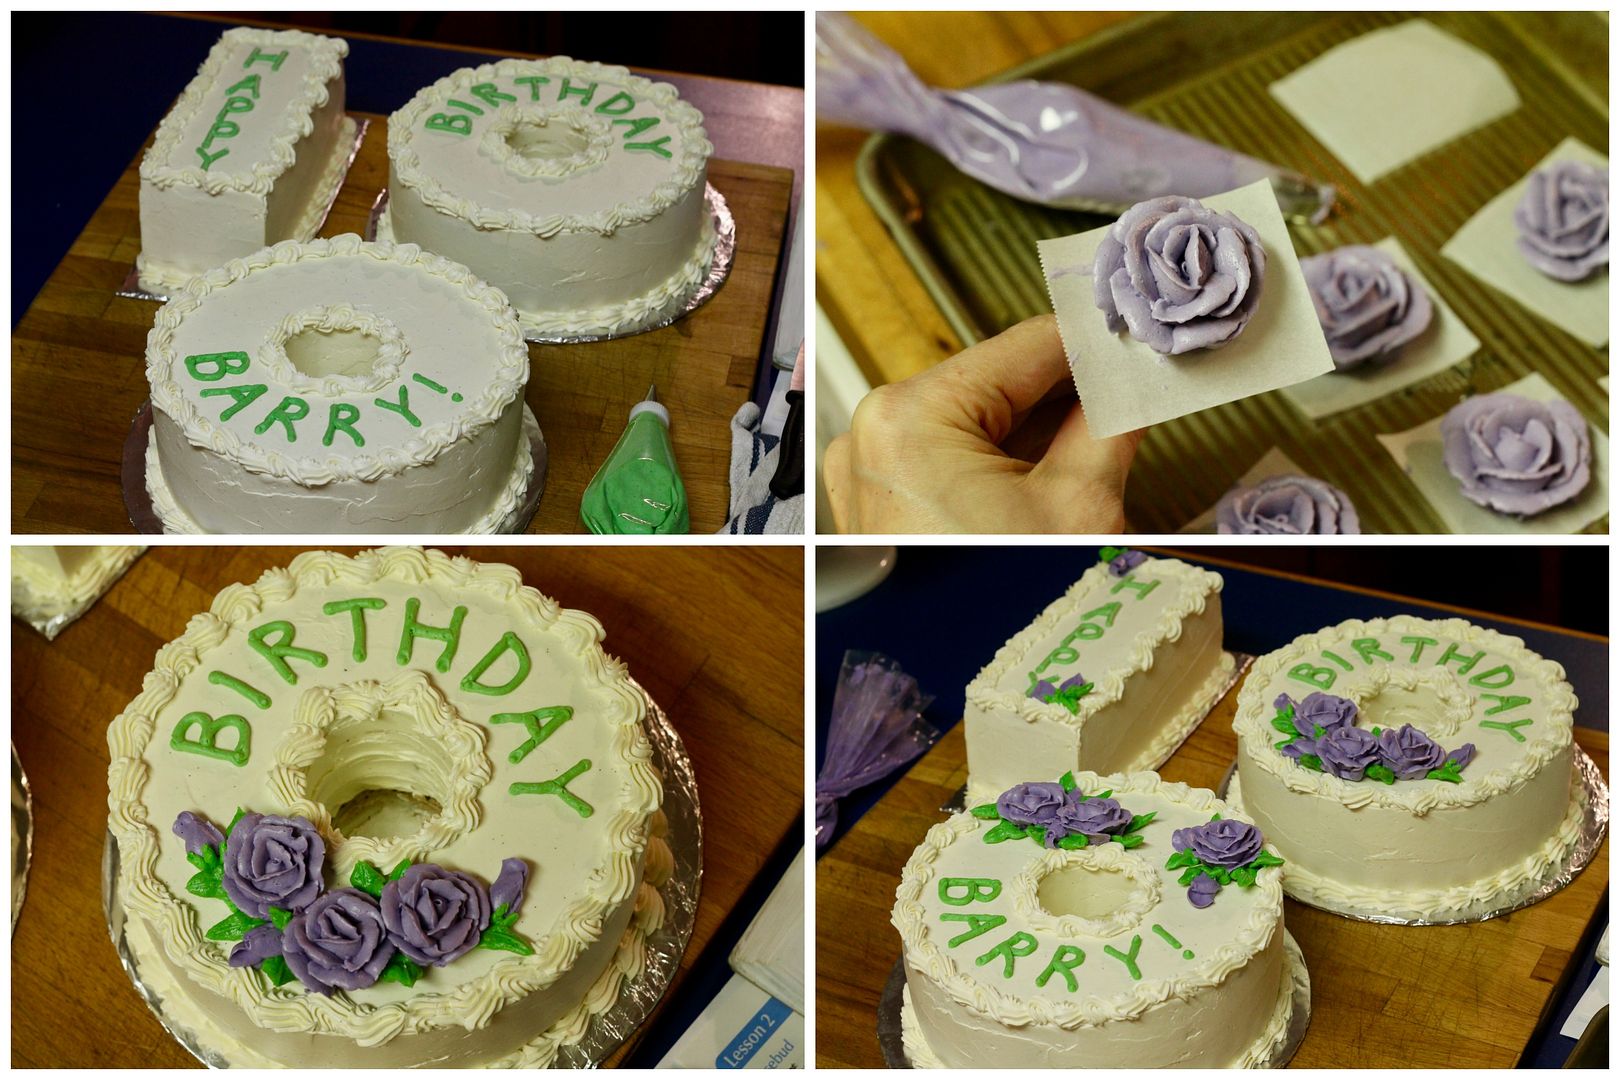
Once decorated, chill the cakes for several hours (overnight is great). Once the frosting was hardened, I used a paintbrush to dust the piped decorations with pearl gold lustre dust for an “antique” look.
For best taste and texture, allow the cake to come to room temperature before serving – this will take several hours.
OMG Beautiful!!!
So wonderful.
Hi!!! 355 grms or ML of buttermilk? You forgot put in the recipe. Thanks in advance.
Whoops – that should be 355 ml of buttermilk! Thanks for noticing that, I’ve corrected the recipe.