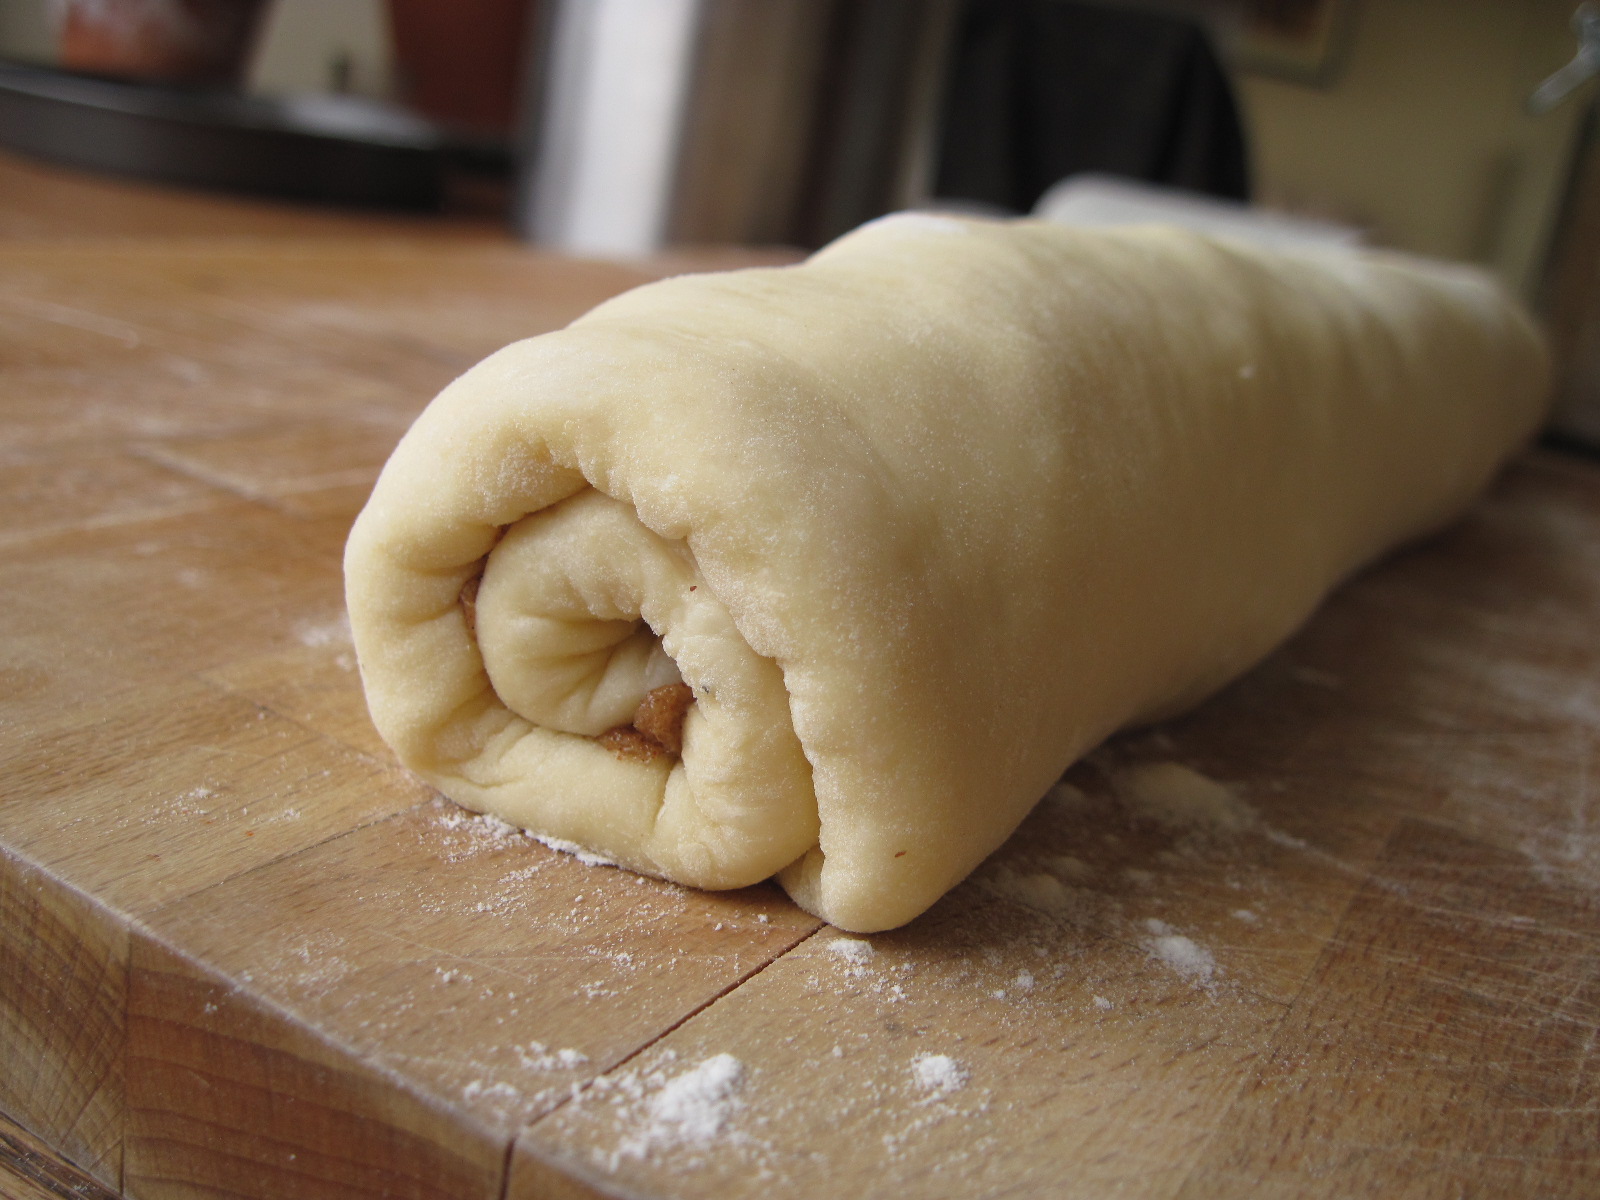
 I’ve been making bread using stored dough à la Artisan Bread in Five Minutes a Day for a few months now, and I figured it was time to branch out from the basic, rustic boule dough and into something fancier. This is the “master” challah dough, which can be made into not only the traditional braided loaf, but also used as the base for things like sticky buns, coffee cakes, doughnuts, and anything else that you might want to use an enriched dough for. “Enriched” meaning that in addition to flour, water, yeast, and salt, this dough includes eggs, butter, and honey to make it even more delicious and decadent.
This is the dough that convinced me to buy the ABin5 book – I used it to make caramel pecan sticky buns (which I will be sharing in a few days!), and it was so delicious that I had to have the book.
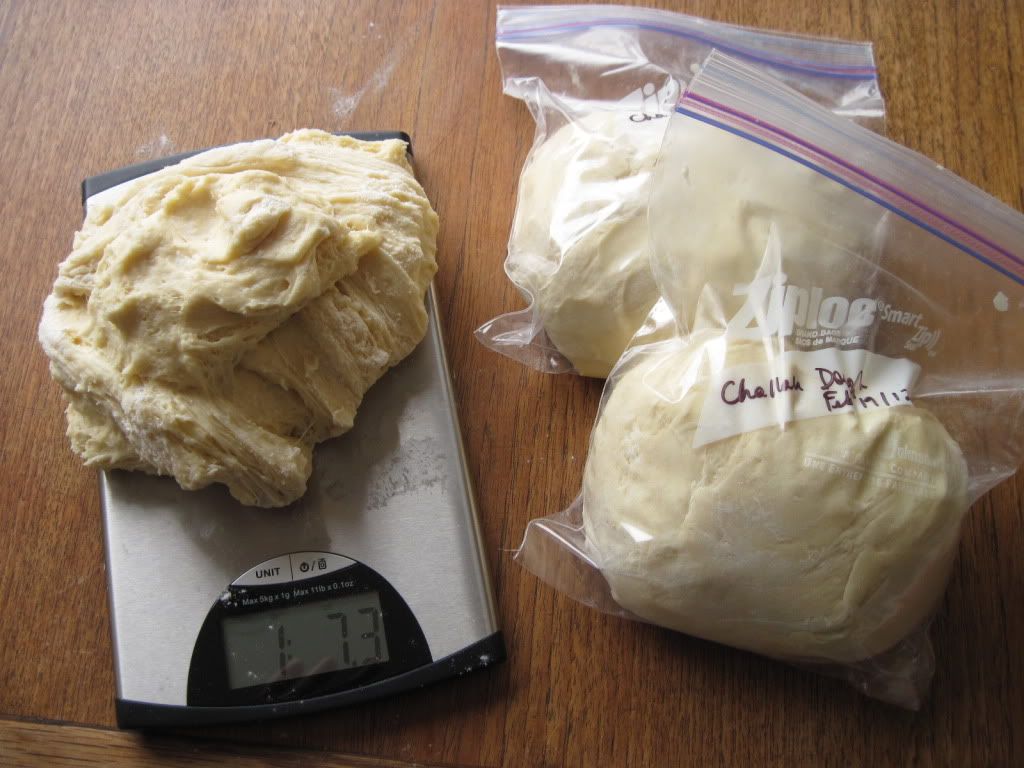
As I mentioned in my previous ABin5 post (which I recommend reading if you are going to make this dough!), Canadian all purpose flour has a higher protein content than the flour that was used to develop the book’s recipes, so I have adjusted the amount of water accordingly (the original amount of water is 1 3/4 cups). Because this dough contains eggs it has a refrigerated storage life of 5 days, after which it can be frozen in appropriately-sized portions for up to 4 weeks (defrost overnight in the fridge before using). When I made this dough, I had three recipes in mind to use it with, so I divided it up into thirds of slightly less than 1 1/2 lbs each.
Challah Dough
Adapted from Artisan Bread in Five Minutes a Day. Check out their website for wonderful recipes, tips, and bread-baking support. Makes just over 4 lbs of dough.
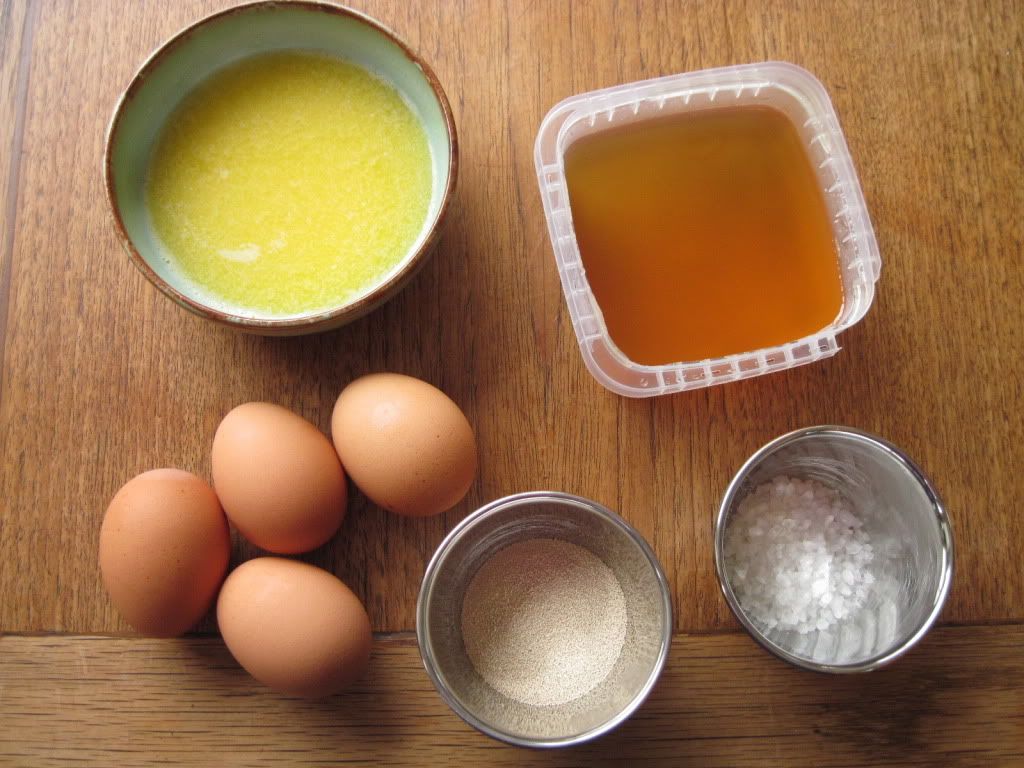
In a large, 4 – 6 quart bowl or container with a lid, whisk together:
4 large eggs
1/2 cup honey
1/2 cup unsalted butter, melted and cooled
1 1/2 tbsp instant yeast (any kind of granulated yeast will work)
1 tbsp coarse salt
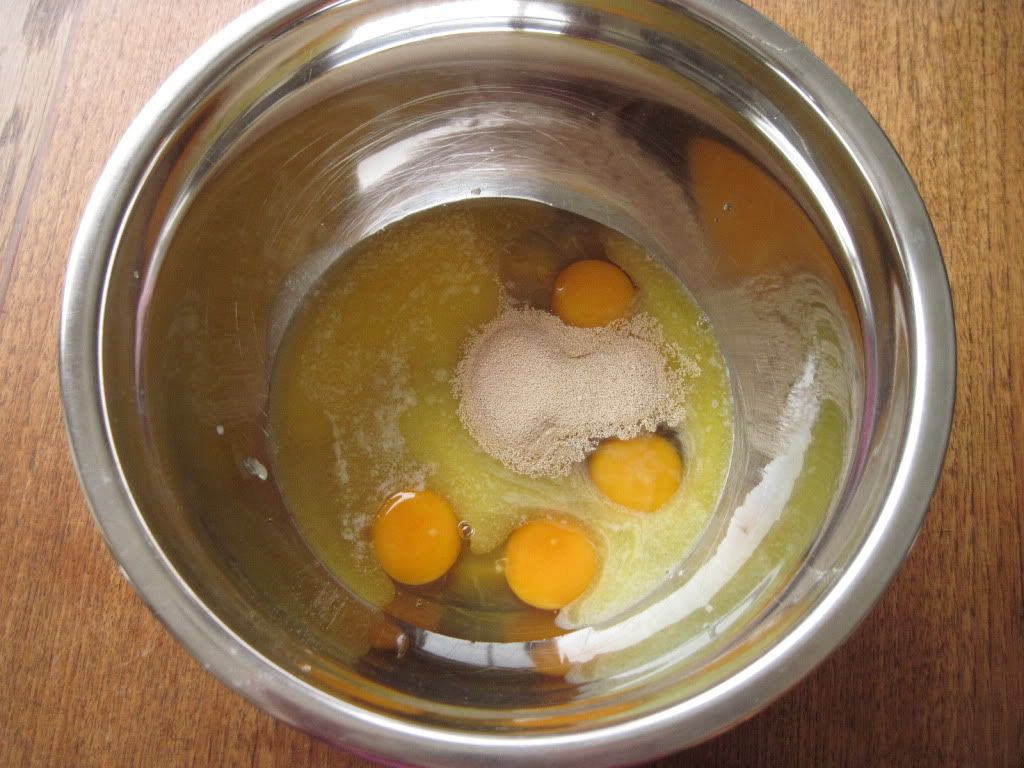
Whisk in:
2 cups + 1 1/2 tbsp warm water
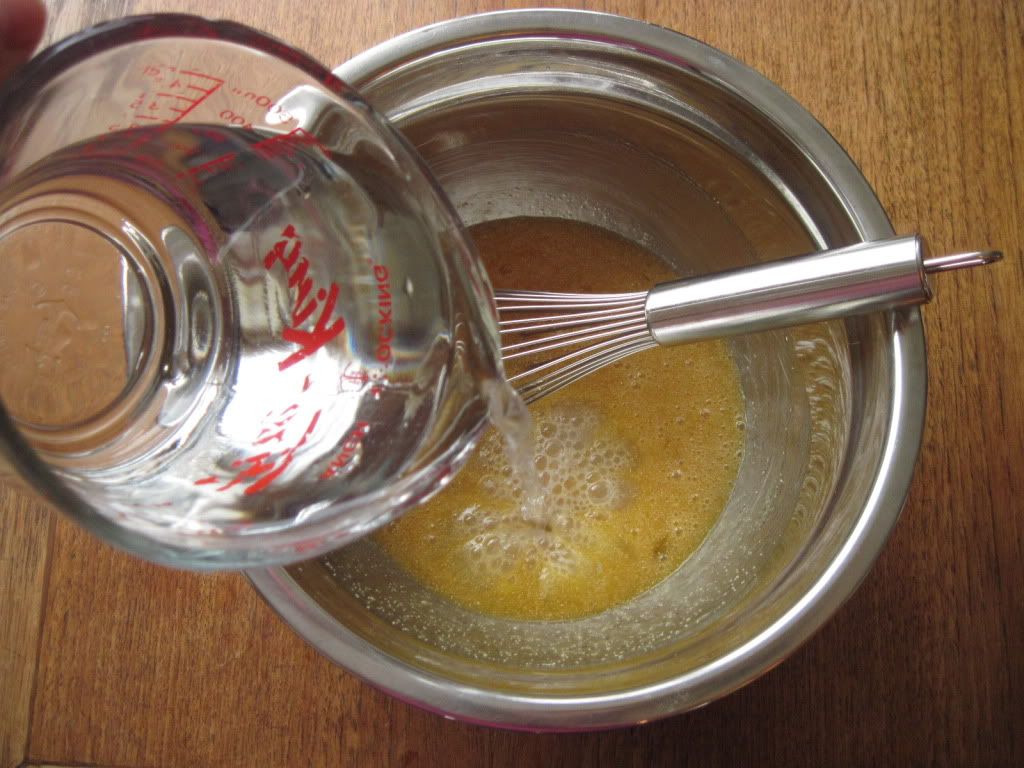
Add:
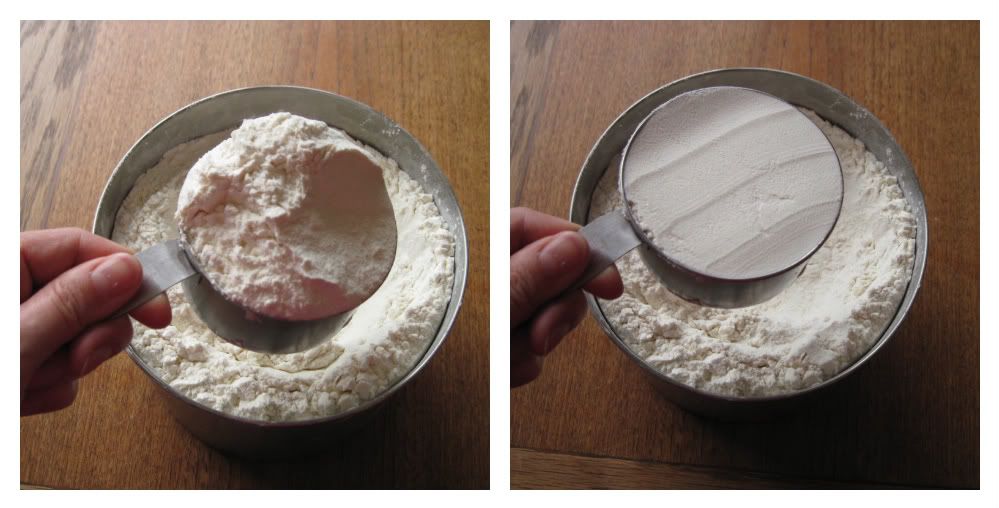
7 cups all purpose flour, measured with the “scoop and sweep” method:
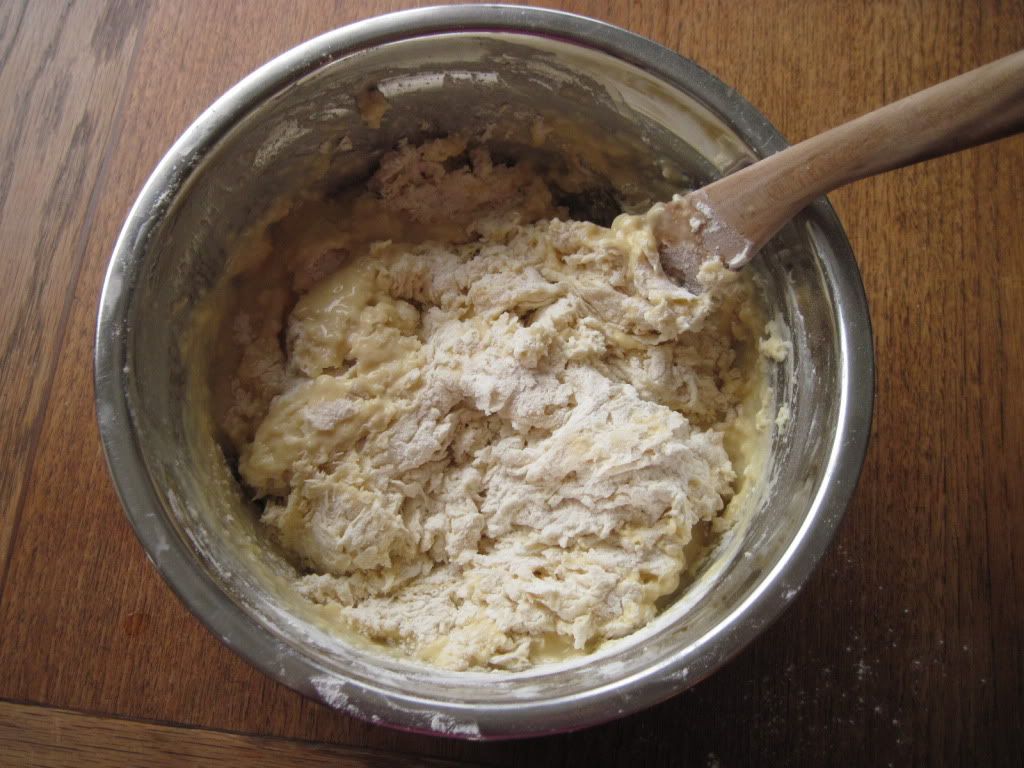
With a sturdy wooden spoon, mix in the flour until the dough is evenly moistened. You may need to get in there with your hands to incorporate the last of the flour (resist the urge to knead the dough). It should be quite sticky.
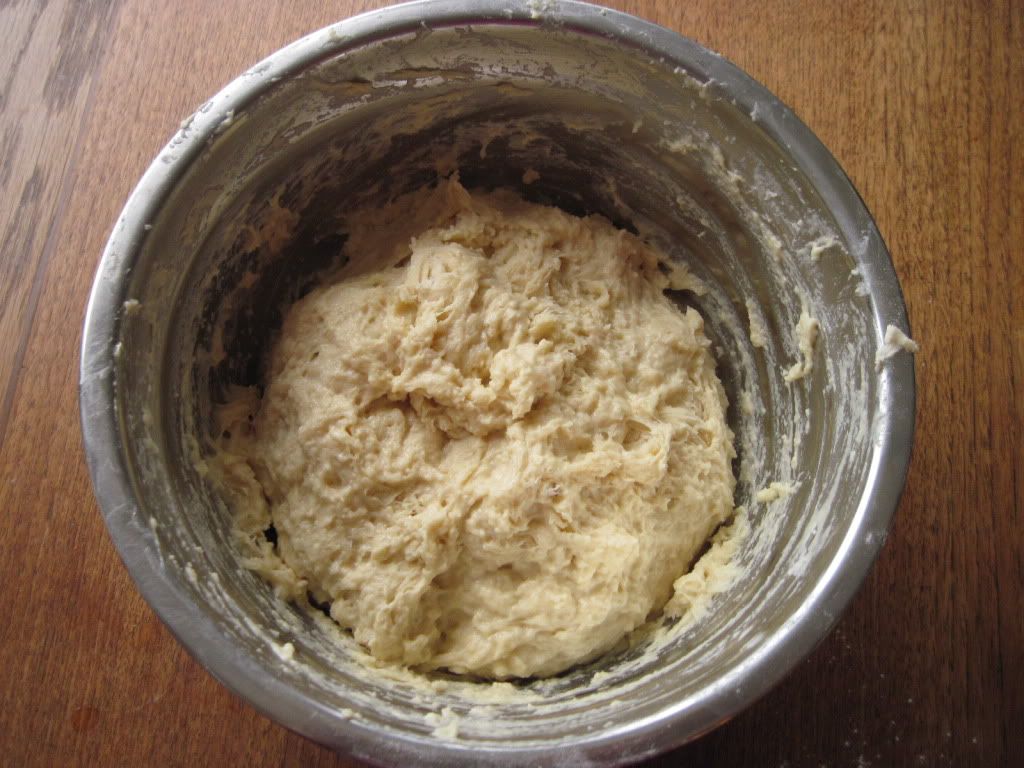
Cover the dough with a non-airtight lid – you want to prevent it from drying out but still allow it to breathe (my lidded container was in the fridge with other dough in it, so I used loose plastic wrap).
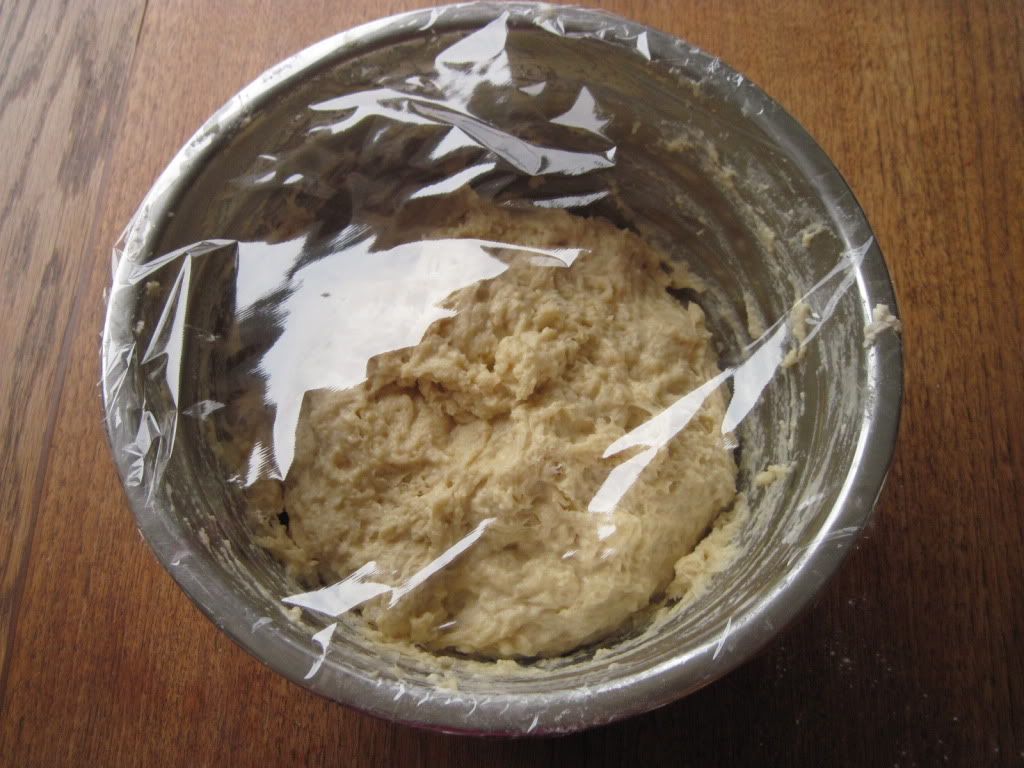
Let it rise in a warm place for about 2 hours, during which time it should grow in size quite a bit and develop all kinds of beautiful bubbles.
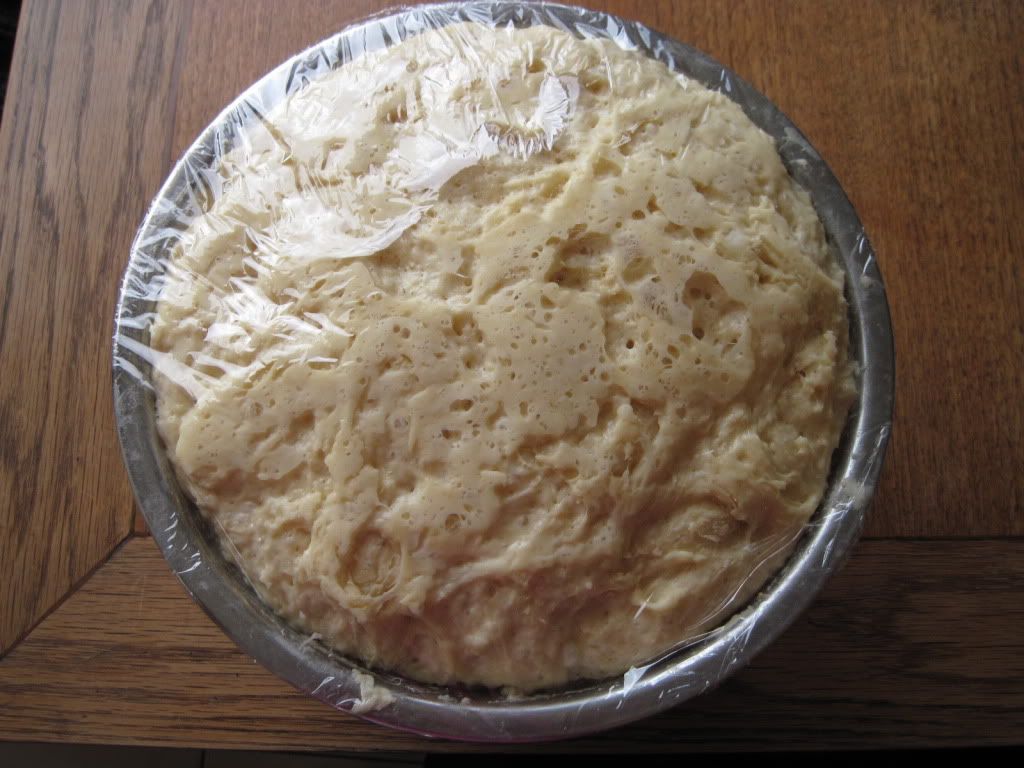
Place it in the fridge for several hours or overnight, until the top flattens out and sinks a bit. The dough needs to be chilled before handling.
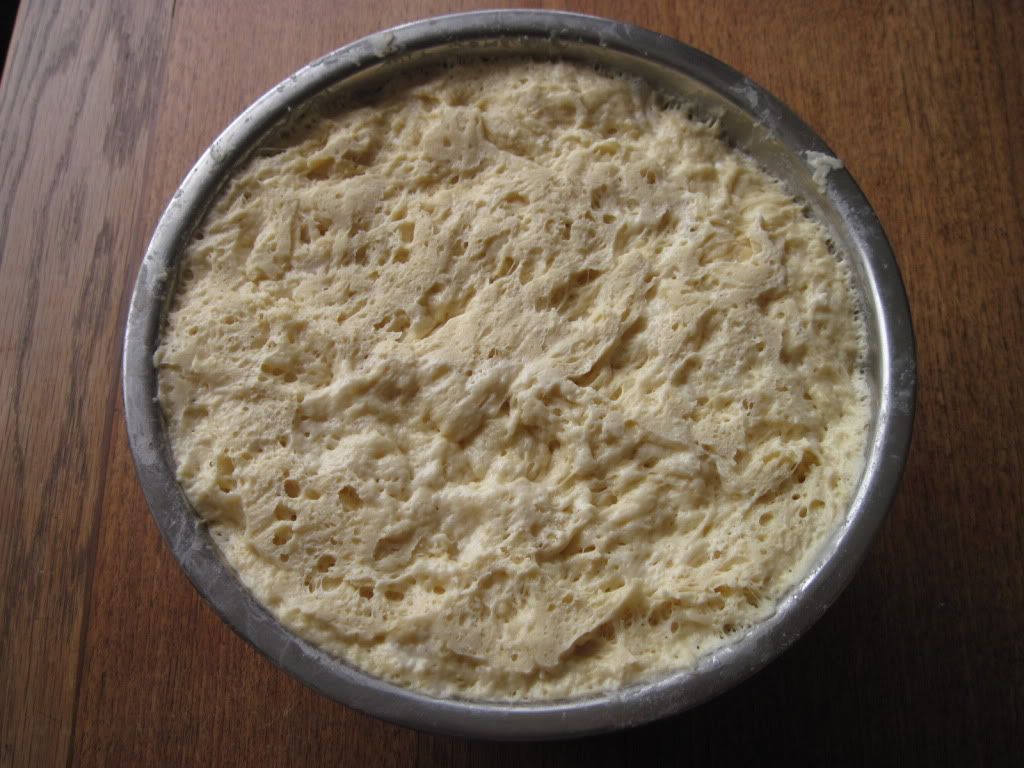
When you are ready to bake, dust the surface of the dough lightly with flour. Grab the floured dough and pull out the desired amount (use scissors to cut off the chunk of dough).
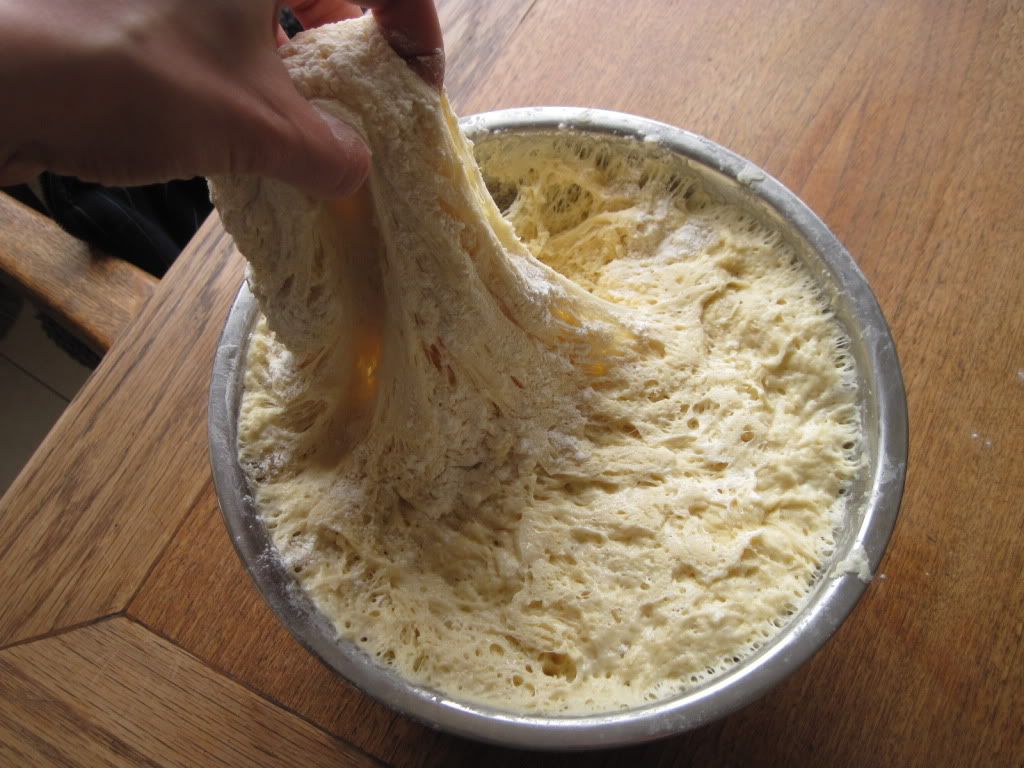
Dust the dough portion lightly with flour and shape it into a ball by gently pulling the top of the dough and tucking it underneath, handling it as little as possible while doing so (this should take about 5 seconds). I divided the dough into thirds (just under 1 1/2 lbs each) – one to bake with immediately and the other two to freeze for later.
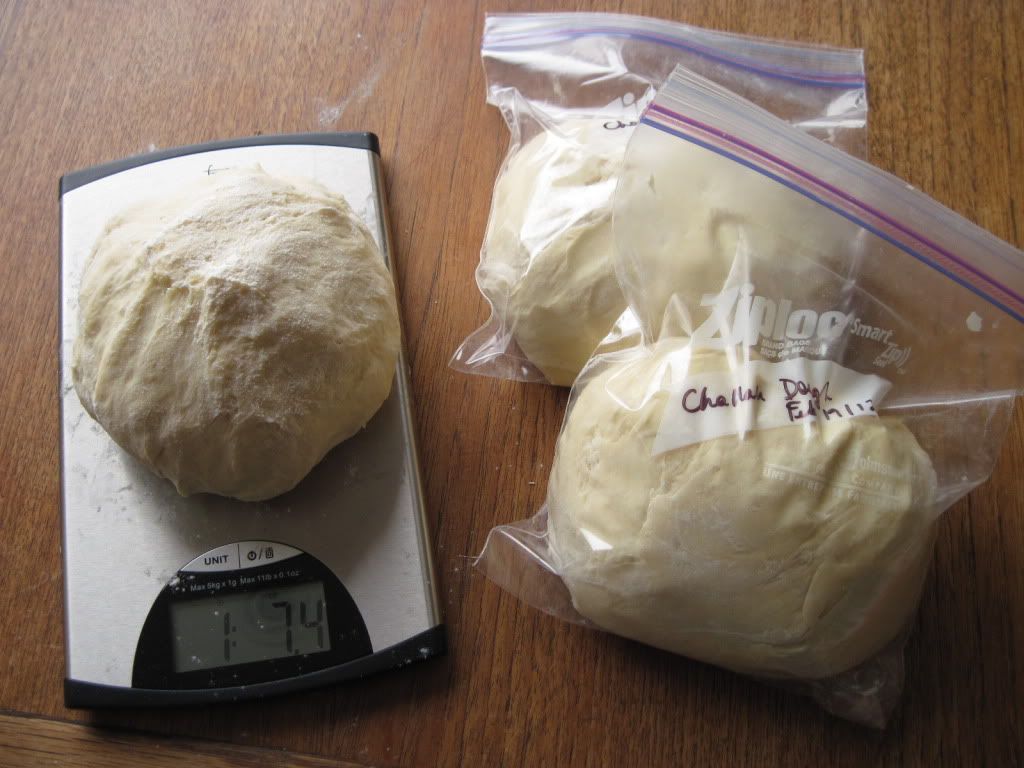
At this point, I’m going to leave you hanging… watch this space for three ways to use this amazing challah dough!
UPDATE: Recipes that use this dough:
This looks great! I’ve been wanting to make challah for a while… I really should 😀
Agreed! 🙂 This one is so easy because you don’t have knead anything. The only tricky part for me was finding the right amount of water to use – I had a couple batches that just didn’t rise because they were too dry.
Oh great step by step. Can’t wait to see the final product!
I’m pretty stoked to share it 🙂
I love it that there is no kneading here! Thanks for sharing.
My pleasure! Thanks for visiting.
When I got to the end of the post I was like noooooooooooooo lol
will be waiting for your yummy creations
Haha! I’m looking forward to sharing them 🙂
I’ve heard so much about this bread but have yet to at least taste it. I am not a huge bread eater, but I really want to try this out. Wonderful post
It’s really tasty and really easy!
I am trying to make this – I am at the stage where I just took it out of the fridge and it looks exactly like your picture, only in your very next picture, you are able to form your dough into balls. How did you get your dough from gloopy to a formable shape without doing anything to it?
The dough might look gloopy, but it should actually be more stretchy and elastic. Dust it with a little flour, cut off a piece, dust it with more flour, and gently shape it into a ball. The flour will give it a bit of a coating so that it’s not wet and sticking to everything, and the trick is not to handle it too much while you are shaping it so that the coating stays more or less intact. I hope that helps. Good luck!!
In my frustration, I put the dough back in the refrigerator overnight, thinking I would handle it tomorrow. To my surprise, it wasn’t gloopy anymore. Instead it was stretchy and elastic! My mistake was not letting it sit long enough in the fridge. I managed, quite easily, to form my dough into three balls – one I made into a braided Challah (to my joy, it looked almost like yours!), and for another, I am going to make caramel pecan sticky buns. Thank you for your prompt response and your good luck wishes – they worked 🙂
Fantastic! I’m so glad it worked out for you 🙂 🙂 Thanks for your comments!!
Hi, how do you proceed with frozen dough?
Good question – thaw the dough in the fridge (overnight or longer, probably) and then proceed from there.