 I bought the book Artisan Bread in 5 Minutes a Day a few years ago after seeing a post on Steamy Kitchen about the caramel pecan cinnamon rolls that come from the book. I made the rolls and immediately knew I had to have the book, they were so good. The premise of the recipes in the book is to stir up a batch of very wet (high hydration) dough which you store in the fridge and then pull off a chunk to bake as desired. The wet dough plus the long rising and fermentation time develops the gluten in the dough without the need for kneading (heh!) and results in a delicious bread with a chewy crust and airy interior (which I’m still working to perfect) that literally only takes about five minutes of active time – the rest is just… rest. I have been making this bread exclusively for about two and a half months now, and we have not bought any bread in that time – just a lot of flour!
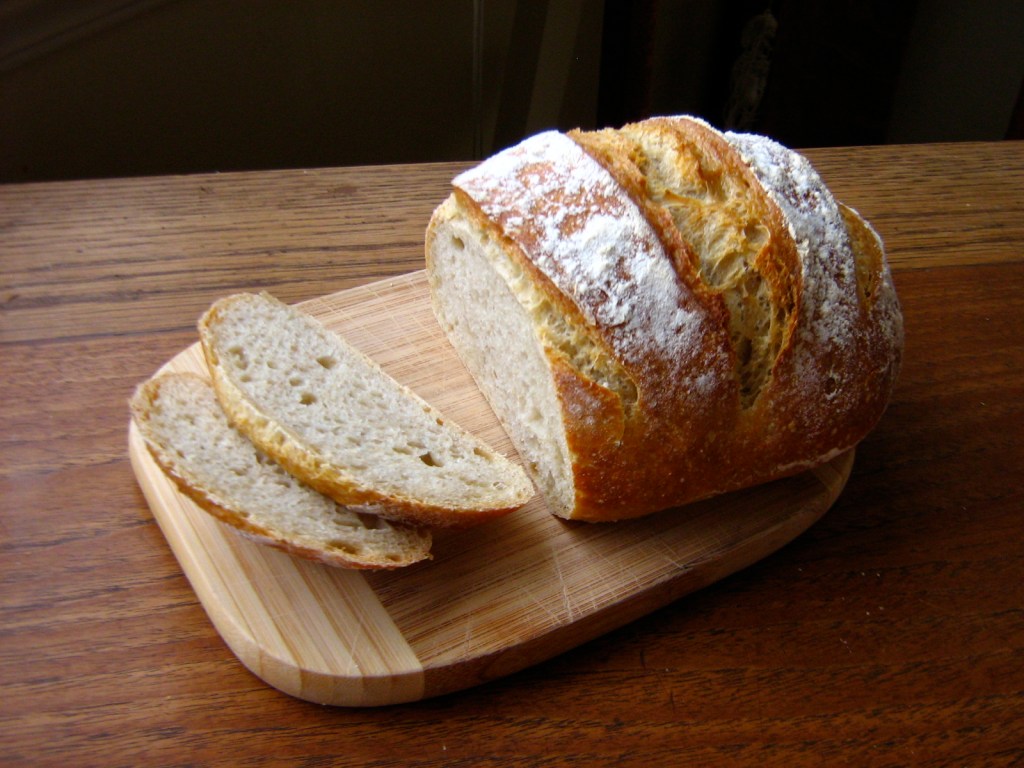
 Artisan Bread in 5 Minutes a Day gives recipes for dozens of different bread doughs, ranging from peasant breads to multigrain breads to flatbreads and pizzas to breads enriched with butter, honey and eggs (such as challah and brioche, great for making caramel pecan rolls!), all of which can be varied with different flavours and additions (herbs, spices, dried fruit, cheese, olives, etc) to create pretty much whatever you can dream up. This recipe is for the basic Master Dough, which is a lean dough (just flour, water, yeast and salt) that can be baked into boules (as shown), baguettes, couronnes (like a giant bagel), or even used as pizza crust. It makes great sandwiches when it is fresh, and wonderful toast when it is a day or so old. One batch of dough makes enough for four small one pound loaves, which each last me and Nate about two days.
 Bread often gets put in the black books of healthy eating, but not all bread is created equal. Floppy white grocery store bread that travels to the store in a bag and lasts two weeks without getting stale or mouldy is totally inferior to crusty, fresh-baked, open-crumbed artisan bread – not just aesthetically but also as a food source. I recently learned that the longer it takes for bread to rise and ferment, the better it is for you. This is because the yeasts and bacteria in the bread actually break down and partially digest the carbs and sugars, and the longer they have to do this, the easier the bread is to digest. This is especially true if the bread contains whole grains, which become more nutritionally available to your body with a long fermentation time (otherwise they’re just fiber). Artisan bread, with its long production time (usually several hours, and sometimes days!), is therefore easier to digest and more nutritious than bagged grocery store bread, which is made so expediently that the yeast doesn’t have time to break anything down, and is also pumped so full of additives and preservatives that it can’t break down, period.
 Another thing I learned is that the crust plays an important role. A chewy, crunchy bread crust forces you to actually chew your food (mechanical digestion), and also stimulates saliva, which starts breaking down the nutrients (chemical digestion), making the job of your stomach much easier – again, being hard to digest is one reason many people avoid bread. Soft, floppy, crustless bread that you don’t even have to chew is definitely going to sit in your stomach and make you feel ill, so don’t even bother with it: go straight for the crusty, delicious artisan bread and do your stomach and your taste buds a favour!

(I apologize for spending the last two paragraphs talking about digestion – I know it’s not the most appetizing thing to read about on a food blog, but I thought it was cool, so… yeah ;). )
Anyway, here is the recipe. Definitely try it, and also check out the Artisan Bread in 5 Minutes a Day website, where the book’s authors post all kinds of awesome tips, tricks, videos, and additional recipes for their breads :).
No-Knead Crusty Artisan Bread
This is my adapted version of the Master Recipe from Artisan Bread in 5 Minutes a Day. I use a reduced amount of salt, a mixture of all purpose and whole wheat flours, and have increased the amount of water to get the moisture level right (see notes below). I also bake the dough on parchment paper, rather than using a pizza peel to transfer the loaf to and from the pizza stone in the oven. You will need a large bowl or container (4-6 quarts in size) with a lid in which to mix and store the dough, and preferably a pizza stone (aka a baking stone) on which to bake the bread (but there are other ways to bake it too – see notes below). The dough can be stored for up to 2 weeks in the fridge – the longer it is stored, the more of a sourdough flavour it gets. Makes about 4 lbs of dough – enough for 4 x 1 lb loaves.
In a large (4-6 quart) bowl or container with a lid, mix together:
3 1/3 cups warm water (this is the amount that works for me with higher protein Canadian all-purpose flour – your experience may vary)
1 tbsp coarse sea salt
1 1/2 tbsp granulated yeast – instant, regular, whatever
 Don’t worry if it doesn’t all dissolve nicely.
In a slightly smaller bowl, combine:
5 1/2 cups unbleached all-purpose flour (unbleached is important!)
1 cup whole wheat flour
(or 6 1/2 cups unbleached all-purpose flour only)
Measure the flour by “scooping and sweeping”, like so:
 Dump the flour into the water mixture and stir it briskly until it is evenly moistened. You can get in there with your hands if you need to – just resist the urge to knead!
  The resulting dough should be very wet and sticky.
  Put the lid on the bowl/container – you don’t want an air-tight seal, but you do want the dough covered completely so it doesn’t dry out (I usually put a jar of peanut butter on top of the bowl to keep the lid down!).
  Leave the dough to rise at room temperature for 2 hours or until the top starts to flatten out and deflate a little bit, after which it will look something like this:
  All those bubbles are going to make your bread lovely and airy, so don’t squish it down, whatever you do. Place the covered container in the fridge and refrigerate for at least a few hours – the dough can be baked with after the first 2 hour rise but is much easier to handle after being chilled. Store in the fridge up to 2 weeks.
When you are ready to bake bread, take the dough out of the fridge and sprinkle a small part of the surface with flour so it doesn’t stick to your hands (you will notice that the dough has sunk quite a bit – this is fine because as long as you don’t press it down, all the bubbles are still intact!). Grab the floured dough and pull out about 1 lb of dough (the size of a grapefruit). I use scissors to cut off the chunk of dough. 
 Try not to squash the dough too much, and don’t knead it! Pick it up in your hands, dust it with a little bit more flour and quickly shape it into a ball (or “boule”) by gently pulling the top of the dough and tucking it underneath. Try to do this by handling it as little as possible (this takes some practice) – it should take about 5 seconds tops.
 Place the ball of dough, tucked ends down, into a piece of parchment paper. Let it rest, uncovered, at room temperature for 40-90 minutes.
  With about 20 minutes left in the rest period, prepare the oven. Place a pizza stone on a central shelf, and on any other shelf that won’t interfere with the rising bread (below is good!), place a metal roasting pan. Heat the oven to 450˚F and let it preheat for at least 20 minutes (your pizza stone may take longer to heat up completely).
 When the oven is preheated and the dough is fully rested, dust the shaped boule with flour and slash it about 1/4″ deep with a serrated knife – this allows the bread to expand in the oven in a predictable fashion, rather than splitting open randomly. Depending on the age of the stored dough, at the end of the rest period it may not have changed much in size or shape (fresher dough) or it may have flattened out (older dough), but it should jiggle if you tug on the parchment paper.
  Place the dough and parchment paper on the preheated pizza stone, then pour a mug full of hot tap water into the roasting pan, and shut the door quickly to trap the steam. The steam helps make the crust crisp and brown.
  Bake for 30-45 minutes, until the bread is a very deep brown. You will notice that it has expanded quite a bit – this is called oven spring.
  Let the bread cool completely on a rack before slicing it.
  This bread only lasts 2-3 days in our house, so we keep it uncovered on the counter, sitting cut-side down on a cutting board. This way the crust stays crisp and the cut end doesn’t get stale.
Some notes:
Feel free to make a 1 1/2 – 2 lb loaf – just let it rest and bake longer.
The original recipe was developed using American flour, but Canadian flour is higher in protein (about 12% versus 8-9%) and therefore absorbs more water, so I use 1/3 cup more water than the original recipe calls for. It may take a few tries to play around with the amount of water that works for you – see this post for more information.
If you under-bake the bread, the crust will lose its crispness as it cools. It should be quite dark brown and caramelized-looking when it comes out of the oven. The crust will also lose its crispness if you cut into it while it’s still warm.
The more large air holes inside the bread (an “airy crumb”), the better. This can be achieved with a wetter dough to start with or a longer resting time. One tip is to shape the dough in the morning, then cover it lightly with plastic and let it rest all day in the fridge, then bake it in the evening. This ensures a good long rest and lots of air hole formation. See this post for more tips.
If you don’t have a pizza stone, you can bake this bread in a Dutch oven, which works really well. I’ve also just used a regular baking sheet and the bread came out fine, but a pizza stone gives it a better crust. My pizza stone is handmade of terracotta and was a Christmas present from my parents. I love it!


Leave a reply to Sawsan@ Chef in disguise Cancel reply