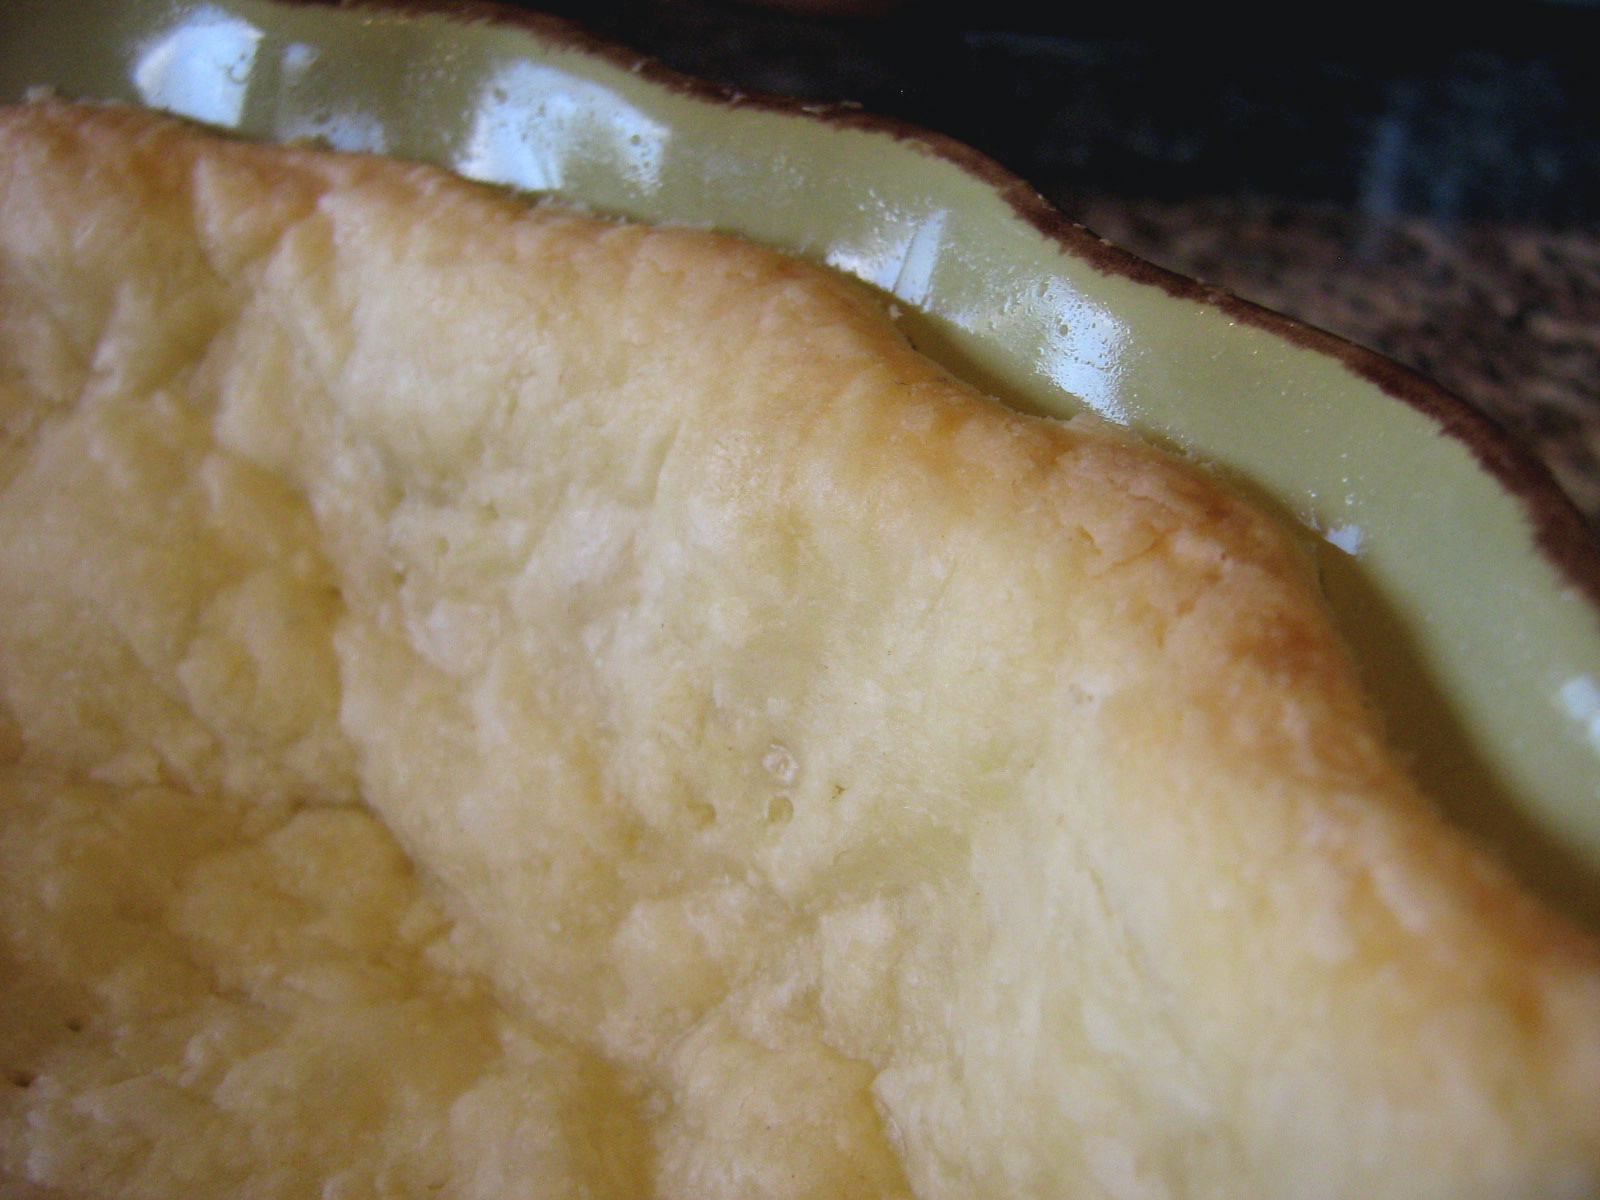
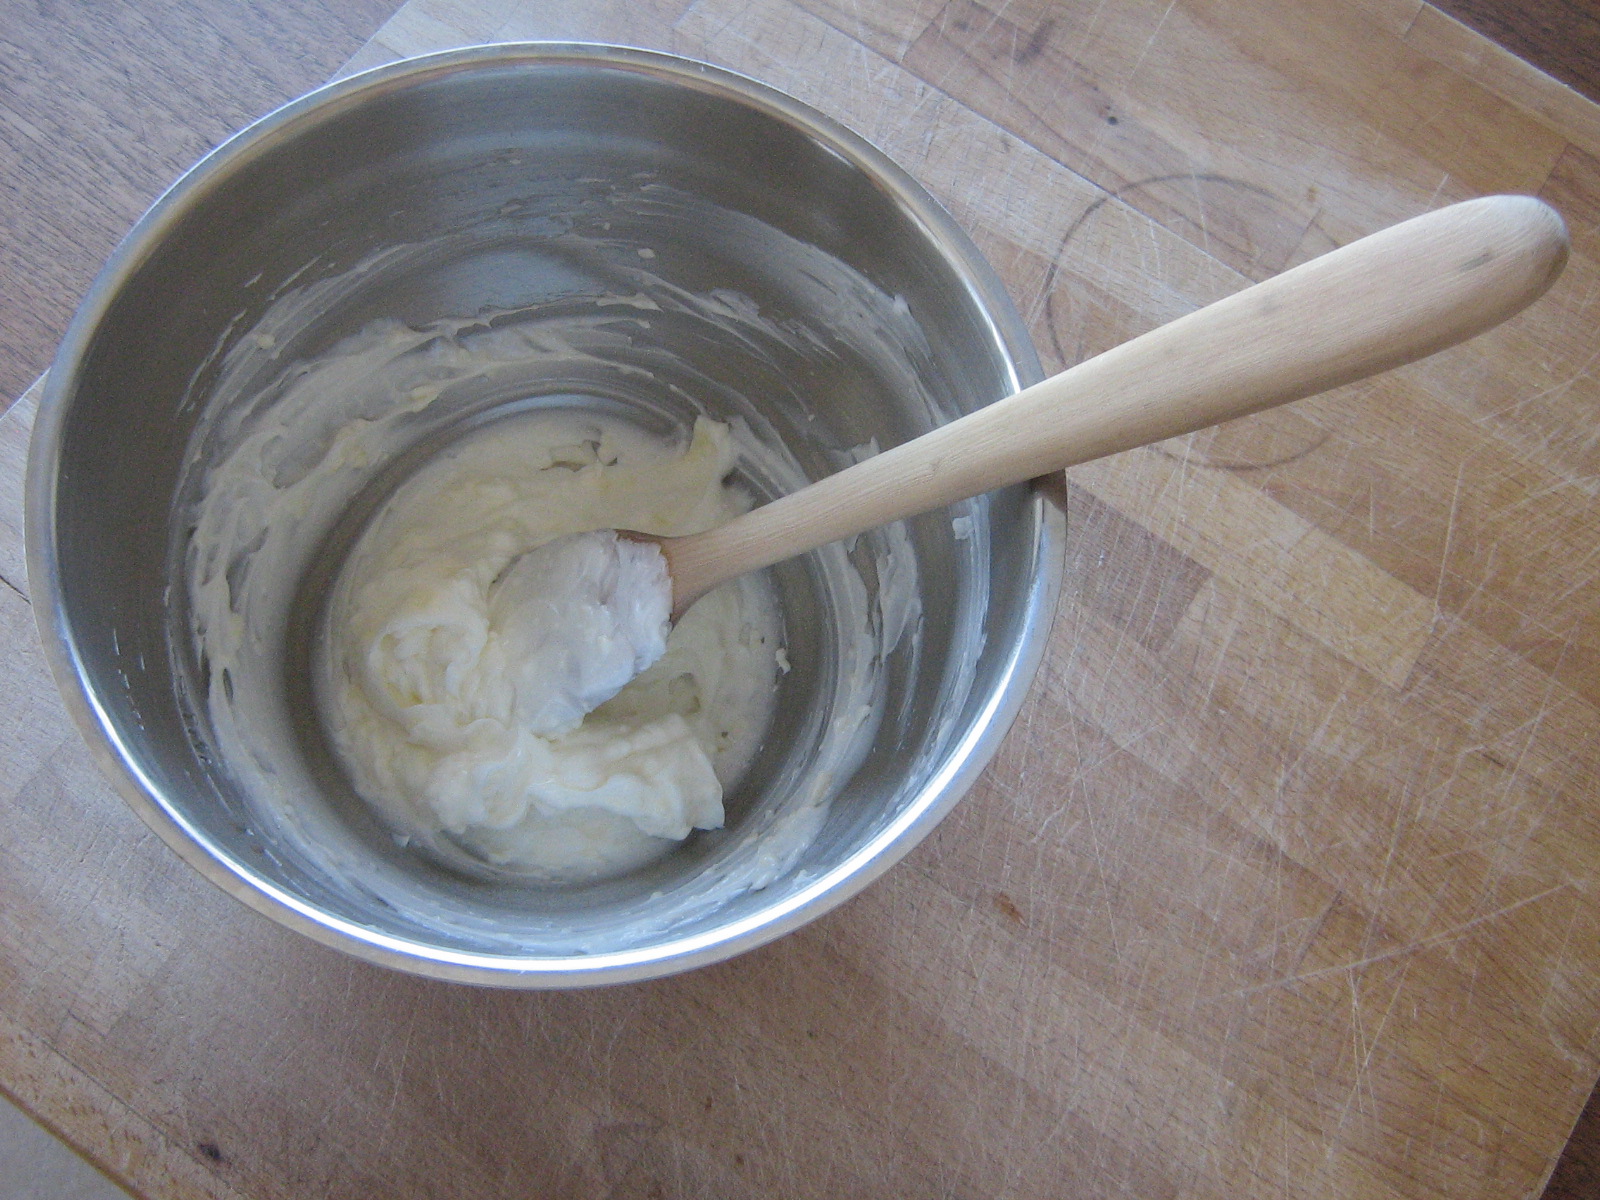
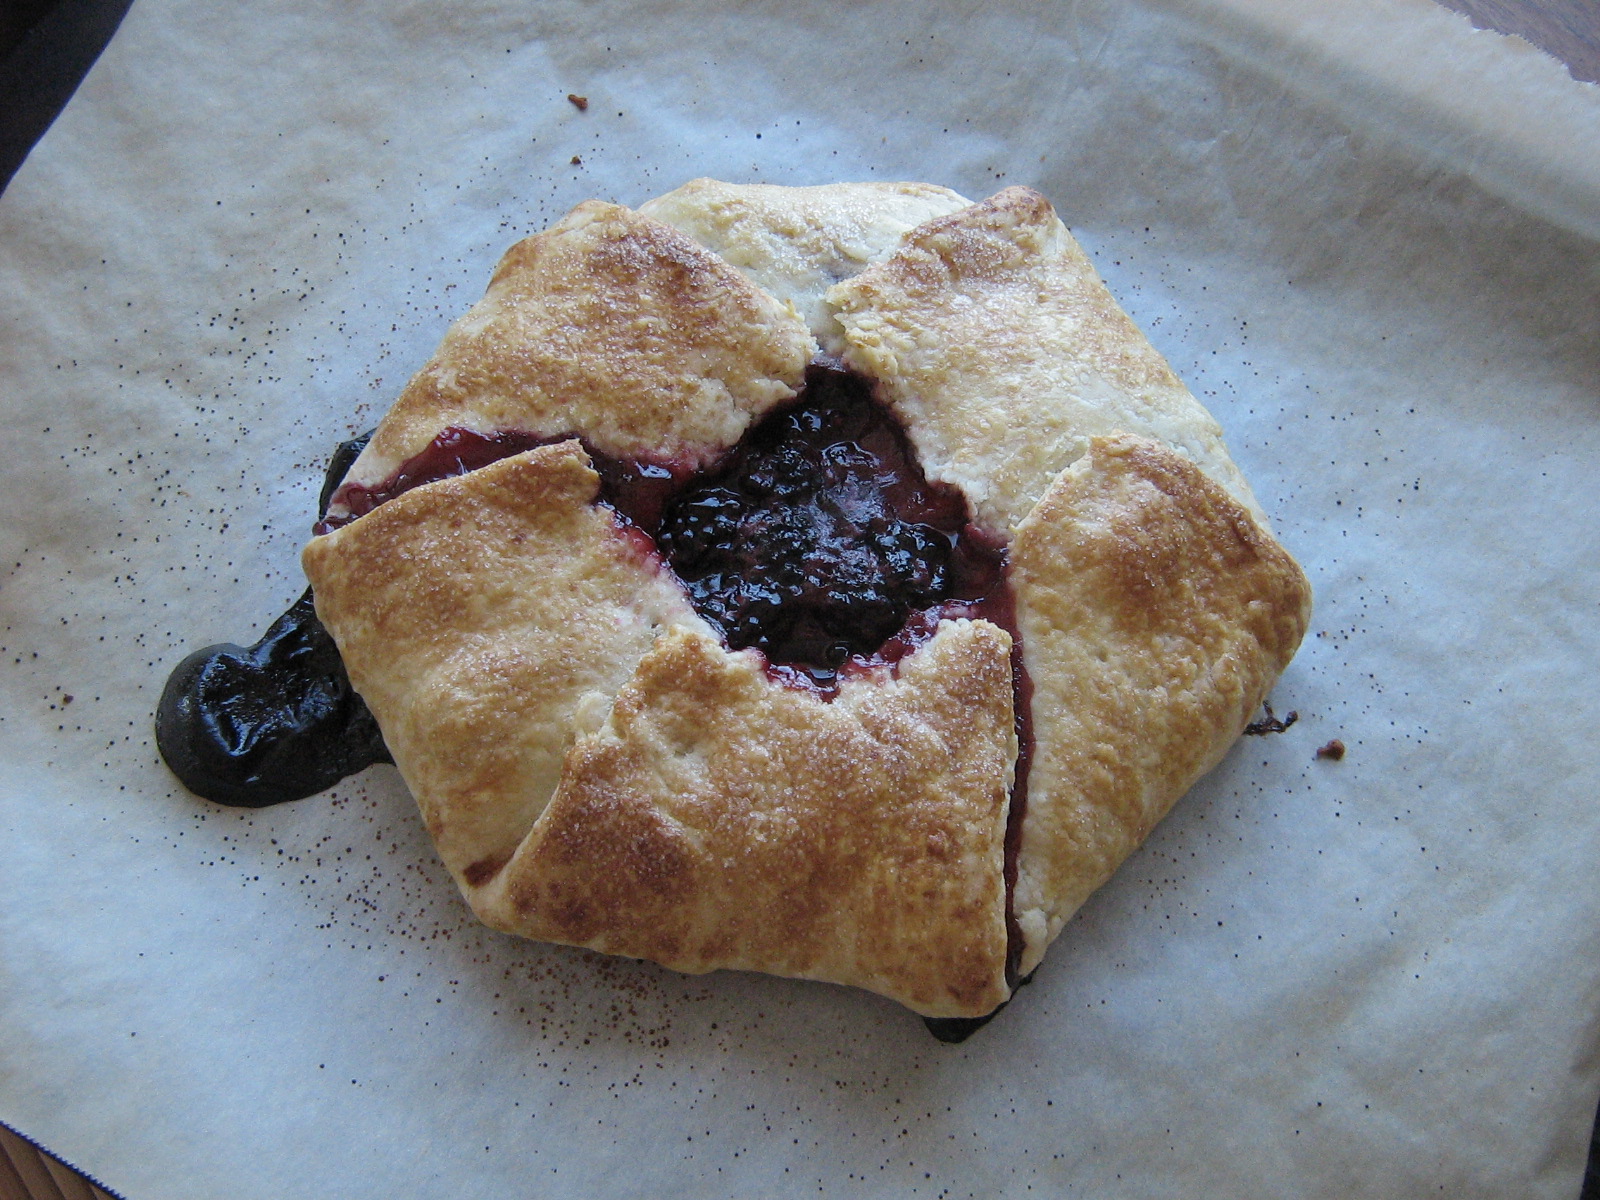
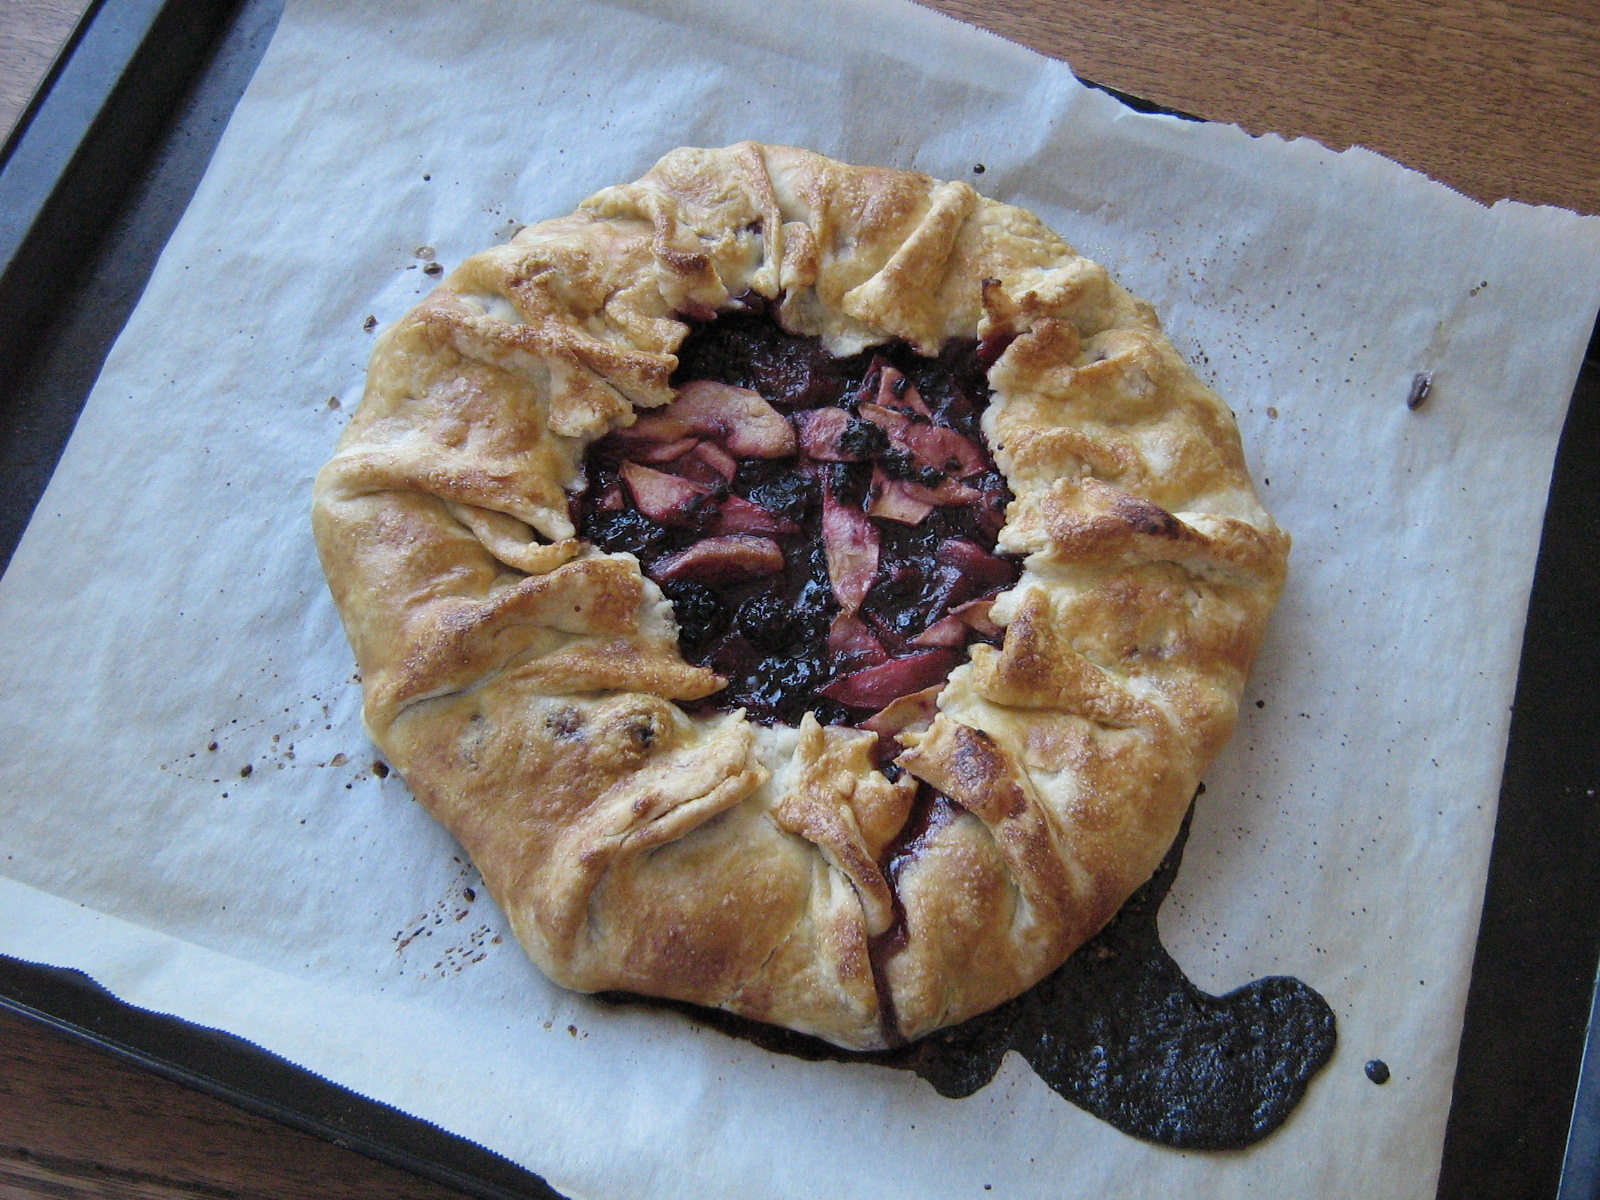
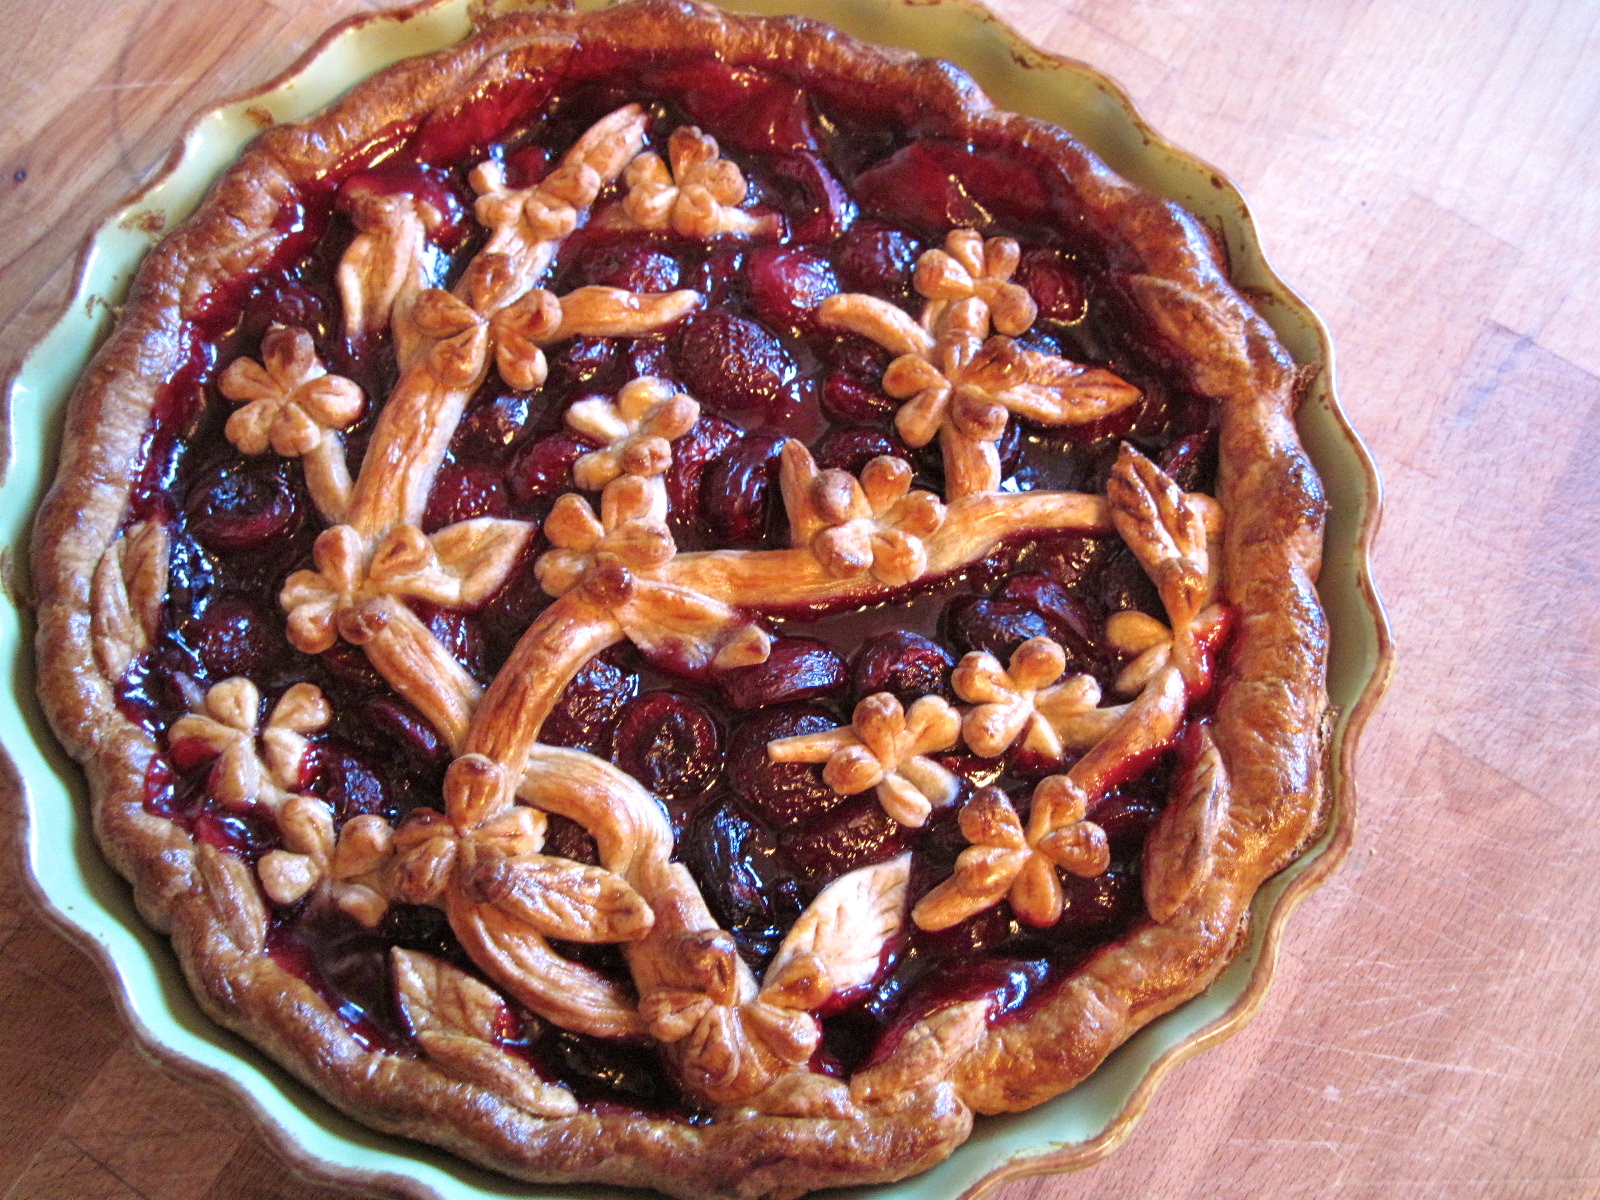
 When I saw that this month’s Sourdough Surprises project was pie dough, I got very excited. So excited that I actually made this pie back at the end of July because I just couldn’t contain myself. Fruit pies are one of my very favorite things to bake and I was stoked to see a recipe for a pie crust using sourdough starter. And after making and eating this pie crust, I can officially say that my favorite way to use my sourdough starter is in sweet pastries, such as pie or danishes. The starter gives such a richness and complex flavour to pastries that for some reason I don’t taste as much in other applications, and the smell of it baking in the oven is mouthwatering….
Comfort in Pastry Form
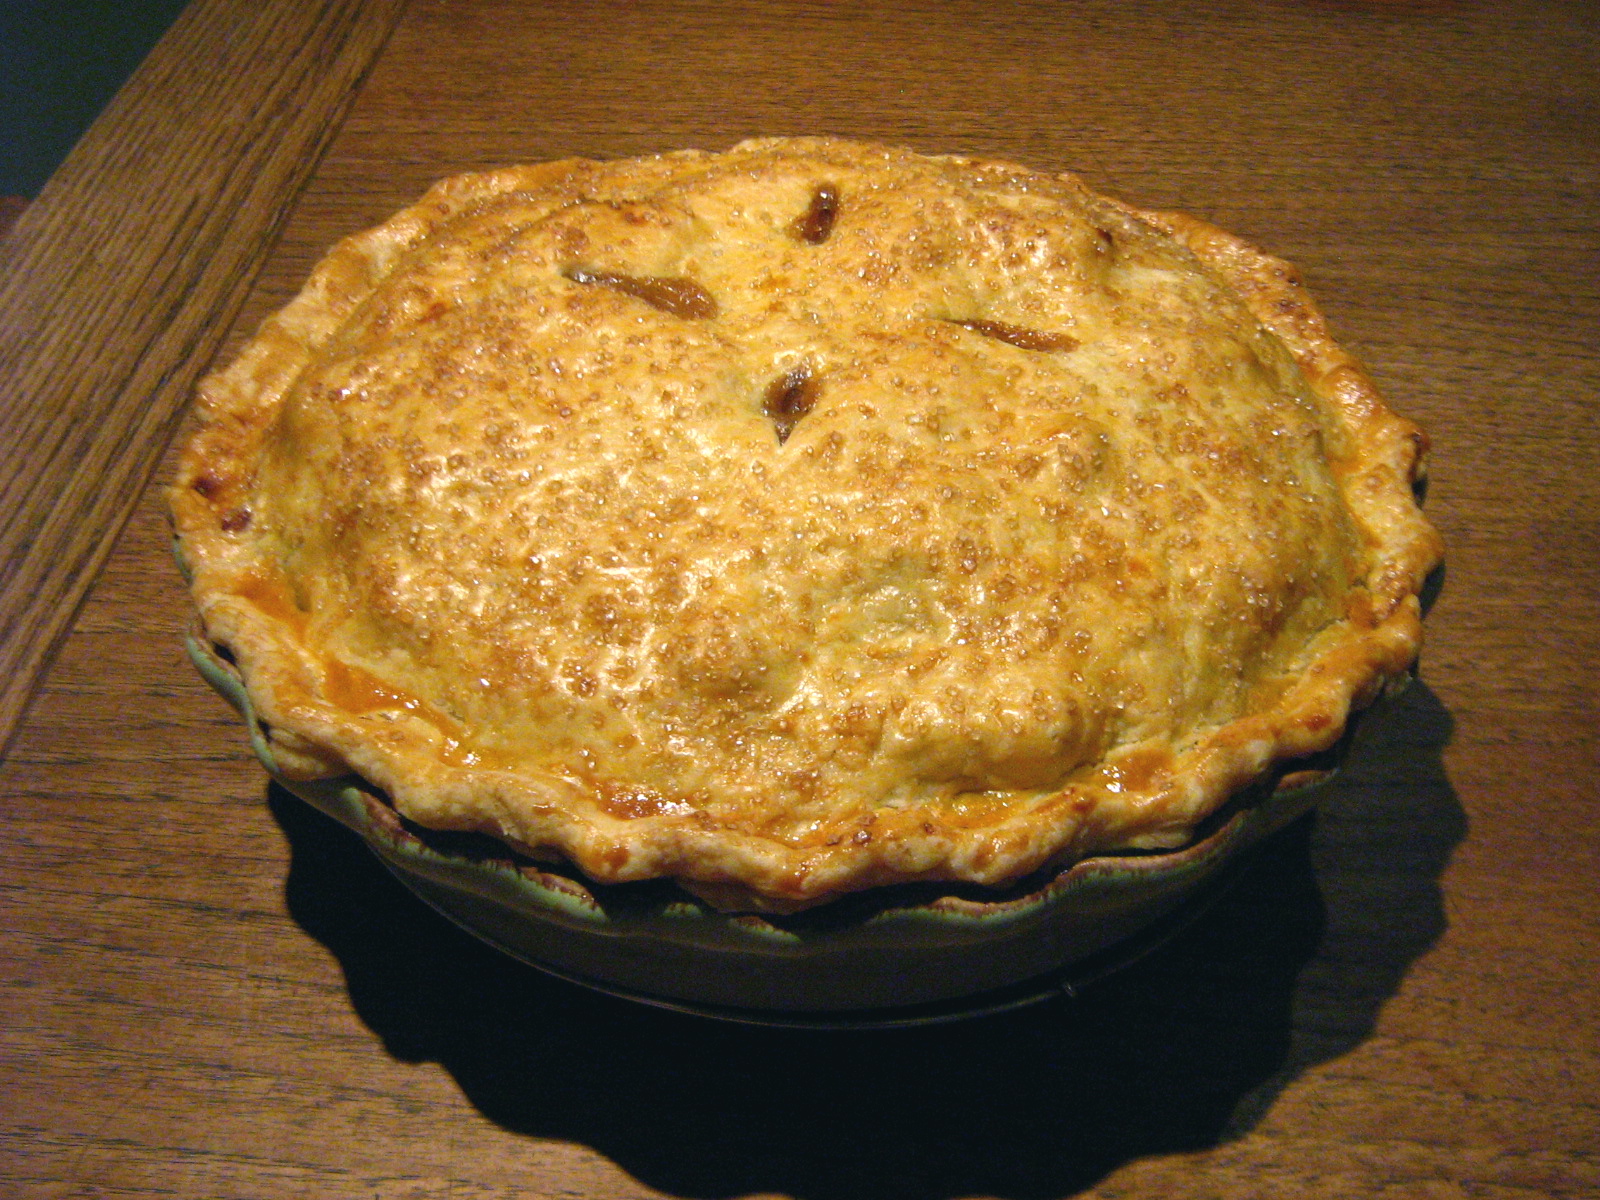
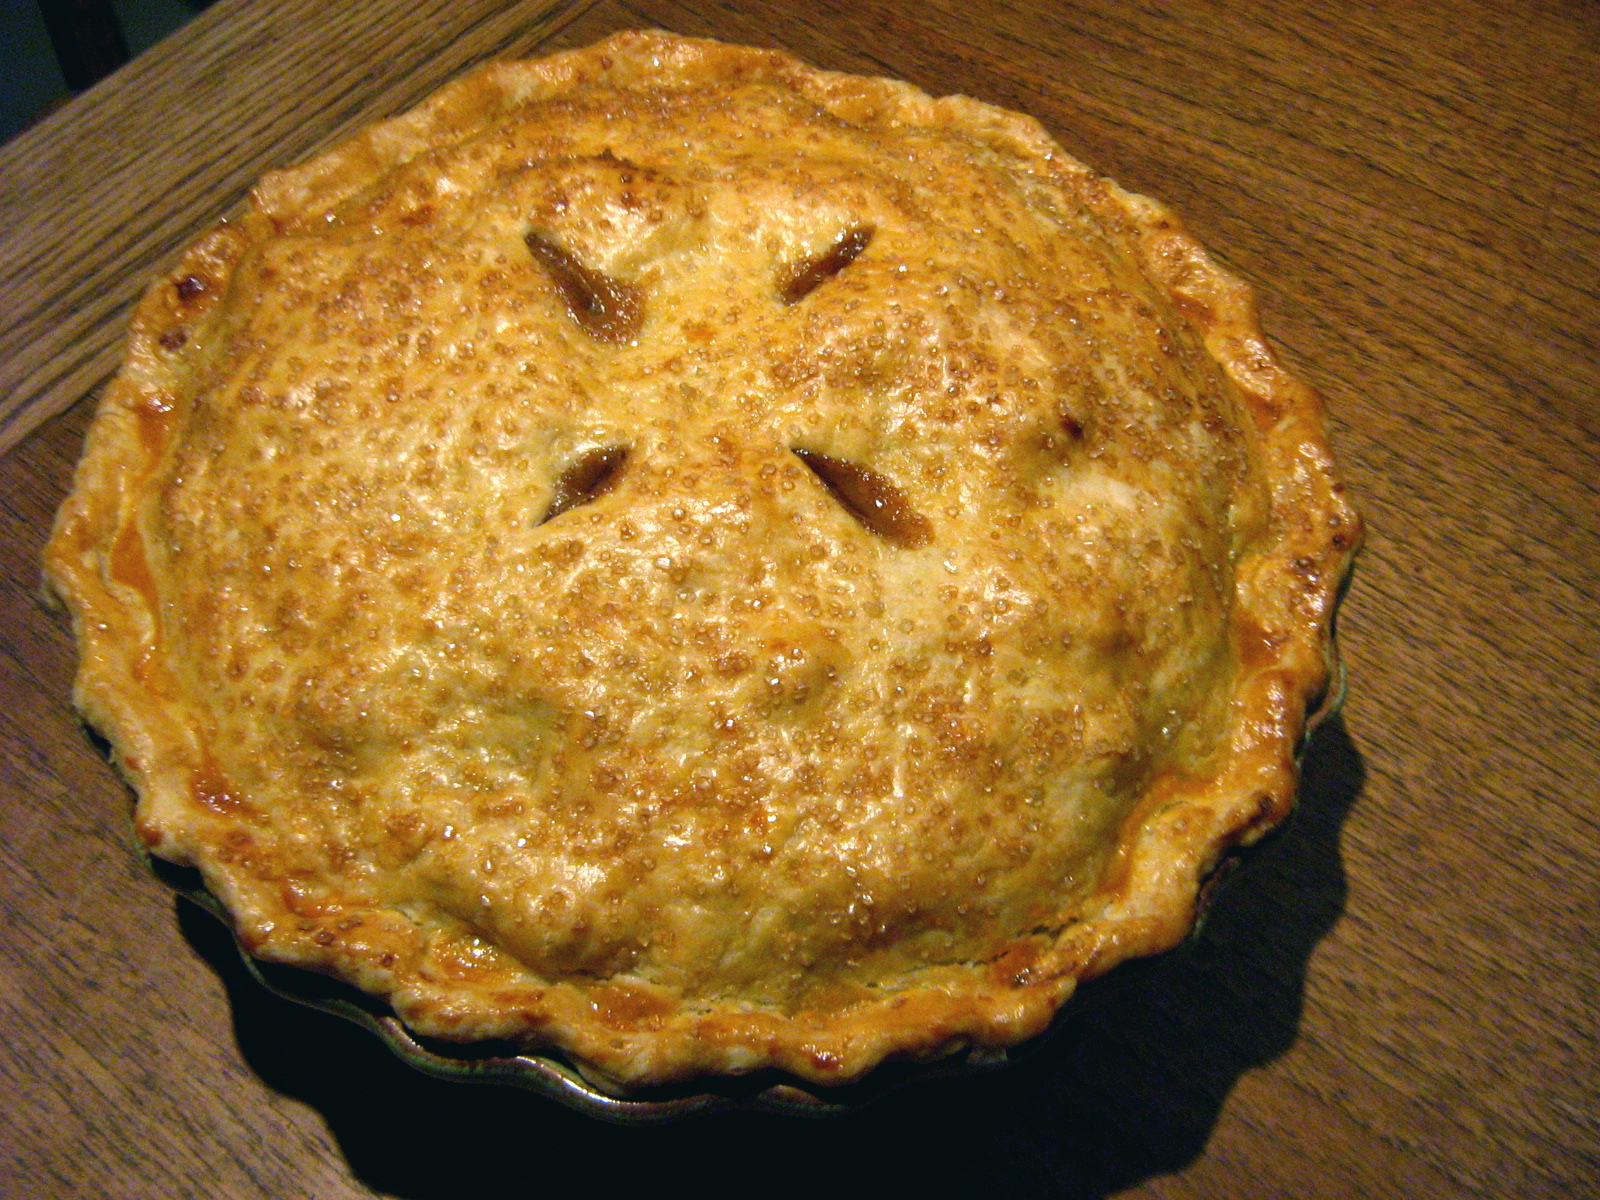 After almost two weeks of time off over the holidays, it was really hard to contemplate going back to work, so on my last day off, to make myself feel better about it, I made the most comforting thing I could think of: apple pie. My mum had given me a bag of apples from her friend’s tree when I visited my parents over Christmas, and while some of them were past their prime and some of them were slightly splotchy, the majority of them were just right for a pie.
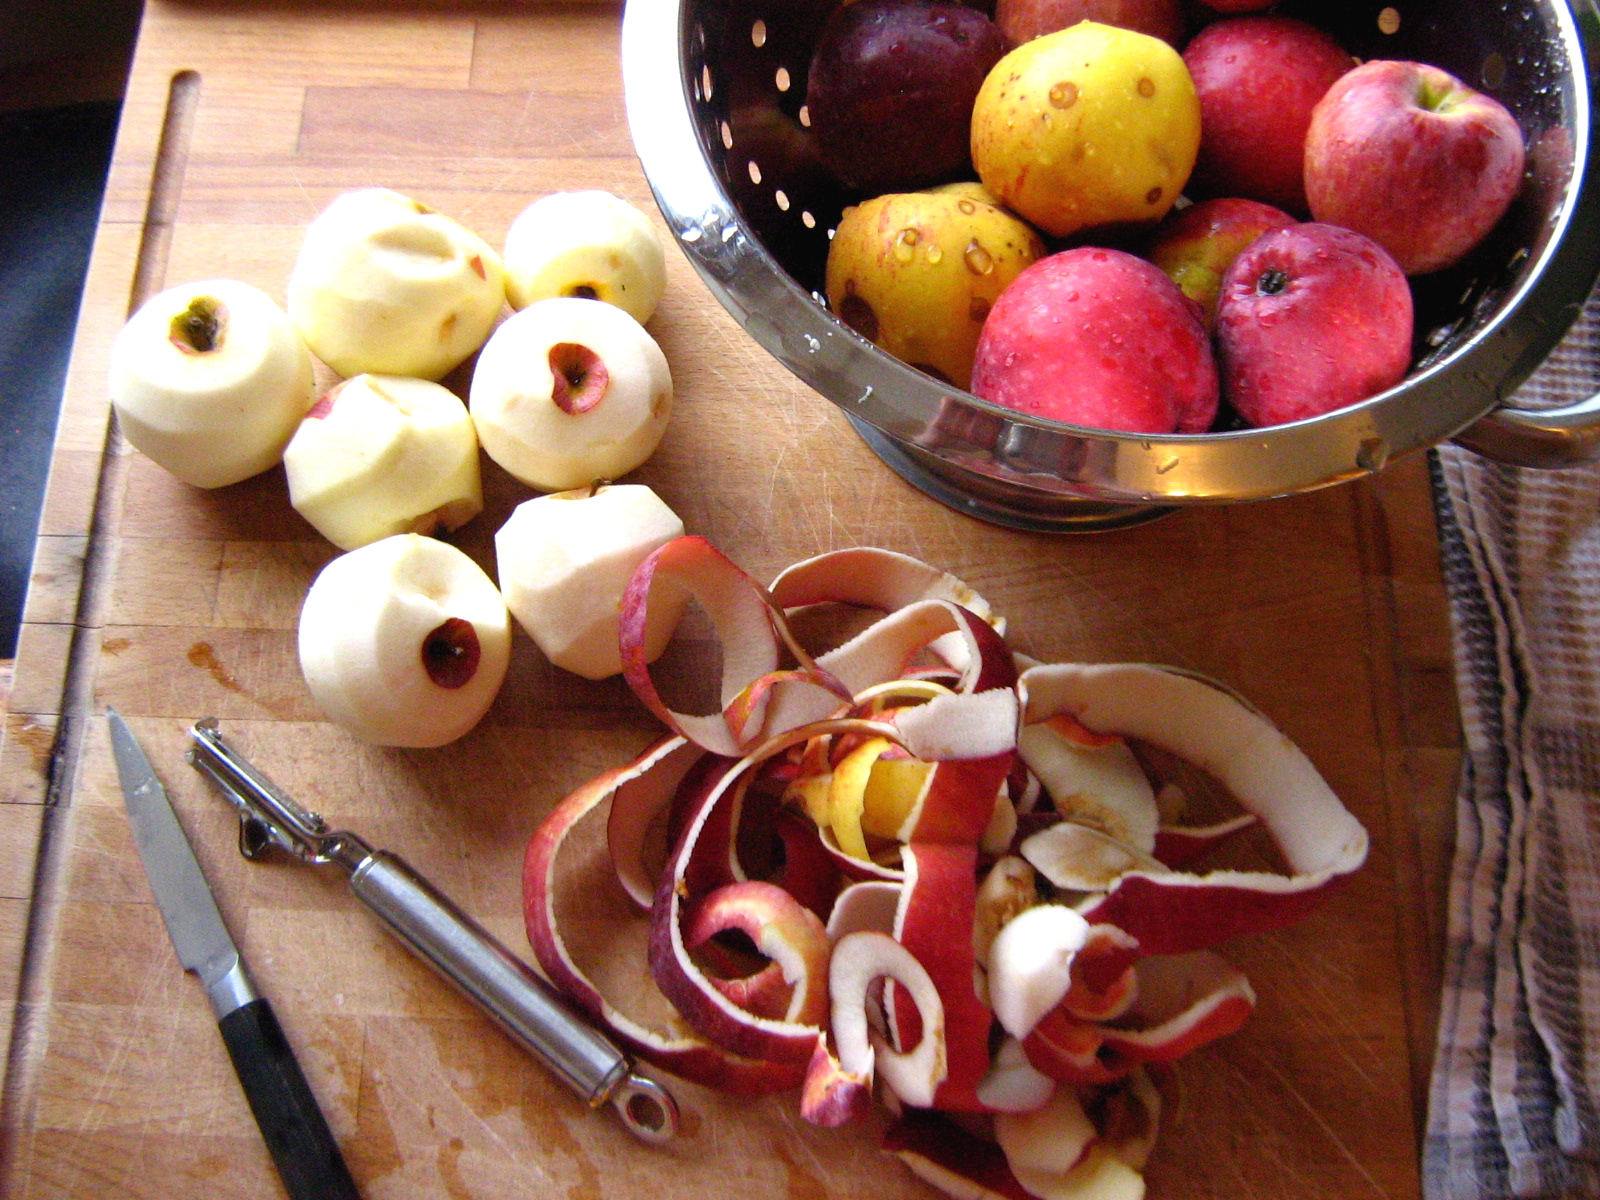
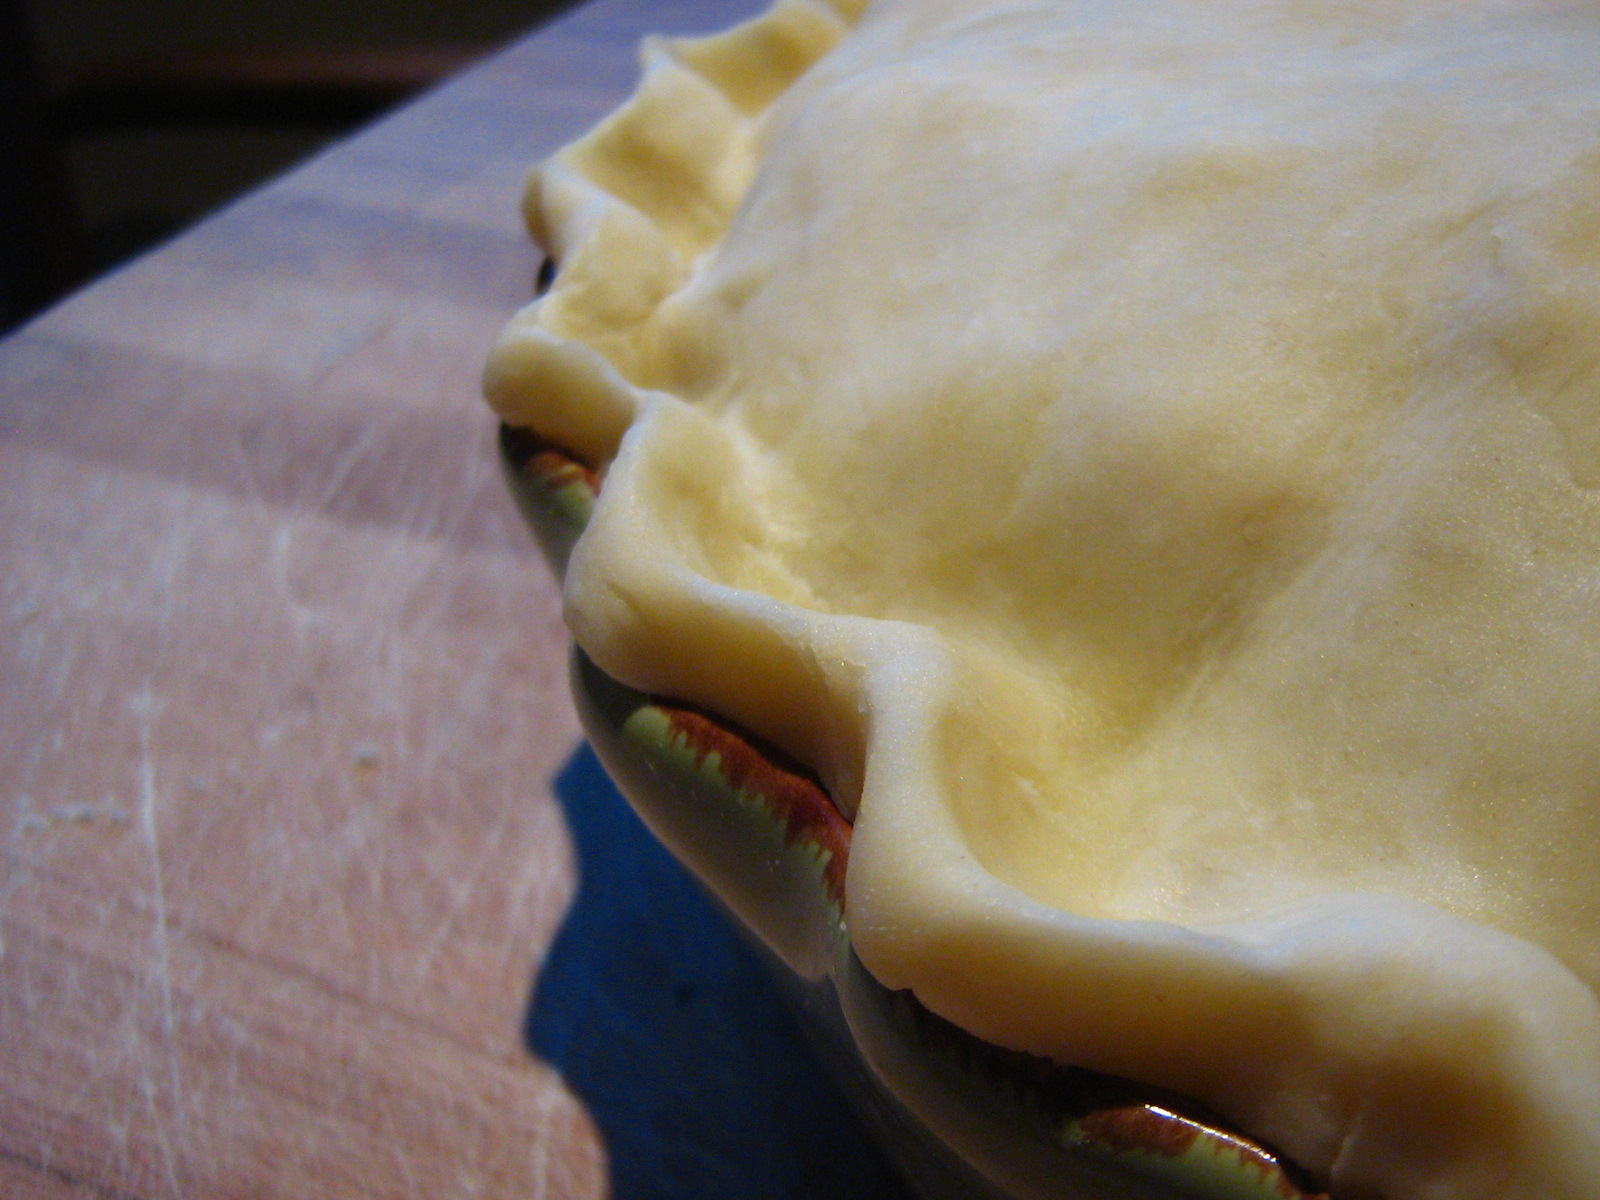
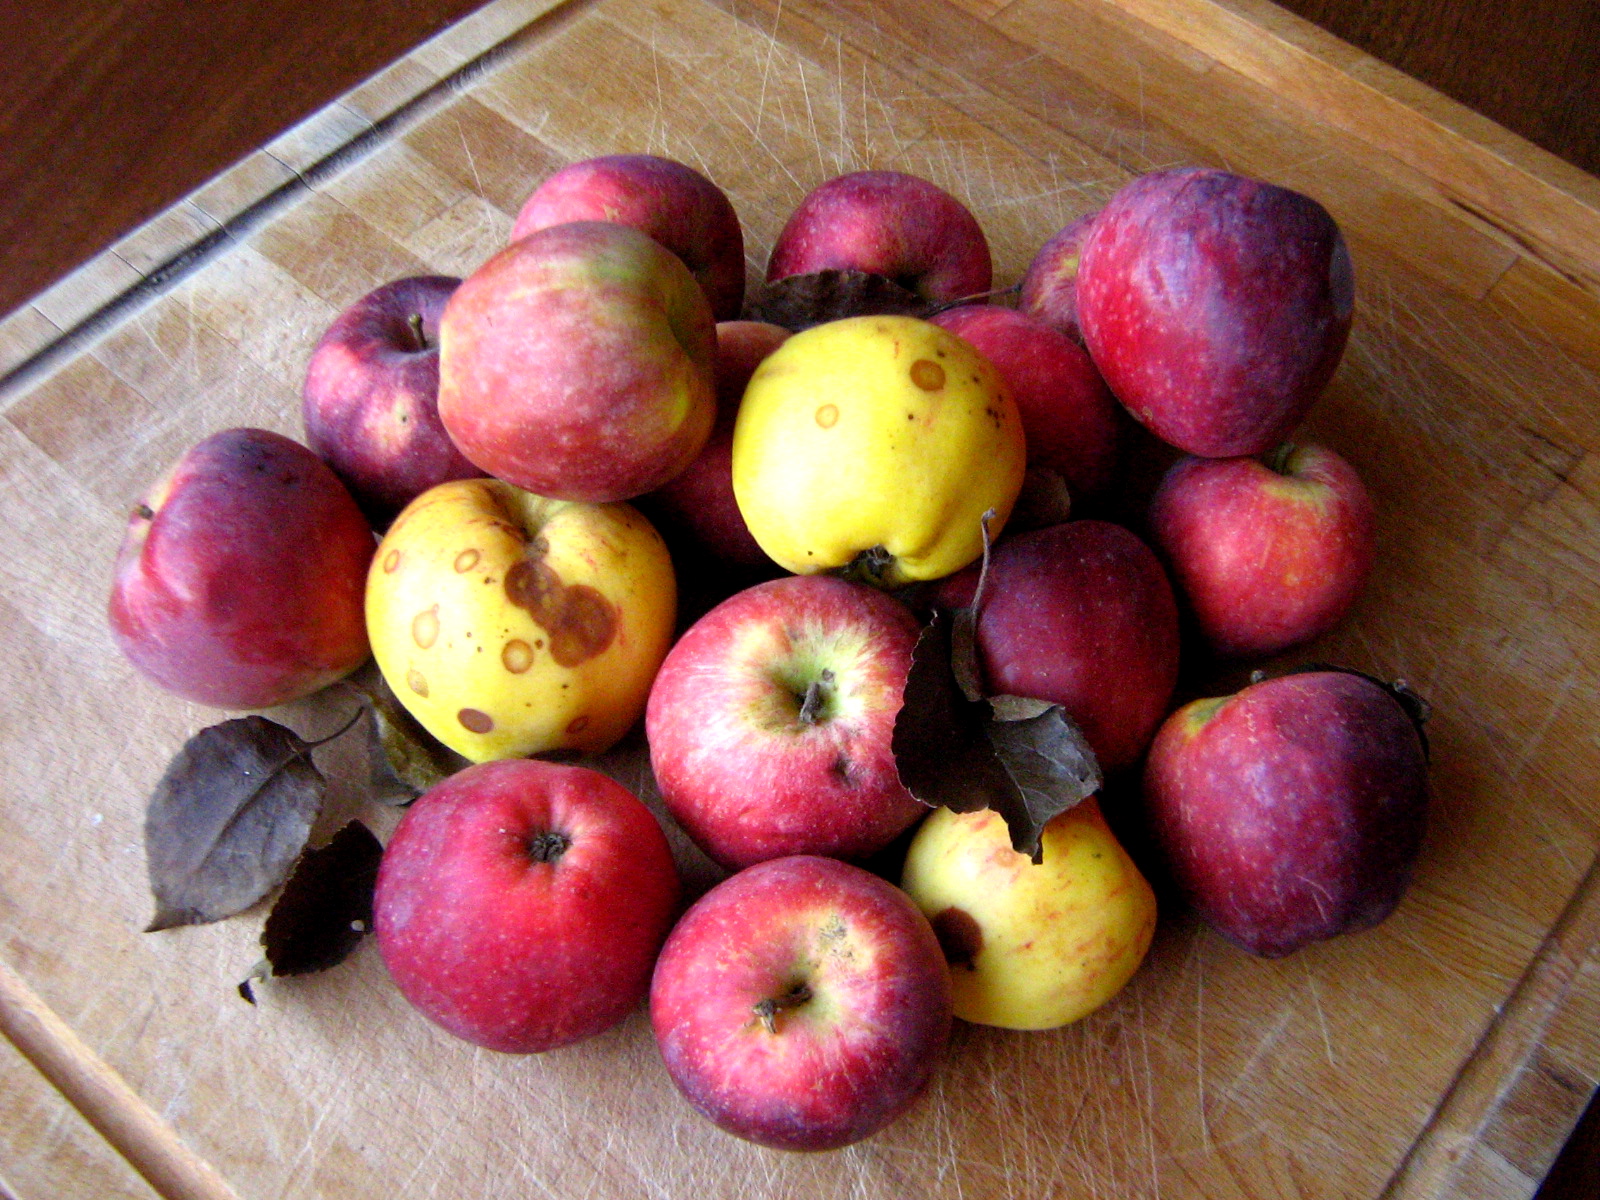 This recipe is the one that introduced me to my no-fail, super-easy pie crust, so it has a special place in my heart. It’s from Canadian Living, and I always feel “extra Canadian” when I use one of their recipes – I know, weird, but it’s a good feeling and that’s what I was going for. While there is really nothing exciting or different about apple pie in general nor this one in particular, this iteration happens to be my favorite. In fact, it might be my favorite because it’s not exciting or different – it’s familiar and homey, which is why I wanted to share it. I like the methodical nature of making this pie: stirring together the pie crust, peeling the apples, fluting the edge, and knowing exactly what comes next. There is comfort in that routine. And using apples grown by a friend of my mother rather than anonymous grocery store fruit made me feel even better.
 This was a feel good pie, and I hope makes you feel good, too. Now before I get any sappier, here’s how you make it!
My Favorite Apple Pie
Adapted from Canadian Living
Flaky Pastry
In a large bowl, cream together:
1/2 cup unsalted butter, softened
1/2 cup less 1 tbsp shortening
(or any combination of the above (or all butter), totaling 1 cup less 1 tbsp)
Add:
2 1/4 cups all purpose flour
3/4 tsp salt
Stir into the butter mixture until ragged. The idea is to smear the flour into the butter – this will help make it flaky – but don’t over-mix.
1/2 cup ice cold water
Stir until a loose dough forms. Turn the dough into a floured surface, divide in half, and form each half into a flat circle. Wrap in plastic and chill for at least 1 hour or until firm.
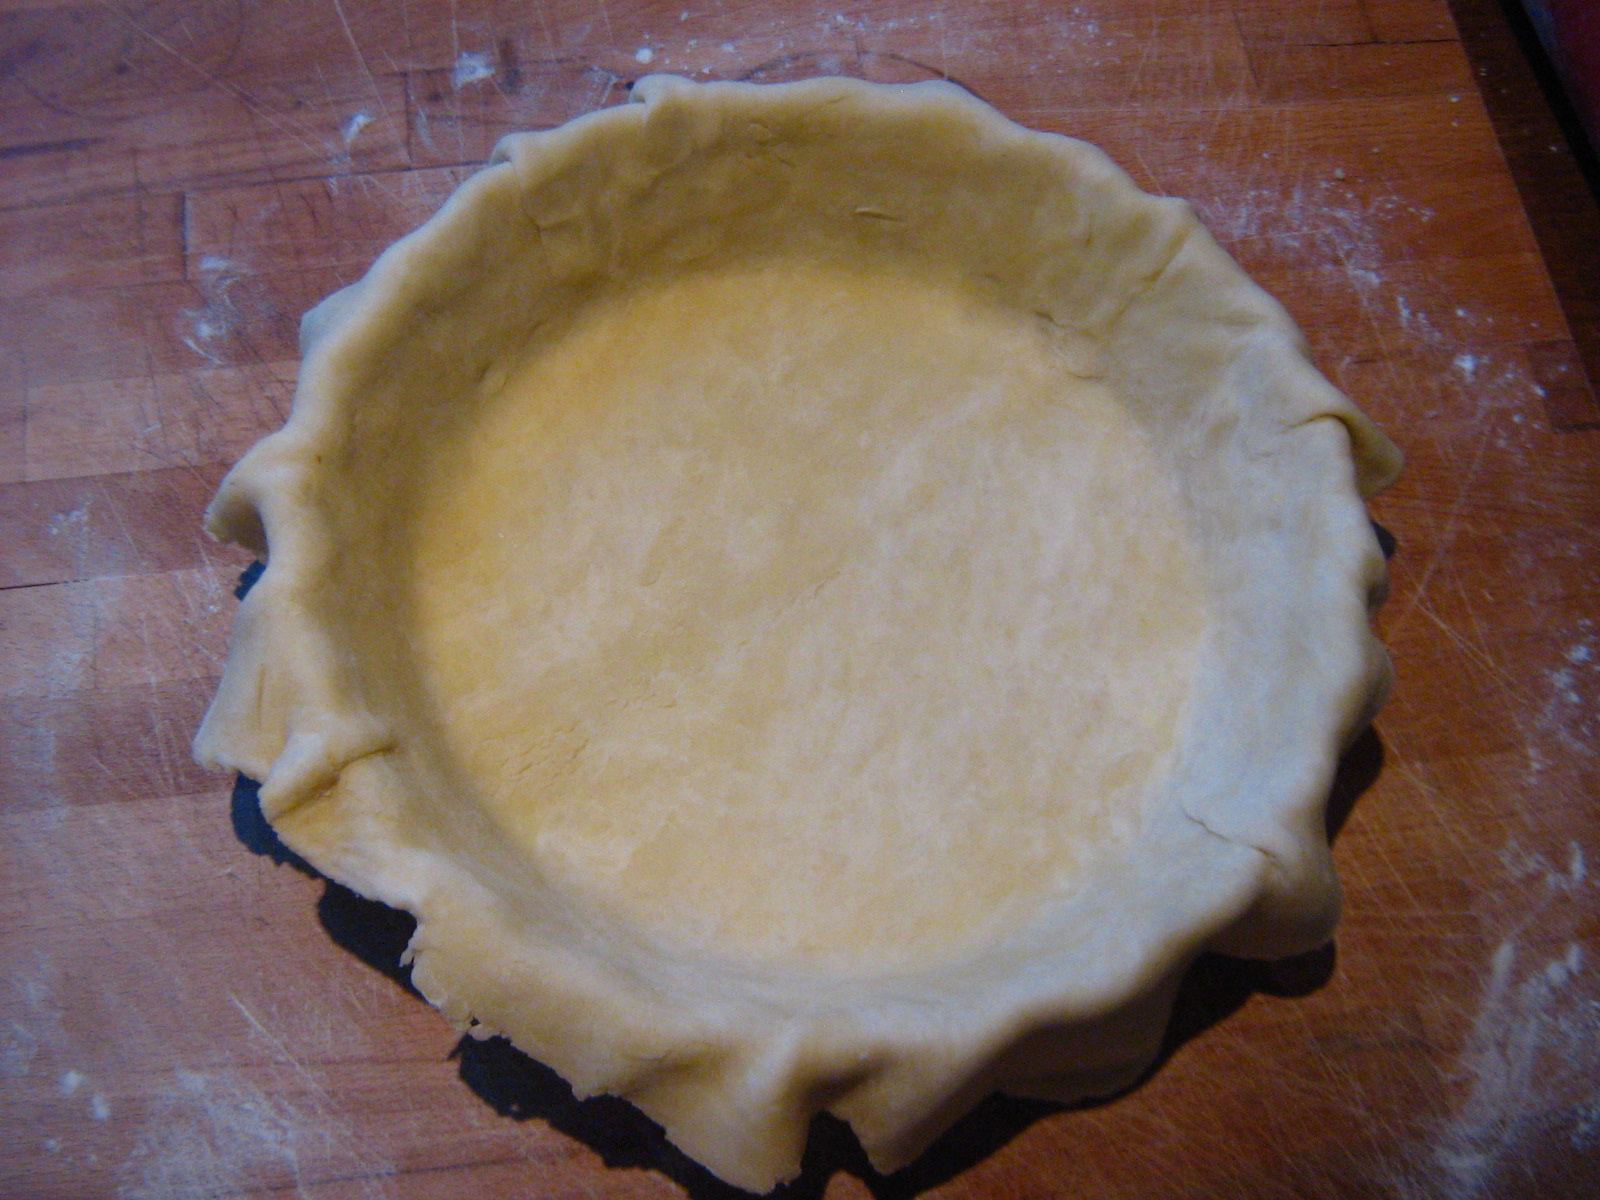
 Preheat the oven to 425˚F. On a floured surface, roll out one of the chilled pastry discs to fit a 9″ pie plate. Press the pastry into the pie plate.
Filling
Peel and slice enough apples to make 8 cups (I used about 17 smallish apples). 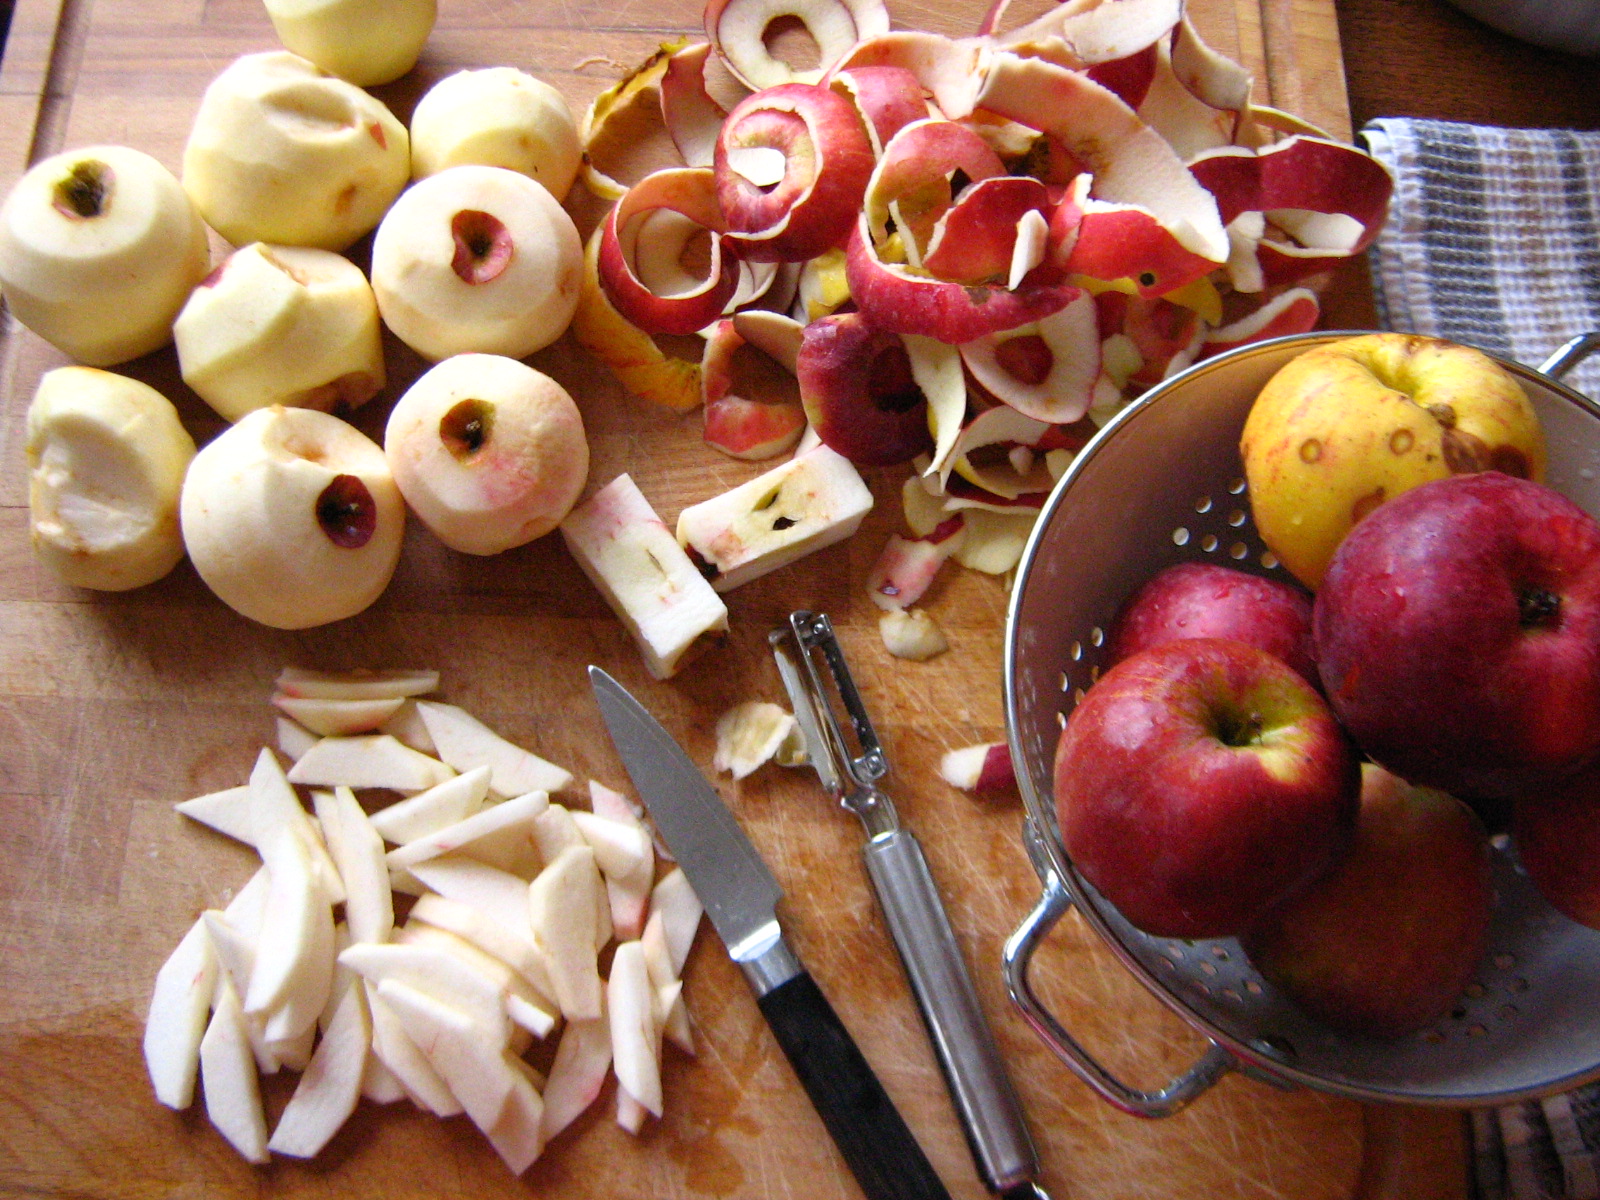 In a bowl, combine the apples with:
2 tbsp lemon juice
1/2 cup brown sugar
3 tbsp all purpose flour
1 tsp cinnamon
1/8 tsp allspice (optional)
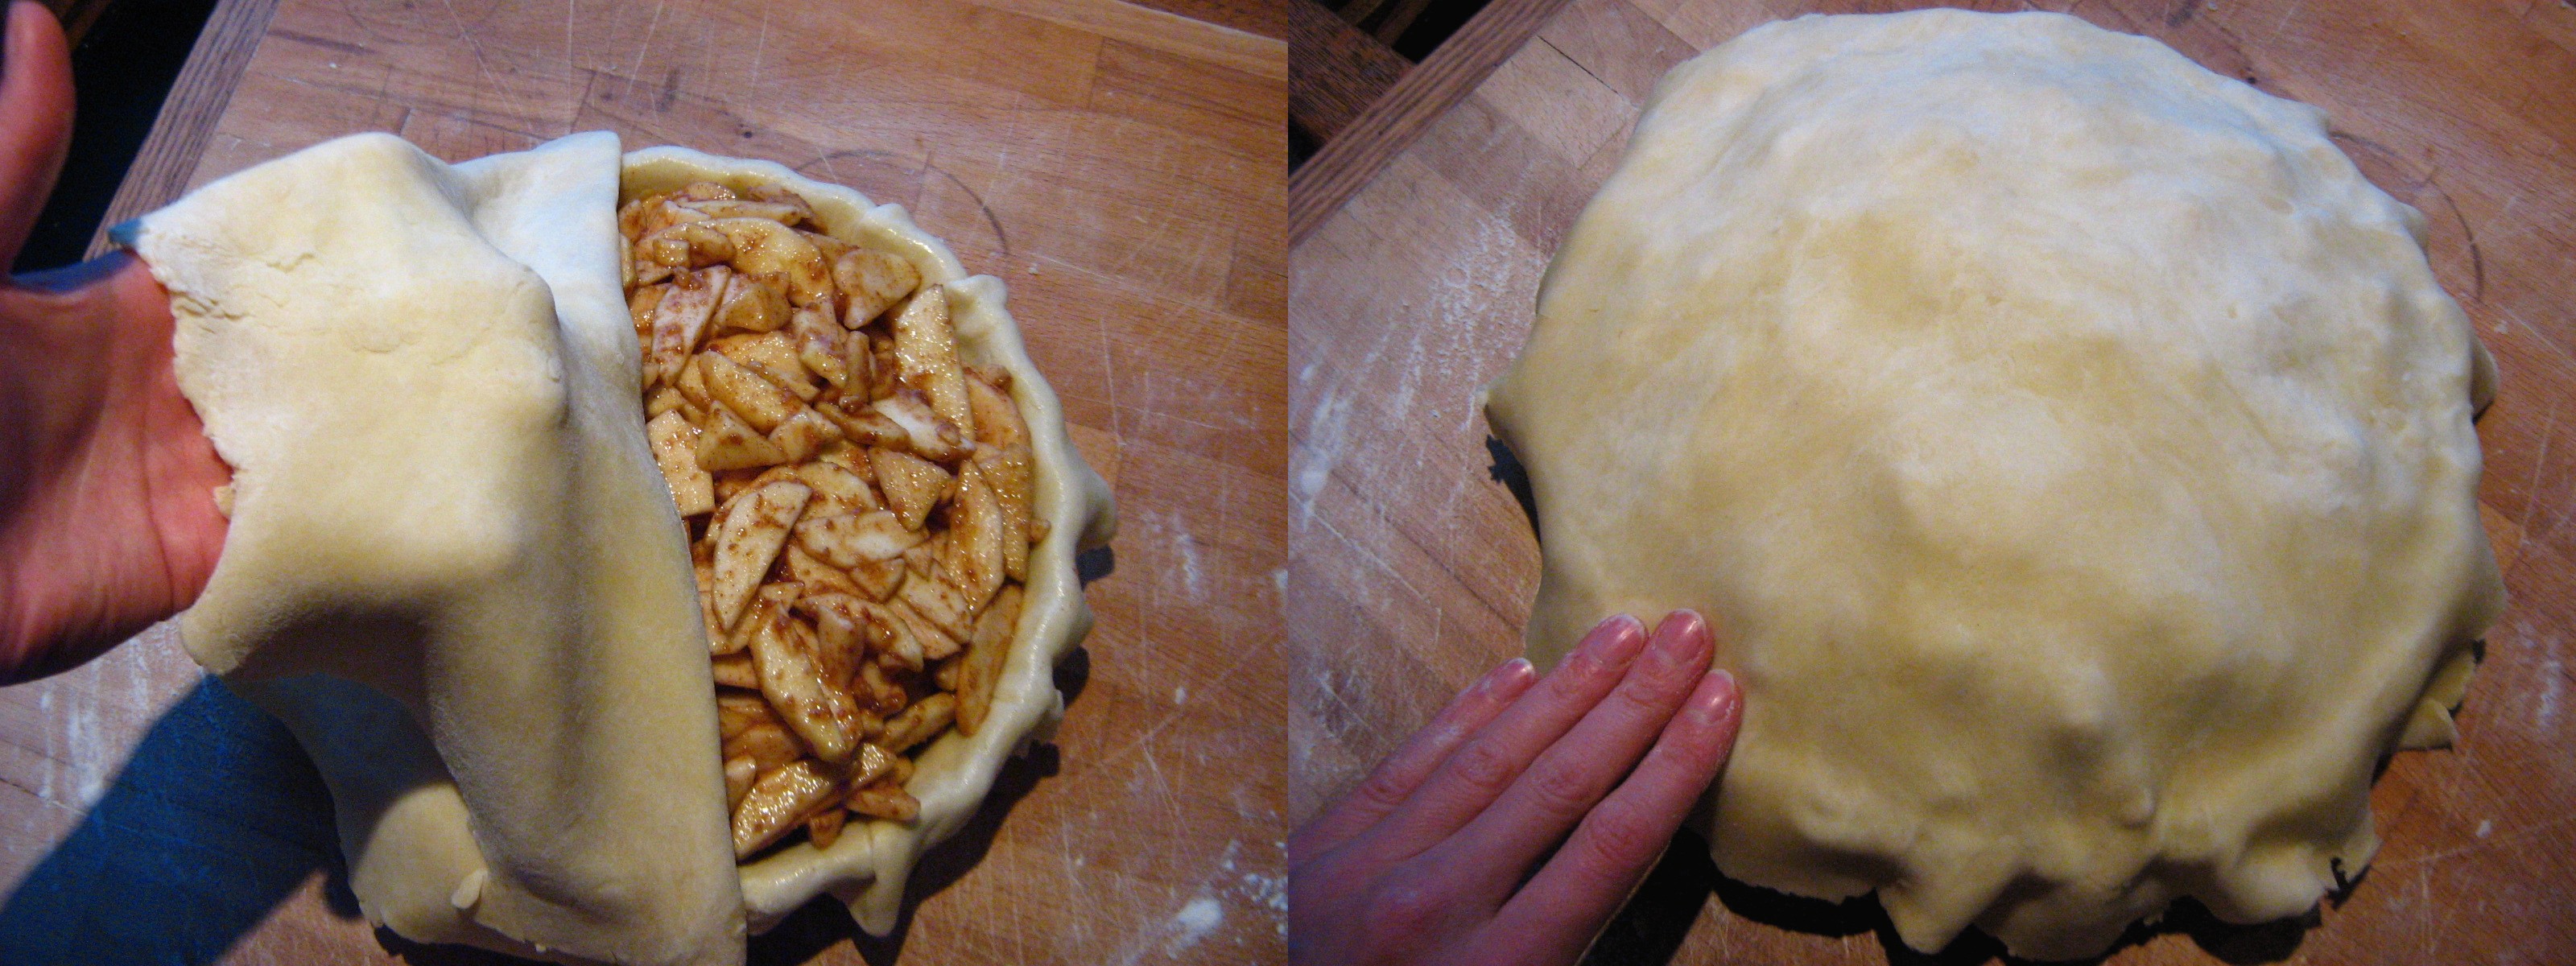
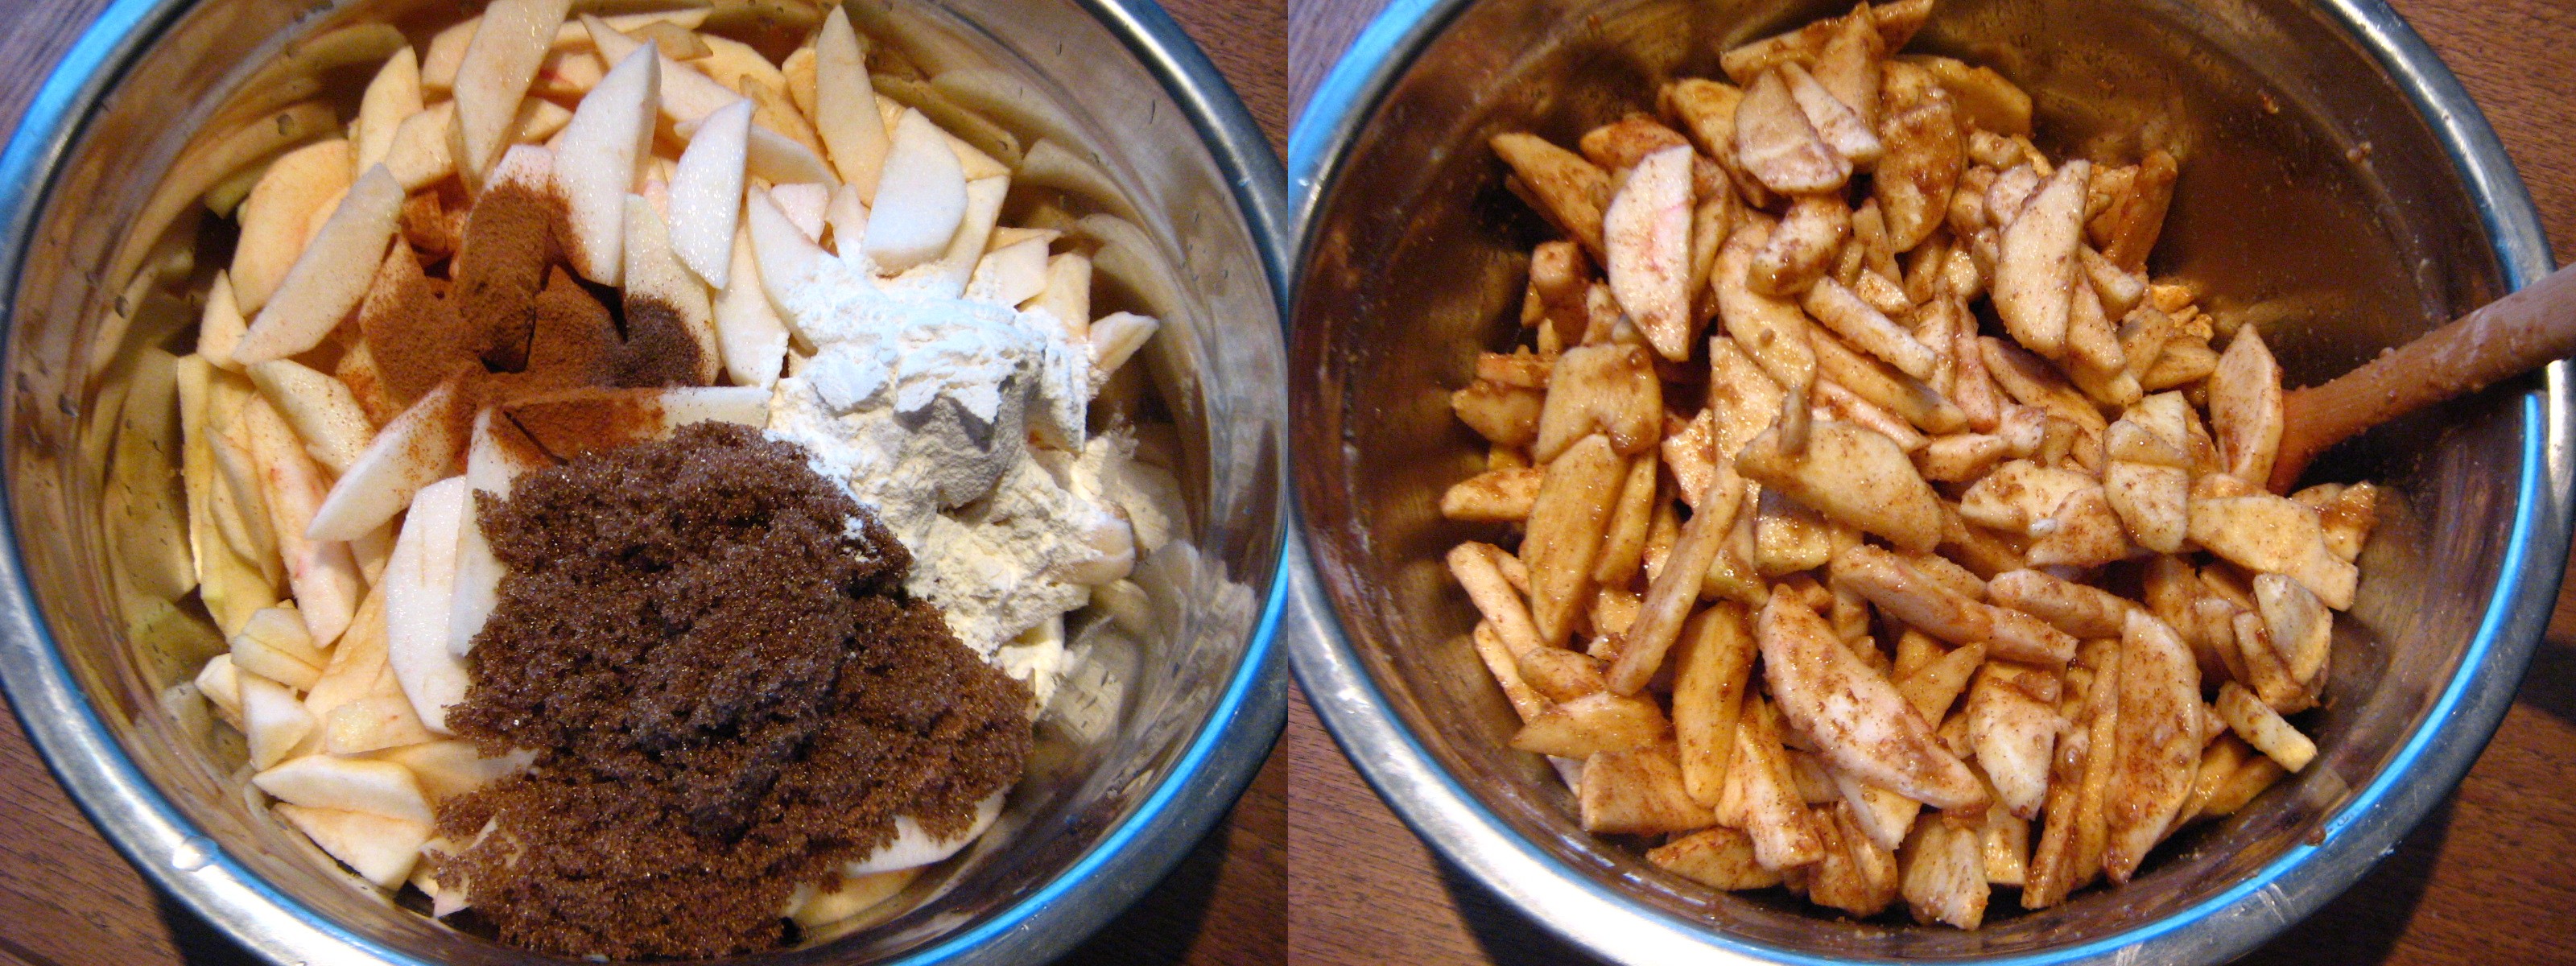 Pour the apple mixture into the pastry-lined pie plate, then moisten the edge of the pastry. Roll out the second piece of pastry, drape it over the apples, and press it around the edges to seal.
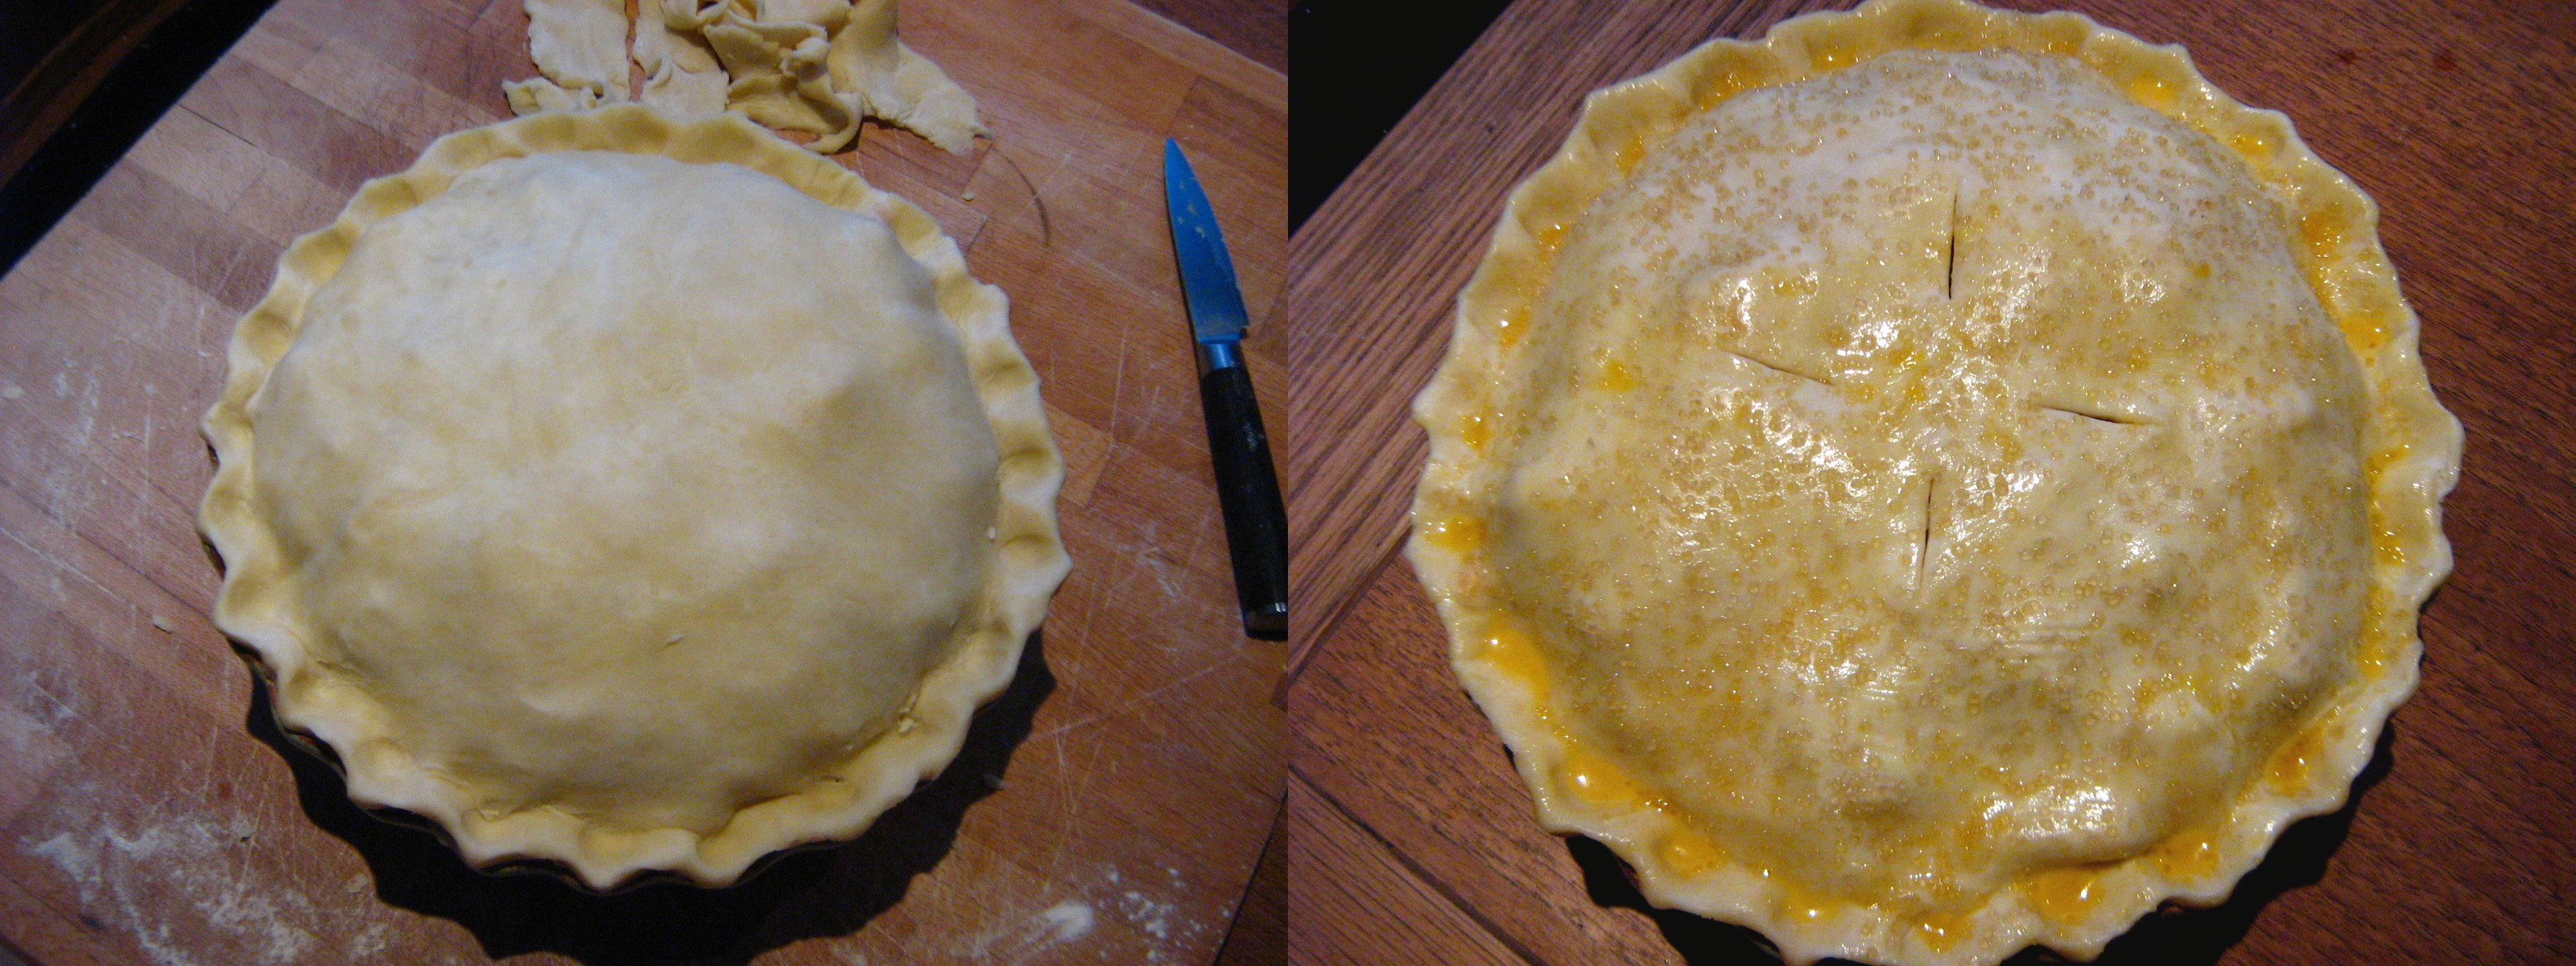
 Trim the pastry, leaving about 3/4 inch overhang, then fold the overhang underneath itself and flute the edge. Brush the pastry with egg wash (1 egg yolk mixed with 1 tbsp water), sprinkle it with coarse sugar, and cut a few steam vents.
  Bake in the bottom third of the 425˚F oven for 15 minutes, then reduce the heat to 350˚F and bake for 40 minutes longer, or until the pastry is deep golden and the filling is bubbling. Cool on a rack.
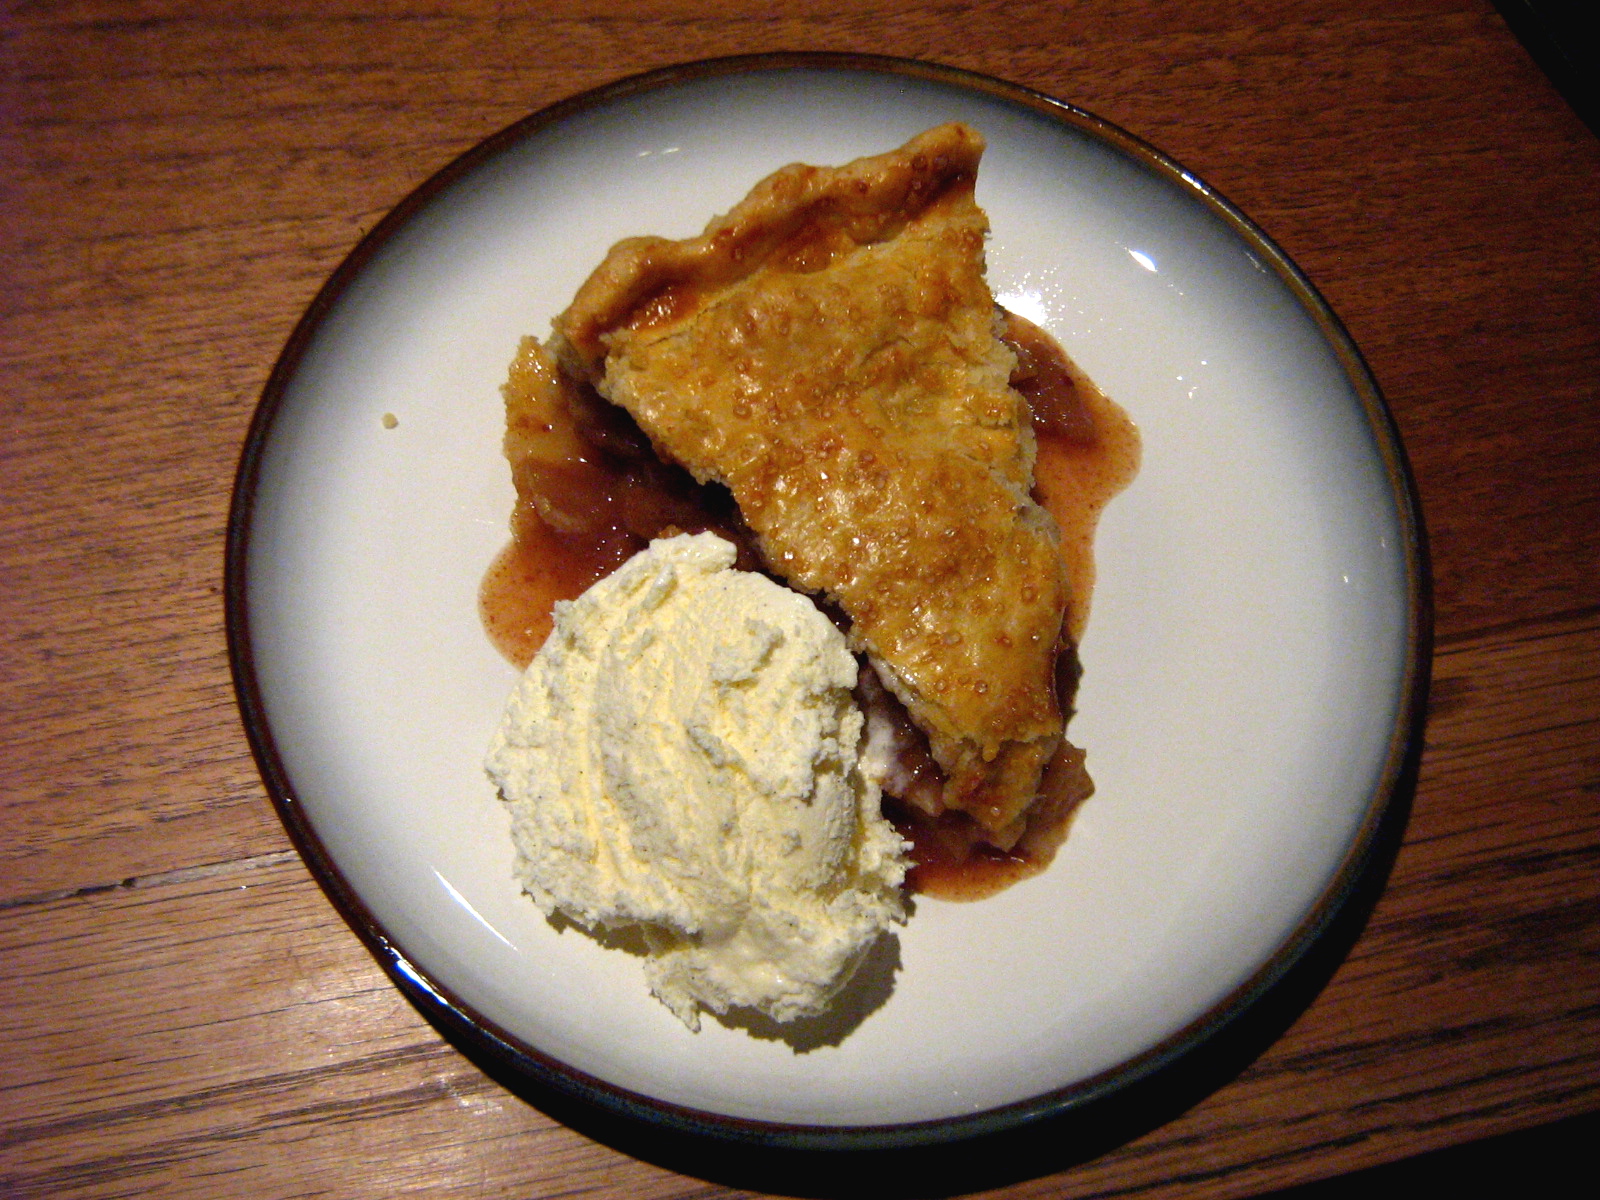
  If you want the pie to slice cleanly, wait until it is completely cool before cutting. If you’re not afraid of a little pie juice, cut yourself a slice while it’s still a bit warm and eat it with vanilla ice cream. So comforting!
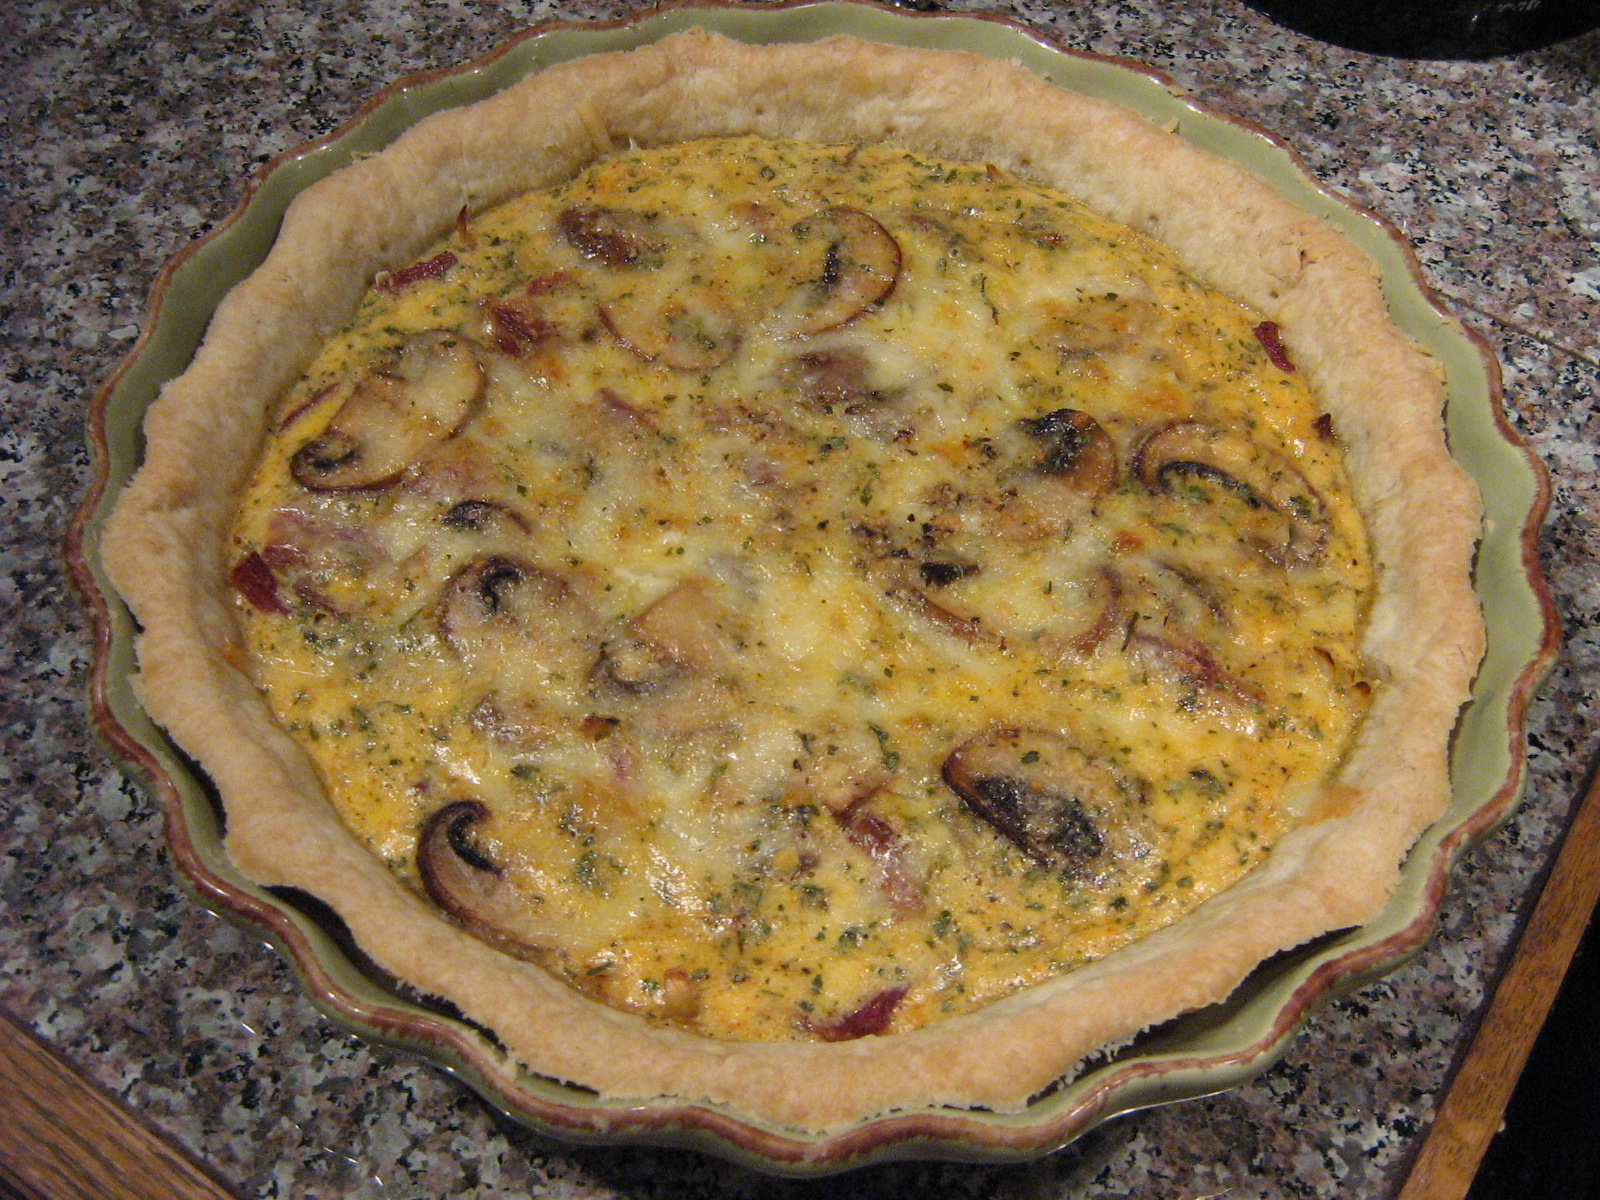
Leek, Swiss Chard & Prosciutto Quiche (and a non-shrinking tart crust!)
 The thing that always stumps me about quiche is the crust. The pastry crust for quiche needs to be par-baked before adding the filling, otherwise it won’t cook through and will be soggy (and nobody likes a soggy-bottomed quiche). My go-to pie crust has a tendency to shrink a lot when par-baked, and other pie crust recipes I’ve tried that are supposed to be “more suited” to par-baking come out with the texture of cardboard (just as bad as a soggy-bottomed crust).
So, I’ve been looking for a pastry crust that stays flaky and doesn’t shrink too much when par-baked, and I finally found one! Also, I discovered the secret to stopping the pastry from sliding down the sides of the pie plate while baking. Success!
…
Maple Coconut Pumpkin Pie with Spelt Shortbread Crust
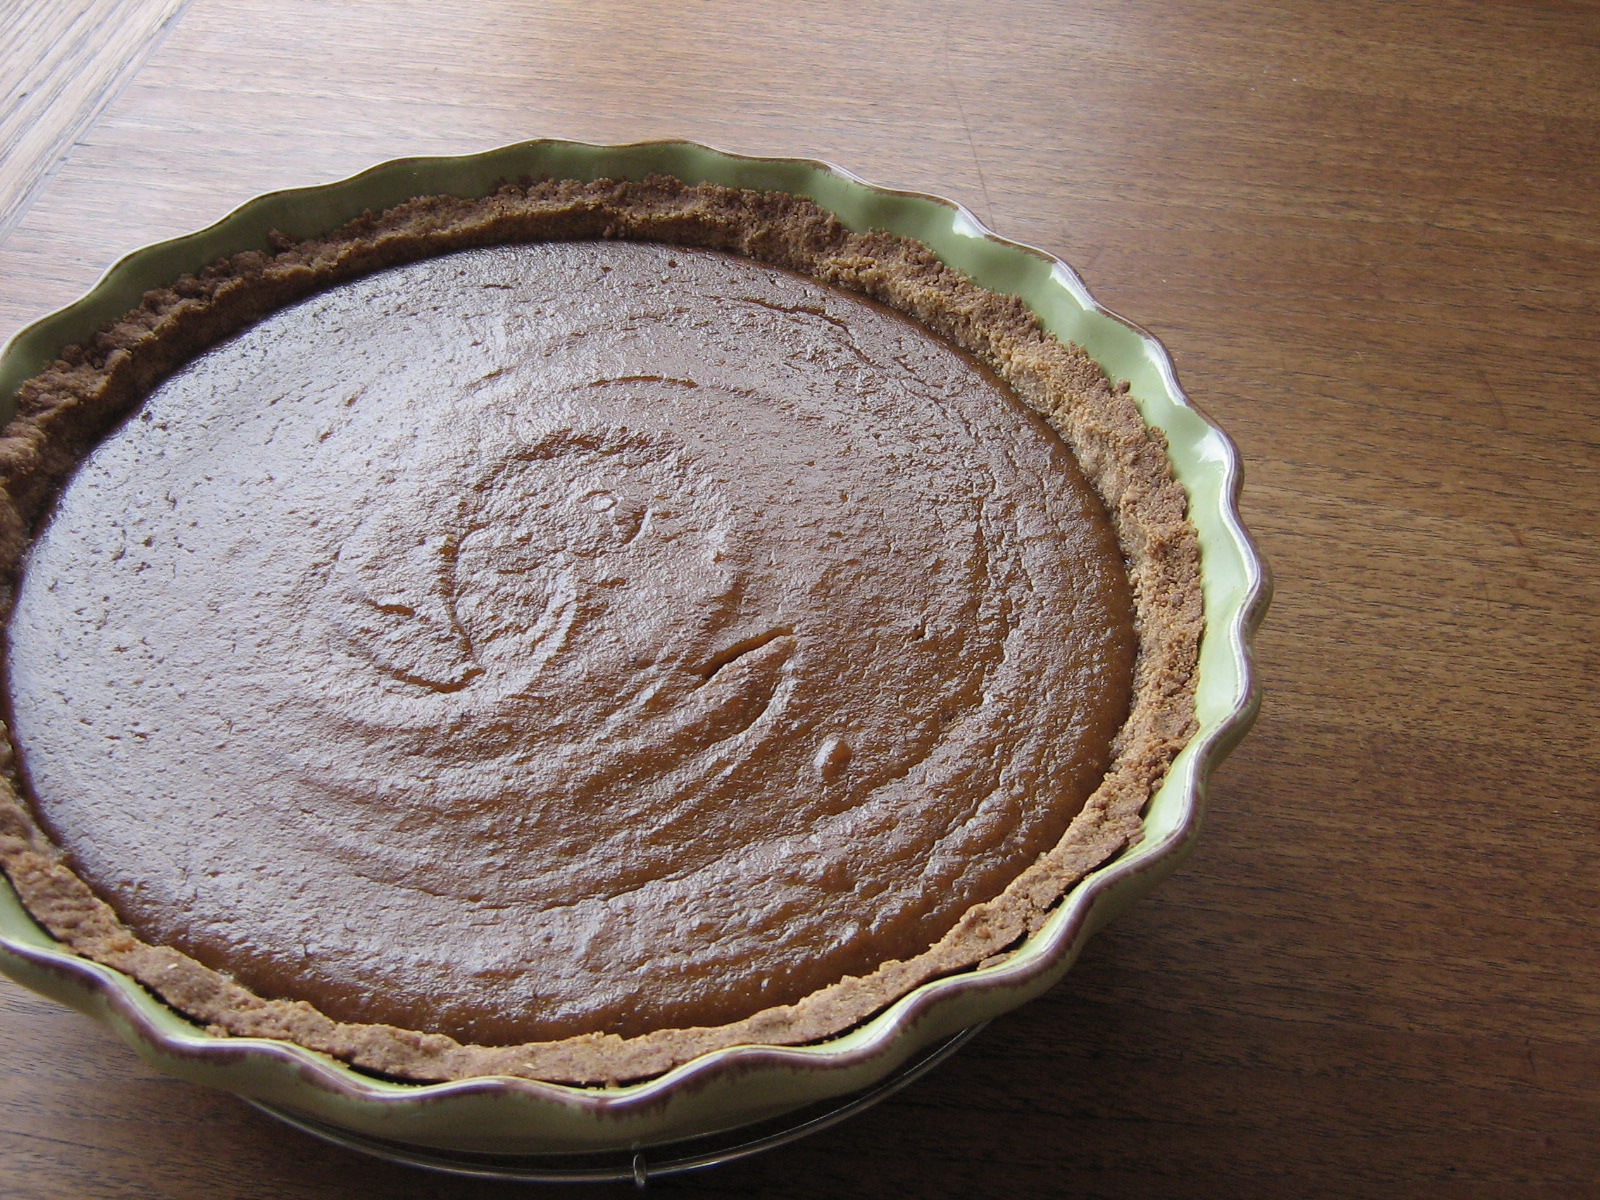 Happy Canadian Thanksgiving! I still can’t believe it’s October and, according to all the store displays and lifestyle/cooking magazines, the beginning of the holiday season. Where the heck did summer go so quickly?
I’m enjoying fall though – I love the cooler weather, the coloured leaves, and the abundance of delicious, harvest food – and maybe I’m okay with the holiday season starting. Heck, I’ve bought my first holiday cooking magazine and I’m already thinking about Christmas baking. Yeah, I’m totally okay with it ;). For me it’s mostly about the food anyway, and a Thanksgiving meal is a great way to kick it all off.
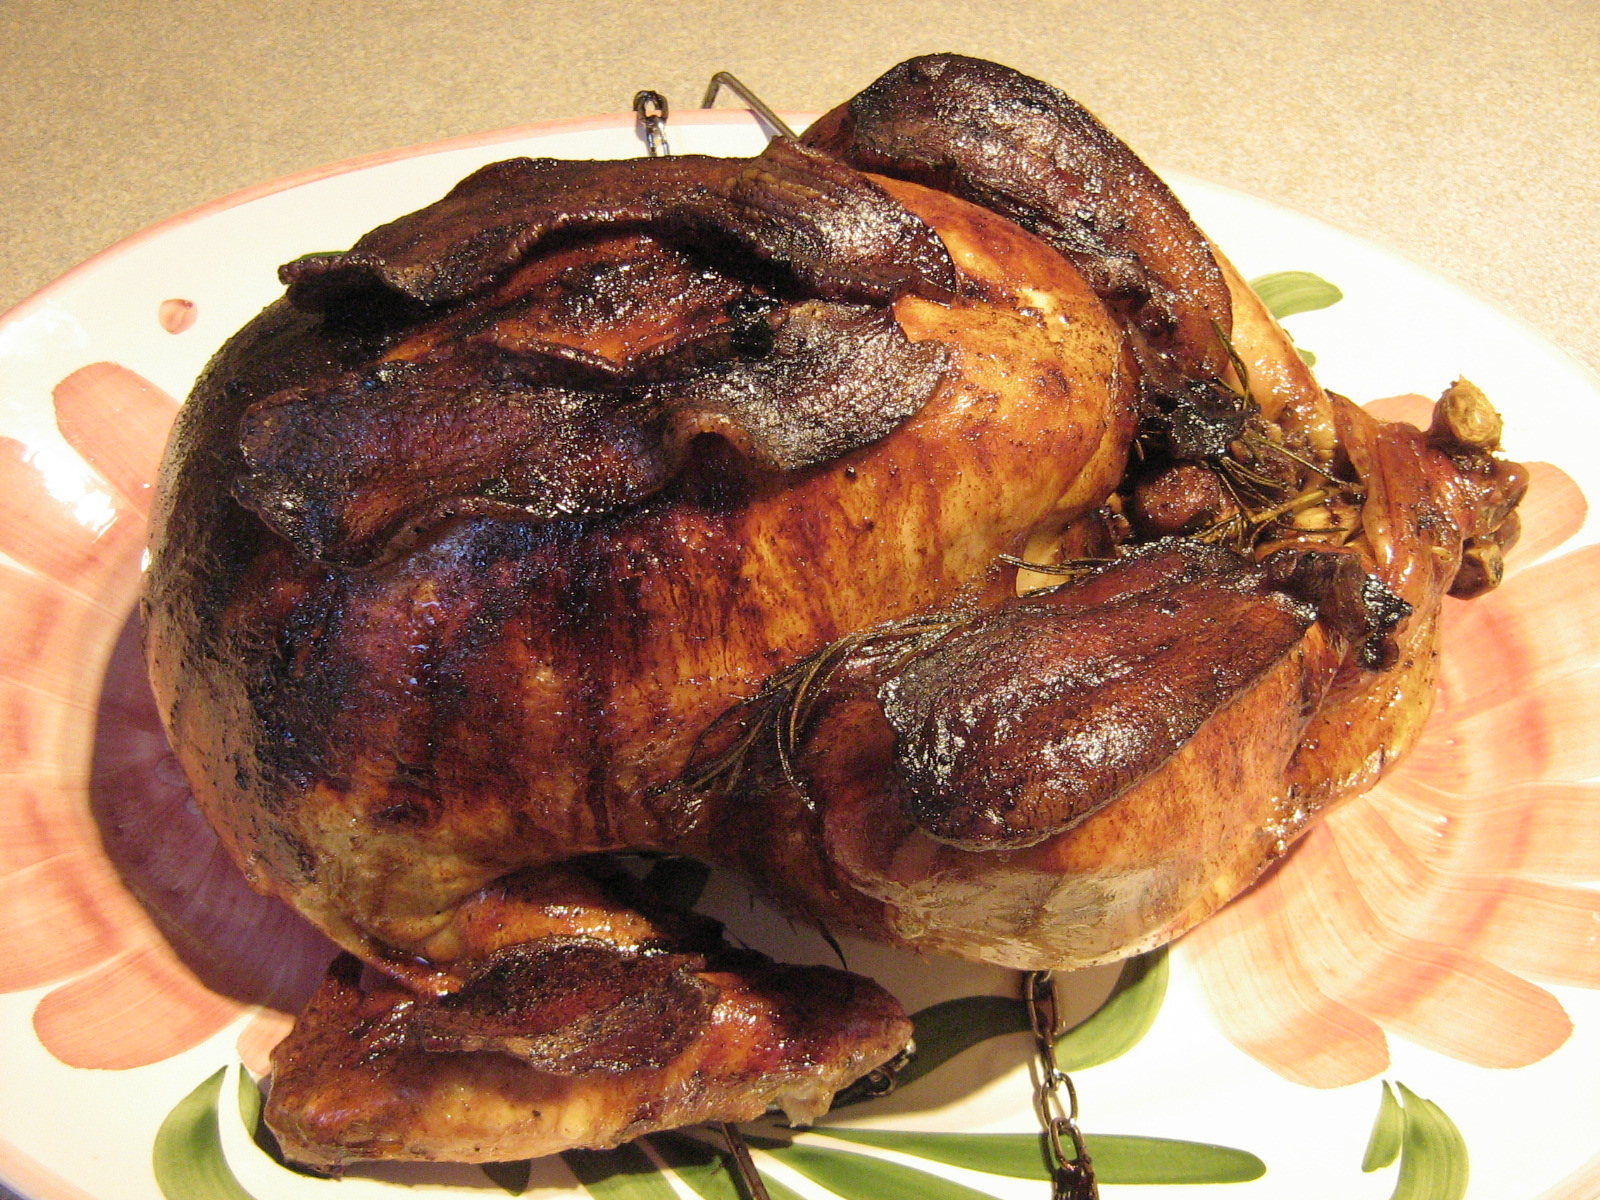
I’ve been in charge of holiday desserts in my family ever since I can remember, so this is the pumpkin pie I took to my parents’ house for Thanksgiving dinner. By the way, my mum is a turkey super-star – it is always juicy and awesome. And it has bacon on it. That’s all you really need to know.
Anyway, back to pie. This recipe comes from my trusted friend Martha, and this is the second year I’ve made it. What sets it apart from other pumpkin pie recipes is the crust, which comes out tasting more like a shortbread cookie than regular pie pastry. Rather than rolling out the pastry, you just press the crust right into the pie plate and then blind bake it. 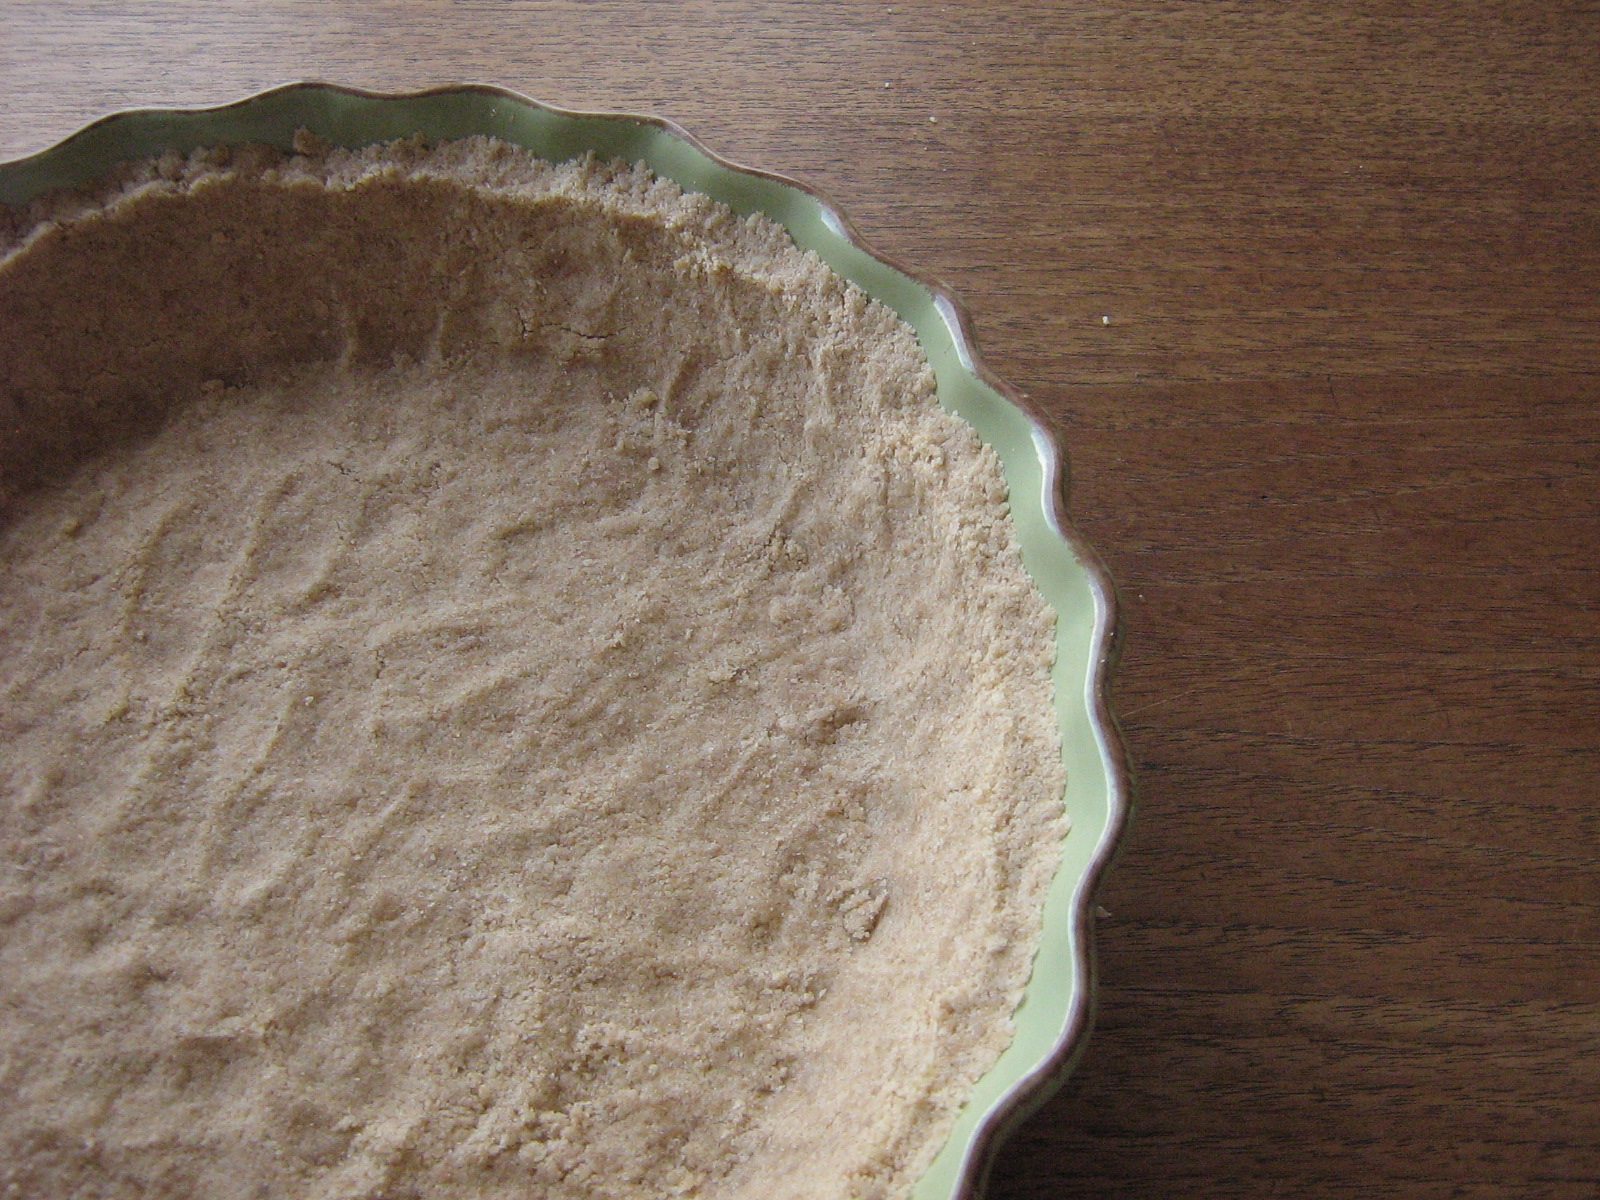 This is definitely the easiest and best recipe/method I have come across for blind-baked pastry, because it doesn’t shrink or bubble up like other pastry often does.
The pumpkin filling, while quite tasty and nicely spiced, was not particularly special or unique as far as I could tell the last time I made it, so I cut out the regular white sugar and used maple syrup and brown sugar instead. 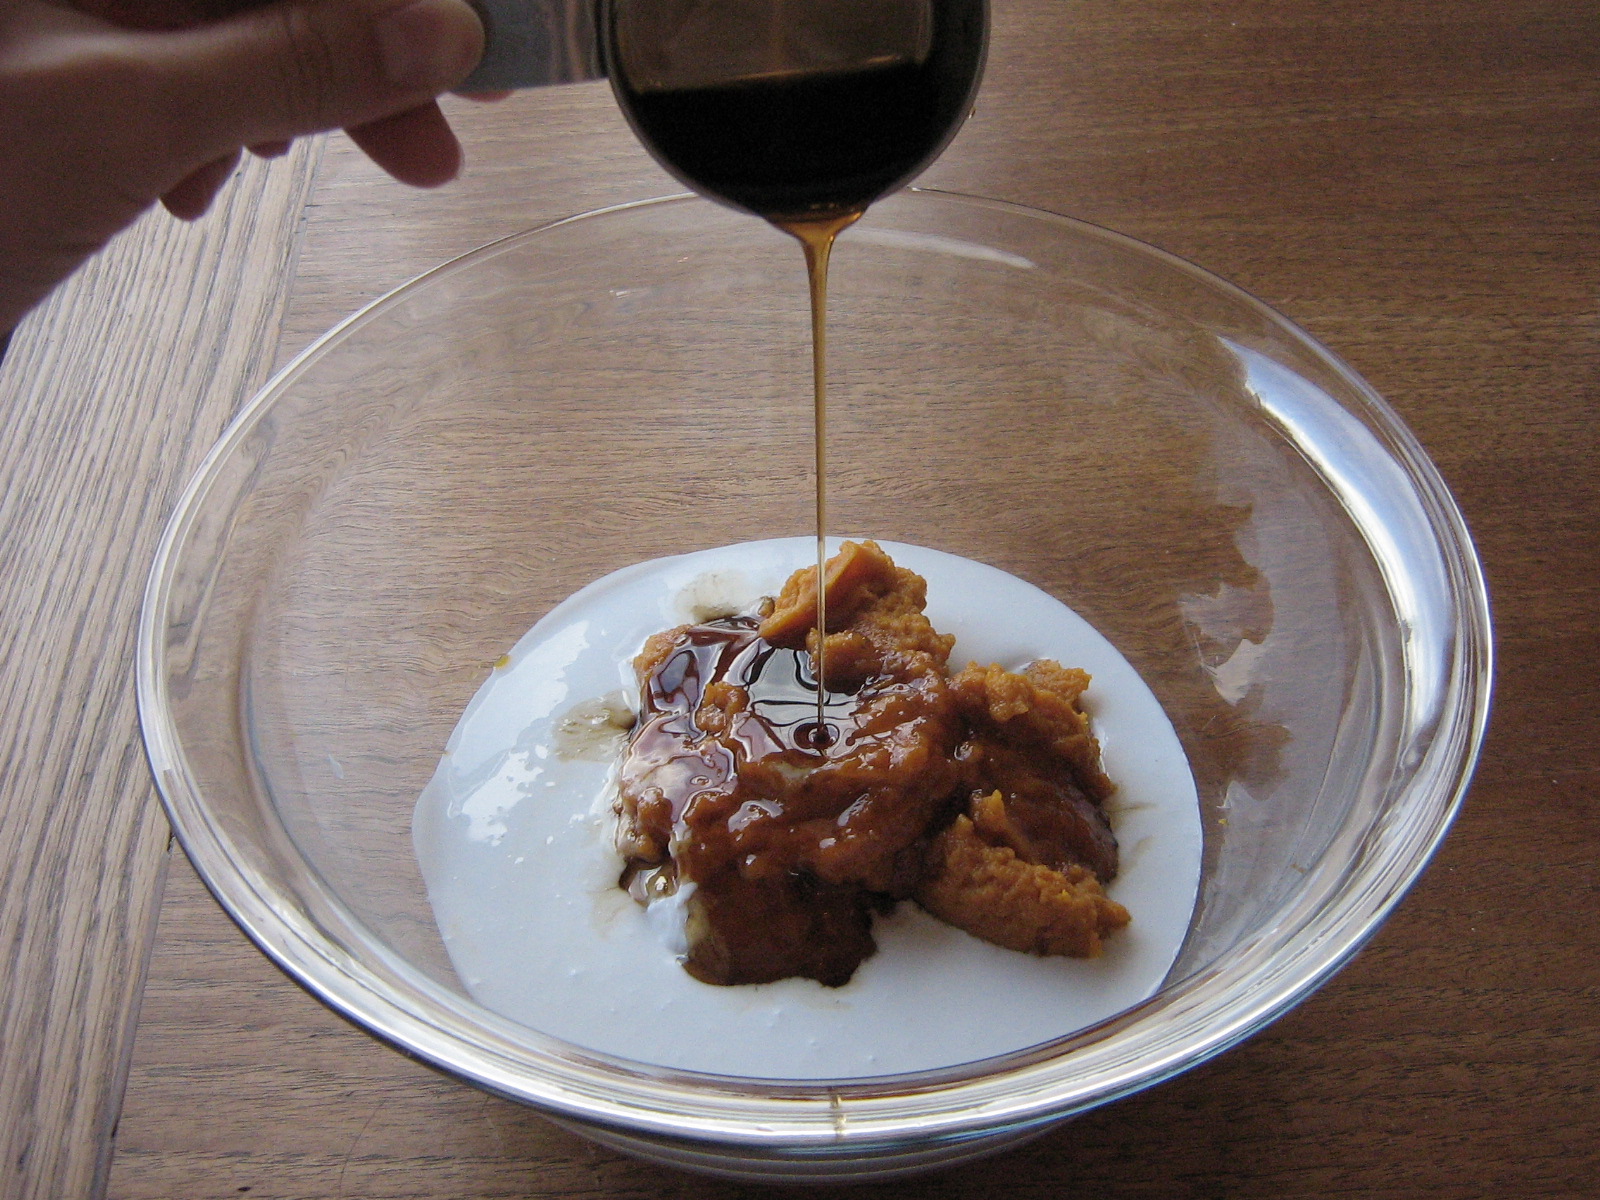 I also added a splash of maple syrup to the whipped cream – because what’s pumpkin pie without whipped cream?
Because my mum can’t eat wheat or dairy, I used whole spelt flour in the crust and coconut milk instead of cream in the pumpkin custard filling (she missed out on the maple whipped cream though – next year I might try this coconut whipped cream recipe). The spelt flour gives the crust a slightly toasted flavour, and the coconut milk (which might sound weird) actually pairs really well with the pumpkin, maple, and spices. You can substitute heavy cream if you want, but I would recommend trying it with coconut milk even if you don’t have a dairy allergy!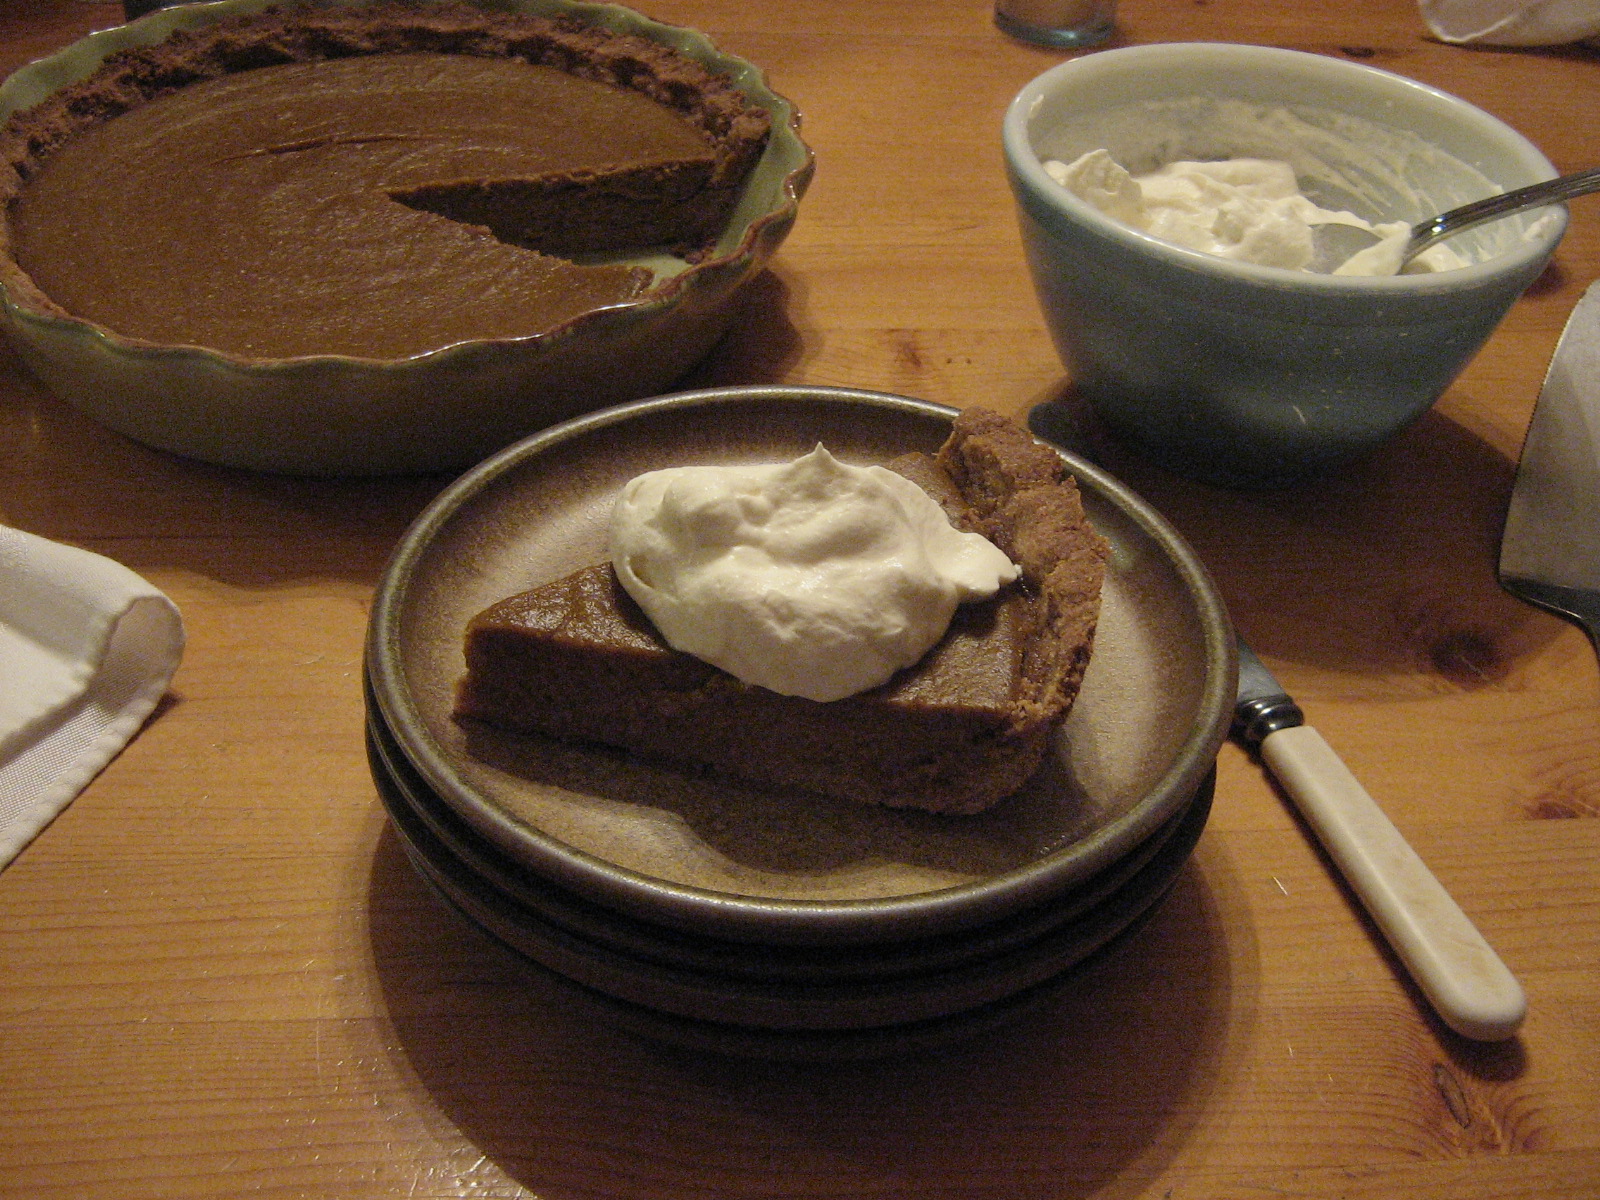
Maple Coconut Pumpkin Pie with Spelt Shortbread Crust
Modified from Martha Stewart; makes one 9-inch pie
Spelt Shortbread Crust
A note on baking with spelt: spelt flour is a cousin of wheat flour, but is lower in gluten so it behaves a little differently in baking – basically, it absorbs less liquid and often turns out a bit crumblier. I usually think of it as similar to cake and pastry flour, but I’m not sure how accurate that actually is. In most cases, to substitute spelt for wheat flour, just increase the amount of flour by 25% (or, you can decrease the amount of liquid by 25%, but this sometimes also decreases the volume of whatever you’re making, so I usually go with the other method). However in this recipe, because there is no liquid added to the crust, a straight one-to-one substitution works.
Preheat oven to 375˚F.
In a bowl, cream together:
4 tbsp unsalted butter or margarine, softened (I used dairy-free margarine to accommodate a dairy allergy)
3 tbsp white granulated sugar
Stir in:
1 large egg yolk
Add:
1 cup whole spelt flour (or all purpose wheat flour, or 1/2 cup each all purpose and whole wheat flours)
1 tsp coarse salt
Stir until the mixture is uniformly crumbly – it should clump together easily when squeezed between your fingers. Press it evenly into the bottom and just over an inch up the sides of a 9-inch pie plate. Freeze until firm (20 minutes – I forgot to do this and it turned out fine), then bake in a 375˚F oven for 15-20 minutes, rotating half-way through, until golden brown. Let cool while you prepare the pumpkin filling.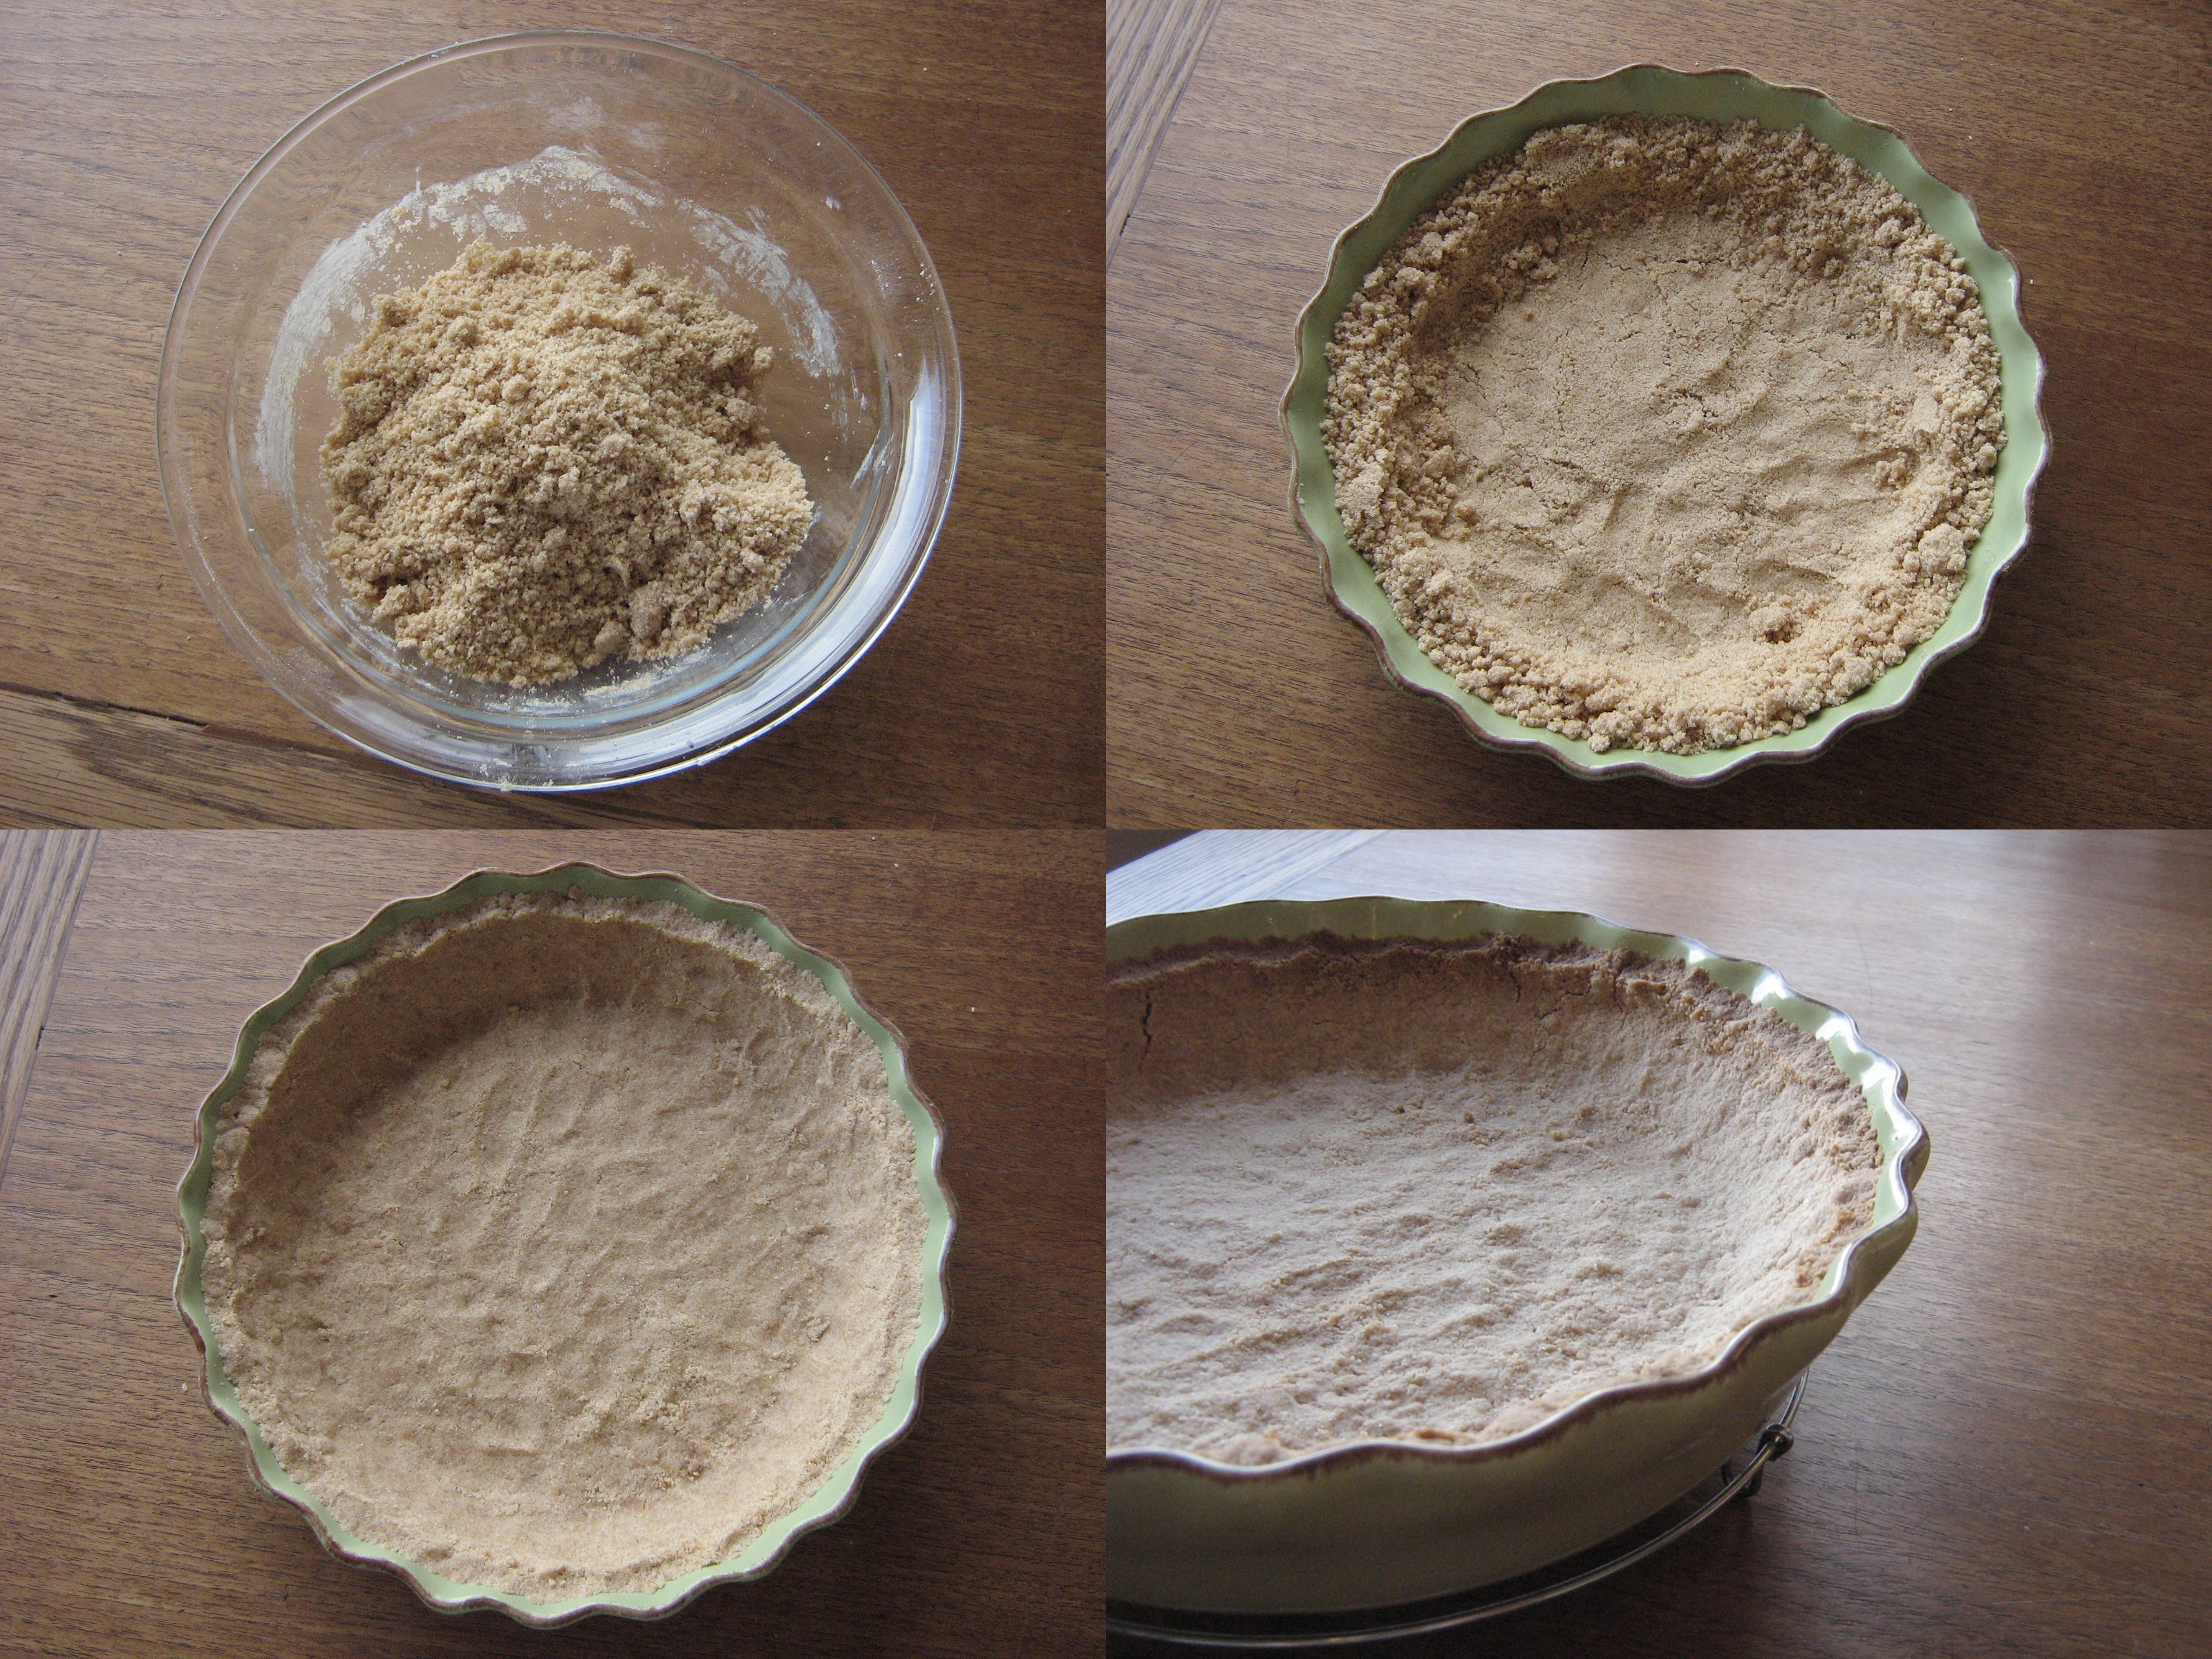
Maple Coconut Pumpkin Filling
Preheat oven to 325˚F.
In a medium bowl, whisk together until smooth:
1 14-0z/398 ml can pure pumpkin (not pumpkin pie filling)
3/4 cup coconut milk with a high fat content (ie, not light – the one I used had 14 grams of fat per 1/3 cup – and make sure you shake the can well)
1/3 cup pure maple syrup (the darker the better – darker = more flavour)
2 eggs, beaten slightly
2 tbsp dark brown sugar (demerrara if you can find it)
1 tsp pure vanilla extract
1 tsp coarse salt
1 tsp ground cinnamon
1/2 tsp ground ginger
1/4 tsp ground allspice
1/8 tsp ground nutmeg
1/8 tsp ground cloves
Pour the filling into the prepared pie crust. Bake the pie at 325˚F for 65-70 minutes, until the filling is slightly puffy and just set (it should still jiggle a bit). Cool completely on a wire rack, then refrigerate, uncovered, for at least 6 hours. Serve with maple whipped cream (1 cup whipping cream + 1 tbsp maple syrup).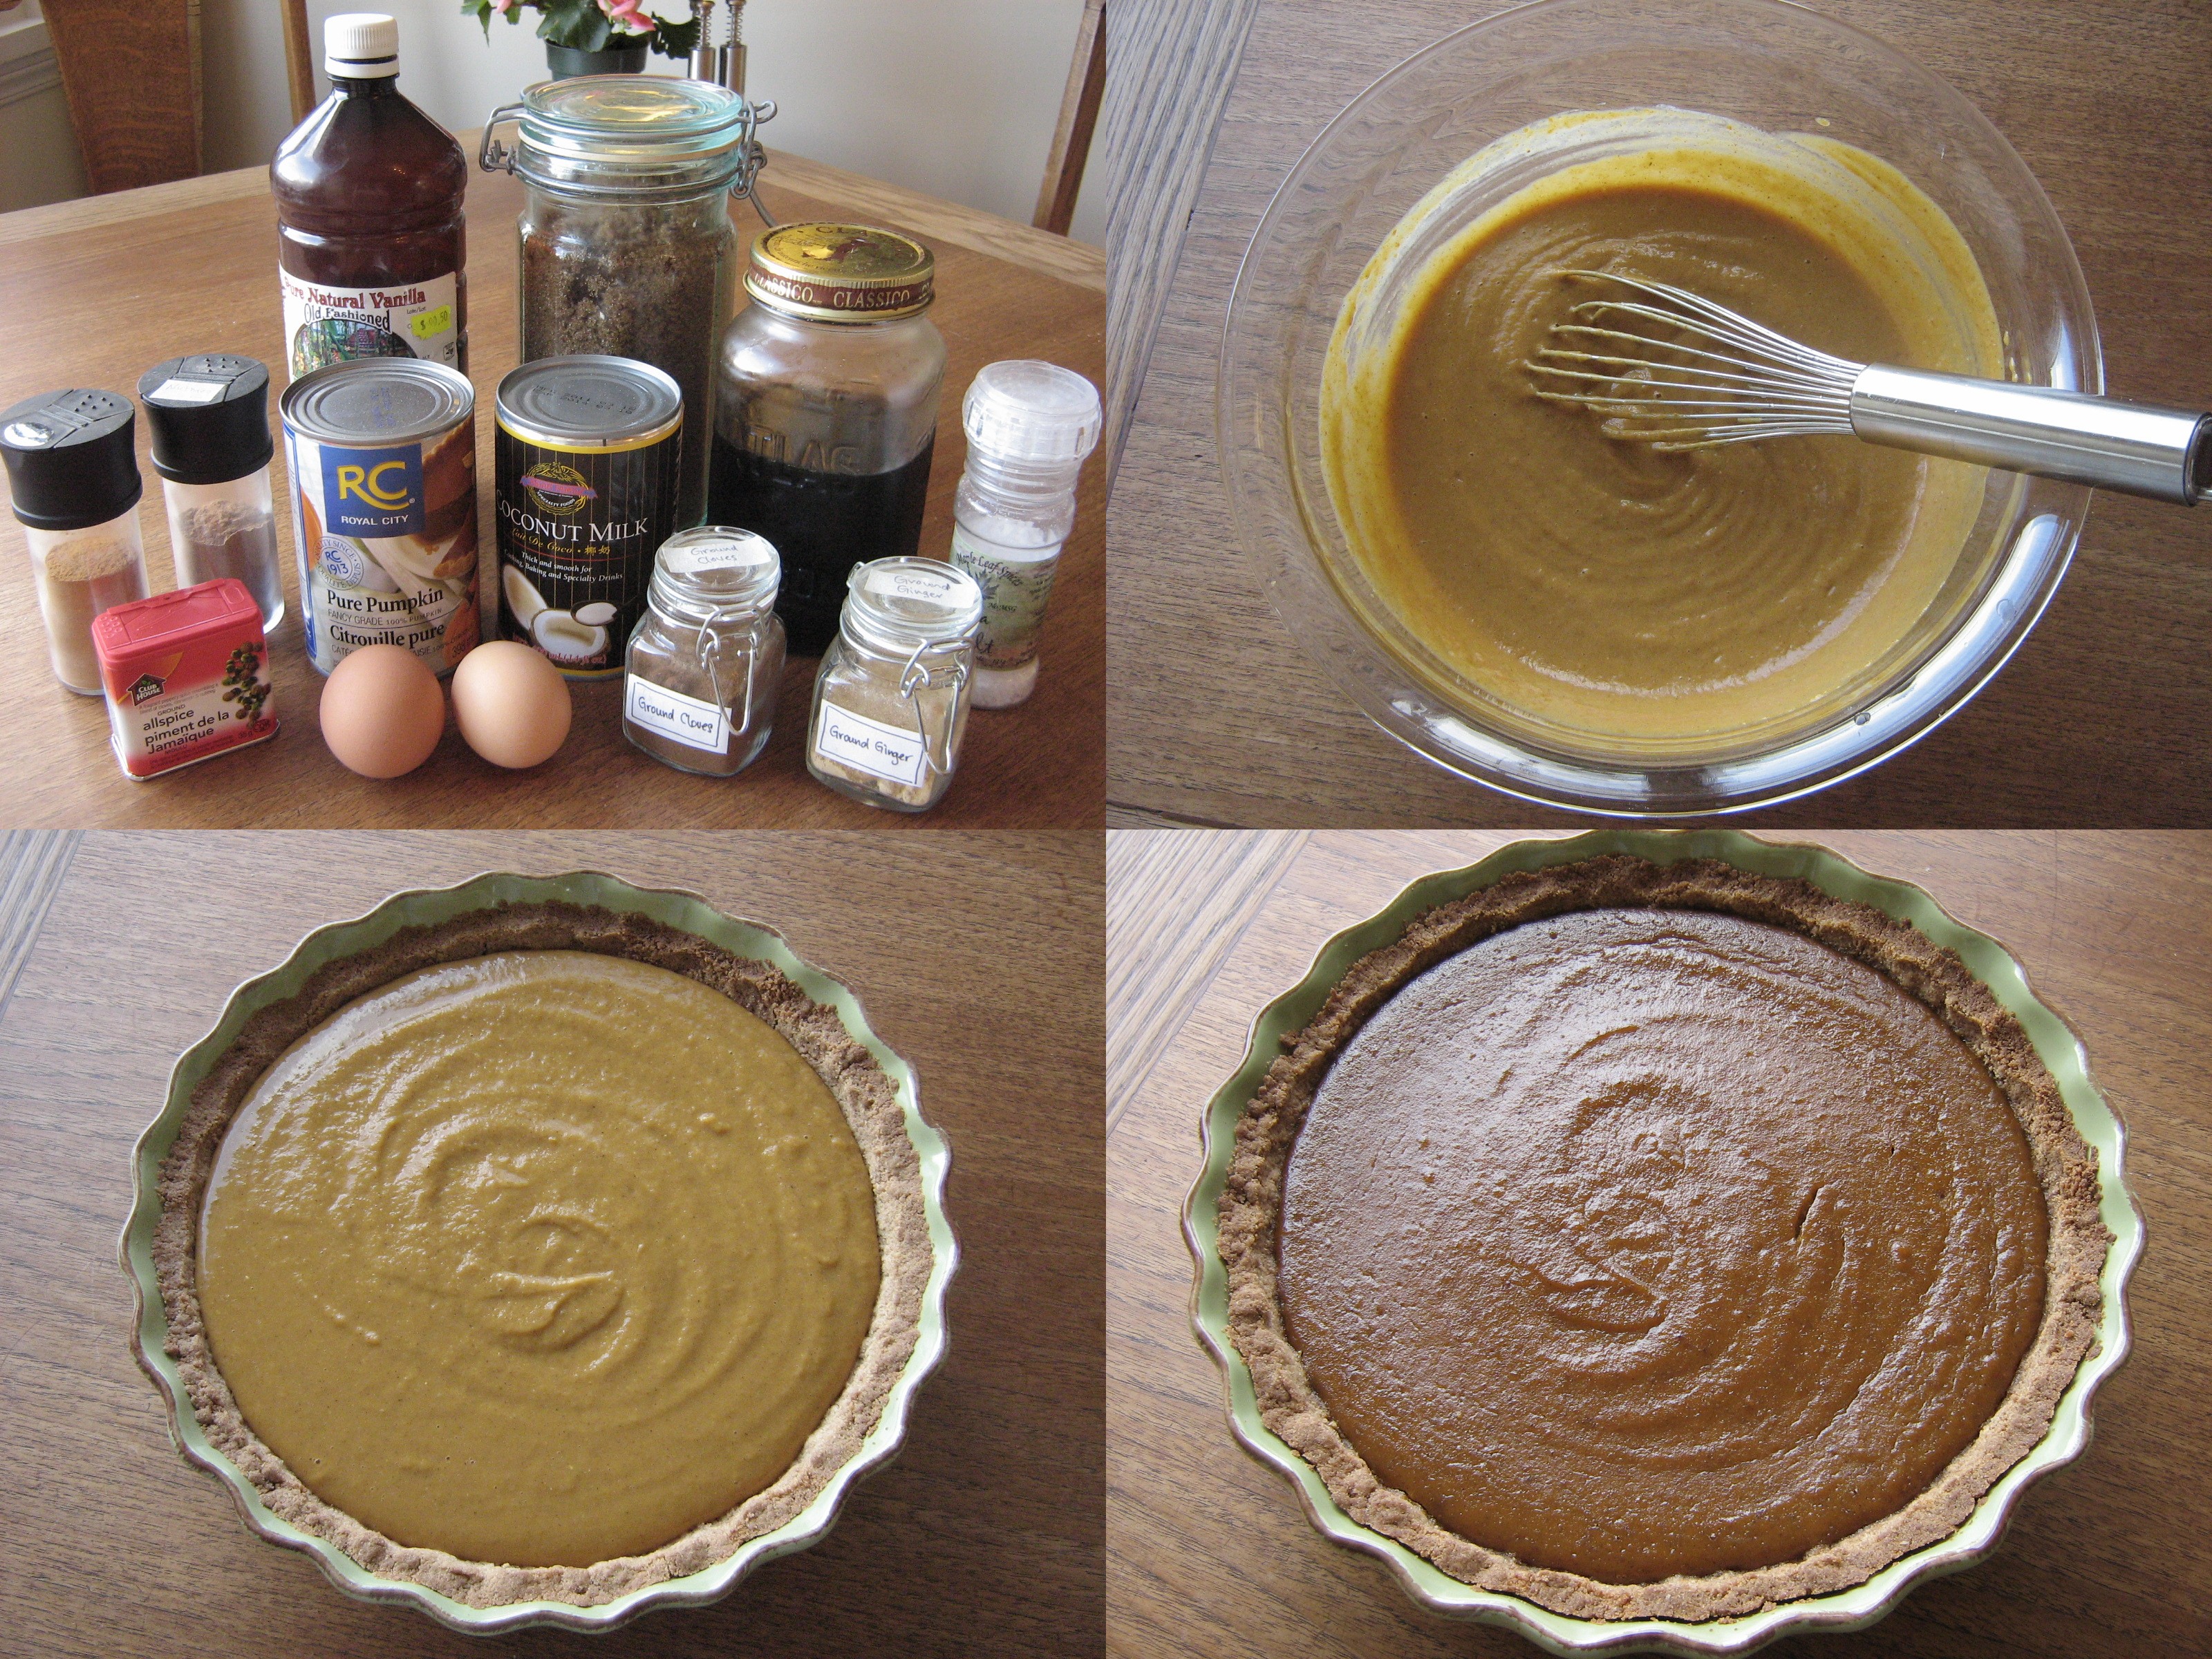
Blackberry Summer, Part 1: Galettes and Scones
 This weekend being Labour Day weekend, the unofficial “last weekend of summer”, I decided to put it to good use and go blackberry picking. When I was a kid, at least once a summer I would arm myself with a bucket and a stick and get dressed in long pants and sleeves to tackle the blackberry patch in one corner of our yard. I don’t remember doing anything special with the berries once I had picked them, but I just know it doesn’t really feel like summer until I’ve gone blackberry picking – something about the smell of the sun on the brambles, the sticky purple juice on my fingers, and the scratches as proof that I picked these berries myself. So, on Saturday I took a bowl across the park to the neighbourhood blackberry bushes, and about 30 minutes later I had almost two litres of ripe, juicy, black fruit. And I knew exactly what I was going to do with it!
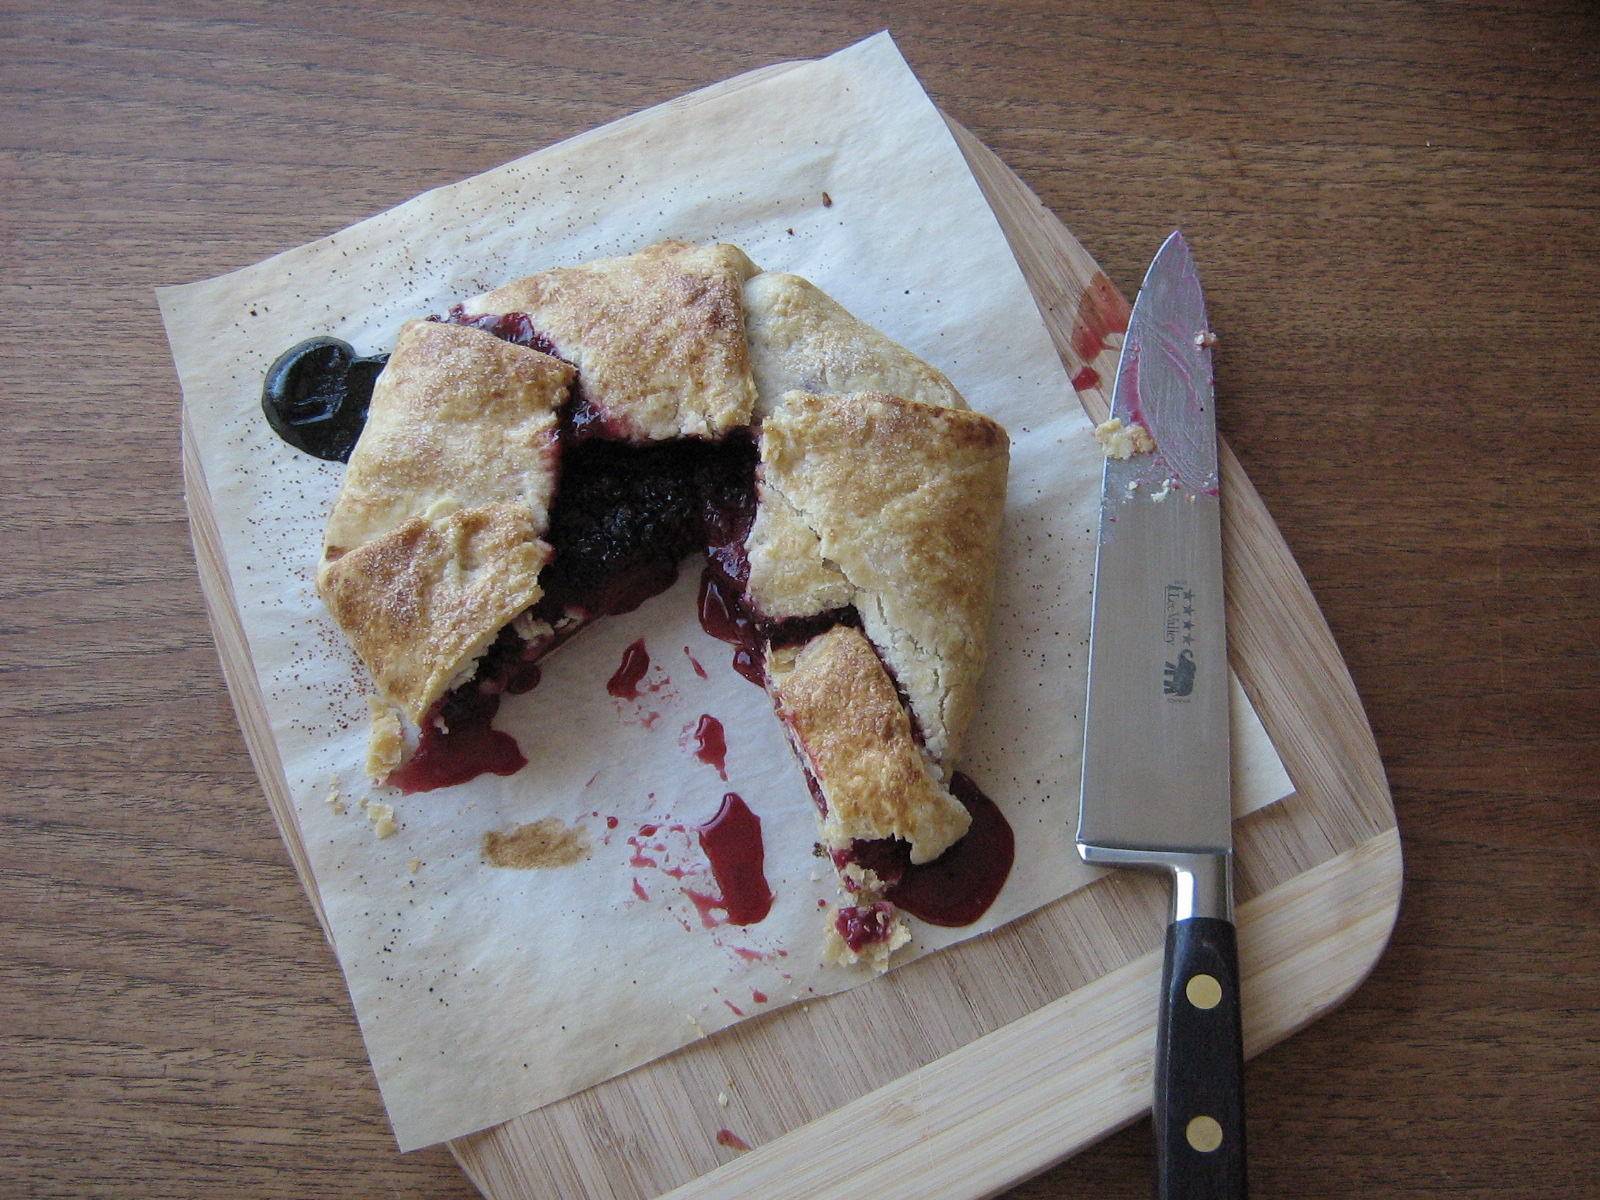
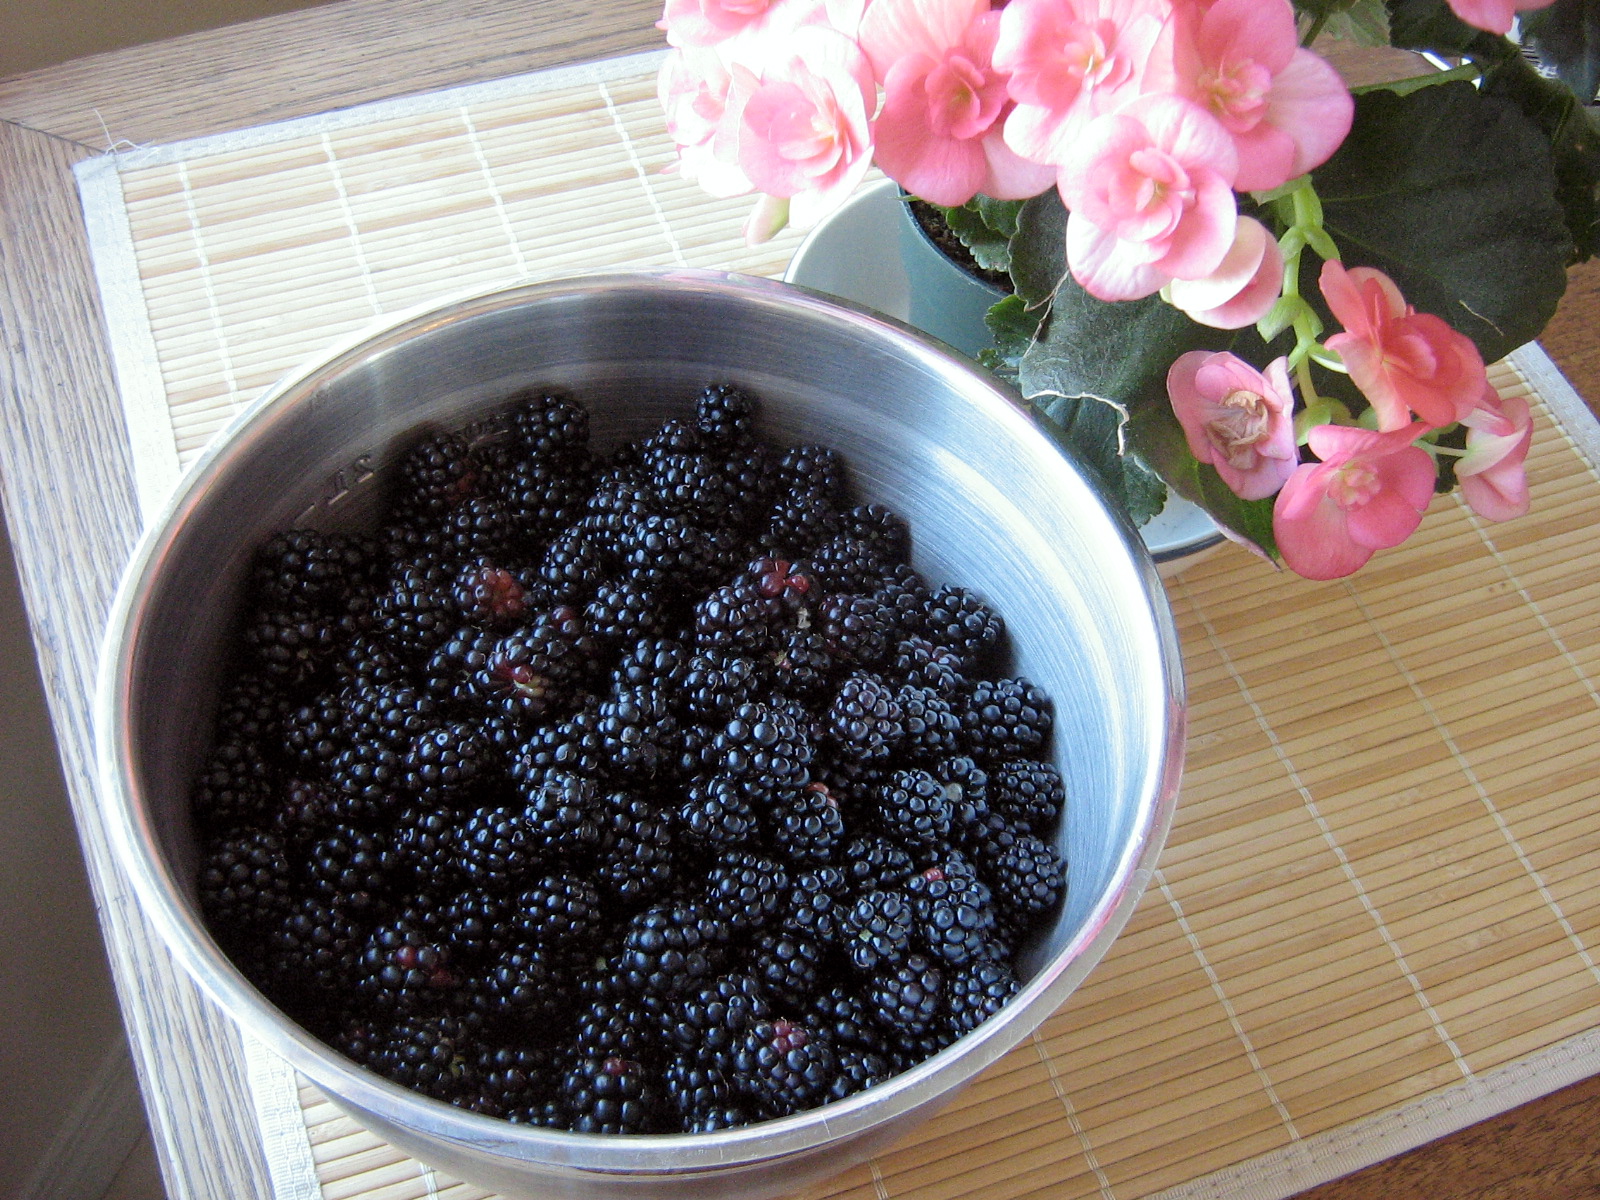 Inspired by my friend Frances, I made a galette (actually I made two) – a fancy sounding French name for a rustic, single crust tart.
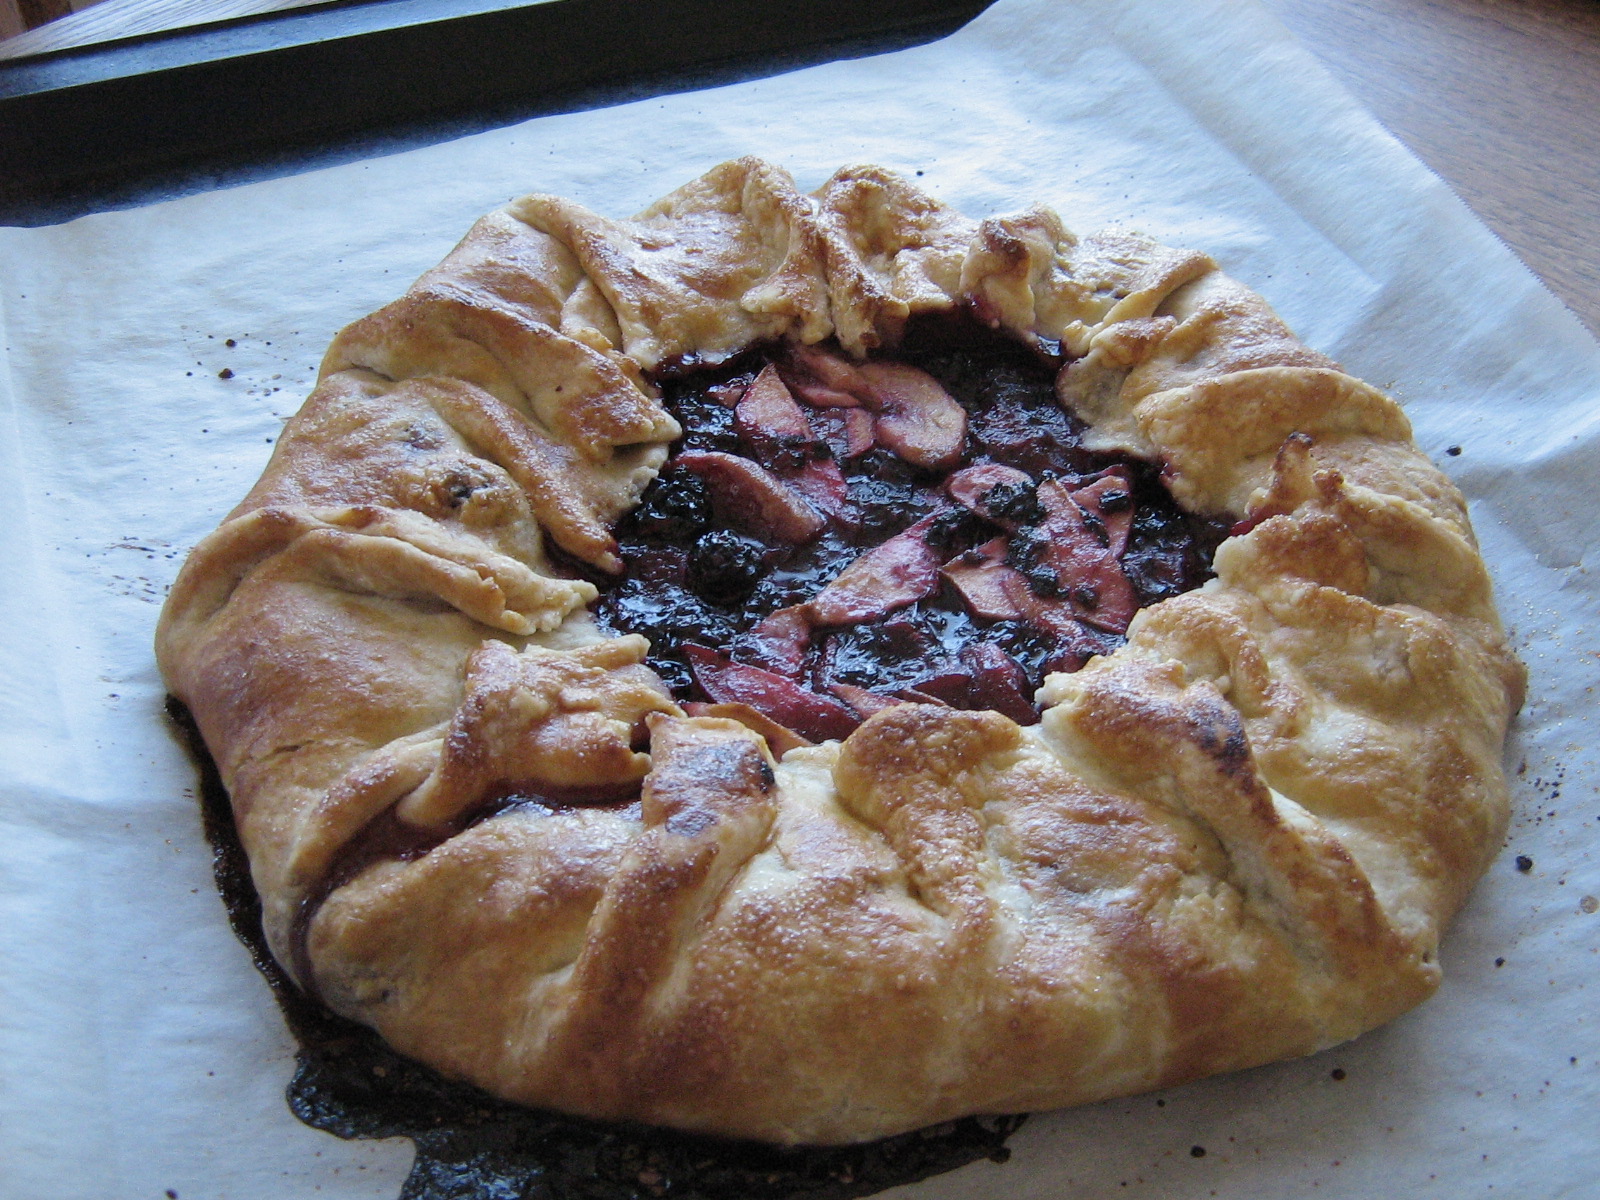 I love making galettes, especially with blackberries, and this is the perfect opportunity to share my favorite, fail-safe pastry recipe (interestingly, both my pie crust and Frances’ buck tradition by incorporating softened butter into flour, rather than the usual method of cutting in cold butter).
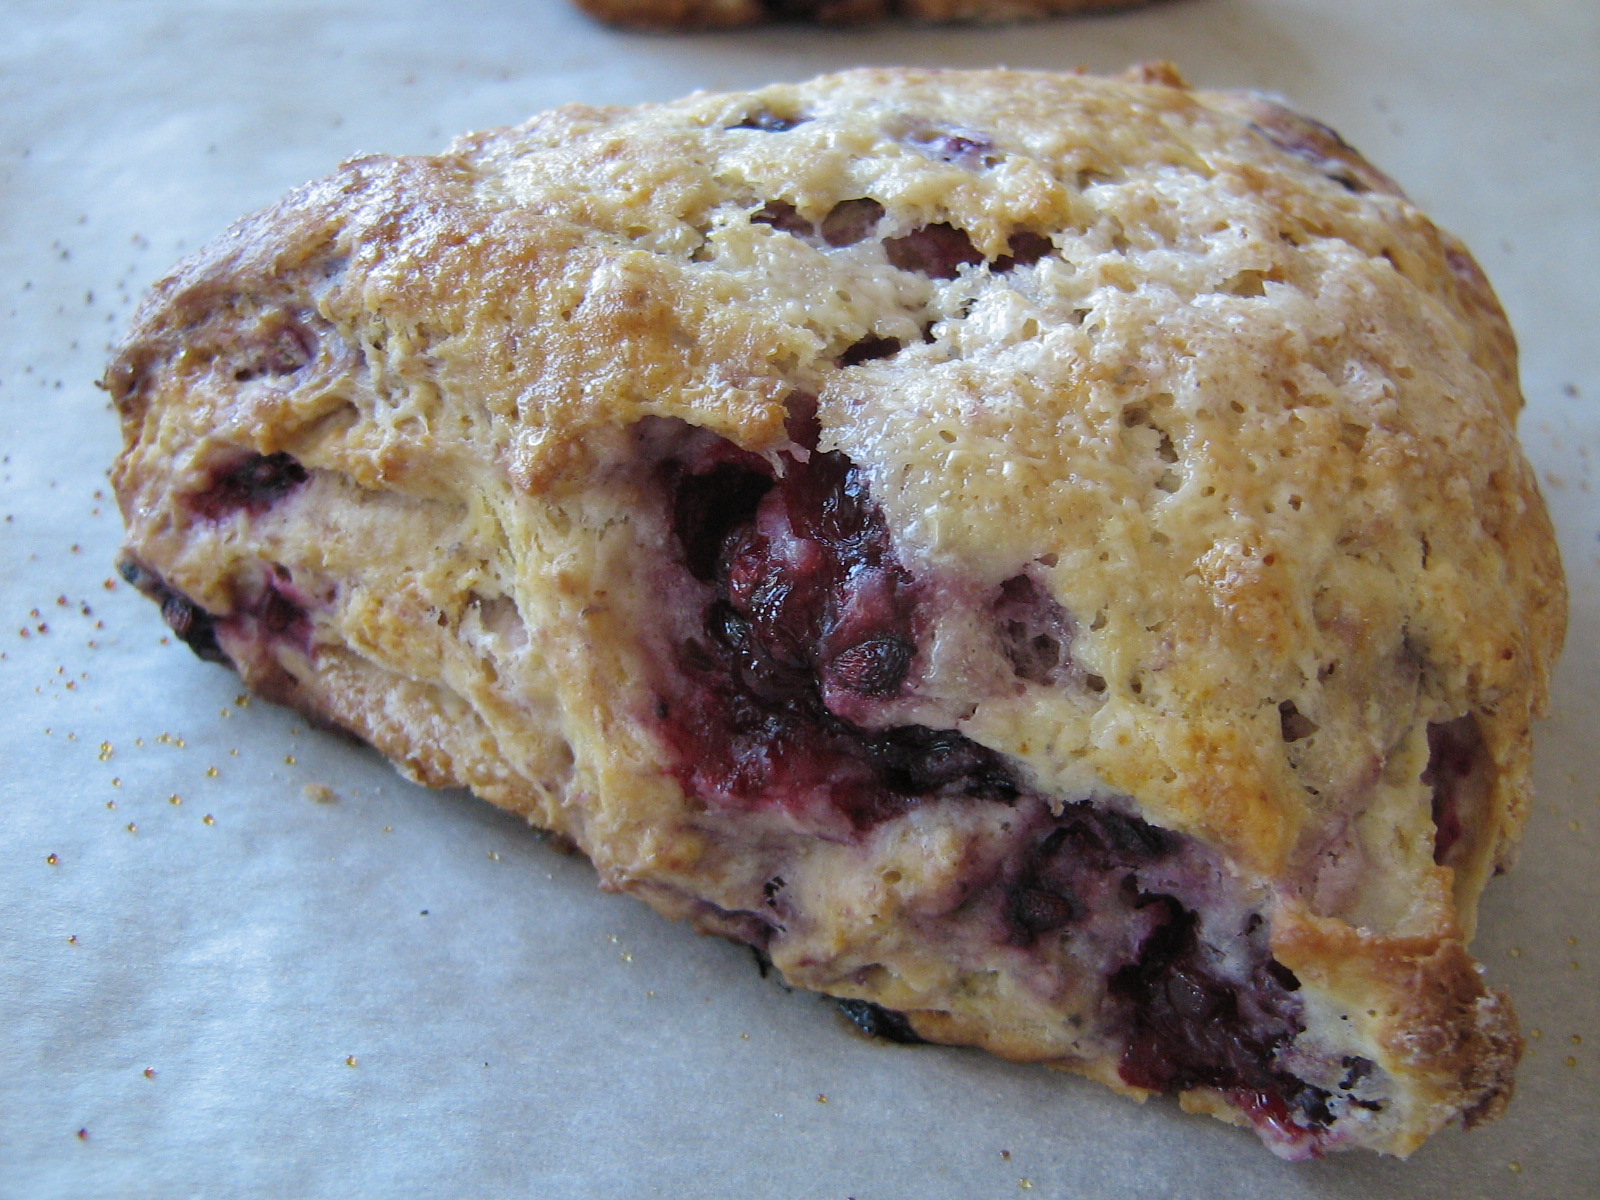
 Frances also pointed out the Amateur Gourmet’s Revelations of the Kitchen Freezer, where Adam shares the idea of freezing things like unbaked scones to be pulled from the freezer and baked at a later date – fresh, hot scones whenever you want them, without any prep! So I also made a batch of blackberry scones, some of which I baked immediately and some of which I froze for later.
Blackberry Galette
Perfect Pastry
Recipe from Canadian Living. I first made it quite a few years ago for an apple pie, and I have not looked at another pie crust recipe since. The only thing it’s not great for is pre-baking without a filling (ie, for a quiche) – because it’s got a lot of fat in it, it tends to shrink and melt down the sides of the pie plate, unless it has a filling to hold it up. As I mentioned, this recipe involves stirring softened butter/shortening into the flour rather than cutting it in cold – not a common pastry-making method, but one that has produced a delicious, flaky, easy-to-work-with pastry every single time I’ve made it, including a variation using ground hazelnuts. The original recipe calls for 3/4 cup shortening and 3 tbsp butter, but feel free to use more butter/less shortening/all butter – the total amount of fat required is 1 cup minus 1 tbsp (or 15 tbsp). I used shortening because I had some leftover from this frosting.
Makes enough pastry for one double crust pie, or two single crust pies/galettes.
In a medium sized bowl, combine:
3/4 cup shortening, soft
3 tbsp butter, soft
2 1/4 cups all purpose flour
3/4 tsp salt
Stir into the butter until it looks ragged.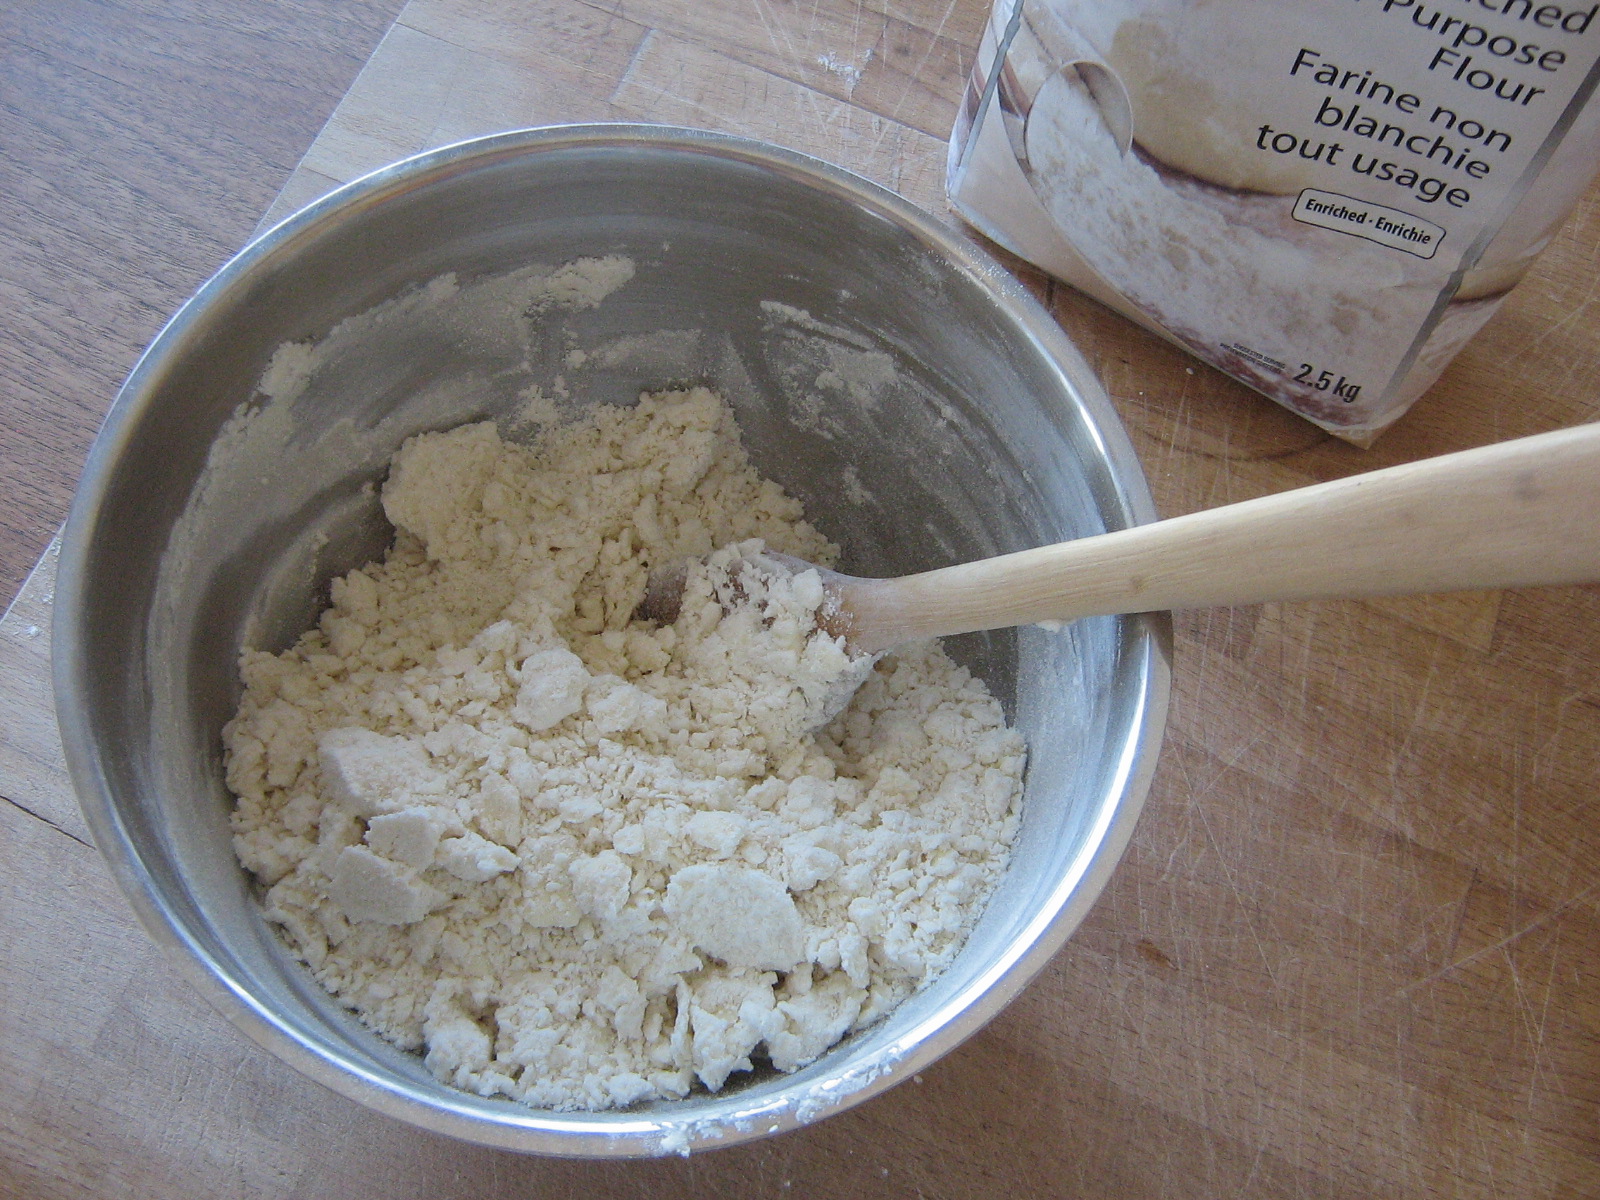 Pour in:
1/2 cup ice water
Stir gently until a loose dough forms.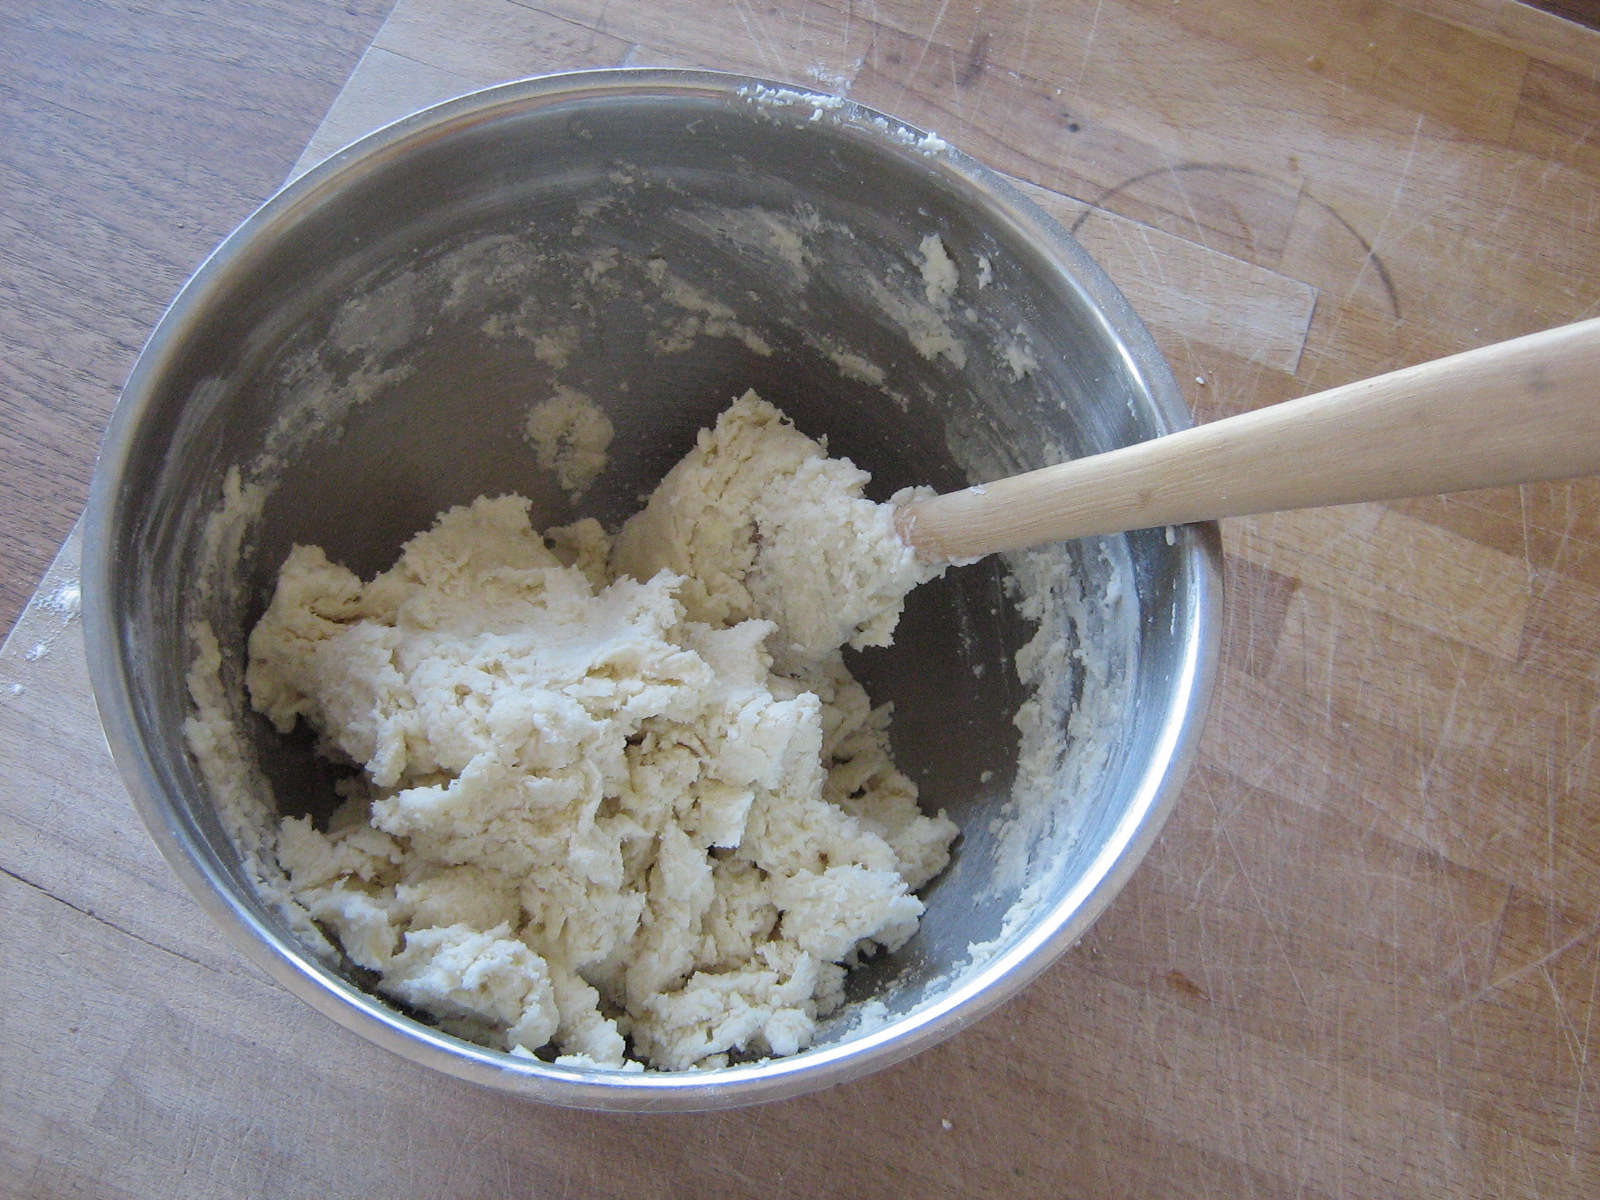 Turn the dough out onto a lightly floured surface and if necessary, knead very gently to incorporate any dry flour from the bottom of the bowl. Gather the dough into two balls and press each into a 3/4 inch disc.
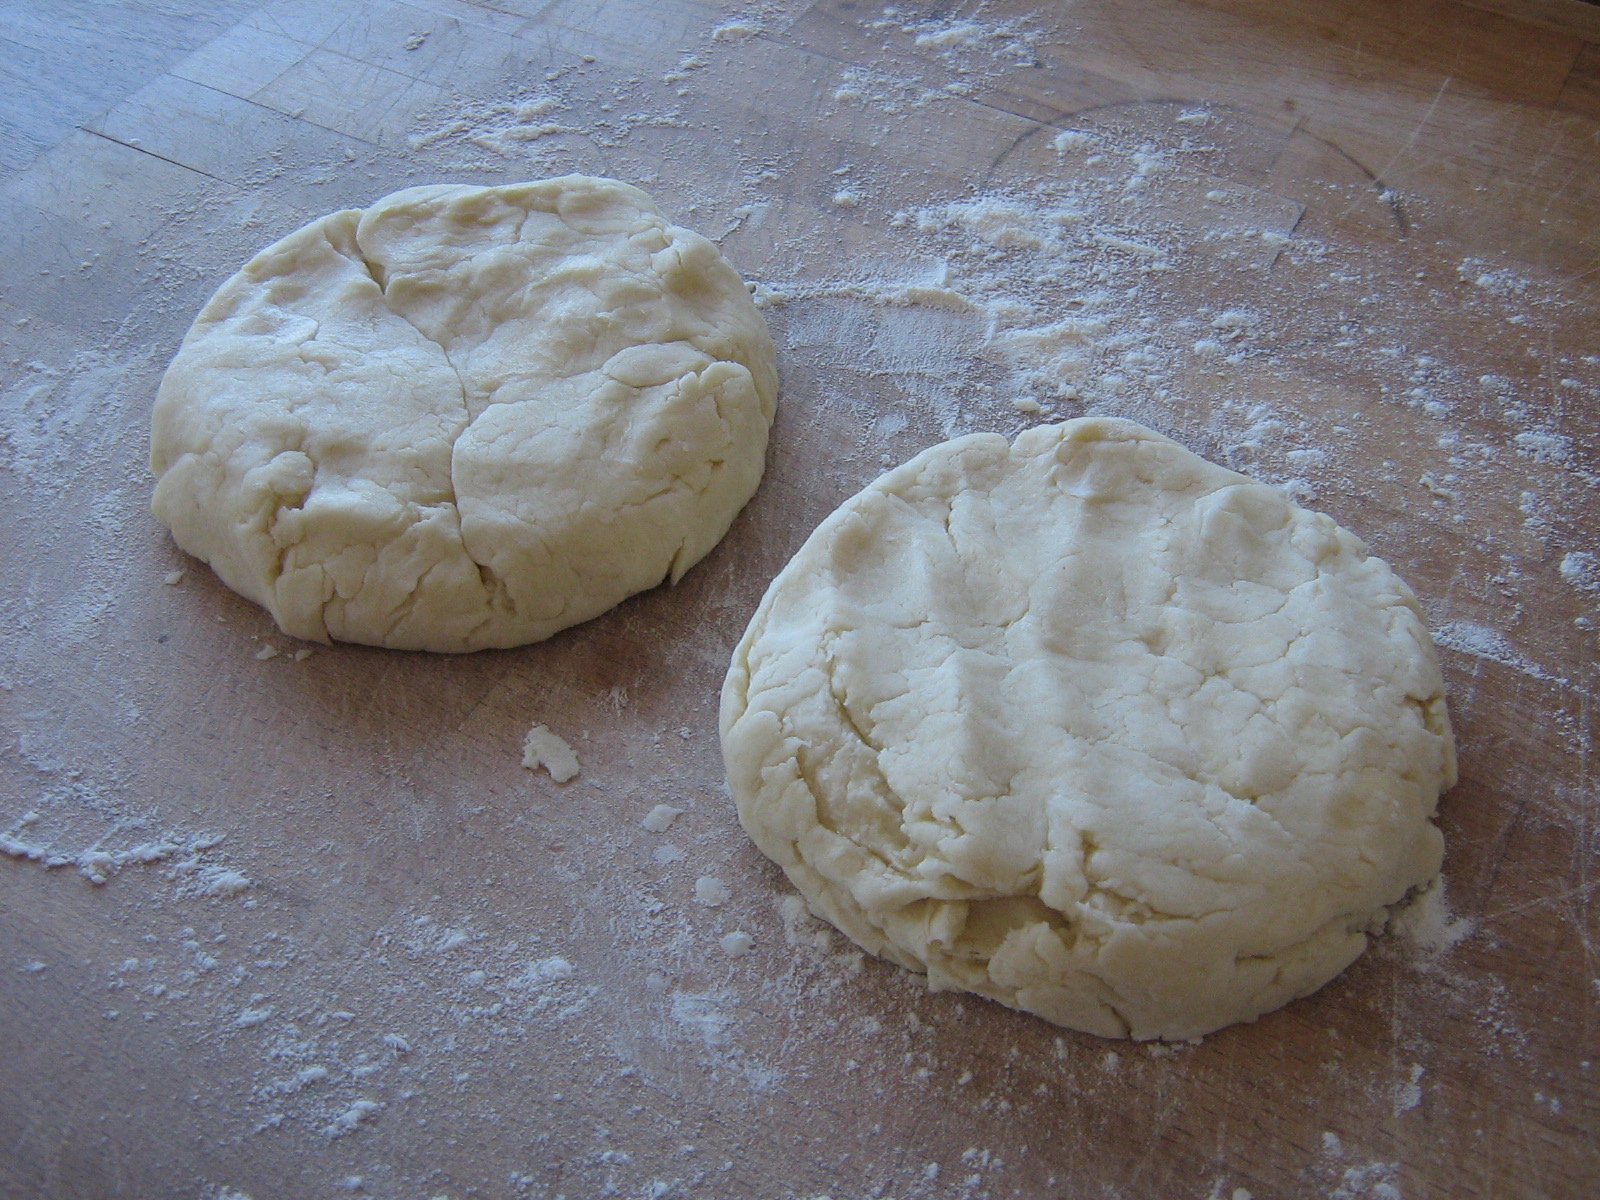 Wrap in plastic wrap and refrigerate at least 1 hour, or until well chilled.
The Filling
I had pastry for two crusts, so I made two galettes: a small blackberry-peach one for just me and Nate, and a larger blackberry-apple one to share with friends. I used slightly more fruit in the blackberry apple one, but the same amount of pastry for both, so you can be as generous or not as you want with the fruit – just roll the pastry out larger or smaller as need be. As a guide, these are the amounts of fruit that I used.
Blackberry Peach
2 cups blackberries
1 peach, peeled and sliced
1/4 cup granulated sugar, or to taste (was a bit tart – maybe 1/3 cup, depending on the sweetness of the berries)
1 tbsp flour
Blackberry Apple
2 generous cups blackberries
2 cups peeled, sliced apple
1/2 cup granulated sugar, or to taste
1 heaping tbsp flour
Gently mix together the fruit, sugar, and flour – try not to mash the blackberries.
To Assemble the Galette
Preheat the oven to 425˚F.
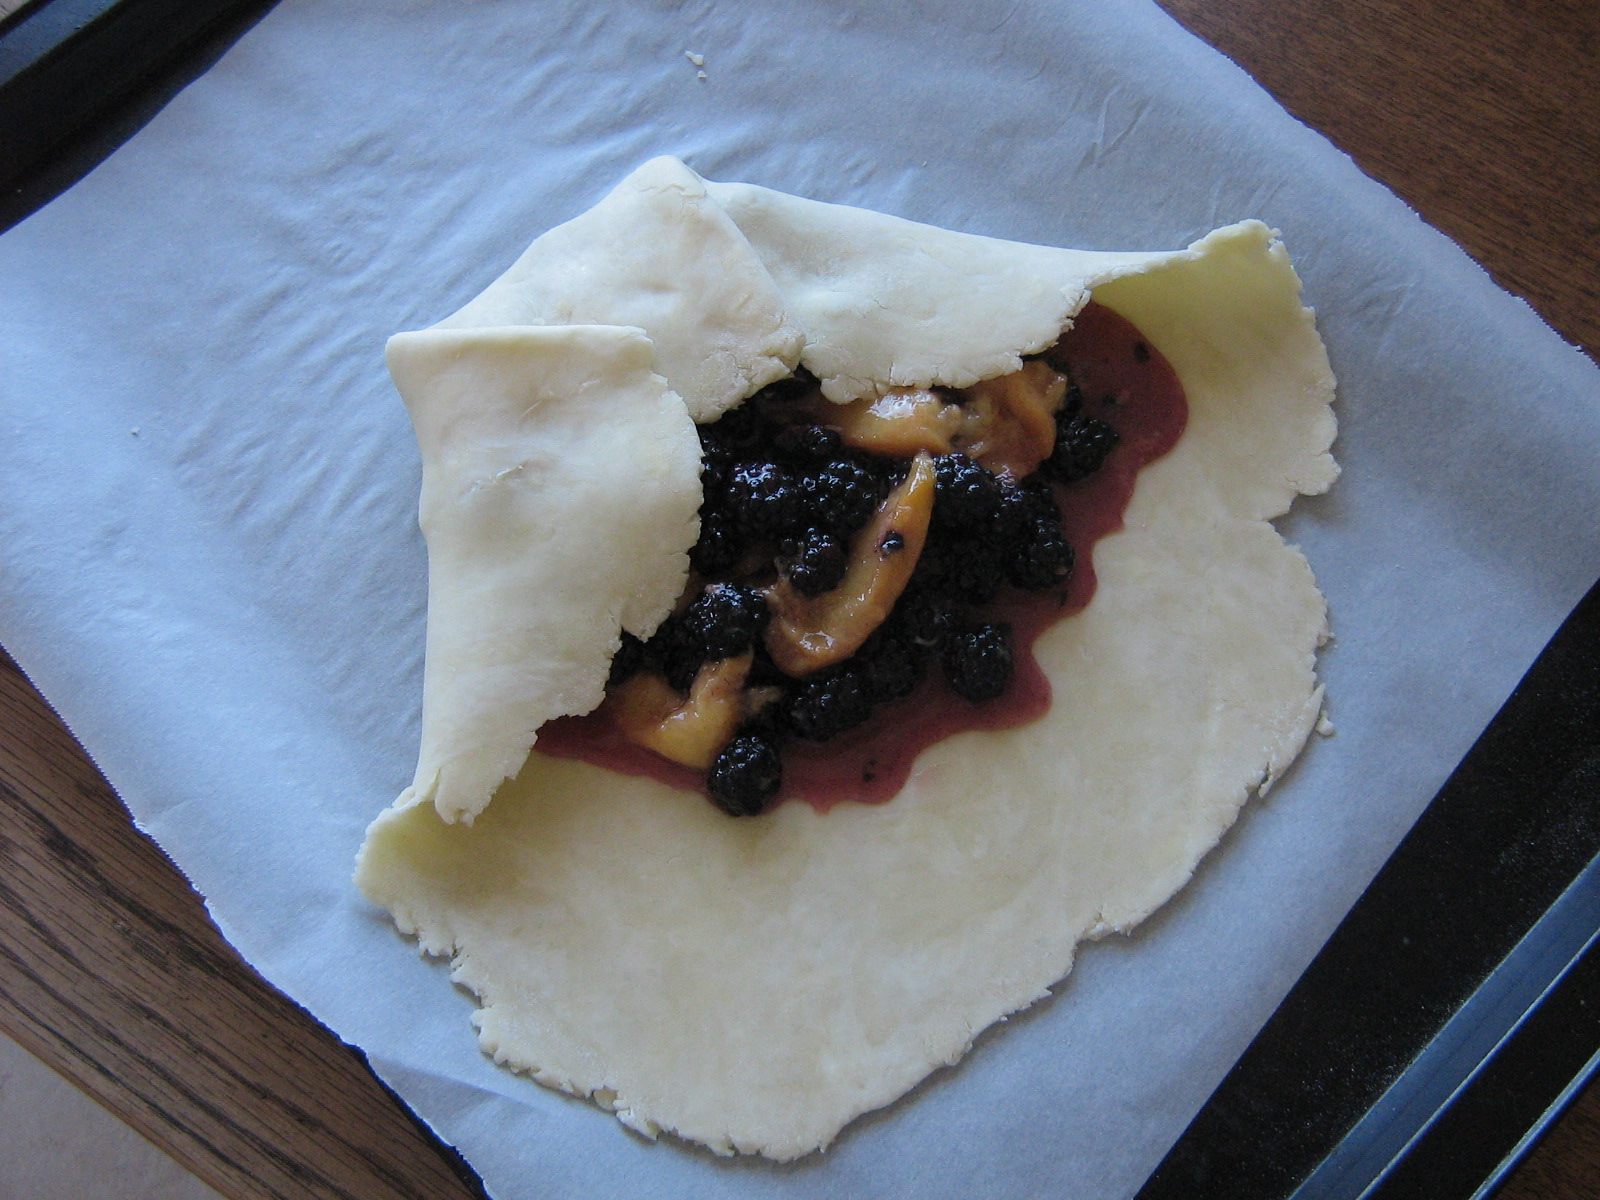
Roll out a disk of pastry on a lightly floured surface into a 10″-12″ circle.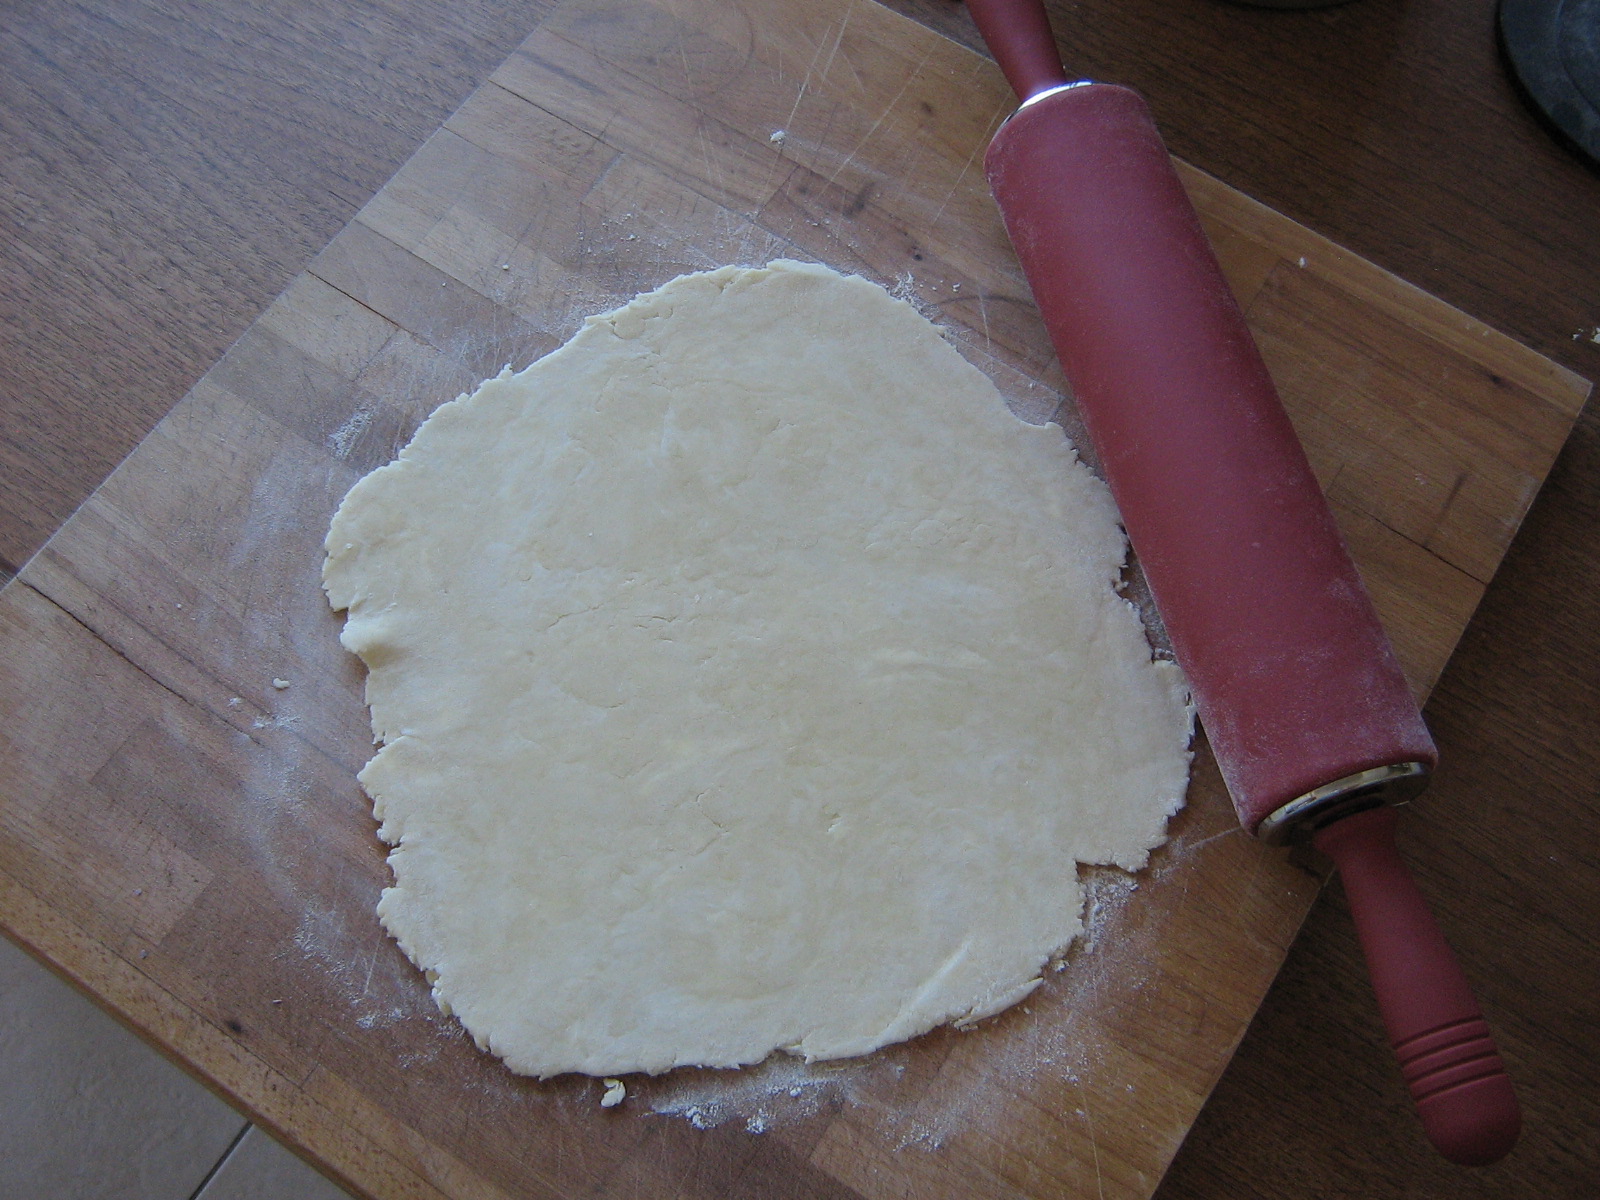 Transfer the pastry to a parchment paper-lined baking sheet and pile the fruit filling in the middle of the pastry.
 Fold the edges of the pastry up over the fruit…
 …or make pleats by crimping the pastry with your fingers.
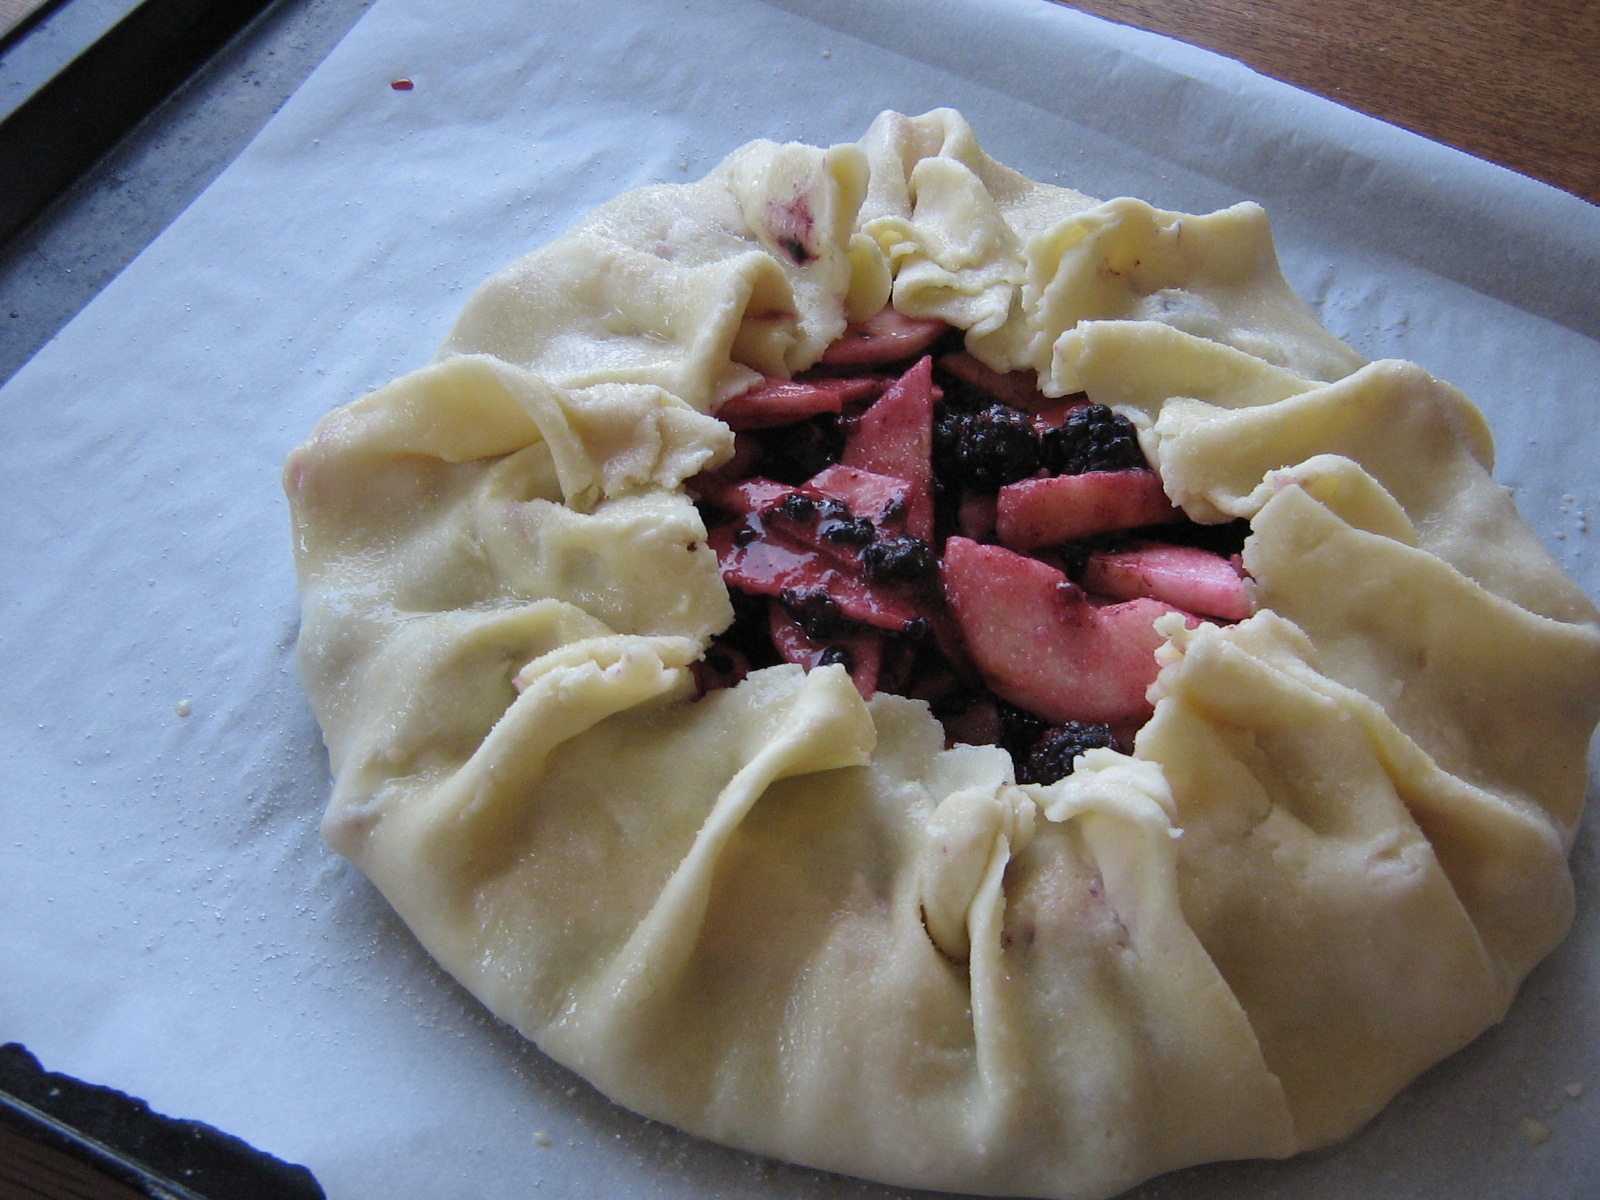 Brush the pastry lightly with heavy cream or an egg beaten with a splash of milk, and sprinkle the whole thing with a little bit of sugar. Bake at 425˚F for 10 minutes, then reduce the heat to 325˚F and bake for 50-60 minutes, until golden brown and bubbly. Cool slightly before serving.
Blackberry Scones with Whole Wheat and Honey
These are a variation on my trusty Home Ec scones.
Preheat the oven to 425˚F.
Mix together:
2/3 cup all purpose flour
1/3 cup whole wheat flour
2 tsp baking powder
pinch salt
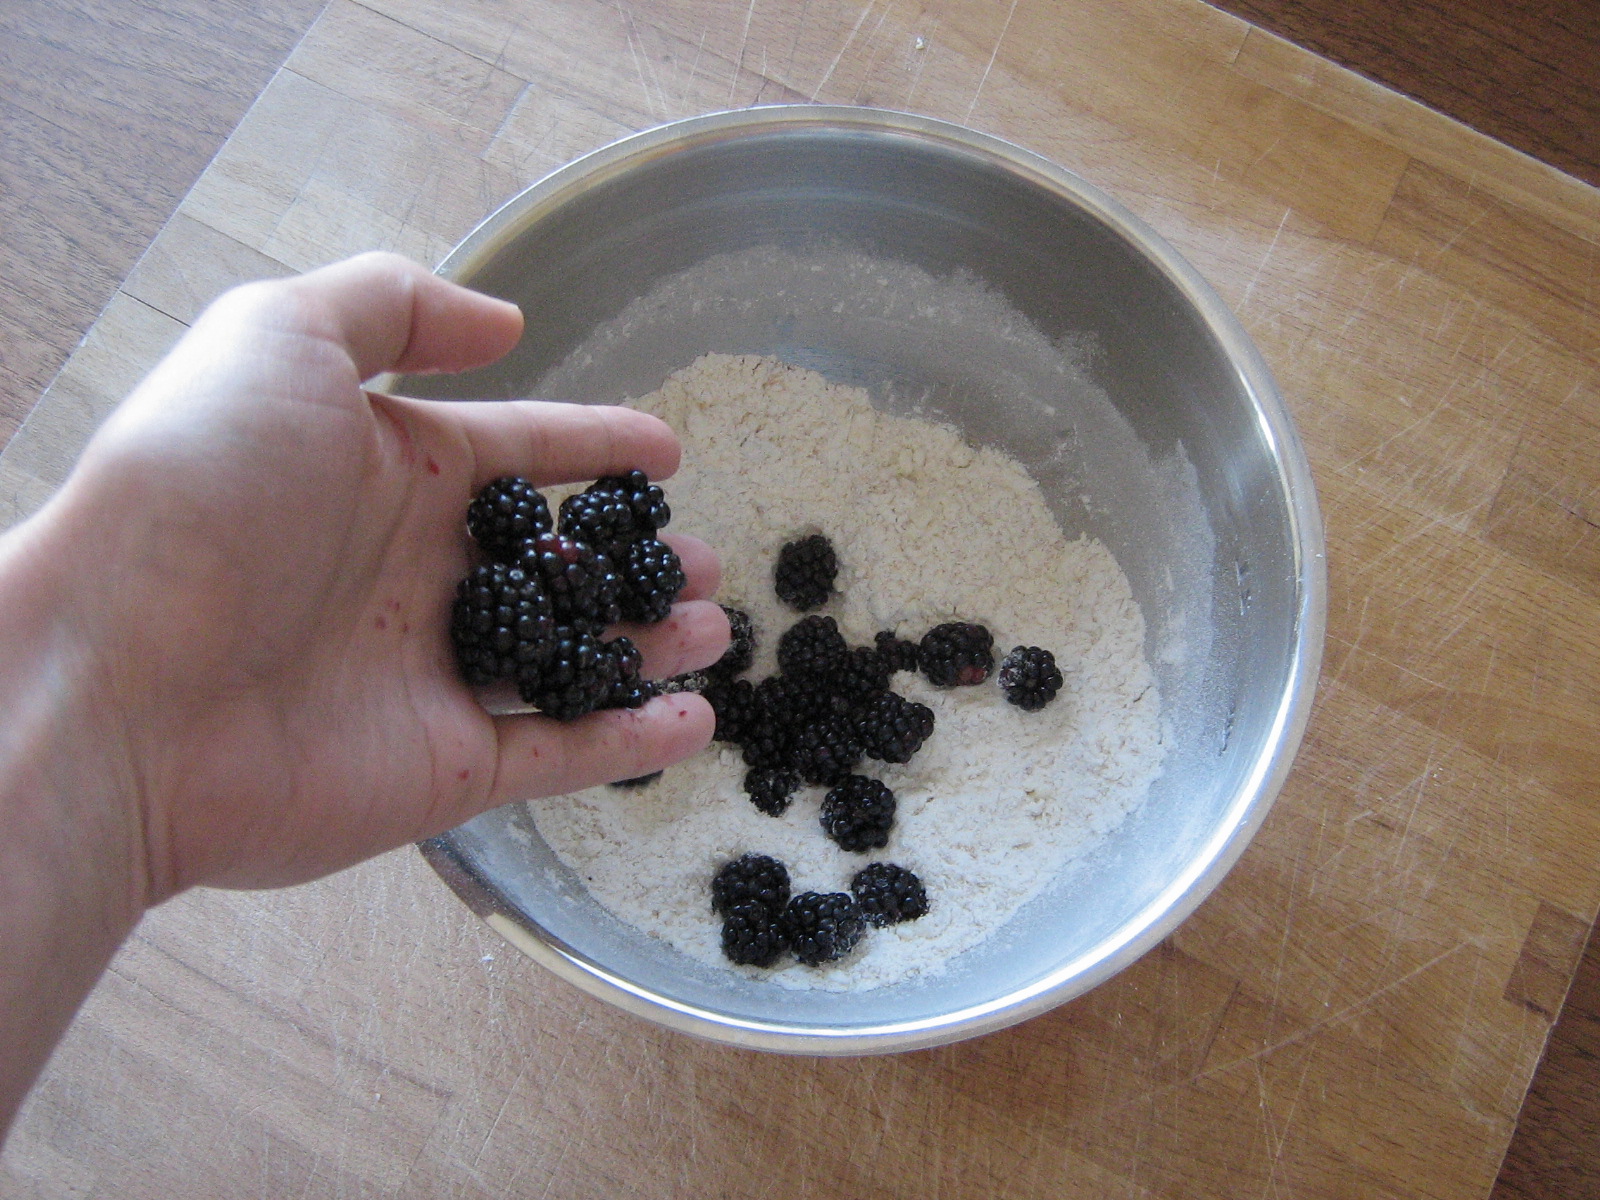
Cut in 3 tbsp cold butter with a pastry cutter until the mixture resembles fine bread crumbs.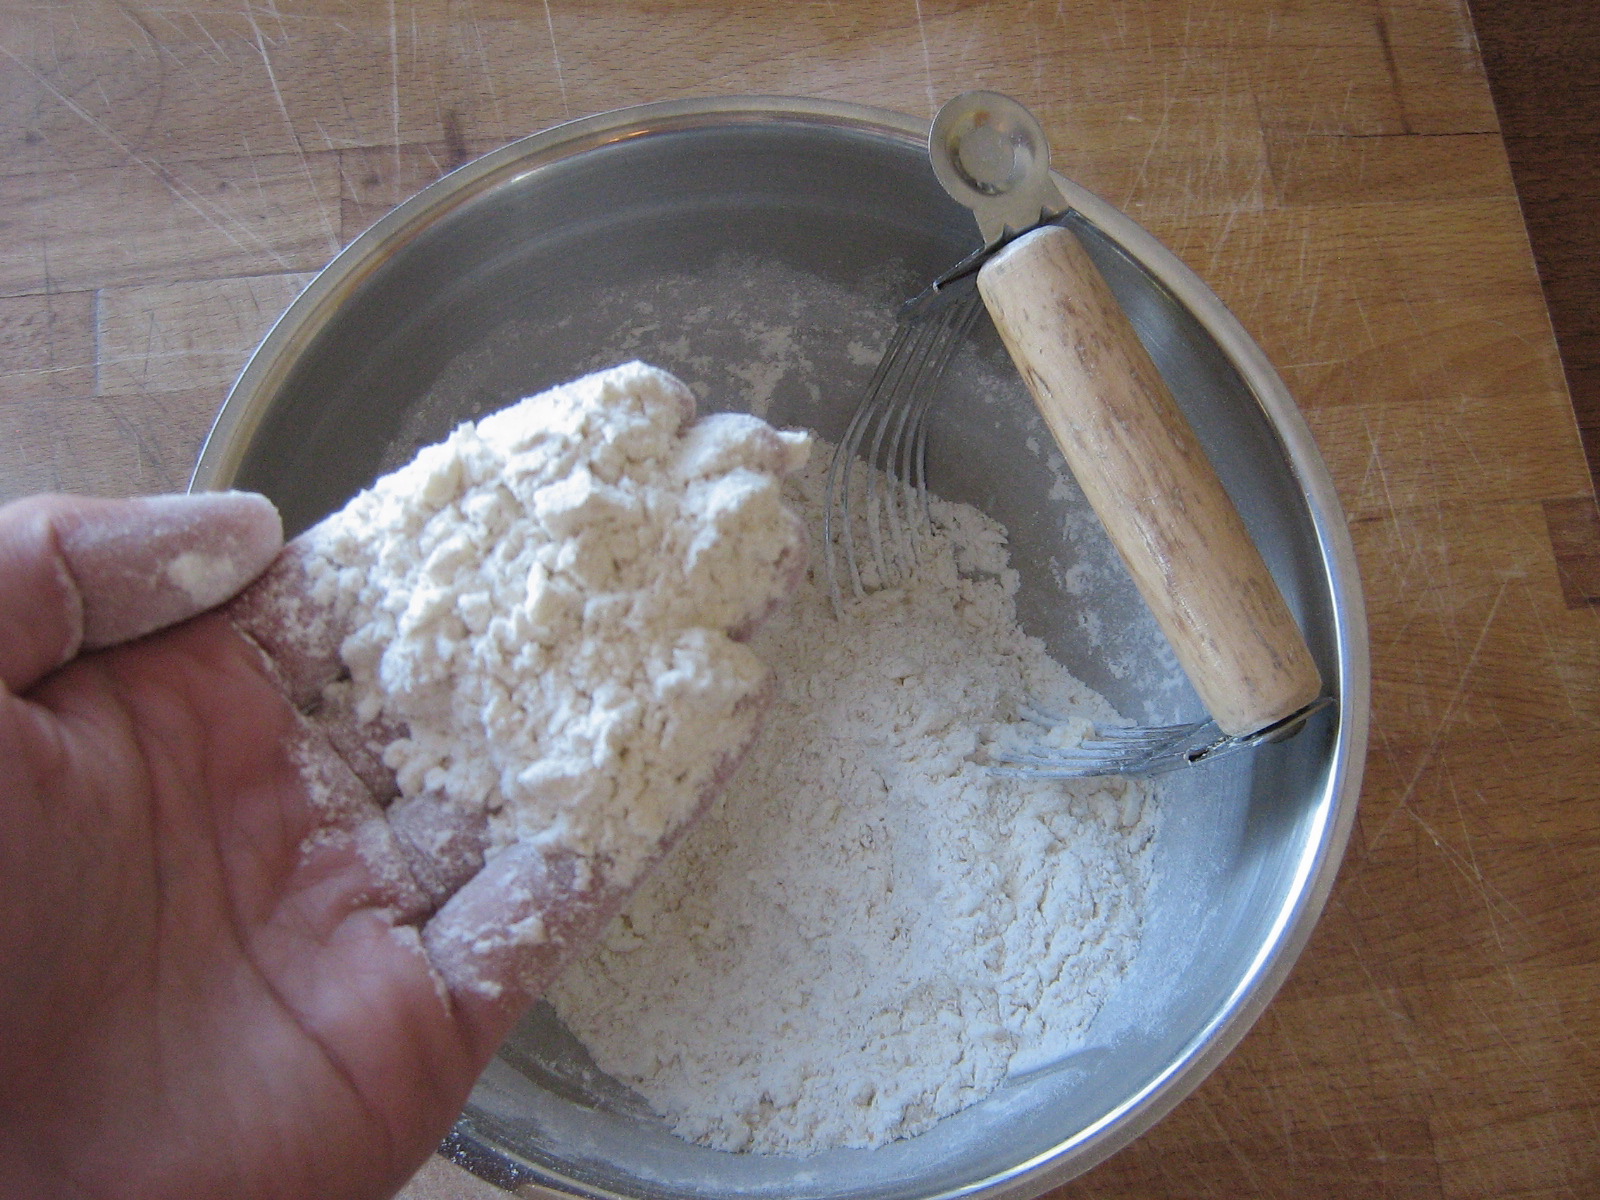 Toss in a handful of blackberries and stir gently to coat them in flour.
 Mix together:
1/2 cup milk
1 tbsp liquid honey
(Don’t worry if the honey doesn’t totally dissolve.) Pour the milk into the flour mixture and stir briskly with a fork until it all comes together in a wet dough. Try to incorporate all the flour without smushing the berries too much.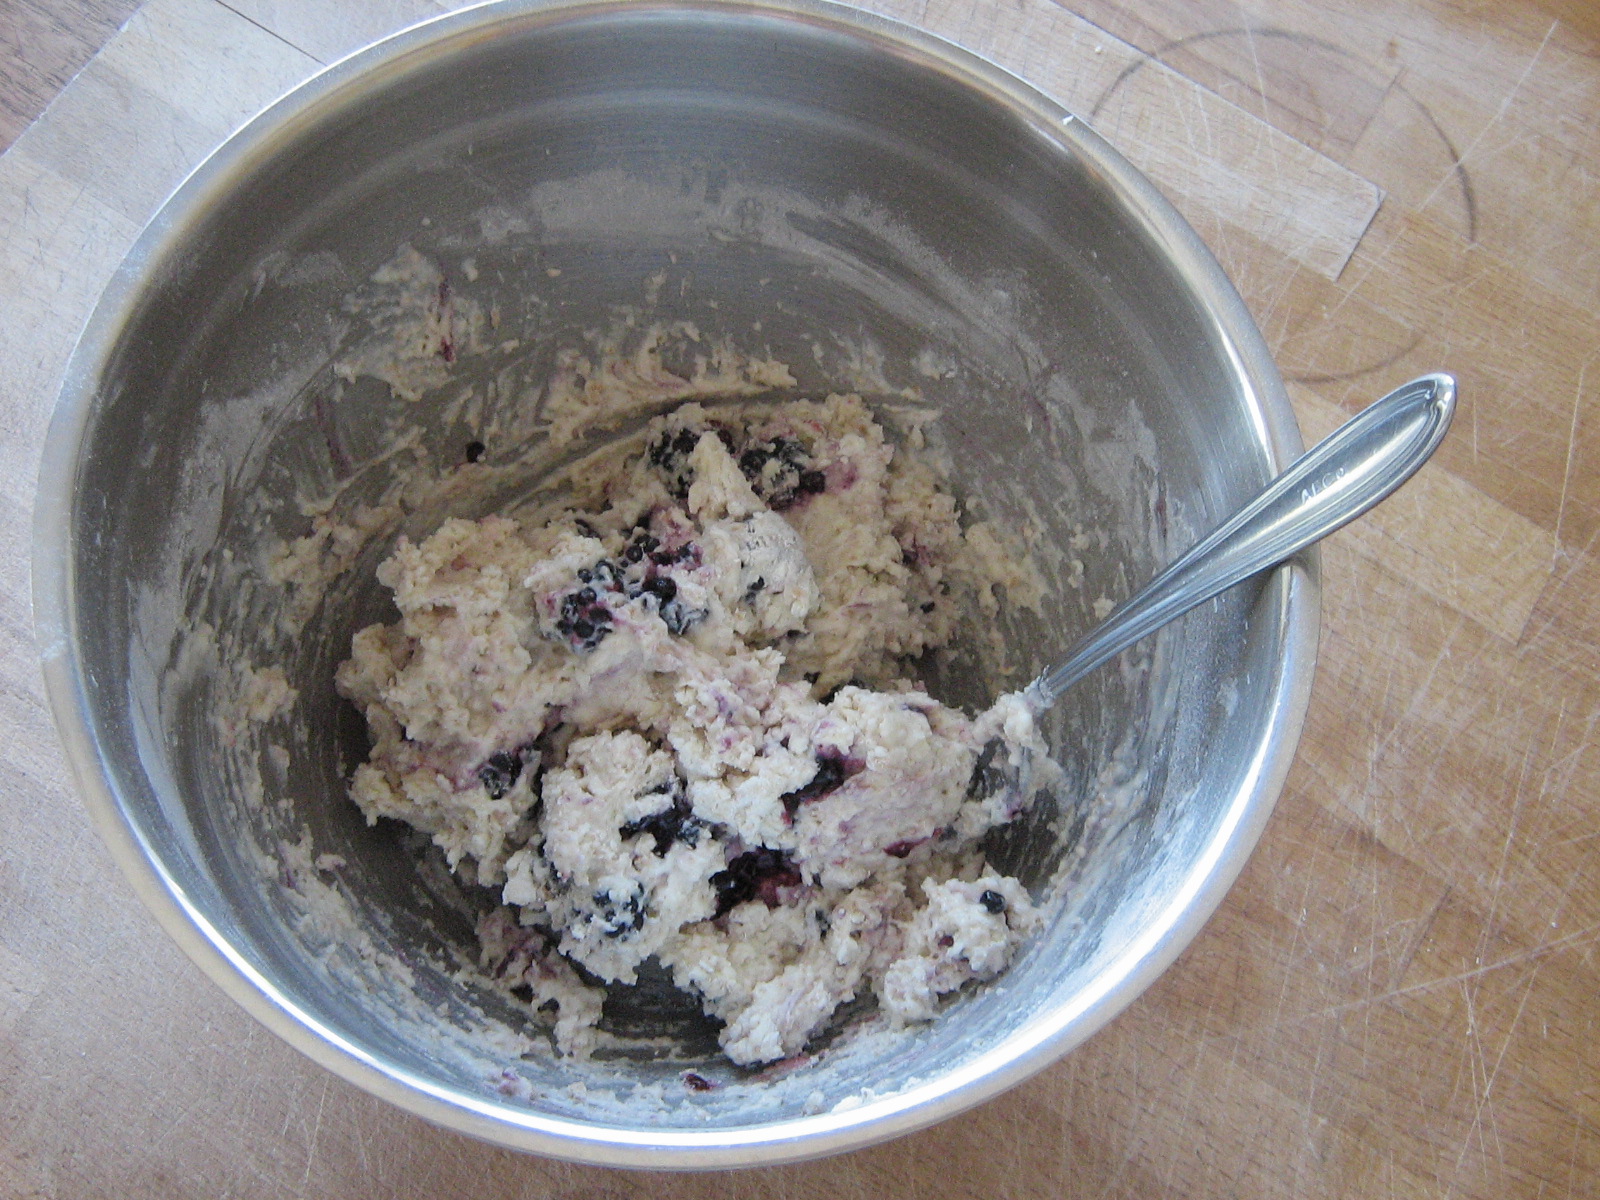 Turn the dough out onto a floured surface, sprinkle it with more flour, gently pat it down, and fold it in half on itself.
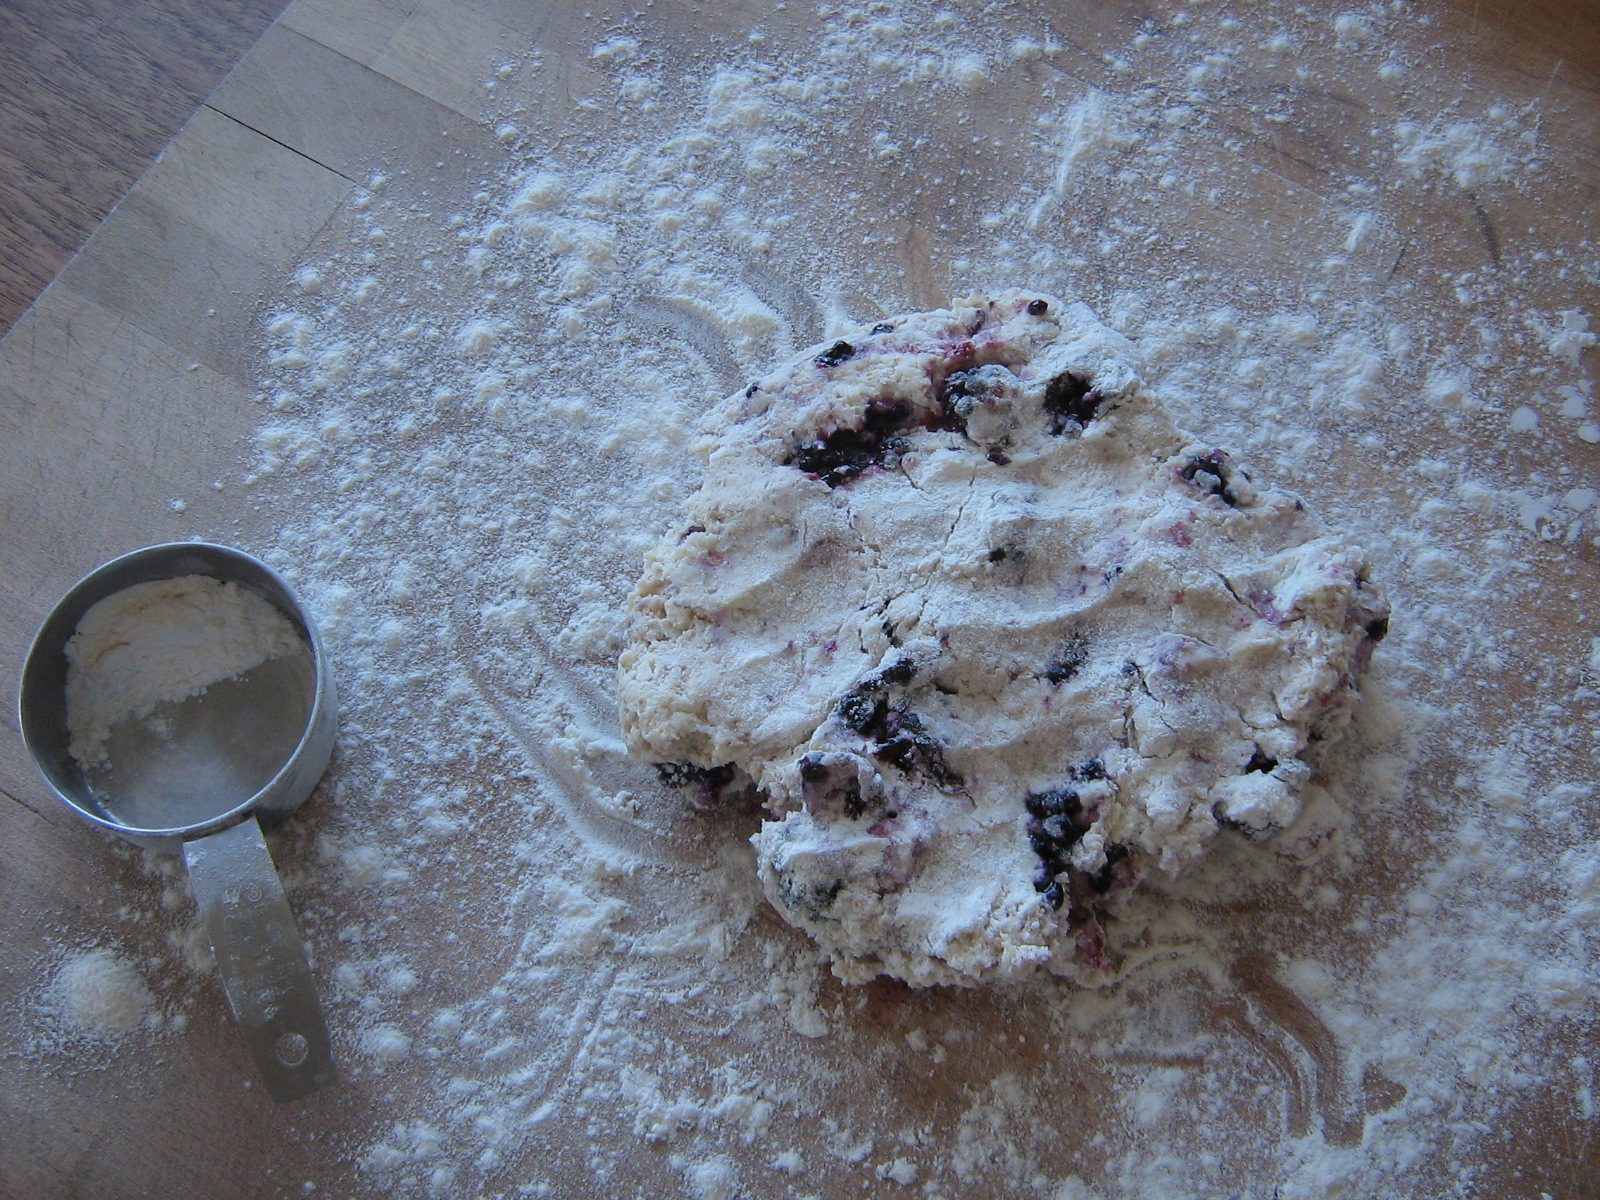 Repeat two to three more times, then shape the dough into a circle about 3/4 inch thick. Cut it into 6 wedges and place them on a baking sheet.
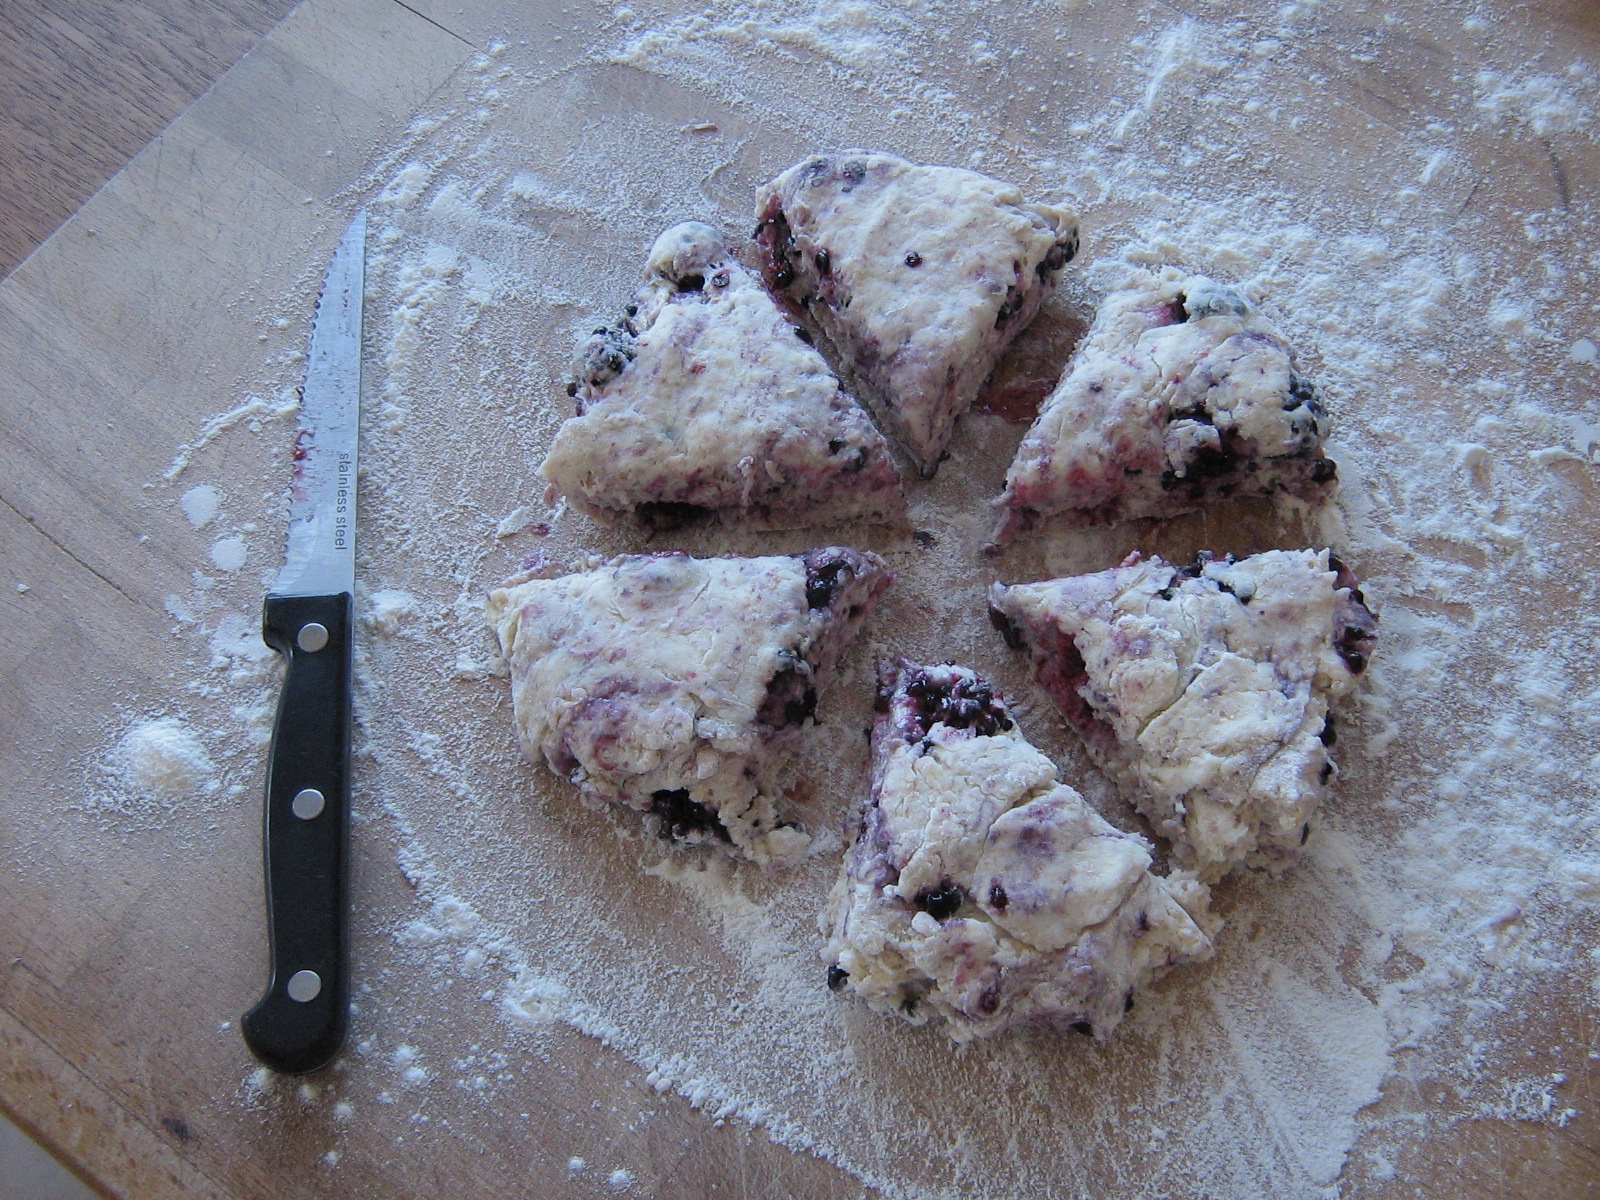 Brush the tops with a little cream, sprinkle them with sugar, and bake at 425˚F for 10-12 minutes until golden, OR stick the whole baking sheet in the freezer until the scones are solid, then store them in a freezer bag to pull out whenever the craving for freshly baked scones hits you – just bake them for a few extra minutes. (I baked two and froze the remaining four.)
 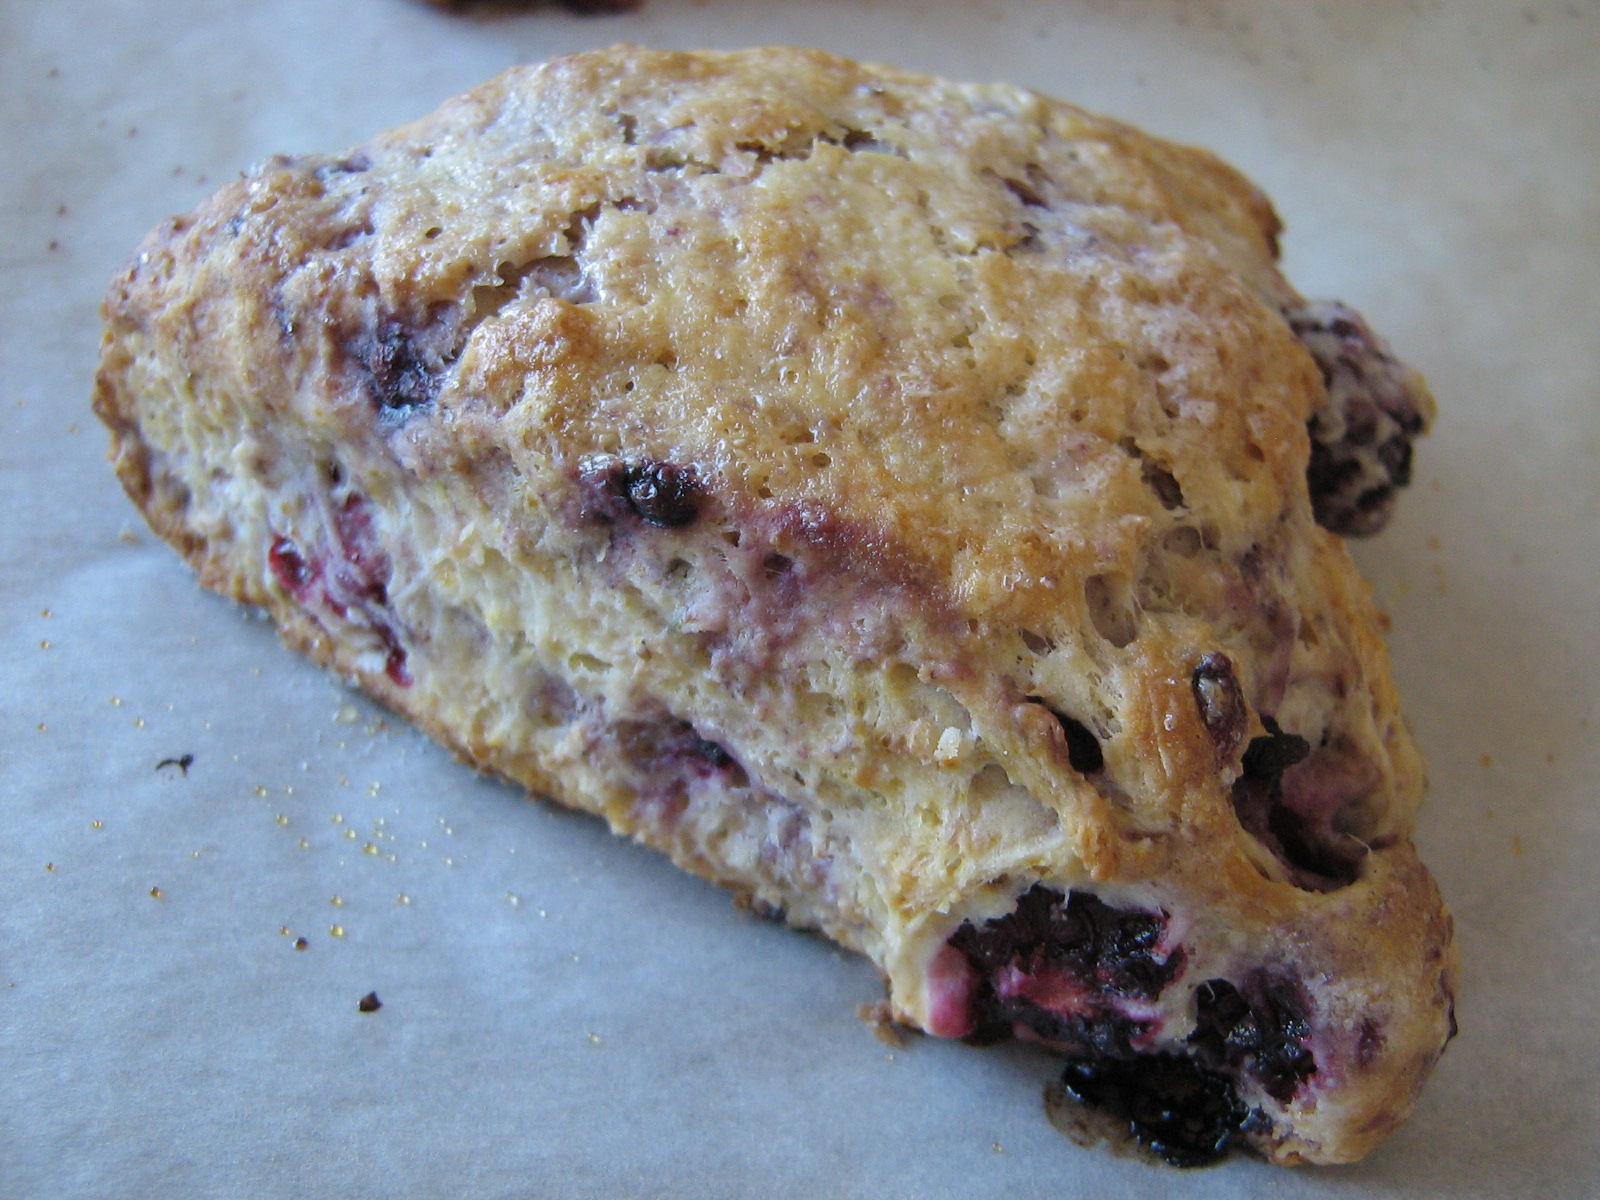 Serve hot, slathered with butter and honey.
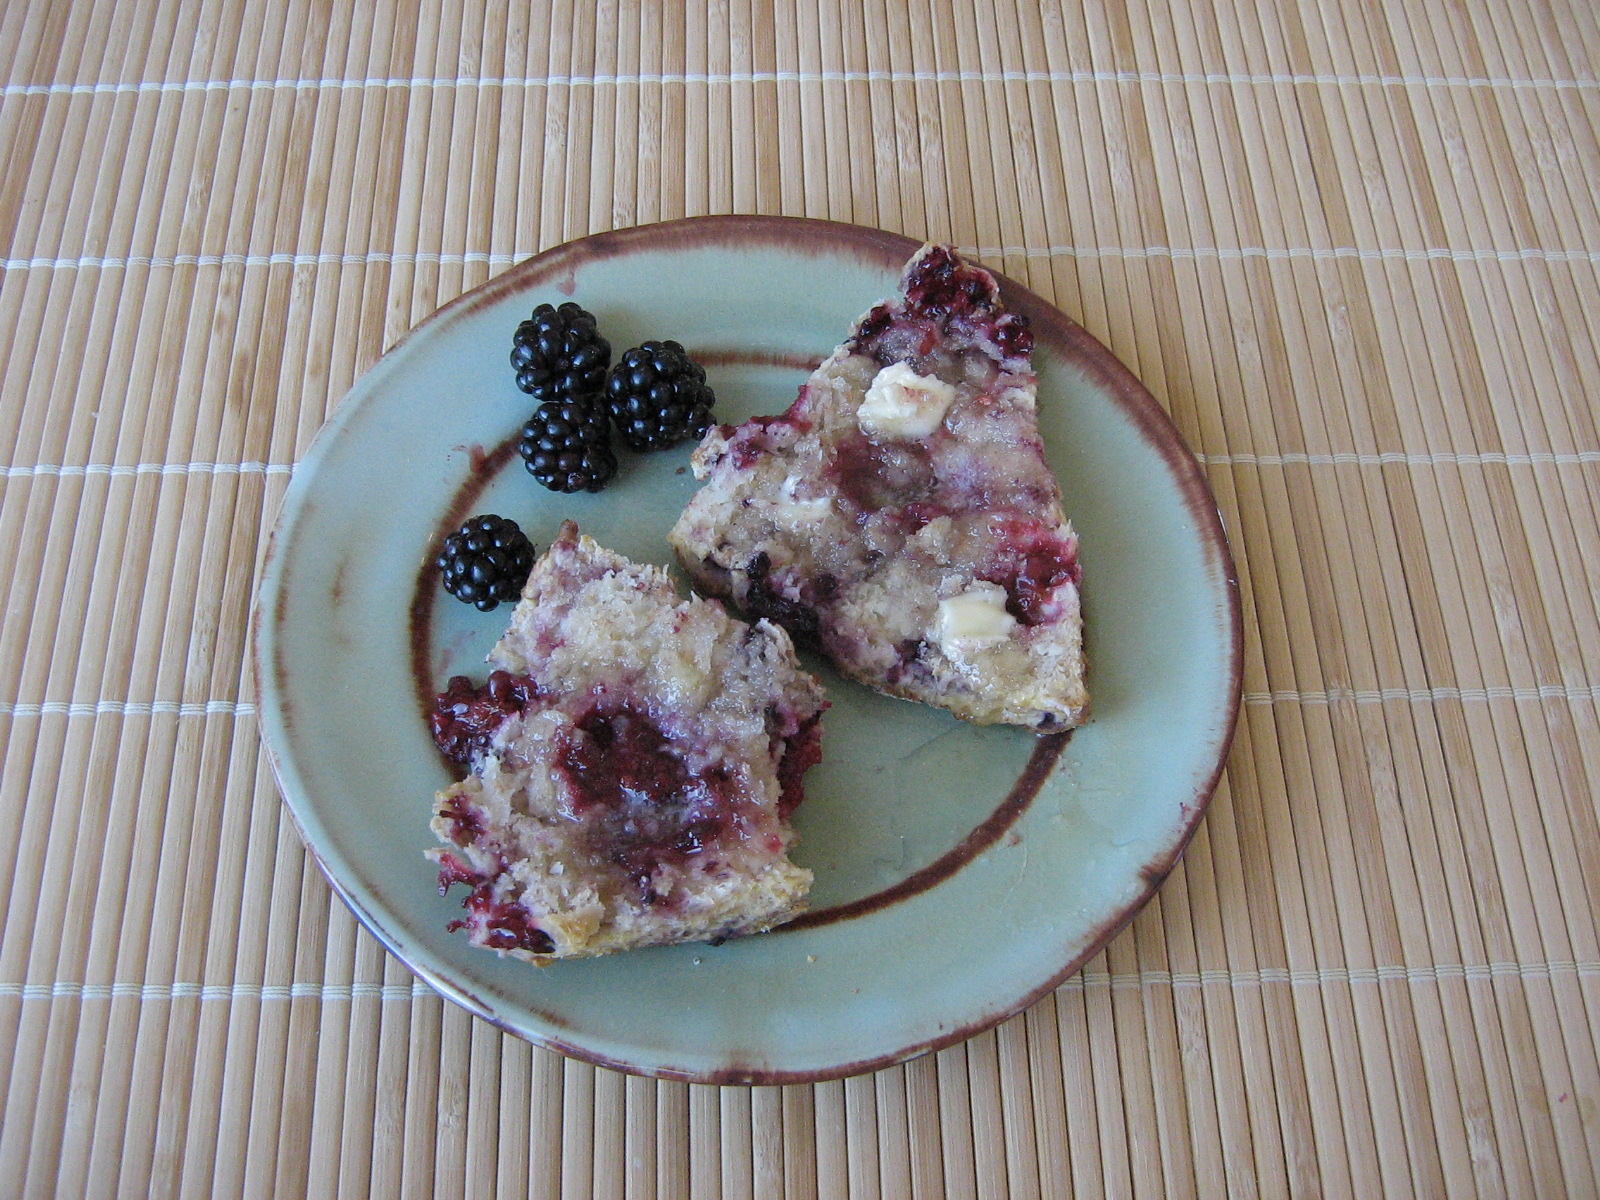
Happy summer!
Hazelnut Pastry and How to Make a Lattice Pie Crust
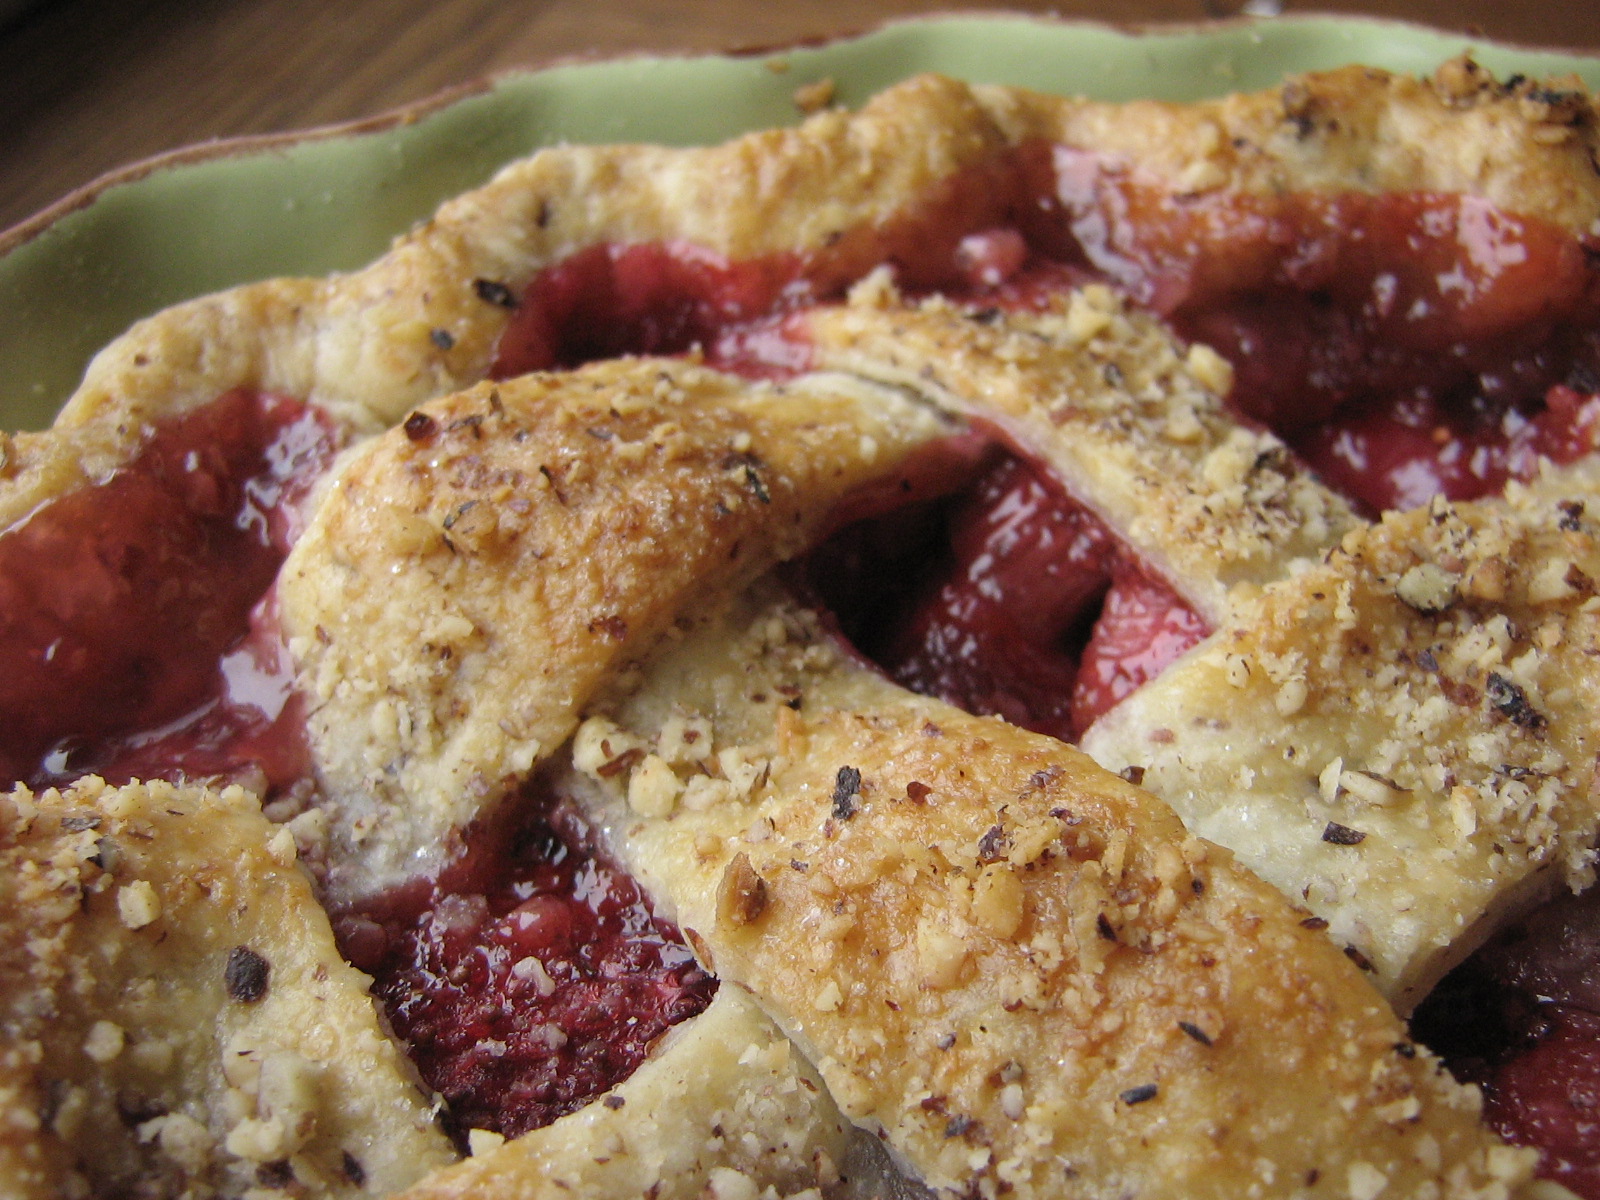 I have been meaning to share my favorite pie crust recipe here for a while now, but every time I’ve made it lately, I’ve been experimenting with it somehow, with varying degrees of success. For Easter I decided to experiment once more with a hazelnut pastry for strawberry rhubarb pie, and I have to share this variation on the pie crust recipe because it was so good. For the strawberry rhubarb filling, I used this recipe from Simply Recipes, which was a good starting point, but I have some changes I’d make for next time. First, less sugar – 1 cup of sugar to 4 cups of fruit was too sweet for my taste. I like a bit of tart rhubarb flavour, and this was quite sugary. Second, more fruit – probably 4 cups of rhubarb and 2 of strawberries. Third, the recipe used instant tapioca for the thickener, which gave the filling a kind of tapioca-pudding texture (little tiny gelatinous balls). Nate said he couldn’t tell, but I wasn’t loving it – not that it tasted bad, I would just prefer a smoother texture from, say, corn starch. And fourth, I would add some lemon zest along with the orange zest to the filling. So once I have all that figured out and perfected, I’ll share my recipe. In the meantime: hazelnut pastry!
This is a super easy-to-make pie crust, made in a slightly different way than usual: instead of cutting cold butter in to flour, you actually cream the room-temperature shortening/butter, then stir in the flour until the dough looks ragged. I know – I was skeptical the first time I made it too, but it was so easy to work with and turned out SO flaky and delicious that it has become my go-to pastry recipe for everything that needs a crust. The only thing it doesn’t work for is single crust pastries that are blind-baked (pre-baked) before filling (like a quiche), because the large amount of fat in the dough causes it to melt and shrink down the pie plate. But for pies that you fill before baking (especially double crust), it is fantastic. I also like that it is easily made entirely by hand – you don’t need a food processor to make good pastry!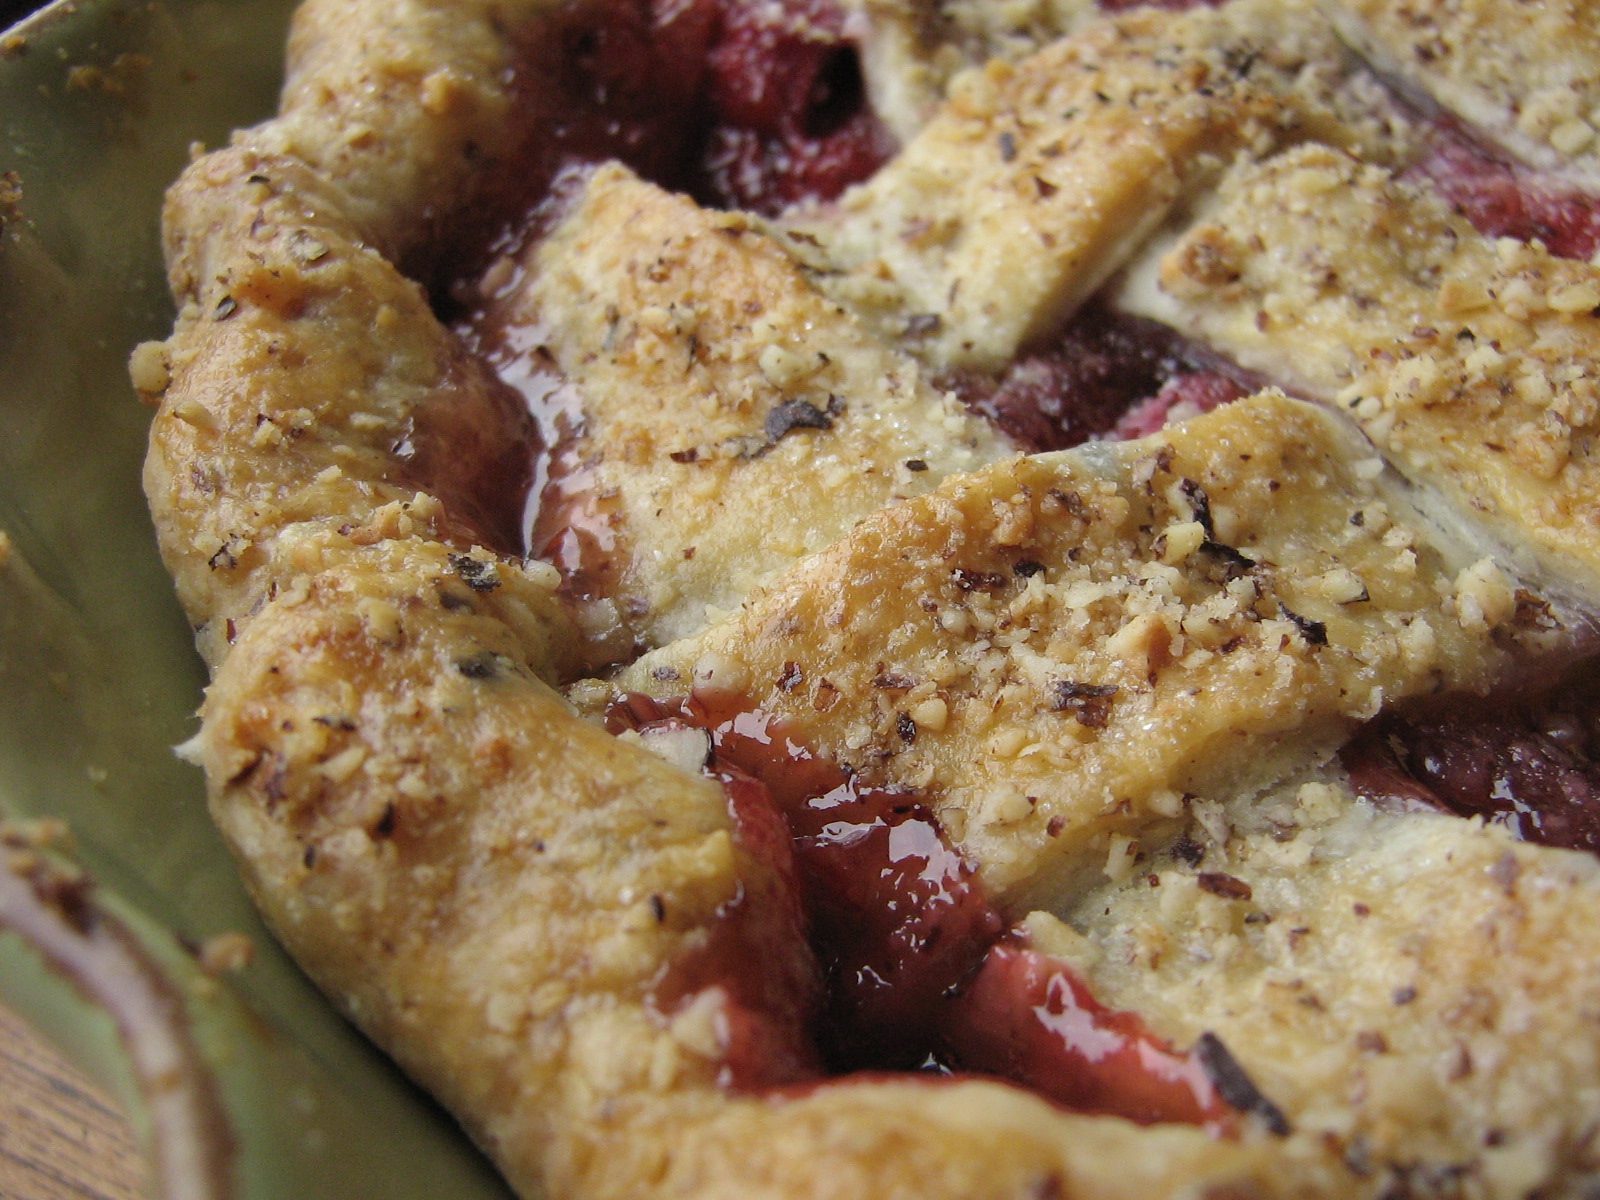
I had a strawberry rhubarb pie a few years ago that was topped with a sort of almond struesel, which gave me the idea of adding nuts to the pastry. I like the assertive flavour of hazelnuts, and thought they would pair well with strawberry and rhubarb, so I ground some up and substituted 1/2 cup of the flour for the ground hazelnuts. When I added the water, I ended up with a slightly wetter dough, but by sprinkling it with flour and folding it several times on a floured surface, I got a dough that was just the right consistency and baked up really nicely into lots of light, flaky layers.
And lastly, I wanted to show off the gorgeous pinky-red strawberry rhubarb filling, so I went with a lattice top. It looks impressive and is actually really easy to do!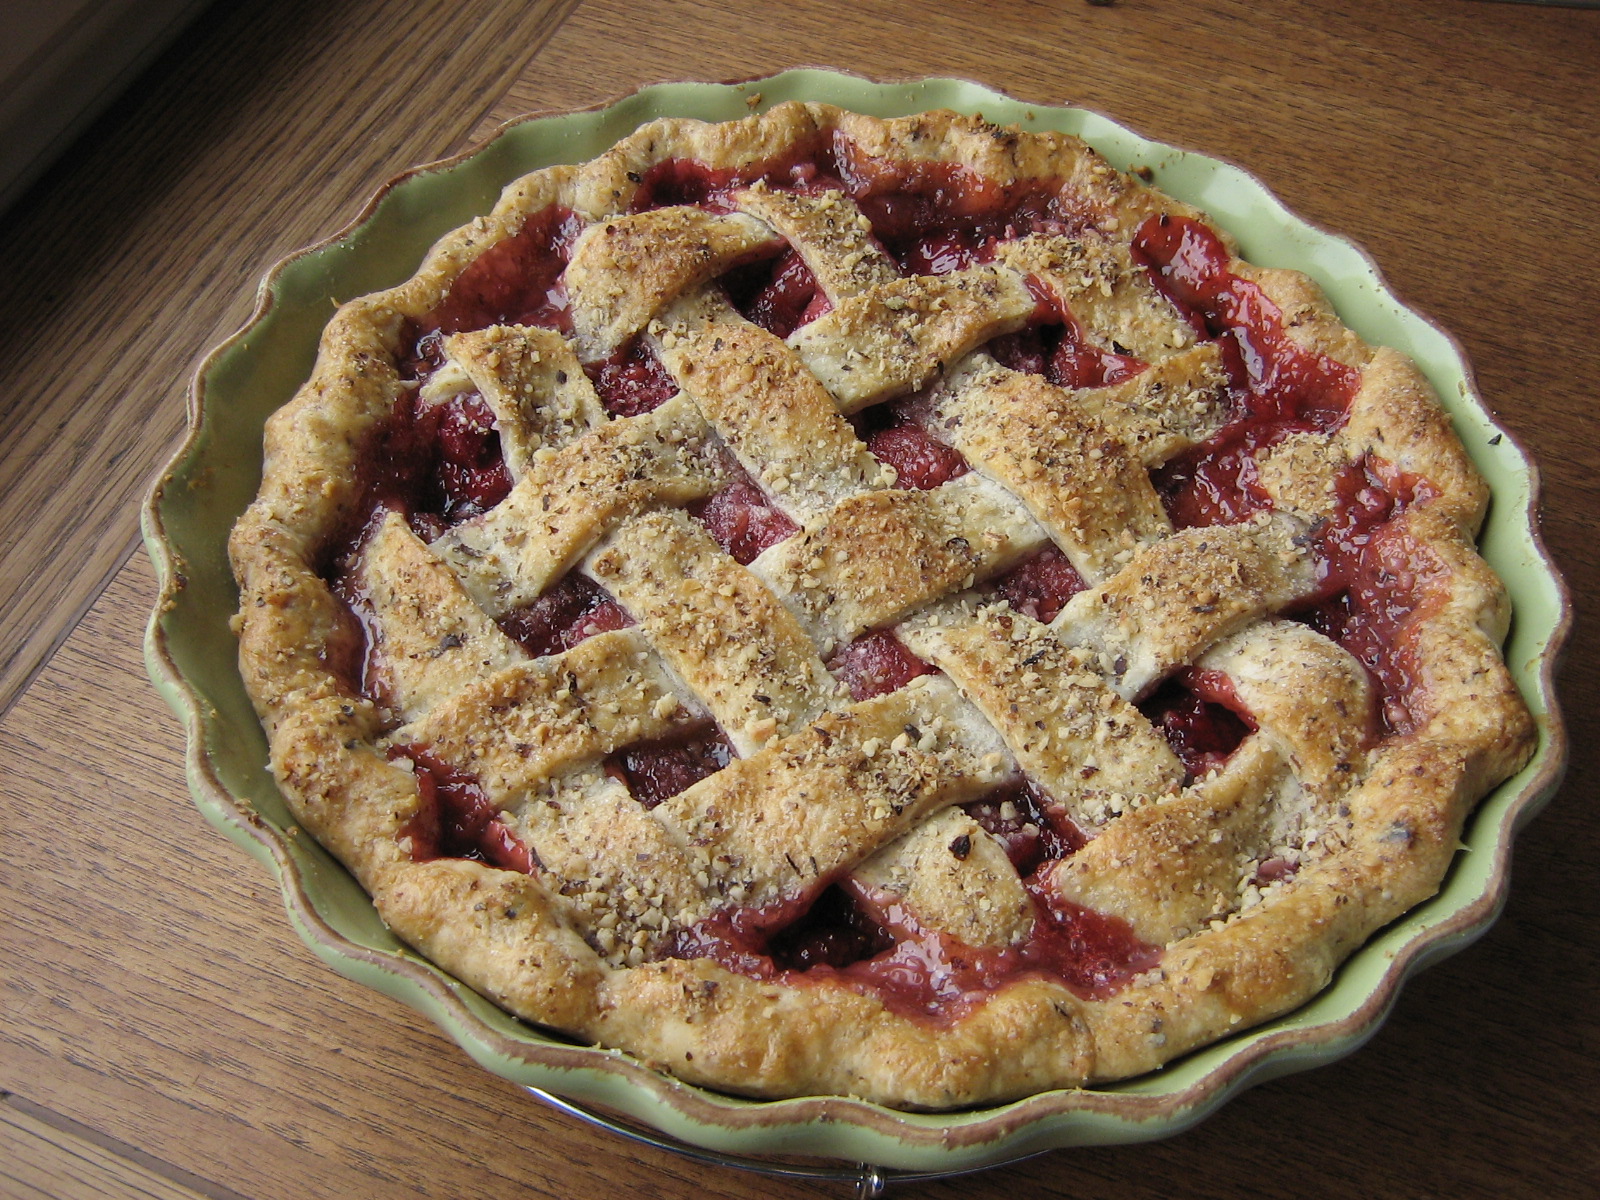
…
Snow and a Quiche
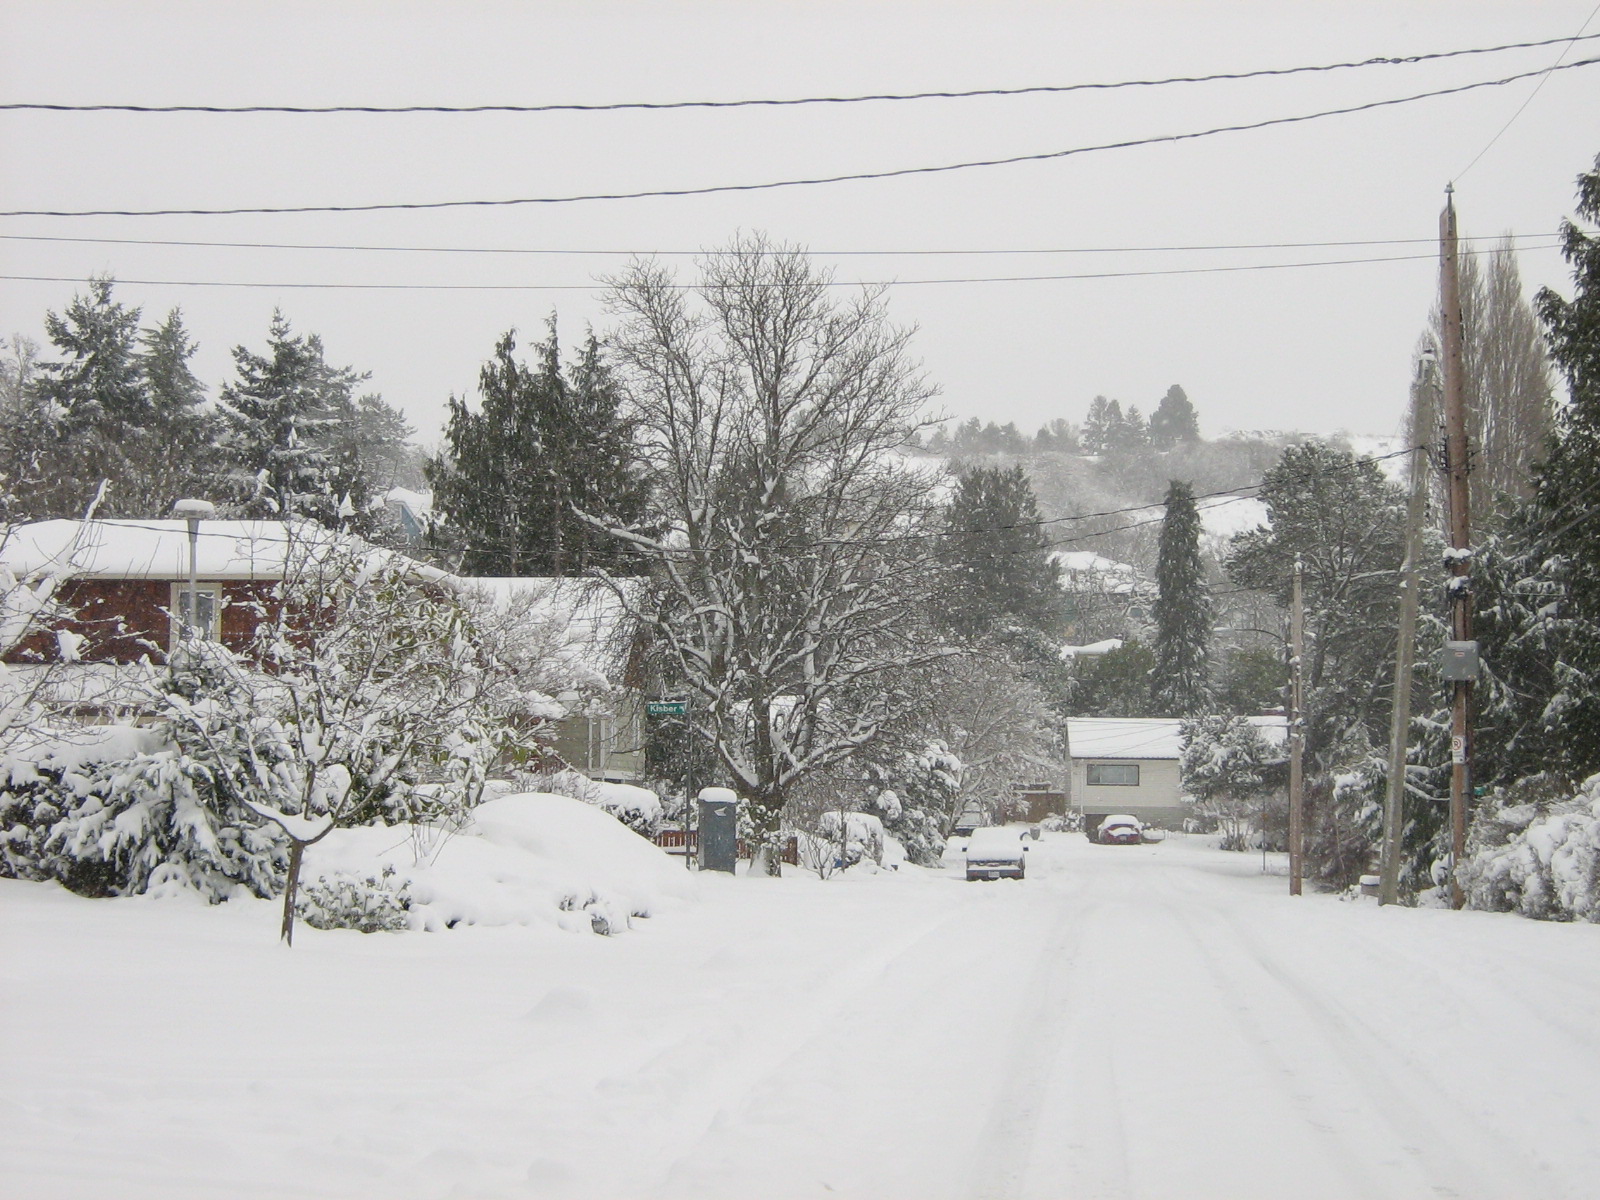 Yesterday we unexpectedly received rather a large amount of snow (we measured 21 centimeters at one point!), and in usual snowy Victoria fashion, the roads were terrible, life slowed to a halt, and neither Nate nor myself went to work. Instead, we spent the day on the couch watching season one of Mad Men, and I did some baking. Seeing as I had all day, I made a quiche, which I find inevitably ends up taking about three times as long as I think it will. I also tried to modify my usual fantastic, go-to banana bread recipe to be sugar-free, but it turned out to be not-so-fantastic sans sugar 🙁 Someday I’ll perfect the recipe and share it, but in the meantime, here’s my quiche recipe.

