Skip to content
Korena in the Kitchen
Search
Home
About
Recipe Index
Contact
Tag:
food
Pizza Dough
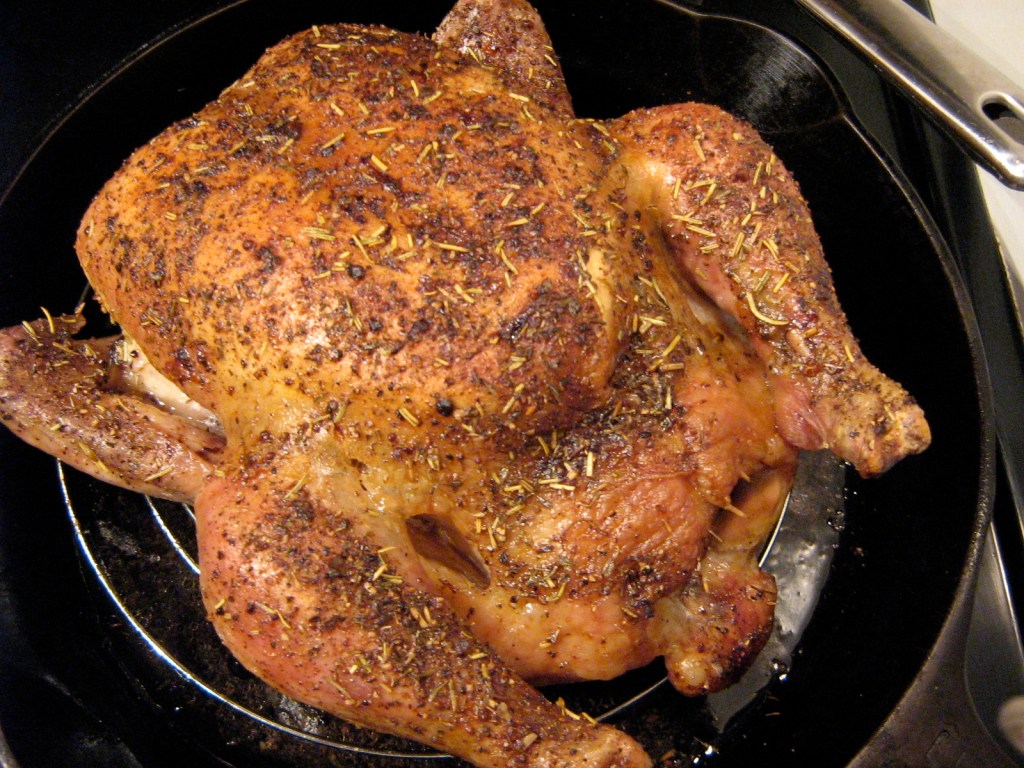
Sunday Roast Chicken & Gravy
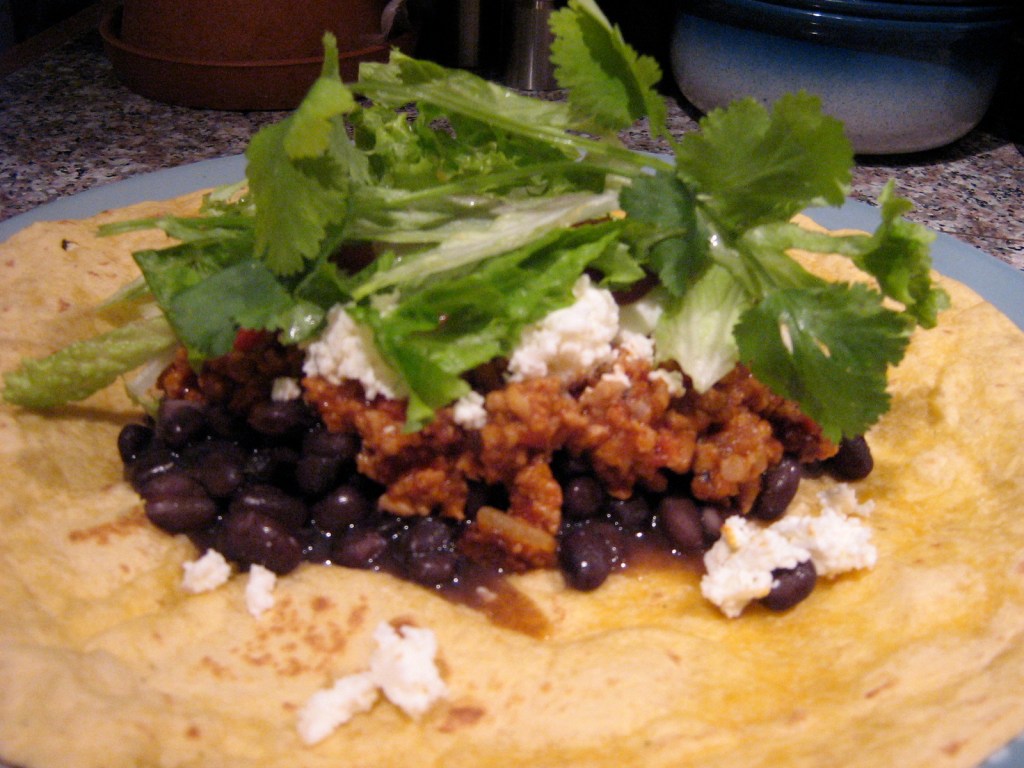
Pork Picadillo
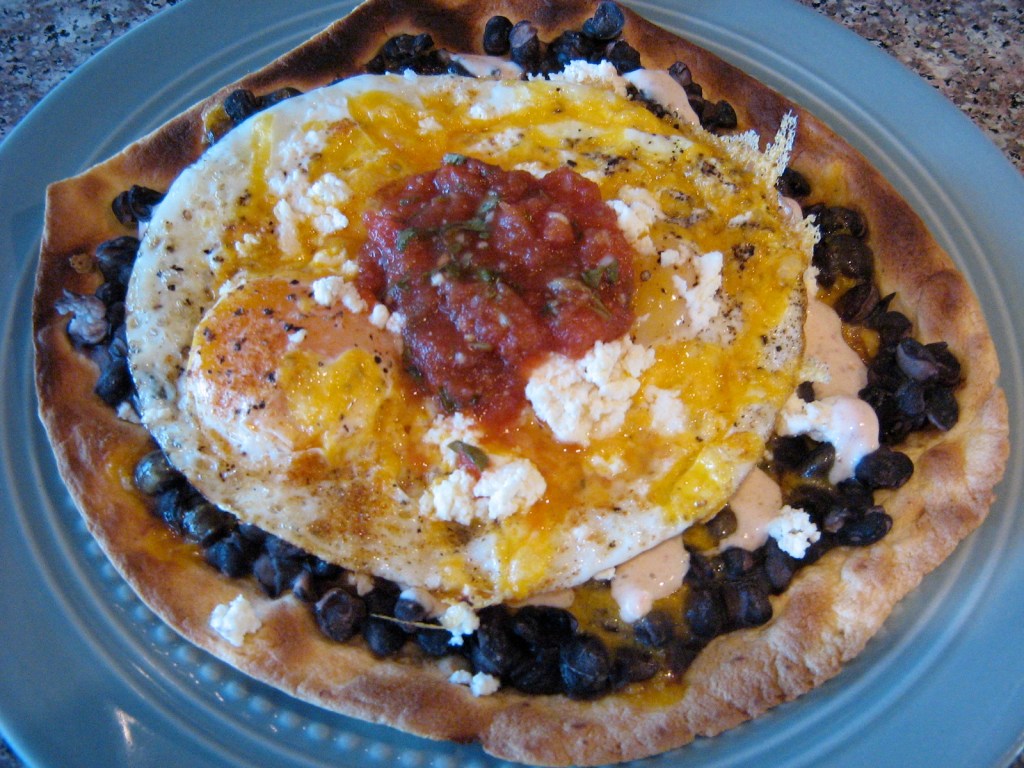
Huevos Rancheros
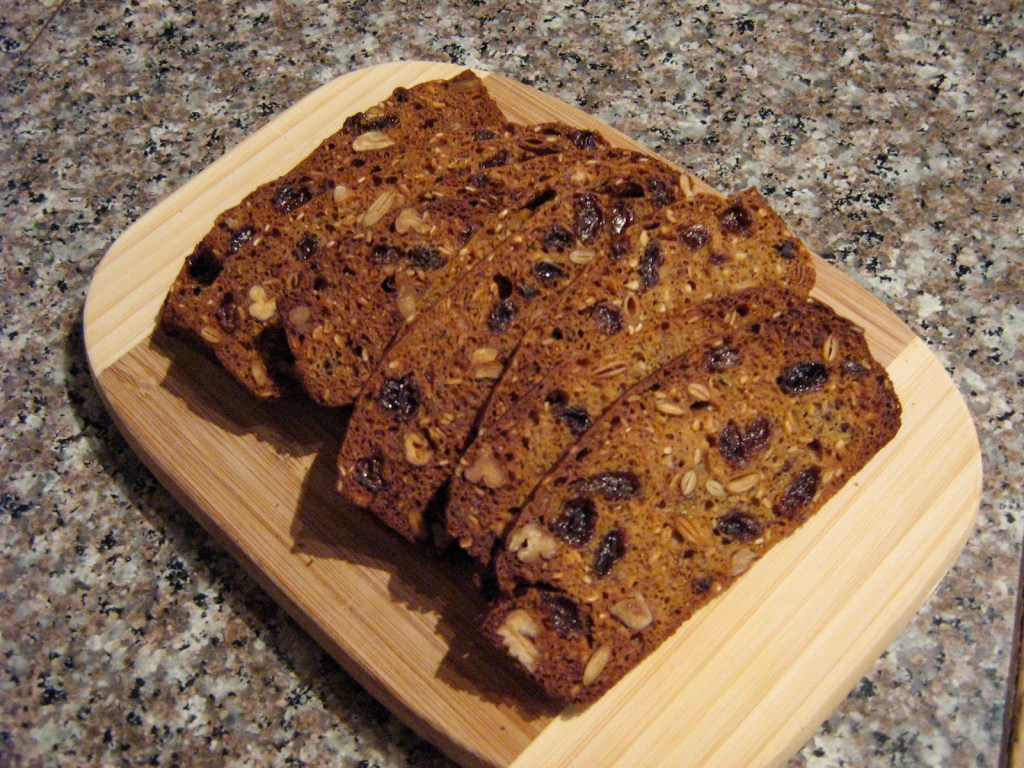
Rosemary Raisin Pecan Crisps
Previous Page
Subscribe
Subscribed
Korena in the Kitchen
Join 390 other subscribers
Sign me up
Already have a WordPress.com account?
Log in now.
Korena in the Kitchen
Subscribe
Subscribed
Sign up
Log in
Report this content
View site in Reader
Manage subscriptions
Collapse this bar