Korena in the Kitchen

  • Home
  • Recipes
  • About
  • Contact
You are here: Home / Archives for food

Spiced Plum and Strawberry-Vanilla Jams

September 20, 2011 By Korena in the Kitchen 1 Comment

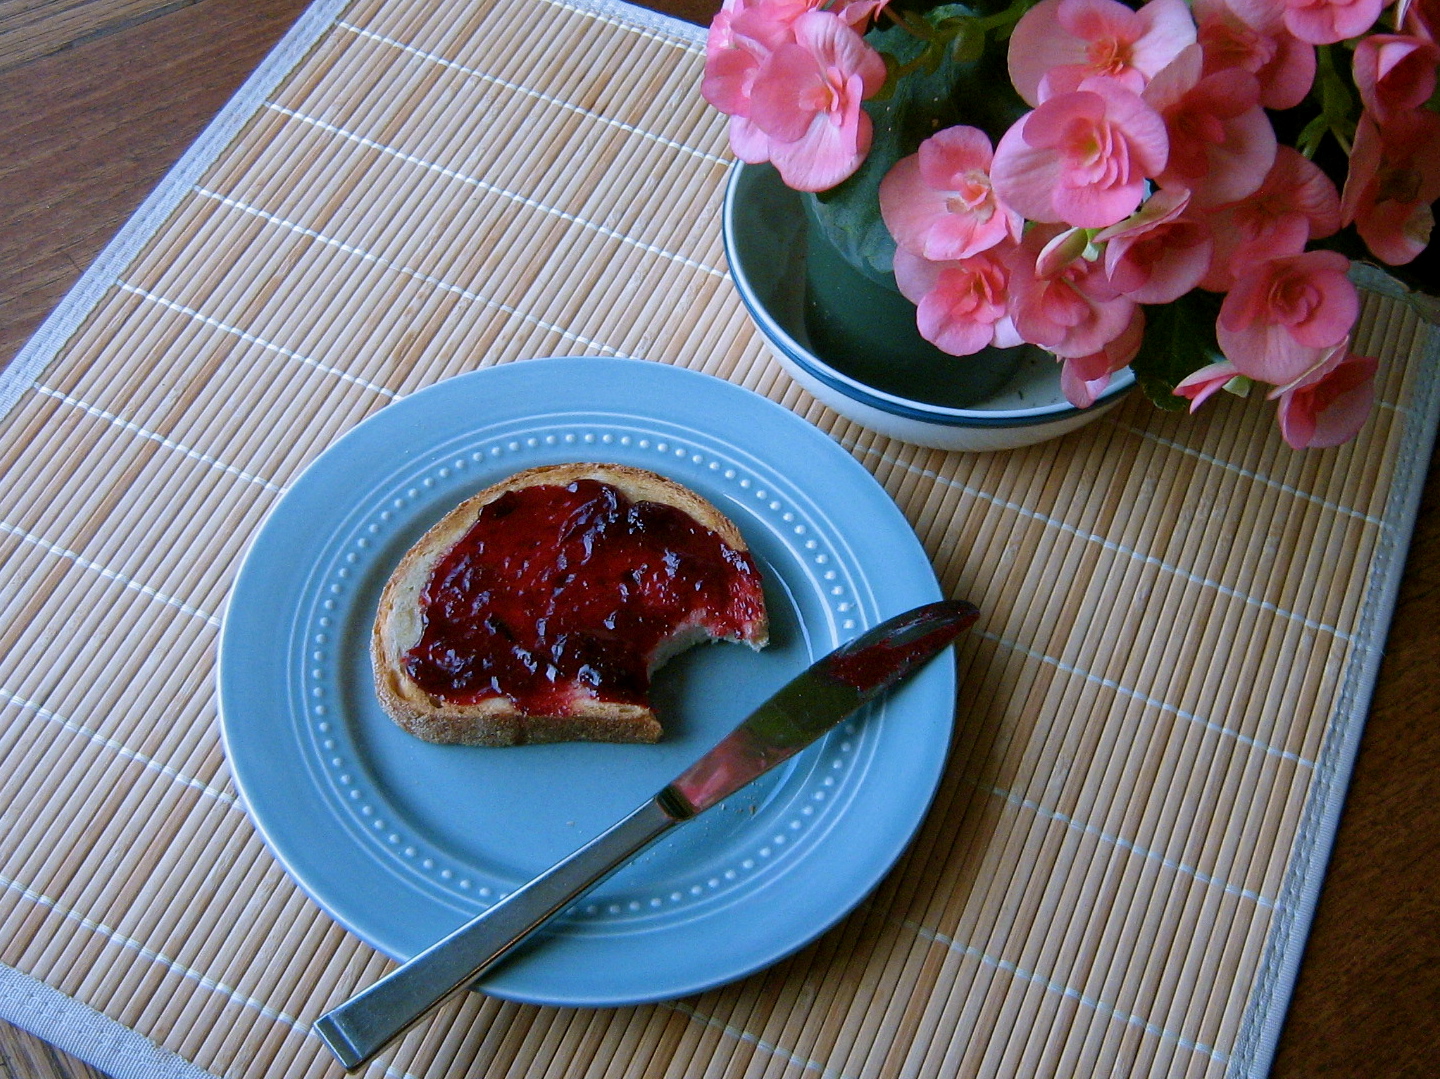
After the success of the peach butter I made a little while ago, I have become seriously enamoured with making jam, inspired mostly by Food in Jars. I think what I like about this whole canning/preserving thing is that I get to make something delicious and sweet but don’t have to feel bad about eating it, because you don’t eat an entire batch of jam at once. I’ll admit that sometimes I feel a bit guilty after making a bunch of cookies, because it means I will be on a sugar binge until they’re all gone – because you gotta eat them while they’re fresh, right? But jam is different. I feel so thrifty and satisfied looking at the filled jars on the shelf – plus there’s all this fantastic fruit around right now, and what better way to use it than to save it for later!

Be sure to follow the proper procedure for canning to ensure that the food is shelf-stable and safe to eat. I follow the canning instructions from Canadian Living.

Spiced Plum Jam

Inspired by the Honey-Sweetened Skillet Stonefruit Jam on Food in Jars. I didn’t have any honey but I did have a bowlful of prune plums from the tree in our backyard and this seemed like the perfect thing to do with a small amount of fruit before it went bad! The cinnamon comes from the plum coffeecake with cinnamon struesel that my mum used to make.

Makes slightly more than enough to fill 2 half-pint jars.

Combine and let macerate over night:

2 2/3 cups pitted and chopped prune plums

2/3 cups granulated sugar

1/2 tsp cinnamon
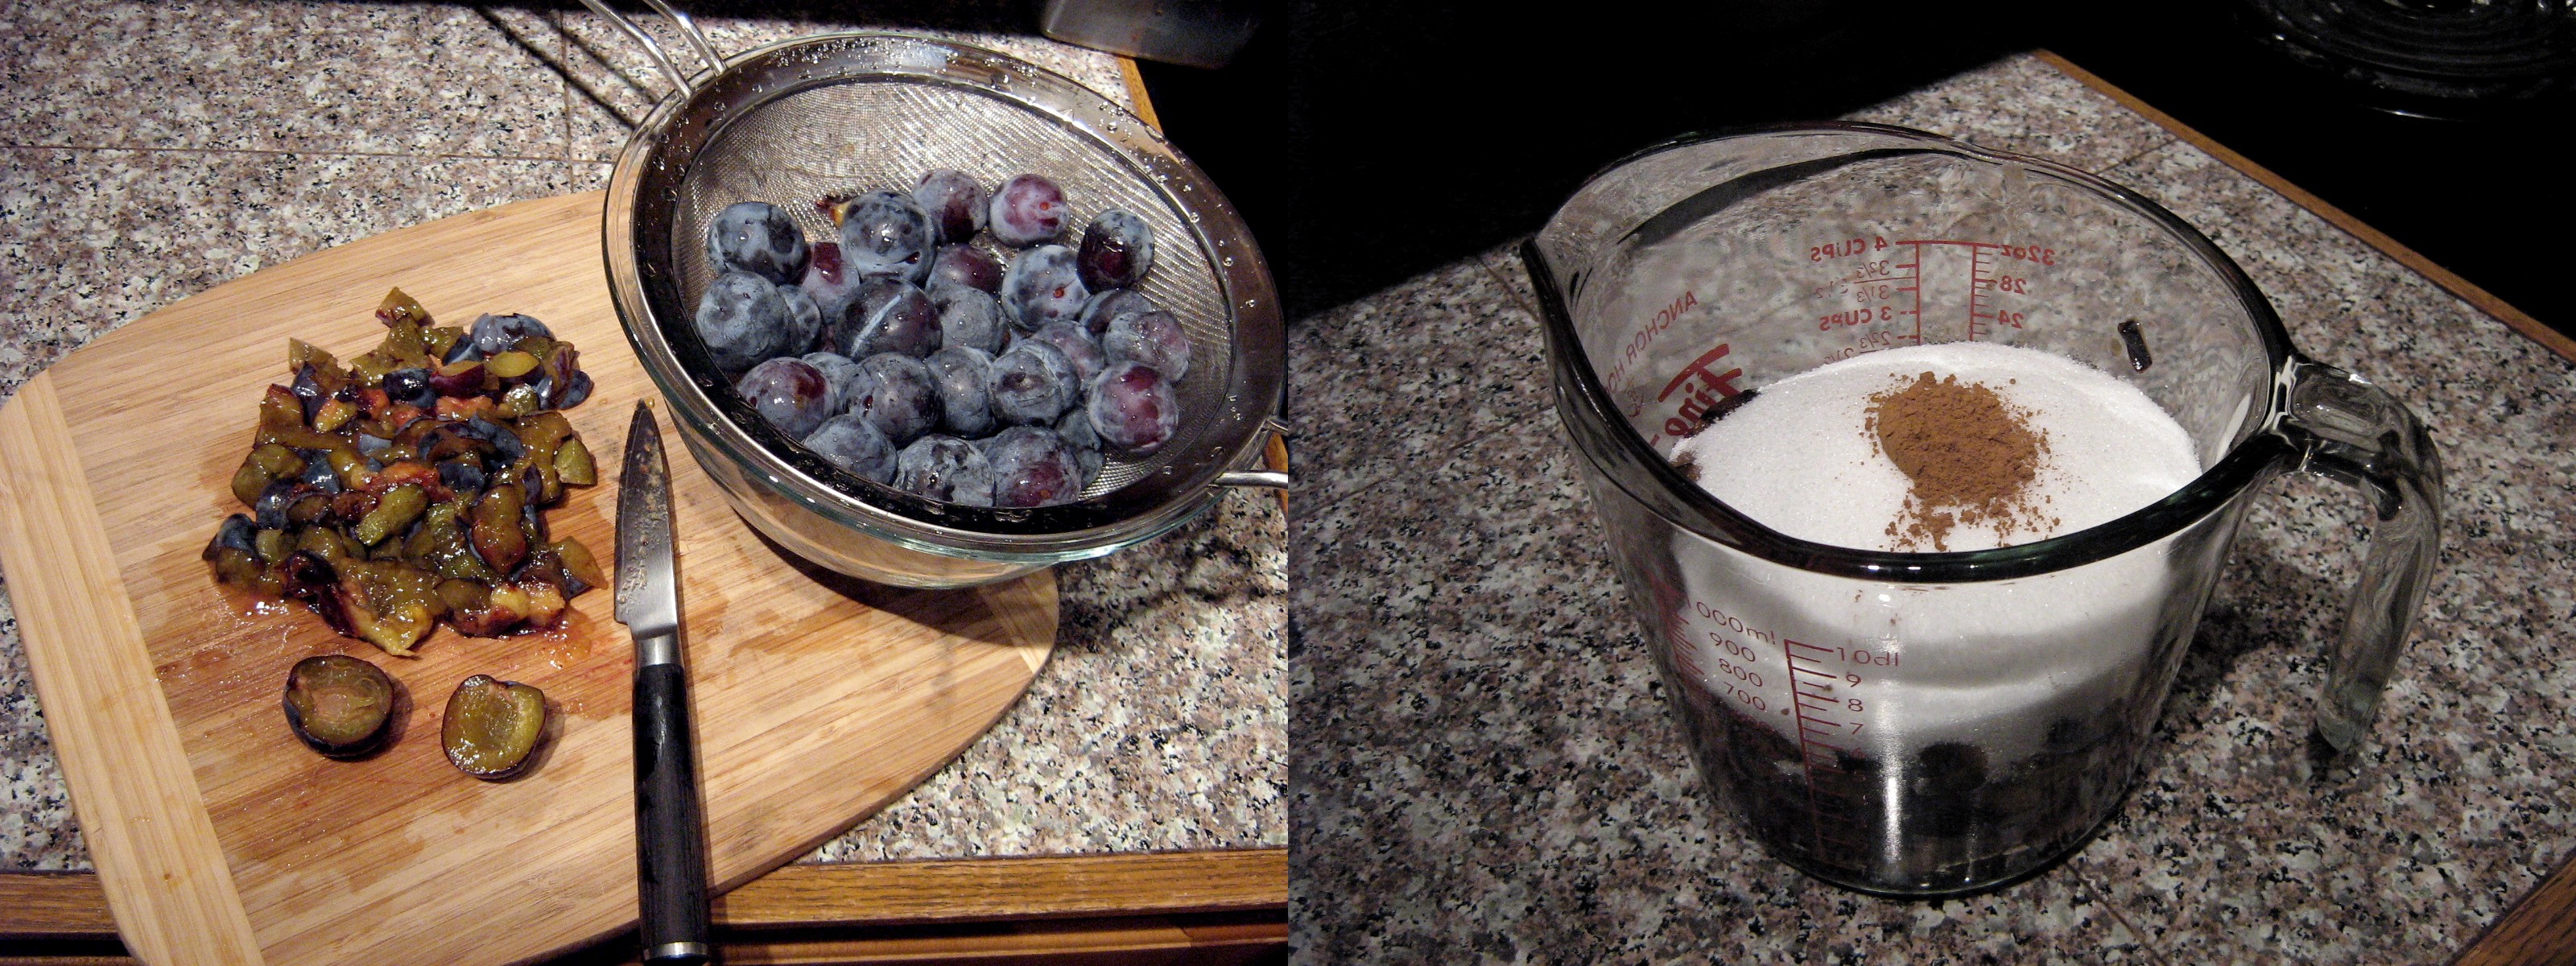
The next day, pour the macerated fruit into a skillet and add:

2/3 cups granulated sugar

1/4 tsp cinnamon (or a cinnamon stick)

juice of 1/2 lemon

(If you want, you can skip the macerating step and just combine all the ingredients in the skillet.)

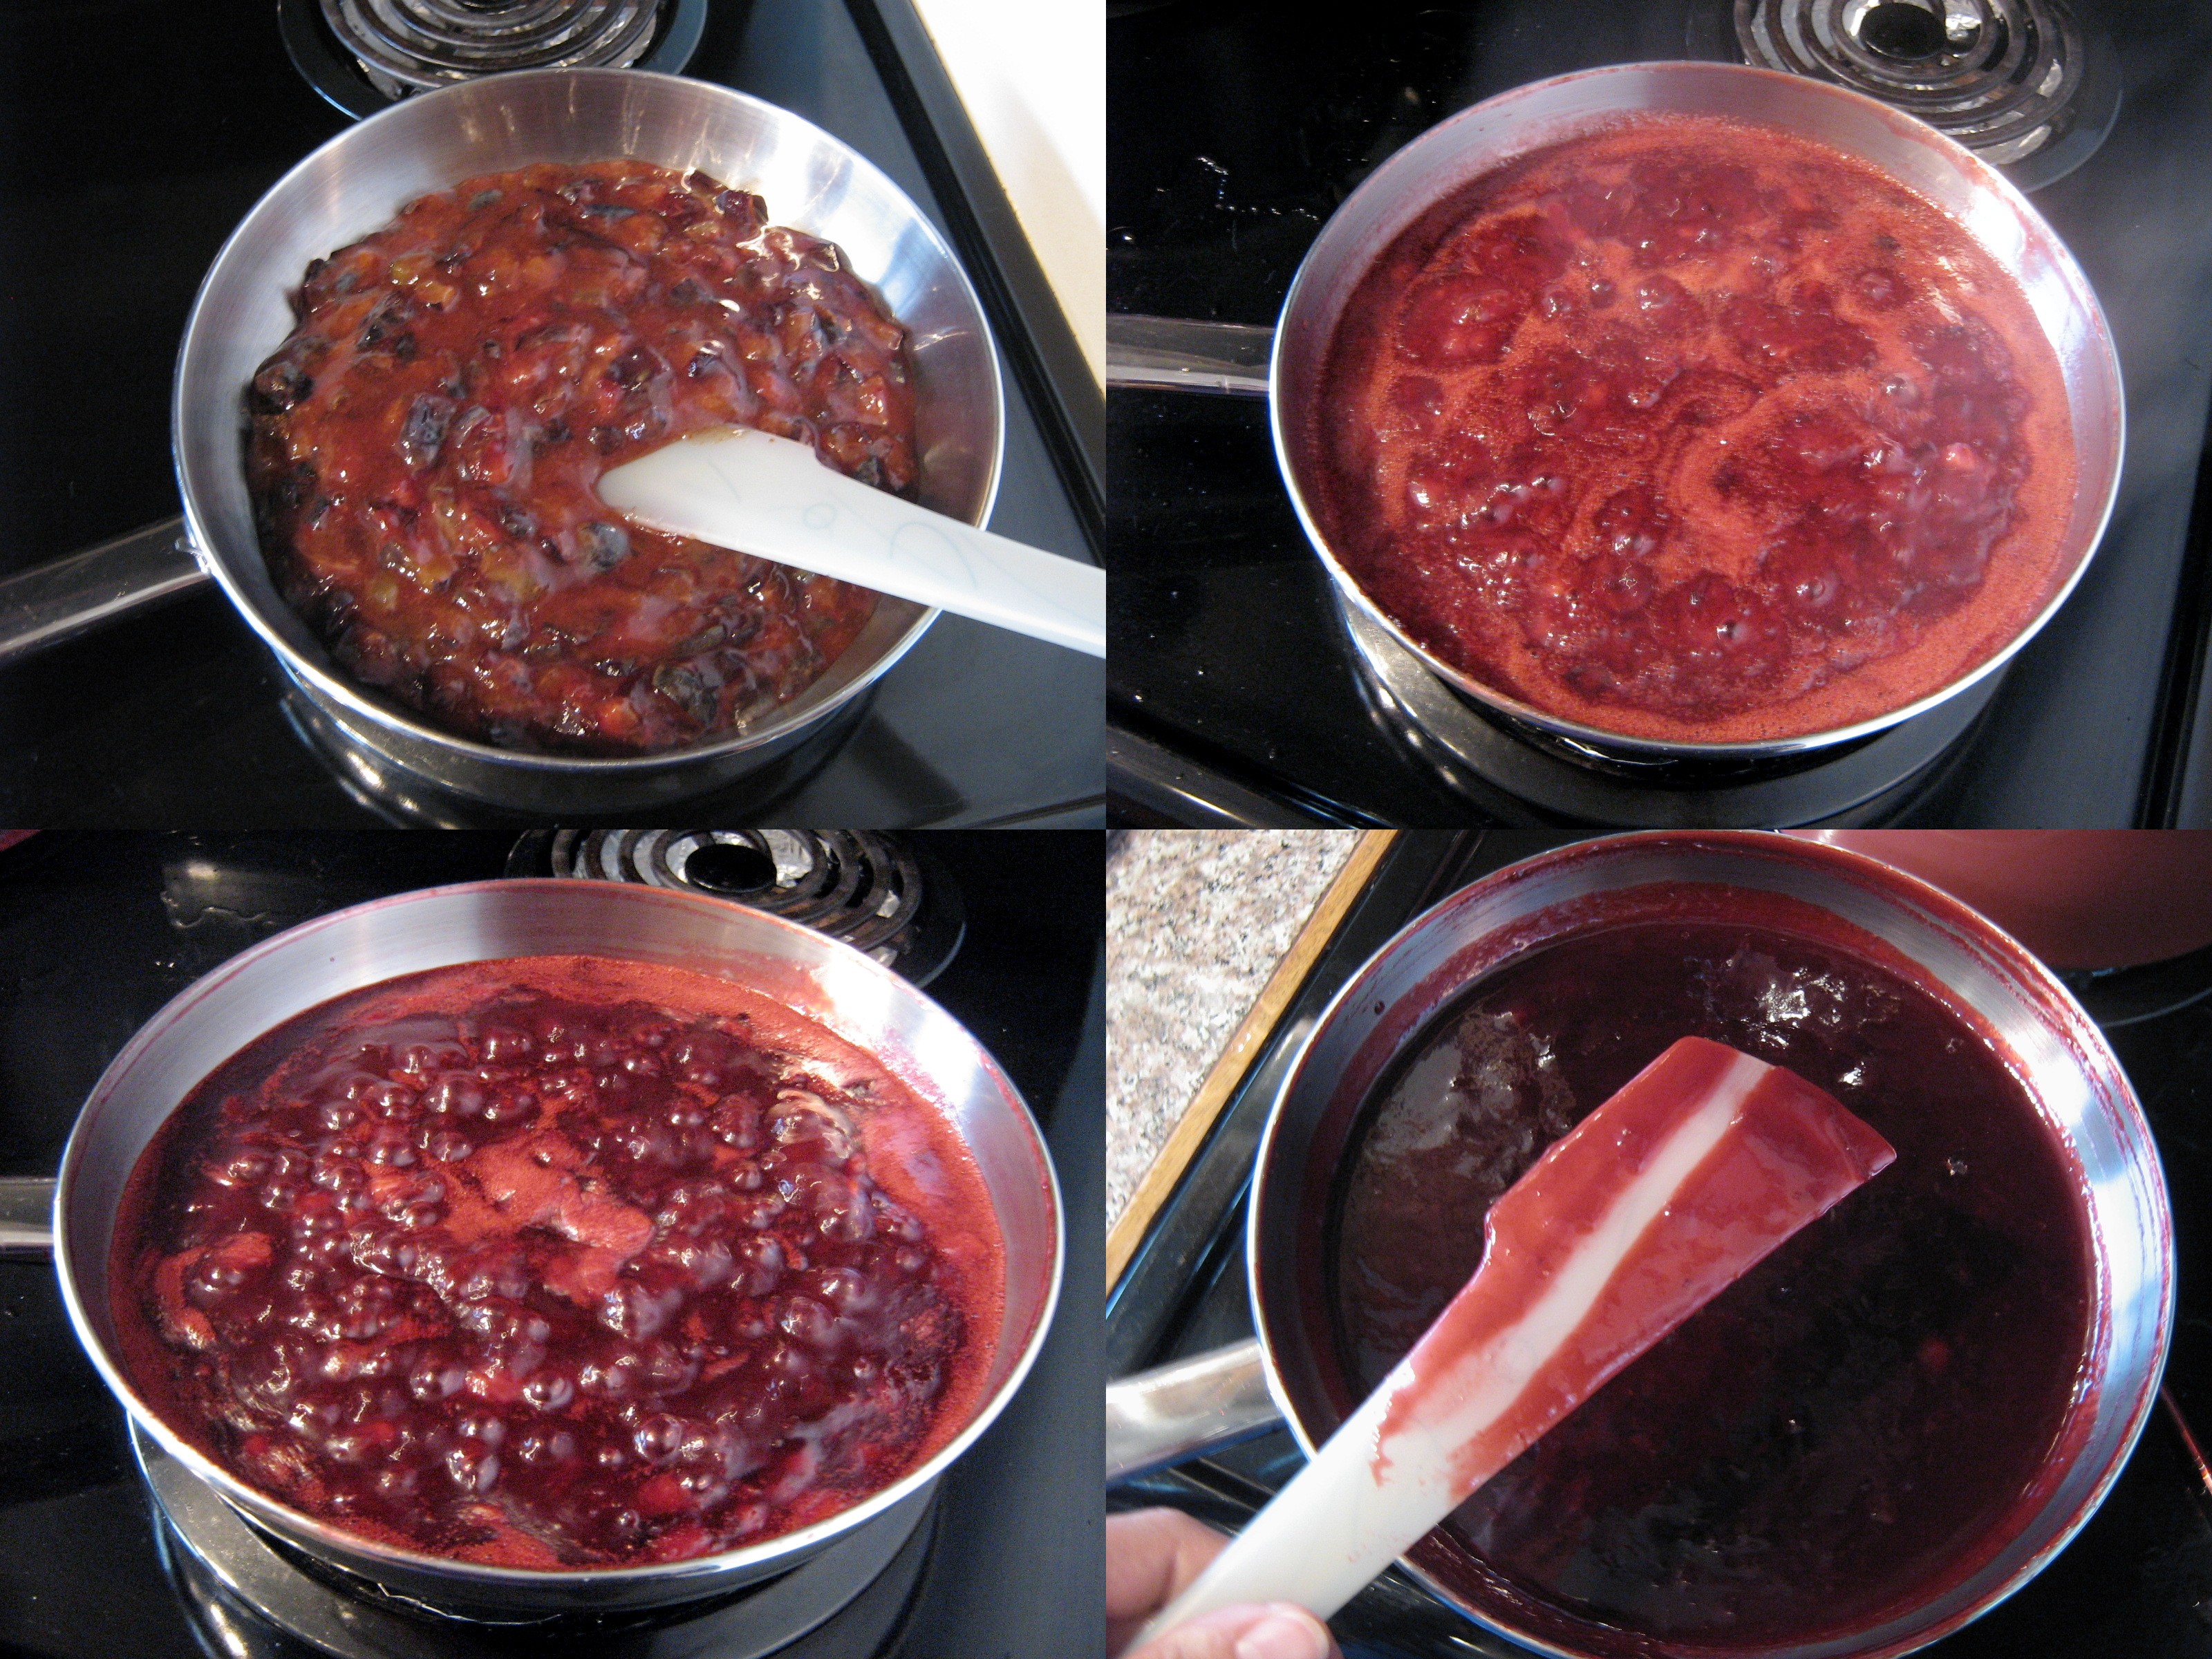
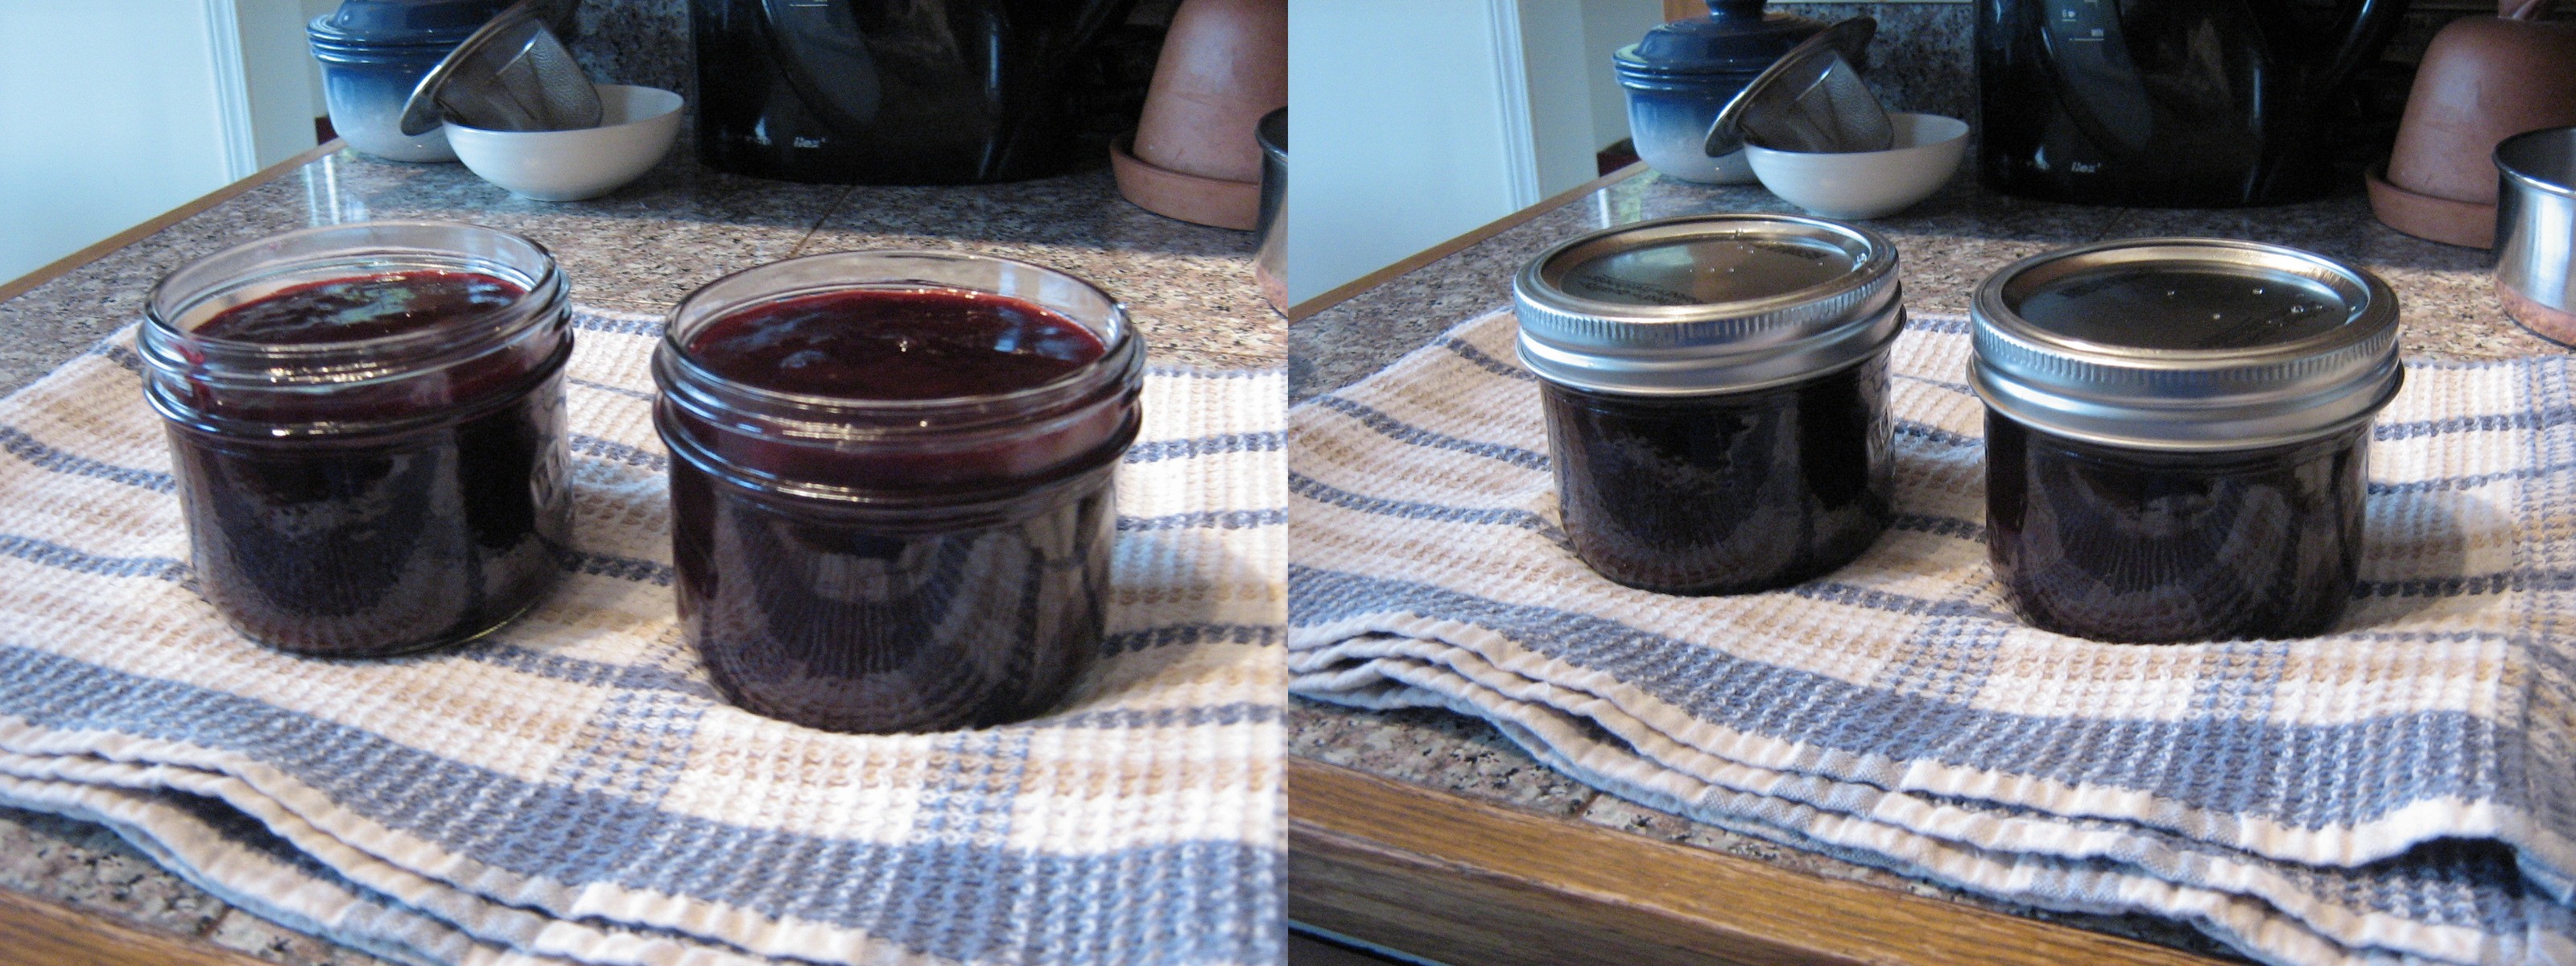
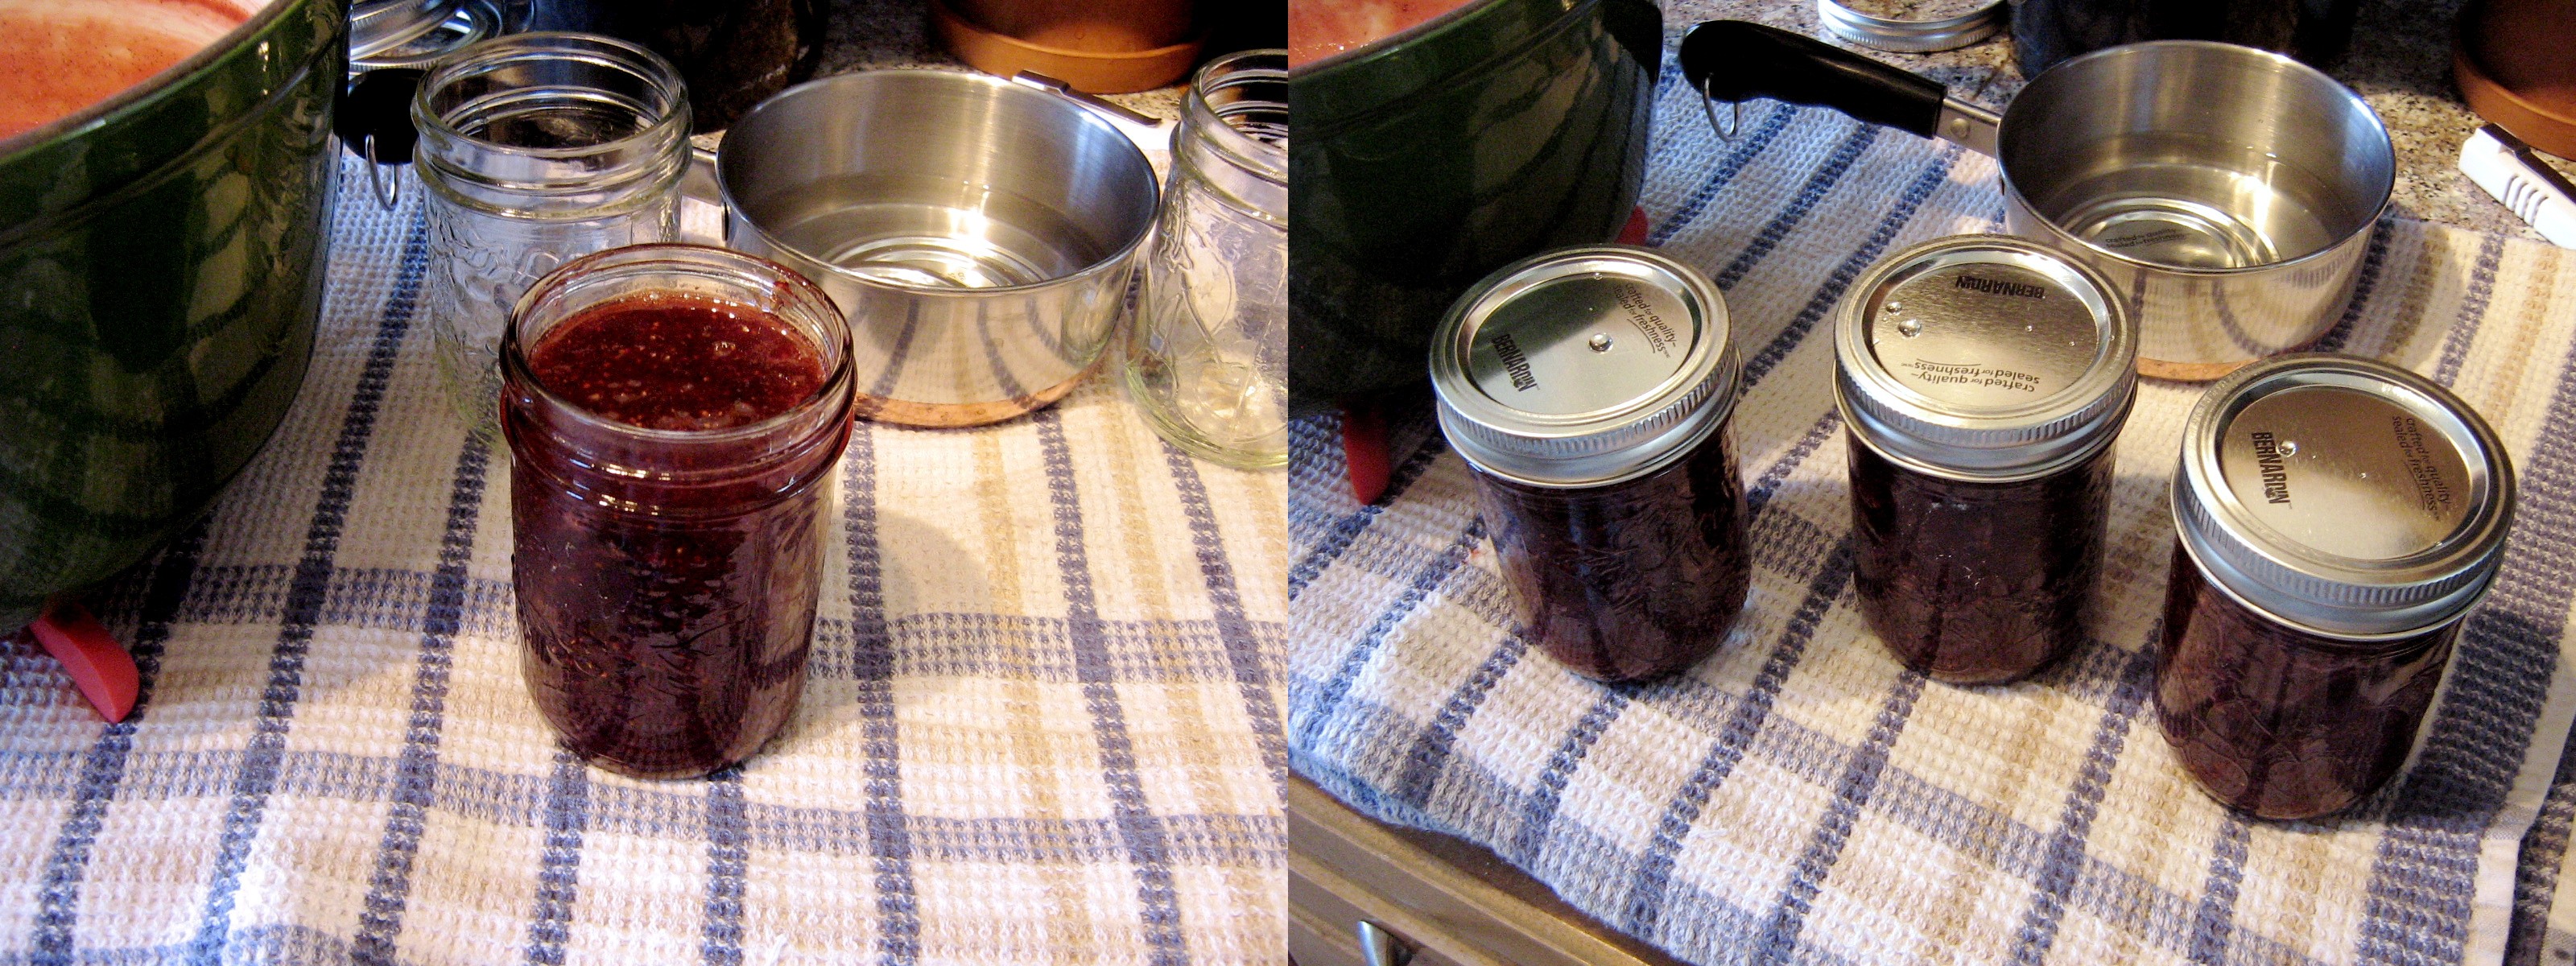
Cook over medium-high heat, stirring, until it starts to thicken, get syrupy, and turn a deep reddish-purple. You know it is done when it reaches 220˚F or when you can draw a line with you finger through the jam on the back of the spoon. Remove the cinnamon stick, if using (or break it in half to put in each jar). Pour the jam into two sterilized half-pint jars and process in a boiling water bath for 10 minutes. Sit back and listen for the “ping” as the jars seal :).
Strawberry-Vanilla Jam

Again, inspired by the Small Batch Strawberry Vanilla Jam on Food in Jars. I knew I wanted to try this recipe and I just happened to find these local strawberries on sale – end of the season! I only had one and a half vanilla beans in the cupboard, so I added a little vanilla extract as well (feel free to use more vanilla beans instead).

Makes exactly enough to fill 4 half-pint jars.

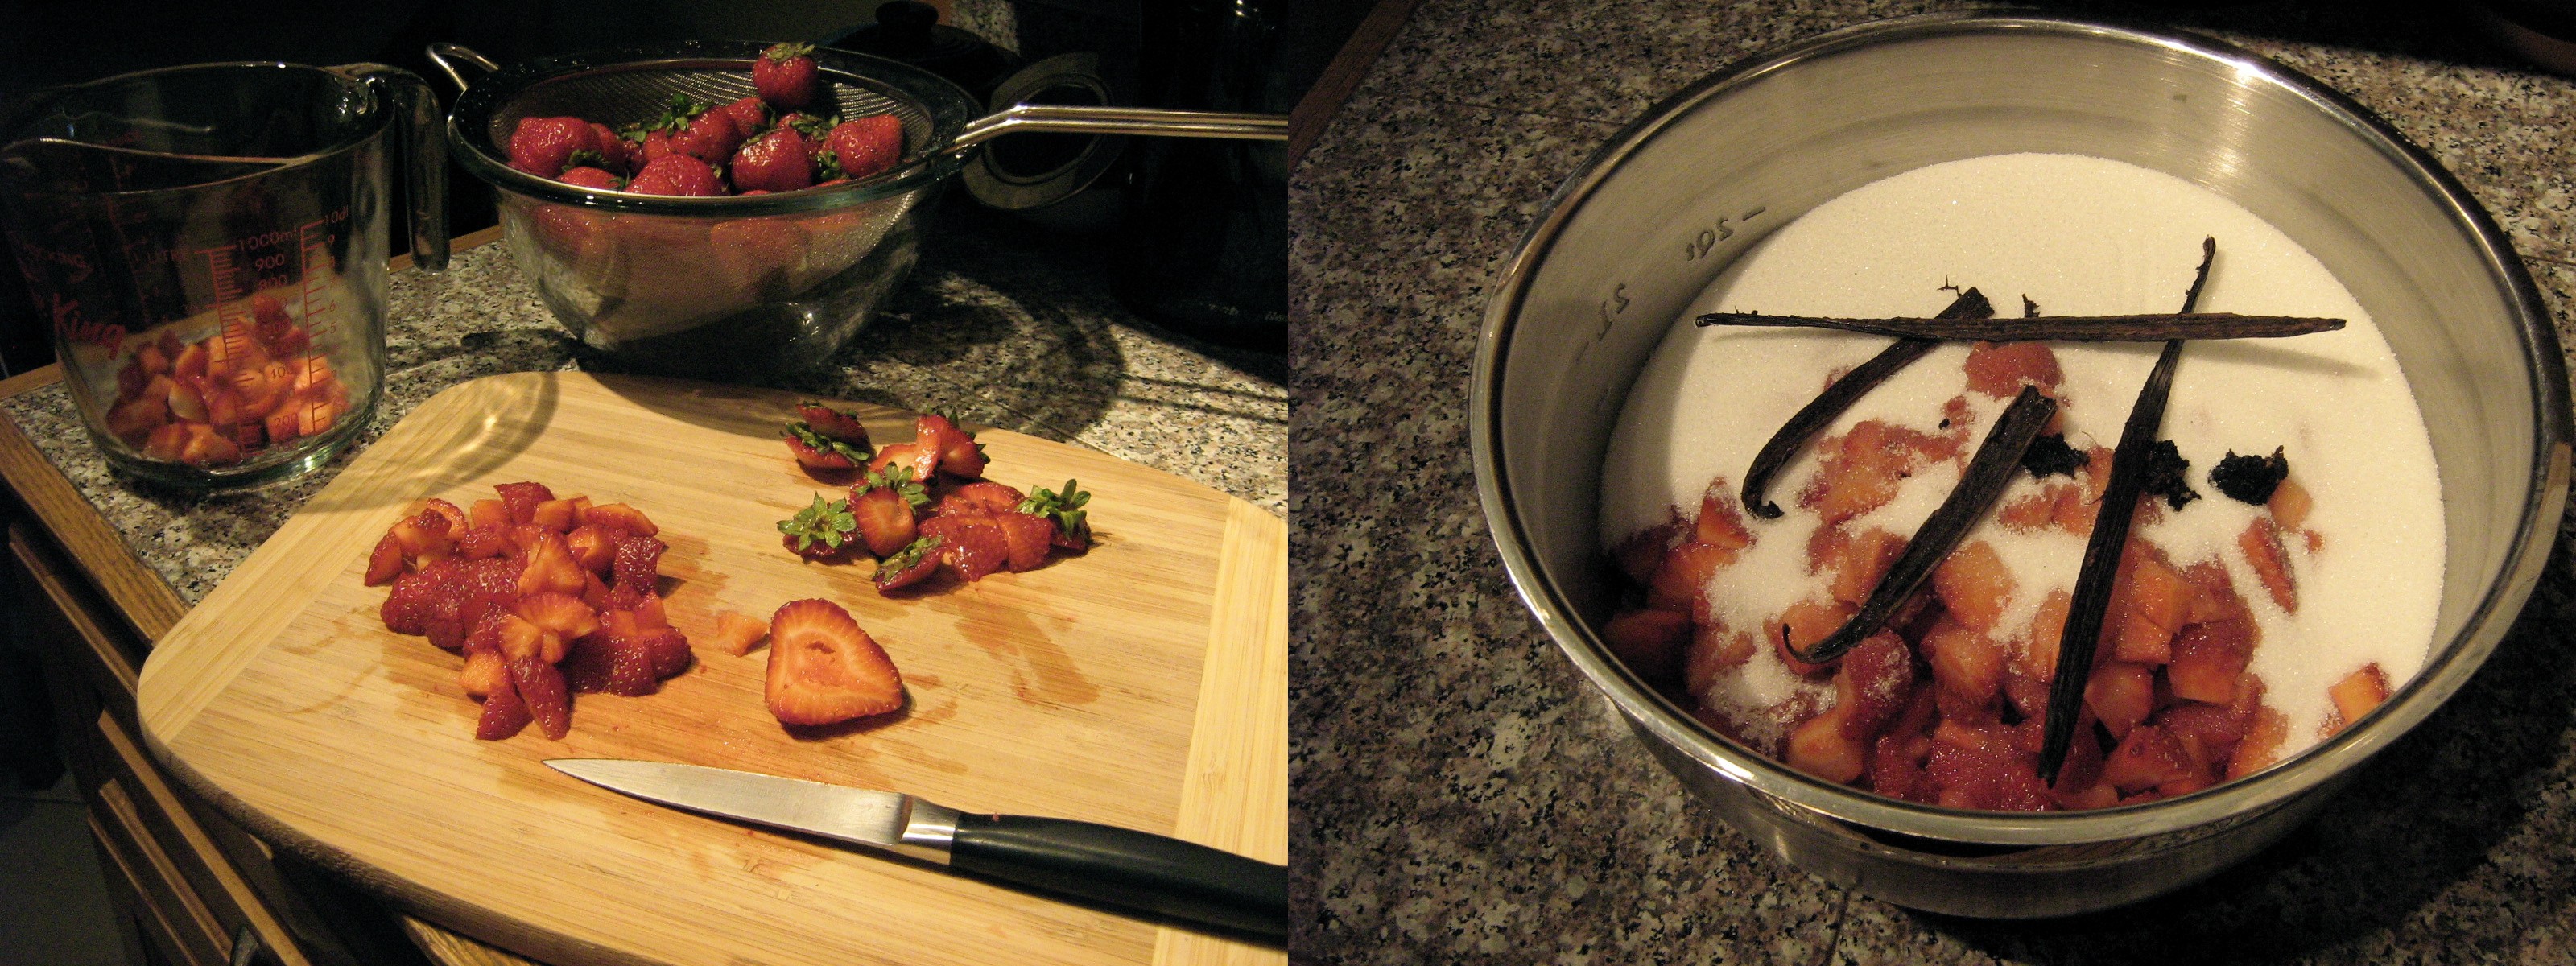
Combine and macerate over night:

2 cups hulled and chopped strawberries (about 2.5 lbs)

1 1/2 cup granulated sugar

1 1/2 vanilla bean pods (split and scraped) and seeds
The next day, pour the macerated fruit into a large heavy pot and add:

1 1/2 cups granulated sugar

1 tsp vanilla extract

juice of 1 1/2 lemons or limes

(If you want, you can skip the macerating step and just combine all the ingredients in the pot.)

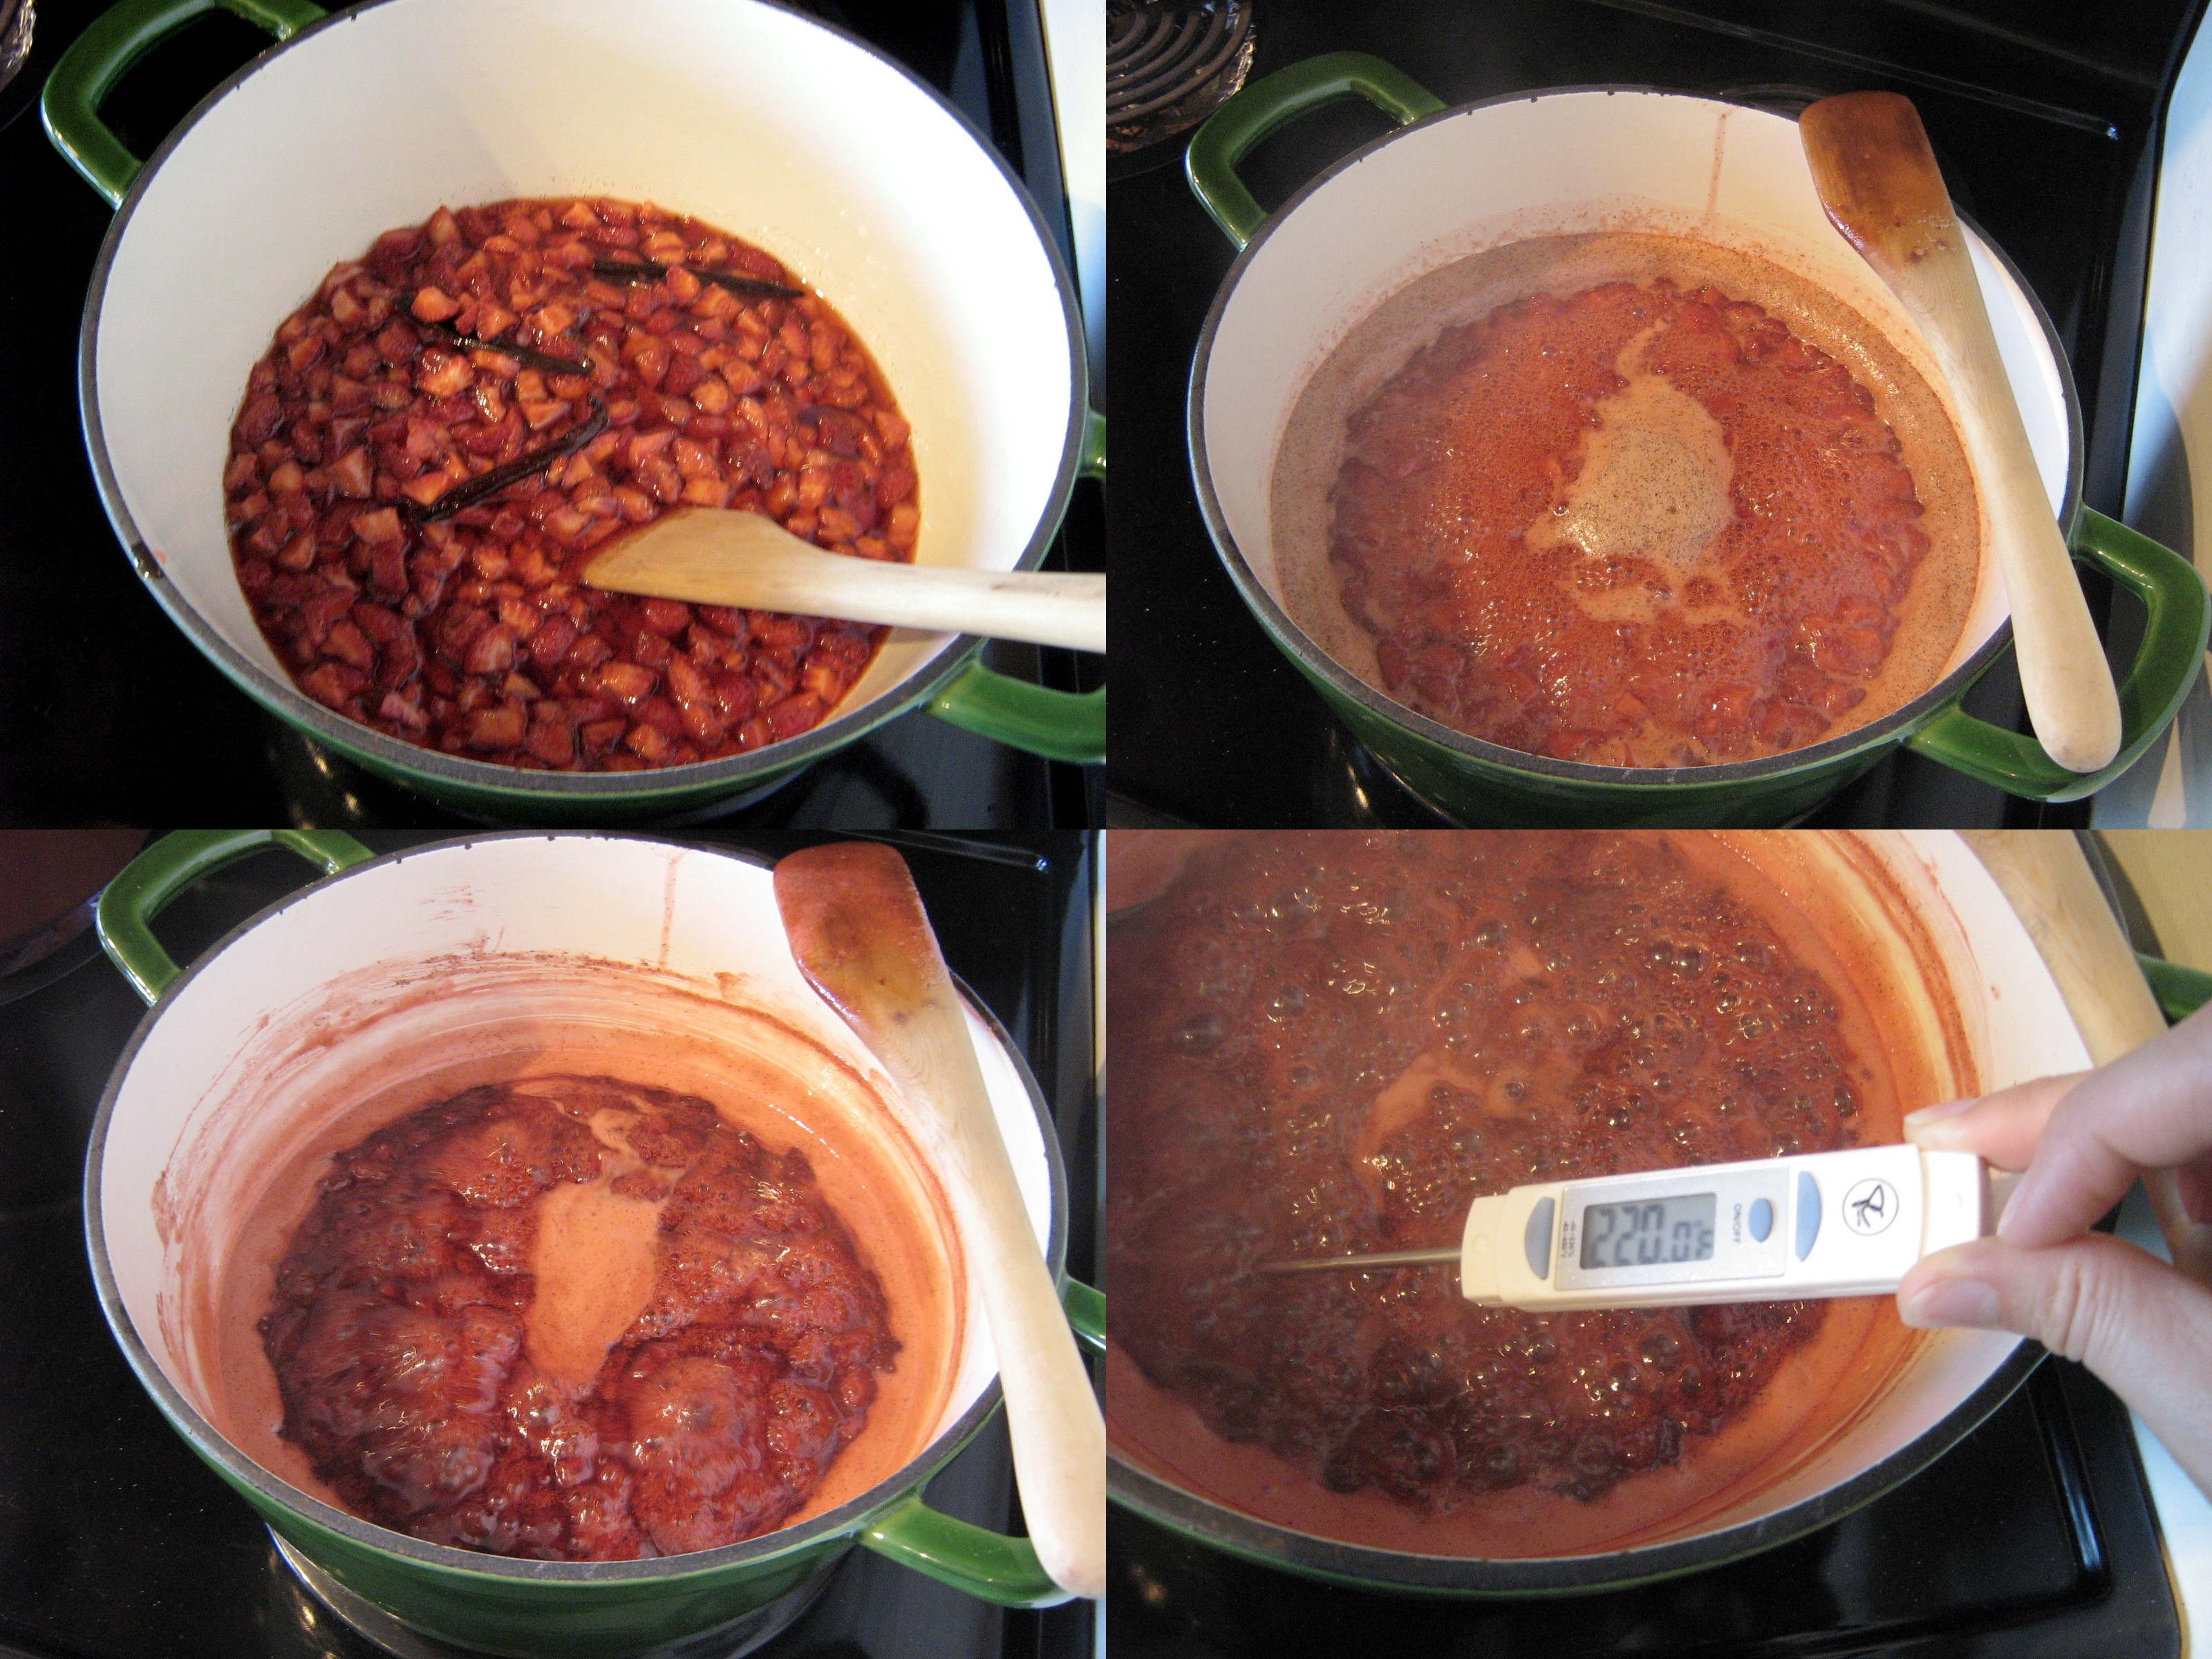
Cook over medium-high heat, stirring, until it starts to thicken, get syrupy, and turn a darker red. You know it is done when it reaches 220˚F or when you can draw a line with you finger through the jam on the back of the spoon. Pour the jam into four sterilized half-pint jars, with a piece of vanilla bean in each jar, and process in a boiling water bath for 10 minutes. Sit back and listen for the “ping” as the jars seal :).
Filed Under: Drinks & Condiments, Fruit, Recipes Tagged With: canning, cooking, food, fruit, jam, preserving, recipe

Chili Pepper Pork Chops with Tequila

September 15, 2011 By Korena in the Kitchen 2 Comments

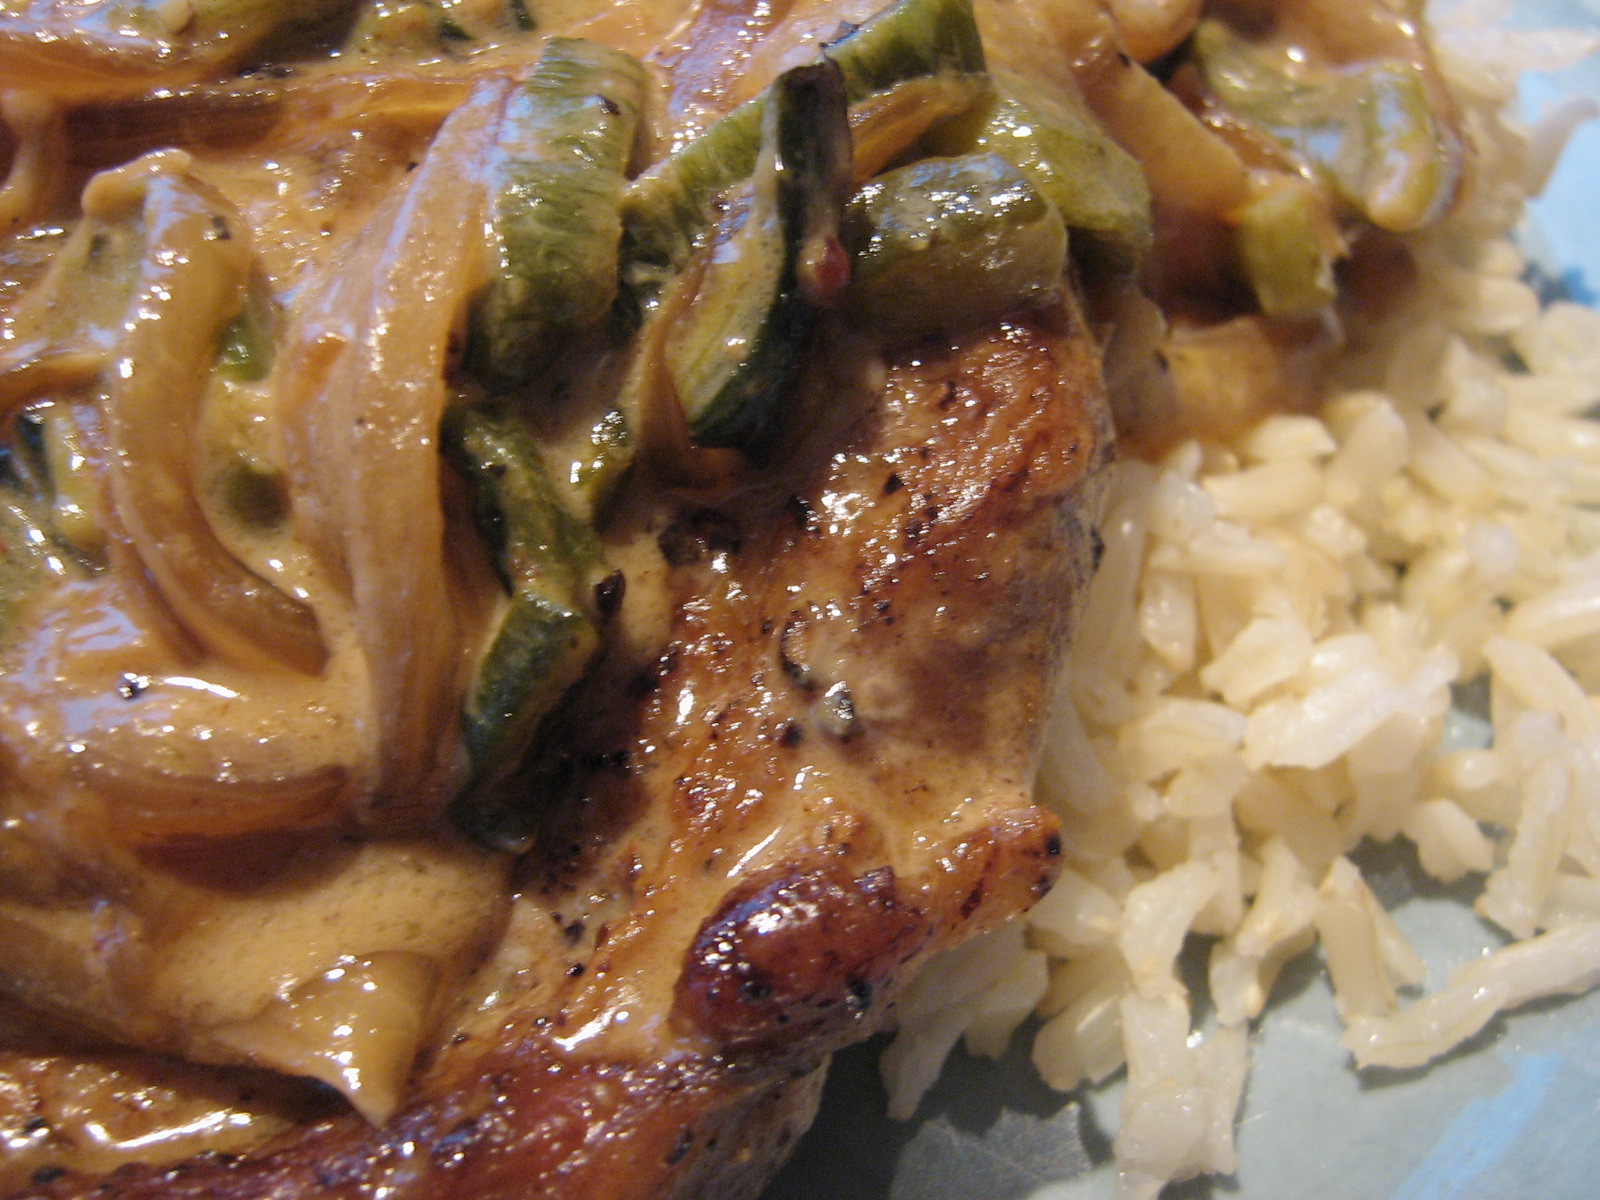
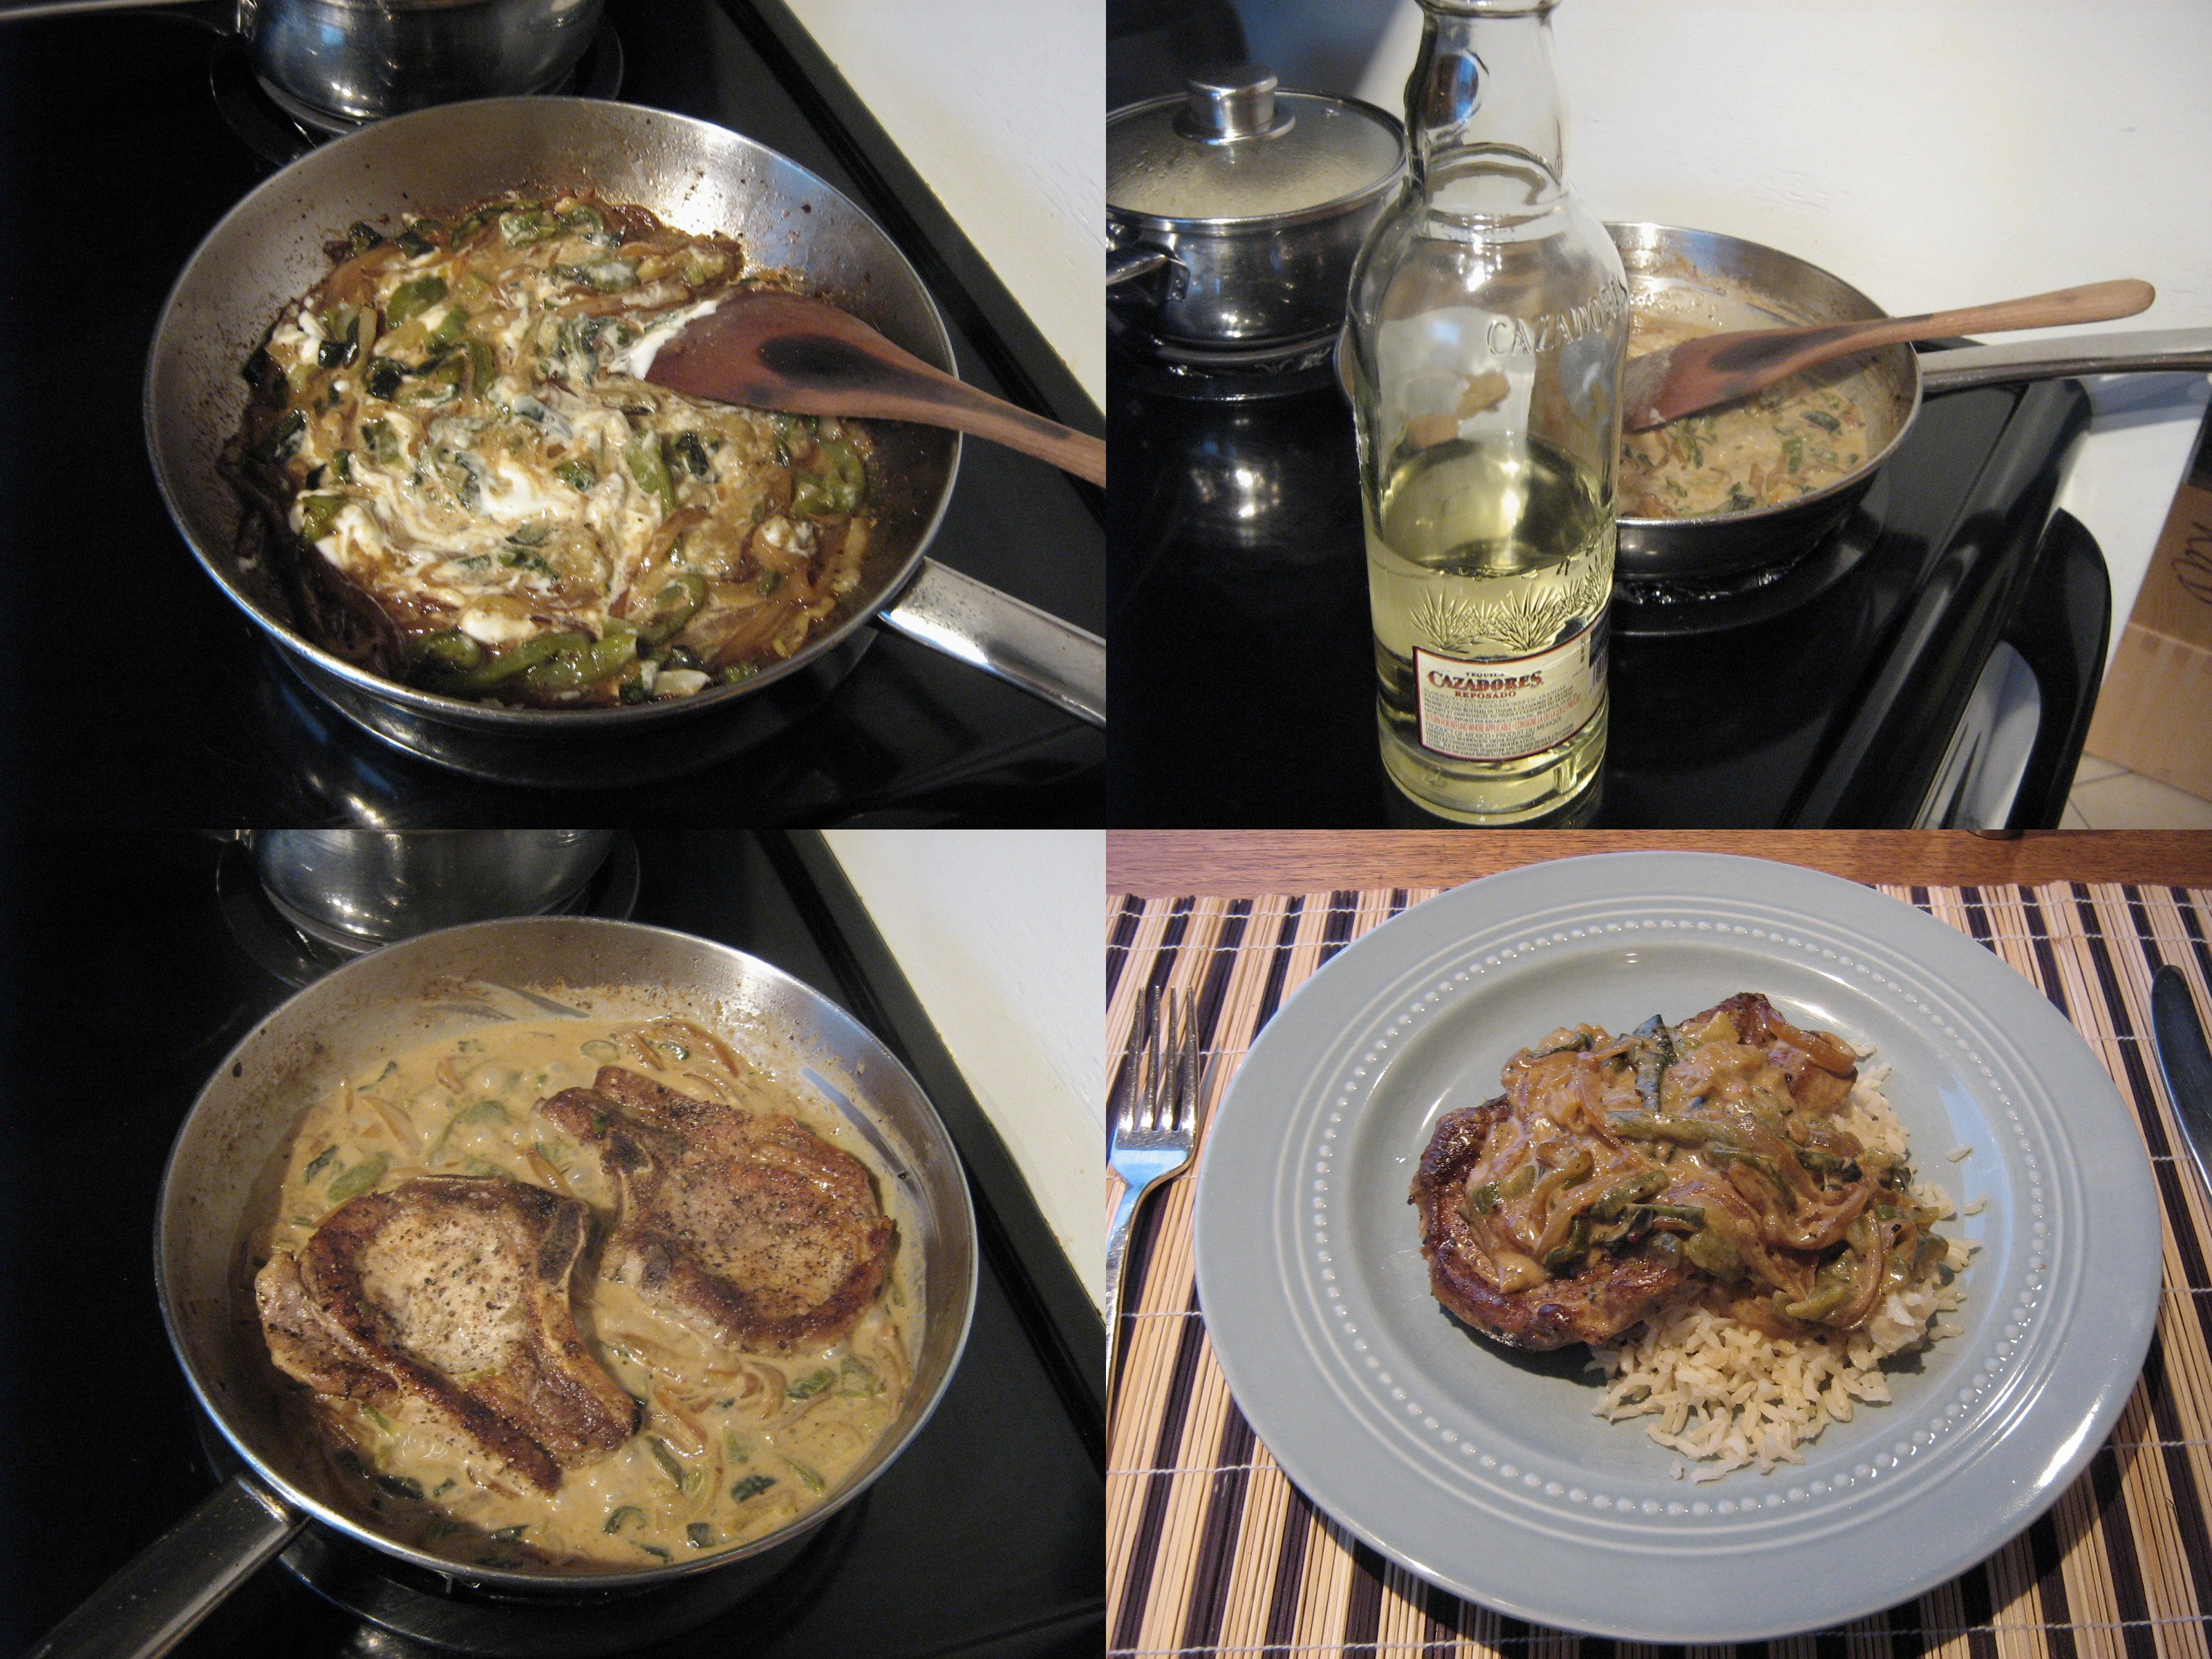
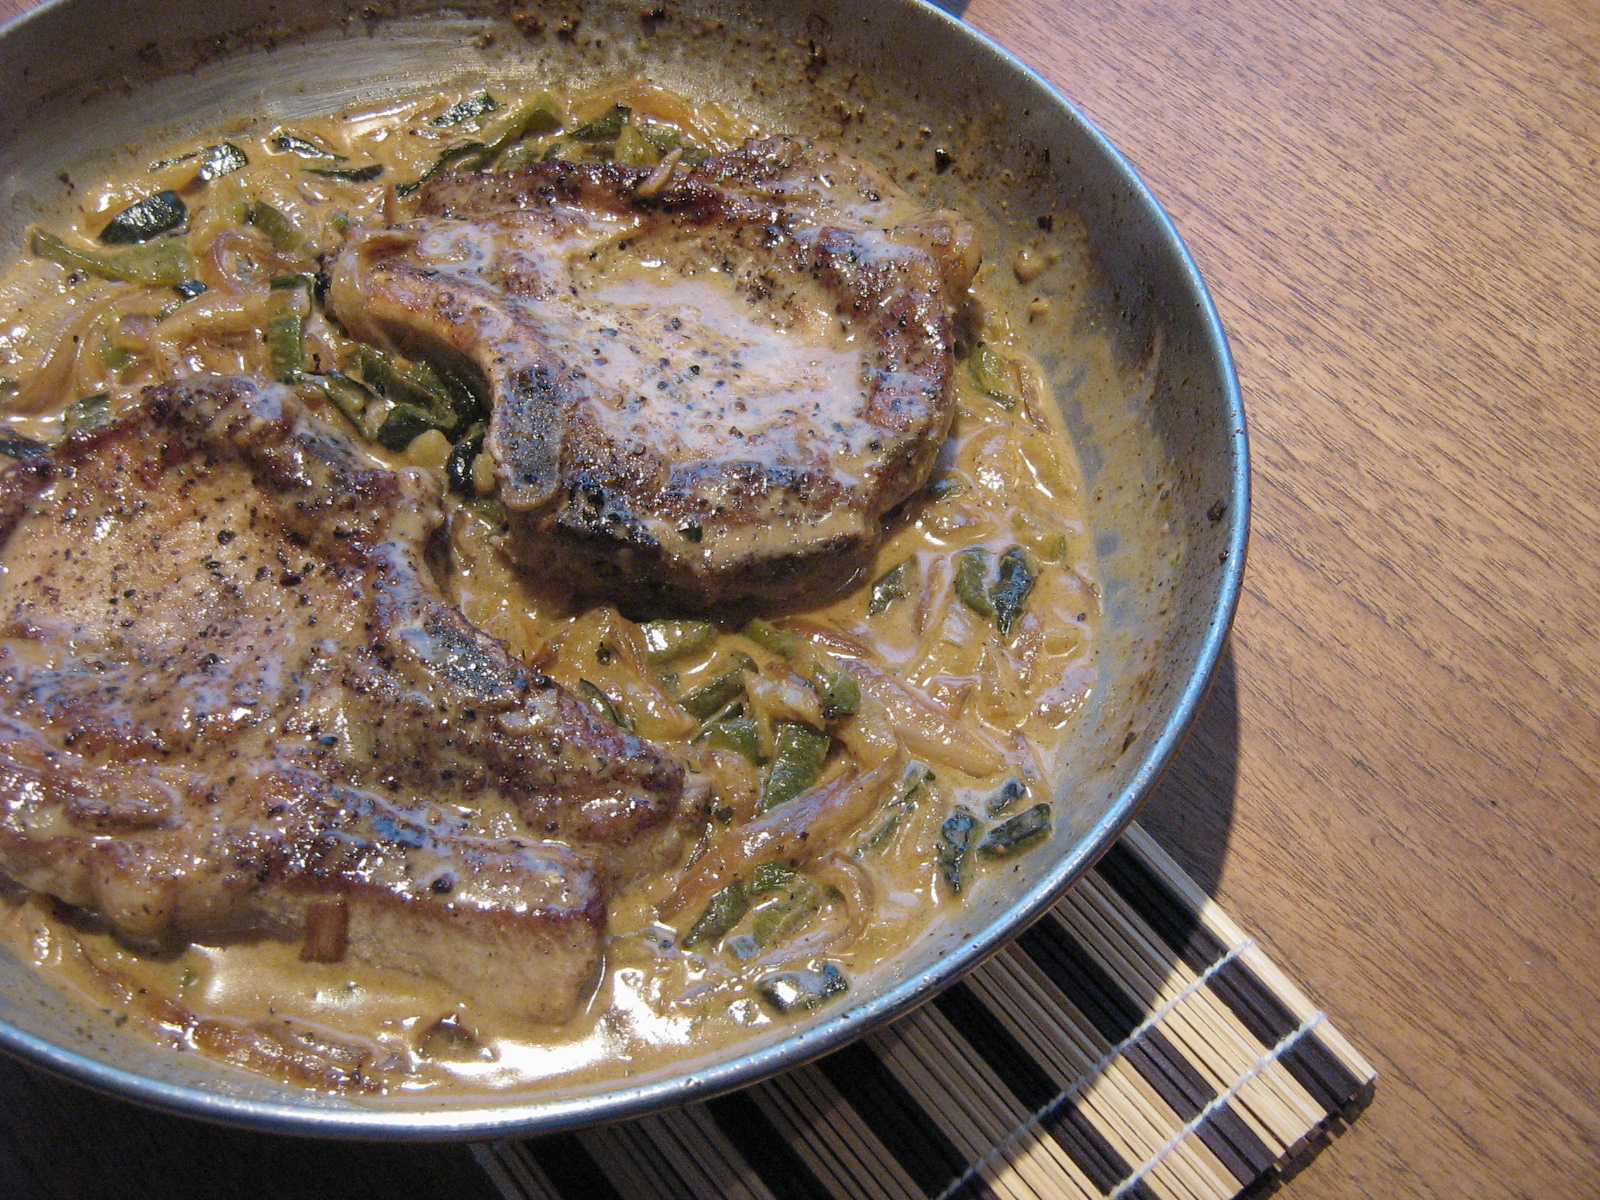
We have a recipe from Nate’s parents involving baked pork loin with green chili peppers and onions in a creamy sauce made with a little sour cream. With those ingredients you can’t really go wrong, but I still decided to play around with it a bit. I used bone-in pork chops (the bone adds more flavour and keeps them juicy) instead of pork loin, roasted peppers instead of canned jalapenos, and added some cumin. I also added tequila because – well, why not? I was feeling a slightly Mexican vibe from the peppers and cumin and it just seemed right. Turns out it was!

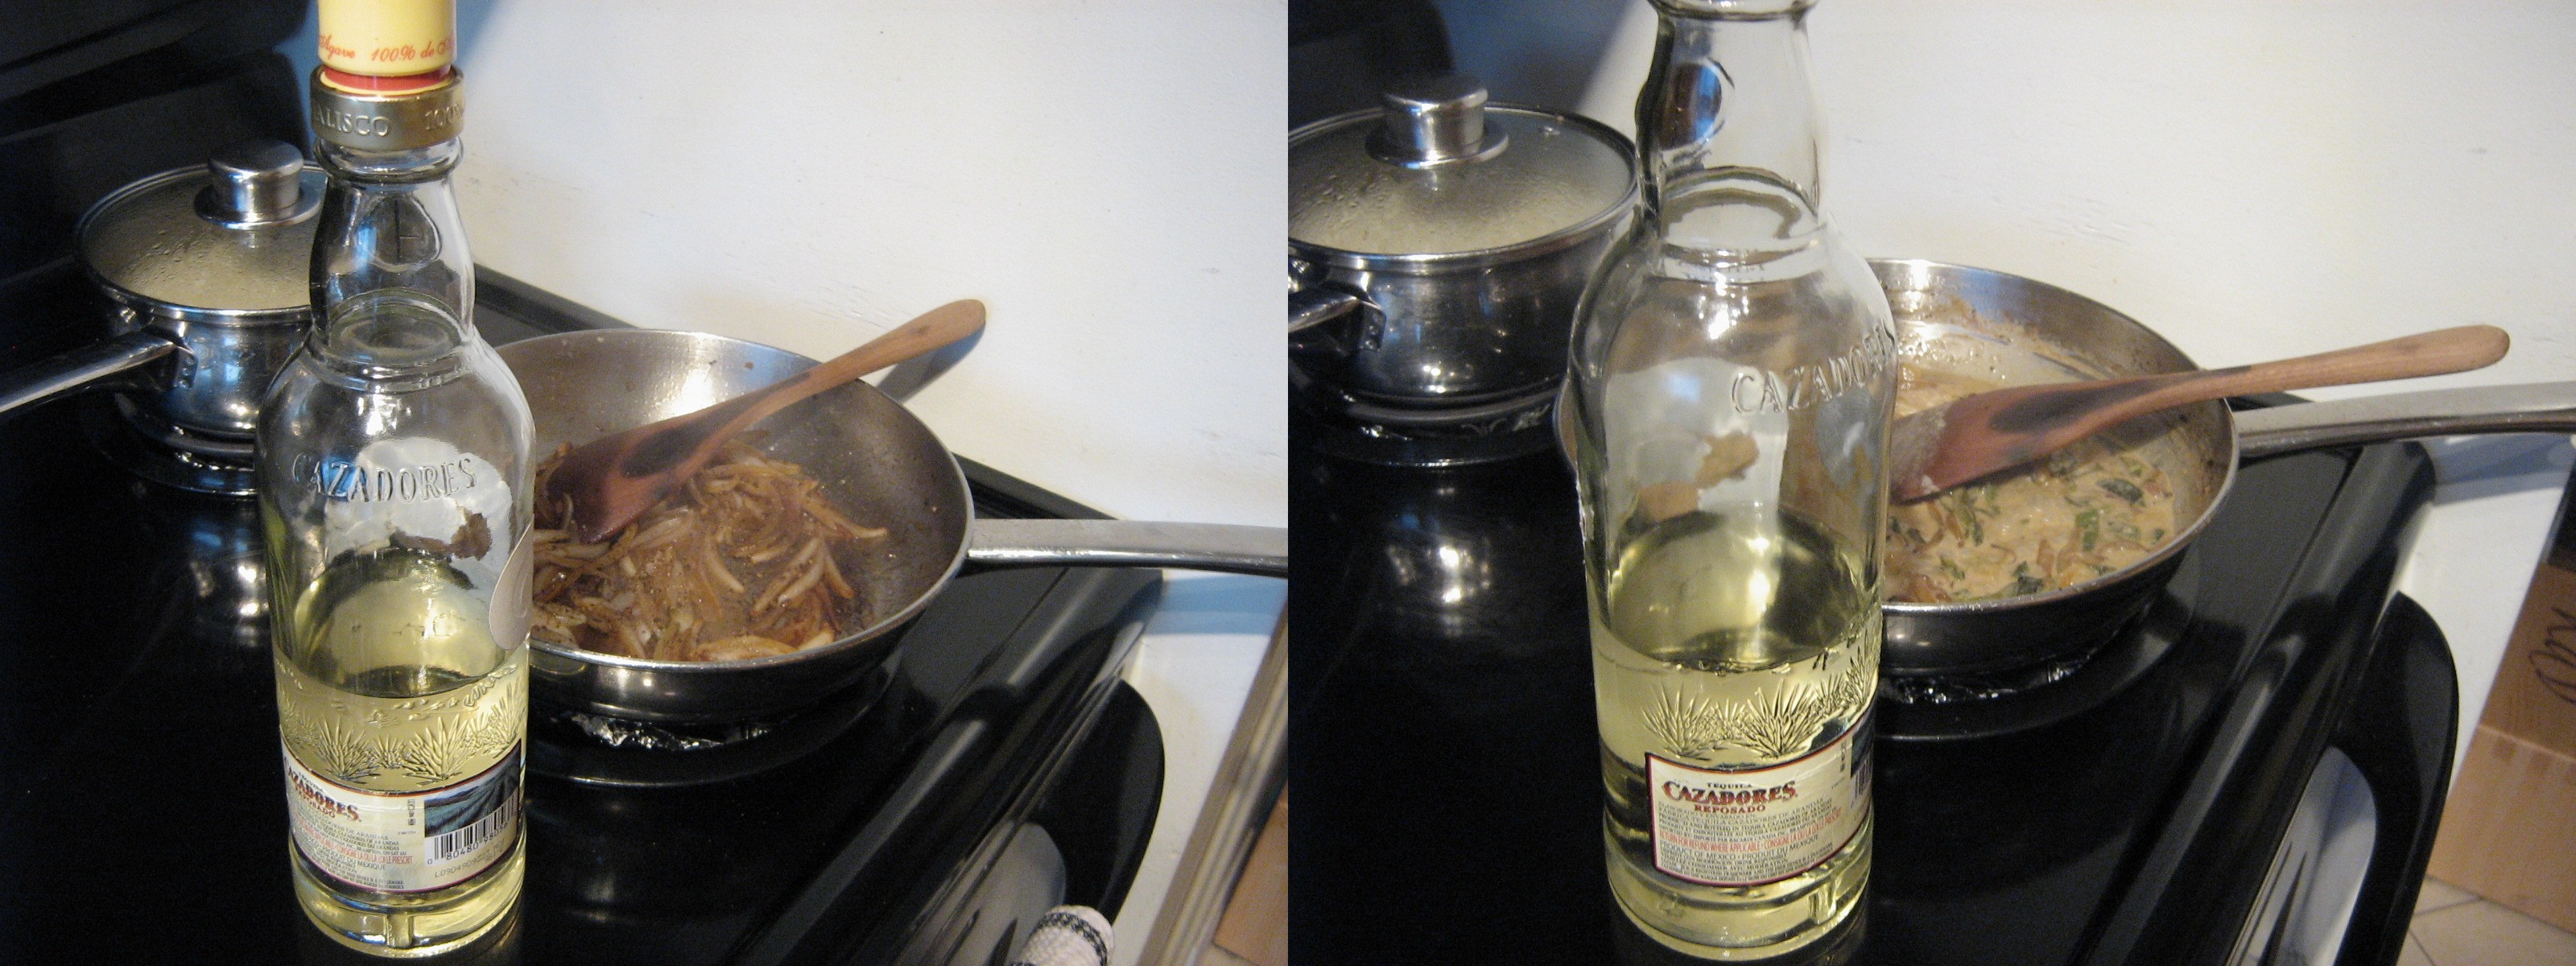
Actually I added tequila twice… 😉

Making this is a little bit time consuming because you have to roast the peppers, but if you plan ahead you could roast the peppers while you brown the pork chops, then peel and chop them while the onion is sautéeing. If you’re the plan ahead type, that is. I usually seem to be cooking by the seat of my pants, so to speak.

So, plan ahead and make this. It’s delicious served over brown rice to soak up the sauce, which has a little bit of a tequila kick. Or maybe I’m just a lightweight ;).

Chili Pepper Pork Chops with Tequila

Serves 2.

First, roast the peppers:

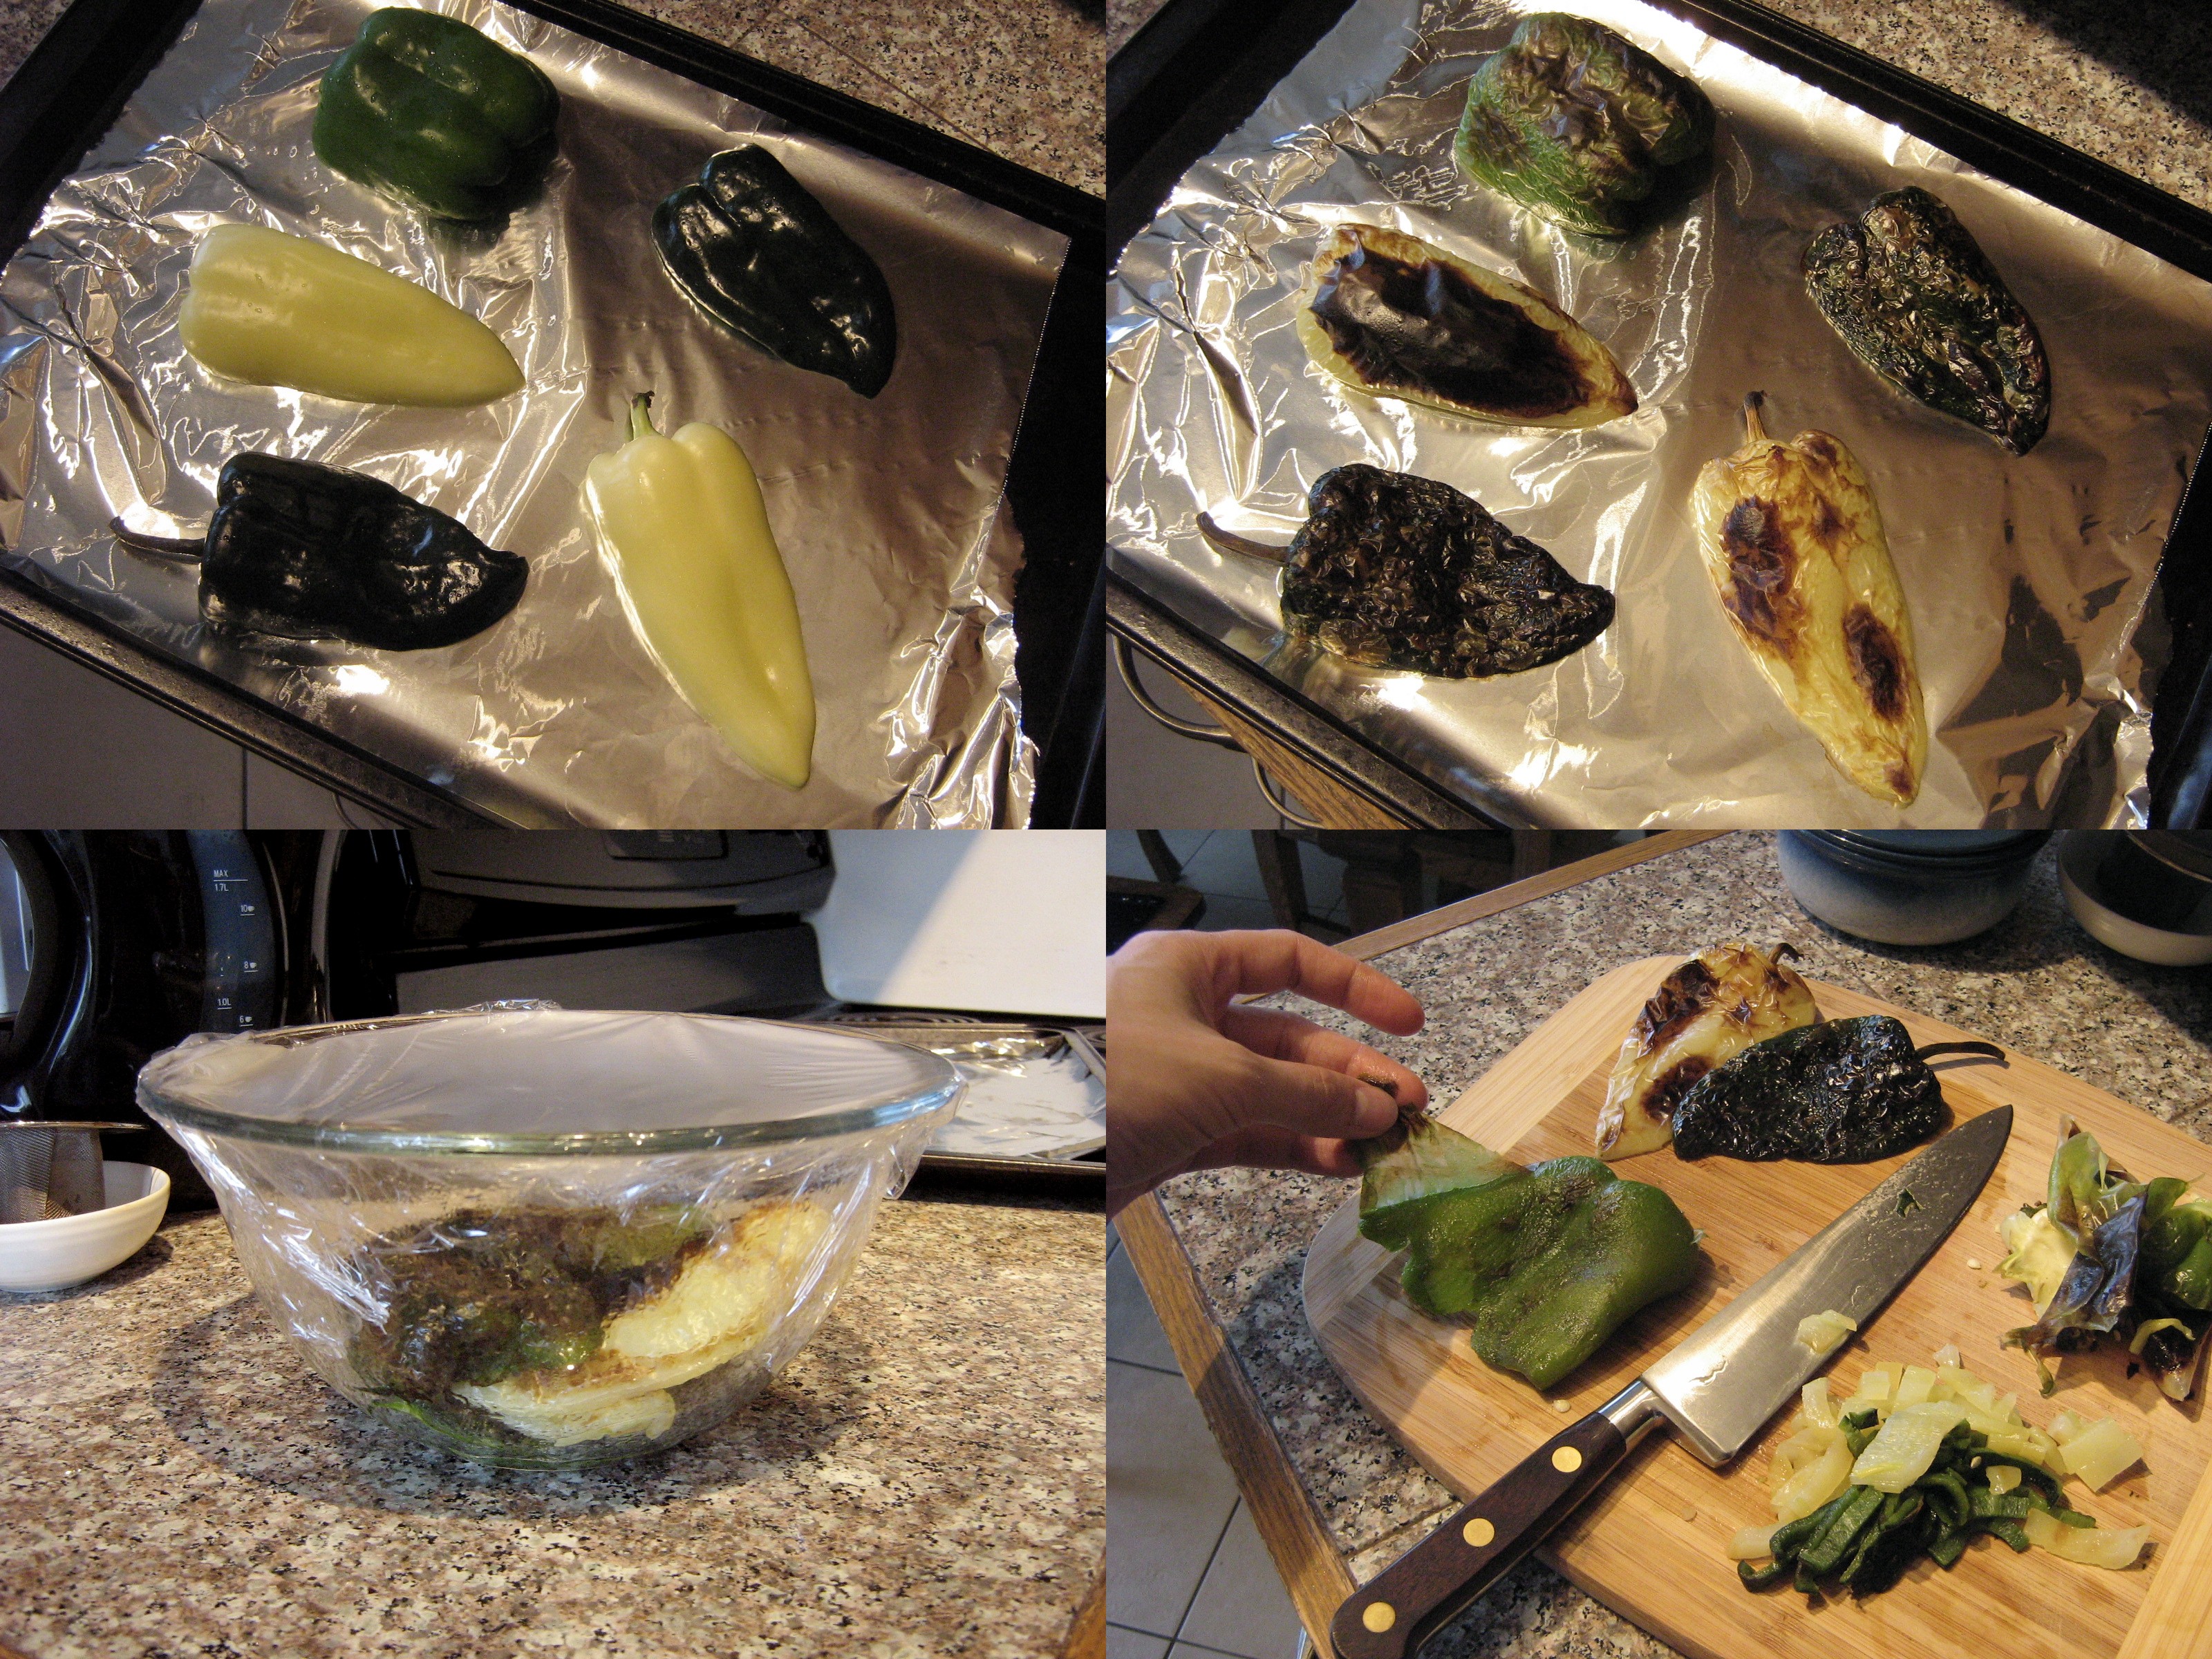
2-3 medium-sized peppers, cut in half lengthwise (I used a poblano pepper, a white Hungarian pepper, and half a green bell pepper, which are all quite mild, but feel free to use a variety with more heat)

Place the peppers cut-side down on a foil lined baking sheet. Broil until the skin is charred, then put the peppers in a bowl and cover with plastic wrap. Let them steam for a few minutes, then remove the seeds and membranes, peel off the skins, and slice into strips. Set aside.

Turn the oven to 350˚F. Prepare the pork chops:

2 bone-in pork chops

Season on both sides with:

salt

pepper

a little granulated sugar (to help with browning and caramelizing, not make them sweet!)

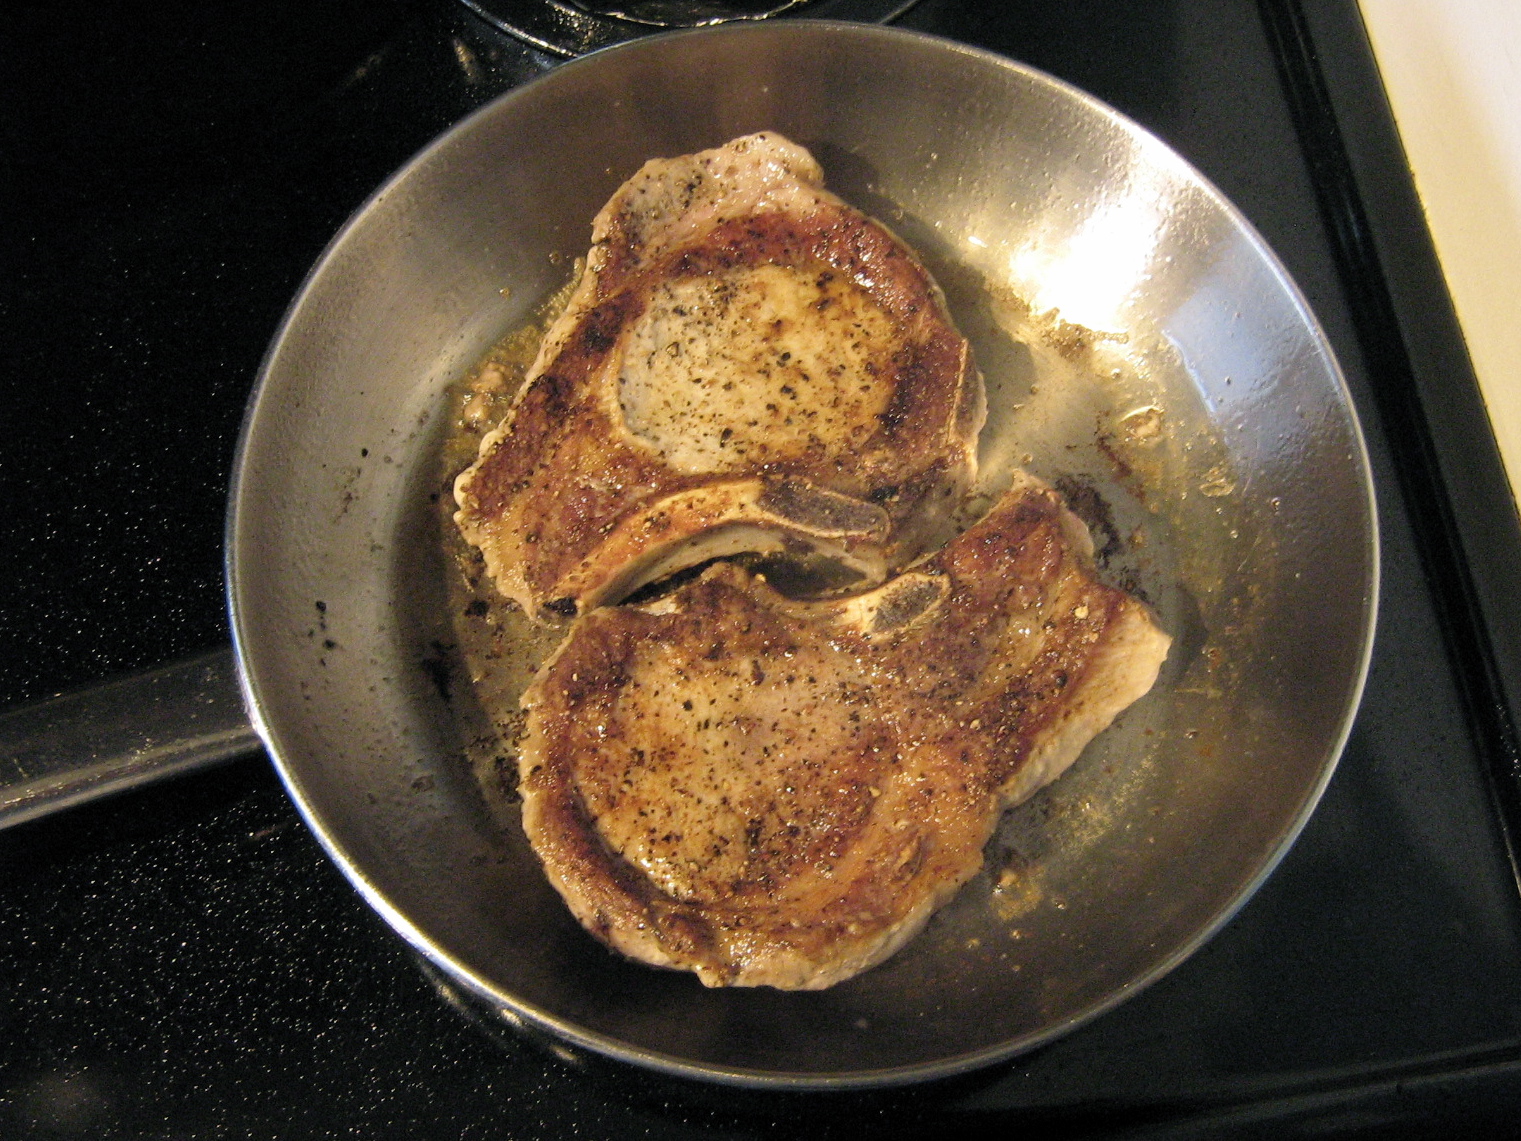
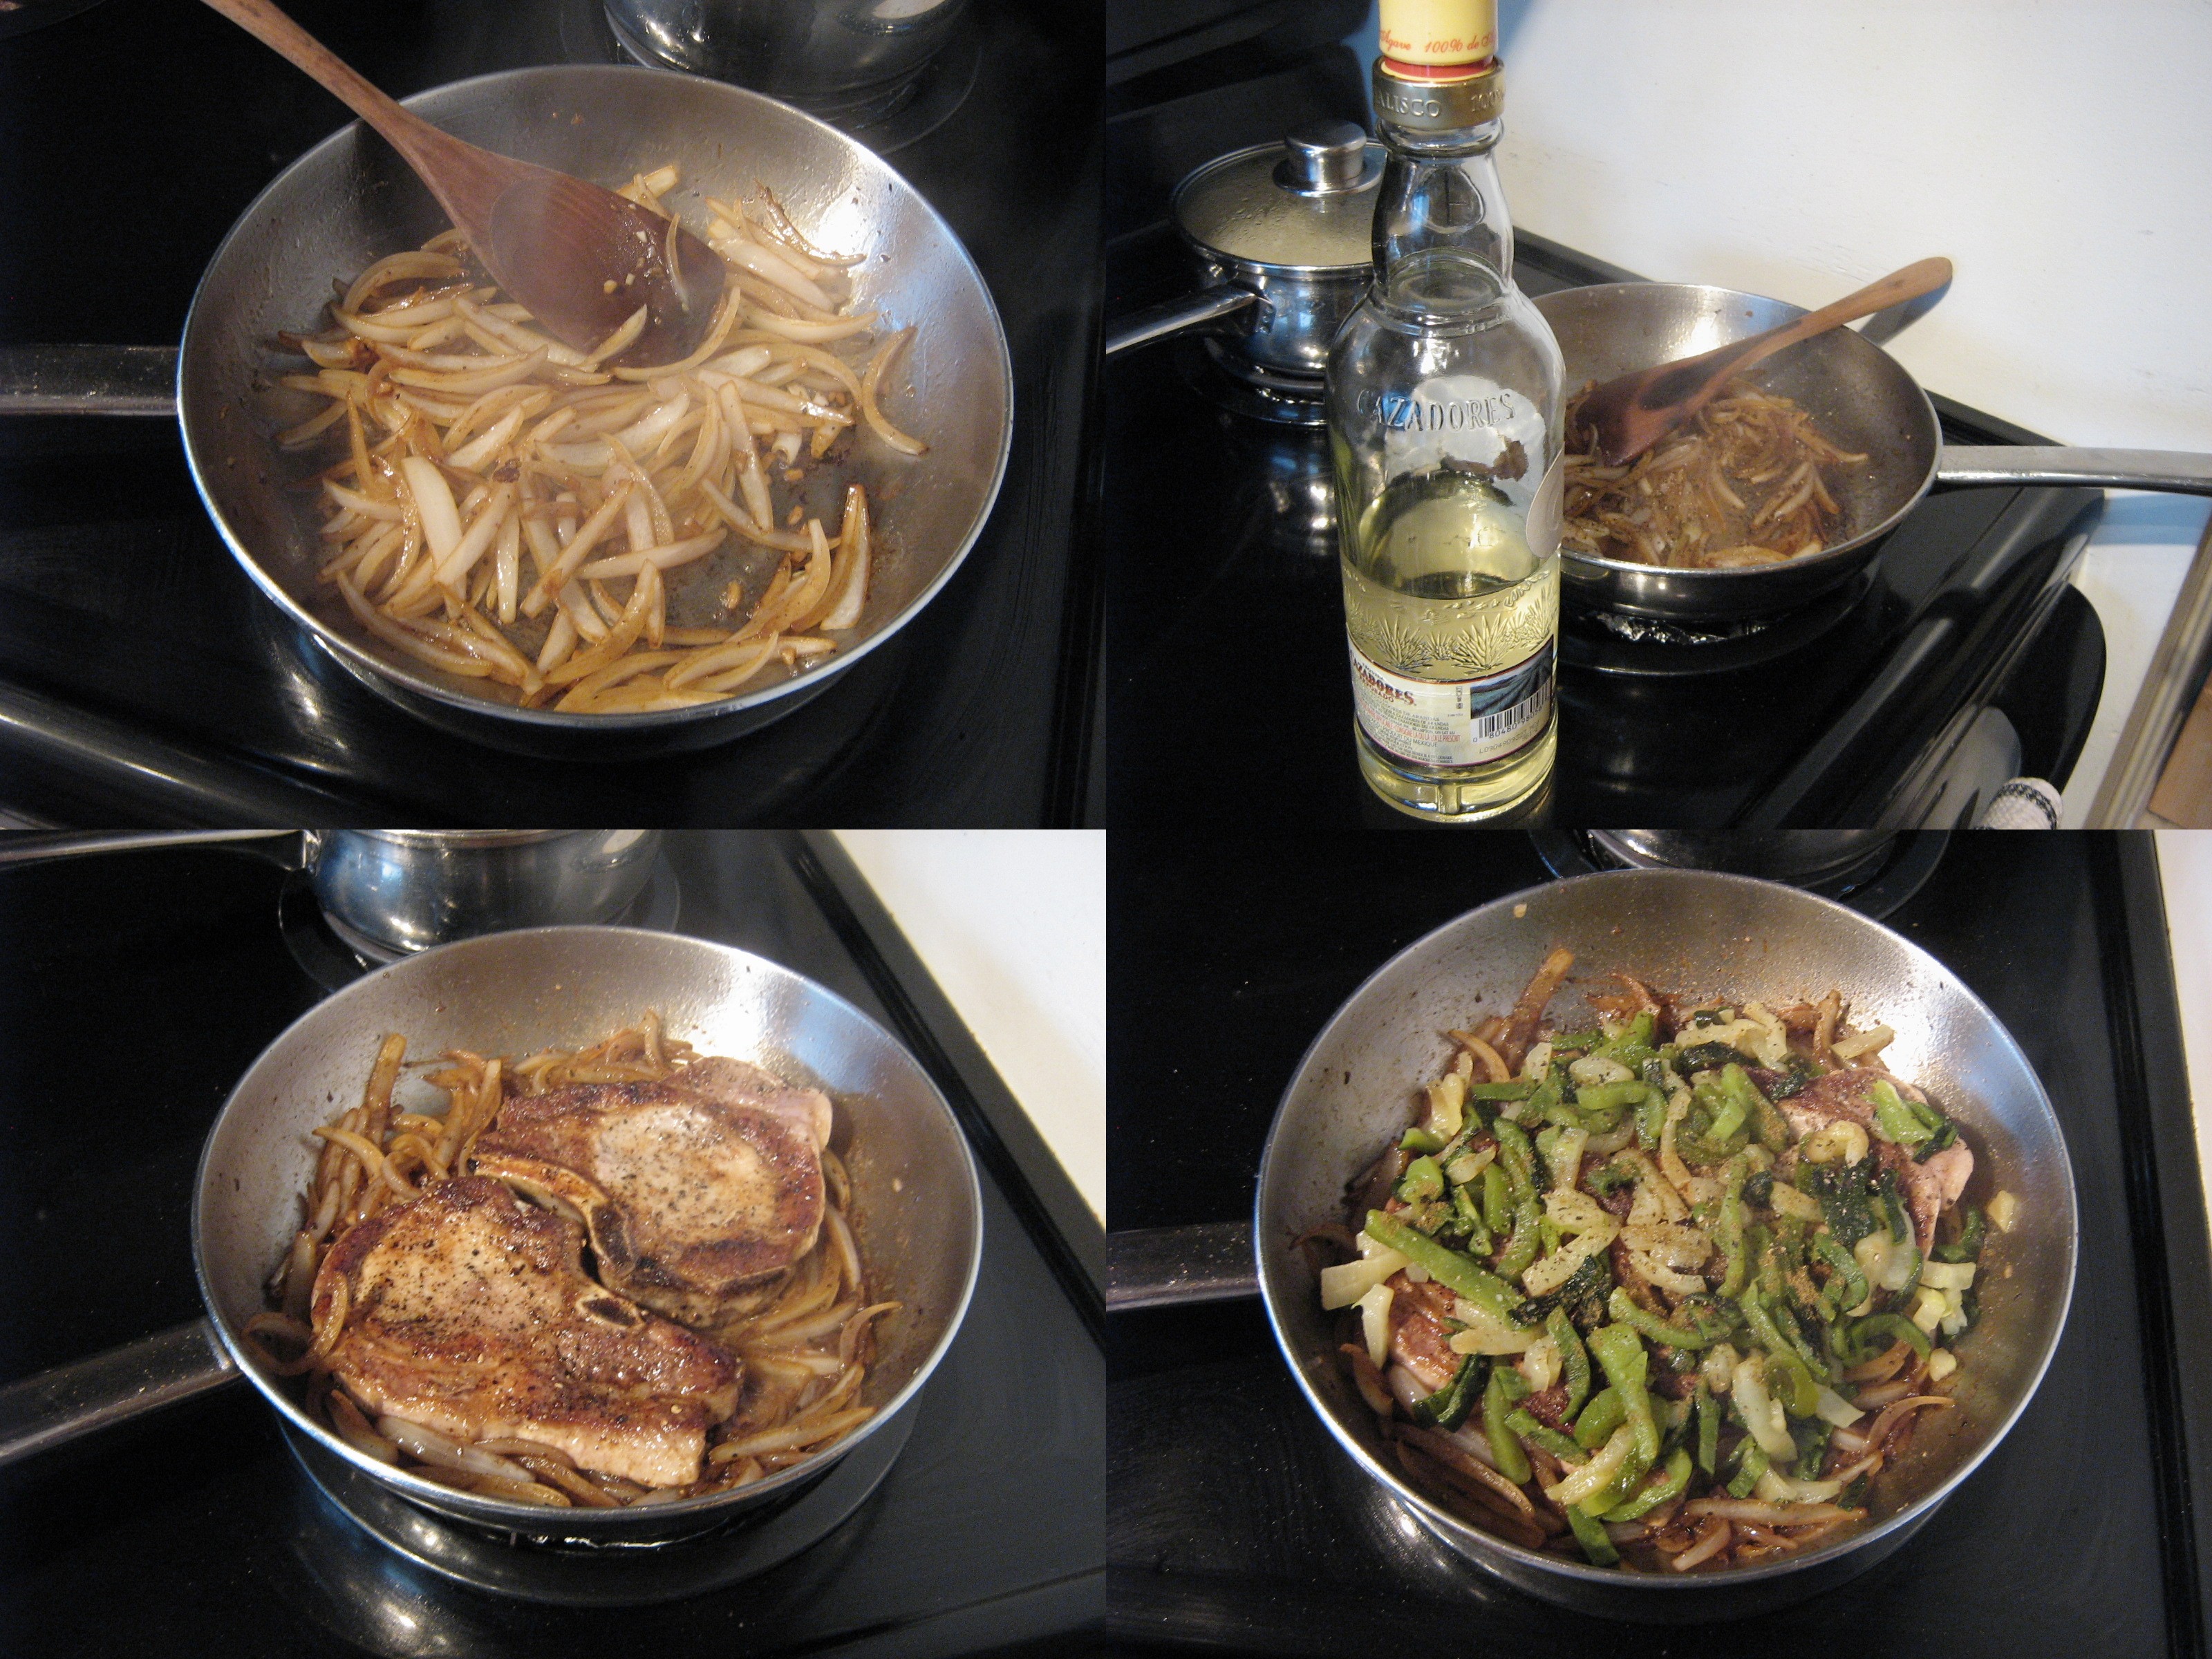
Heat a splash of olive oil and little butter in an oven-proof frying pan over medium heat and cook the pork chops on both sides until golden brown. Remove the pork chops  from the pan and add:

1 small sliced onion

1 minced garlic clove

Sauté  in the frying pan until browned and soft, and season with:

salt

pepper

1 tsp cumin powder

Deglaze the pan with a shot of tequila, stirring to scrape up the browned bits on the bottom of the pan. Nestle the pork chops back in the pan, cover with the roasted peppers, and sprinkle with more salt, pepper, and cumin.

Bake in a 350˚F oven for 20-25 minutes. Remove the pork chops, leaving the onions and peppers in the pan, and place the pan over medium heat. Stir in:

2 tbsp sour cream

1 shot tequila

Simmer for a few minutes, then return the pork chops to the pan and coat with the sauce. Serve over brown rice.

Filed Under: Main Dishes, Recipes Tagged With: cooking, dinner, food, pork chops, recipe, roasted peppers, tequila

Blackberry Summer, Part 2: Blackberry Ribs

September 9, 2011 By Korena in the Kitchen 5 Comments

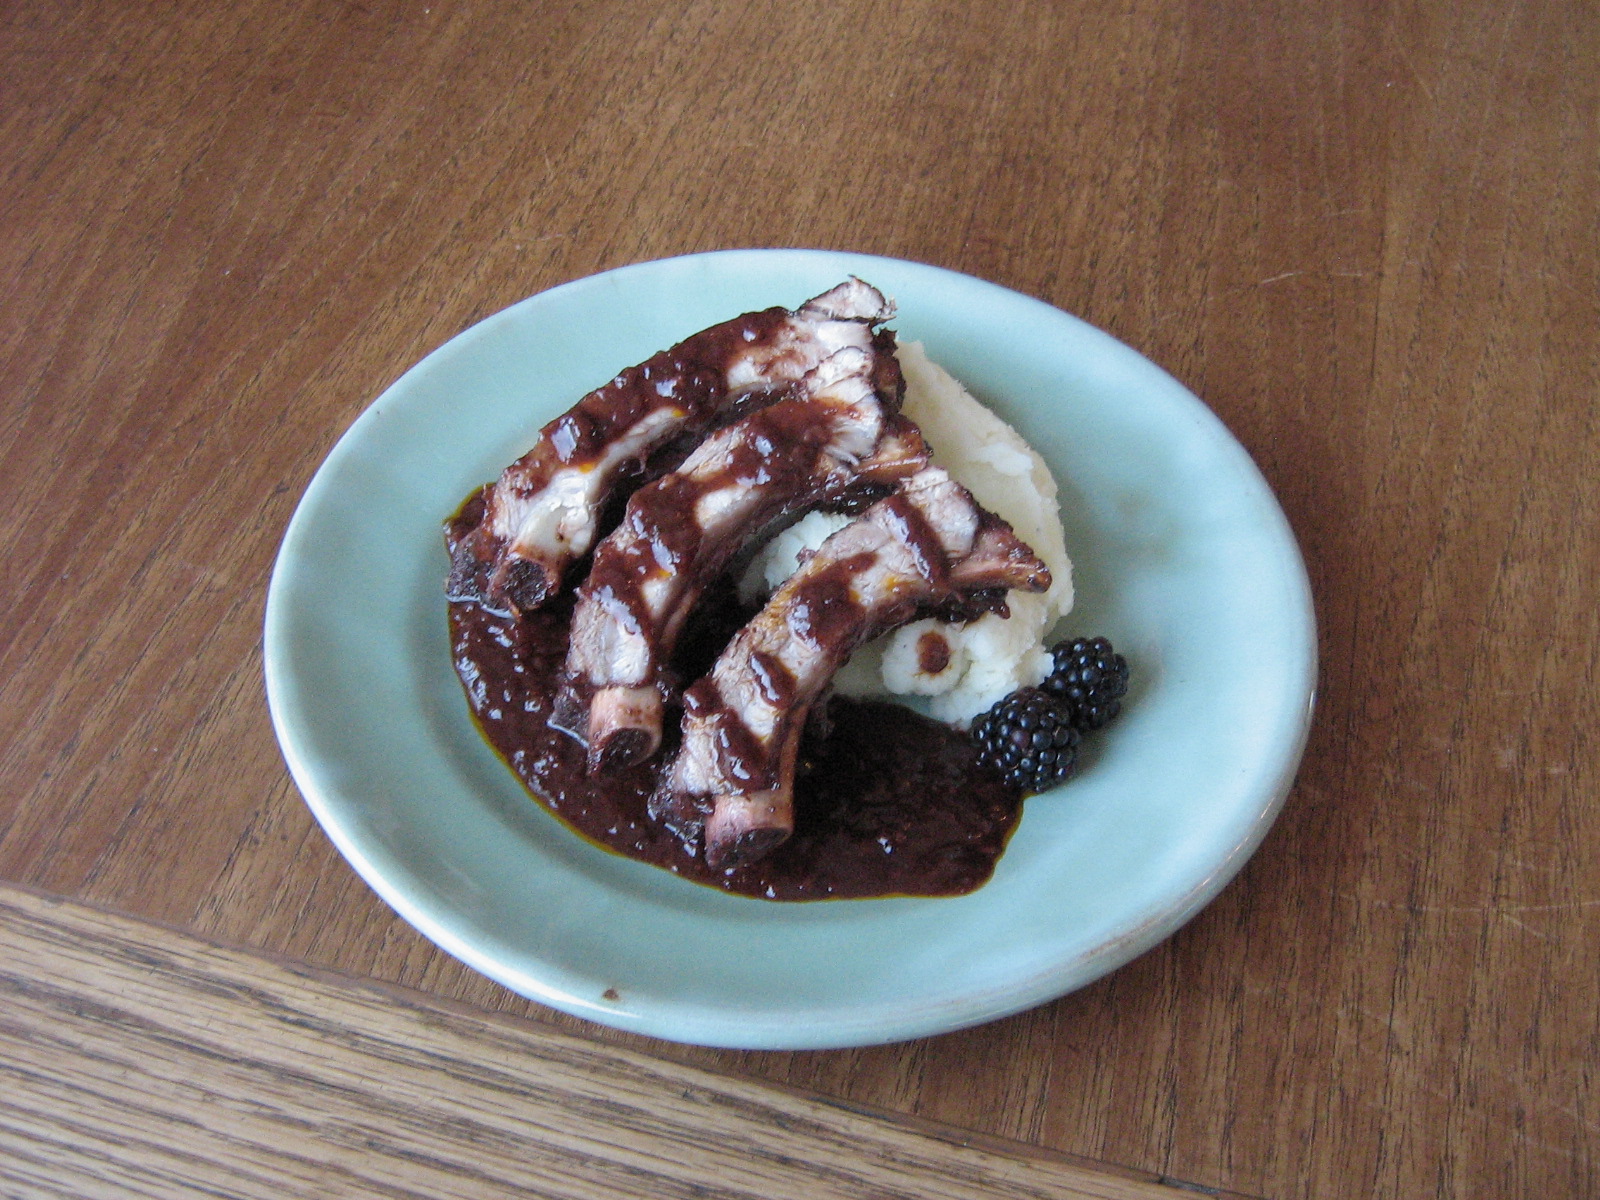
After making galettes and scones I still had a bunch of blackberries left, and my thoughts turned to a blackberry barbeque sauce for pork ribs. I’d heard of other fruit-based barbeque sauces, such as peach, and a quick Google search came up with several such recipes featuring blackberries. The one I went with is from Bon Appetit magazine, and includes honey, ginger, and hot sauce (which I substituted for chipotle pureé, because I put that stuff in everything!). It also makes a TON of sauce, so feel free to scale down the recipe.

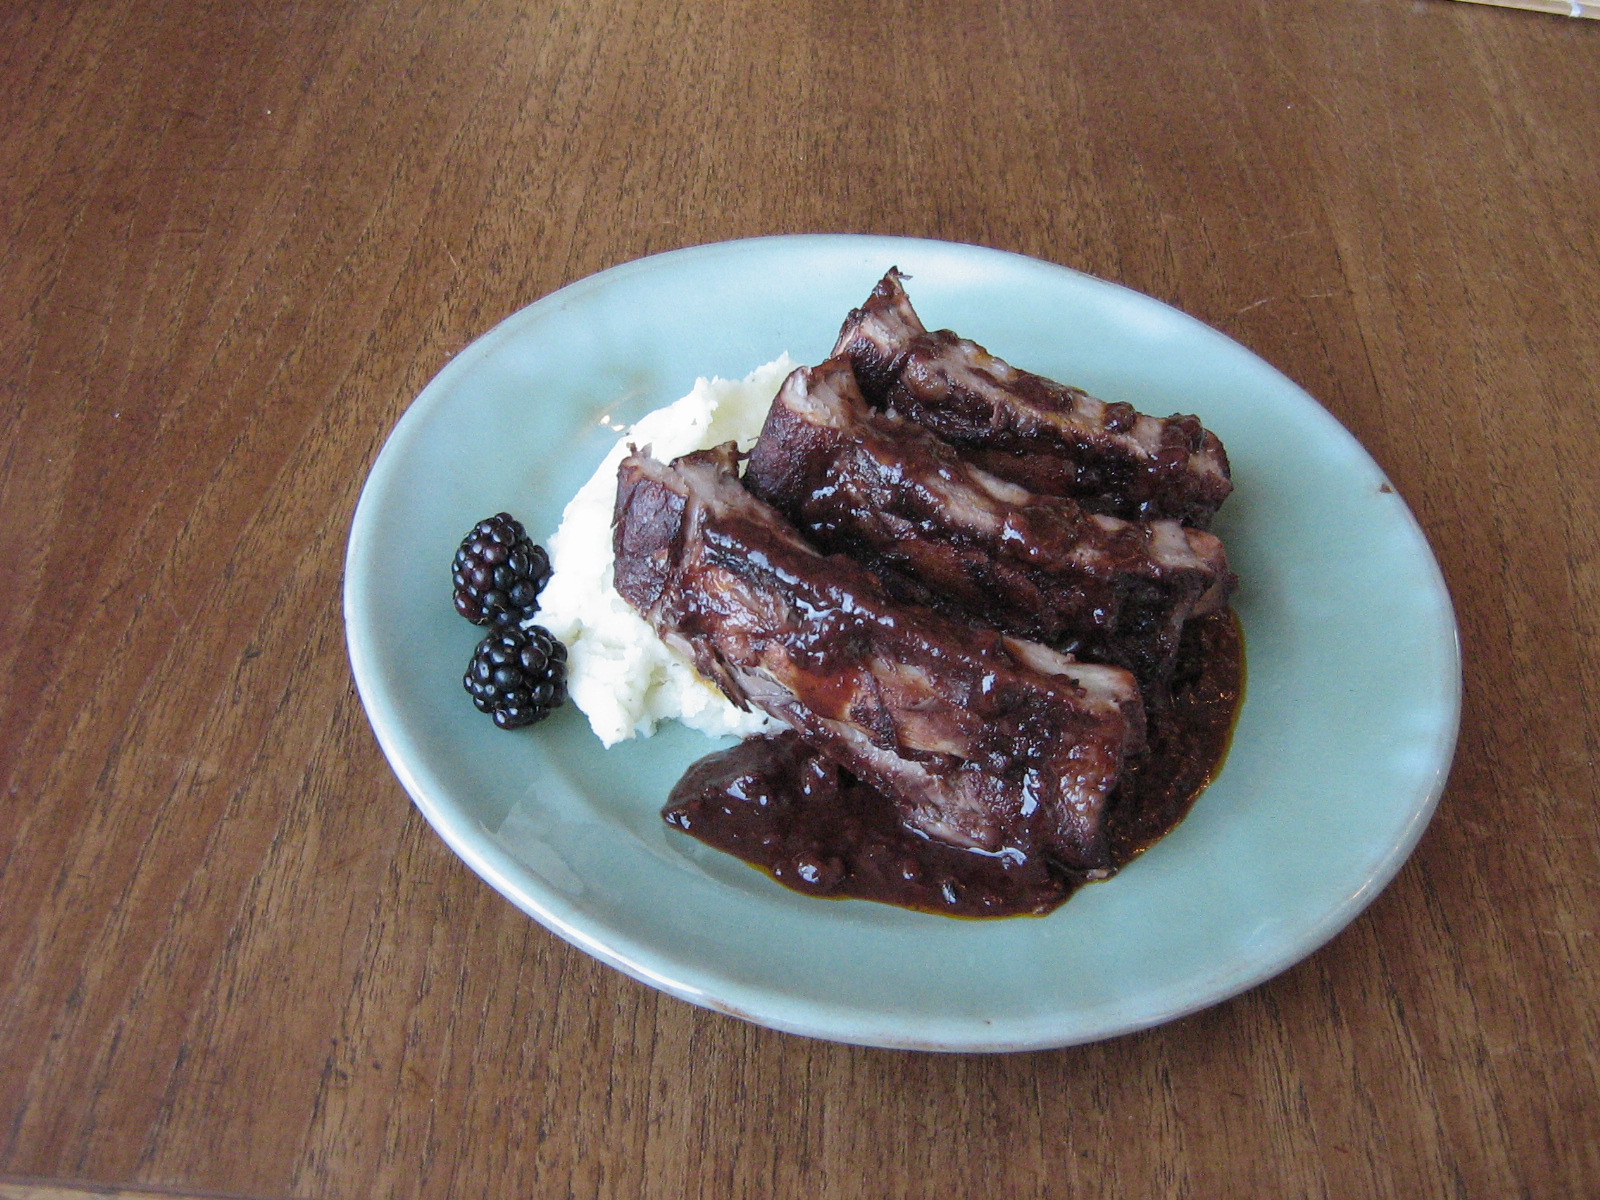
Rather than puréeing the sauce in a blender and then straining it and using it to baste the baked ribs as the recipe originally instructs, I gently mashed the berries and didn’t bother straining, to end up with a chunkier texture. My favorite way to cook ribs involves smothering them in sauce and baking them, rather than just basting them with sauce at the end, and the berries broke down quite a bit with cooking, so next time I might just leave them mostly whole to begin with.These ribs, while not particularly photogenic, came out tasting fantastic. Pork works especially well with fruit, and the blackberries gave a nice tangy sweet flavour to the sauce. This recipe is definitely a keeper – I imagine the sauce would be equally delicious on chicken or steak.

Baked Ribs with Spicy Blackberry Barbeque Sauce

Recipe adapted from Bon Appetit. As I mentioned, this makes a LOT of sauce – probably half would still be enough for this amount of of ribs. I thought about parboiling the ribs (partially cooking them in boiling water to make them cook faster in the oven), but after reading some rib-lovers’ opinions on the matter (sacrilege!), I changed my mind – essentially it just boils out the flavour, which is never a good thing. Turns out they only took a little over an hour to bake anyway, so I didn’t really have anything to worry about.

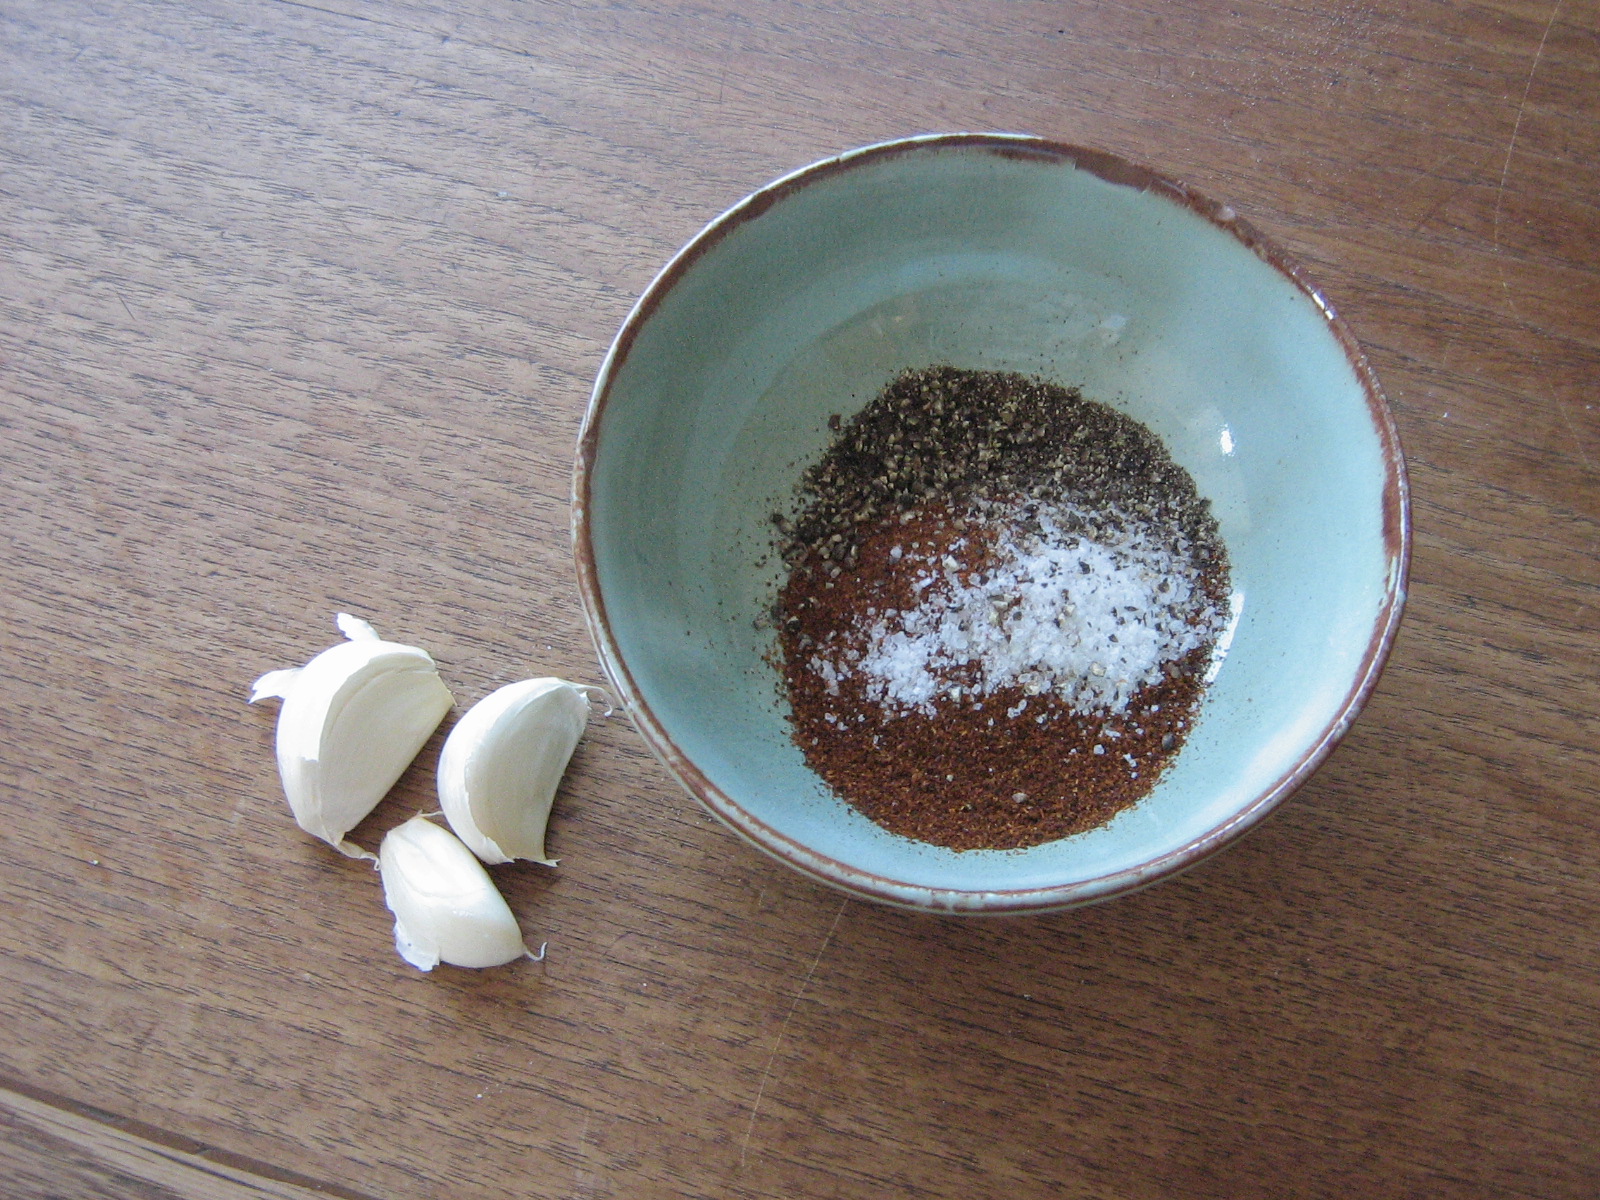
Preheat the oven to 325˚F. Mix together the spice rub:

3 cloves garlic, minced

3 tsp chili powder

1 tsp each salt and pepper

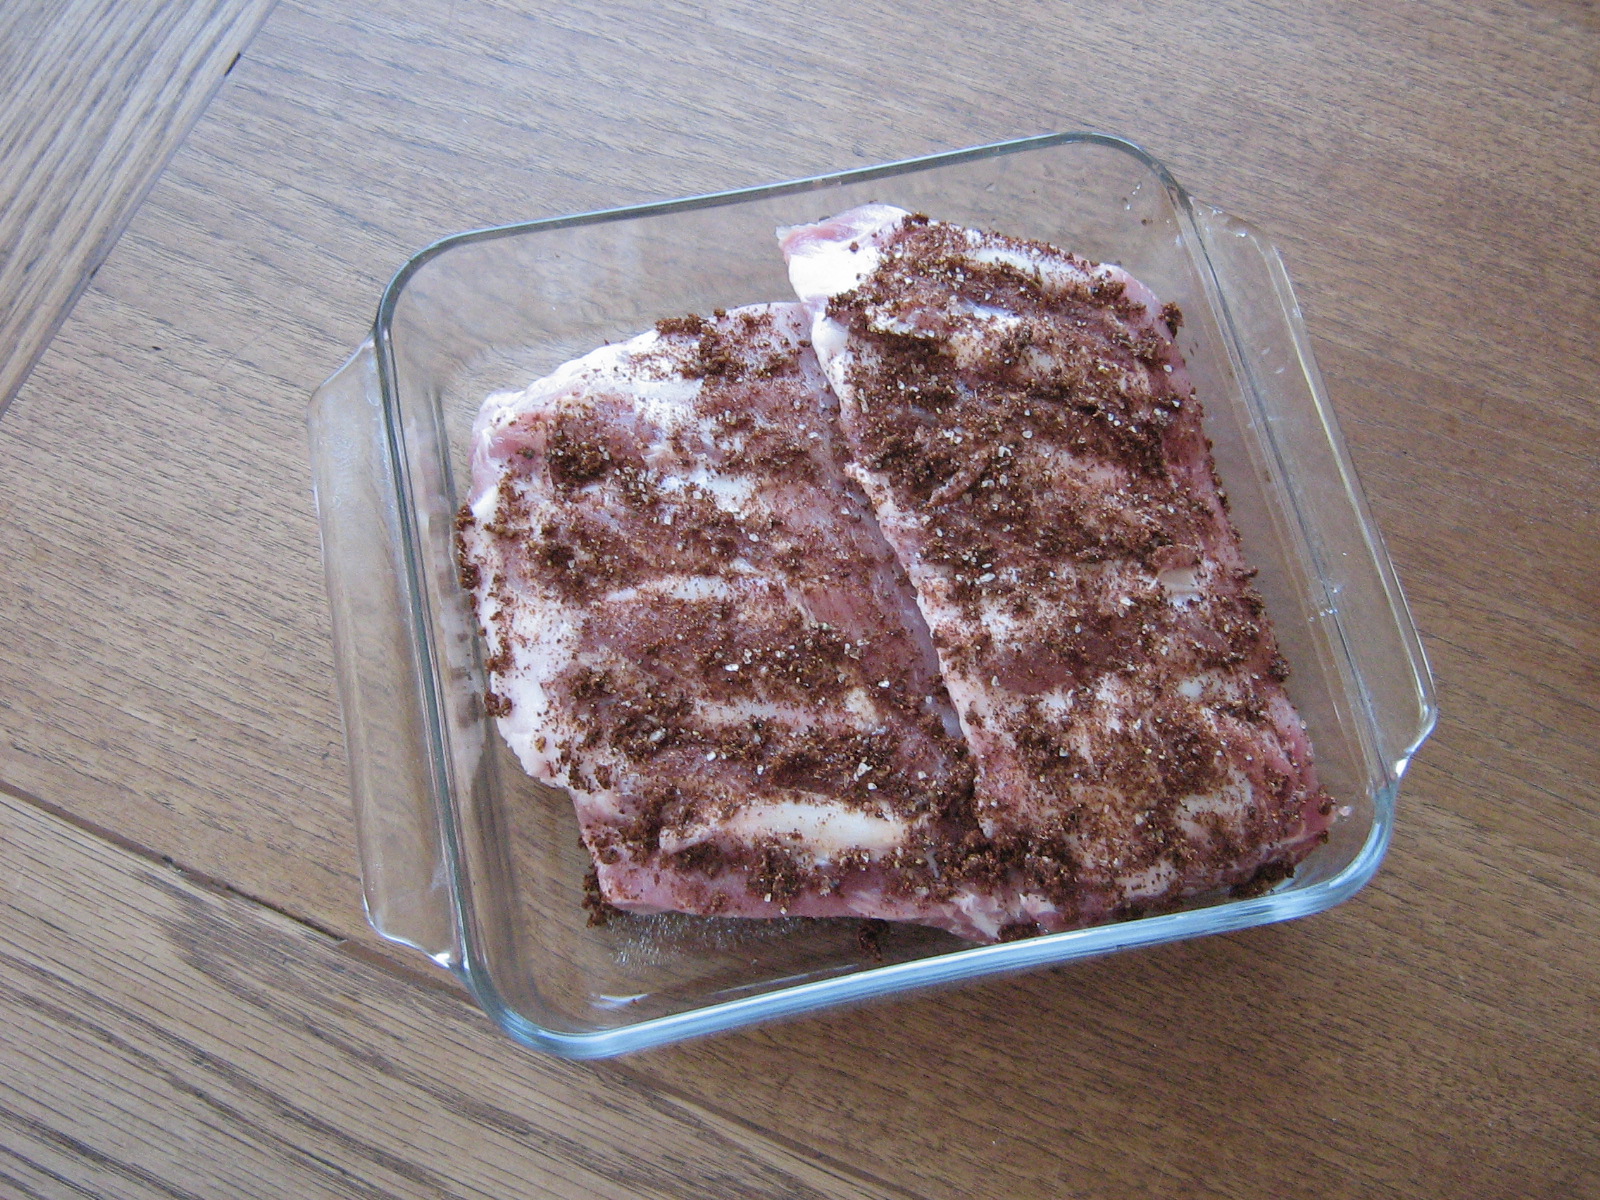
Rub the spices over both sides of 1 3/4 – 2 lbs of ribs (baby back, spare, whatever). Arrange the ribs in a baking dish.

For the sauce, combine:

2 1/2 cups blackberries

1/2 cup ketchup

1/2 cup honey

1/4 cup fresh grated ginger (about 1″ chunk)

2 tbsp balsamic vinegar

2 tsp chipotle purée (or regular hot sauce)

salt and pepper

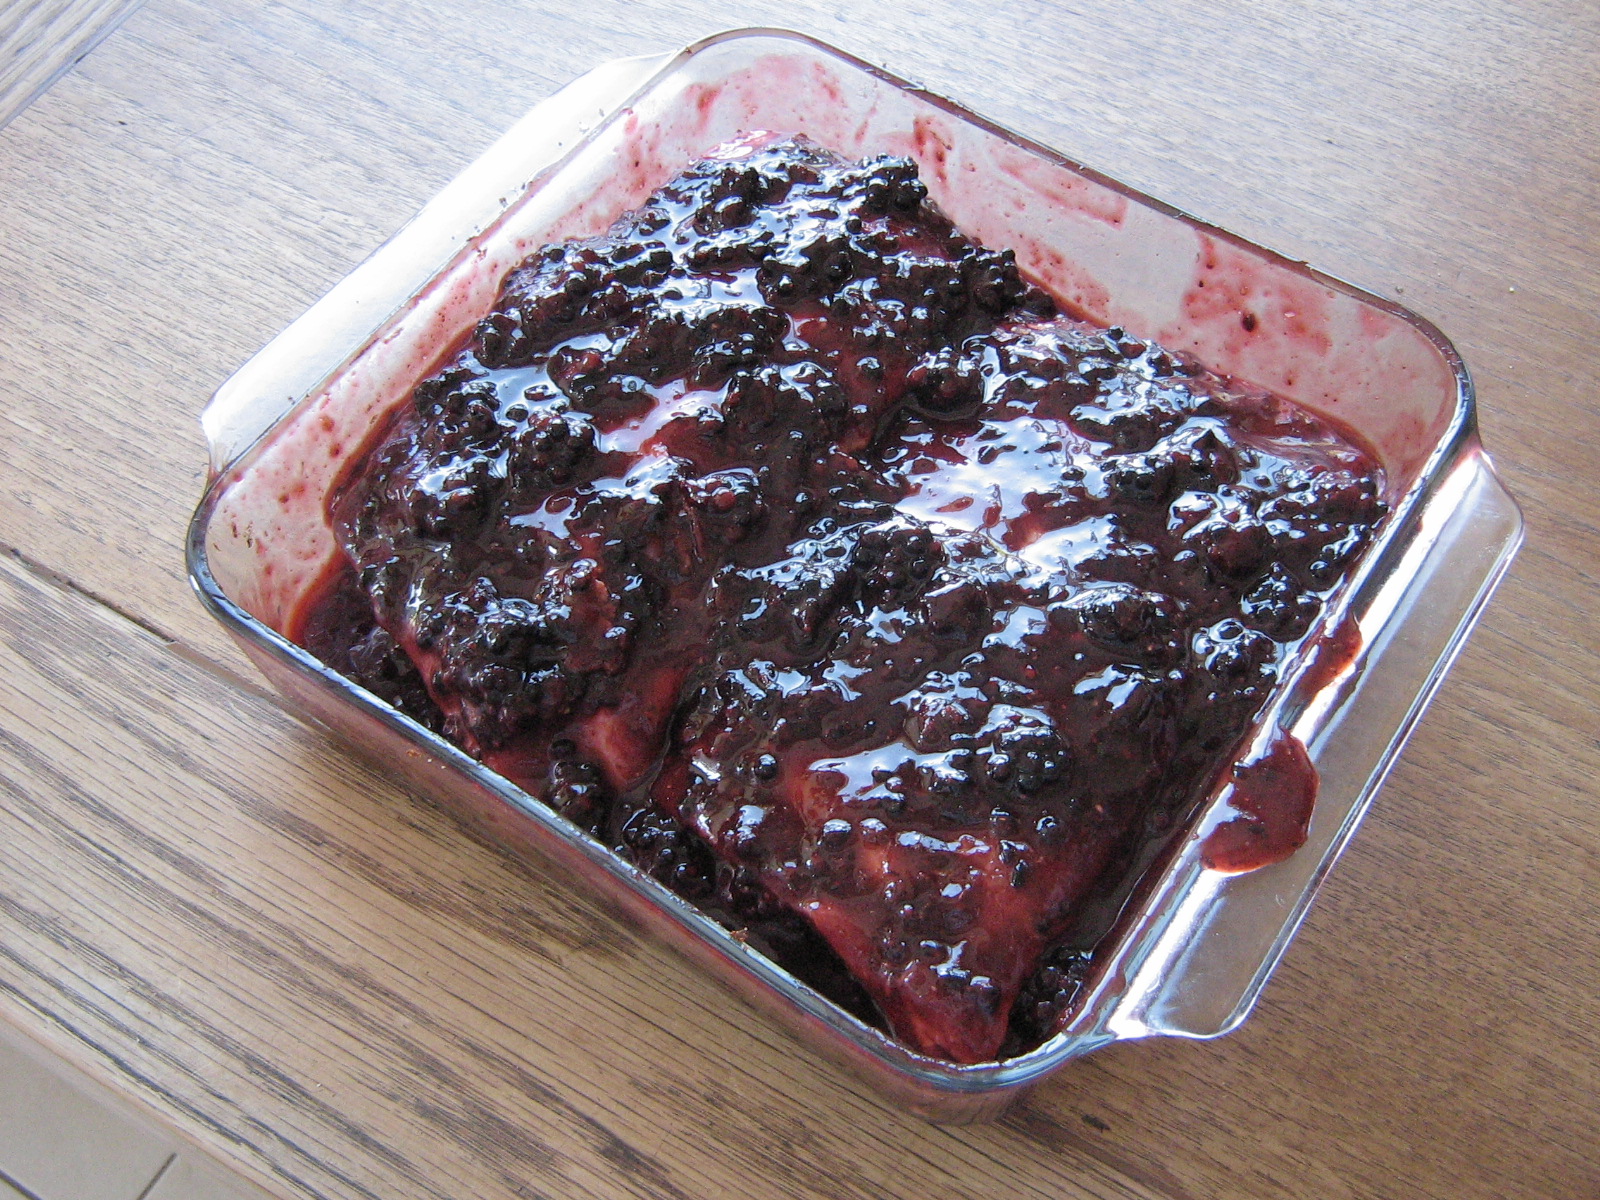
Stir gently to keep some of the berries whole (alternately, purée in a blender and strain through a fine mesh strainer). Pour the sauce over the ribs, turning to coat (make sure they are meaty side down when you’re done).

Those should be meaty side down!

Cover the baking dish with foil and bake in a 325˚F oven for about 1 hour, until the meat pulls away from the bone easily but is not totally falling apart. Remove the lid, flip the ribs over (meaty side up) and bake uncovered for another 10 minutes or so. Remove from the oven, put the ribs on a plate, and pour the sauce into a saucepan. Taste to check the seasoning (add salt and pepper as needed) and then bring it to a boil and simmer to thicken it. Cut the ribs between the bones into individual ribs, and serve smothered with sauce. Mashed potatoes work well to soak up the extra :).

Filed Under: Main Dishes, Recipes Tagged With: barbeque sauce, blackberries, cooking, food, pork, recipe, ribs

Blackberry Summer, Part 1: Galettes and Scones

September 5, 2011 By Korena in the Kitchen 3 Comments

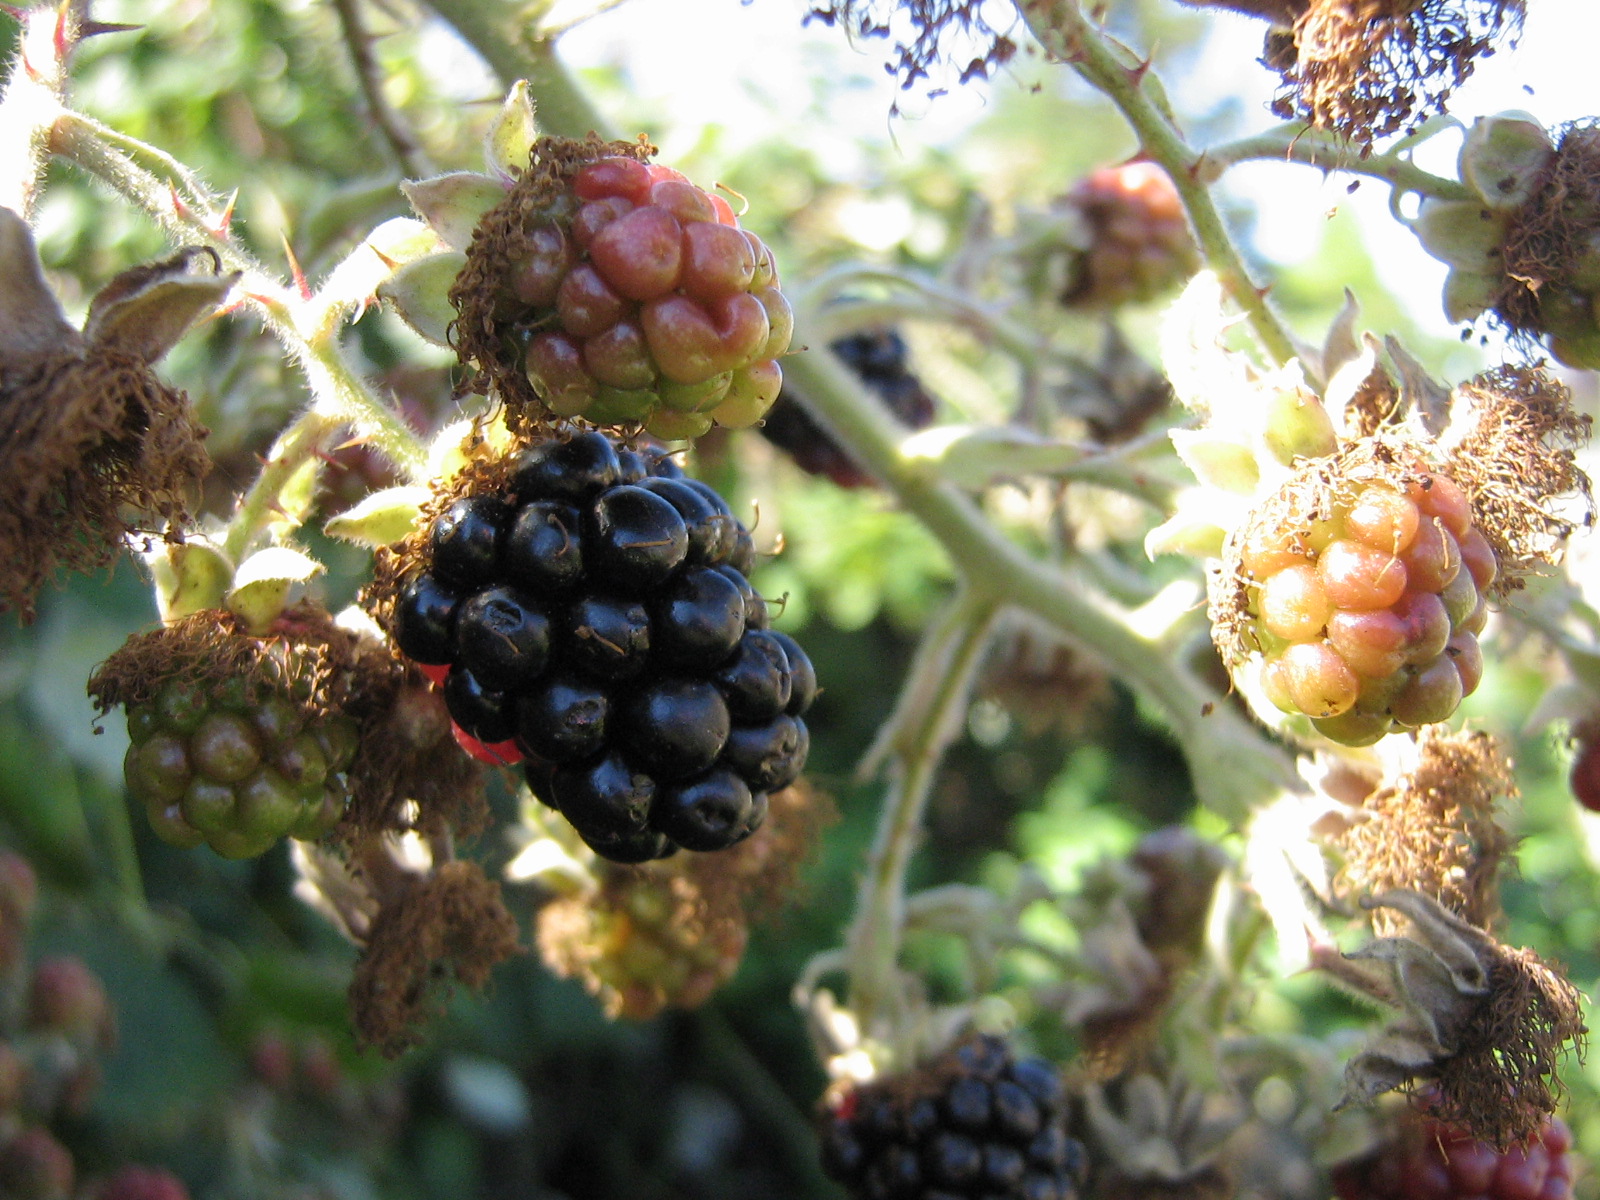
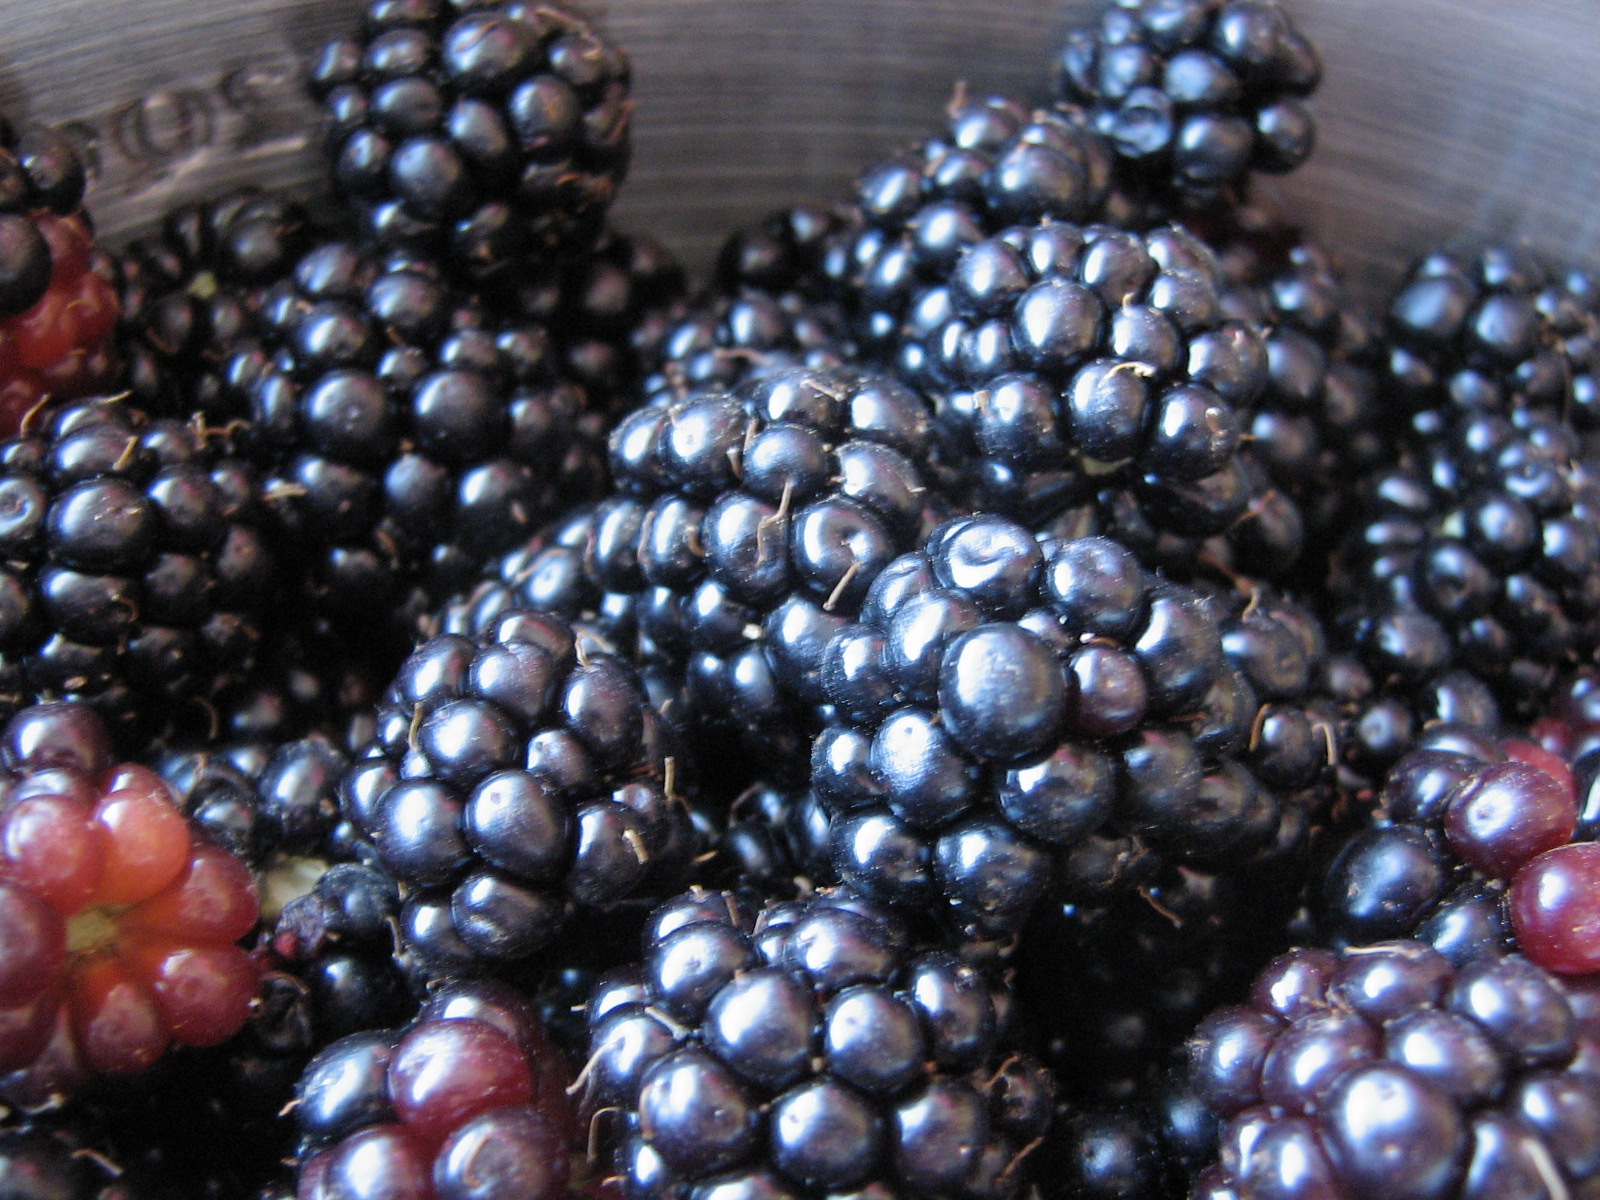
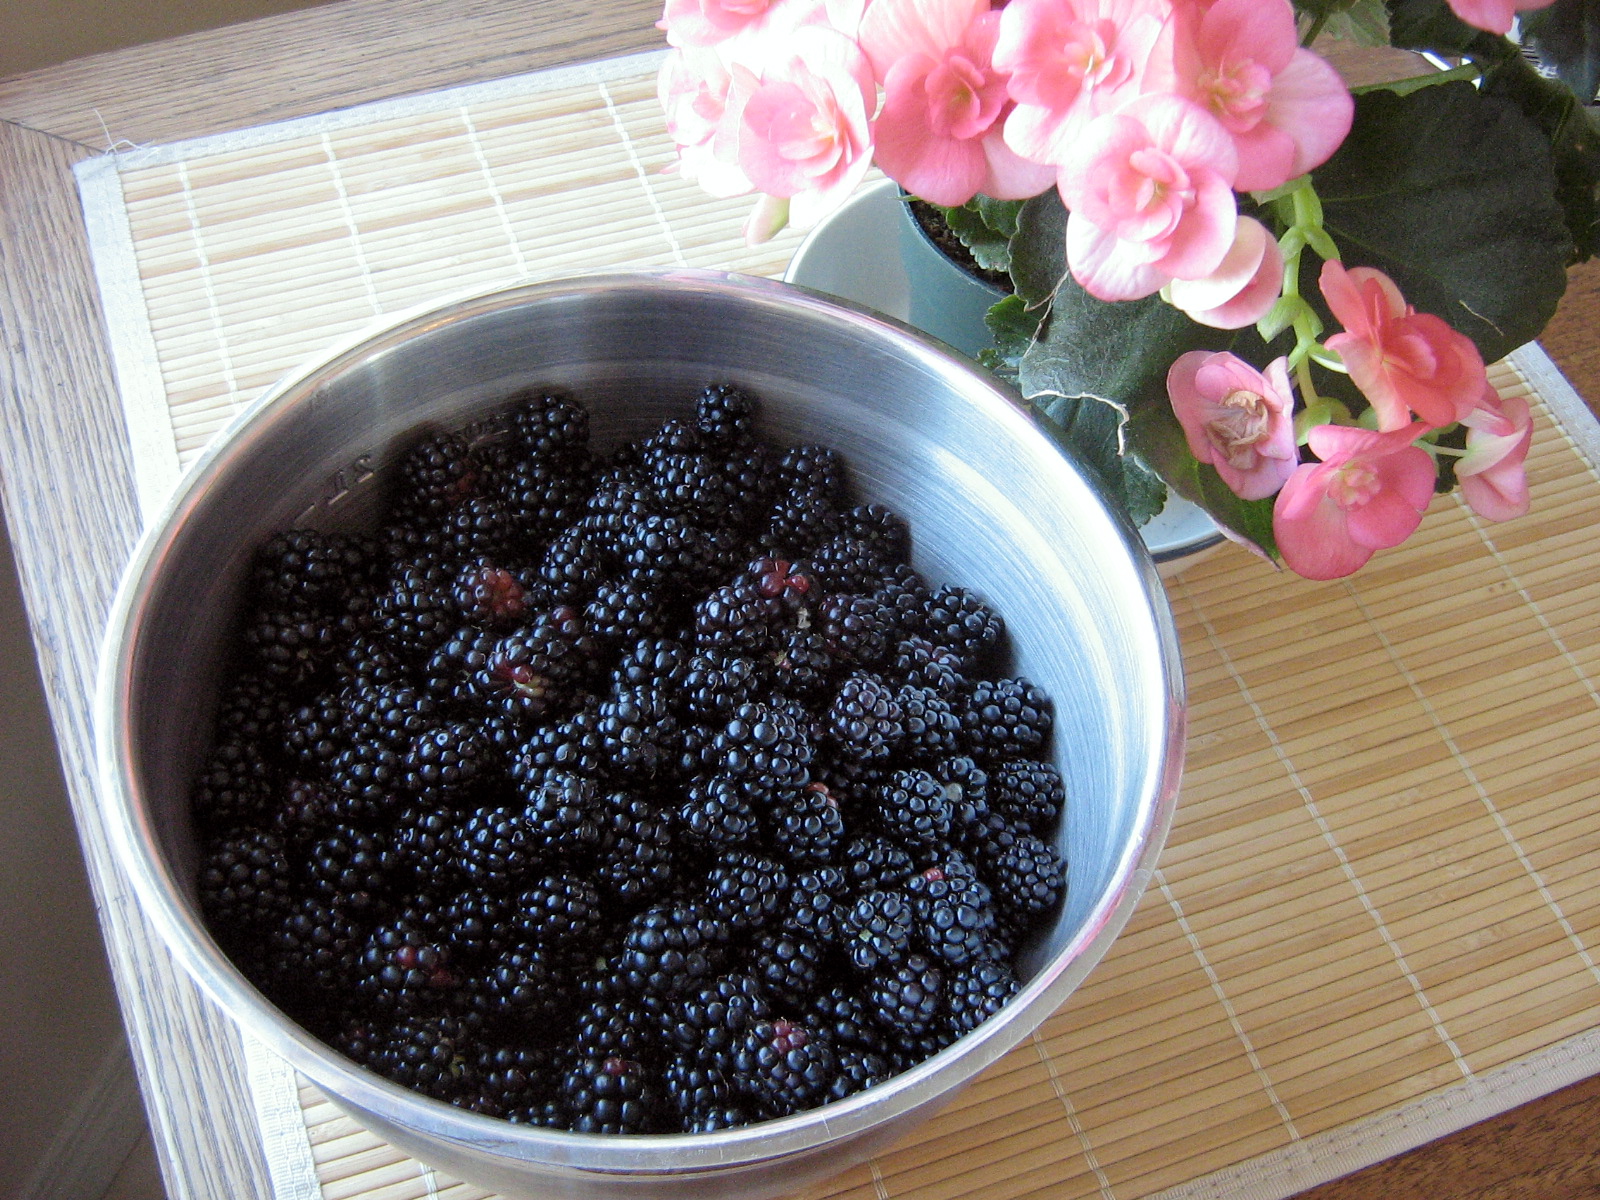
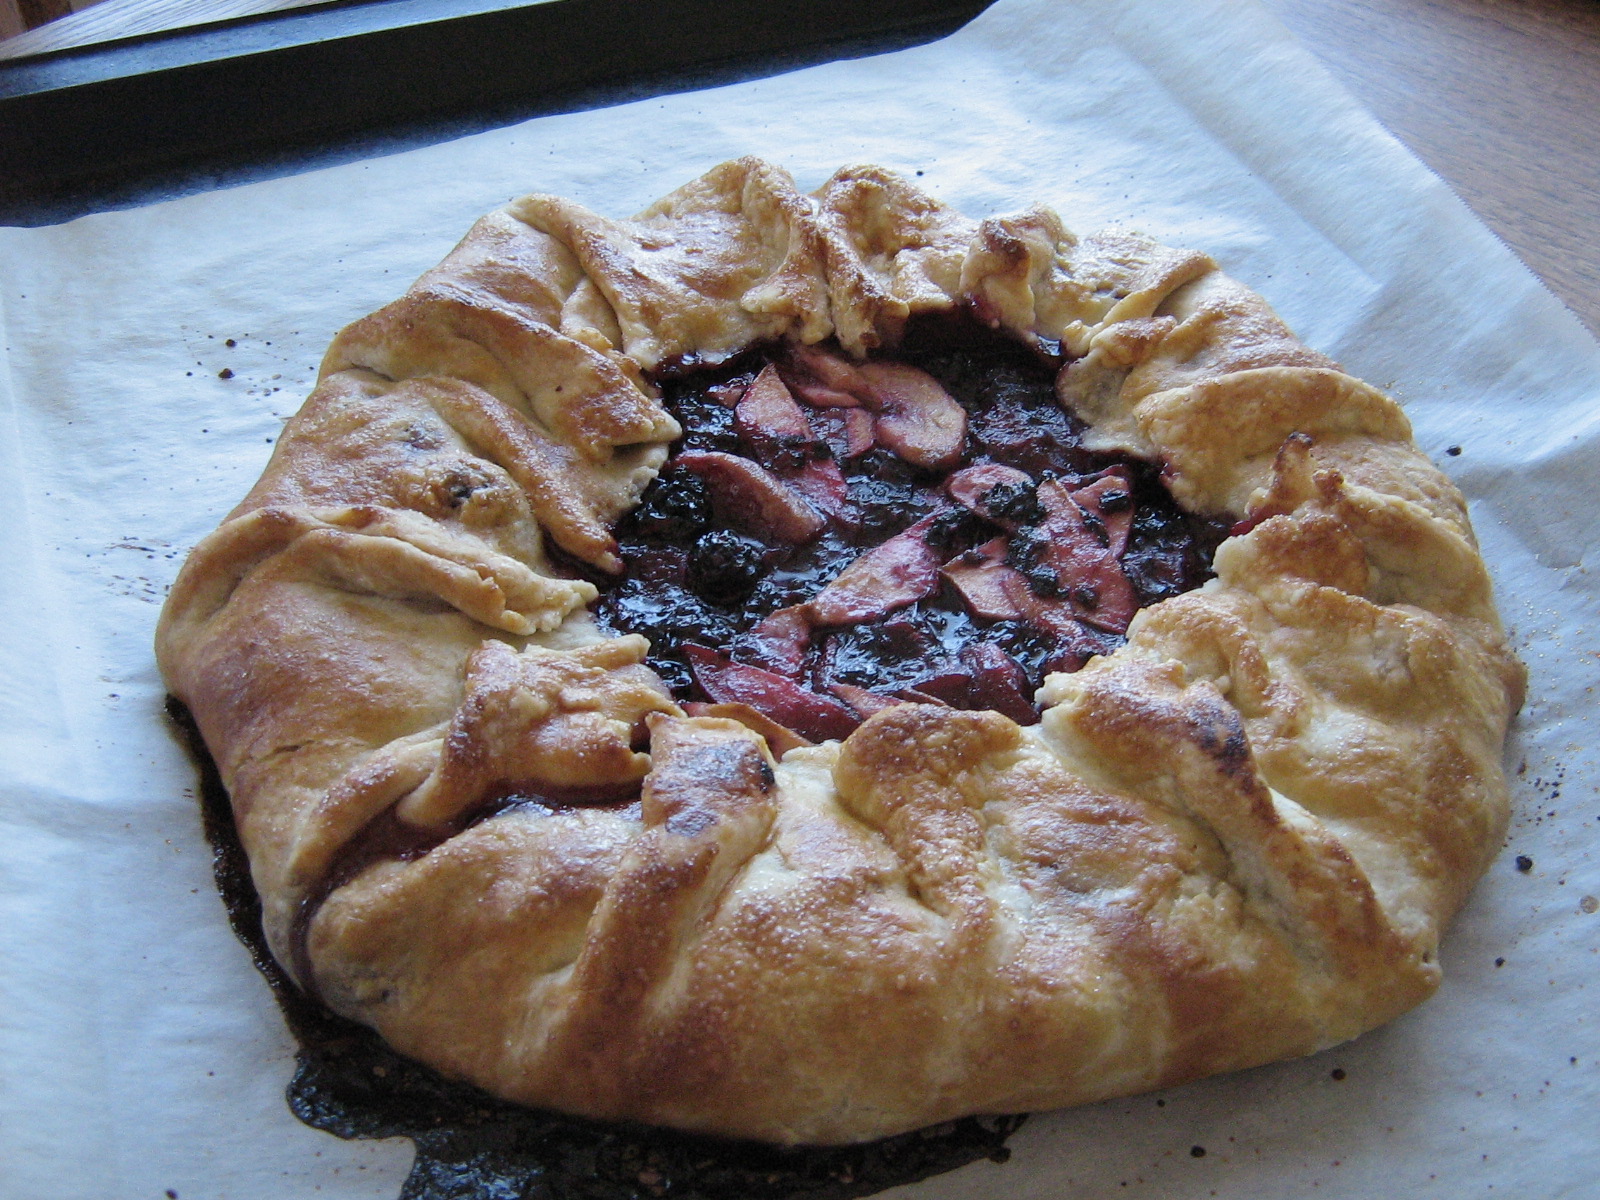
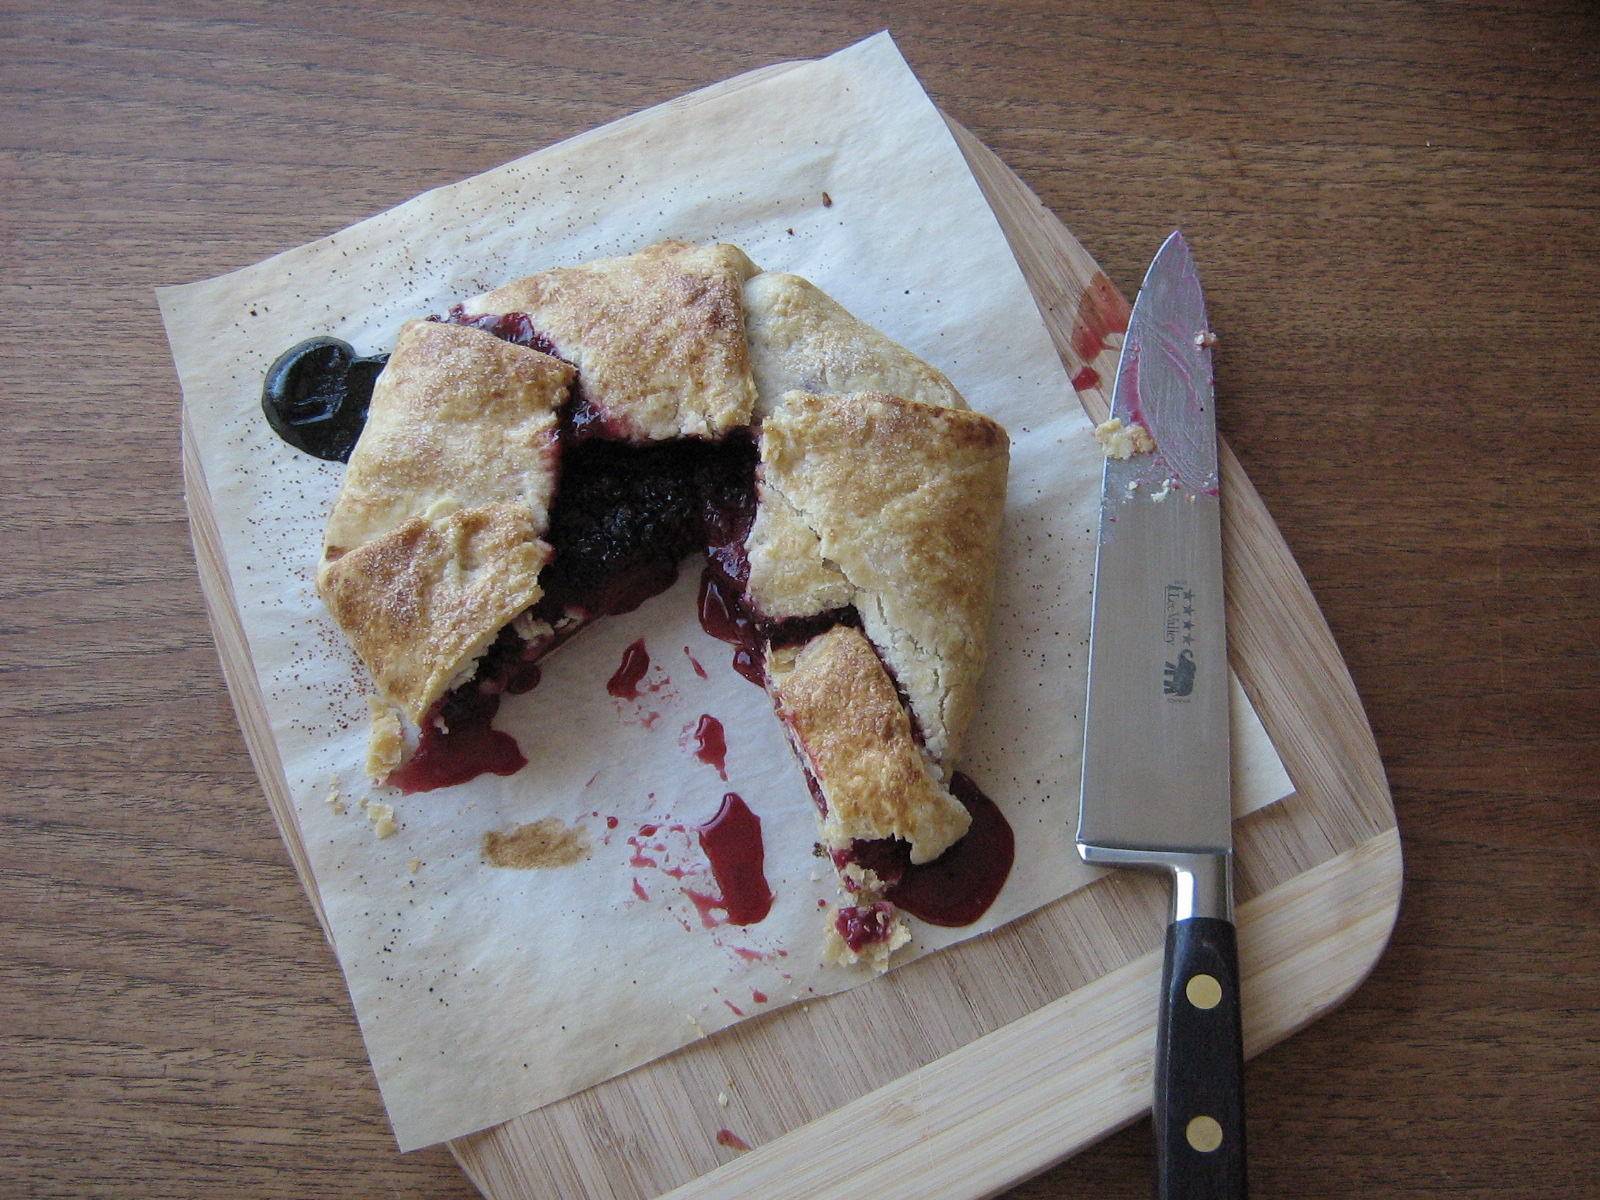
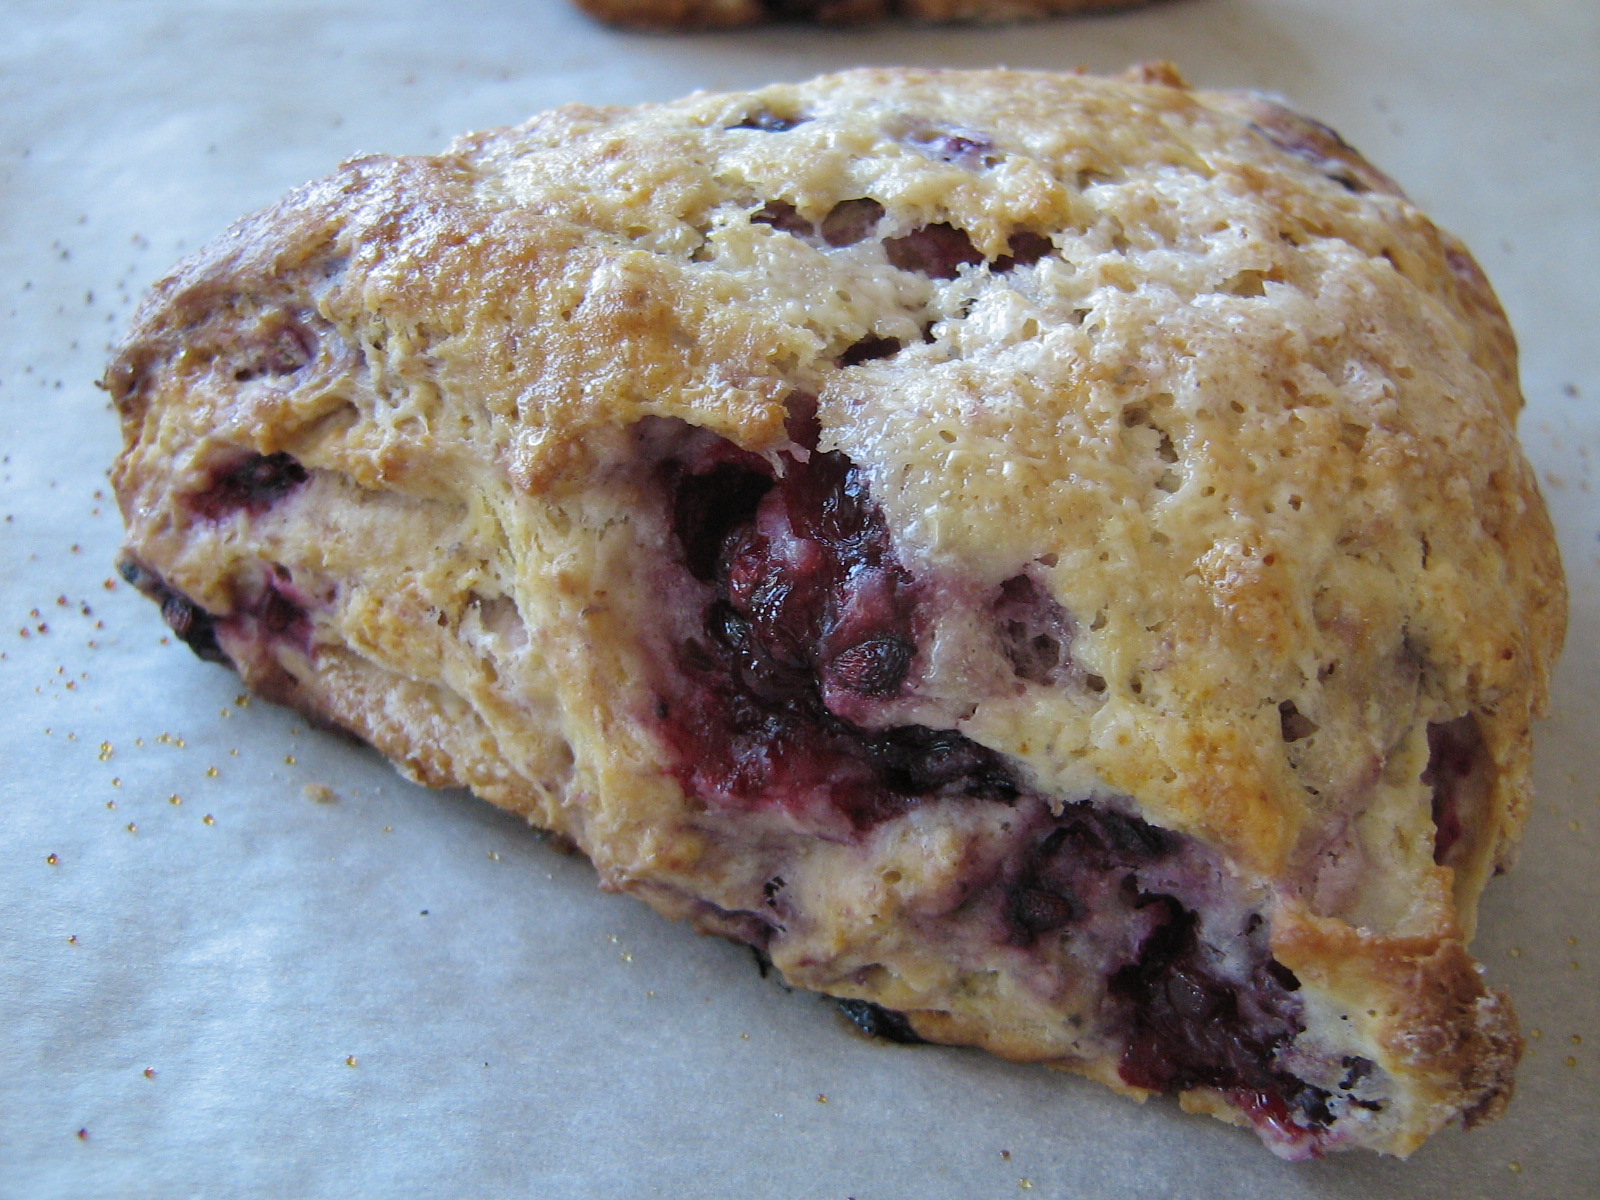
This weekend being Labour Day weekend, the unofficial “last weekend of summer”, I decided to put it to good use and go blackberry picking. When I was a kid, at least once a summer I would arm myself with a bucket and a stick and get dressed in long pants and sleeves to tackle the blackberry patch in one corner of our yard. I don’t remember doing anything special with the berries once I had picked them, but I just know it doesn’t really feel like summer until I’ve gone blackberry picking – something about the smell of the sun on the brambles, the sticky purple juice on my fingers, and the scratches as proof that I picked these berries myself. So, on Saturday I took a bowl across the park to the neighbourhood blackberry bushes, and about 30 minutes later I had almost two litres of ripe, juicy, black fruit. And I knew exactly what I was going to do with it!Inspired by my friend Frances, I made a galette (actually I made two) – a fancy sounding French name for a rustic, single crust tart. I love making galettes, especially with blackberries, and this is the perfect opportunity to share my favorite, fail-safe pastry recipe (interestingly, both my pie crust and Frances’ buck tradition by incorporating softened butter into flour, rather than the usual method of cutting in cold butter).Frances also pointed out the Amateur Gourmet’s Revelations of the Kitchen Freezer, where Adam shares the idea of freezing things like unbaked scones to be pulled from the freezer and baked at a later date – fresh, hot scones whenever you want them, without any prep! So I also made a batch of blackberry scones, some of which I baked immediately and some of which I froze for later.

Blackberry Galette

Perfect Pastry

Recipe from Canadian Living. I first made it quite a few years ago for an apple pie, and I have not looked at another pie crust recipe since. The only thing it’s not great for is pre-baking without a filling (ie, for a quiche) – because it’s got a lot of fat in it, it tends to shrink and melt down the sides of the pie plate, unless it has a filling to hold it up. As I mentioned, this recipe involves stirring softened butter/shortening into the flour rather than cutting it in cold – not a common pastry-making method, but one that has produced a delicious, flaky, easy-to-work-with pastry every single time I’ve made it, including a variation using ground hazelnuts. The original recipe calls for 3/4 cup shortening and 3 tbsp butter, but feel free to use more butter/less shortening/all butter – the total amount of fat required is 1 cup minus 1 tbsp (or 15 tbsp). I used shortening because I had some leftover from this frosting.
Makes enough pastry for one double crust pie, or two single crust pies/galettes.

In a medium sized bowl, combine:

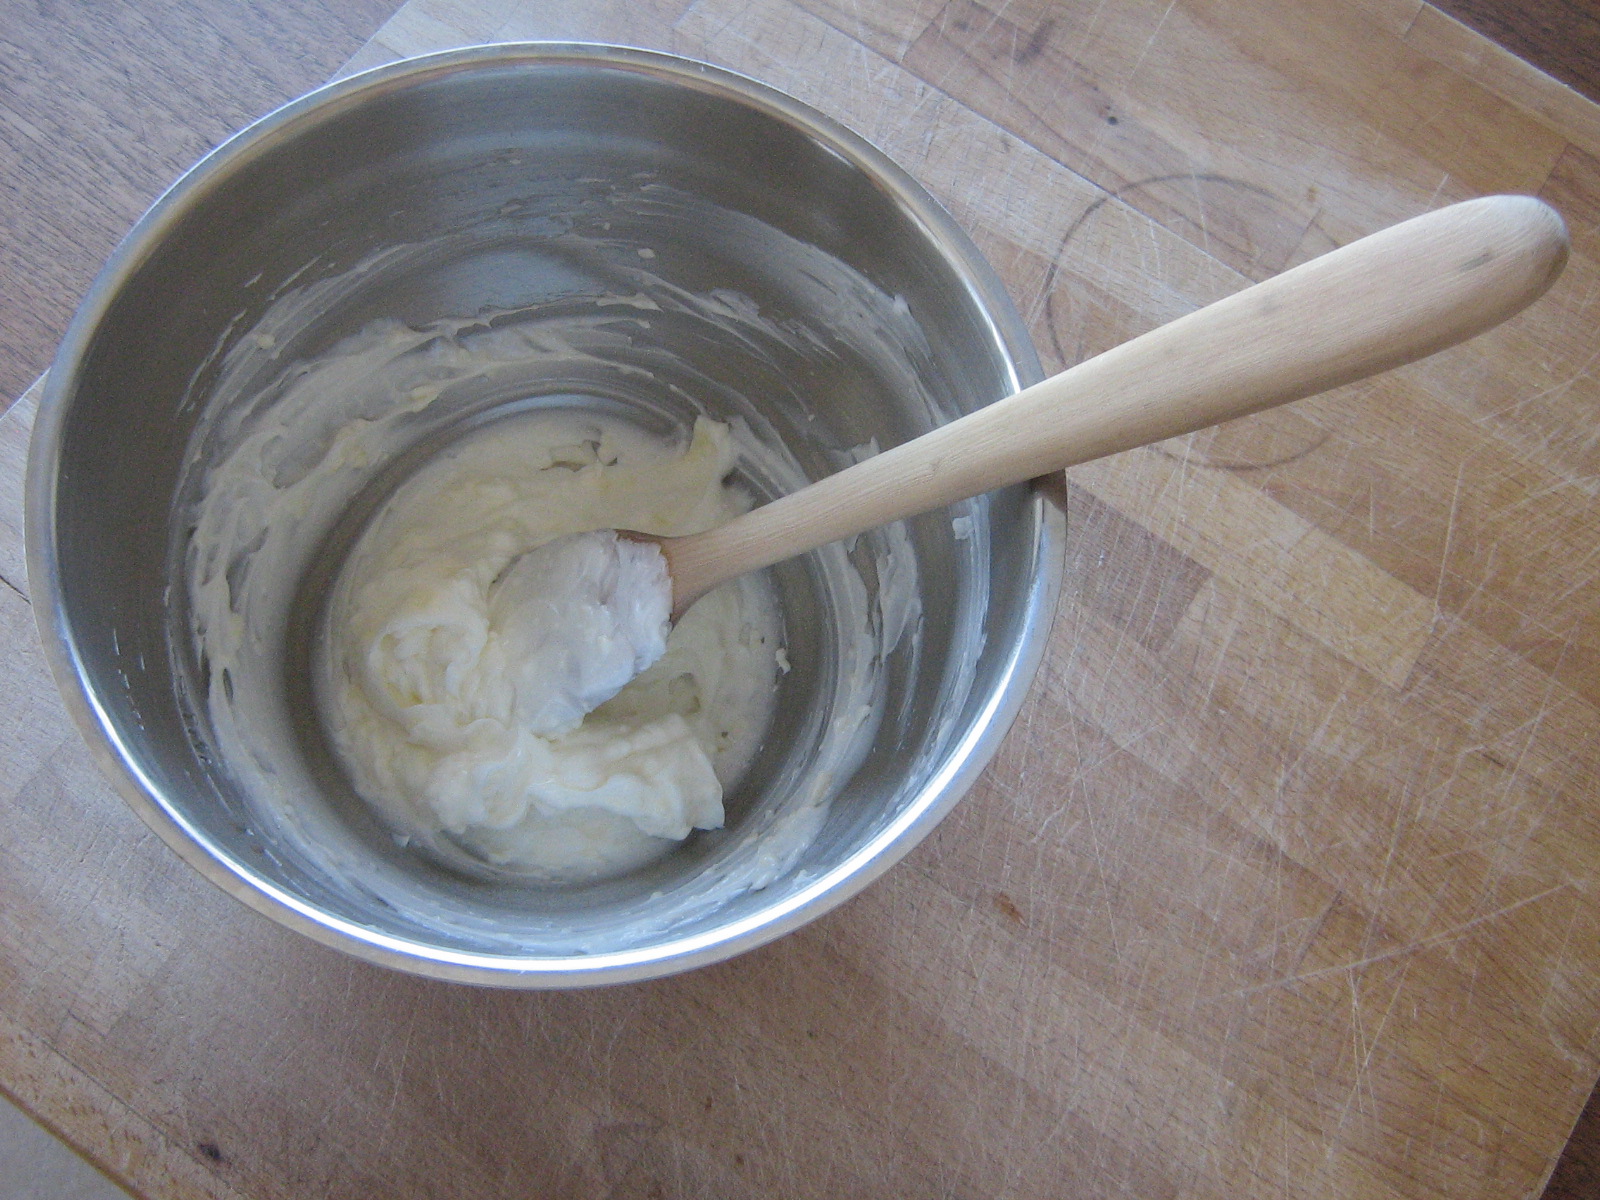
3/4 cup shortening, soft

3 tbsp butter, soft

Beat until smooth. Add:

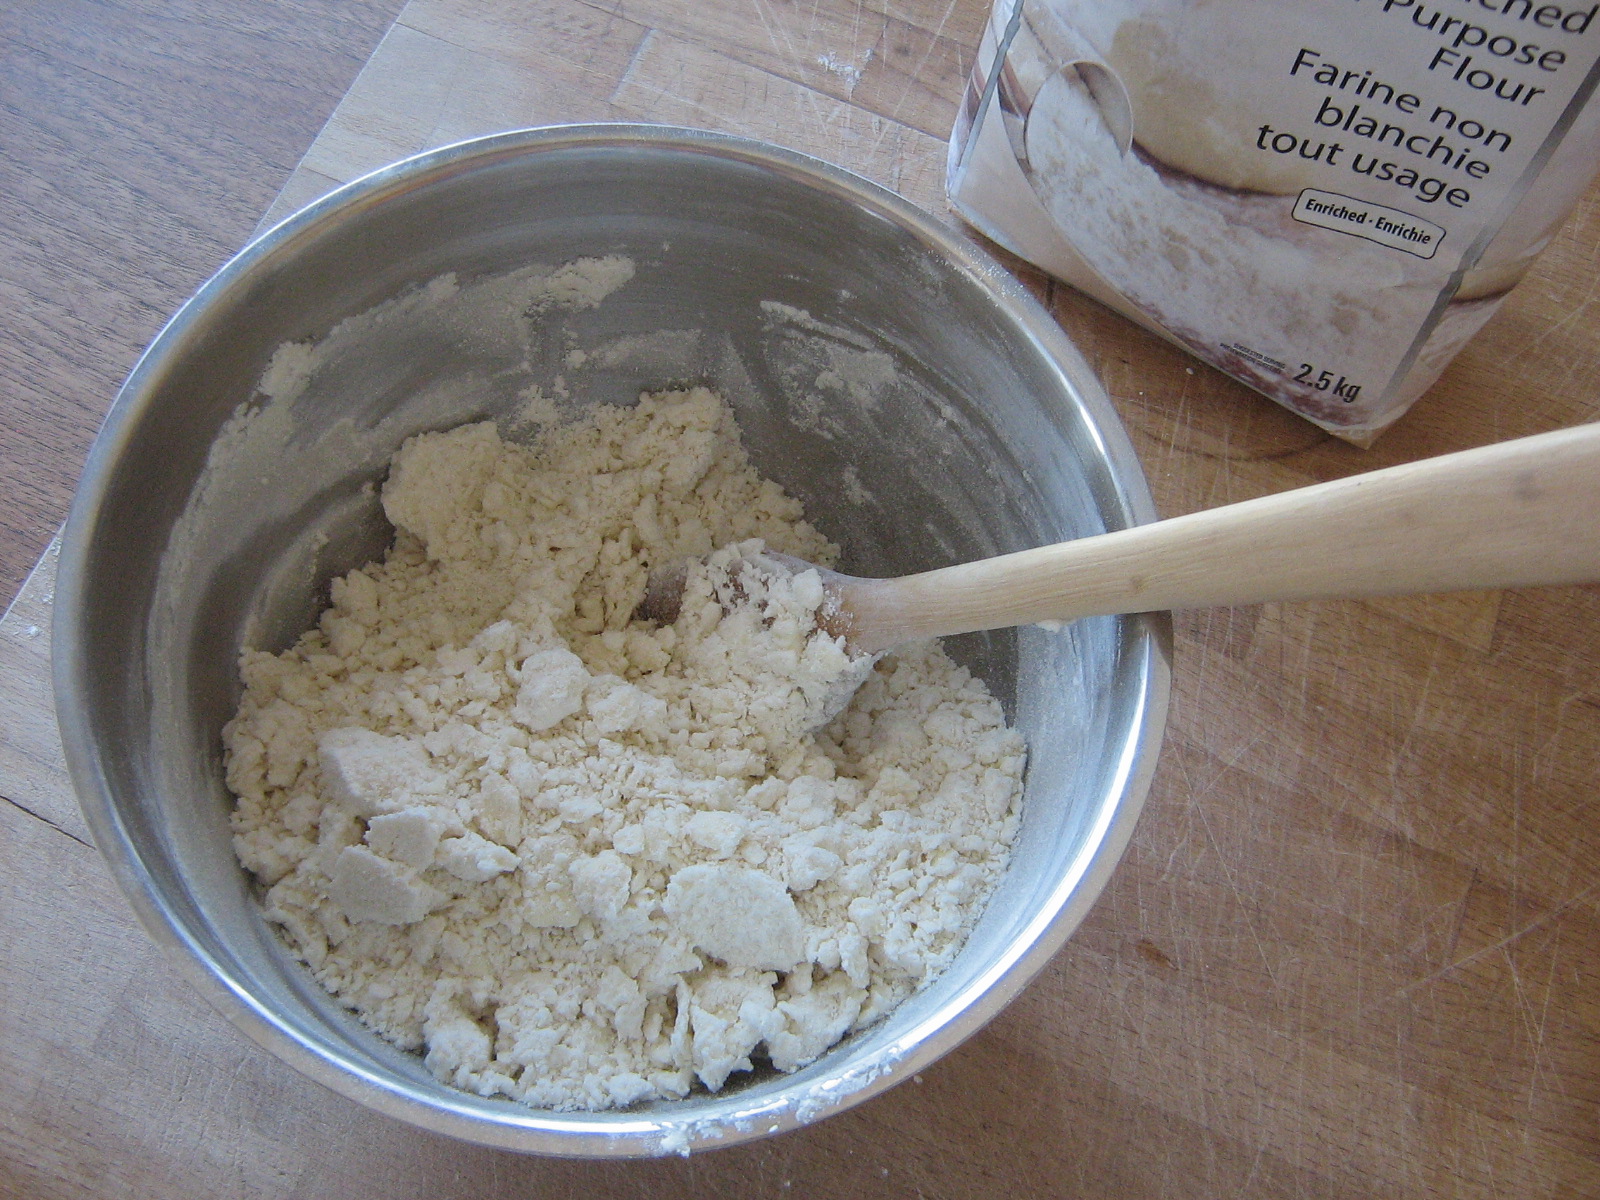
2 1/4 cups all purpose flour

3/4 tsp salt

Stir into the butter until it looks ragged. Pour in:

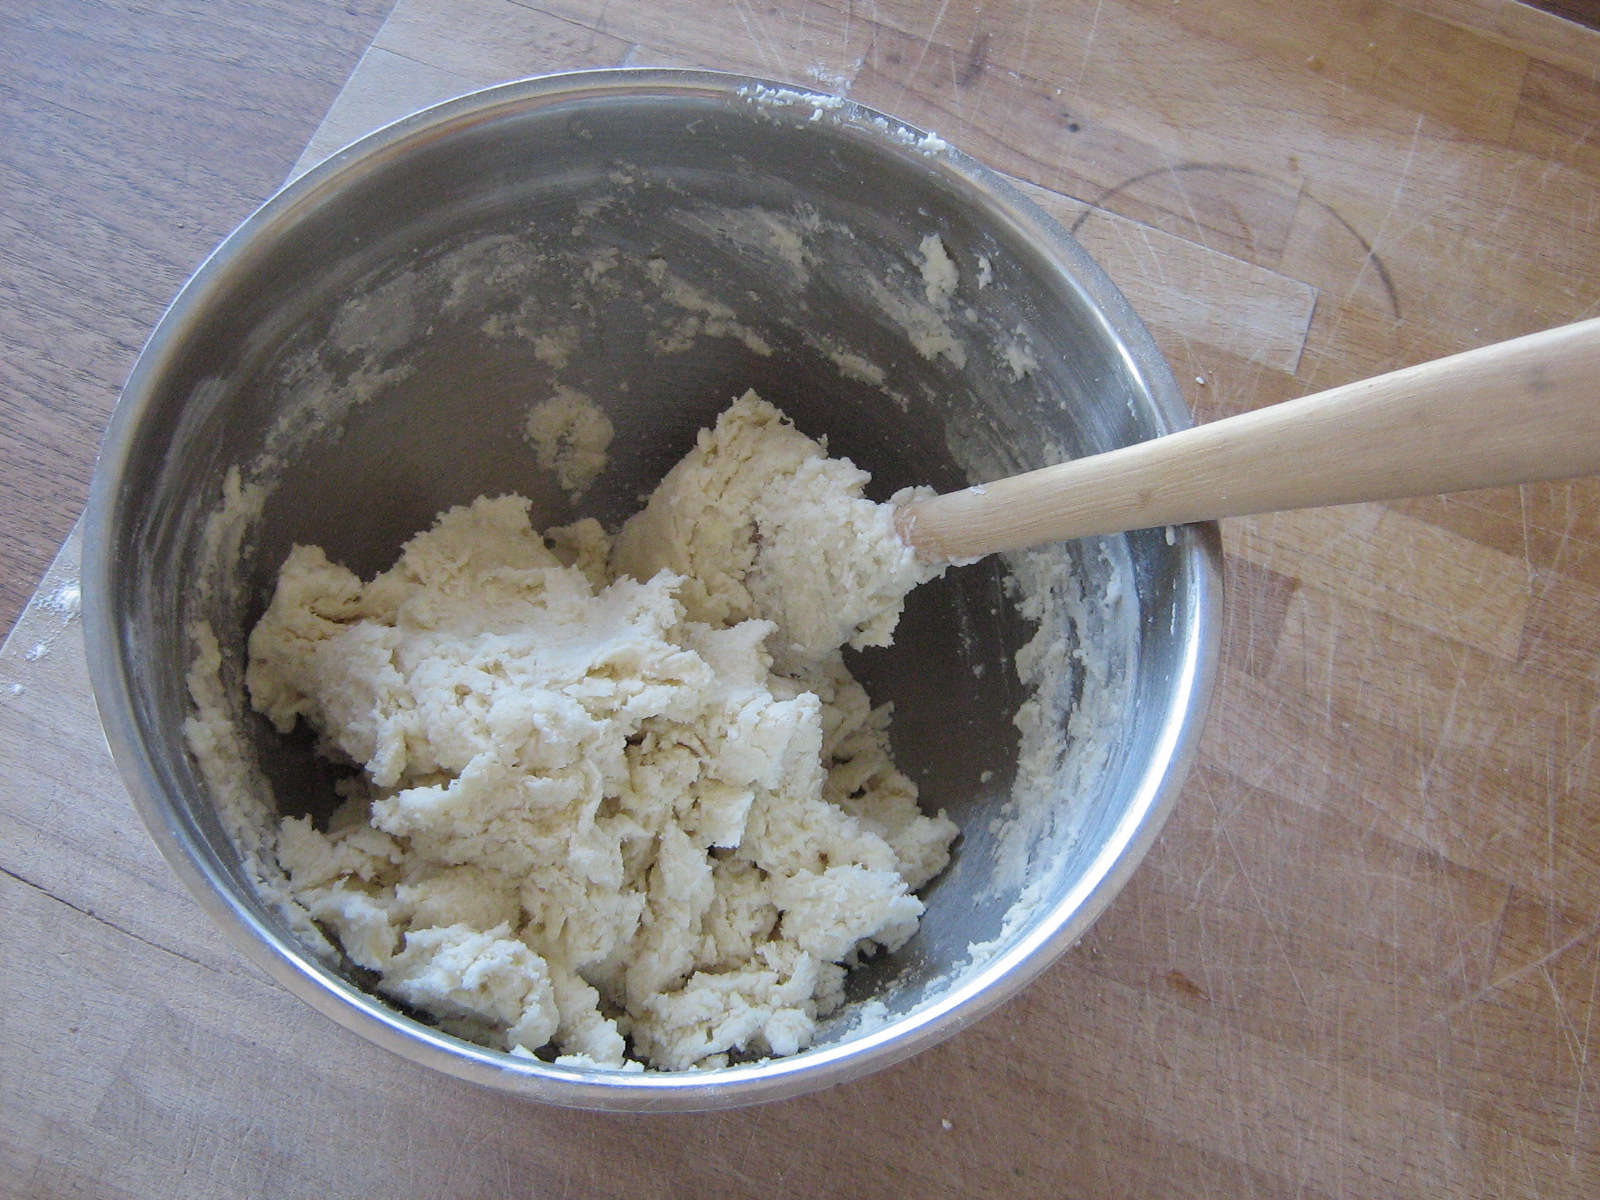
1/2 cup ice water

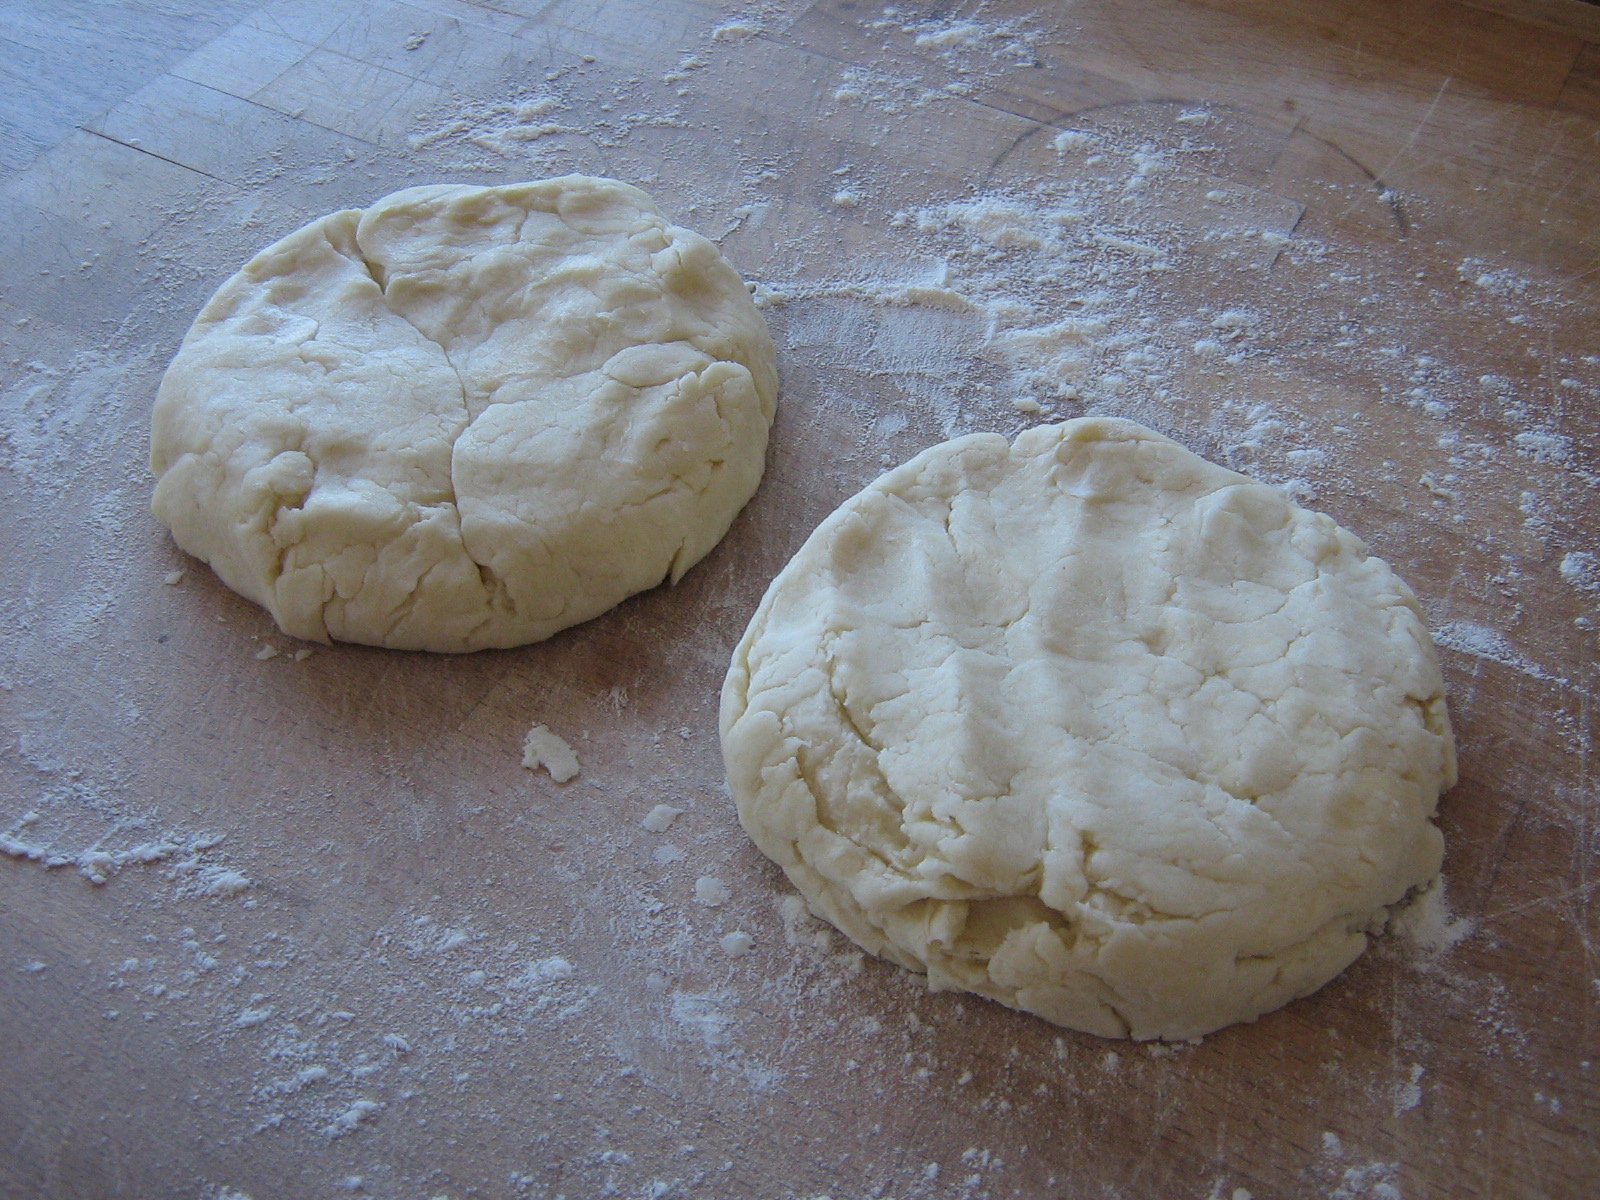
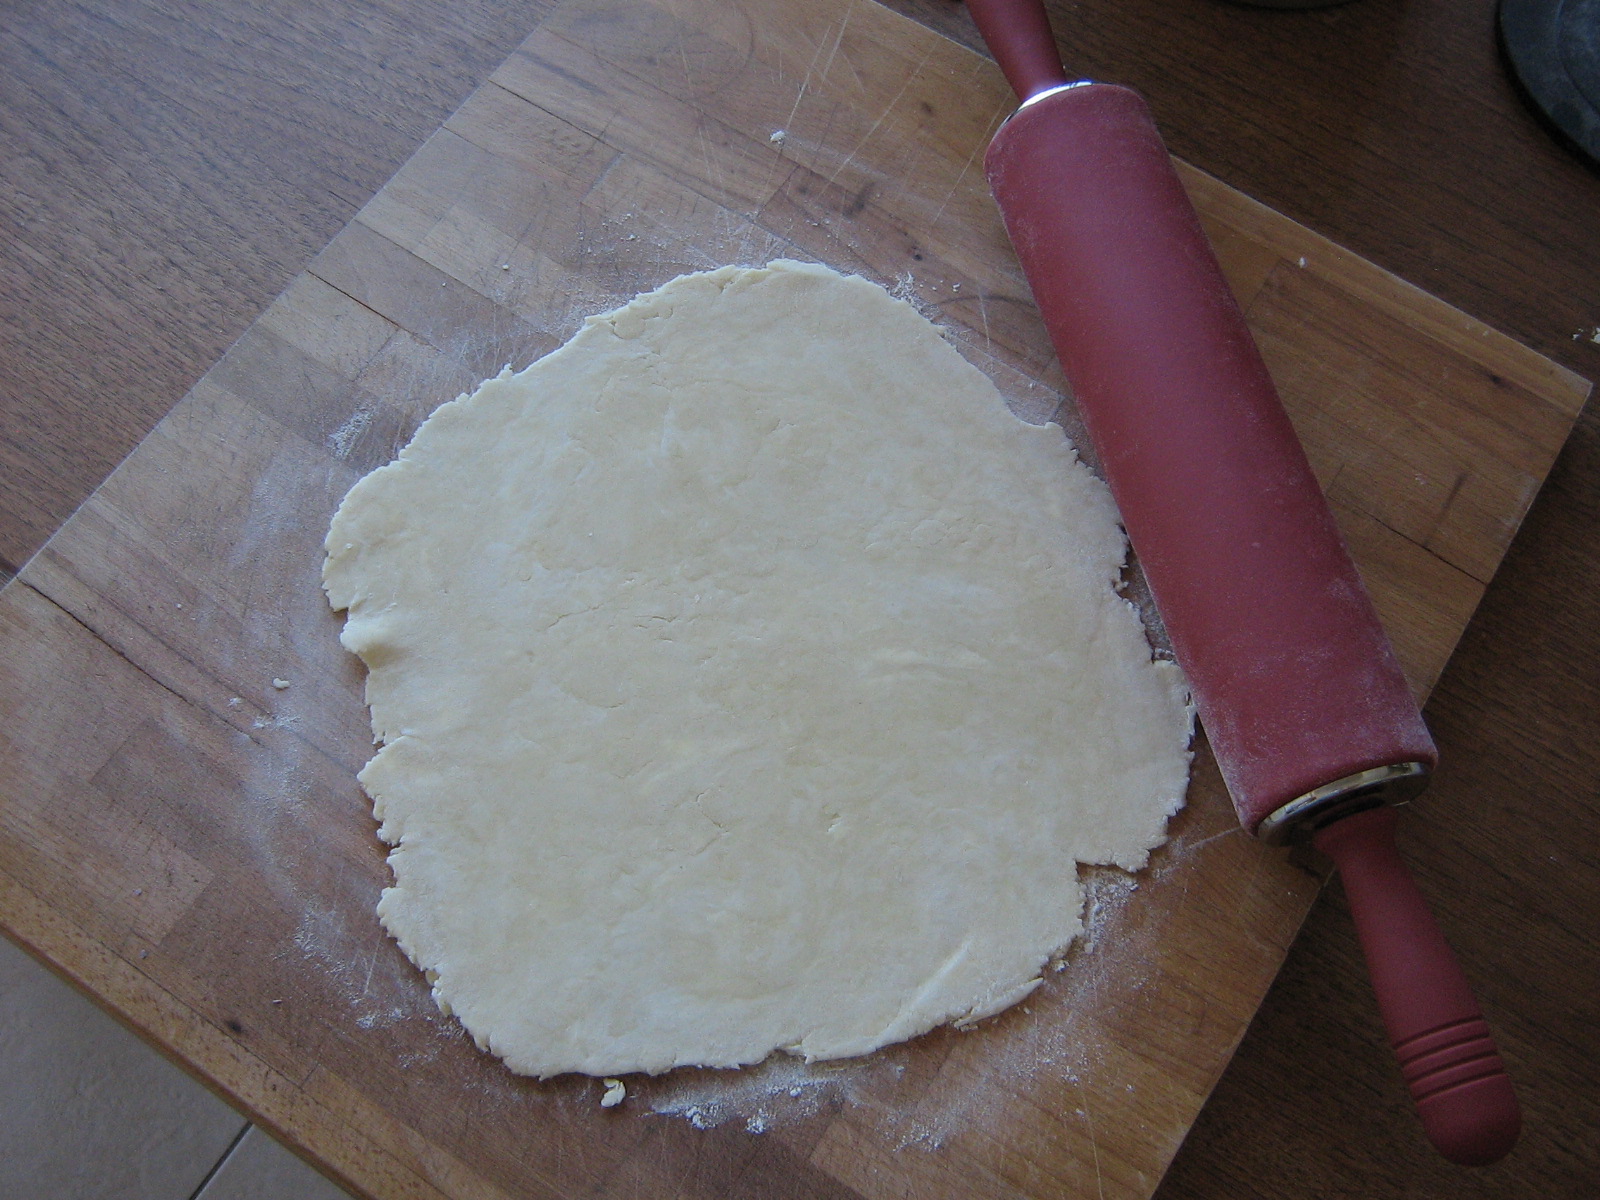
Stir gently until a loose dough forms. Turn the dough out onto a lightly floured surface and if necessary, knead very gently to incorporate any dry flour from the bottom of the bowl. Gather the dough into two balls and press each into a 3/4 inch disc. Wrap in plastic wrap and refrigerate at least 1 hour, or until well chilled.

The Filling

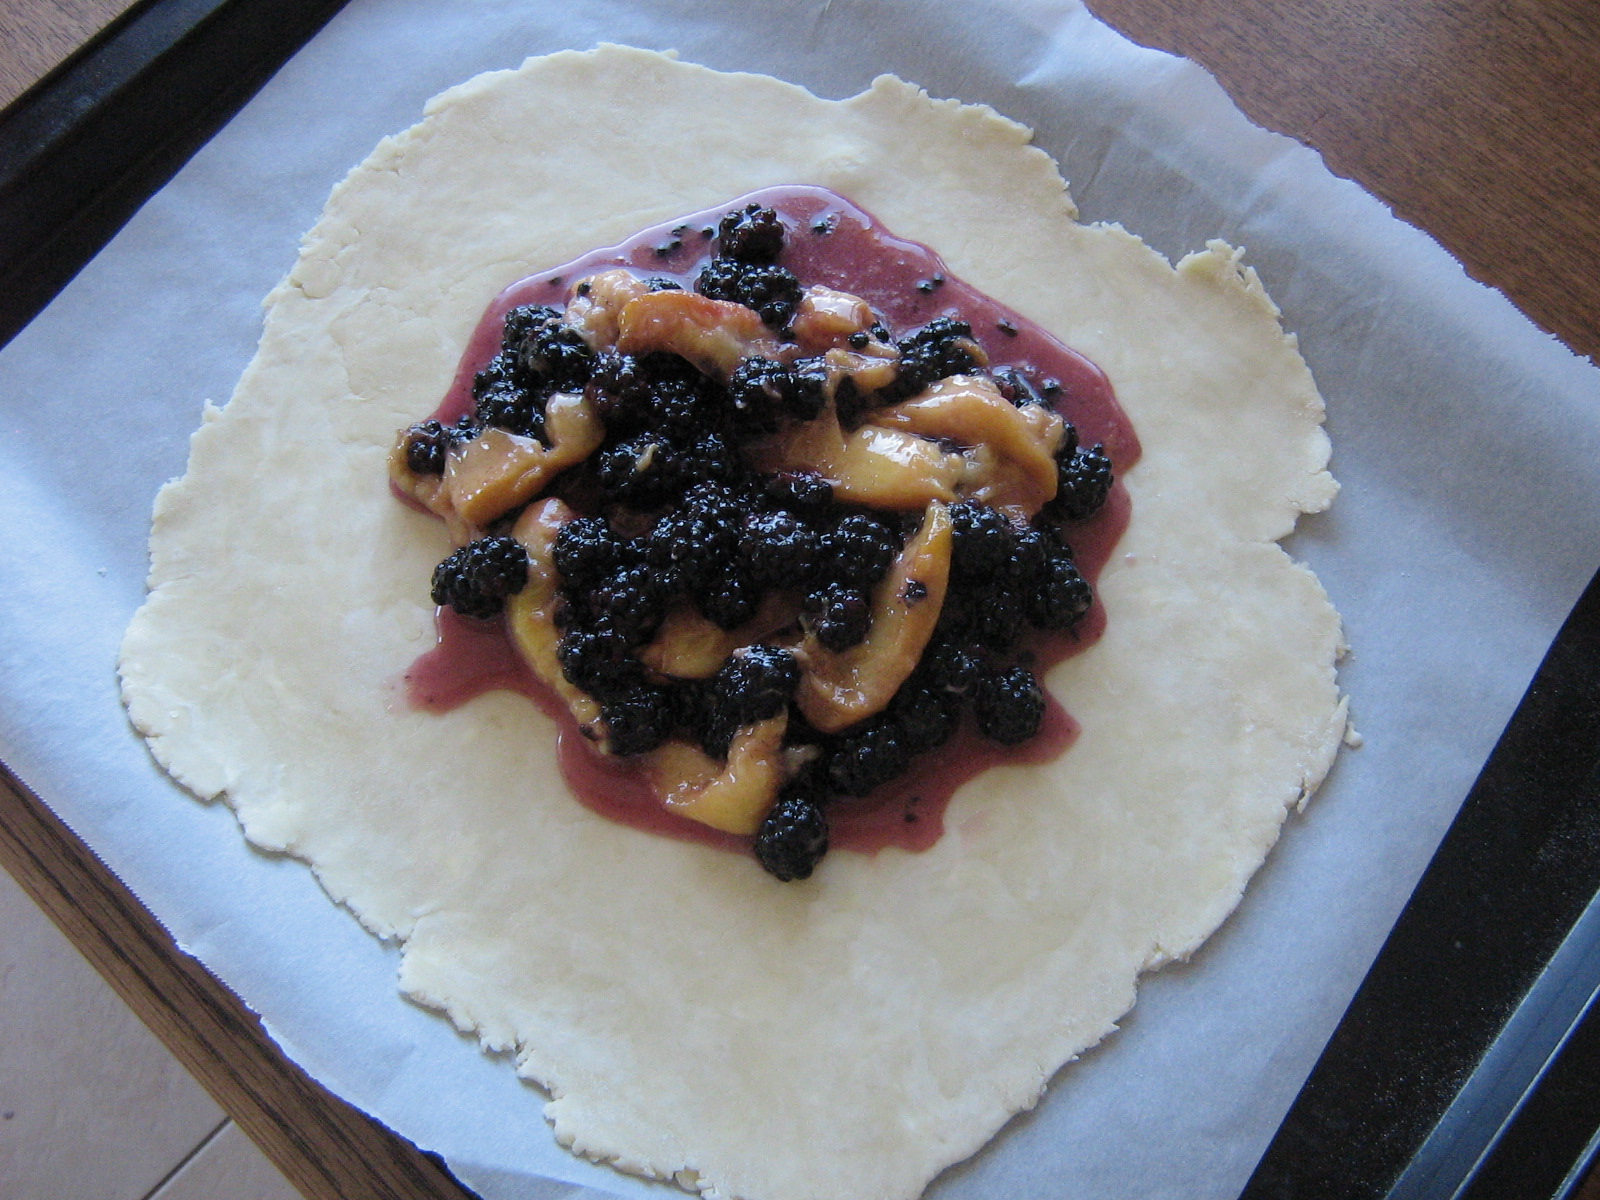
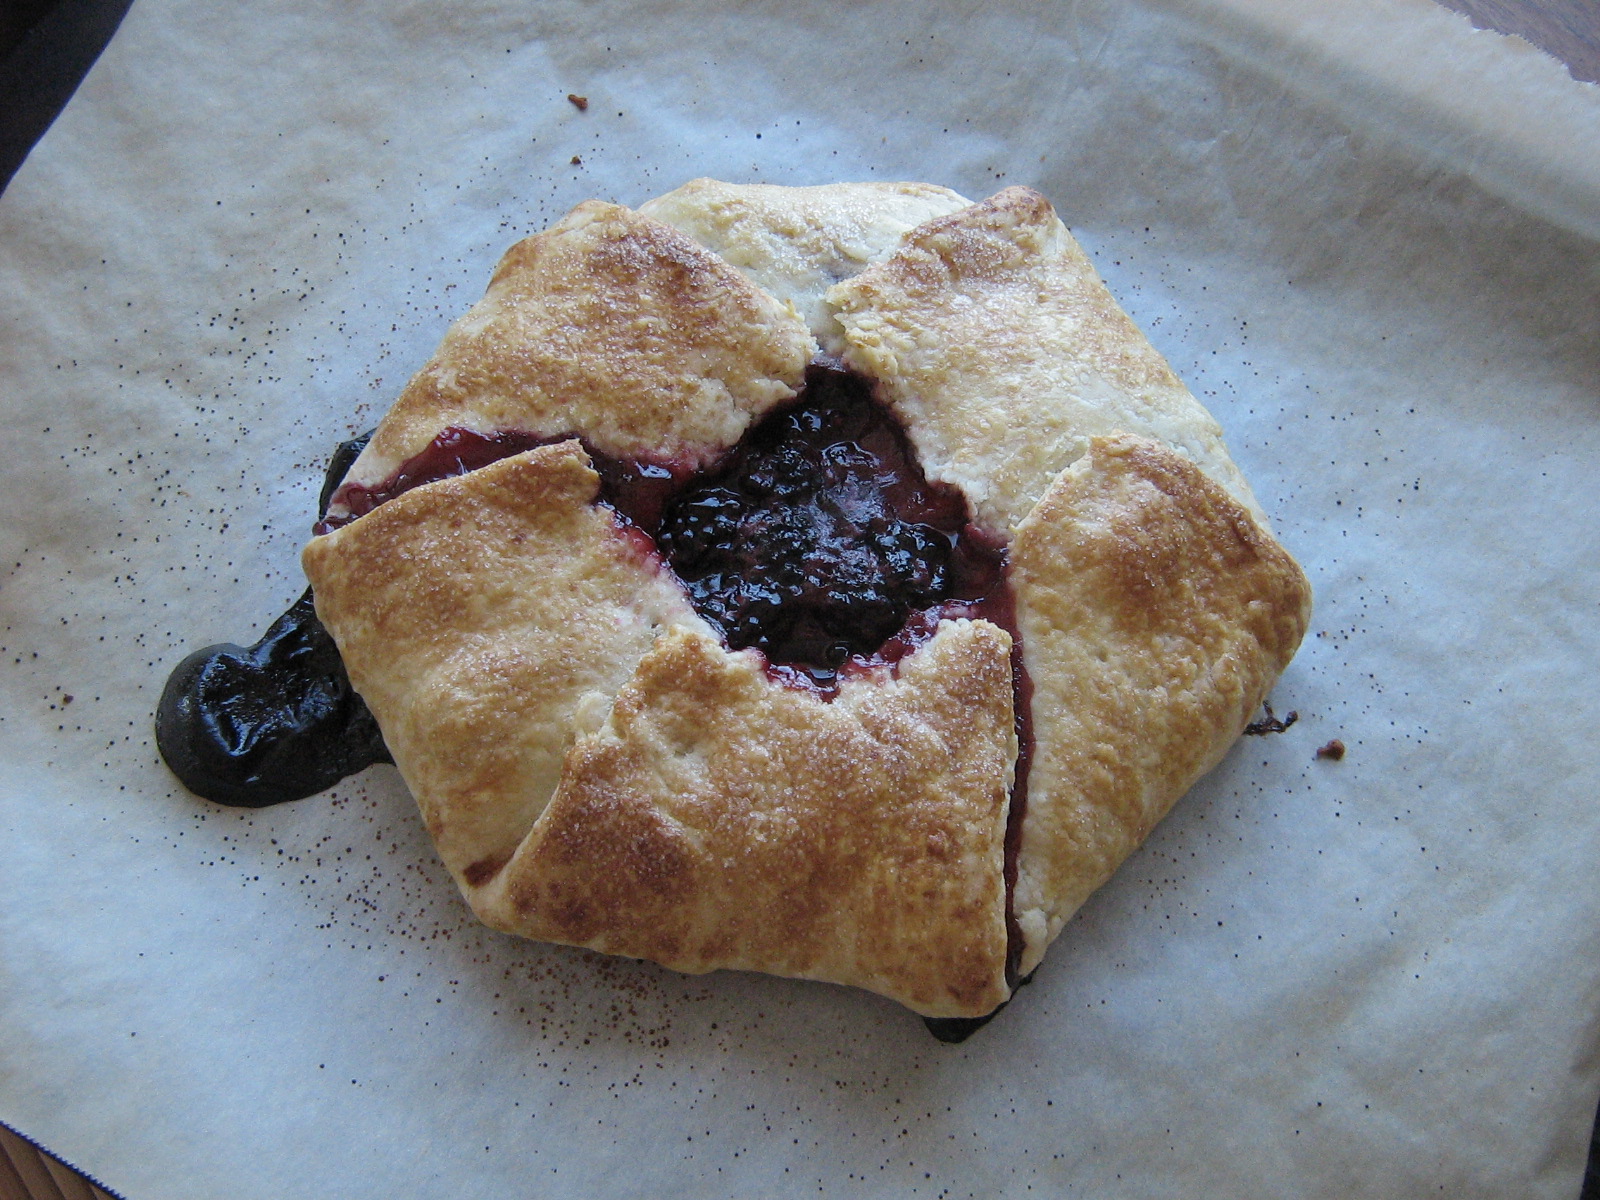
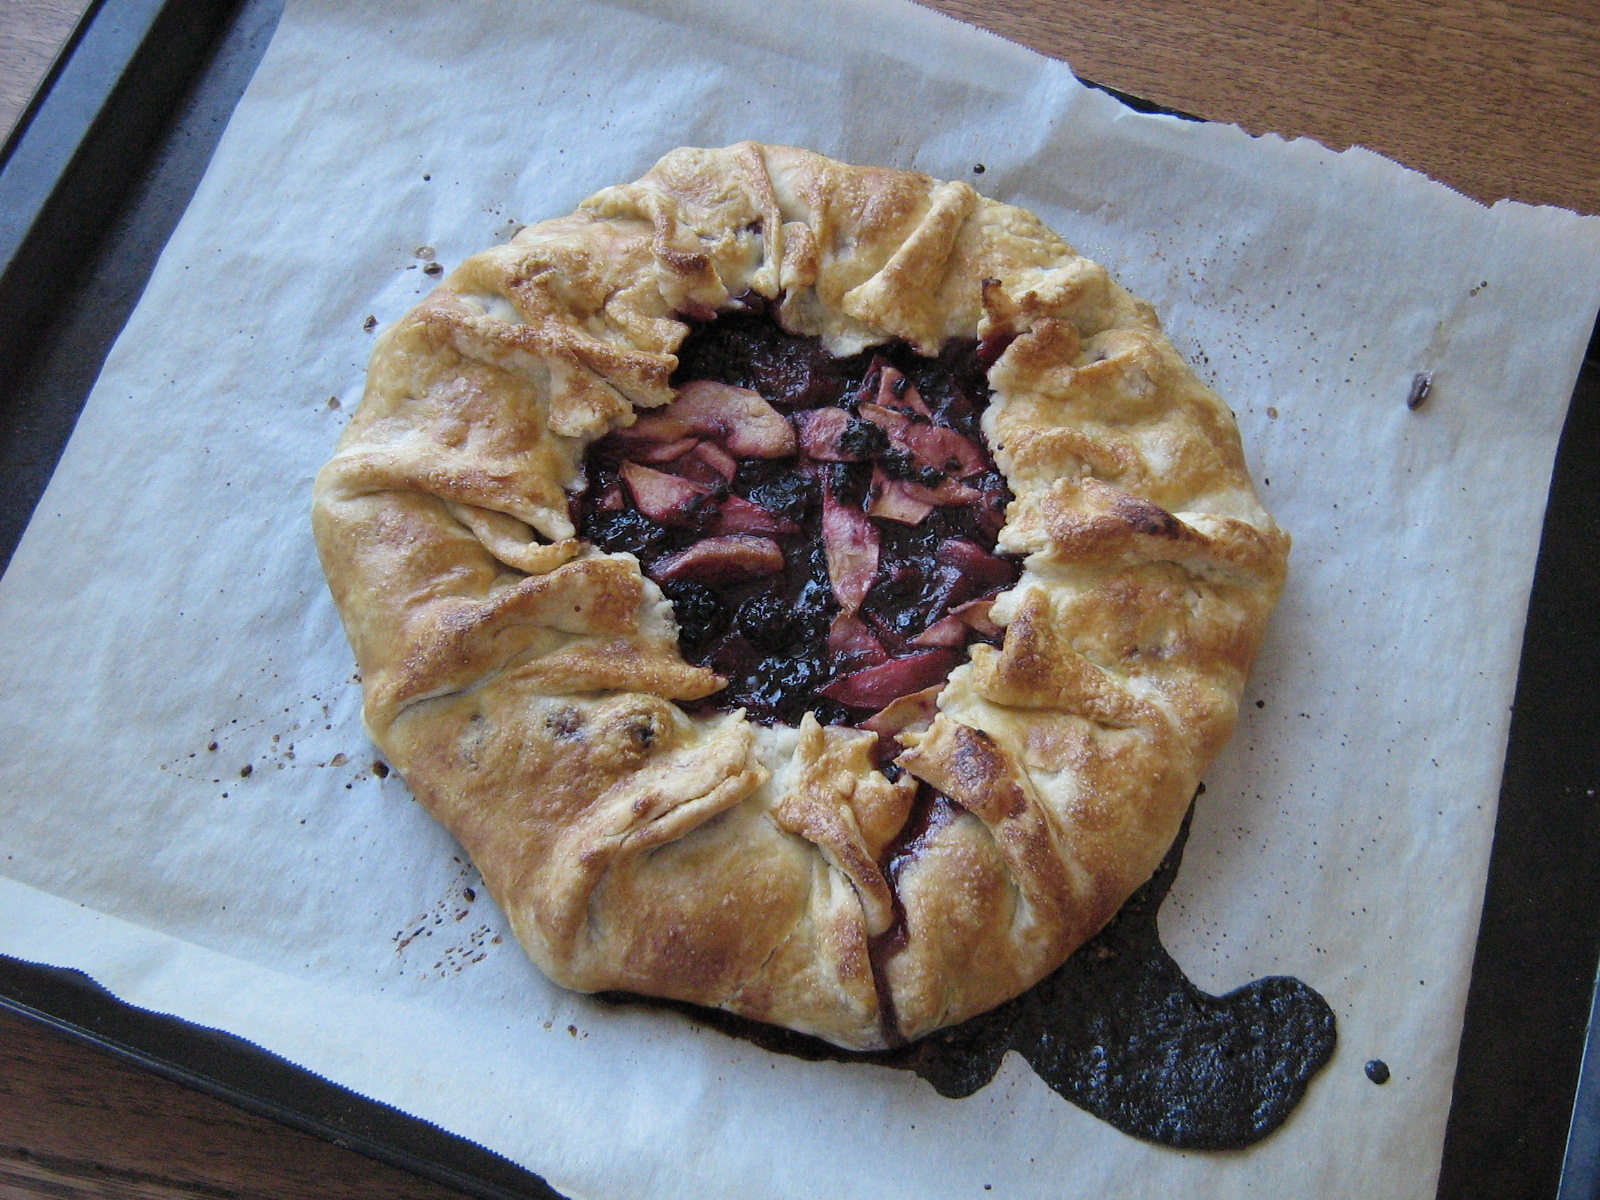
I had pastry for two crusts, so I made two galettes: a small blackberry-peach one for just me and Nate, and a larger blackberry-apple one to share with friends. I used slightly more fruit in the blackberry apple one, but the same amount of pastry for both, so you can be as generous or not as you want with the fruit – just roll the pastry out larger or smaller as need be. As a guide, these are the amounts of fruit that I used.

Blackberry Peach

2 cups blackberries

1 peach, peeled and sliced

1/4 cup granulated sugar, or to taste (was a bit tart – maybe 1/3 cup, depending on the sweetness of the berries)

1 tbsp flour

Blackberry Apple

2 generous cups blackberries

2 cups peeled, sliced apple

1/2 cup granulated sugar, or to taste

1 heaping tbsp flour

Gently mix together the fruit, sugar, and flour – try not to mash the blackberries.

To Assemble the Galette

Preheat the oven to 425˚F.

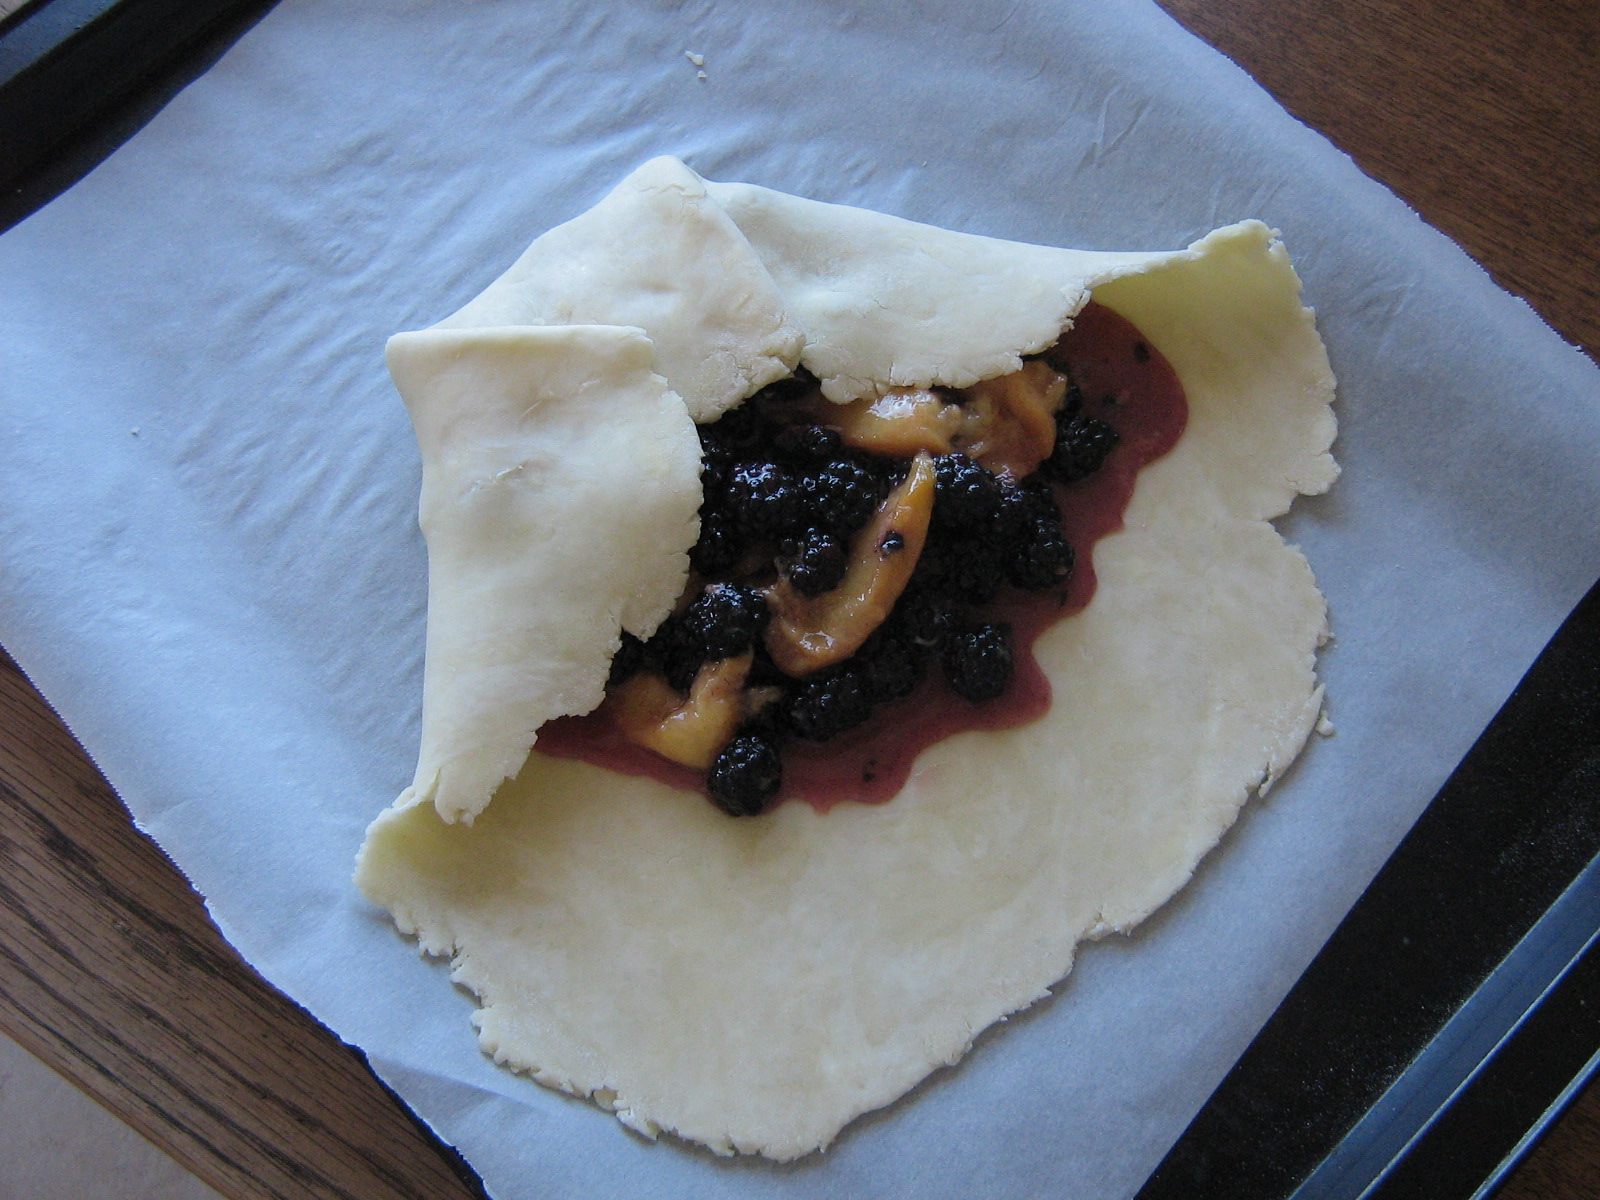
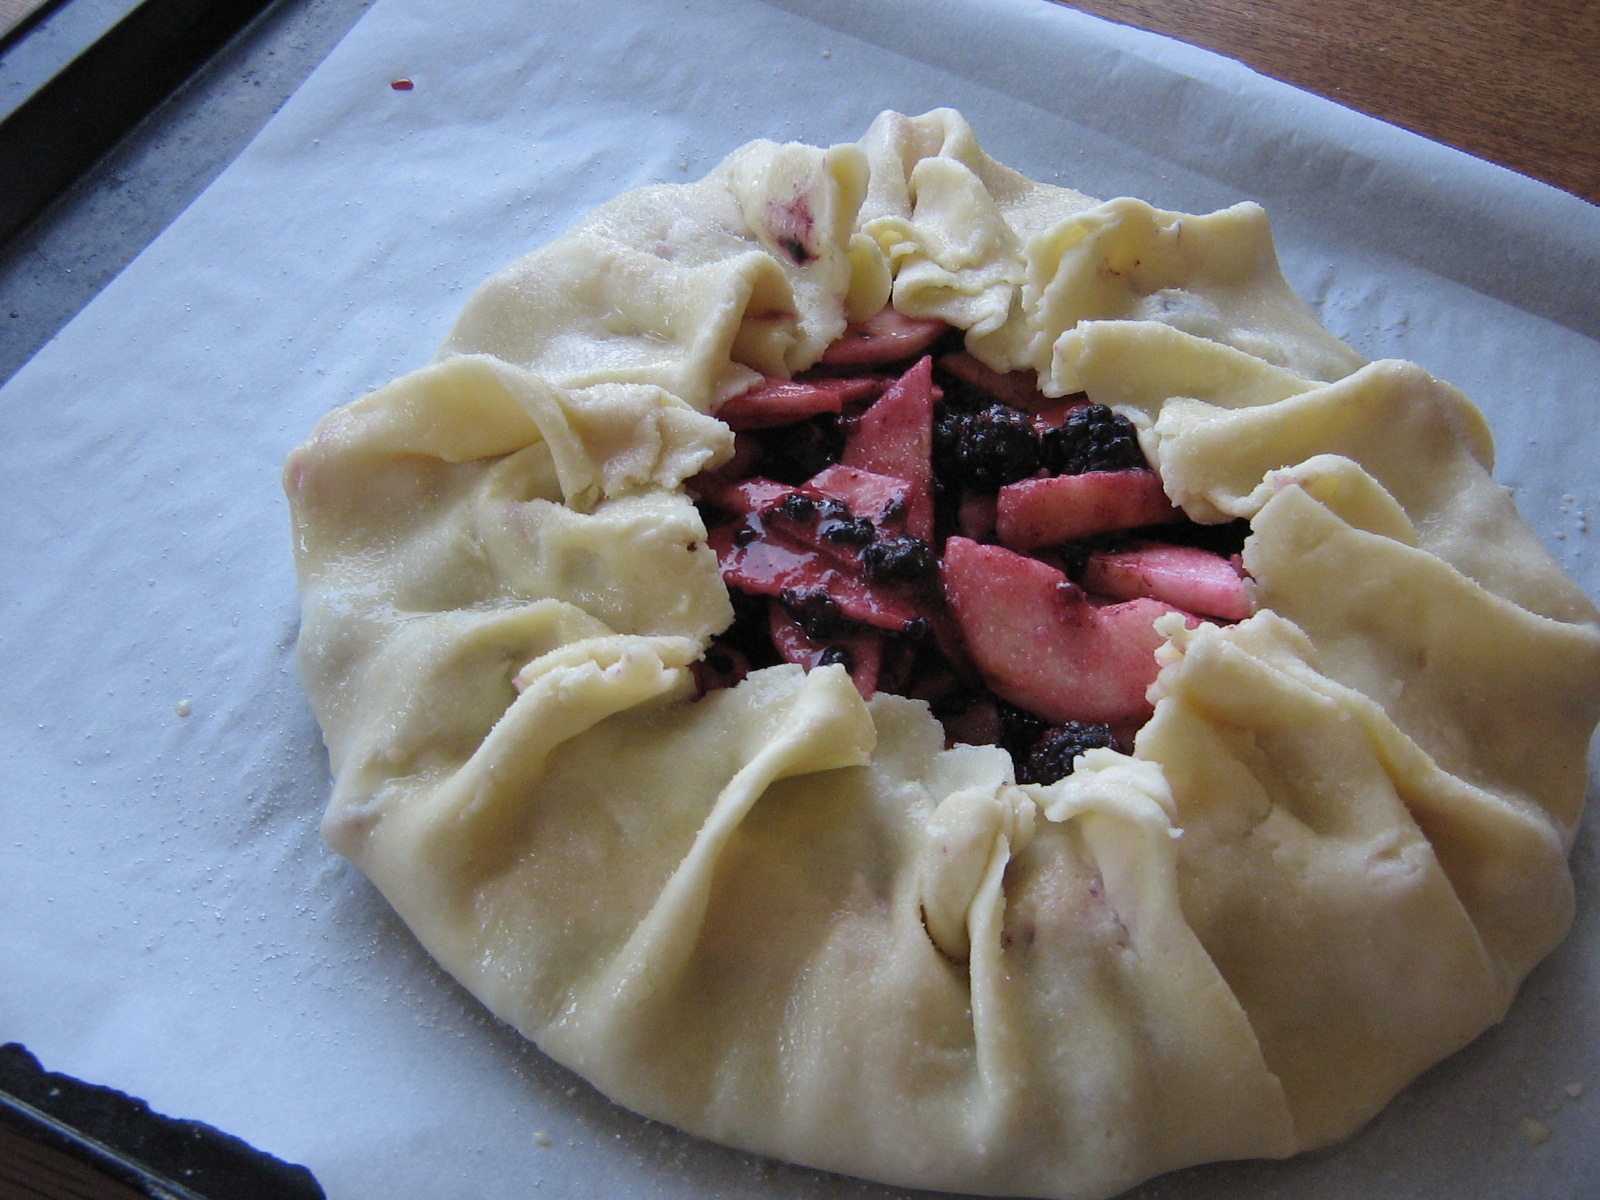
Roll out a disk of pastry on a lightly floured surface into a 10″-12″ circle. Transfer the pastry to a parchment paper-lined baking sheet and pile the fruit filling in the middle of the pastry. Fold the edges of the pastry up over the fruit… …or make pleats by crimping the pastry with your fingers.Brush the pastry lightly with heavy cream or an egg beaten with a splash of milk, and sprinkle the whole thing with a little bit of sugar. Bake at 425˚F for 10 minutes, then reduce the heat to 325˚F and bake for 50-60 minutes, until golden brown and bubbly. Cool slightly before serving.

Blackberry peach

Blackberry apple

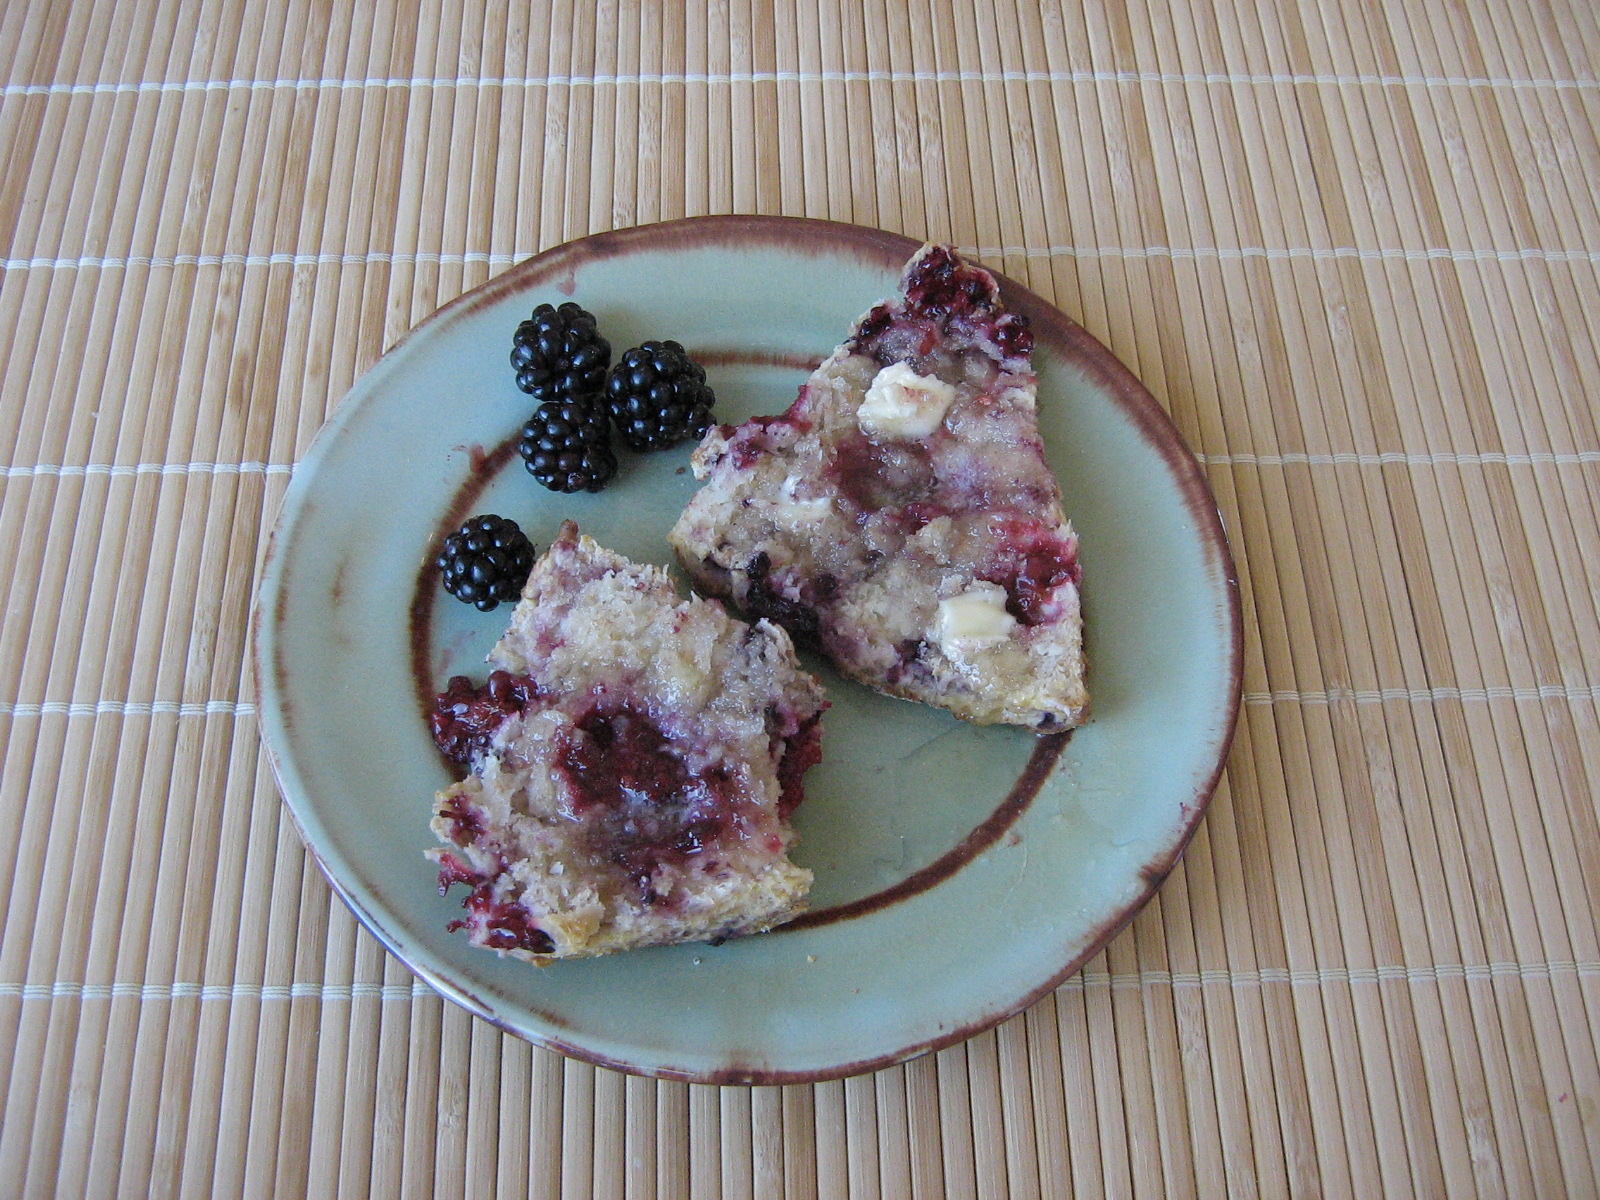
Blackberry Scones with Whole Wheat and Honey

These are a variation on my trusty Home Ec scones.

Preheat the oven to 425˚F.

Mix together:

2/3 cup all purpose flour

1/3 cup whole wheat flour

2 tsp baking powder

pinch salt

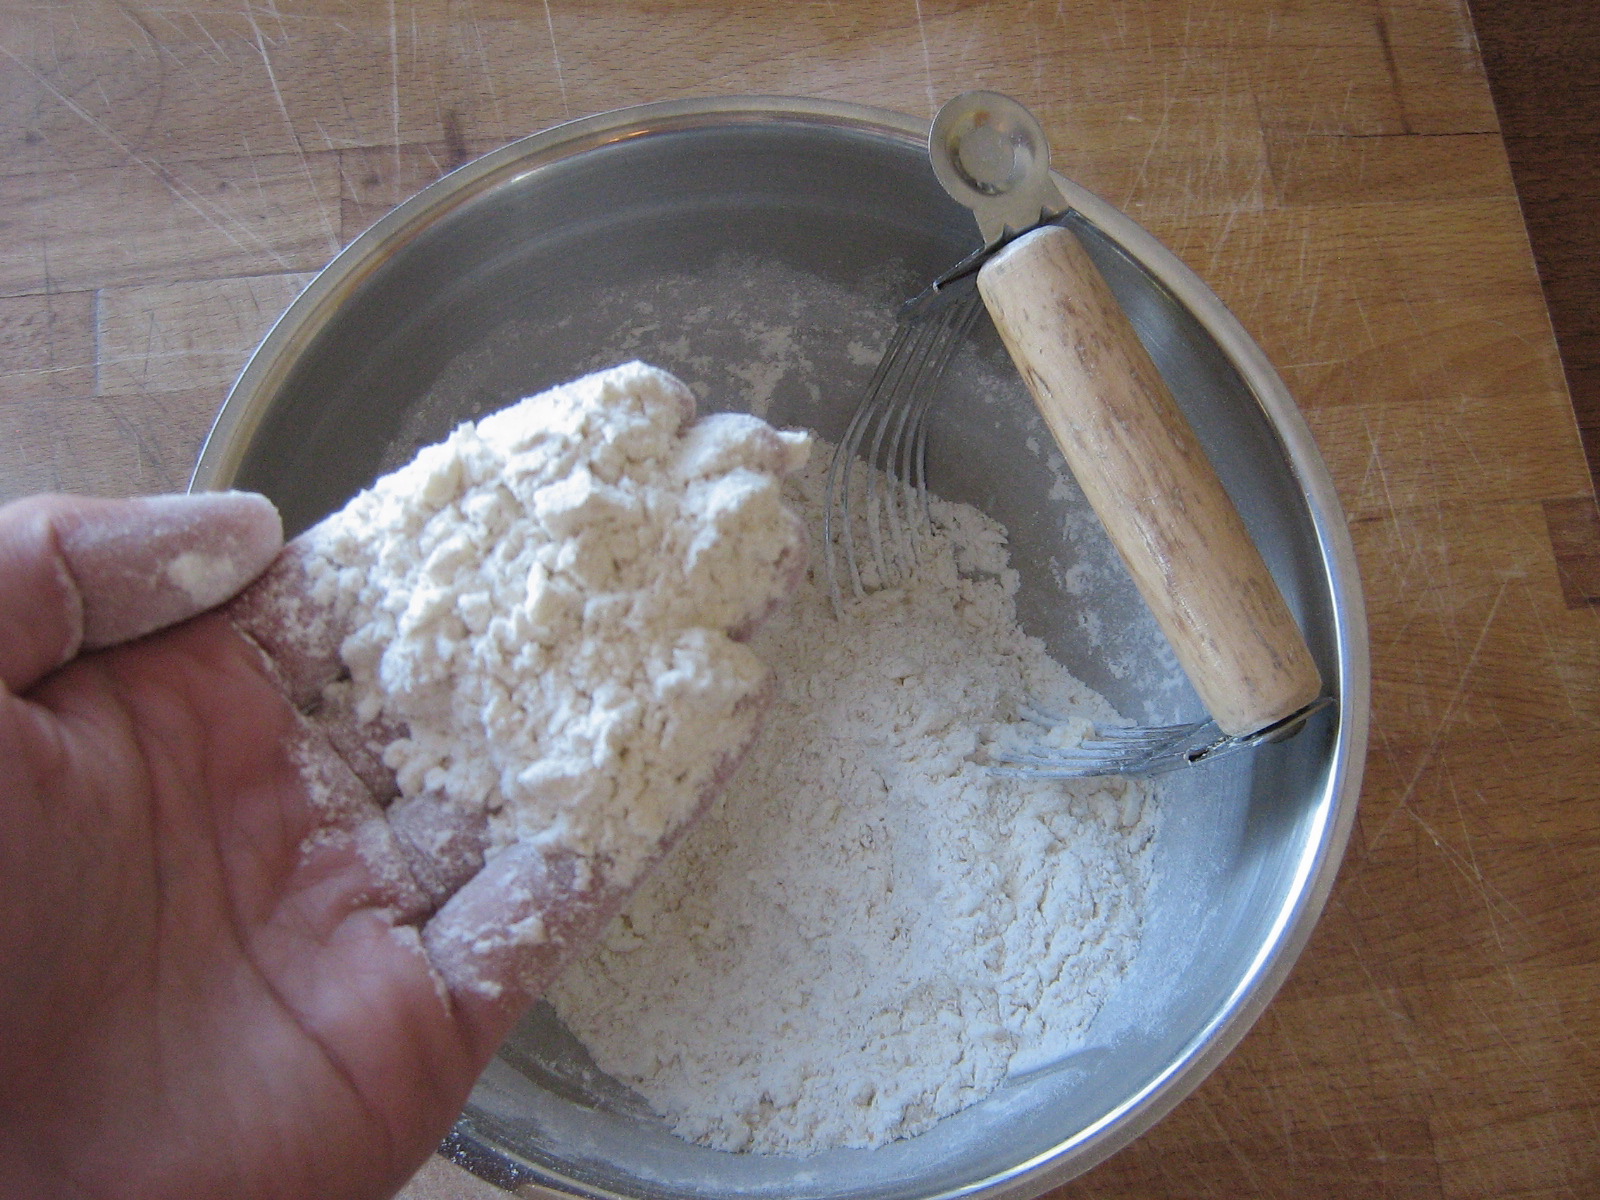
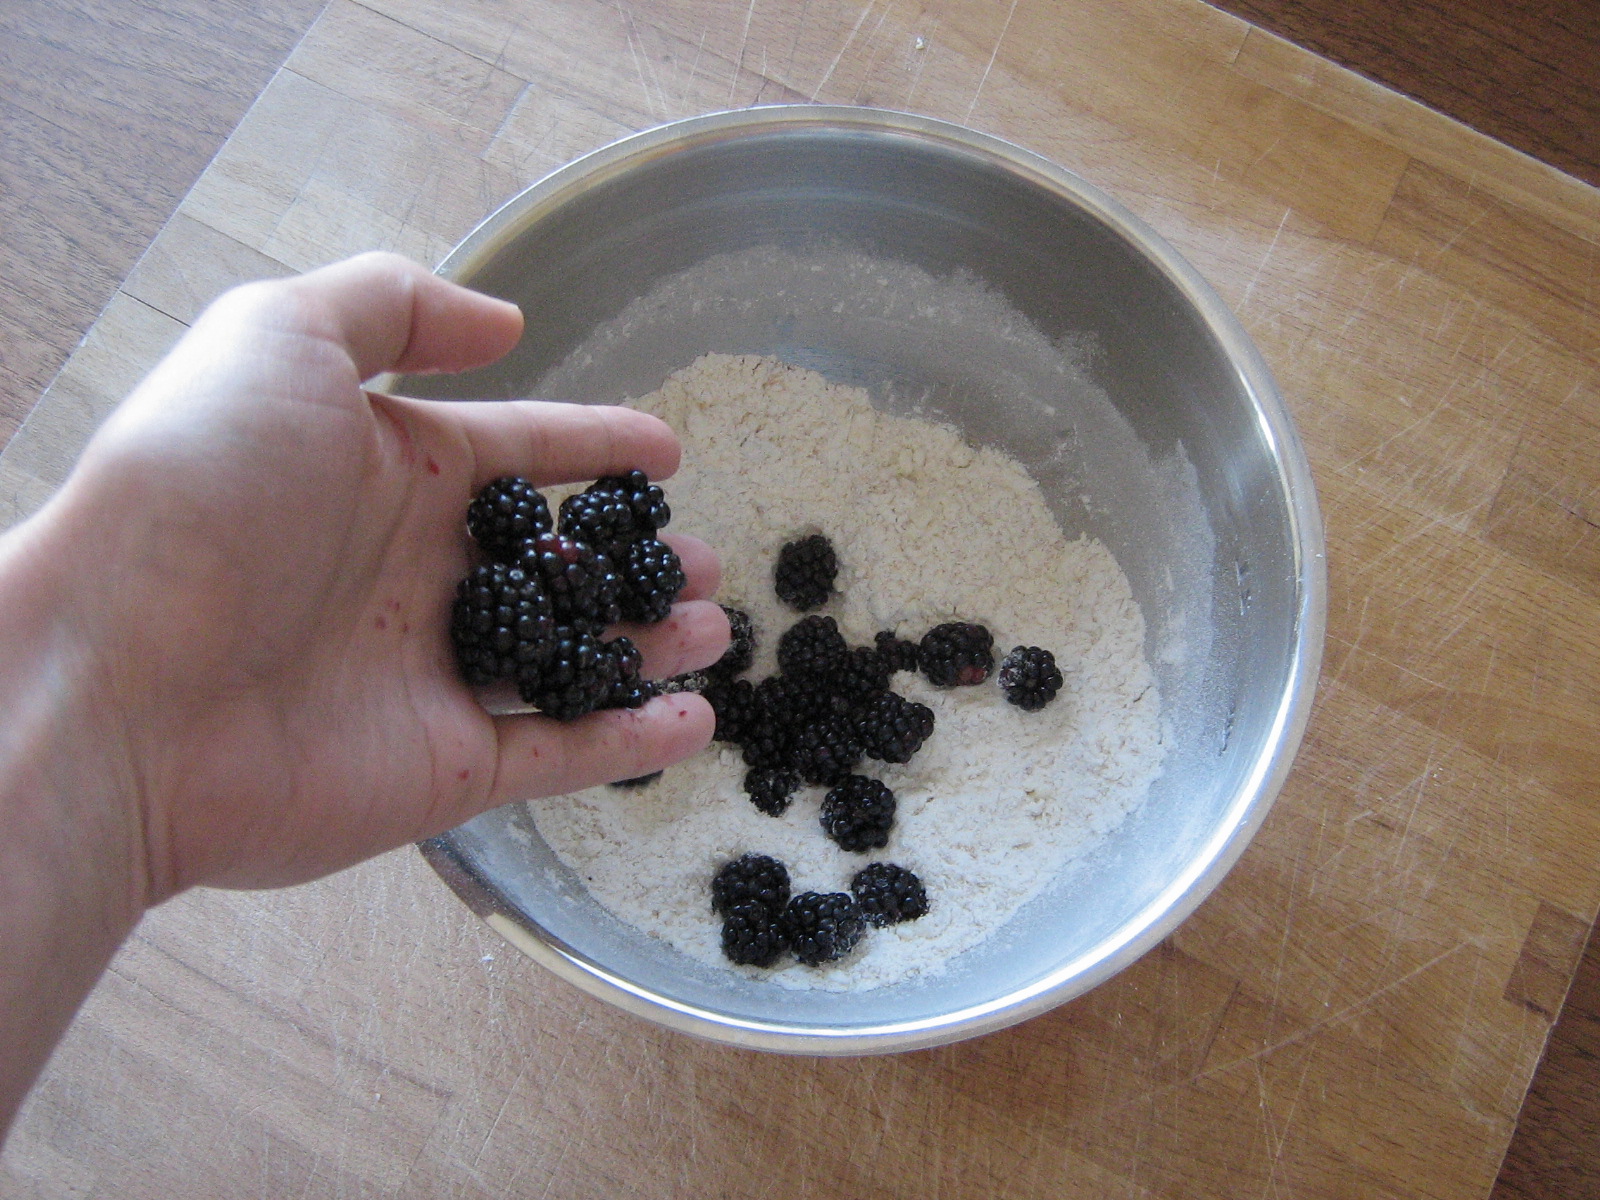
Cut in 3 tbsp cold butter with a pastry cutter until the mixture resembles fine bread crumbs. Toss in a handful of blackberries and stir gently to coat them in flour. Mix together:

1/2 cup milk

1 tbsp liquid honey

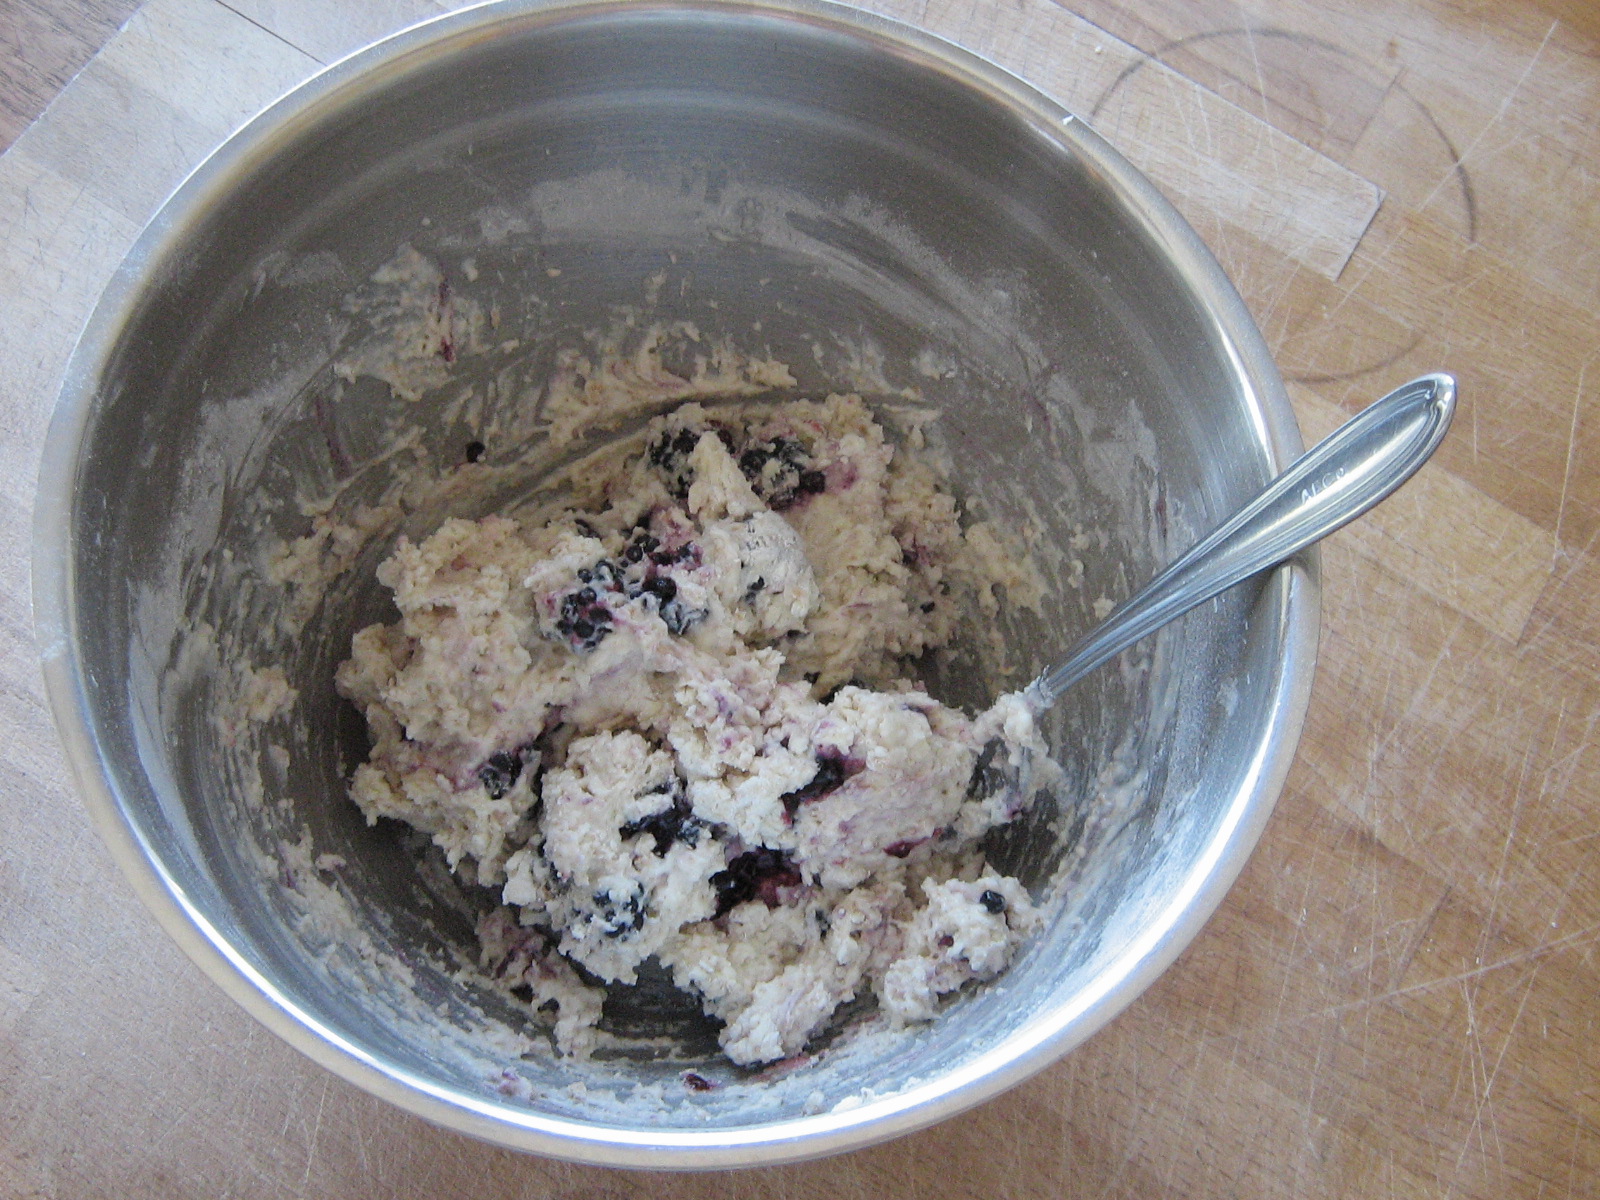
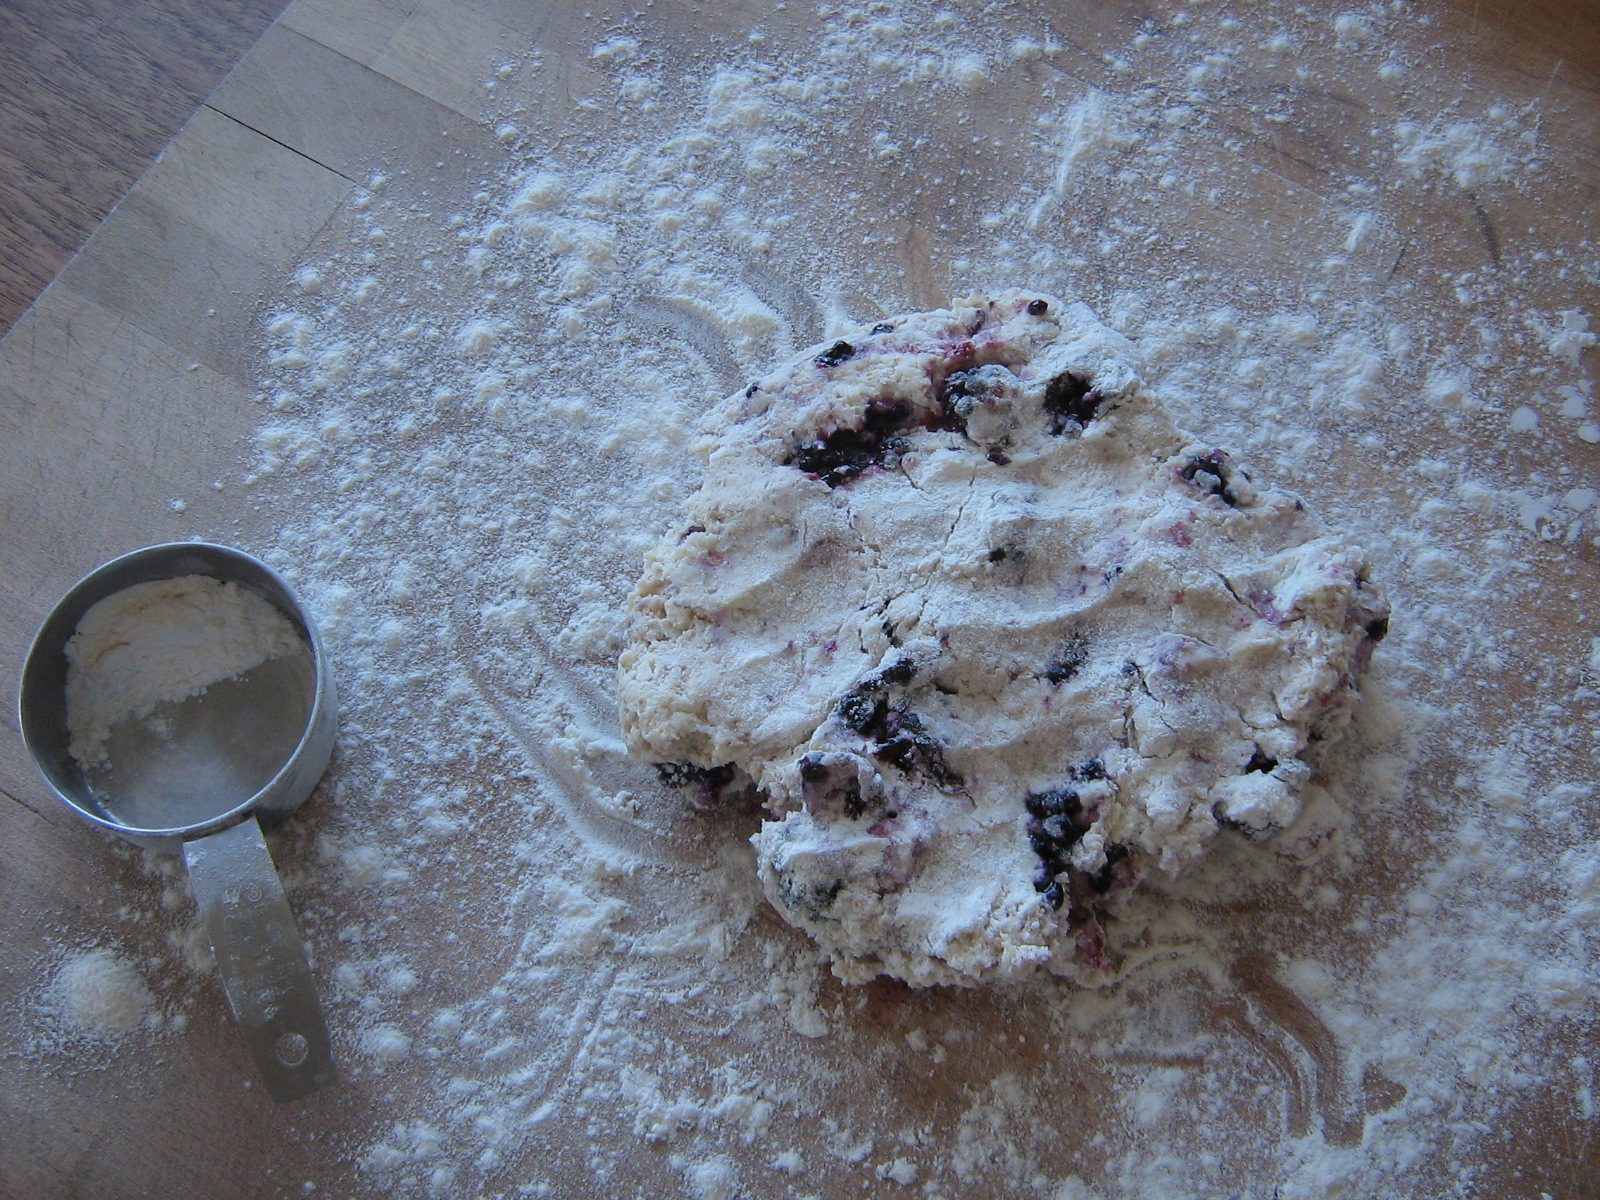
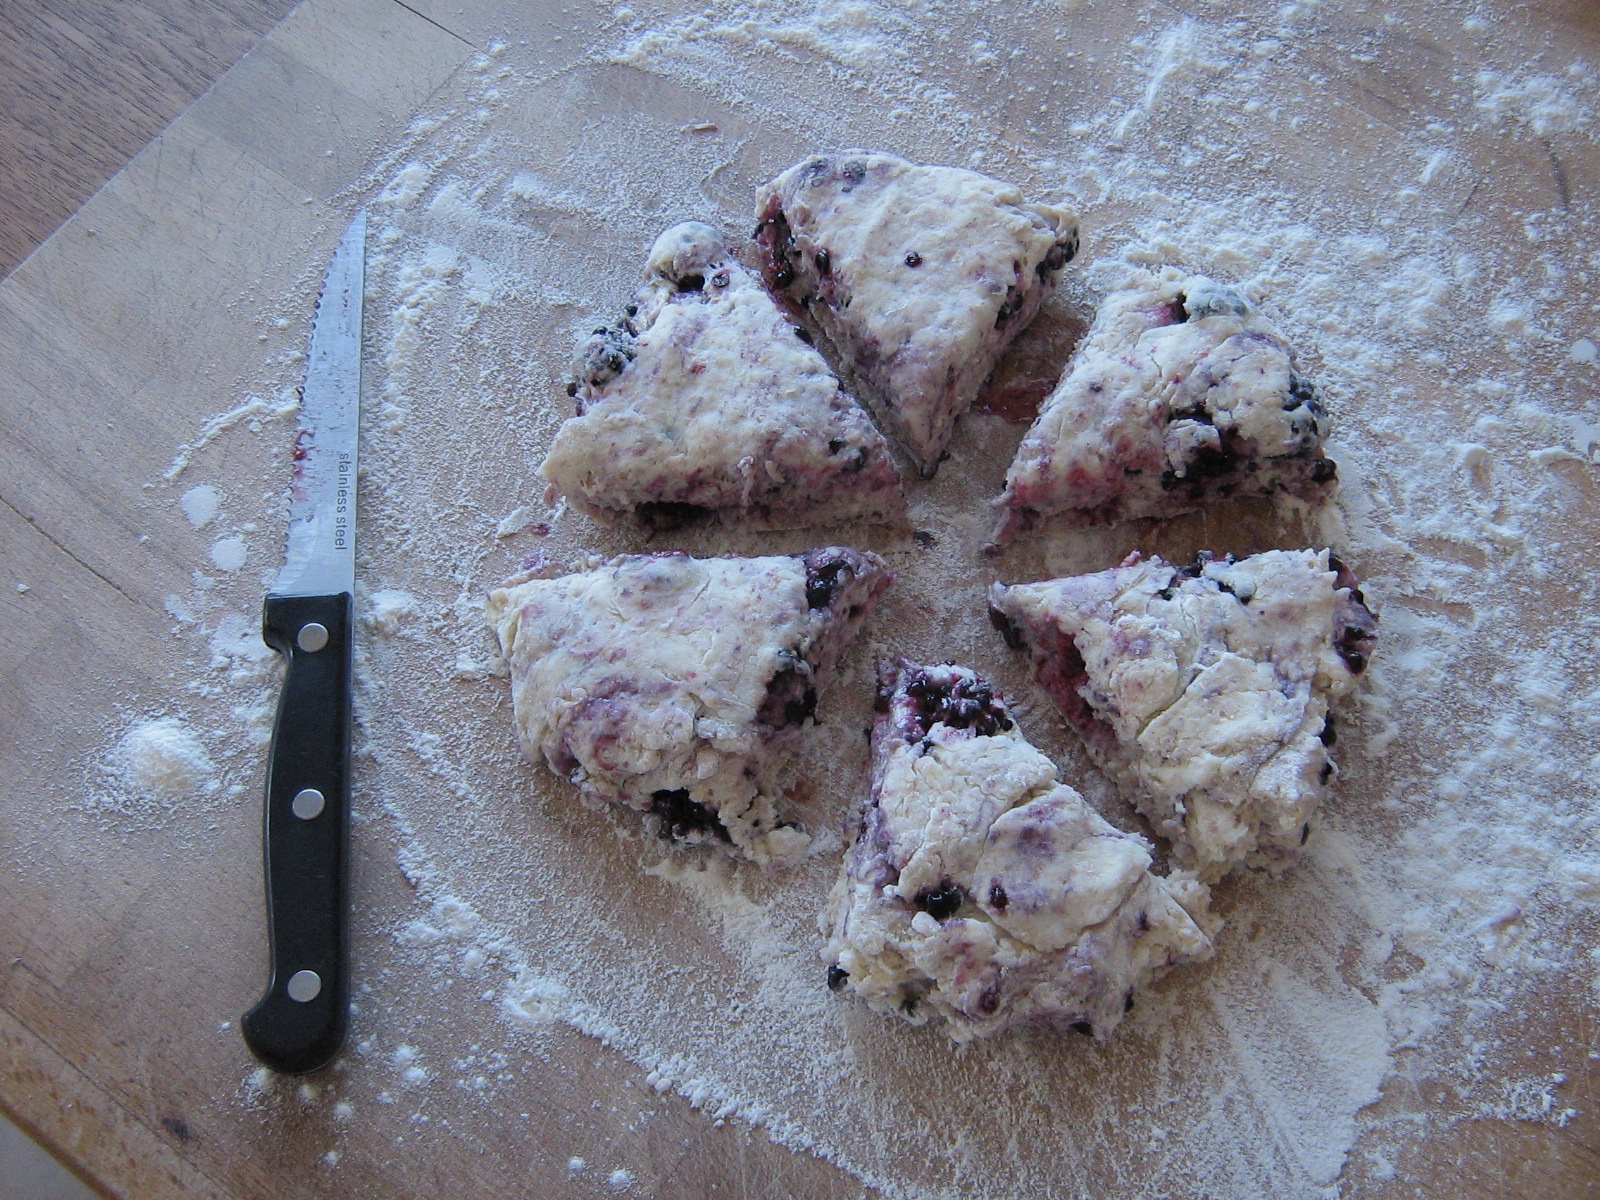
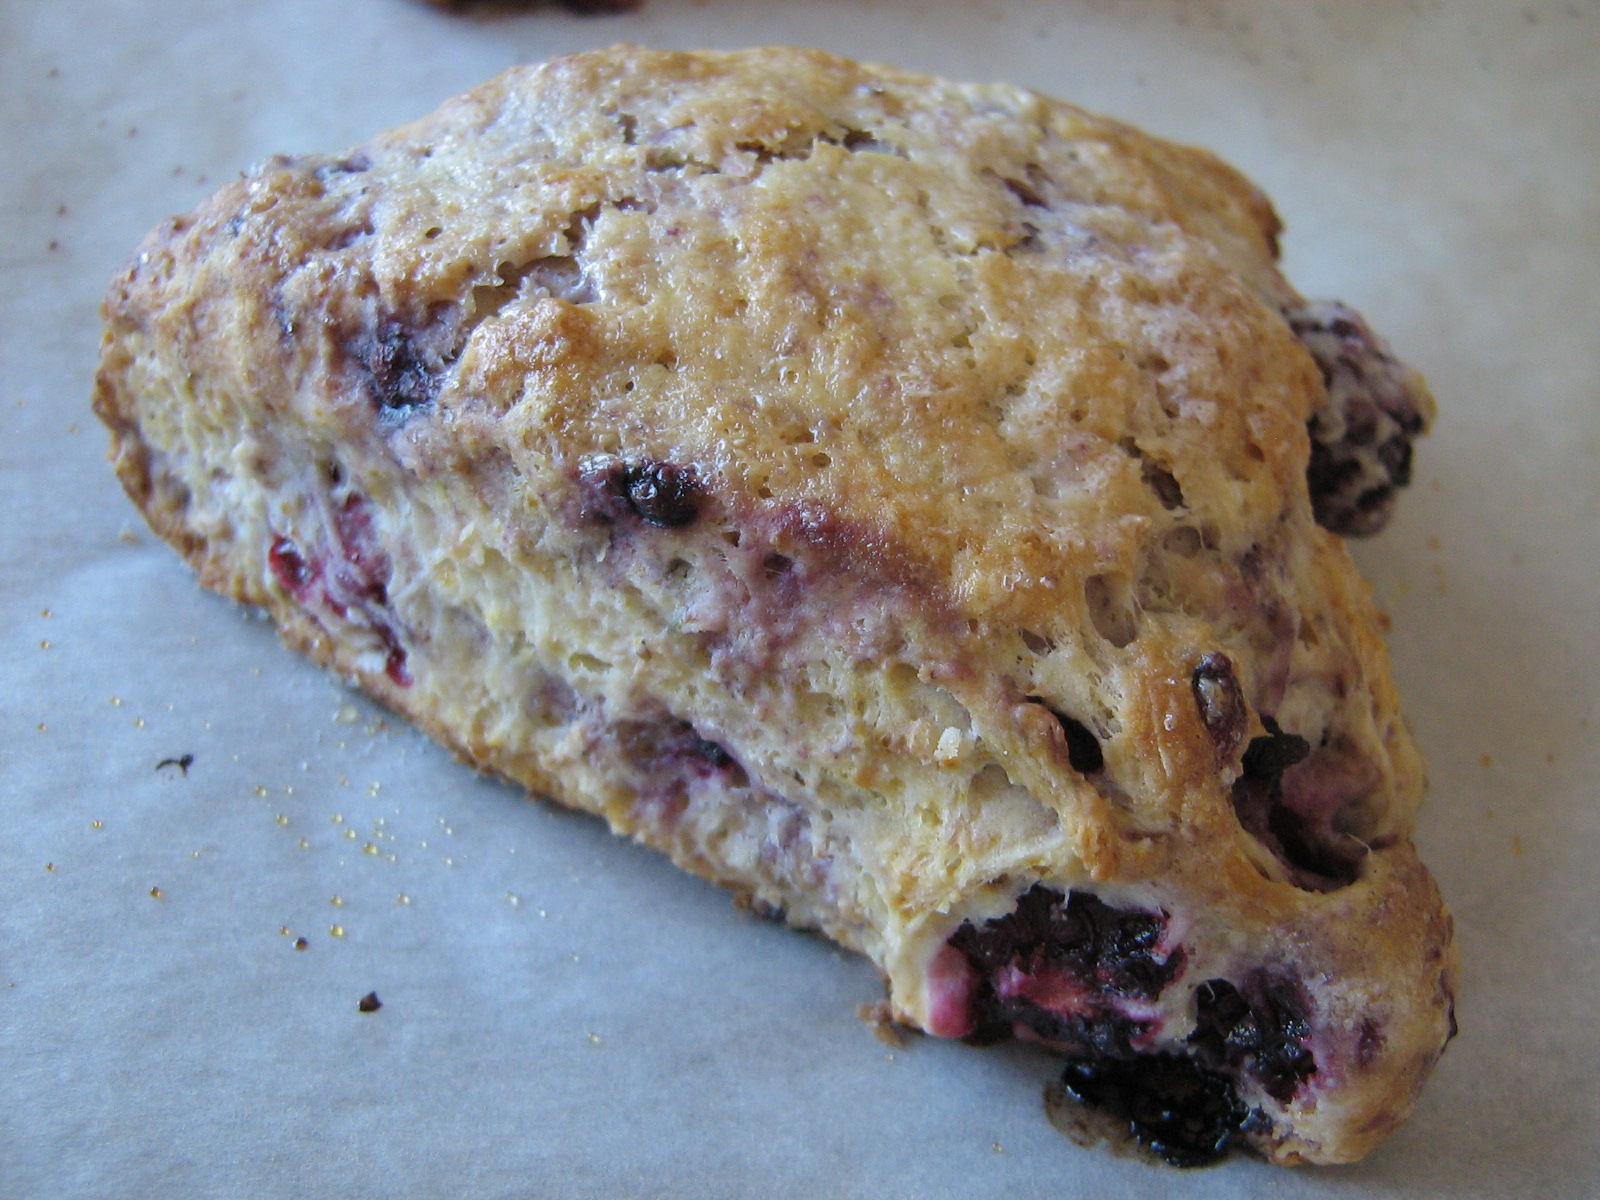
(Don’t worry if the honey doesn’t totally dissolve.) Pour the milk into the flour mixture and stir briskly with a fork until it all comes together in a wet dough. Try to incorporate all the flour without smushing the berries too much. Turn the dough out onto a floured surface, sprinkle it with more flour, gently pat it down, and fold it in half on itself. Repeat two to three more times, then shape the dough into a circle about 3/4 inch thick. Cut it into 6 wedges and place them on a baking sheet. Brush the tops with a little cream, sprinkle them with sugar, and bake at 425˚F for 10-12 minutes until golden, OR stick the whole baking sheet in the freezer until the scones are solid, then store them in a freezer bag to pull out whenever the craving for freshly baked scones hits you – just bake them for a few extra minutes. (I baked two and froze the remaining four.) Serve hot, slathered with butter and honey.

Happy summer!

Filed Under: Breakfast & Brunch, Cakes & Pies, Fruit, Other Baked Goods & Sweets, Recipes Tagged With: baking, blackberries, cooking, food, galette, pastry, pie, recipe, summer

The Cachagua Store Restaurant

September 3, 2011 By Korena in the Kitchen 8 Comments

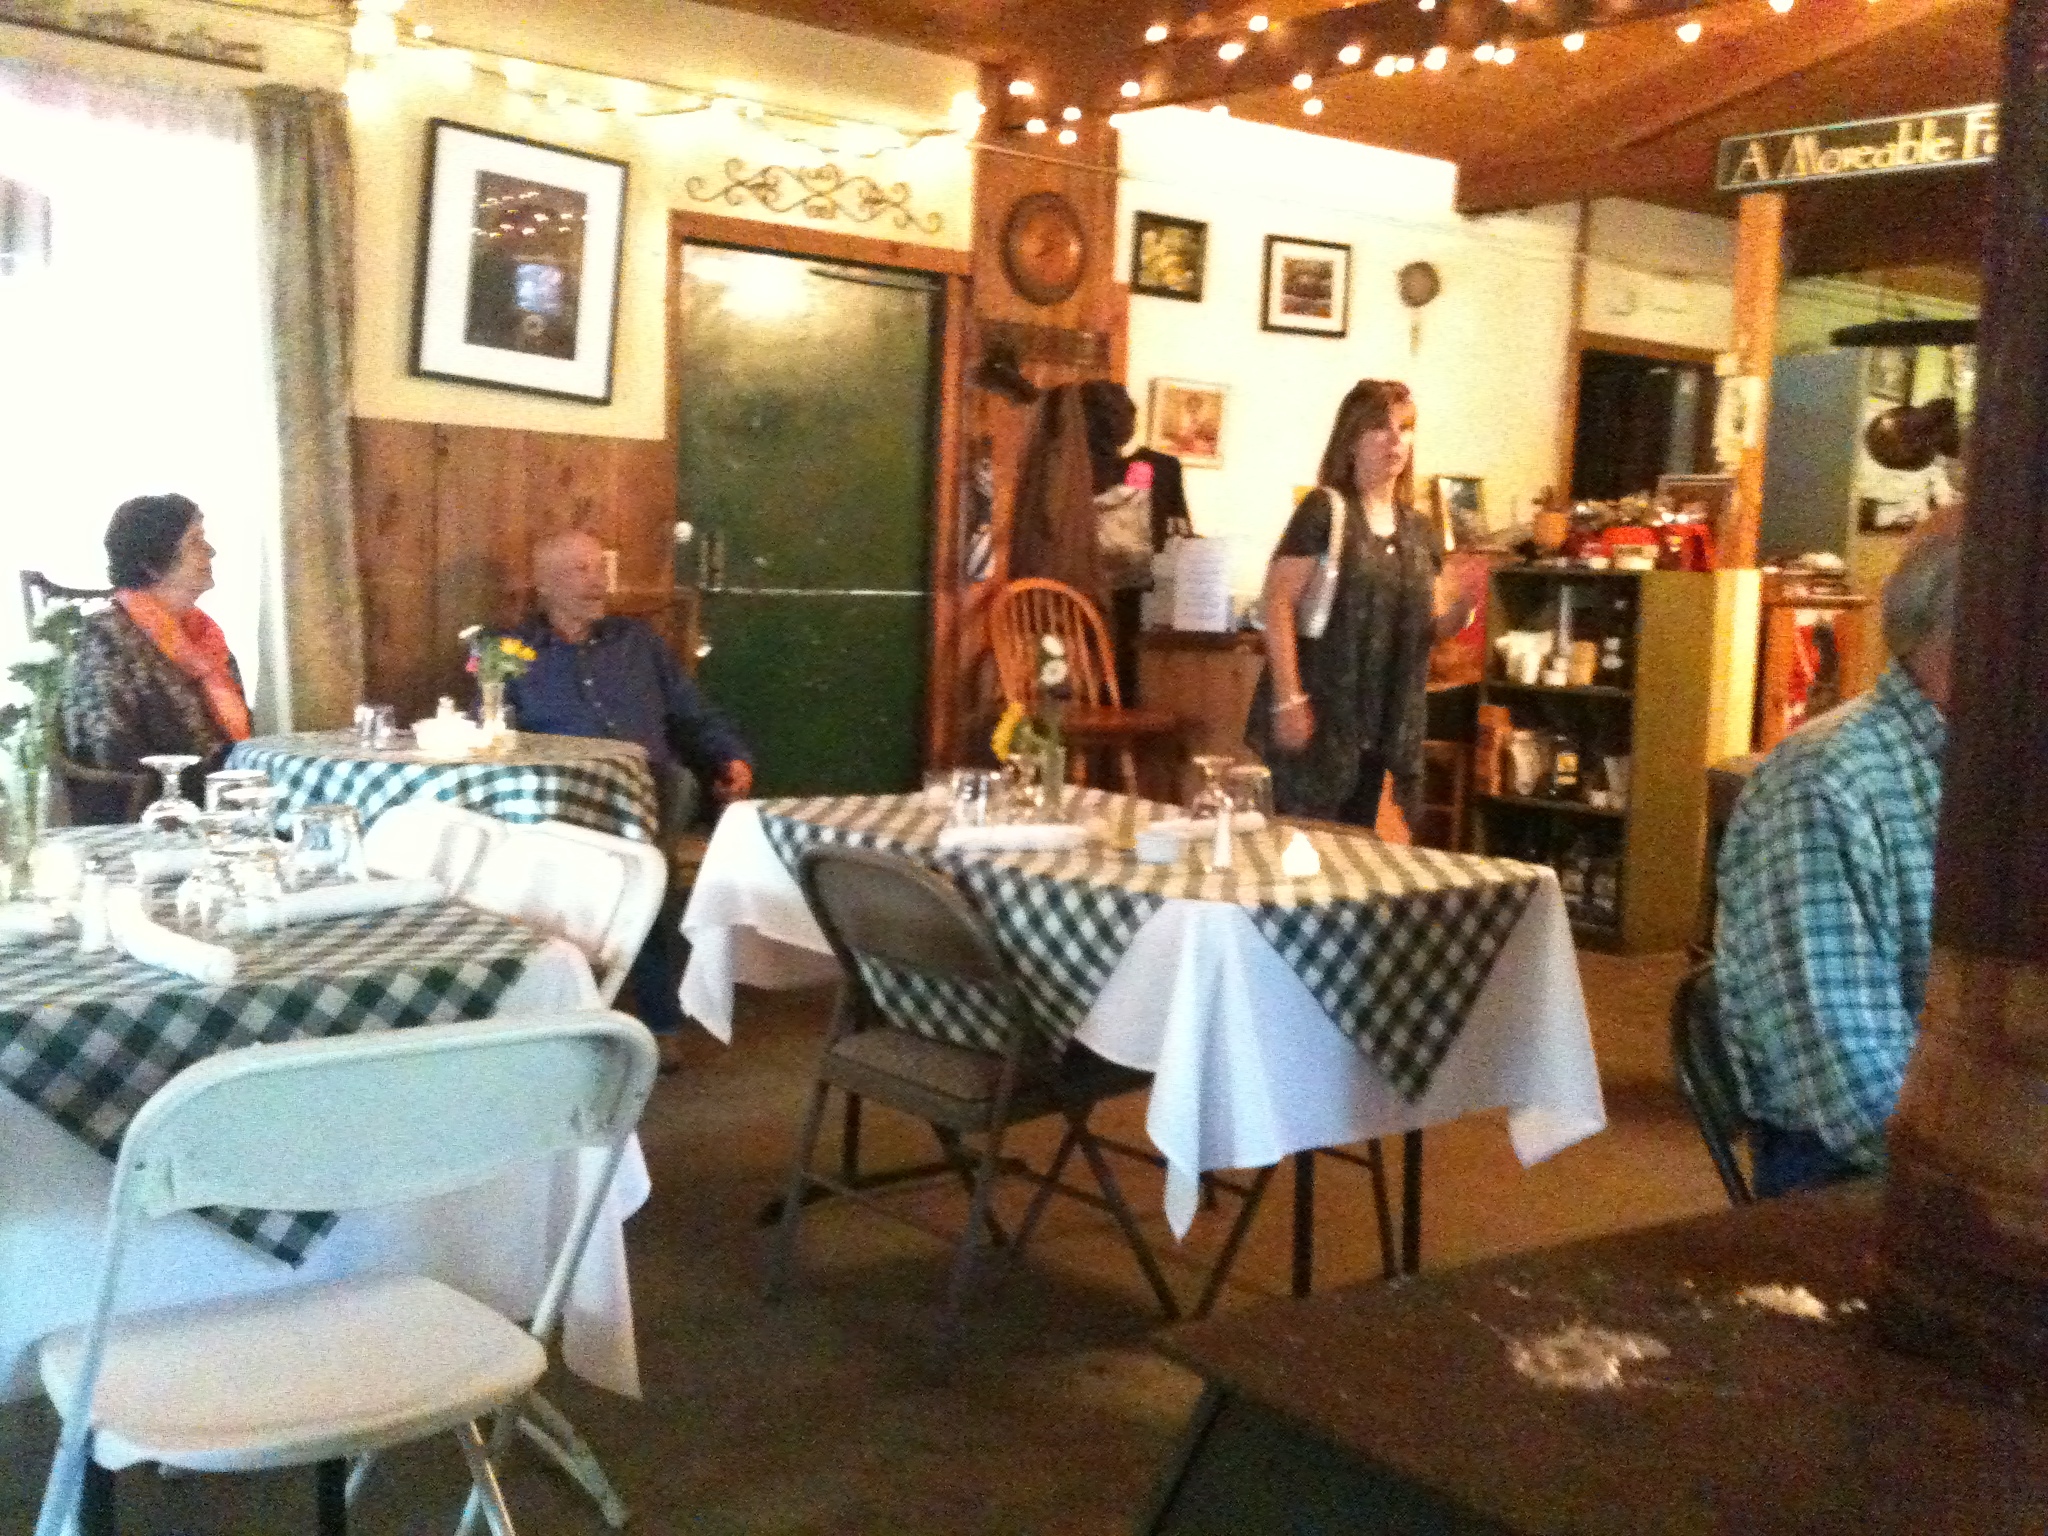
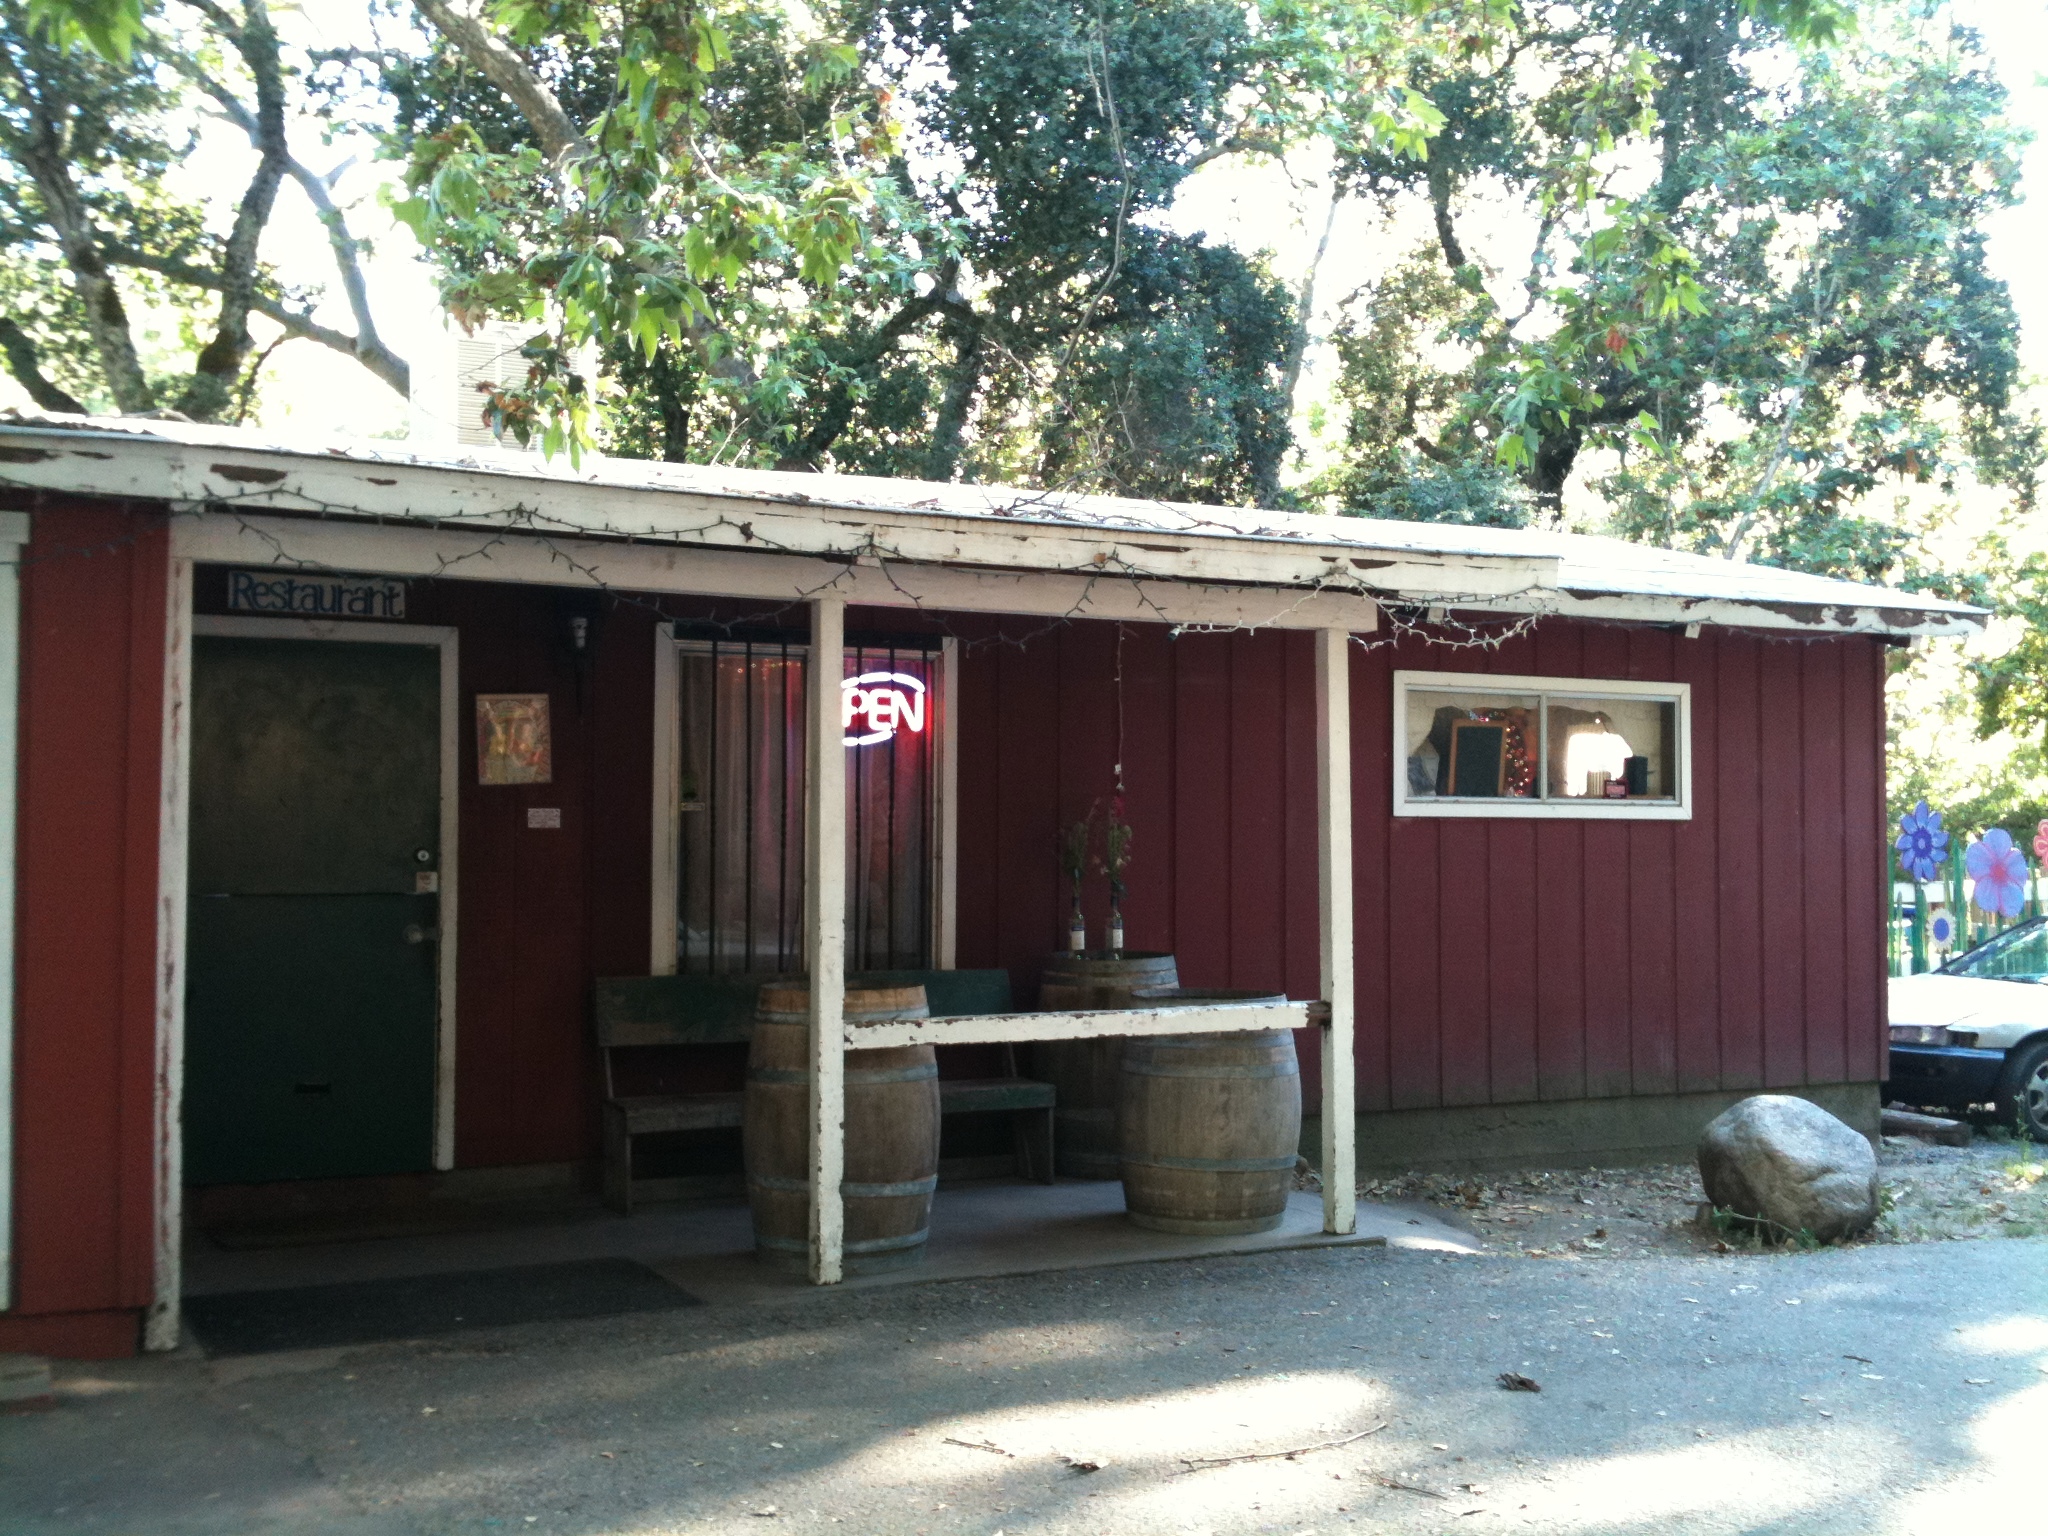
Towards the end of my visit to California, my aunt, uncle and I made an epic journey to have dinner at the Cachagua Store. This is a restaurant run out of a general store in the boonies of Cachagua, Carmel Valley. The restaurant is only open on Mondays, and the rest of the time the chef runs a catering company (A Moveable Feast) out of the kitchen. The restaurant receives mixed reviews from people who, after driving for an hour into the sticks on perilously twisty back-country roads, are expecting a fine dining experience, because it is certainly not that – no white table cloths, no white-shirted servers, no sterling silver flatware. But the food was awesome – locally sourced, regional specialties, interesting preparation methods, with a different menu every week – and just being in the restaurant was an experience in itself.

And so was the hour-long journey into the back of beyond to get there. We started the drive with rolling hills and large fields on either side of a wide, straight road, and as we drove further, the hills got closer together, the fields disappeared, the trees got closer and closer, and the road got narrower and windier. Then abruptly we took a right hand turn up the side of one of the hills onto another road full of twists and hairpin turns and bounded on either side by Spanish-moss covered trees. As we reached the top of the hill, the road stayed just as twisty and narrow, and we could see the spines and valleys and tops of other hills – some green with trees, some golden yellow with grass. It was incredibly beautiful.

This picture from the car window doesn’t even come close to doing the view justice.

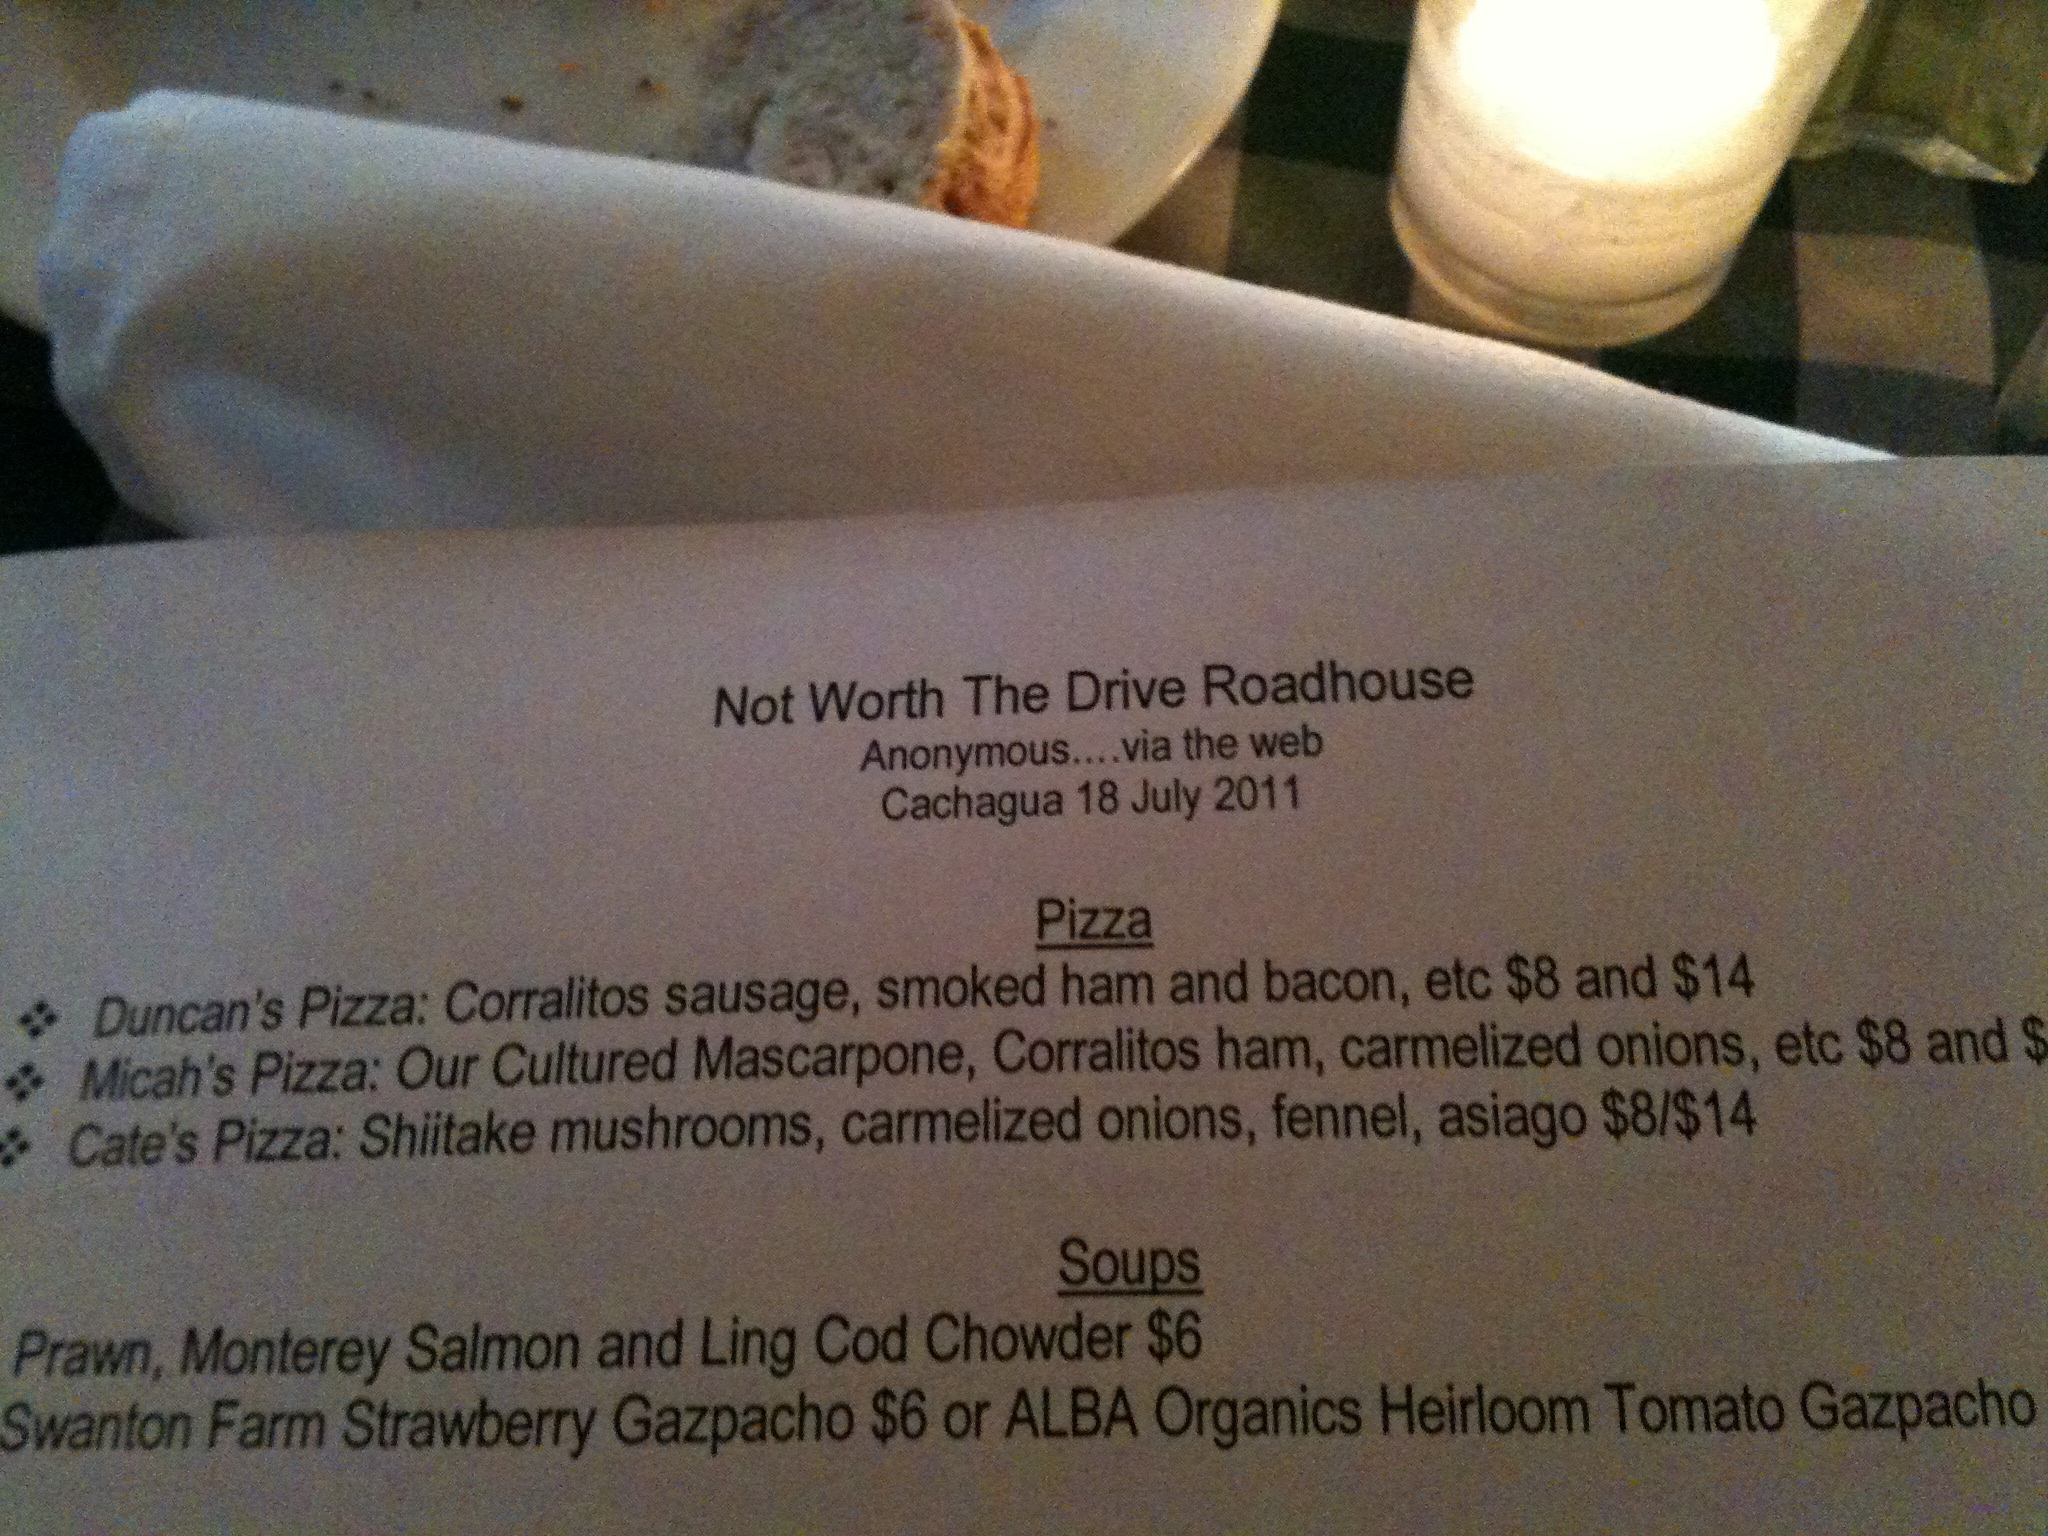
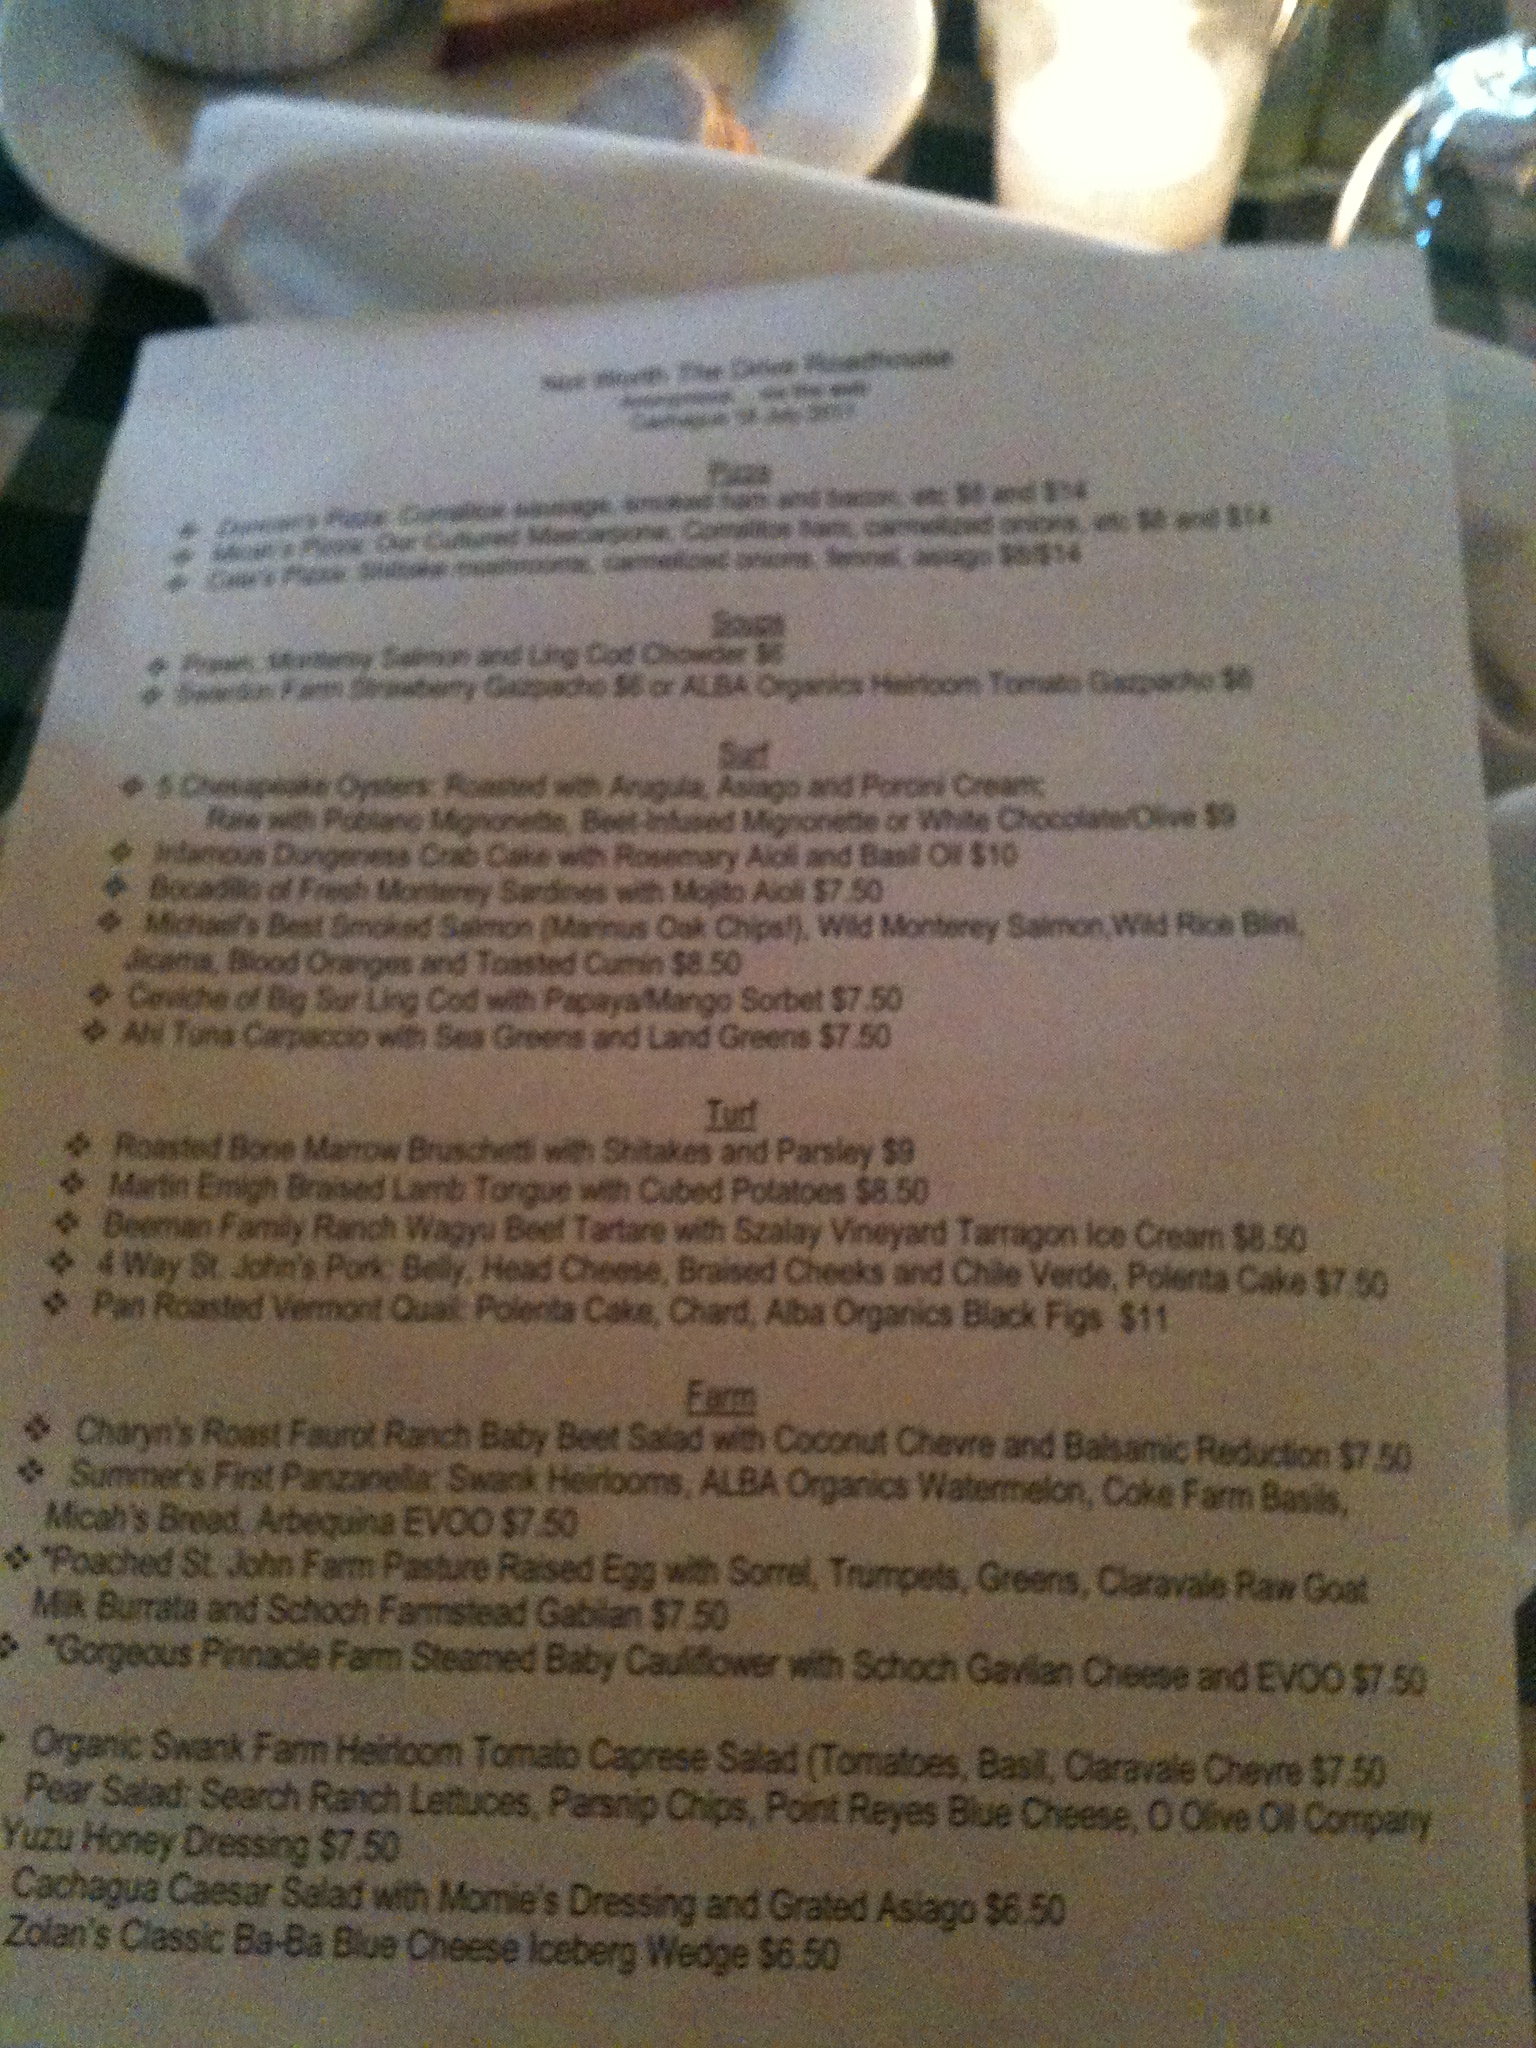
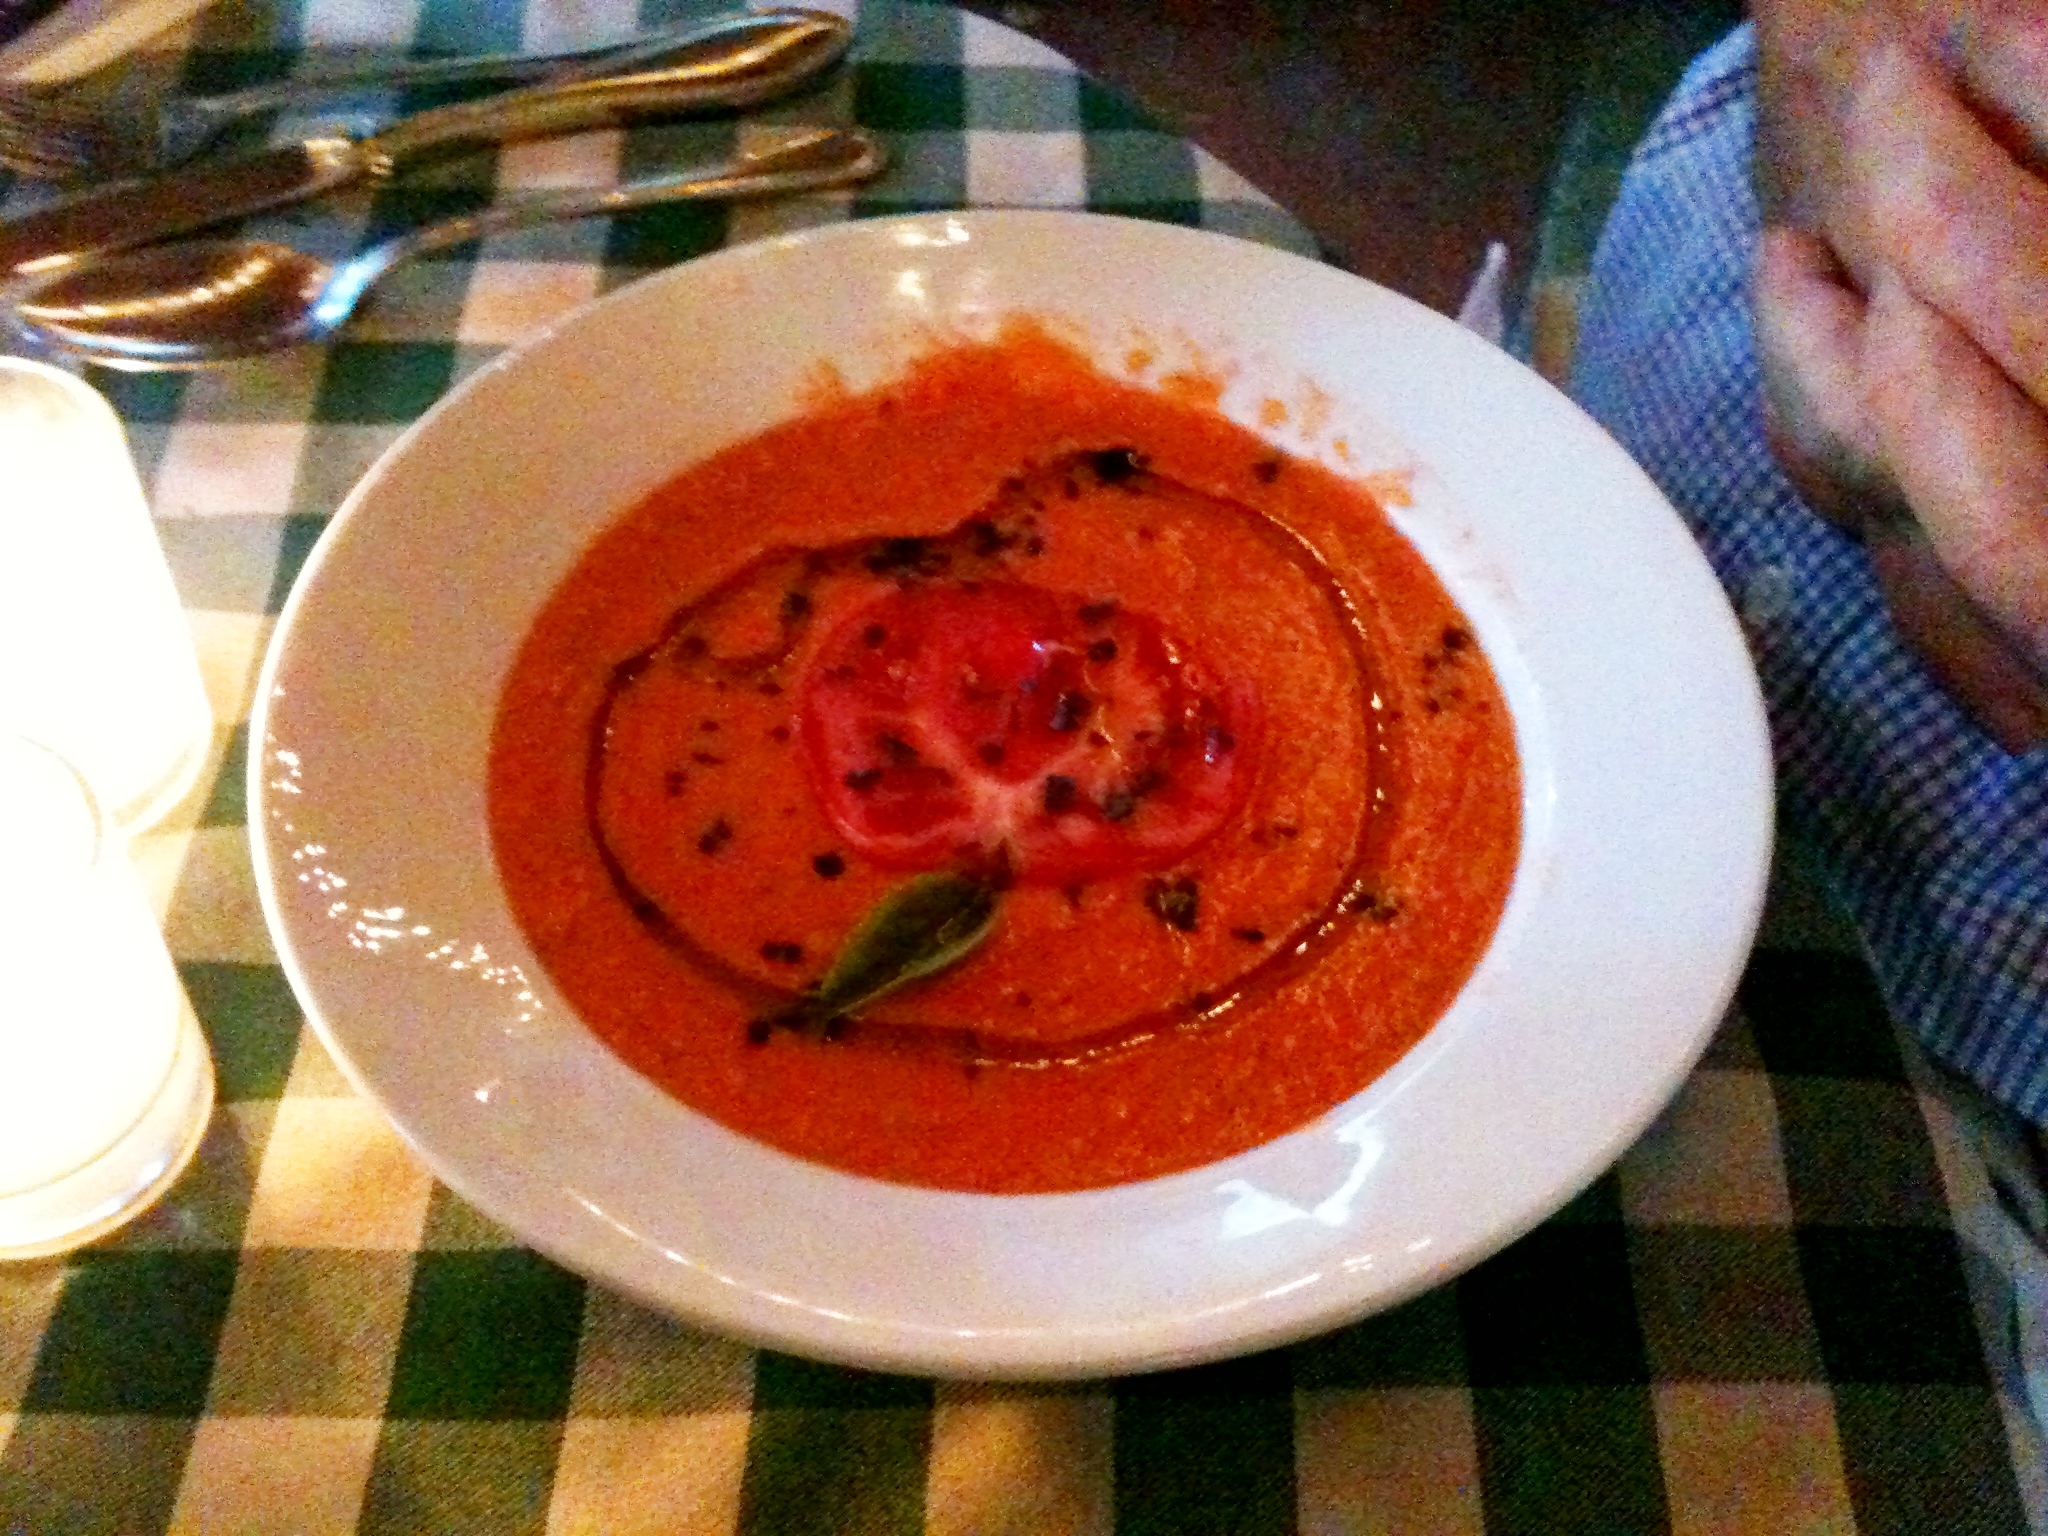
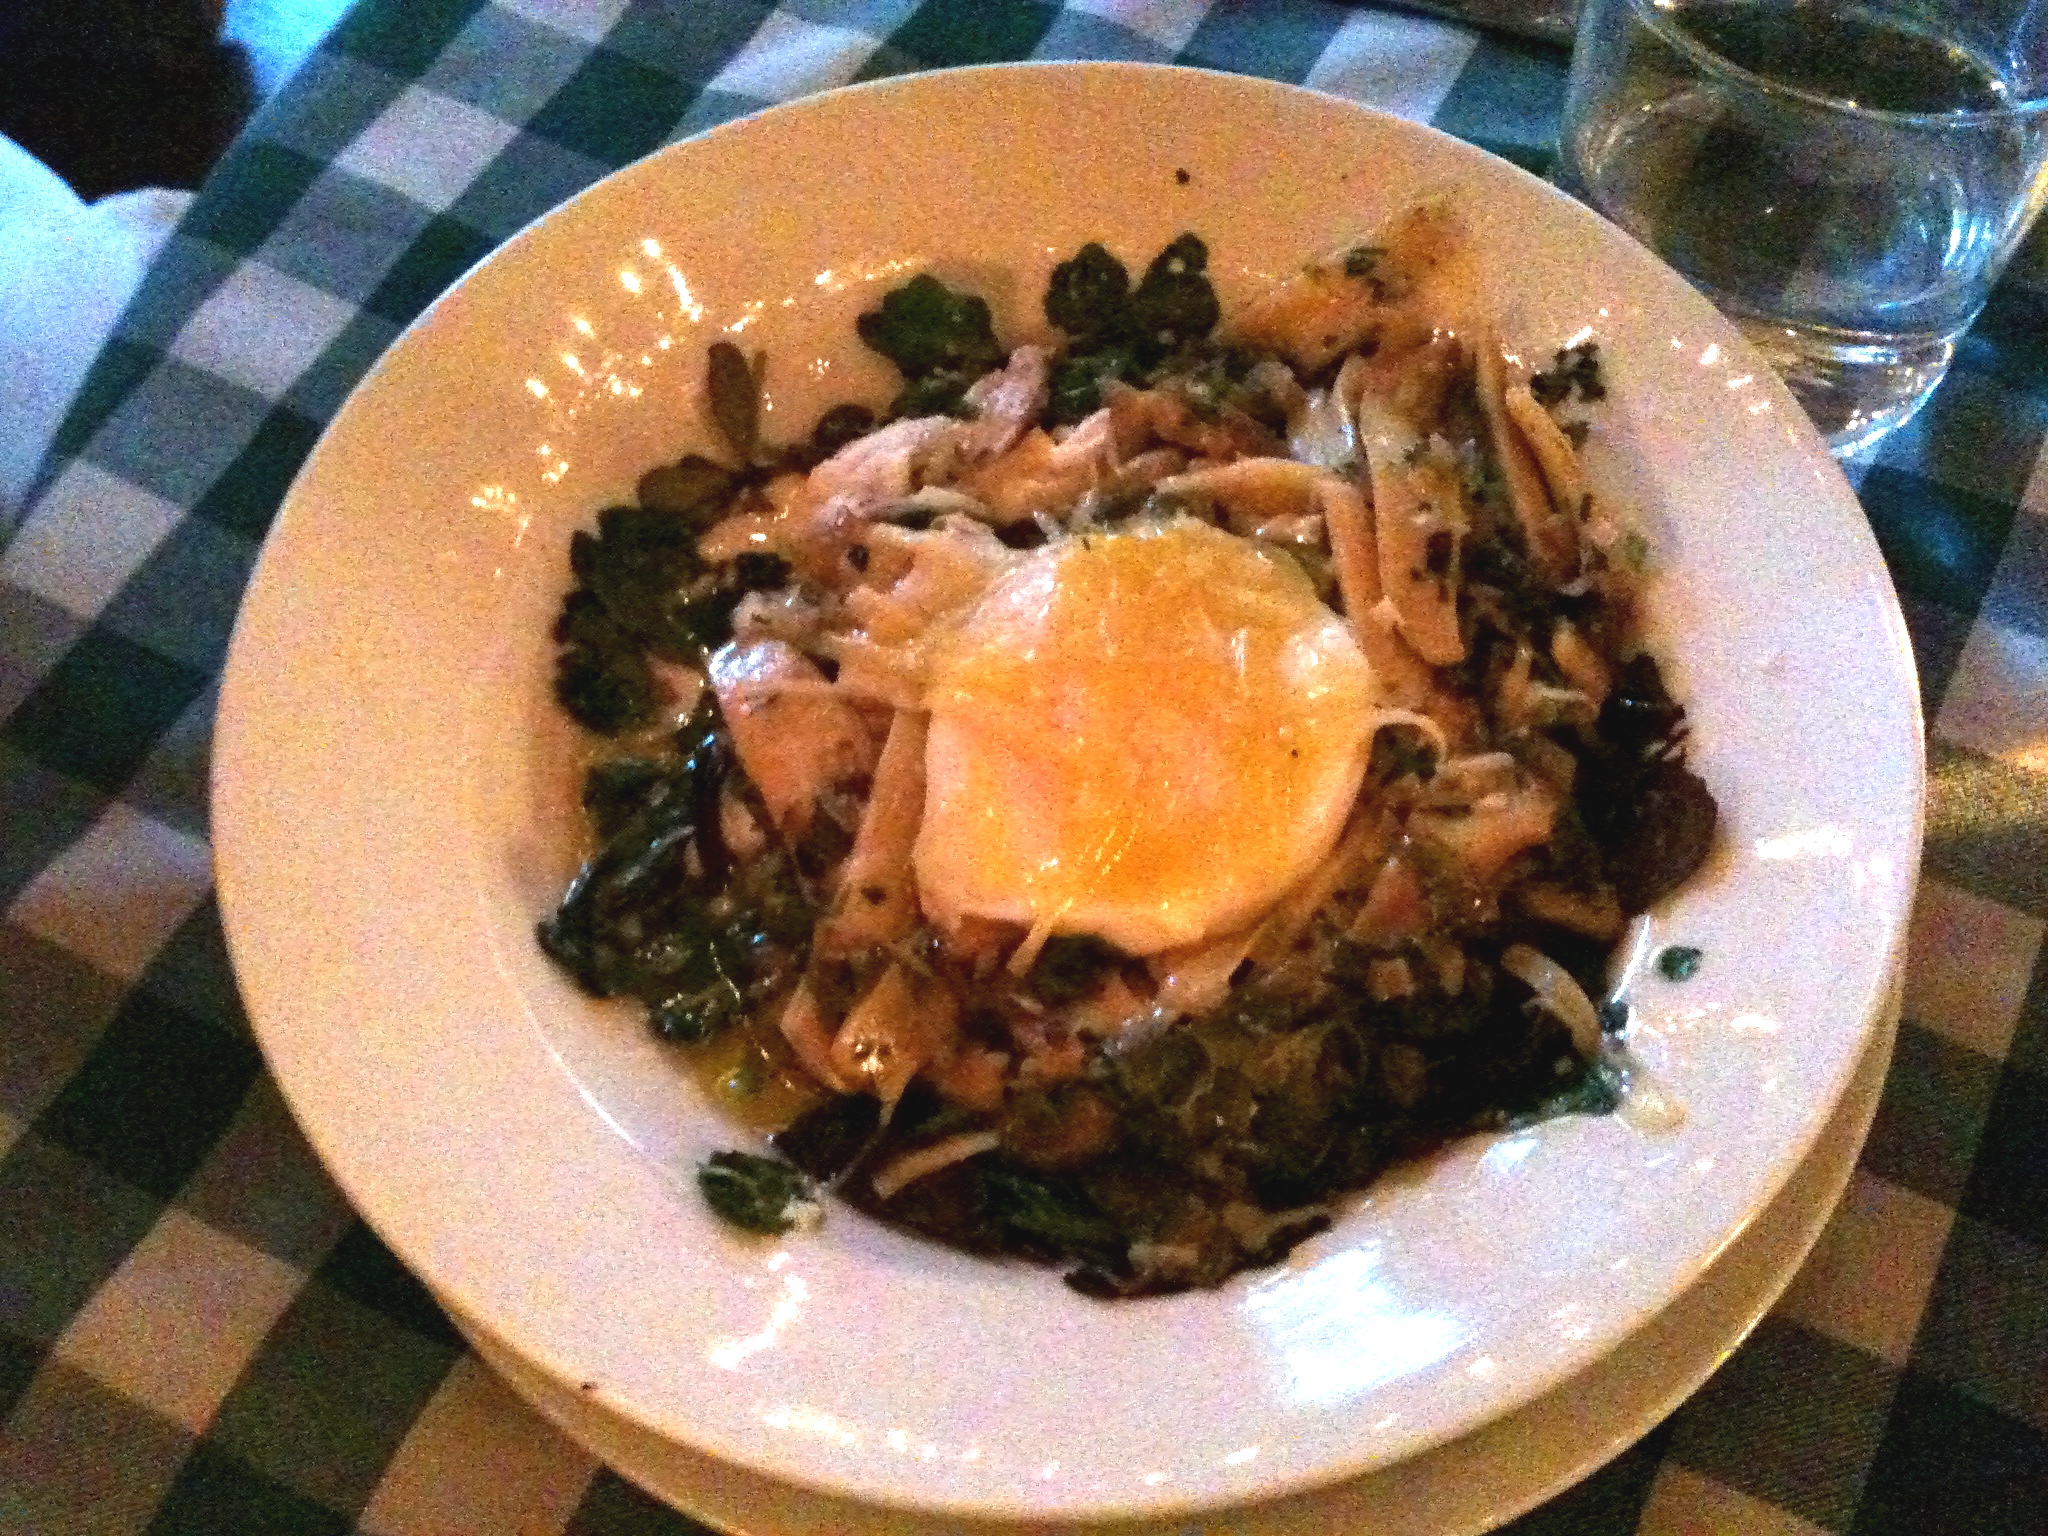
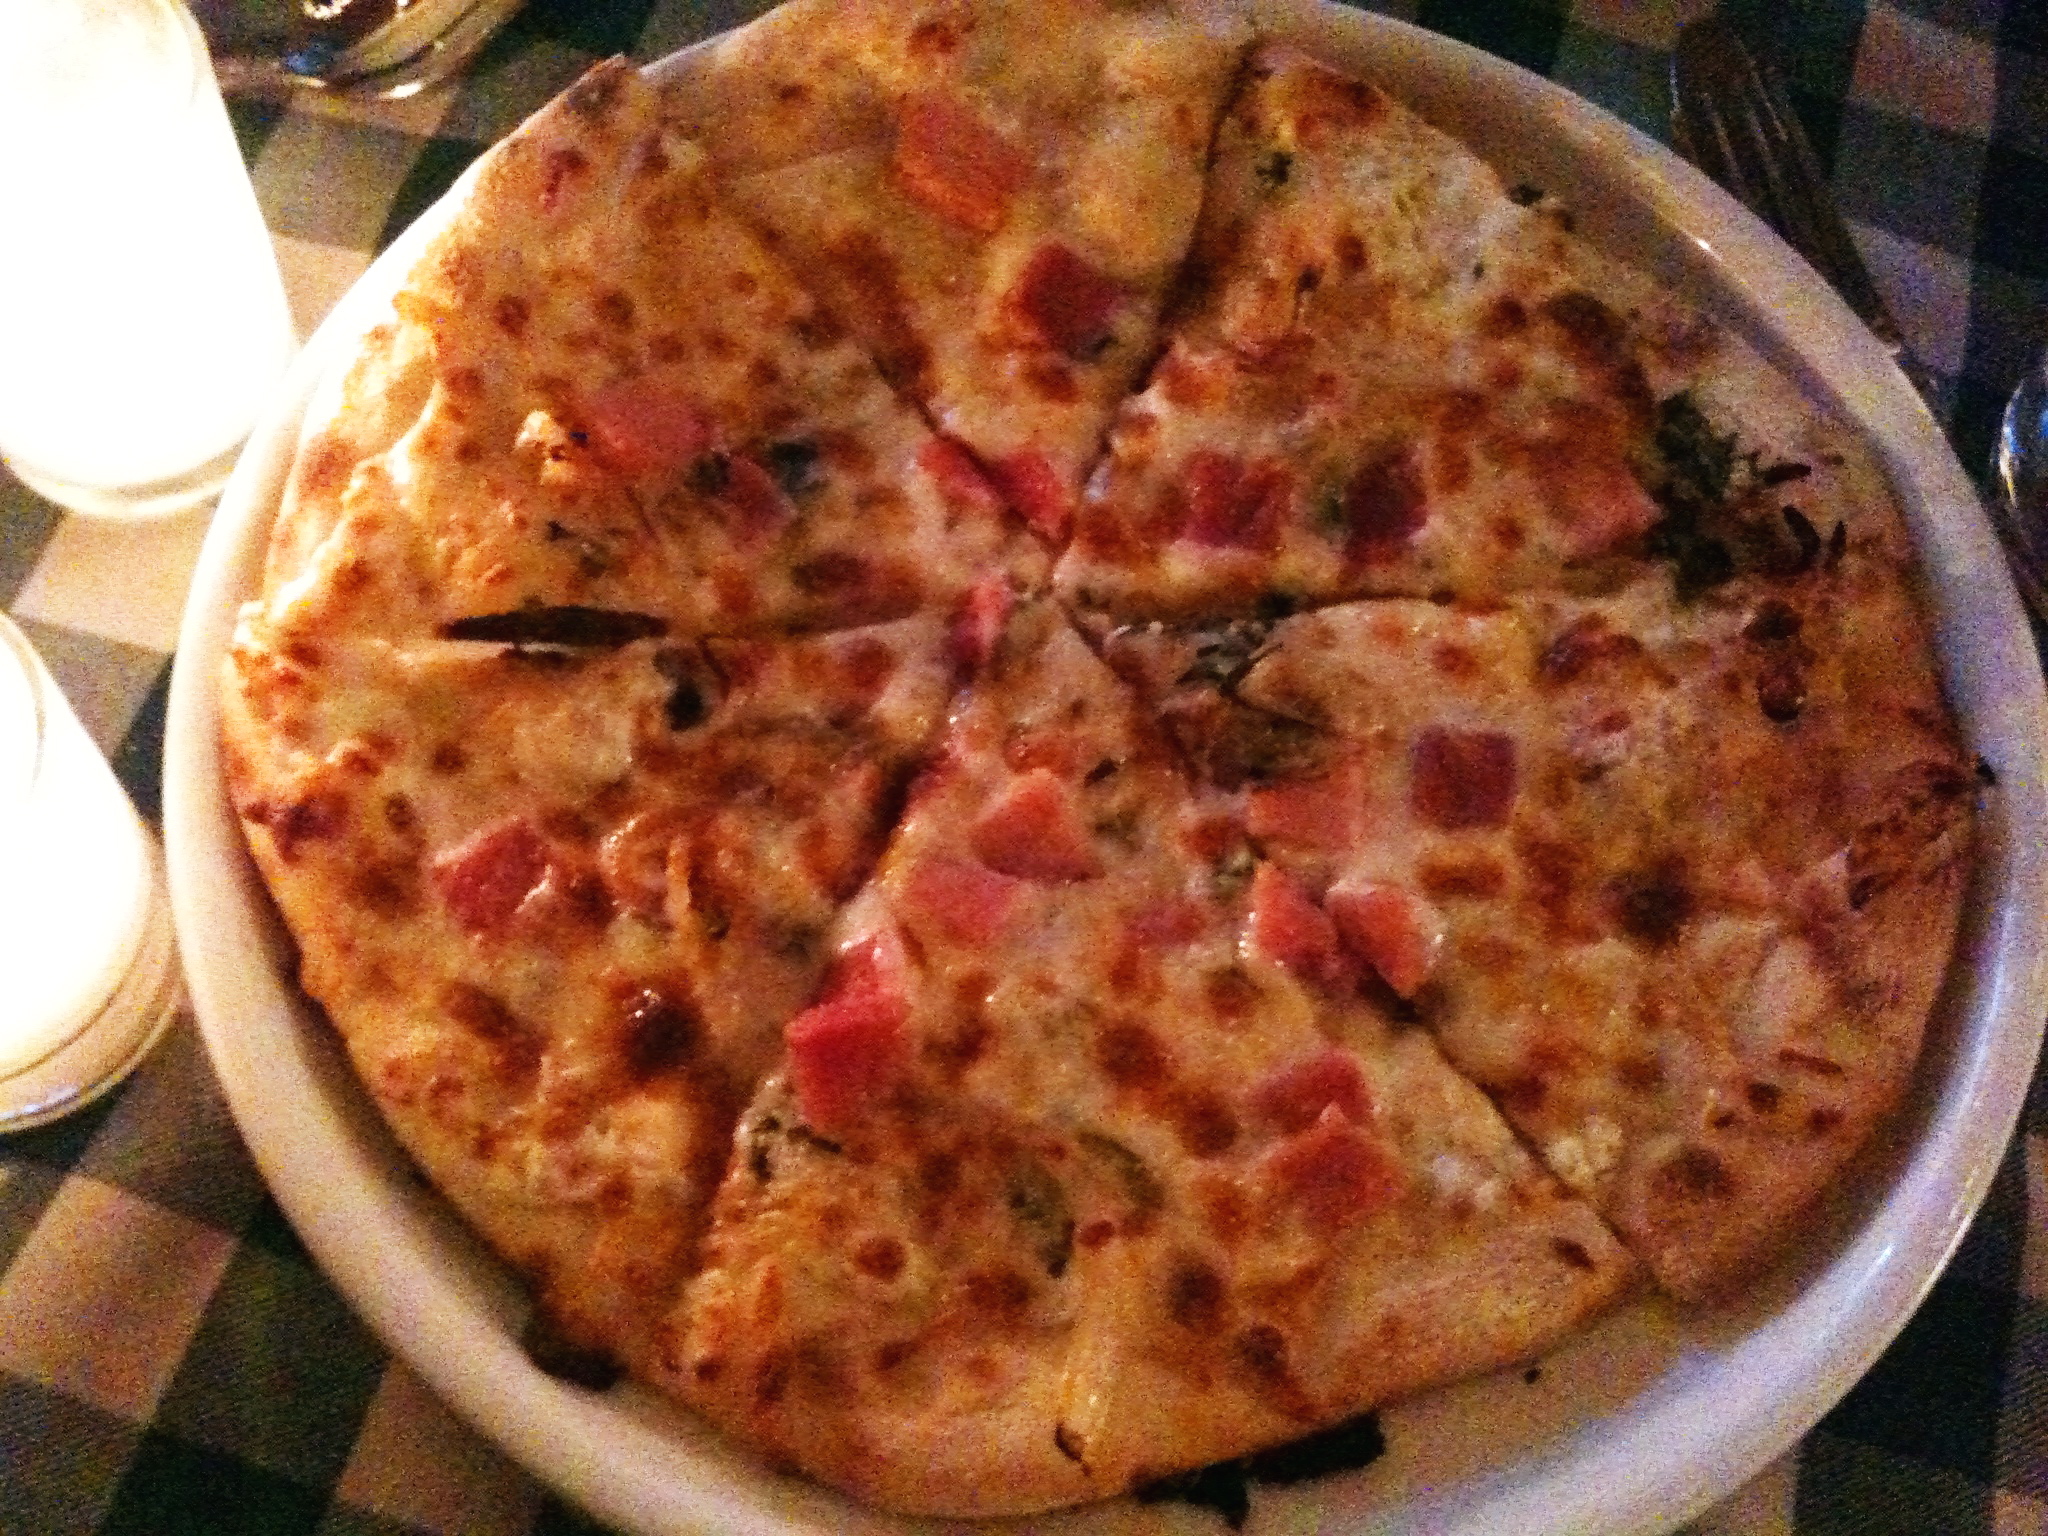
Eventually the road plunged downward again – still with the death-defying blind corners and 180-degree turns – and finally we found ourselves in a gravel “parking lot” full of pick-up trucks in front of a red painted wooden building with the Cachagua Store sign out front. I half expected to see an old guy with no teeth, wearing overalls, playing a banjo on the front stoop.The restaurant entrance was just a door at one end of the building with a flourescent “Open” sign, and we entered gingerly, not sure what to expect.What we saw was a room full of tables with checkered tablecloths and folding chairs, exposed beams, a moose I mean elk head on the wall (decorated with Christmas lights) at one end, an open kitchen at the other, and paper curtains on the windows.A band consisting of a guitar player and a percussionist were setting up in one corner. A wait staff of mostly young local girls was hanging out around the kitchen entrance. We arrived at 6 pm, and were told that the menu hadn’t even been printed yet – the chef was still finalizing some things. When it did arrive, it was an impressive two pages long – one whole page of starters and another of main courses.At this point the sun started to set, and the candle on our table wasn’t doing very much to help out the dim lighting in the room, so these photos are pretty low quality (I was using my iPhone). For starters, my uncle had beef tartare with tarragon ice cream and the most delicious tomato gazpacho I’ve ever tasted – it was deeply tomato flavoured, with a herby-infused oil drizzled on top. I don’t even like raw tomatoes but this was fantastic. Definitely one of the highlights of the meal.My aunt had a poached egg on top of sauteed greens and trumpet mushrooms that was also surprisingly delicious – she said it wasn’t at all what she expected, but she was really disappointed when it was all gone!I had a starter-size pizza with homemade mascarpone, ham, and caramelized onions.It was good, but not quite what I wanted. This whole meal, actually, was an instance where I did not do a very good job of ordering food for myself, which happens sometimes when there is just too much choice in a menu. It all tasted good and was prepared beautifully, but I felt like I would have enjoyed different dishes more. Oh well, a good excuse to go there again!

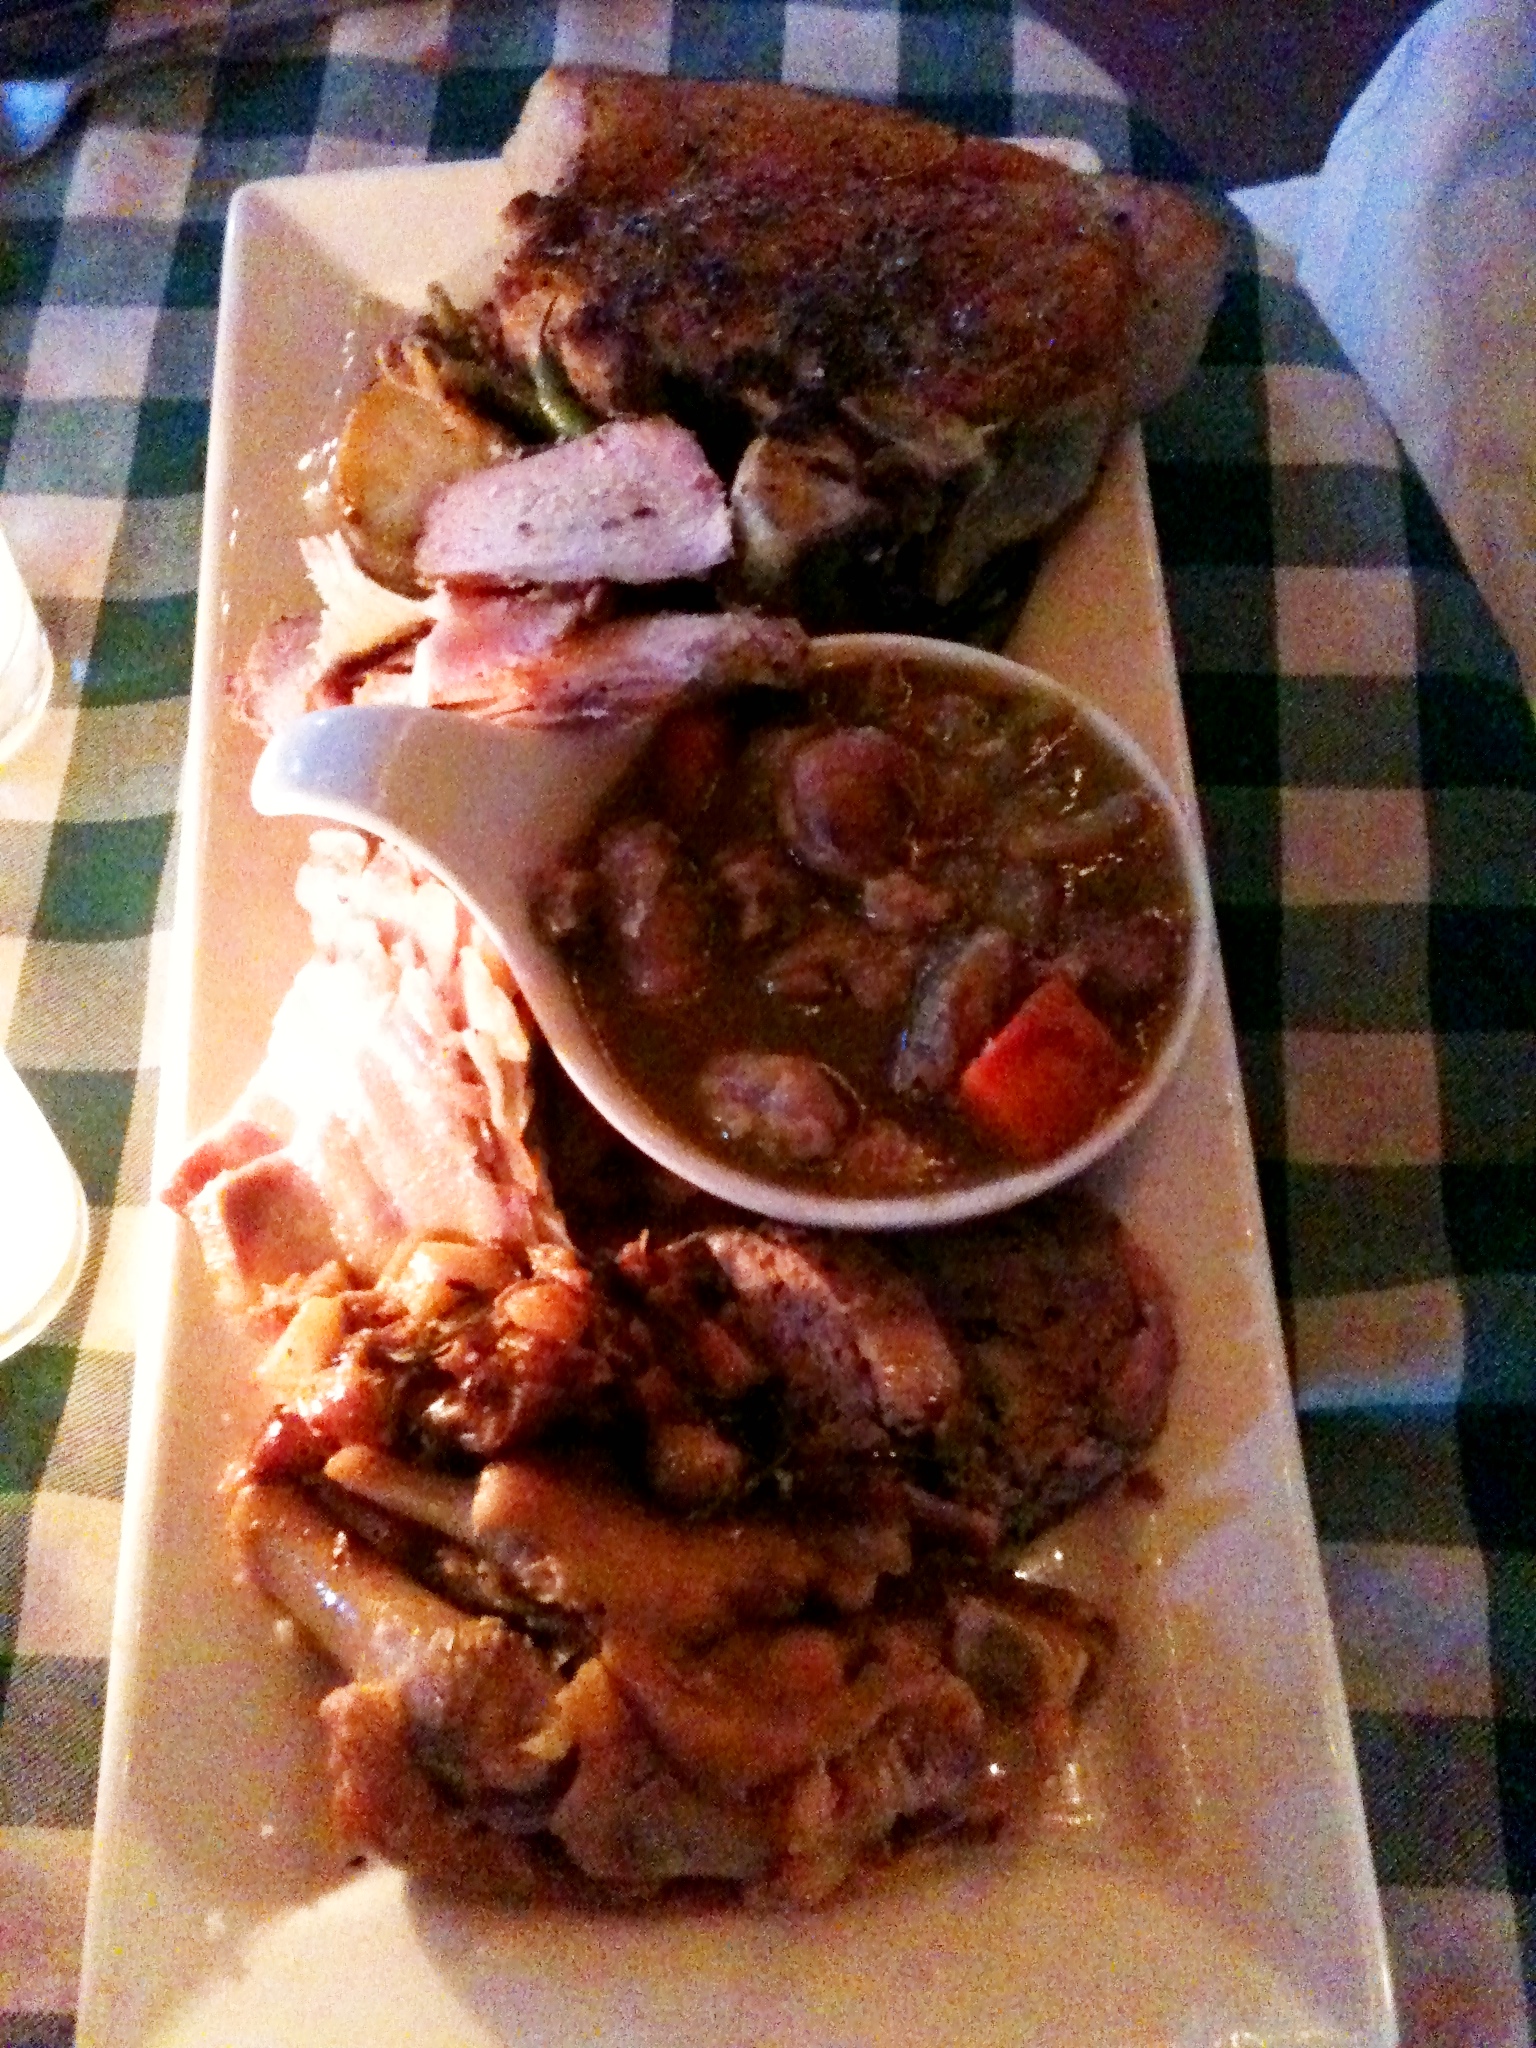
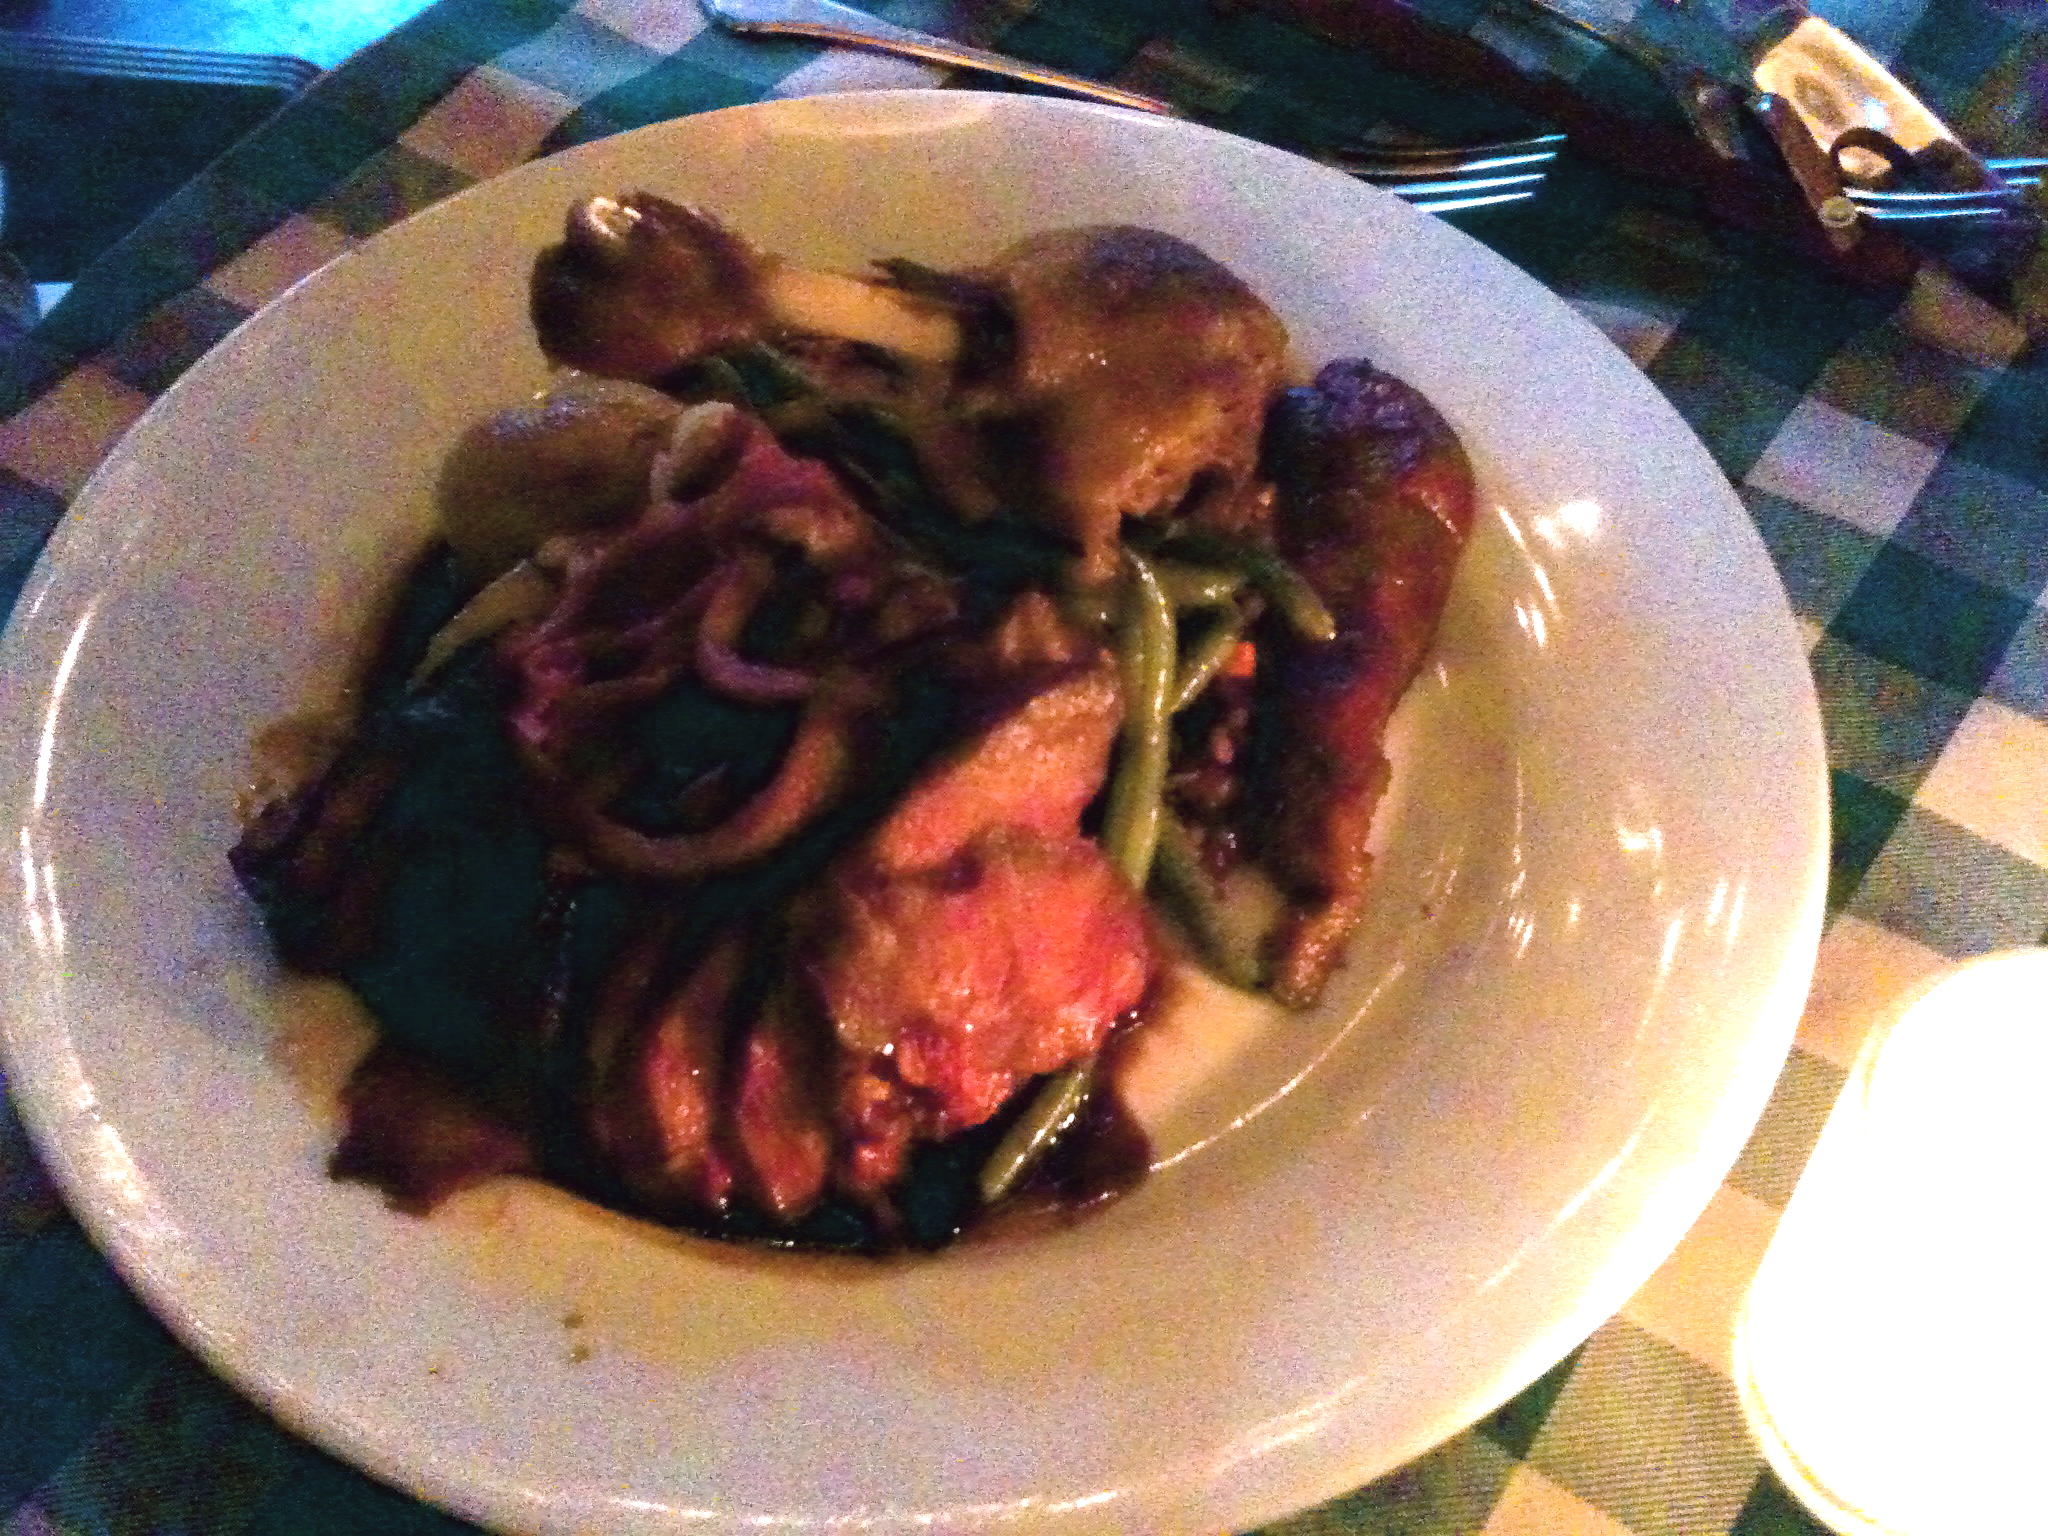
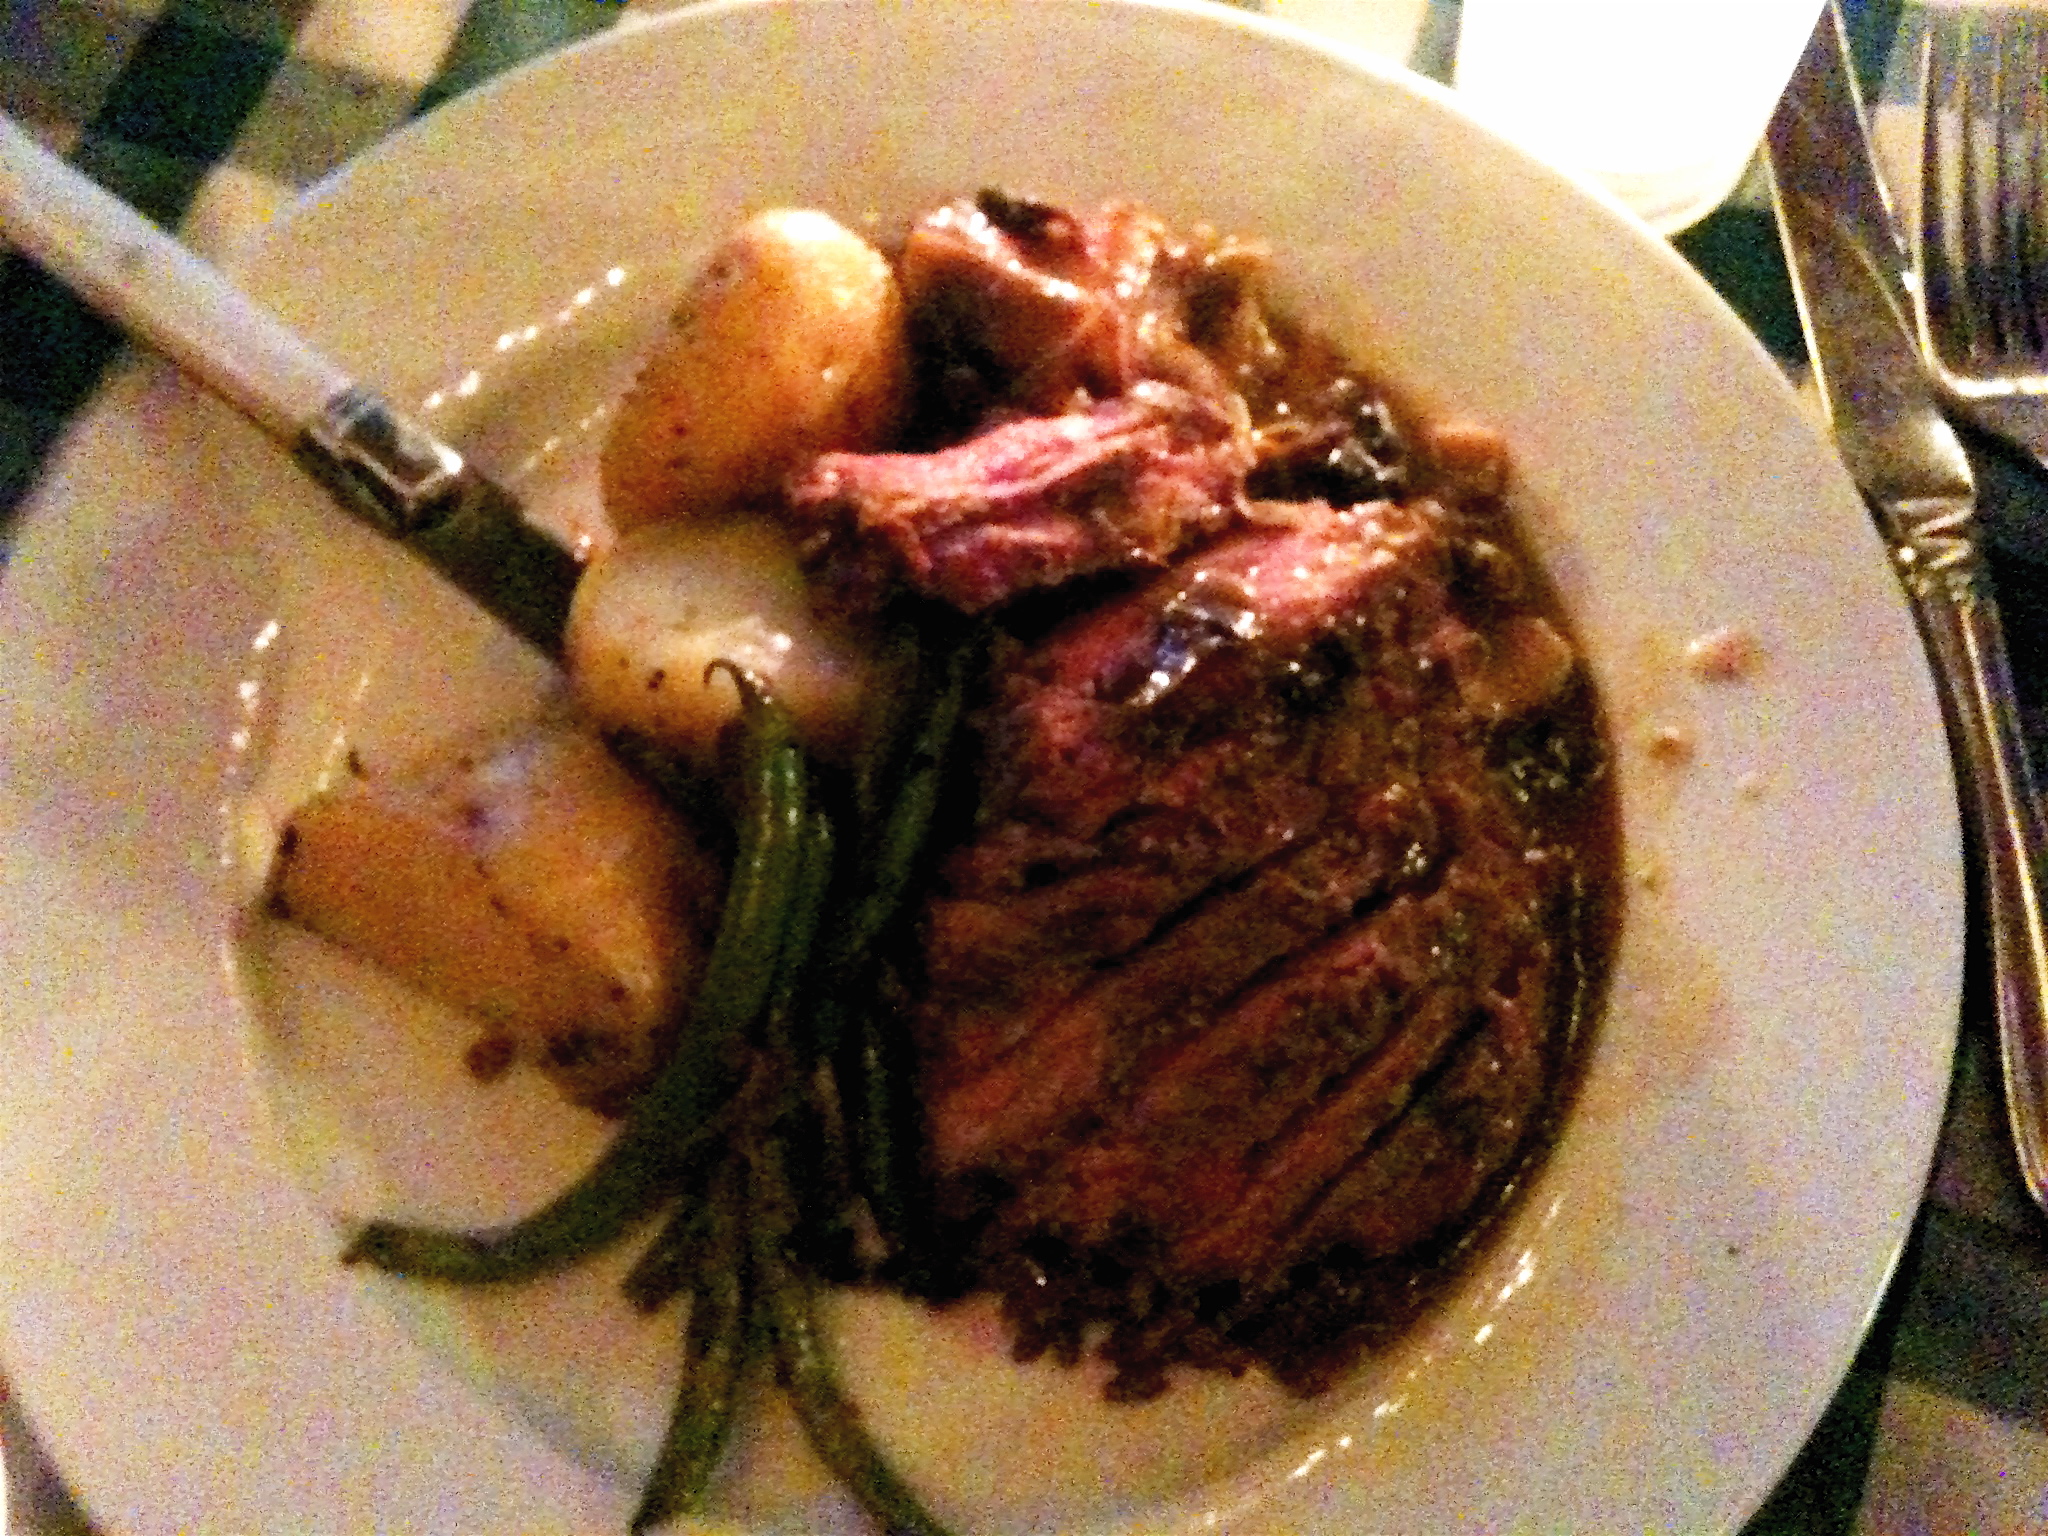
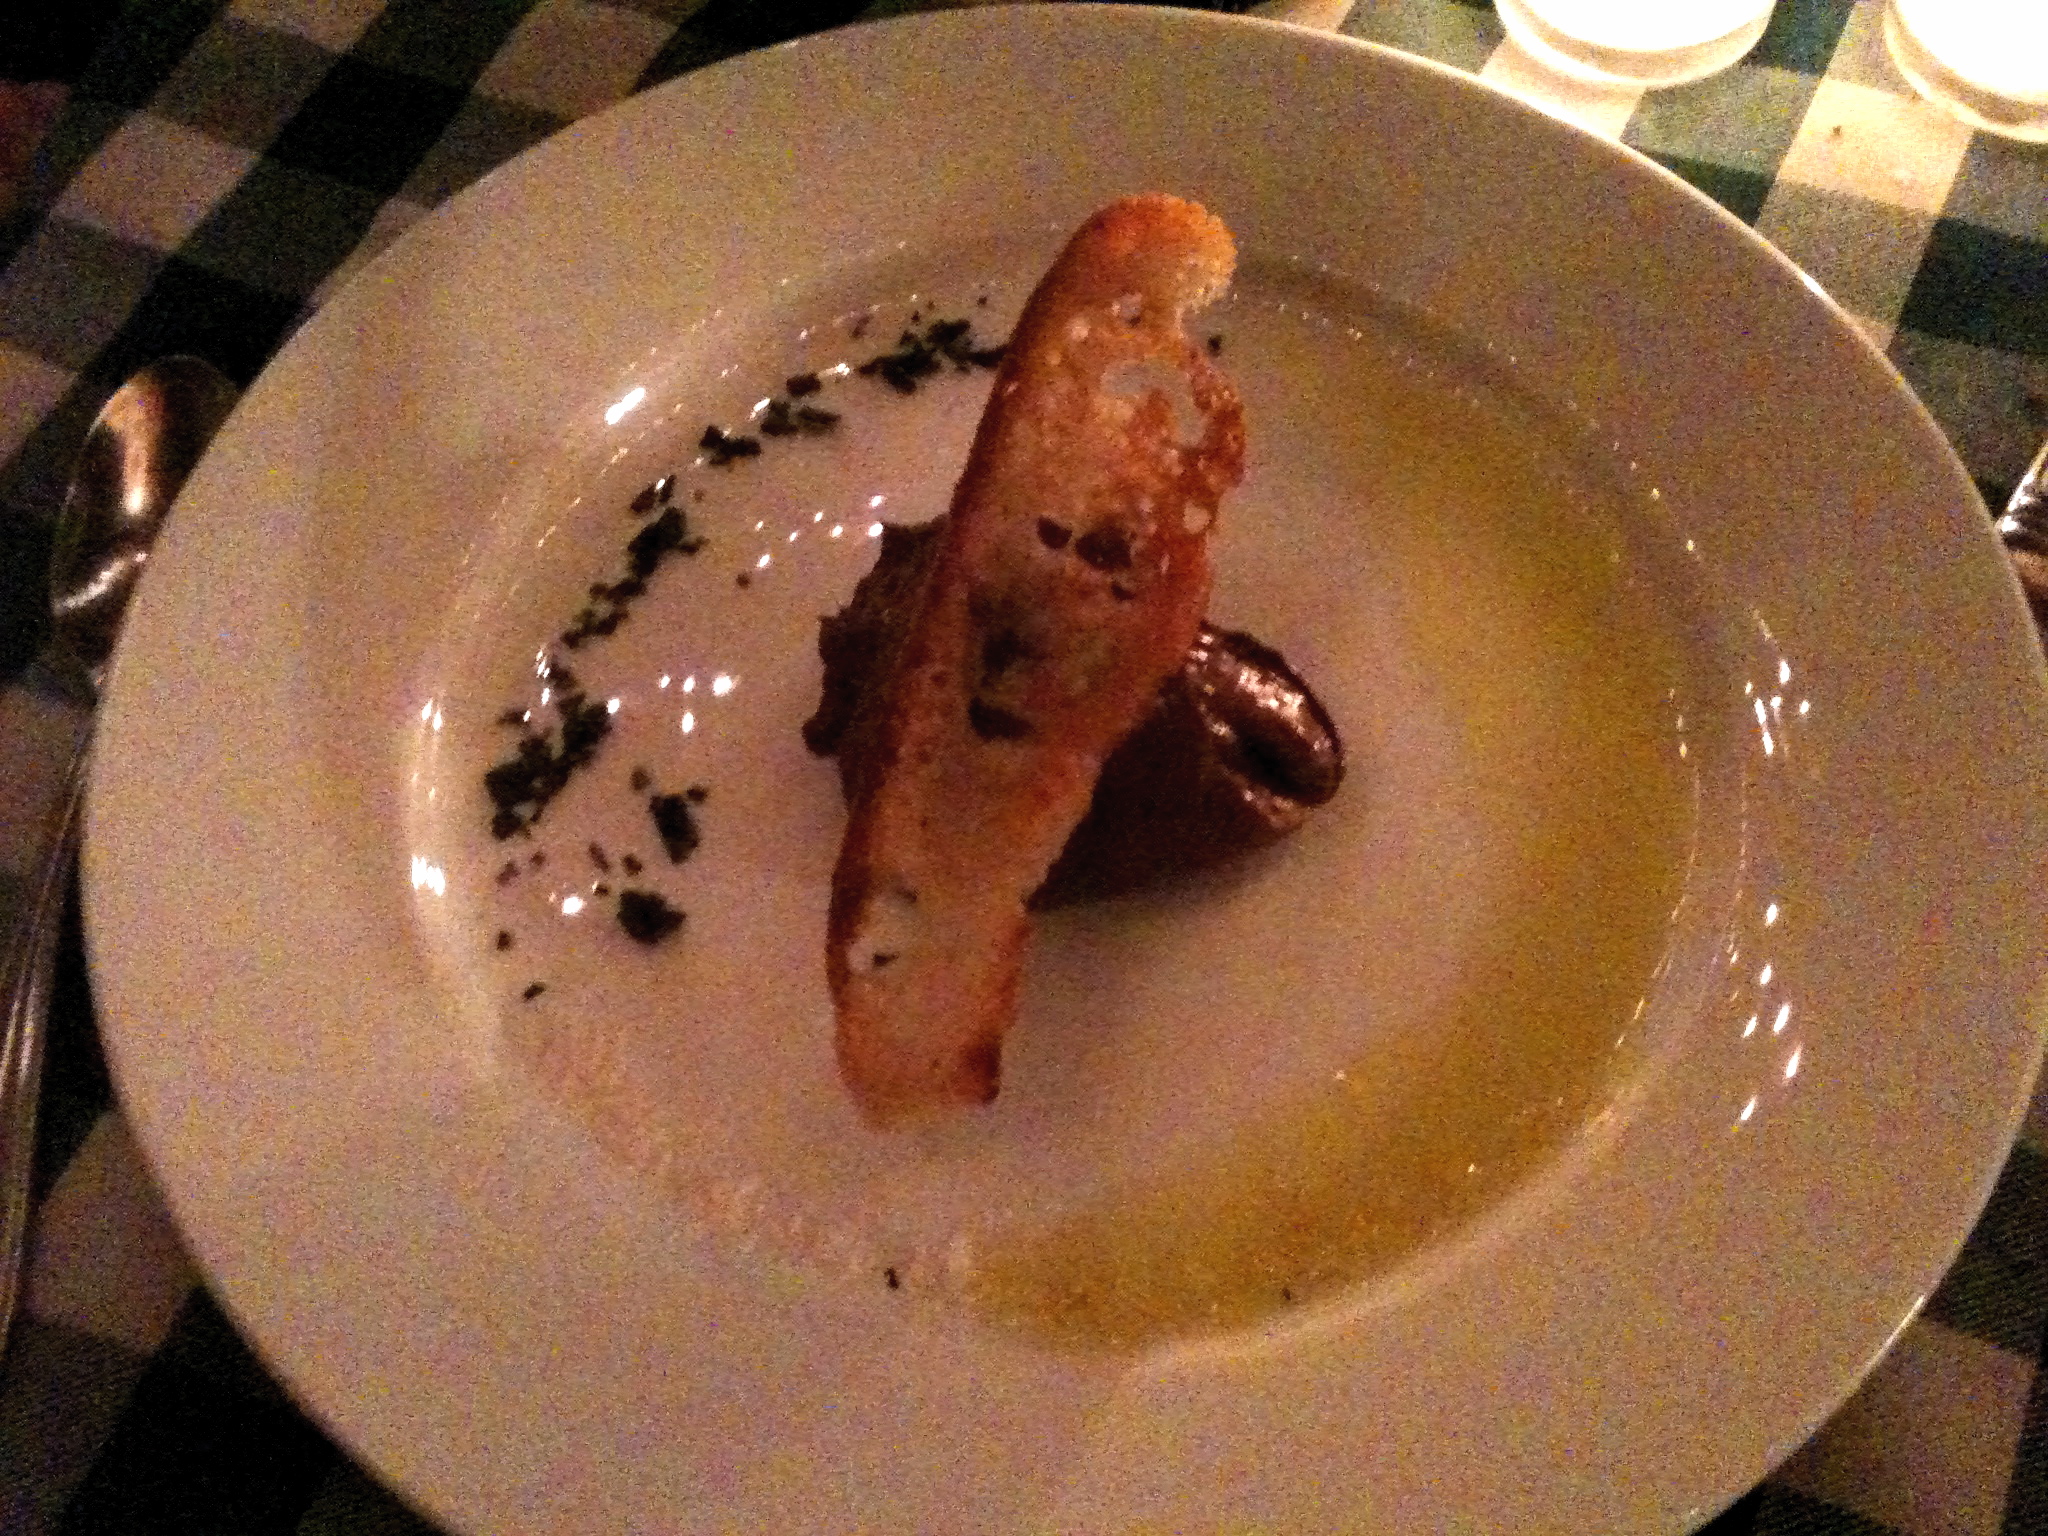
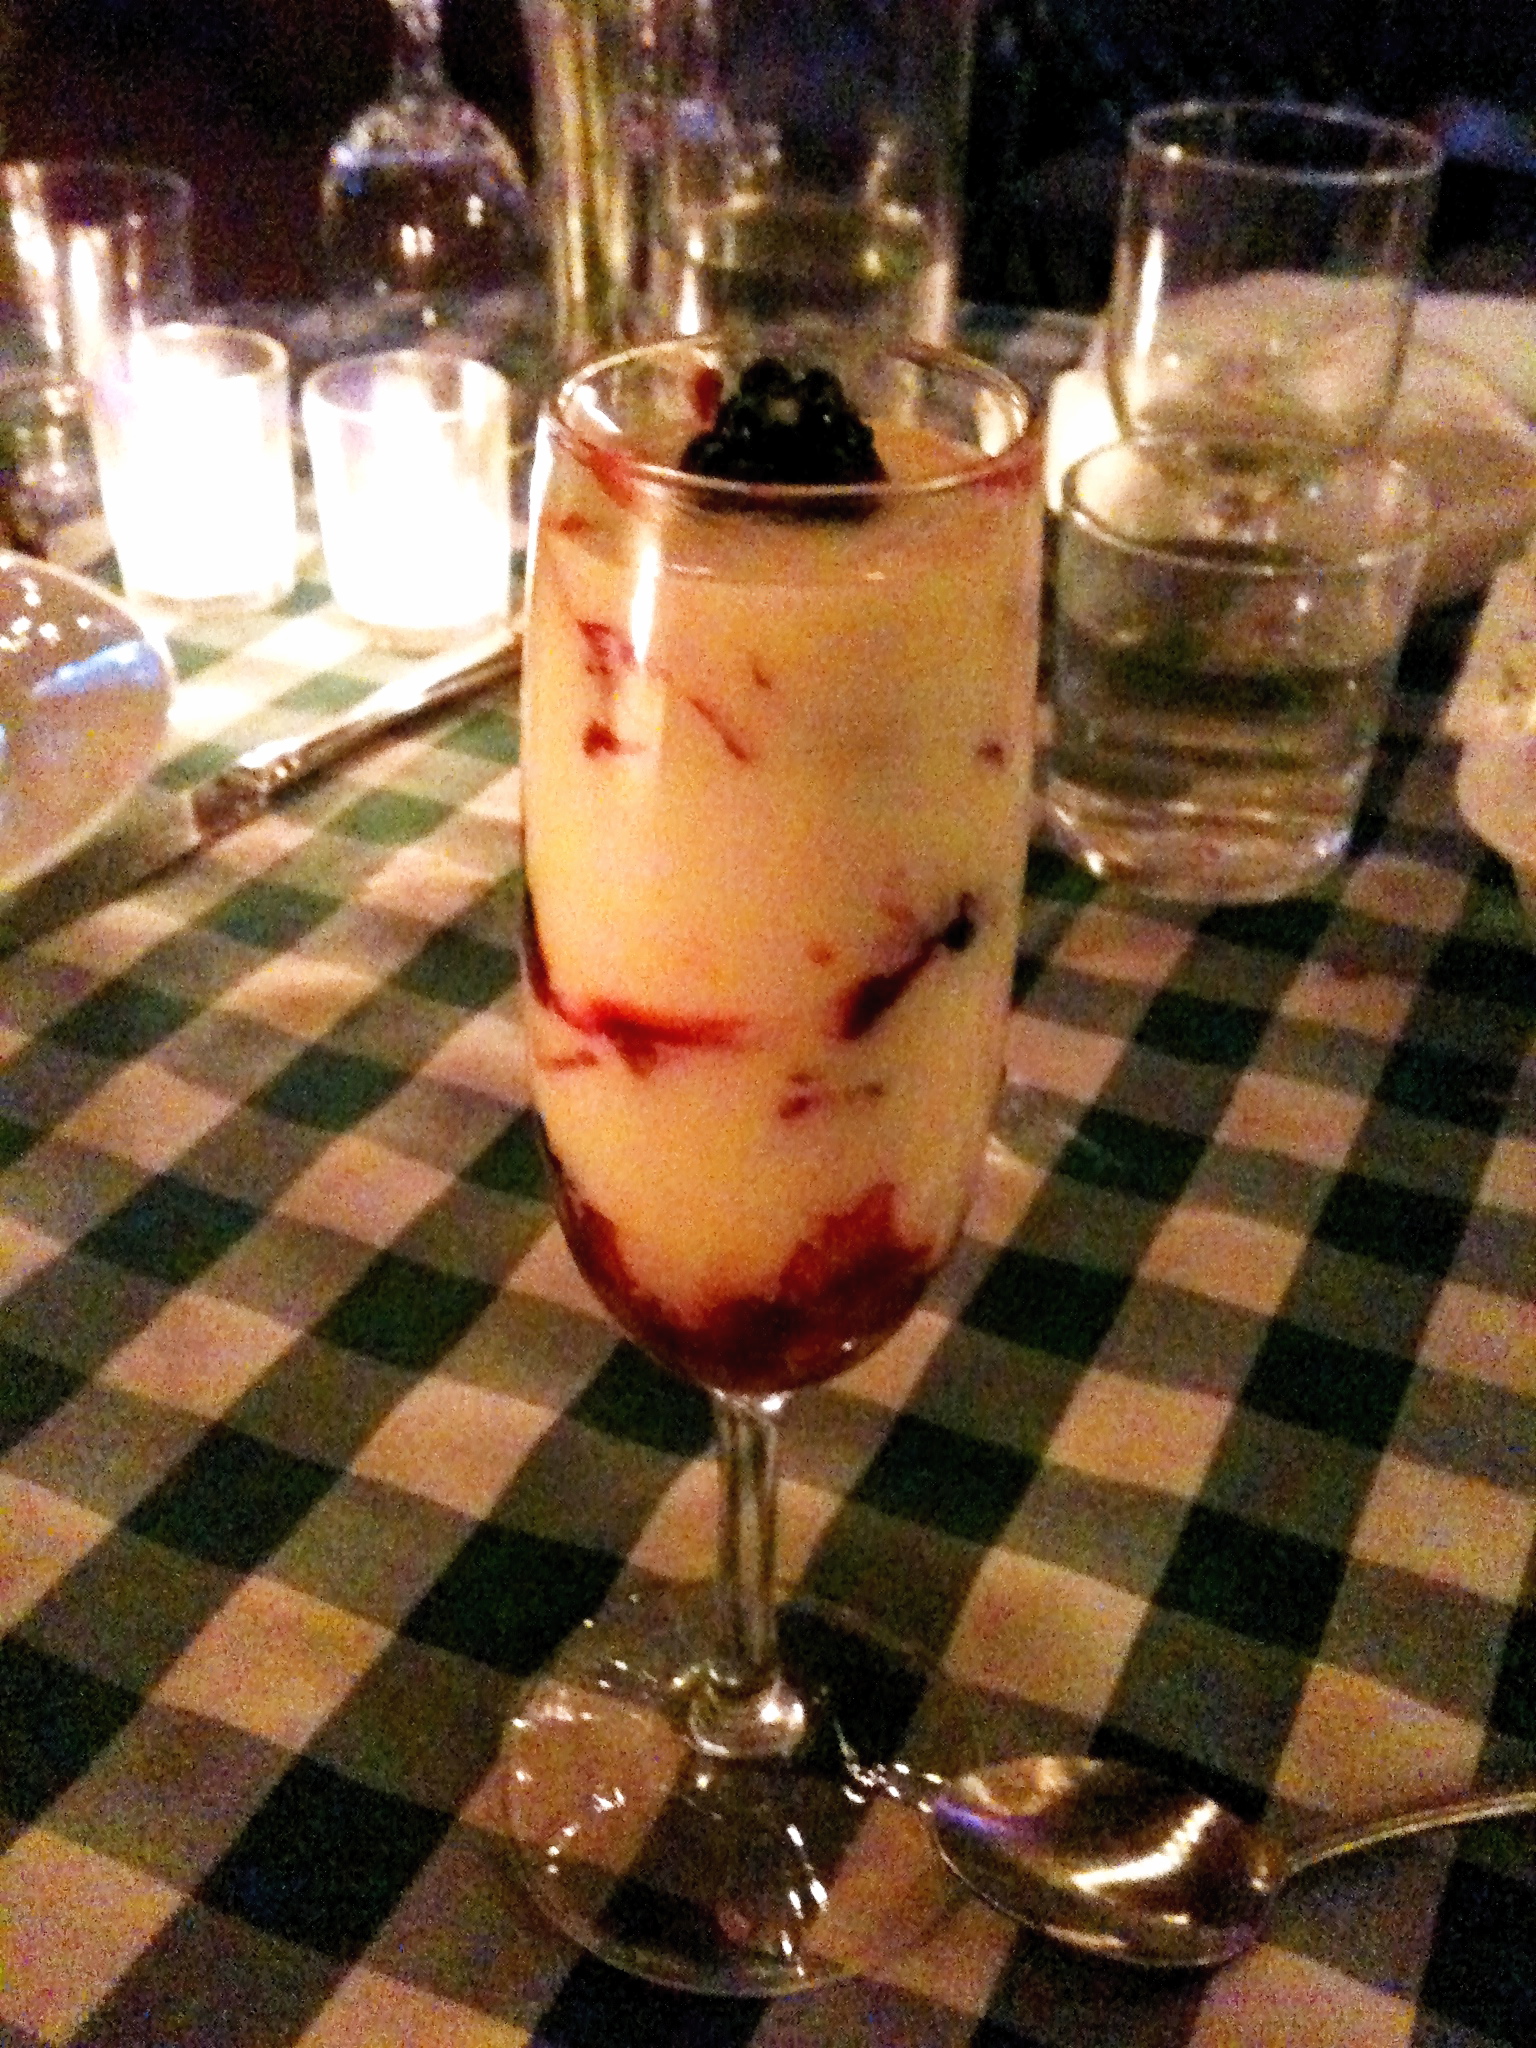
My uncle had pork done six ways for his main course: a pork chop, pork chili verde, pork belly, roast pork loin, trotters, and something else – maybe a pork sausage? I can’t remember. It was a lot of pork, to say the least, and he barely got through a third of it.My aunt had the duck – a seared breast and confit leg, which must have been really good because she was not very interested in sharing ;).I had Mesquite grilled skirt steak with a mushroom sauce. The flavours were good but I was really full from my pizza starter and I spent a lot of the meal being a little jealous of my aunt’s duck.My uncle opted out of dessert, but my aunt and I perused the page-long menu and finally decided on a dark chocolate mousse (her) and a white chocolate-berry parfait (me). The mousse came served with a crouton, olive oil drizzle, and two kinds of sea salt around the edge of the plate. Sounds weird, but the flavours of the oil and the salt played off the dark chocolate in an amazing way.Once again I had food envy – my parfait was  okay, but mostly just sweet (but it didn’t stop me from eating all of it!).Throughout the meal, the band played bluegrassy, countrified versions of popular songs with moderate success – they got considerably better after their first beverage break, so I guess they just needed to loosen up.The service was friendly, but slow and intermittent (the various wait staff went back and forth by our table almost non-stop, but paid us very little attention and we had to flag someone down each time we wanted to order). However it meant that there was ample opportunity for people-watching and you could tell everyone was having a good time, appreciating the food and slightly eccentric atmosphere.

So if you ever have the opportunity to drive into the middle-of-nowhere Carmel Valley, I recommend you do it on a Monday night so you can check out the Cachagua Store. If you’re open to an interesting food experience, you’ll enjoy yourself.

Filed Under: Eating Out, Restaurant Reviews Tagged With: Cachagua General Store, California, Carmel Valley, food, local food, restaurant

The Wedding Cake

August 30, 2011 By Korena in the Kitchen 14 Comments

To recap the journey thus far…

Wedding Cake Dilemma

Wedding Cake Trial

Cake for 60

Cream Cheese Swiss Meringue Buttercream: an Exercise in Perseverance

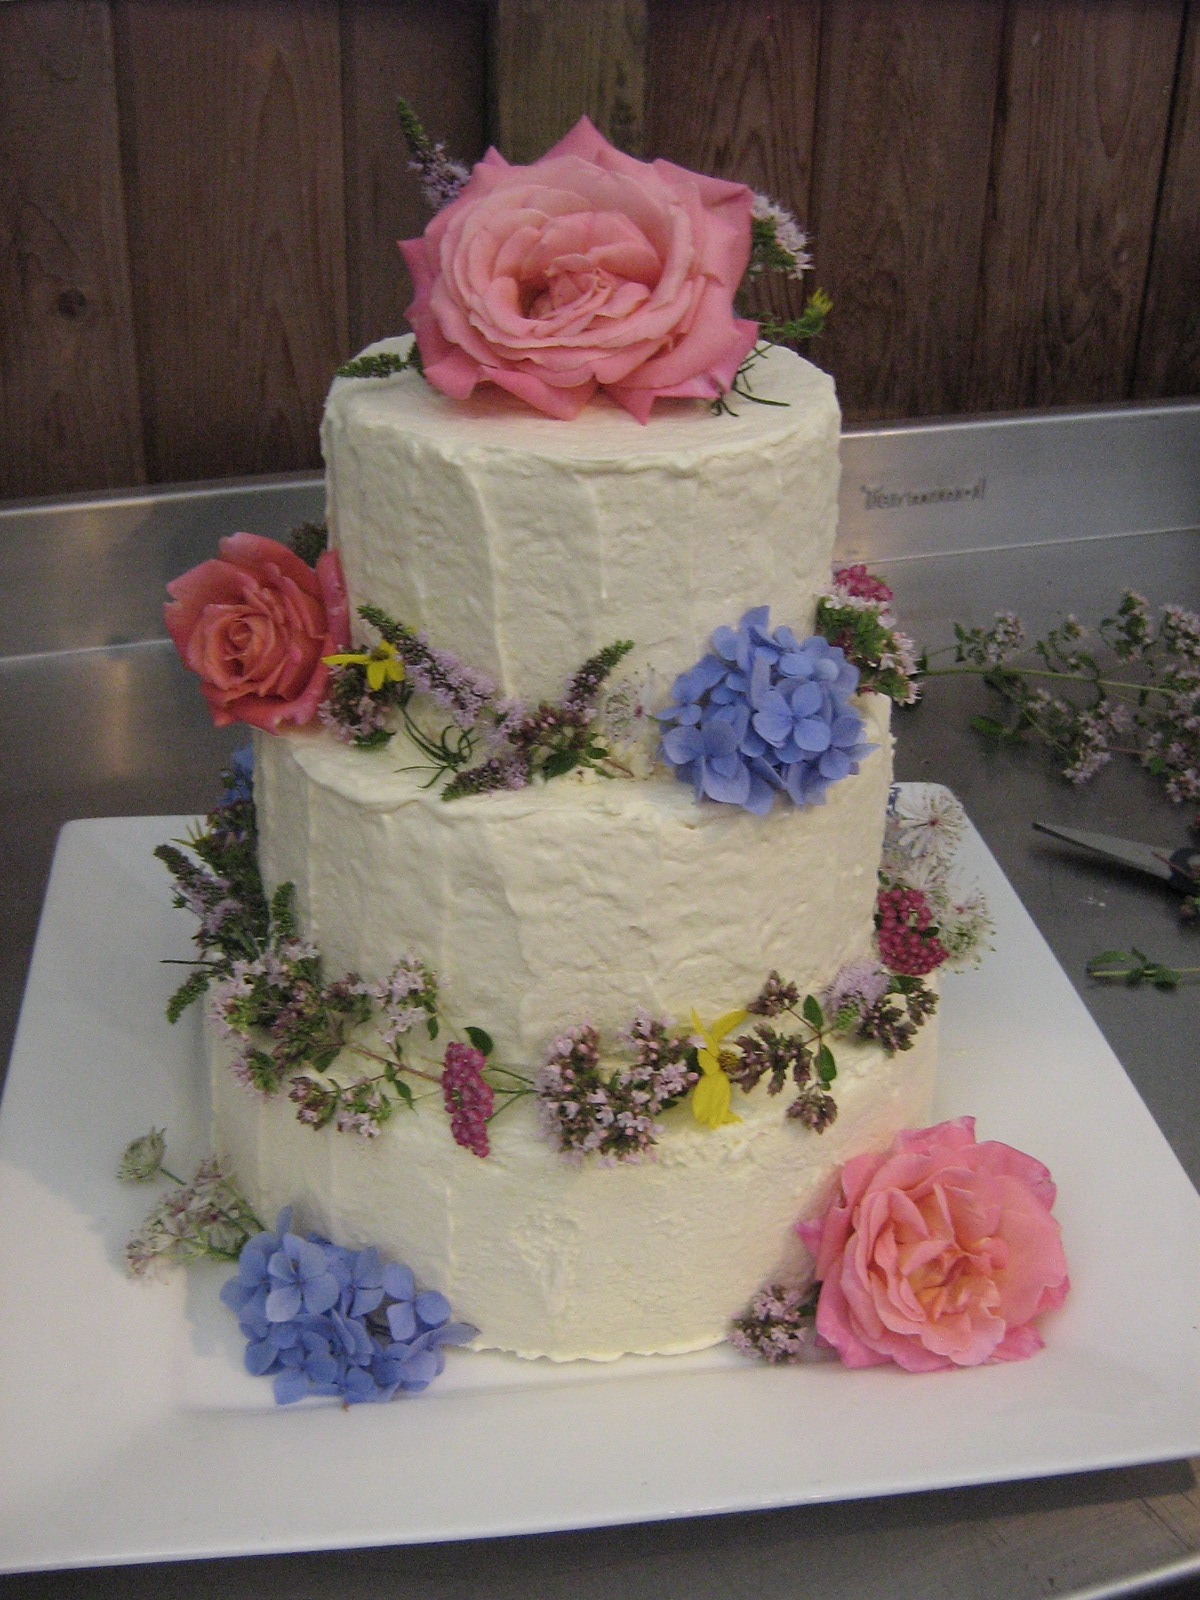
A few days before the wedding, I took the frozen cakes, icing, and all other bits over to Vancouver, then layered/filled/frosted the individual cake tiers at my grandparents’ house the day before the wedding. The morning of the wedding I recruited Lynette to babysit the cakes in the back seat of the car as I drove carefully across town (thank goodness it was cool in the morning and there was very little traffic!), where I assembled and decorated the cake at the wedding venue (The Beach House Restaurant in West Vancouver, overlooking the water – beautiful!). The whole time I was praying that the cursed frosting wouldn’t melt off the sides of the cake, but despite all the trouble it gave me, it held up just fine (even after sitting out unrefrigerated for several hours during the wedding reception) and tasted fantastic. However, it was so impossible to work with that I will not be using that particular frosting recipe again. 🙁

In the end, the cake as a whole turned out beautifully and it was delicious – and it didn’t melt or fall over or anything! I was hoping to get some pictures from the wedding photographer of the bride and groom cutting the cake (during which I had my fingers AND toes crossed and a horrible grimace on my face because I was terrified the whole thing would collapse!) but apparently the photos might be a while, so a) stay tuned! and b) I don’t have any pictures of what the inside looked like – but just know that this was a lemon cake with raspberry jam filling (a very easy, very delicious freezer jam – I used half a batch to fill the cake) and the-most-frustrating-but-nonetheless-delicious cream cheese Swiss meringue buttercream frosting, and everyone agreed that it tasted wonderful. 🙂

I got most of my wedding cake assembly tips from my trusted friend Martha, and some frosting tips from Zöe Francois’ blog post and video on frosting a cake. I would highly recommend a revolving cake decorating stand for easy frosting, as well as a large offset spatula – these were the two most useful tools I used….

Read More »

Filed Under: Cakes & Pies, Recipes Tagged With: baking, cake, dessert, food, Markianna's wedding, wedding, wedding cake

Daring Bakers: Chocolate and Candy!

August 27, 2011 By Korena in the Kitchen 15 Comments

The August 2011 Daring Bakers’ Challenge was hosted by Lisa of Parsley, Sage, Desserts and Line Drives and Mandy of What the Fruitcake?!.  These two sugar mavens challenged us to make sinfully delicious candies!  This was a special challenge for the Daring Bakers because the good folks at http://www.chocoley.com offered an amazing prize for the winner of the most creative and delicious candy!

Did I mention that right now, Nate and I have sworn off refined sugar six days a week? Oh man, this challenge came at the wrong time! But it was also so, so right…

The premise of this month’s challenge was to have all us Daring Bakers learn to temper chocolate, and then use it in our candy creations. To temper chocolate, you heat it, cool it, and heat it again to specific temperatures in order to create small, uniform crystals of cocoa butter in the chocolate so that it stays nice and shiny when it hardens and has a good snap when it breaks. It also gives a thin, even coating to things like dipped candies. Untempered chocolate will have a mottled, dusty look when it hardens, and will crumble rather than snap cleanly when broken. For chocolate making, couverture chocolate is the gold standard – this is chocolate with a high percentage of cocoa butter that, when tempered properly, results in a shinier, snappier, mellower finished chocolate. Lisa and Mandy provided chocolate tempering instructions plus a ton of chocolate and non-chocolate candy recipes, and to be eligible for the Chocoley contest, we had to make two kinds of candy: one chocolate, and one of our choice (chocolate or otherwise).

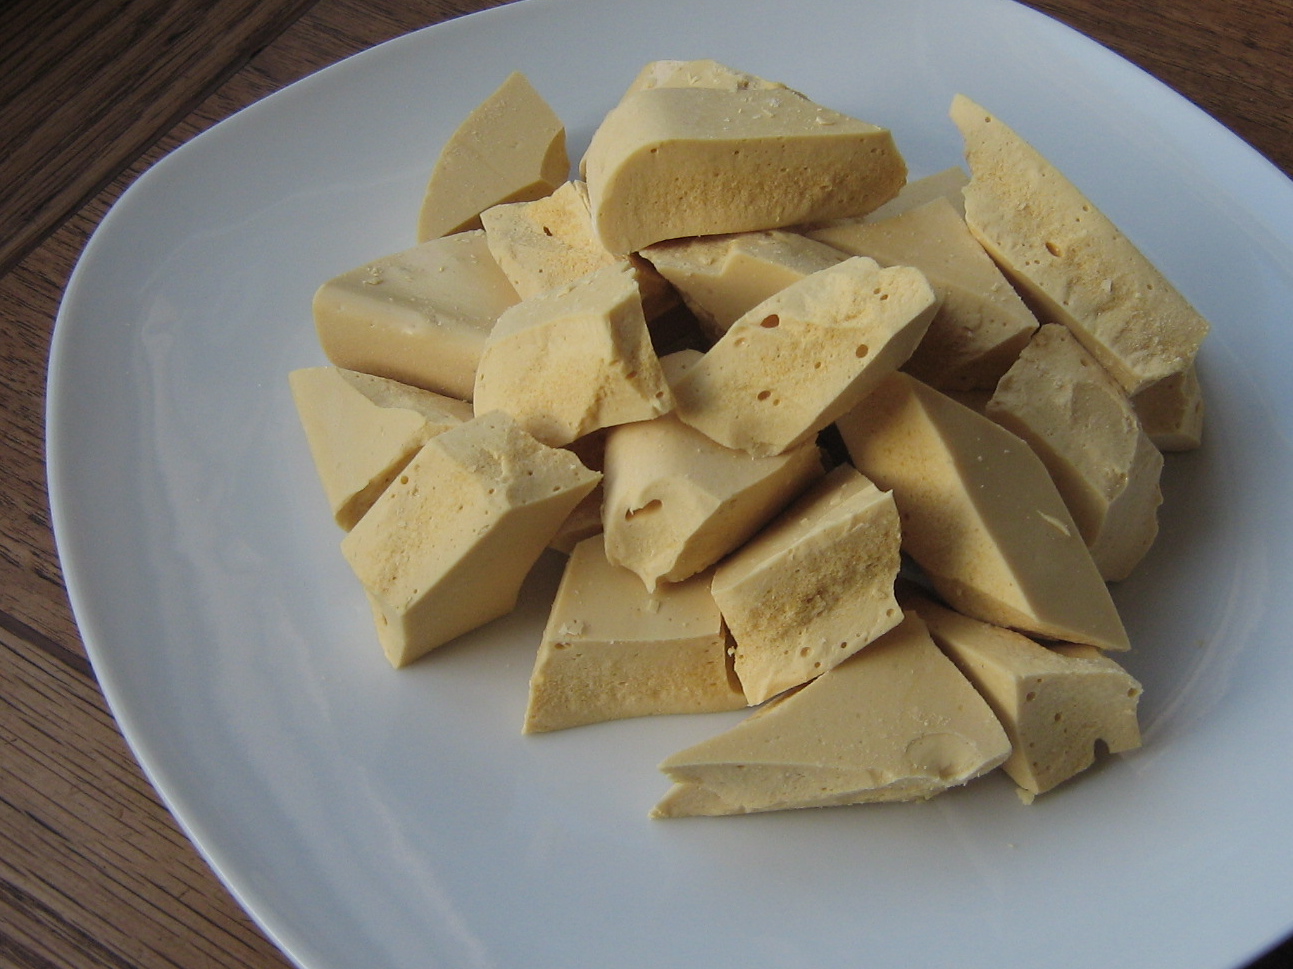
I started out with a non-chocolate candy: sponge toffee.…

Read More »

Filed Under: Chocolate, Daring Bakers / Daring Kitchen Challenges, Other Baked Goods & Sweets, Recipes Tagged With: candy, chocolate, Daring Bakers, Daring Bakers Challenge, food, ganache, recipe, tempering chocolate

Banff Cobbler

August 23, 2011 By Korena in the Kitchen 3 Comments

Yesterday was my first day back at work after four months off, and in answering the inevitable “what did you do this summer?” question several times, I realized that I had a jam-packed summer: a ten-year high school reunion, a trip to California, a concert in Vancouver, a stagette and two weddings (the wedding cake post is coming, I promise!!), and a road trip to Banff, Alberta, with Lynette – not to mention a ton of cooking and baking in between it all. No wonder it’s been a while since my last post!

The Banff road trip was an almost-2000 kilometer round trip across British Columbia and into the Rocky Mountains to visit our friend Tangle and her boyfriend Tyler.

Banff is really beautiful, even without the fancy iPhone camera filter

It was a beautiful drive (but looooong), and the visit was full Disney musical singalongs, mountain climbing, picturesque views, and great food courtesy of Tyler.

Dinner one evening

Breakfast the next morning (notice the icing sugar heart!)

On our last day there, we picked up some raspberries and blackberries at the Farmer’s Market, and the fruit guy threw in a slightly bruised peach for free. Another friend gave us some more raspberries from his garden (of both the red and pale yellow “Champagne” variety), and we decided that we needed to make some kind of berry dessert. Quite frankly, I was dying to get into the kitchen myself, and my uncle had sent me a link for a berry cobbler that I wanted to try, so I eagerly volunteered to make a raspberry-blackberry-peach cobbler as the dessert course to our meal of elk and bison steak.

A cobbler is sort of like a crumble, only the topping contains an egg and baking powder along with the flour, butter, and sugar, so you end up with a layer of cookie-crossed-with-biscuit on top of the fruit. The filling is just fruit and sugar but it thickens up during baking so that you end up with juicy (but not runny) fruit topped with a buttery, sugary, crisp pastry. The only thing that would have made it better was a scoop of vanilla ice cream or a drizzle of heavy cream. My advice is to make and eat this RIGHT NOW – it’s perfect for all the fruit and berries in season!…

Read More »

Filed Under: Fruit, Other Baked Goods & Sweets, Recipes Tagged With: baking, Banff, blackberries, cobbler, cooking, dessert, eating, food, fruit, peaches, raspberries, recipe

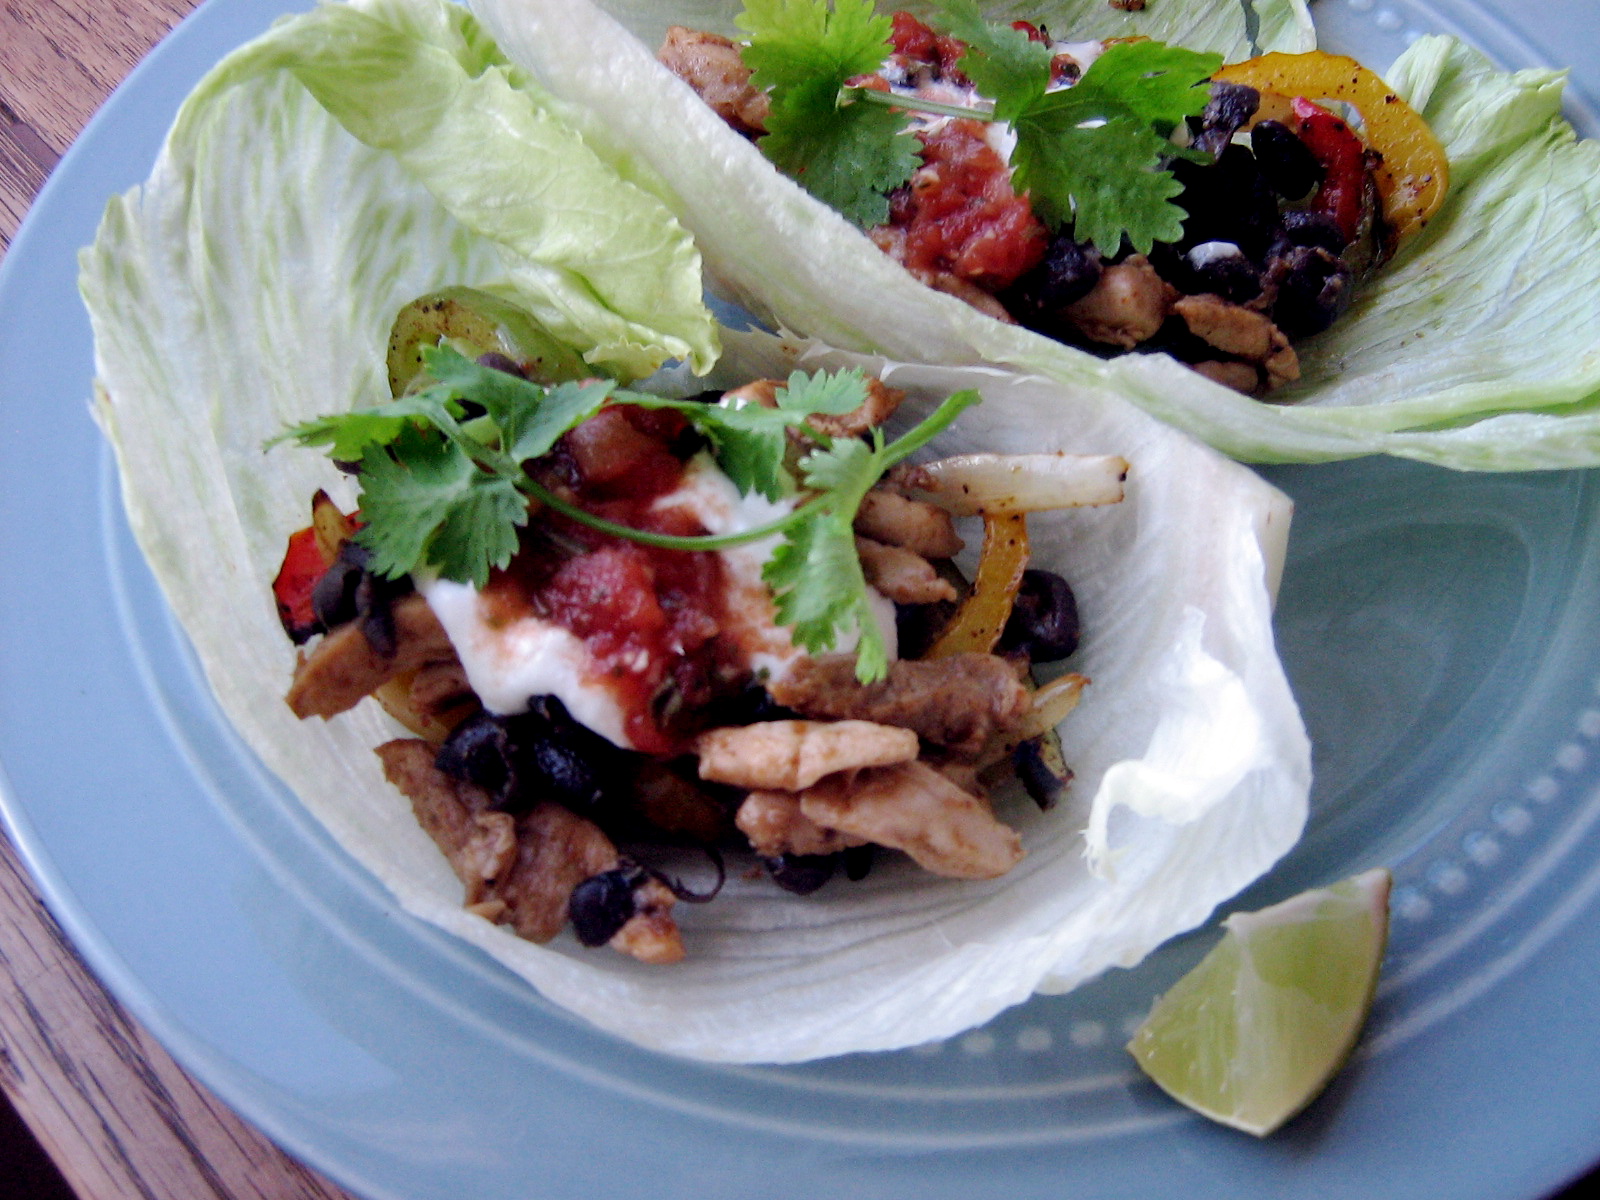
Chicken Fajita Lettuce Wraps

August 12, 2011 By Korena in the Kitchen 3 Comments

Nate and I have recently sworn off sugar and starchy refined carbs six days a week, with a cheat day on Saturday (you certainly would not guess this based on the amount of sugary, cakey recipes that I’ve been posting lately, but that’s precisely why we’re doing this!). It hasn’t been as difficult as I thought it would be; it just means reinventing some recipes, mostly by adding more vegetables. Fajitas are an easy one – you replace the tortilla with a leaf of lettuce, and it’s just as good, plus you get another serving of vegetables in the meal. This recipe would also be good with beef or pork, cut into thin strips, and obviously, whatever toppings you want. You could even put the filling into a wheat or corn tortilla – but lettuce is a little more adventurous (and messier!!) 😉 I really like this method of broiling the peppers and onions – it gives the filling a nice charbroiled taste.

And for anyone who is wondering, I’m waiting to see if I can get some good photos from the wedding before I post about the wedding cake. It’s coming, I promise!…

Read More »

Filed Under: Main Dishes, Recipes Tagged With: chicken, cooking, dinner, fajita, food, lettuce, low carb, Mexican, recipe

Eating Out in San Francisco, Part II: Dinner at Millennium

August 9, 2011 By Korena in the Kitchen 12 Comments

Read Part 1: Lunch at the Zuni Café

After stuffing ourselves full of delicious Zuni Café roast chicken at lunch, we spent the rest of our San Francisco afternoon shopping in Union Square and Chinatown (I bought a dress, some shoes, a ring, a scarf, and a comforter – because that’s a really easy thing to bring home in a suitcase, right?!), and then finally ended up at Millennium for dinner. Millennium is a vegetarian restaurant that specializes in healthy, sustainable, environmentally-friendly foods, served in a very up-scale manner. In fact, their entire menu is actually vegan – completely free of animal products – but they stick with the vegetarian label because it is more approachable. Nonetheless, the phrase “vegetarian restaurant” can conjure up images of aging hippies eating bean sprouts, brown rice, and tofu by the forkful, not ladies sporting Fendi Spy handbags, enjoying sophisticated food in an elegant, white-linen’d dining room. But that’s exactly what Millennium delivered. Plus they had these really cool light fixture things:

Apparently the “fishnet” is made of recycled paper bags, and the curtains behind are made from recycled plastic bags. Talk about sustainable!

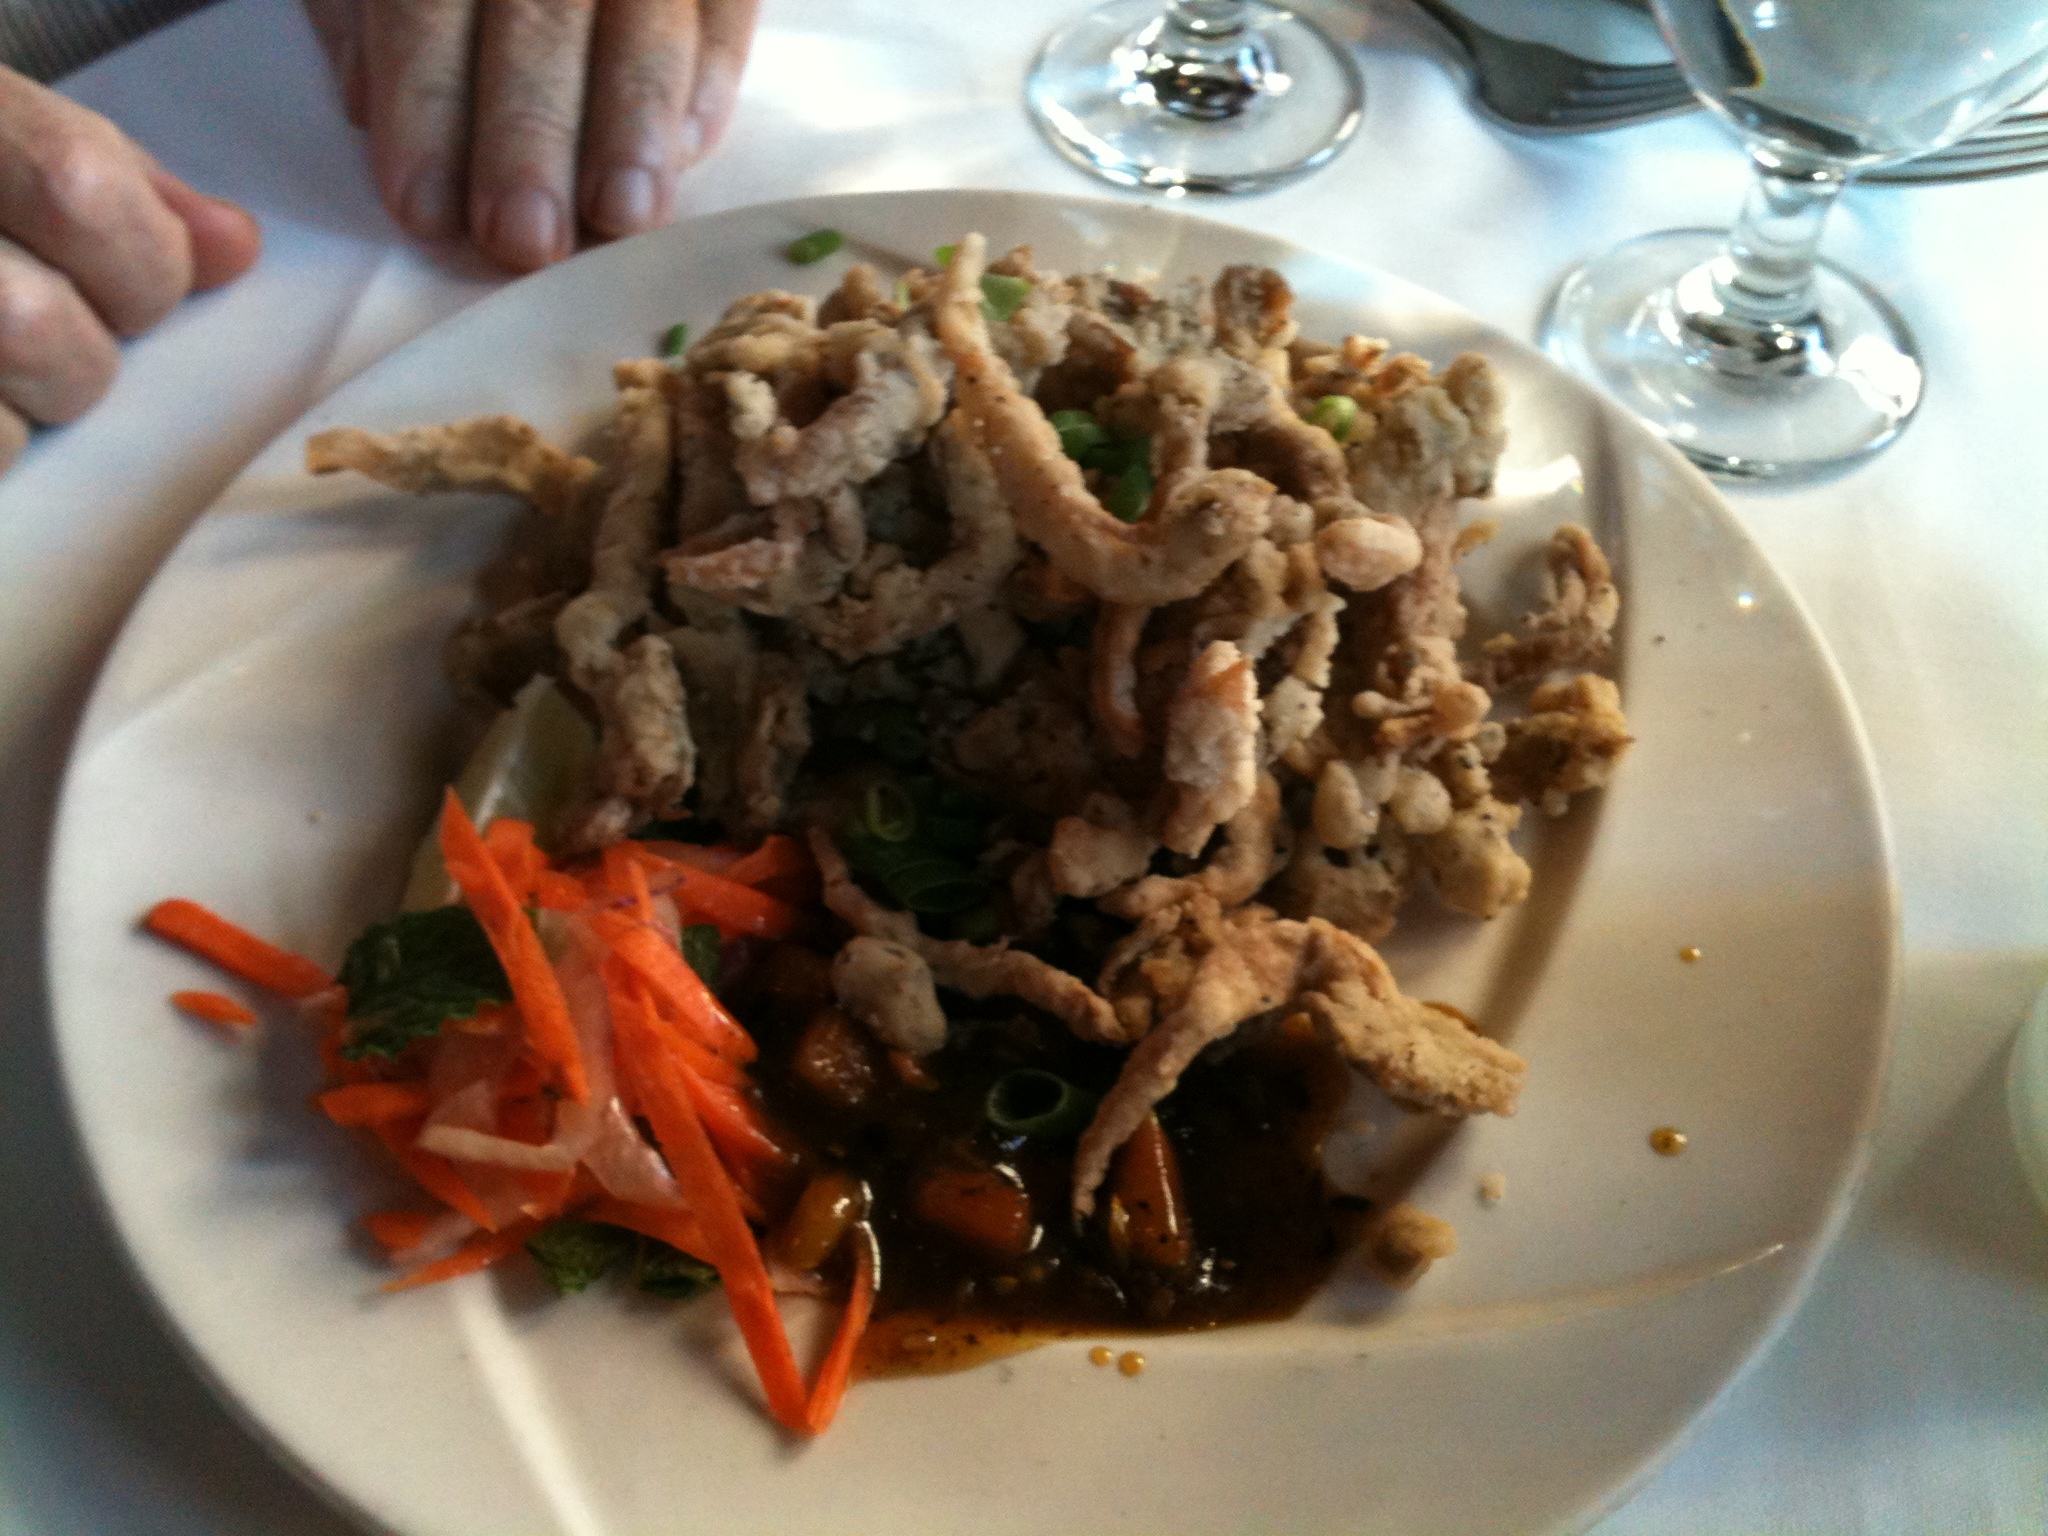
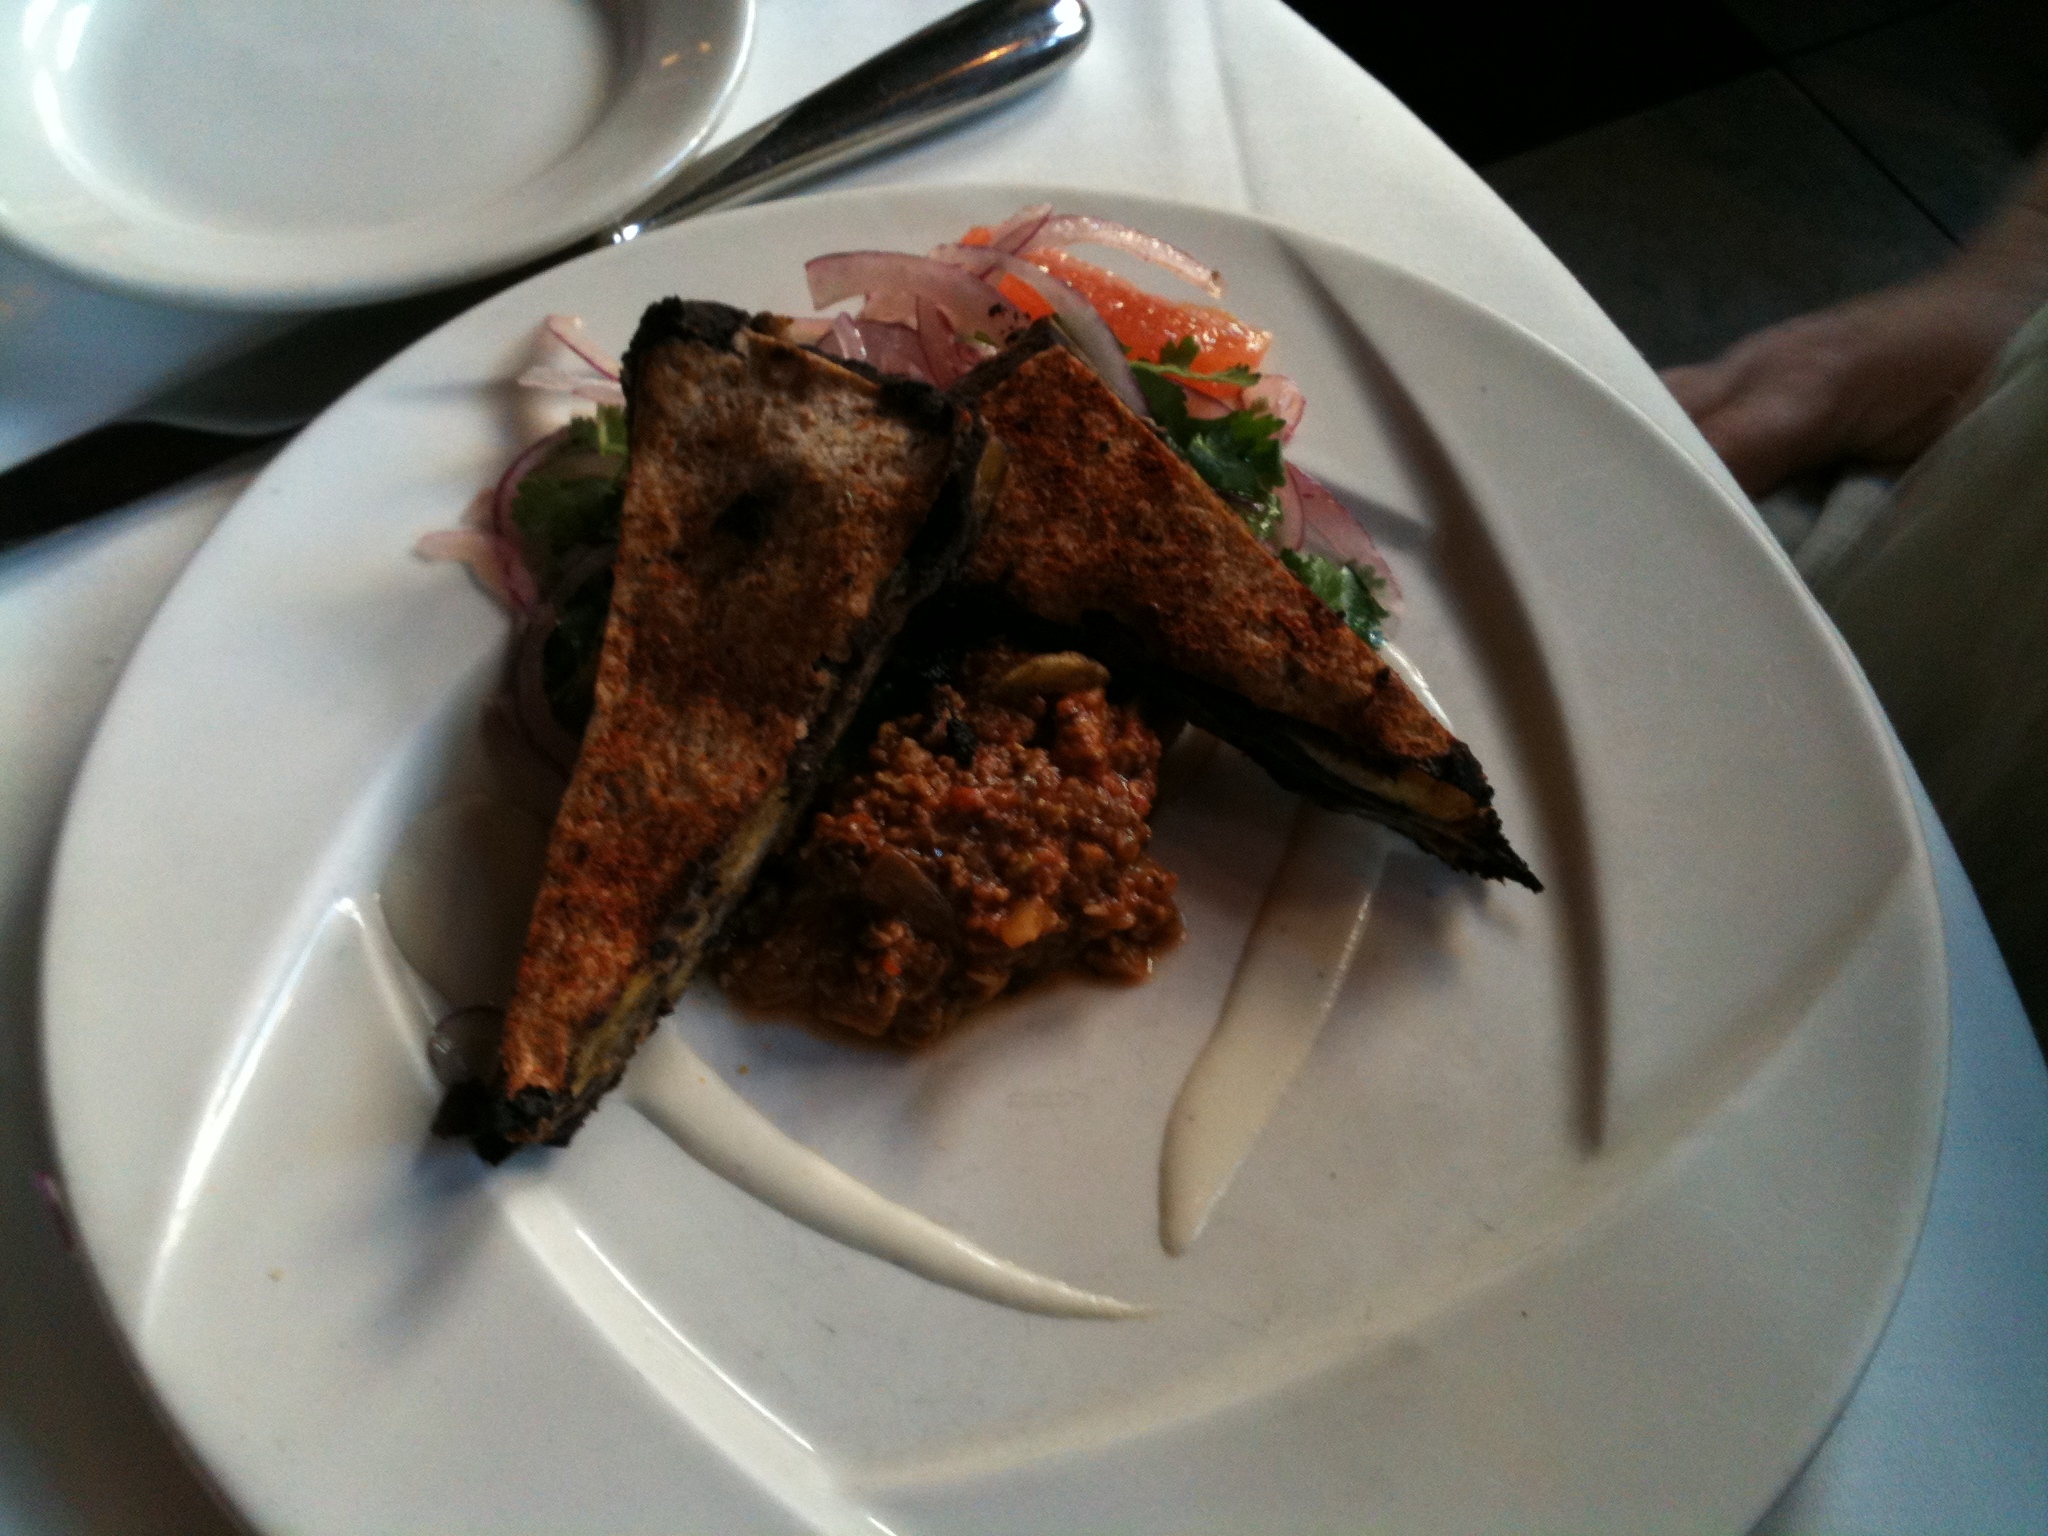
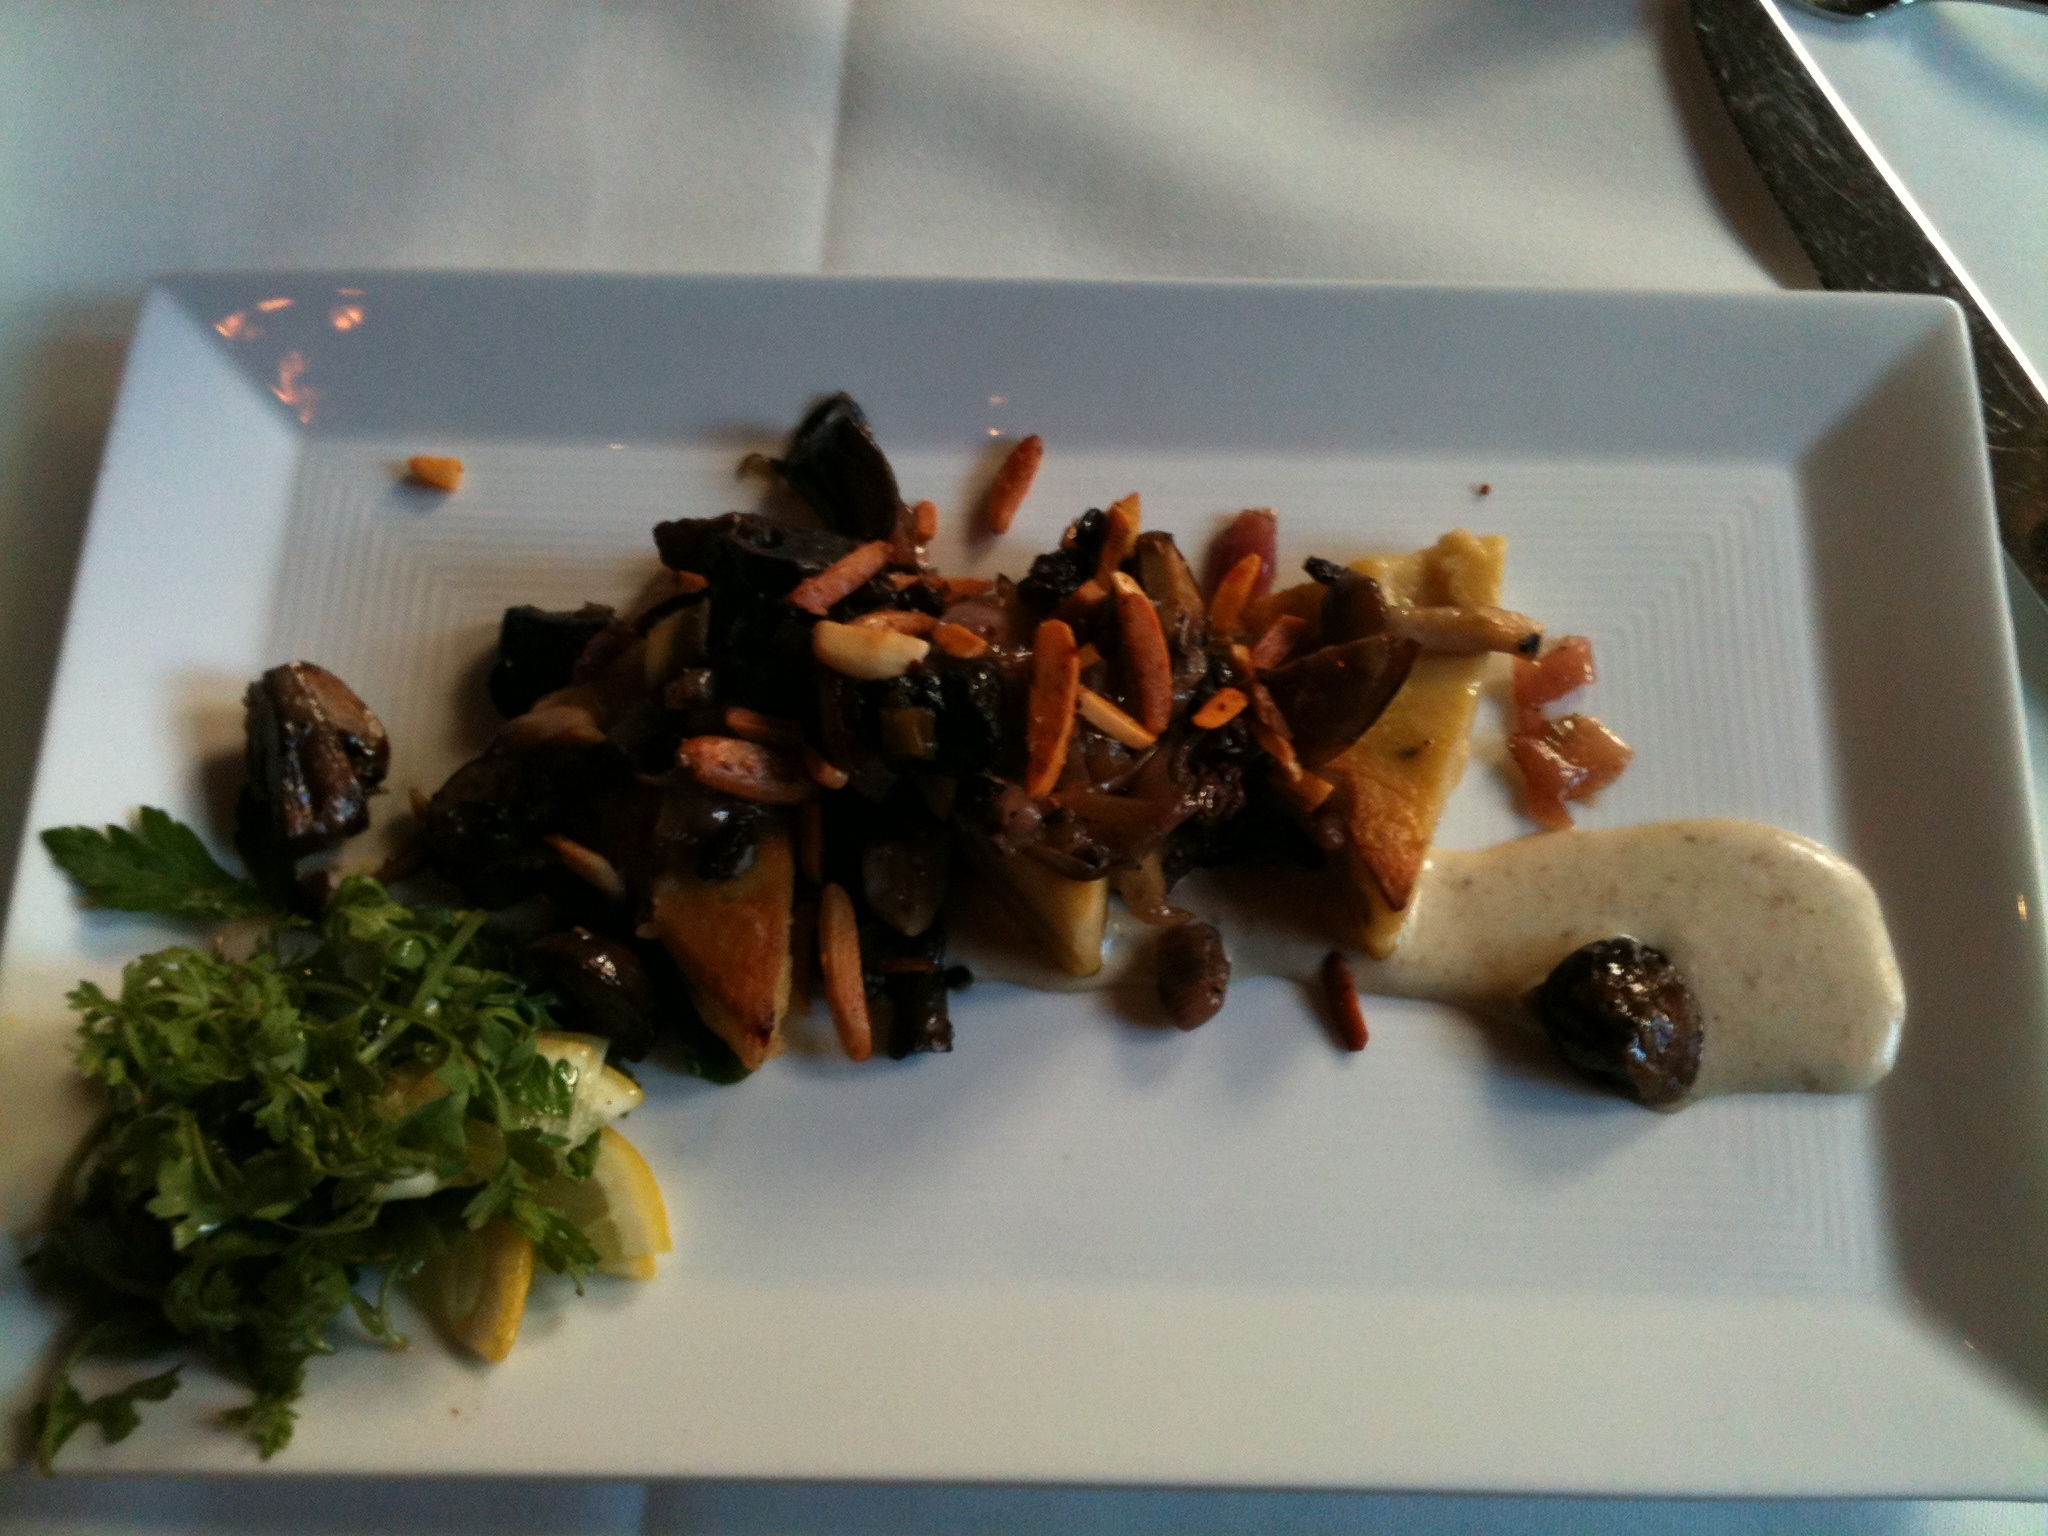
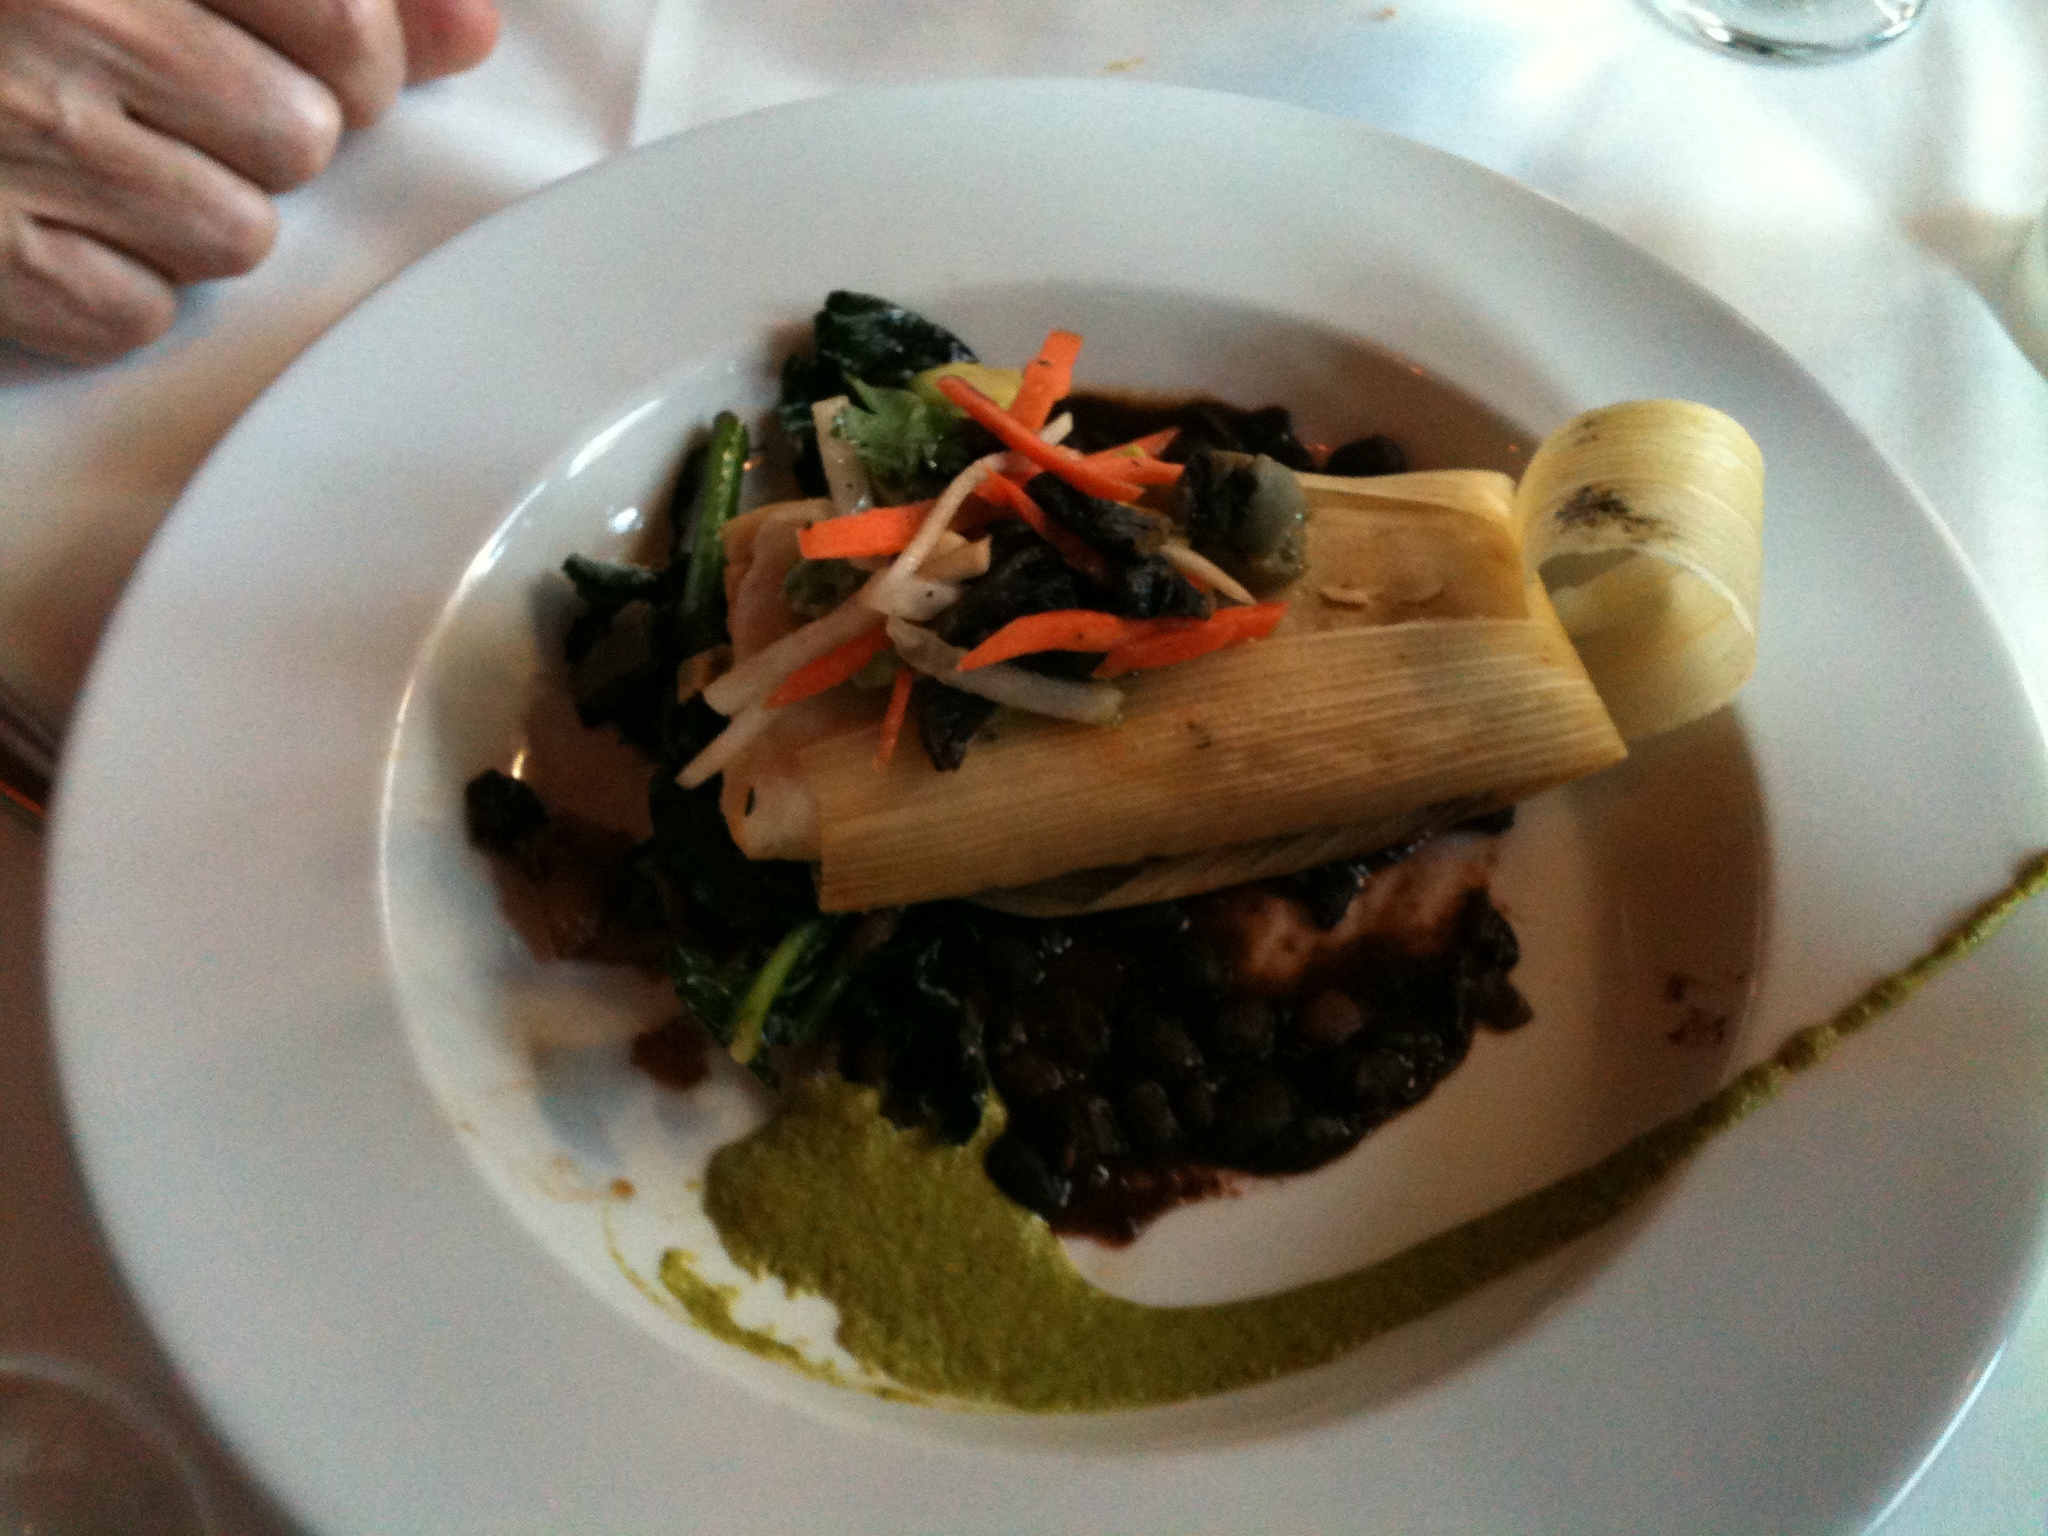
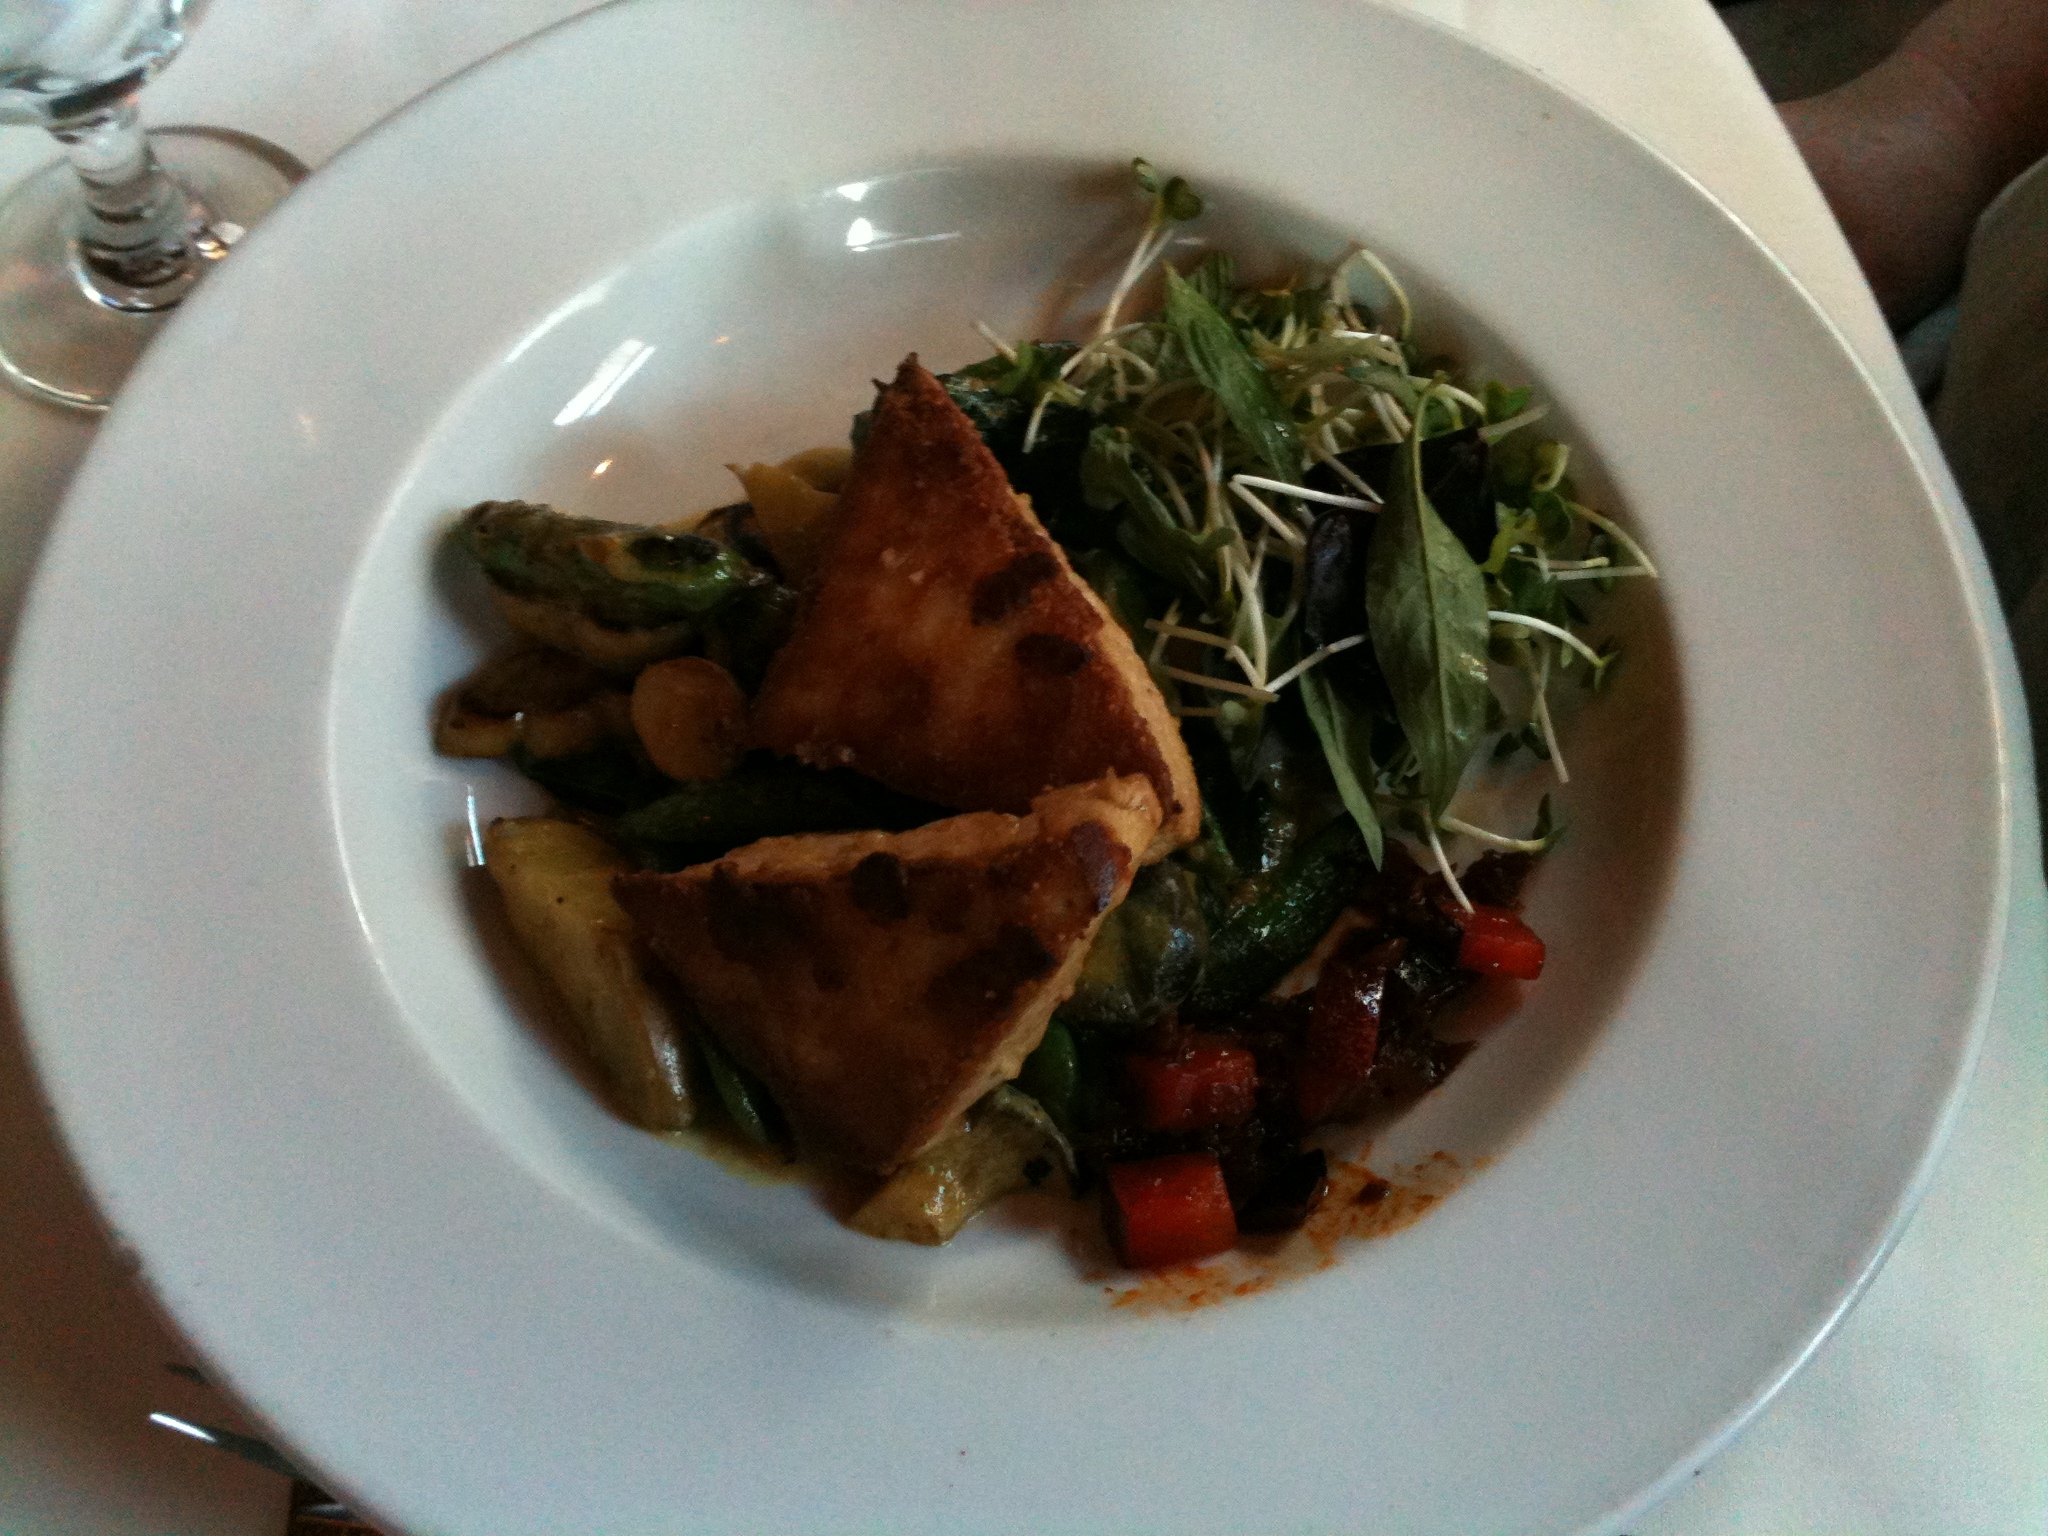
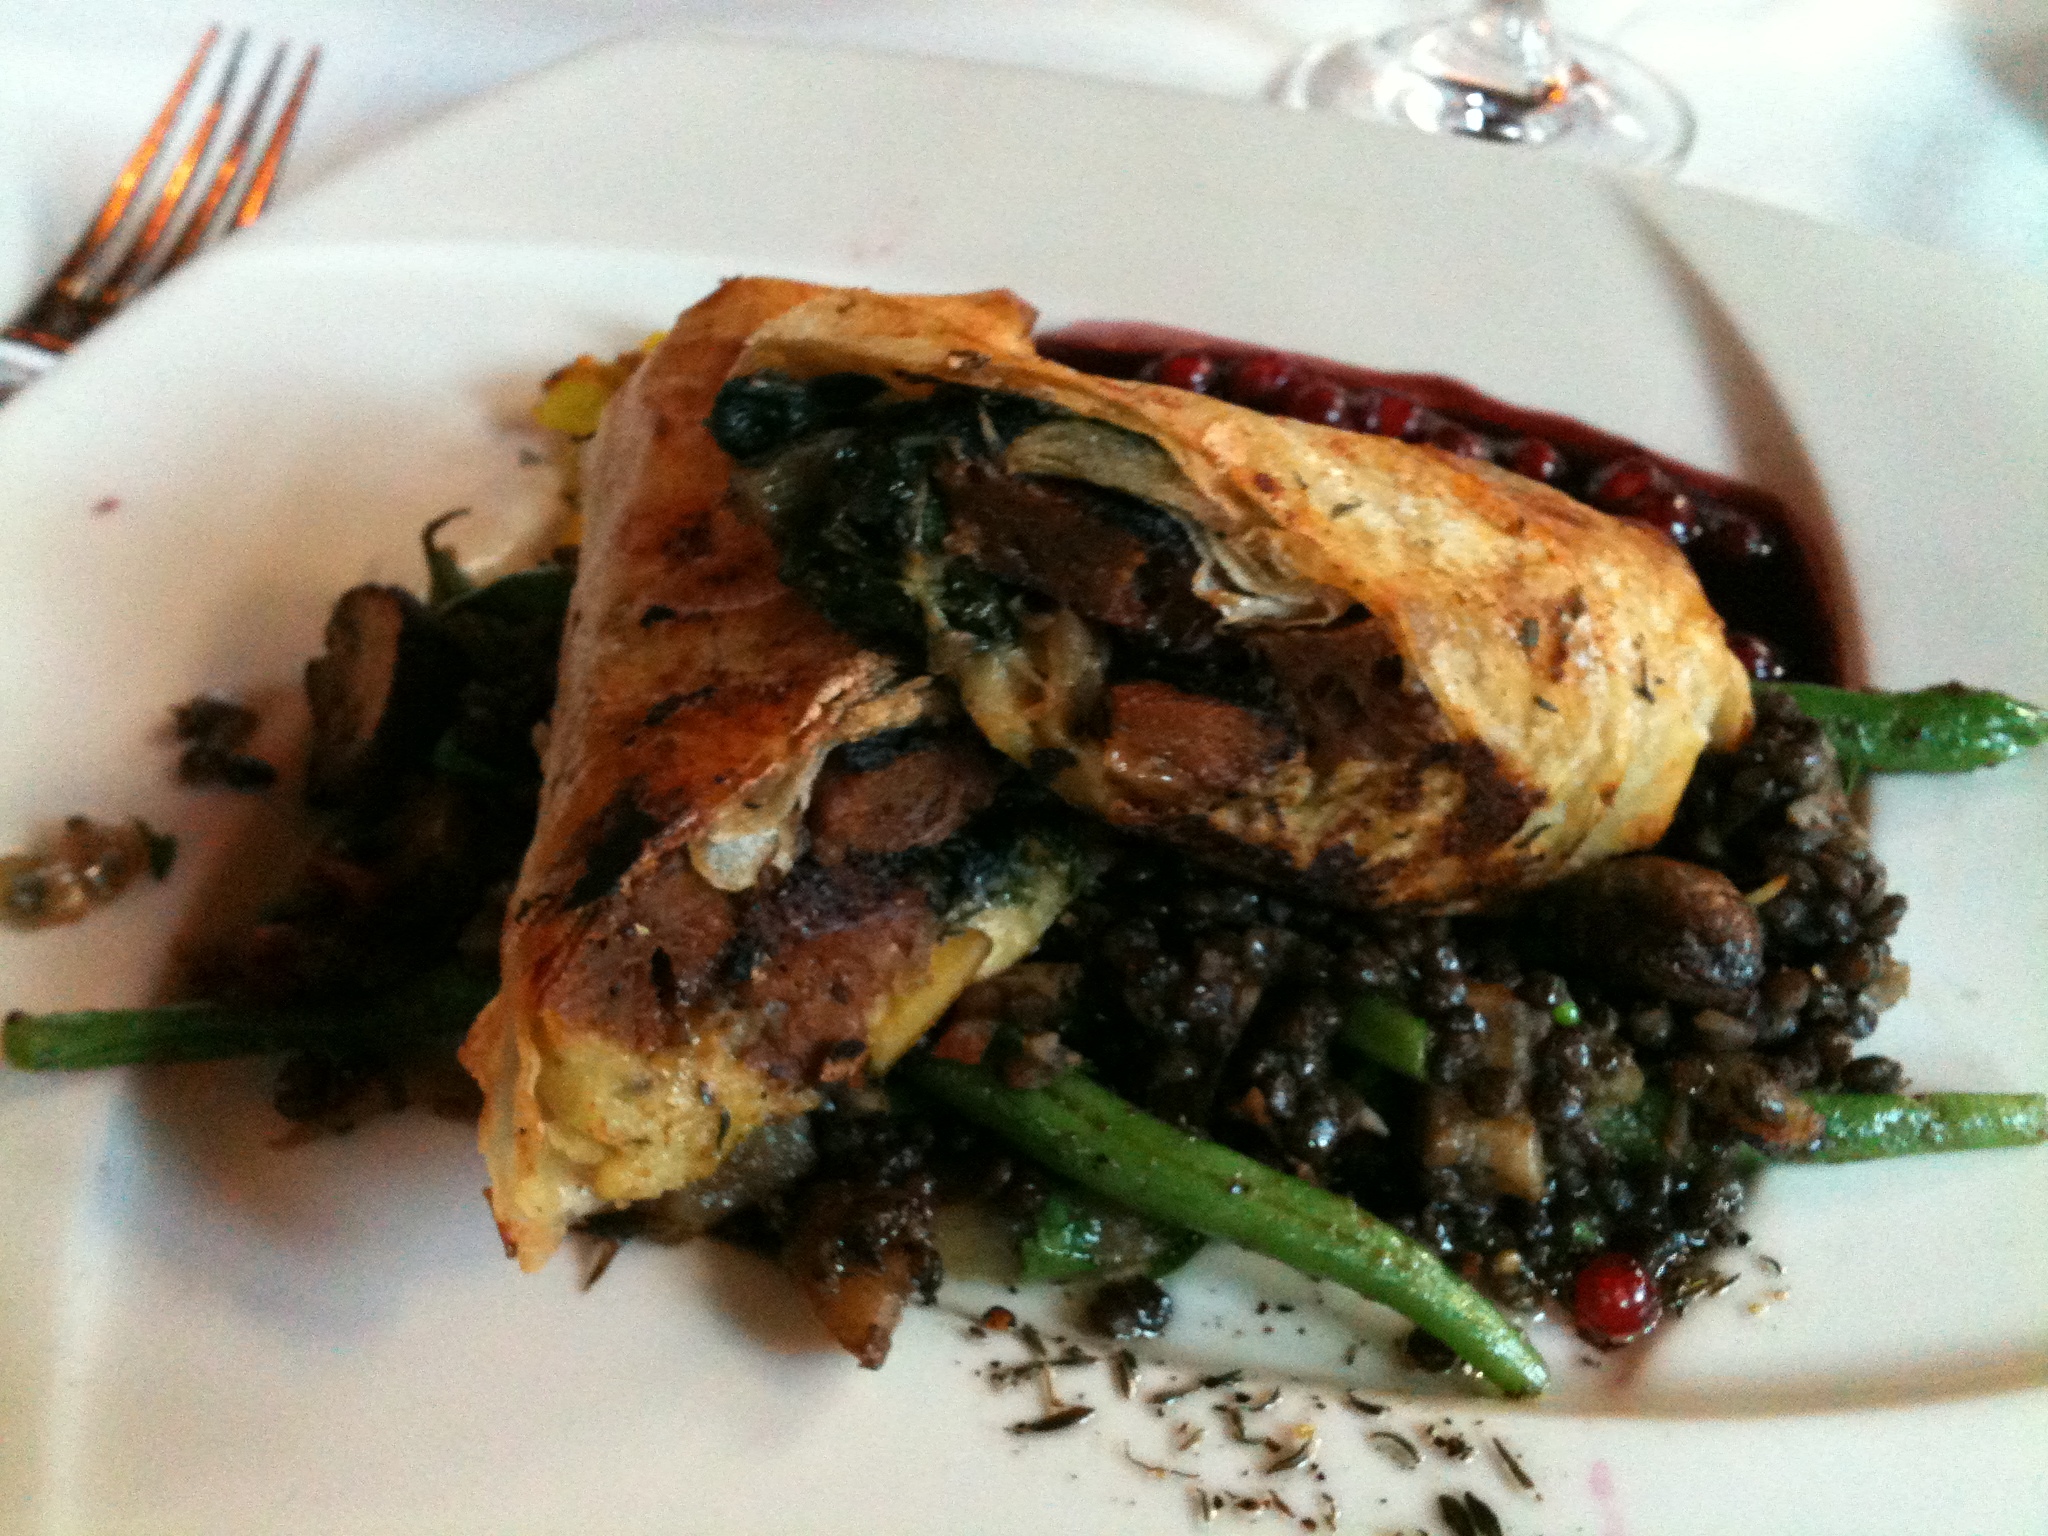
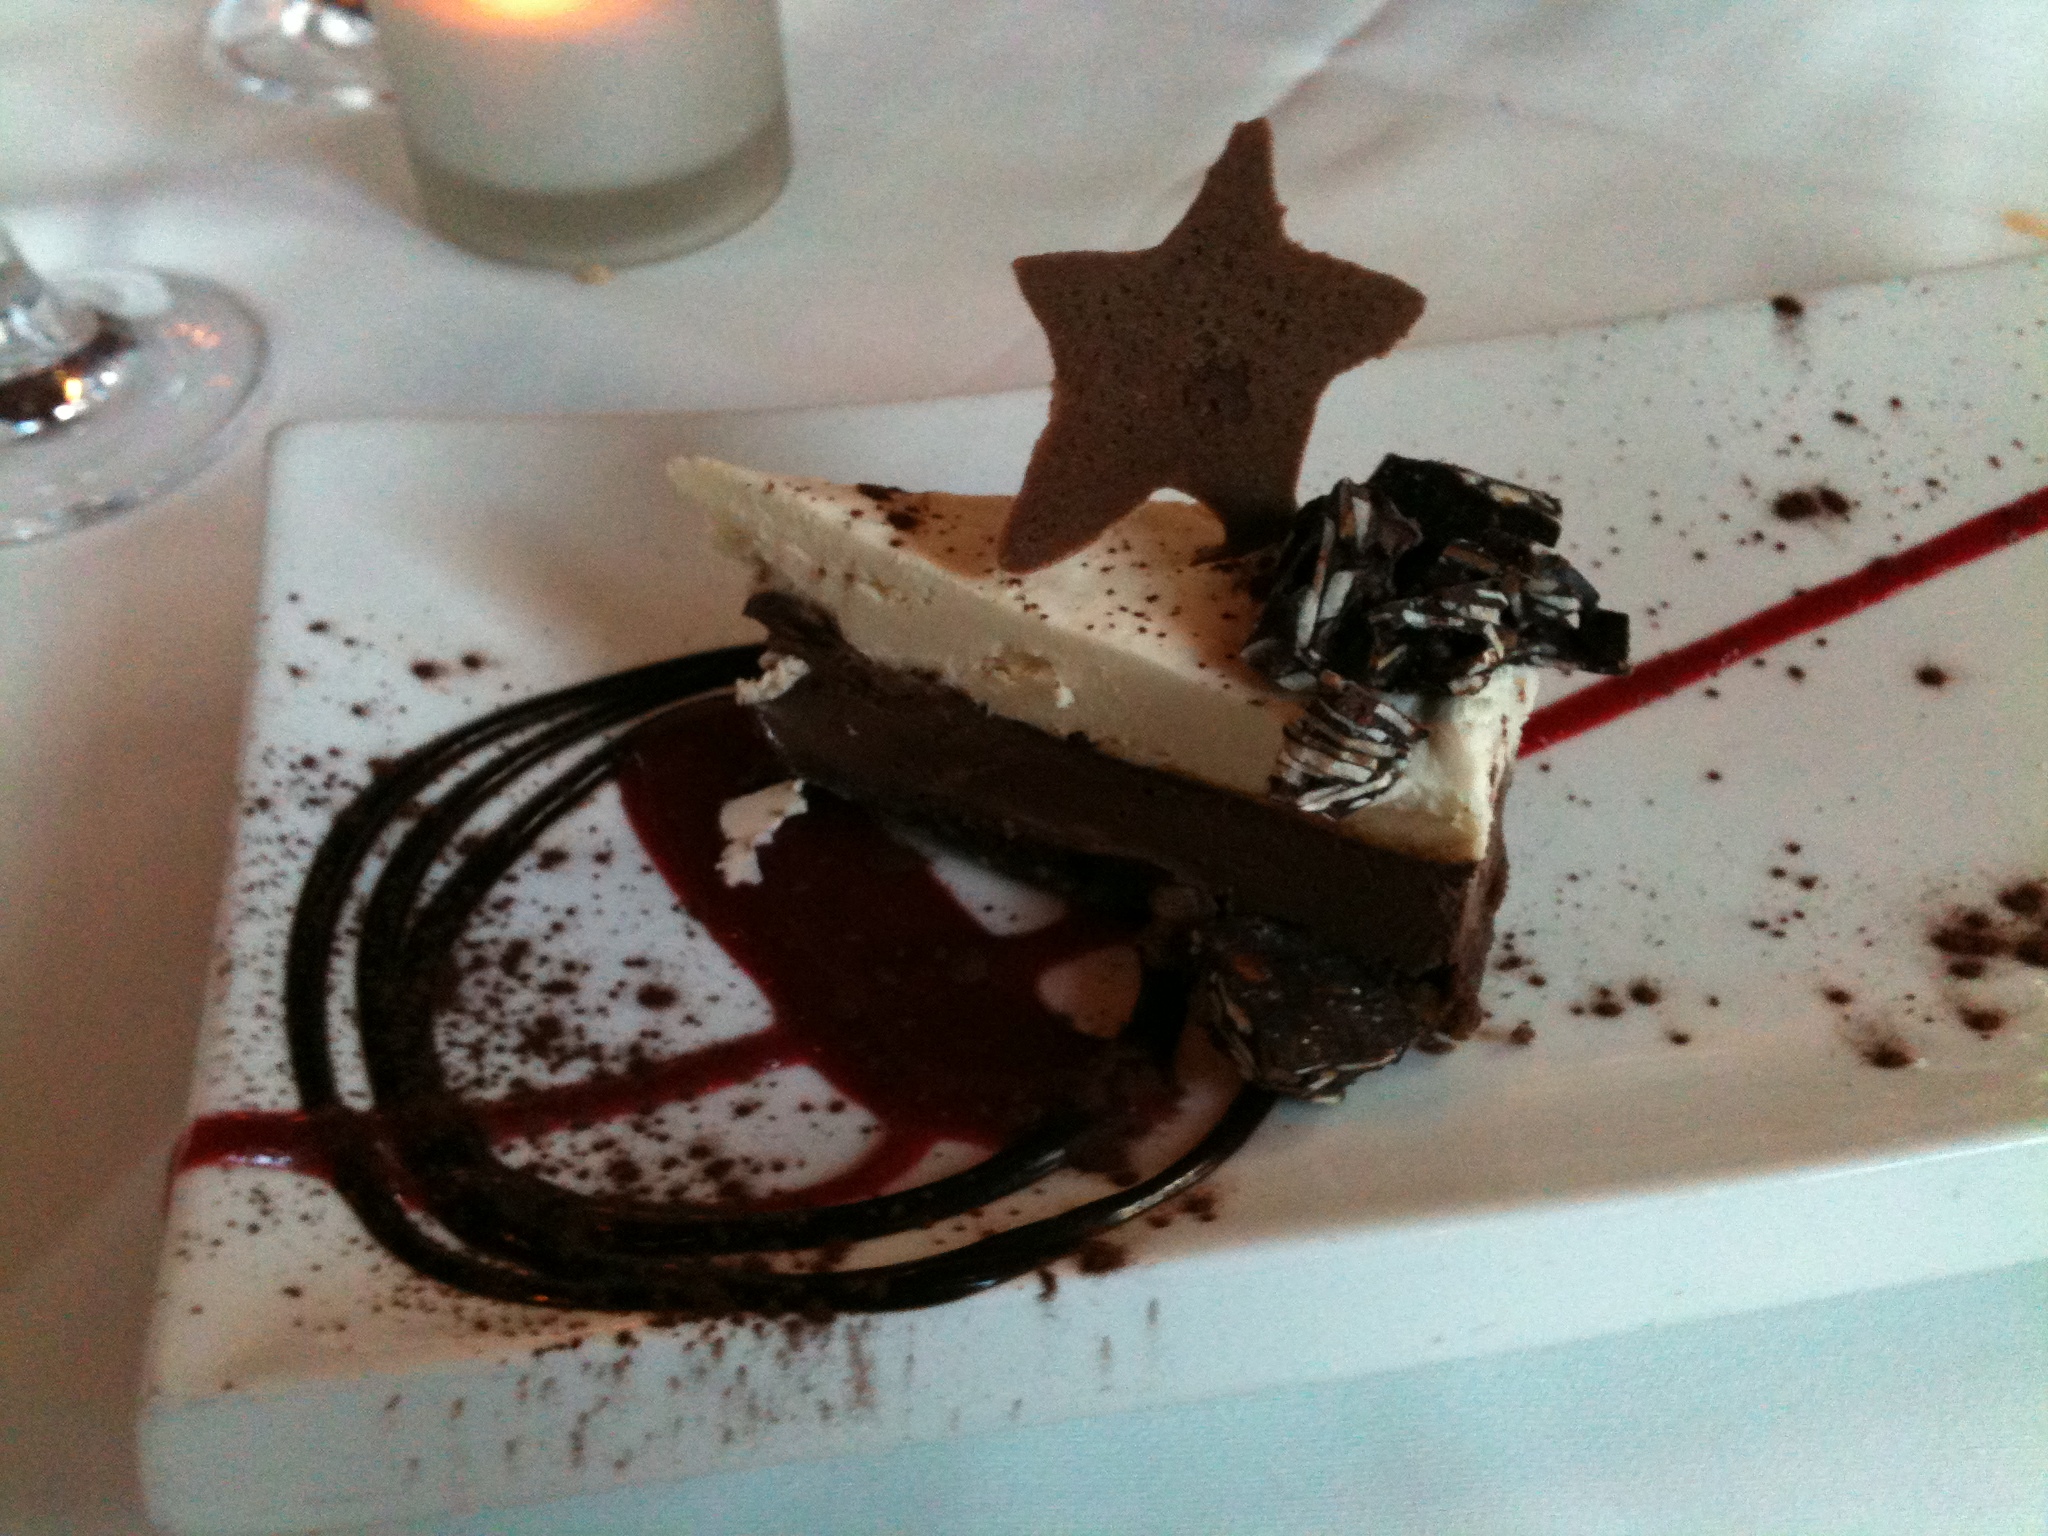
The menu was quite extensive, but after some serious perusing, we settled on appetizers. My uncle had the Crusted Oyster Mushrooms, breaded in rice and sesame flour and deep fried, which looked like calamari and were deliciously crunchy. He was a little disappointed because they didn’t taste very mushroom-y, so maybe breading and deep-frying wasn’t the best treatment for something as subtle as an oyster mushroom.My aunt had a black bean and caramelized plantain torte.I had the Chickpea Panisse: a chickpea purée with a firm, almost custard-like texture that was panfried like polenta and served with sautéed mushrooms, onions, raisins, and spiced almonds on top and a roasted garlic-cashew cream sauce underneath. I love chickpeas so this was an easy choice for me. Yummy.Next up were the entrées. My uncle continued with the mushroom theme and got the Huitlacoche Tamale, but again found that the mushroom flavour wasn’t as prominent as he was hoping for.My aunt had a coconut curry dish that she said was full of very interesting flavours.I had the Brick Pastry, which turned out to be a strudel-like construction of very thin pastry rolled around a filling of seitan, sautéed chard, potatoes, and mushrooms, served over black lentils, green beans, and mushrooms, with a red currant sauce. It was delicious. I’d never had seitan before, and the flavour was quite strong, but still tasty, and the whole thing was balanced really nicely by the acidity of the red currant sauce. And the lentils were awesome – they were almost my favorite part (I never thought I’d say that about lentils!).Then my aunt and I shared a dessert. This one was seriously mind-blowing: you would never guess that it wasn’t packed full of dairy and eggs. We had the Chocolate Midnight, which was white chocolate and dark chocolate-mocha mousse on a chocolate nut crust with raspberry sauce. Absolutely to die for.Their dessert menu was perhaps the most impressive, because it was all egg- and dairy-free but they still managed to make several kinds of ice cream. Our server told us they use different bases of coconut, almond, rice, and soy milks, and somehow they can even make a dairy-free, vegan “buttermilk” ice cream! I want to go back just to try all their desserts.

This was a really impressive meal and a great example of amazing food – vegetarian, vegan, or otherwise. I didn’t even notice that there wasn’t any meat in my meal, and I certainly didn’t miss it! If you are in San Francisco, definitely give Millennium a visit – try the ice cream and report back to me!

Millennium on Urbanspoon

Filed Under: Eating Out, Restaurant Reviews Tagged With: dinner, eating, food, Millennium restaurant, restaurant, San Francisco, vegan, vegetarian

  • « Previous Page
  • 1
  • …
  • 3
  • 4
  • 5
  • 6
  • 7
  • …
  • 9
  • Next Page »

Welcome to my kitchen!

I'm Korena: cook, baker, dirty-dishes-maker. My favourite things include flour, butter, sugar, and chocolate. Read More…

  • Bloglovin
  • Email
  • Facebook
  • Instagram
  • Pinterest
  • RSS

Subscribe by Email!

Top Posts

Greek Kataifi
Daring Bakers: Ukrainian Easter Paska
Daring Bakers: Asian Coconut Custard Buns
Daring Bakers: Sfogliatelle Ricci and Lobster Tail Pastries
Cream Cheese Swiss Meringue Buttercream Frosting, Take 2: Success!
10 Years! {Nigella Lawson's Coffee and Walnut Layer Cake}

Search

Categories

Archives

Blogs I Like

  • 101 Cookbooks
  • Baking with Sibella
  • Bitter Baker
  • Bread and Companatico
  • Chocolate & Zucchini
  • Chocolate & Zucchini
  • De La Casa
  • Dinner With Julie
  • Dinner: A Love Story
  • Food in Jars
  • FrugalFeeding
  • Homesick Texan
  • Joy the Baker
  • Poires au Chocolat
  • Rufus' Food and Spirits Guide
  • Simple Bites
  • Simply Recipes
  • smitten kitchen
  • Steamy Kitchen
  • Tartelette
  • Tea & Cookies
  • The Pioneer Woman Cooks
  • The Wednesday Chef
  • Venison for Dinner
  • Bloglovin
  • Email
  • Facebook
  • Instagram
  • Pinterest
  • RSS

Subscribe by Email!

Search

Home | Recipes About | Contact |

All content © Korena Vezerian and Korena in the Kitchen, 2011 – 2021. Please contact me before duplicating any content, including pictures. Excerpts and links may be used, provided that full and clear credit is given to Korena Vezerian and Korena in the Kitchen with appropriate and specific direction to the original content.

Copyright © 2025 · Foodie Pro Theme On Genesis Framework · WordPress · Log in


Loading Comments...