Skip to content
Korena in the Kitchen
Search
Home
About
Recipe Index
Contact
Tag:
food
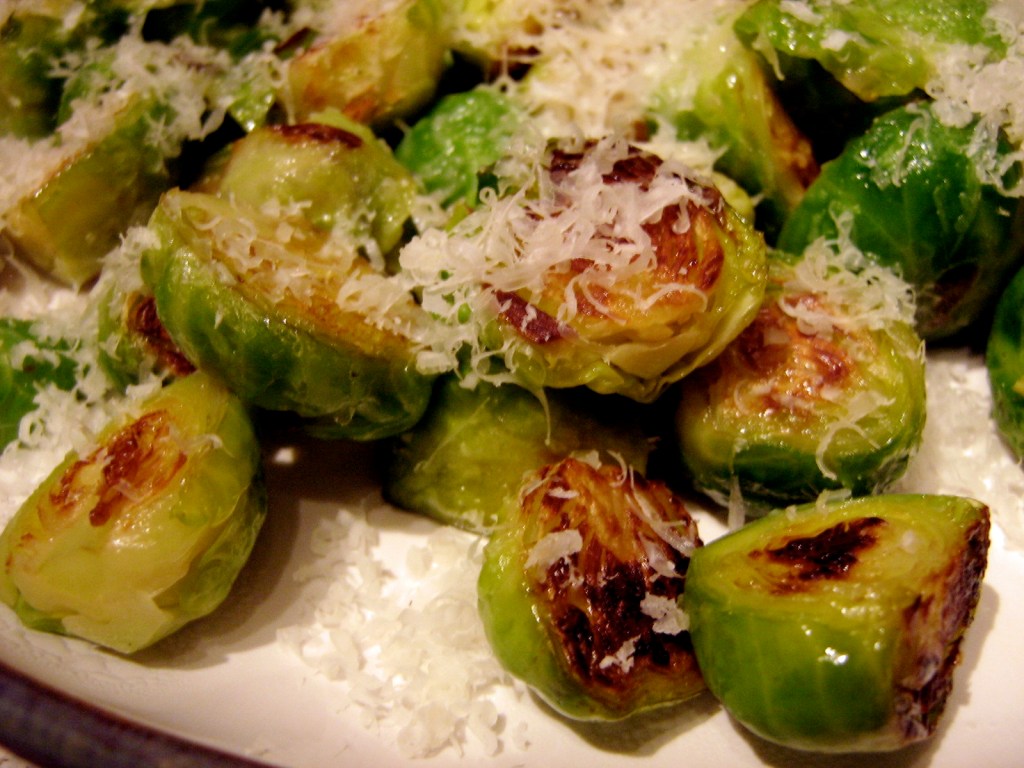
Skillet “Roasted” Brussels Sprouts
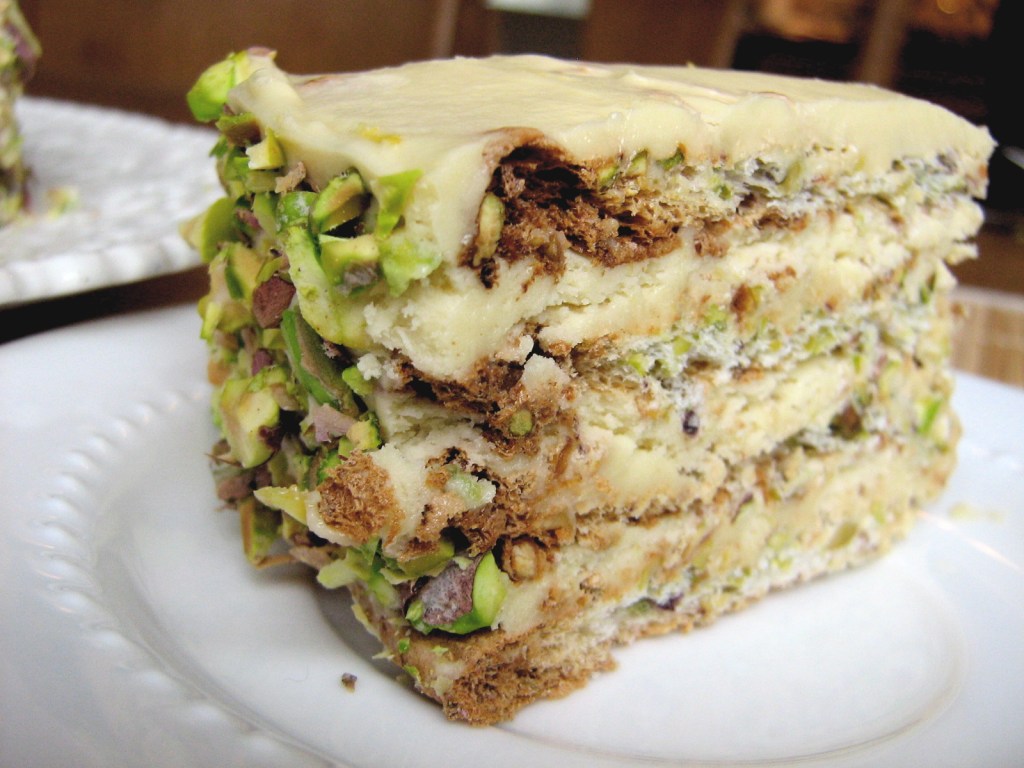
Daring Bakers: Filipino Sans Rival Cake
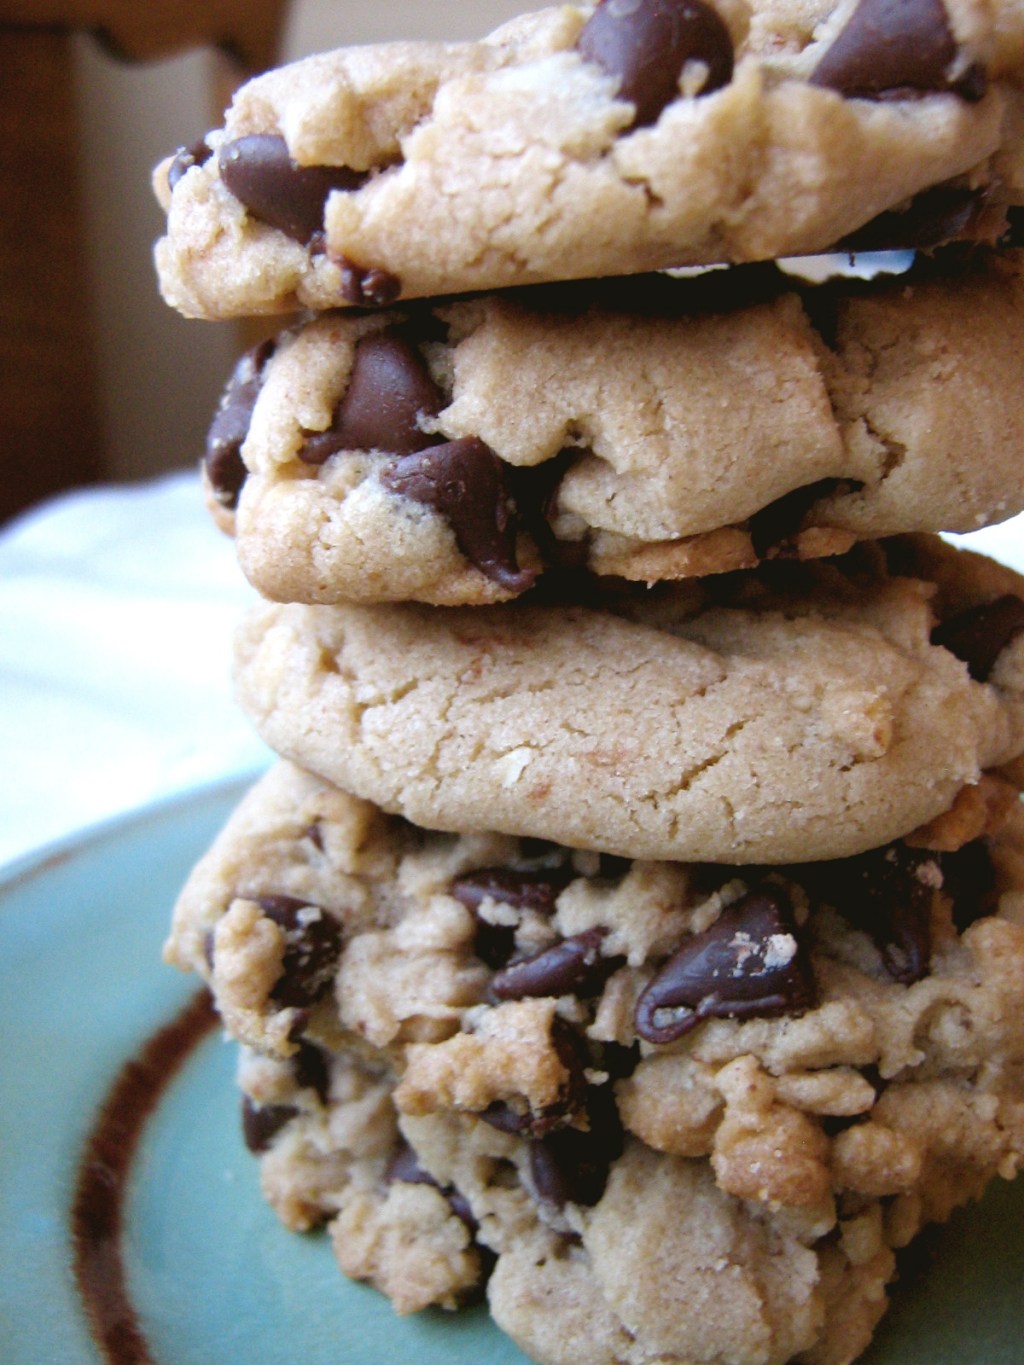
Perfect Peanut Butter Chocolate Chip Cookies
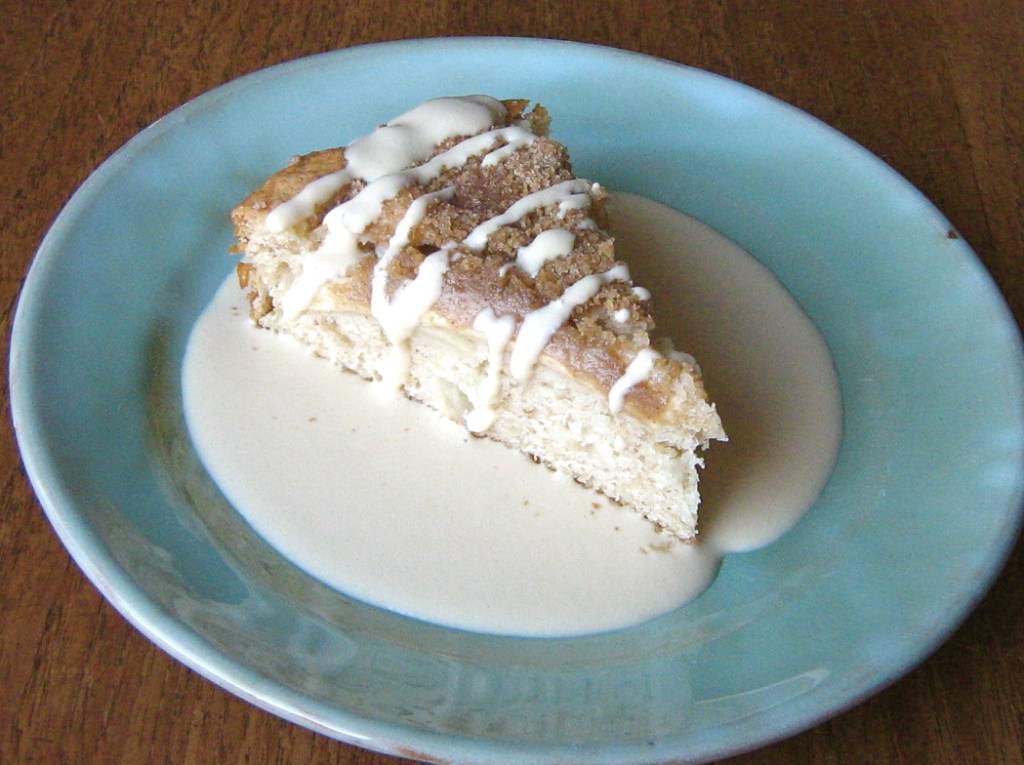
Apple Struesel Cake with Creme Anglaise
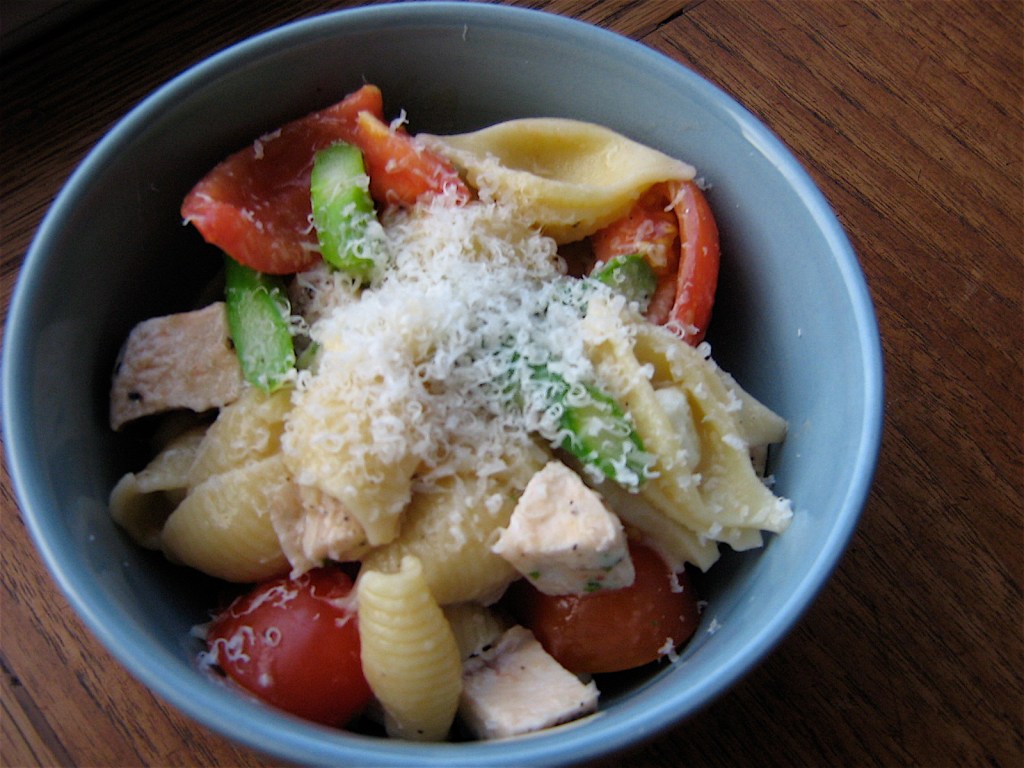
Pasta Shells with Chicken, Bocconcini, and Cherry Tomatoes
Pear-Filled Vanilla Birthday Cake with Chocolate Buttercream Frosting
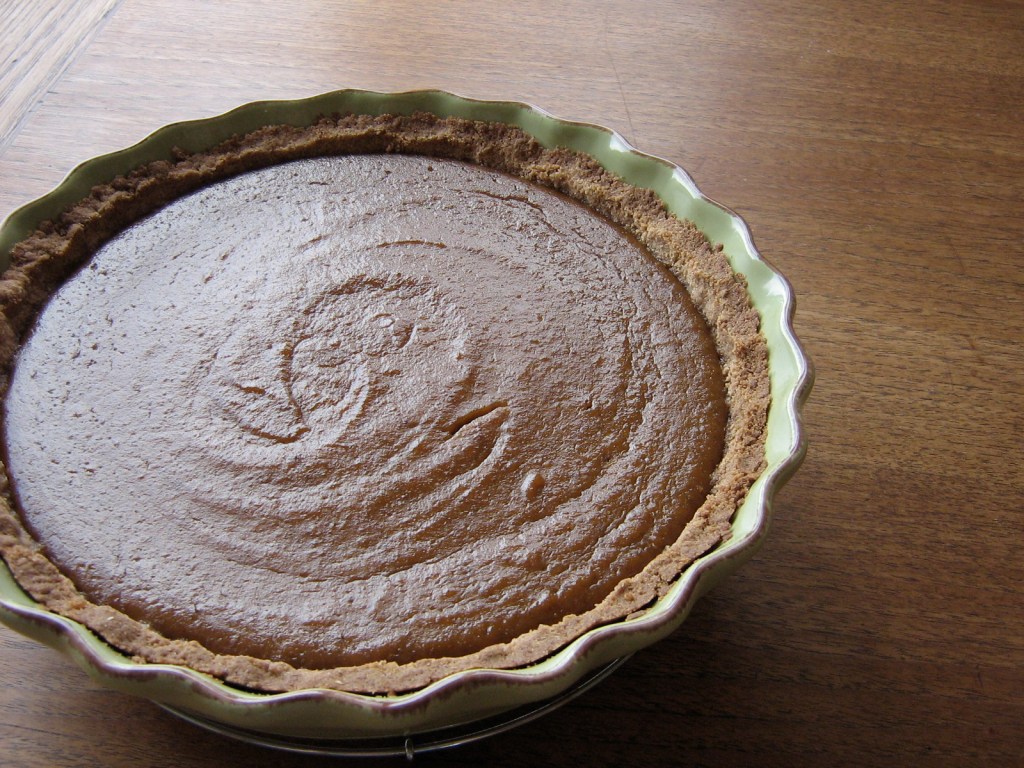
Maple Coconut Pumpkin Pie with Spelt Shortbread Crust
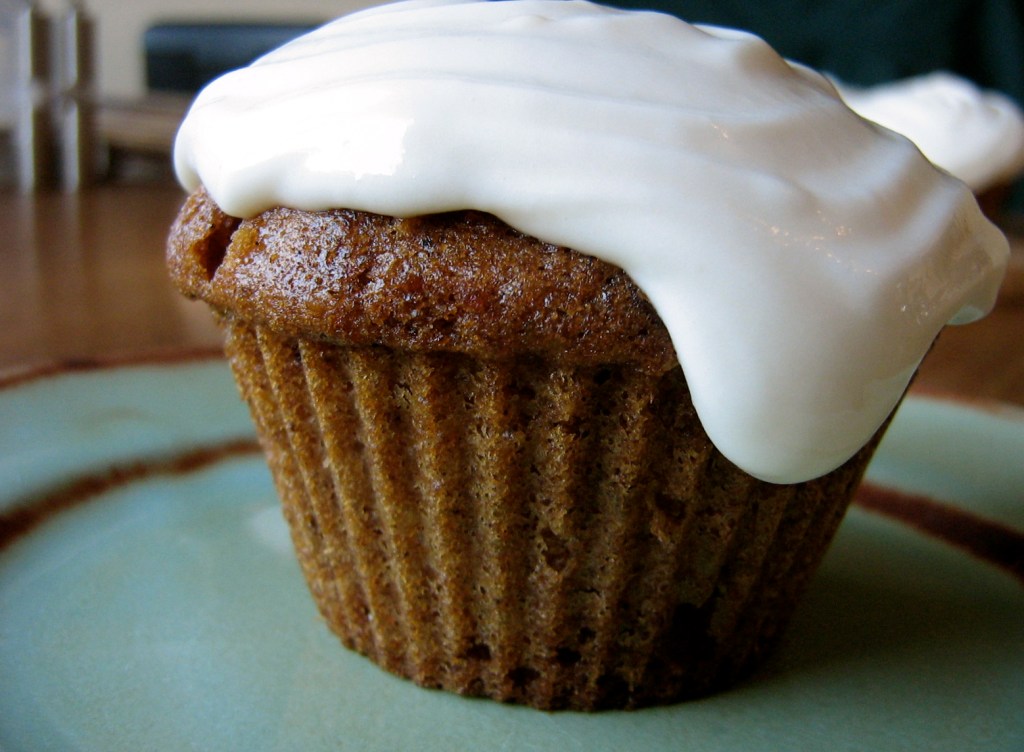
Carrot Coconut Cupcakes
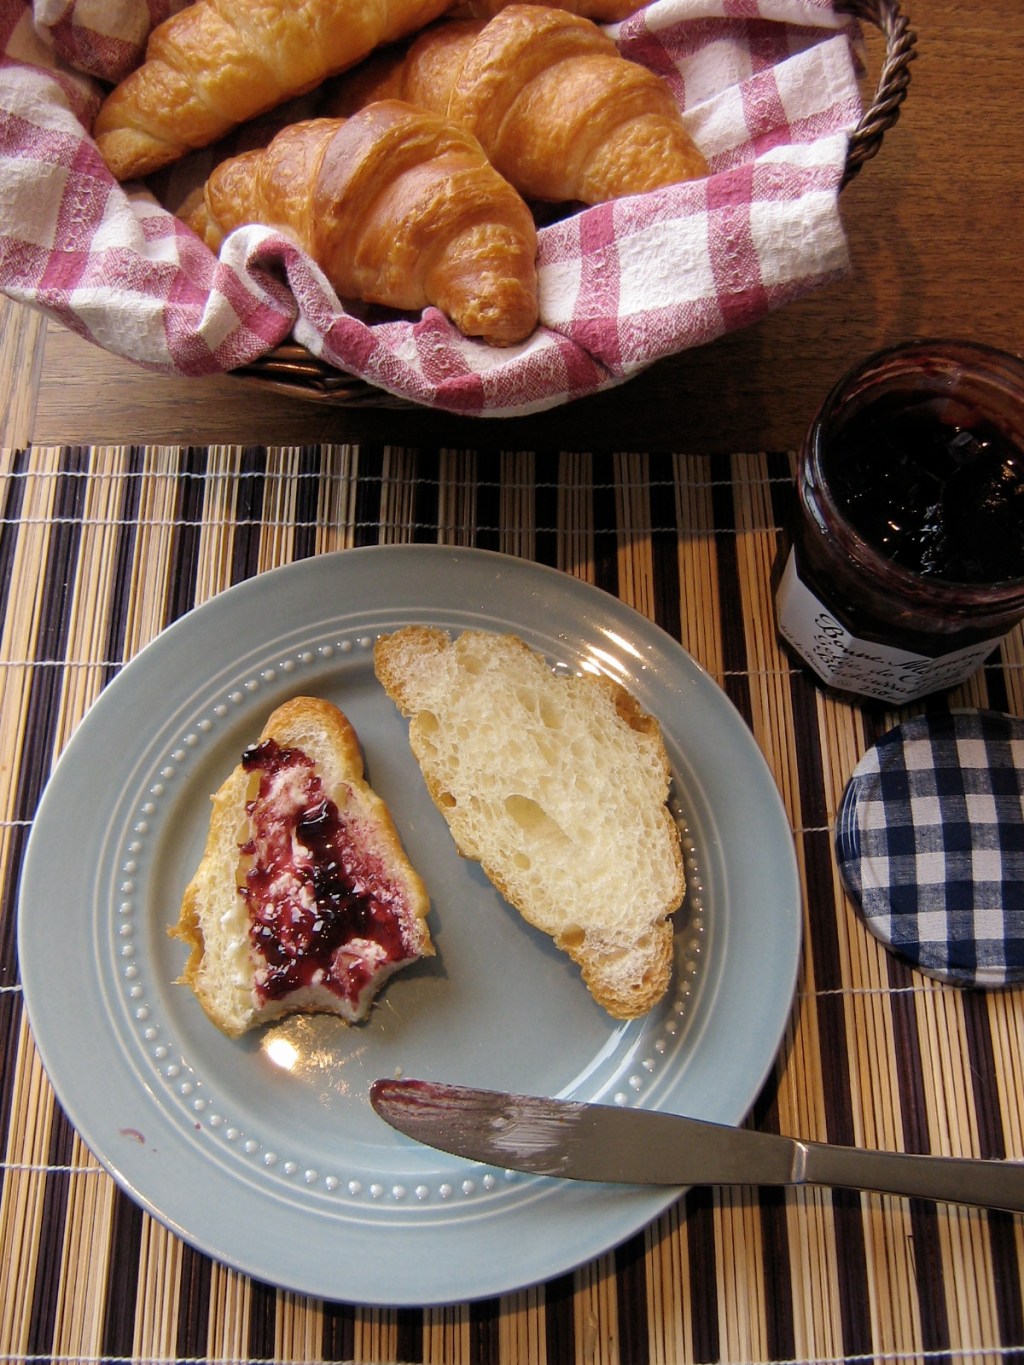
Daring Bakers: Homemade Croissants!
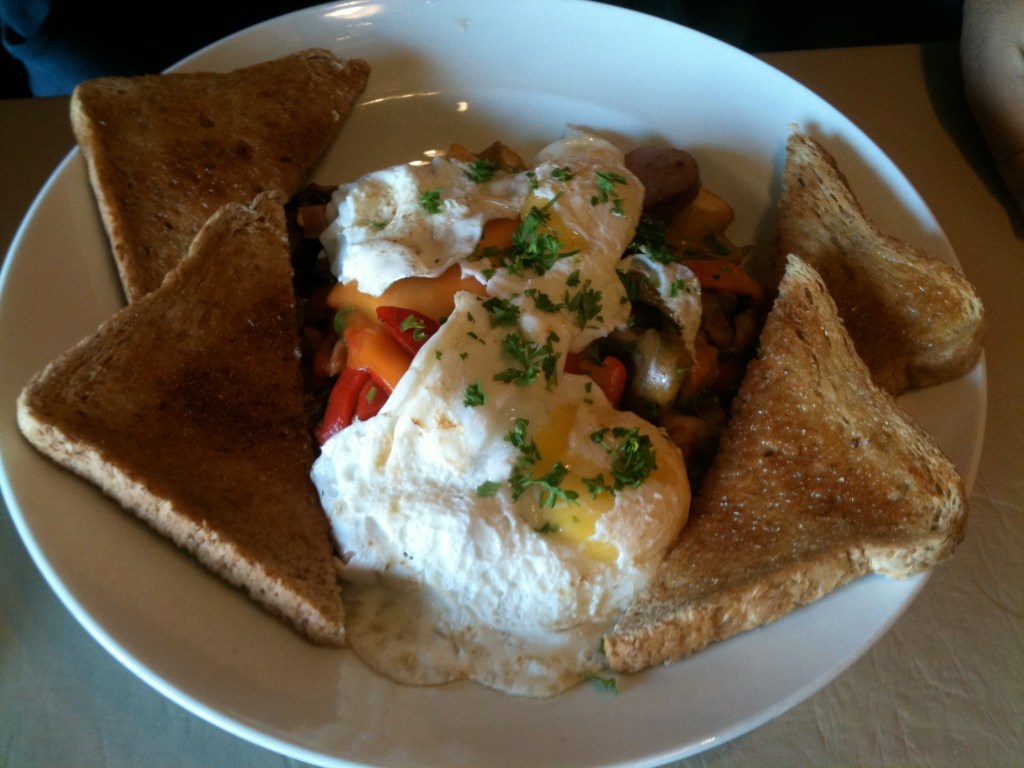
Breakfast at Dish Cookhouse & Diner
Previous Page
Next Page
Subscribe
Subscribed
Korena in the Kitchen
Join 390 other subscribers
Sign me up
Already have a WordPress.com account?
Log in now.
Korena in the Kitchen
Subscribe
Subscribed
Sign up
Log in
Report this content
View site in Reader
Manage subscriptions
Collapse this bar