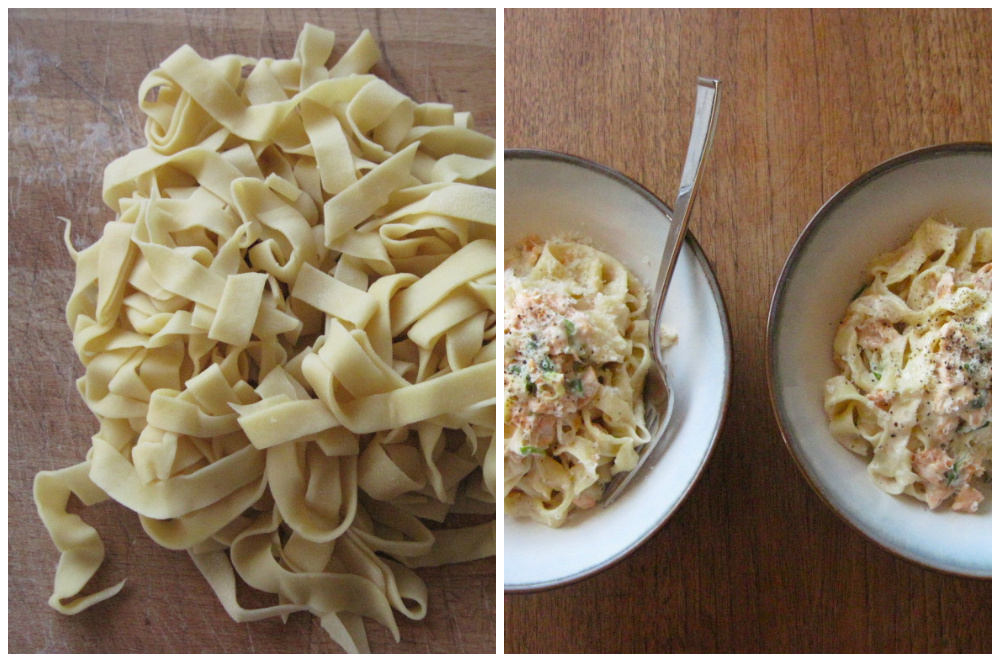
 This is something I’ve been meaning to do for years. I’ve made pasta before, but it was using my Mum’s pasta roller, which means I was still living with my parents, which means it was a loooong time ago. Somehow rolling pasta out by hand just seemed too daunting. But then a while back I read Greg’s post about making pasta by hand and it didn’t seem quite so intimidating….
Fettuccine Alfredo with Smoked Sockeye Salmon
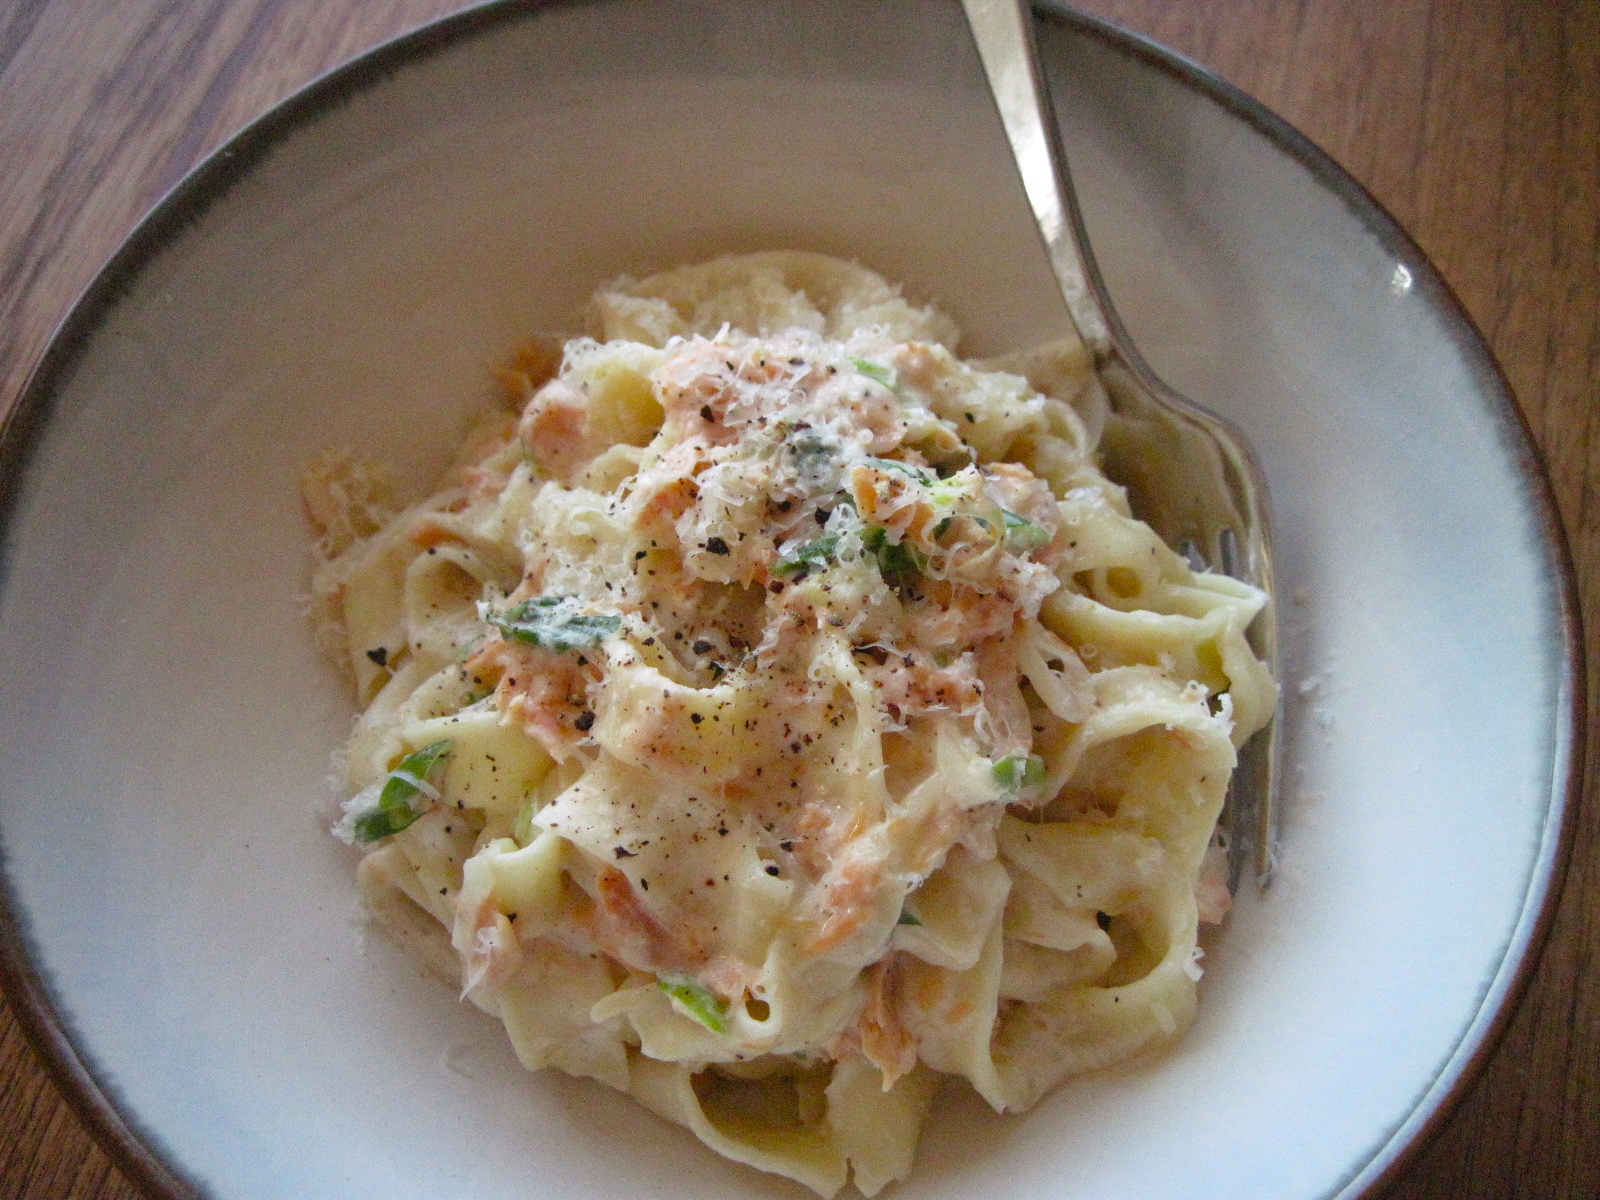 Some fun things have been happening behind the scenes here on my little piece of the internet, one of which is that I’ve started a stint as a guest blogger for SeaChange Canadian Gifts. SeaChange is a company based on Salt Spring Island, BC, where I grew up, and they are known for their delicious smoked salmon products (among other quintessentially Canadian edibles). I’m really excited to be working with them and using their products to develop recipes, the first of which is this Fettuccine Alfredo with Smoked Sockeye Salmon. Head over to the SeaChange blog for the full post and recipe!
Roasted Mushroom Pesto for Pizza
 One of the truly great taste combinations is mushrooms and cheese, so it is a no-brainer to put them together on a pizza. What is not a no-brainer is making mushroom pesto to put on the pizza instead of tomato sauce. That is brilliant. Another brilliant thing is to roast the mushrooms in the oven before making them into pesto. How have I never roasted mushrooms before? The smells coming out of the oven while they were roasting were just incredible….
Crispy Pork and Hot & Sour Rhubarb Sauce with Noodles
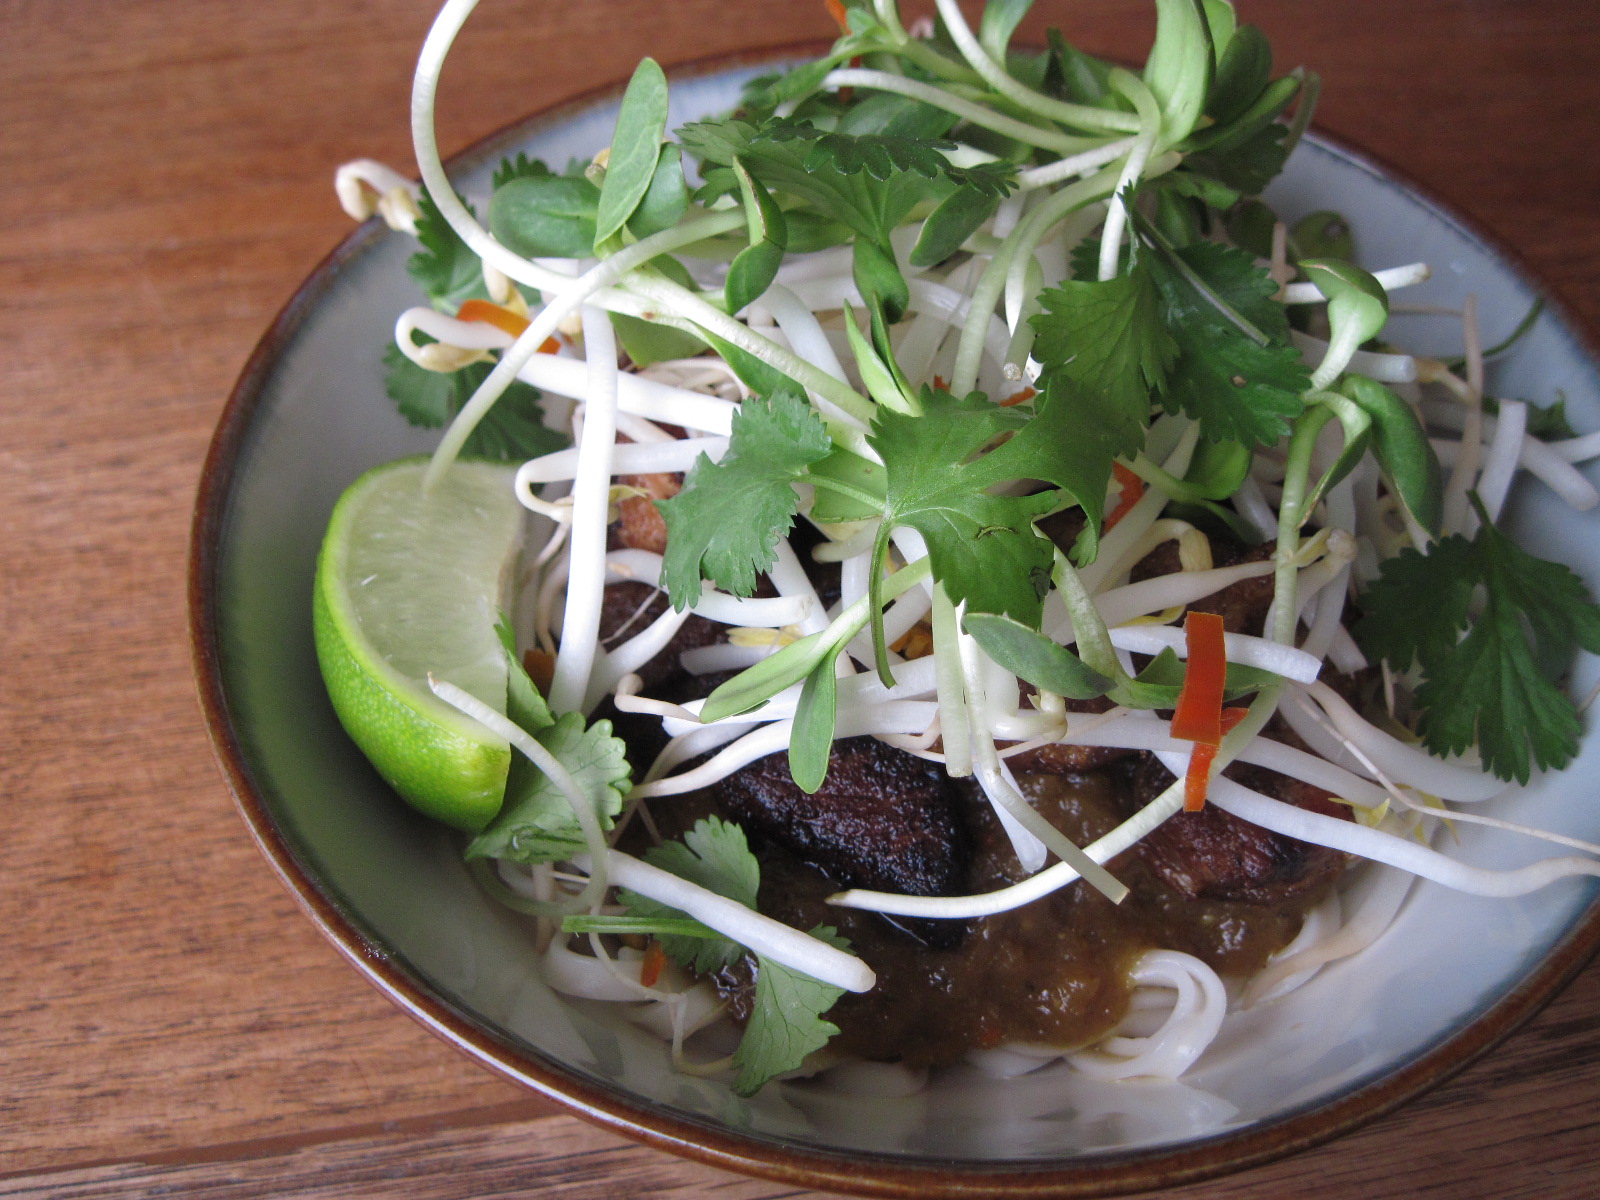
I usually think of rhubarb as a really great companion to strawberries in a pie or crisp, but its slightly acidic, slightly sweet flavour lends itself well to applications other than dessert. I have a freezer full of rhubarb from last year, and seeing as rhubarb season is almost upon us once again, I figured I had better use some of it up. Inspired by the rhubarb meatballs in Kate’s weekly meal plan at Venison for Dinner, I did a Google search for a sweet and sour sauce made with rhubarb and came across a recipe by Jamie Oliver for “My Favorite Hot and Sour Rhubarb with Crispy Pork and Noodles”. Being at home sick for a few days last week, I ended up watching a lot of Jamie on the Food Network, which cemented my gigantic crush on him and made me only too happy to try this recipe. Pieces of pork are baked in a sauce of pureed rhubarb, chilis, honey, and Asian flavours, then the pork is shallow-fried until crispy and served with the sauce over noodles, topped with what Jamie calls “interesting cresses”. I think what he means by this is micro greens, however my local grocery store isn’t so posh, so I ended up using bean sprouts and sunflower sprouts.

Look at those interesting cresses!
Jamie uses pork belly in his recipe, but I used pork shoulder instead (pork butt would work too). This was SO GOOD! The rhubarb sauce is tangy and flavourful, the pork is tender yet crisp, and the “interesting cresses” add a good dose of freshness and crunchy texture. It requires a bit of foresight to make because the pork takes at least an hour in the oven, but it’s definitely going on the “make again” list!

Crispy Pork and Hot & Sour Rhubarb Sauce with Noodles
Adapted from Jamie Oliver. Serves 2.
Preheat the oven to 350˚F. In an 8-inch square roasting pan, place:
500 grams boneless pork shoulder or butt, cut into 1 1/2-inch pieces
Sprinkle the pork with salt and pepper and set aside.

In a food processor, combine:
200 grams chopped rhubarb (fresh or frozen and thawed)
2 tbsp liquid honey
2 tbsp soy sauce
2 cloves of garlic, roughly chopped
1/2-inch chunk of ginger, peeled and roughly chopped
1 fresh red chili, de-seeded and chopped, OR 1 tsp chili paste (such as sambal oelek)
heaping 1/2 tsp Chinese 5-spice powder
Process until smooth (or as Jamie says, “wazz it up!”).

Pour the rhubarb mixture over the pork and cover the pan with foil.

Pretty unattractive but delicious anyway!
Bake in a 350˚F oven for 60-90 minutes, until the pork is tender.
Remove the pork from the pan and scrape off as much rhubarb sauce as you can.

Place the rhubarb sauce in a pot and bring to a simmer to thicken if needed. Adjust the seasoning to taste – I added a little more honey and soy sauce and a dab of chili paste.

For the crispy pork, pour enough vegetable oil in the bottom of a wok or large pan to cover it 1/4-inch deep, and heat it over medium. When the oil is hot, add the pork pieces (I did this in two batches so as not to crowd the pan). Fry on both sides until brown and crispy, then set aside on paper towels to drain.

For the noodles, put a large pot of water on to boil while the oil heats. When you fry the pork, place about 175 grams of dry Asian egg noodles in the boiling water and cook until al dente.

To serve, divide the noodles between two bowls and spoon over the rhubarb sauce and crispy pork.

Top each bowl with:
a handful of “interesting cresses” such as bean sprouts and sunflower sprouts
sliced green onions (I forgot these)
seeded and chopped red chili
cilantro leaves
lime wedge

Mix it all up and dig in!

Fennel & Chili Spiced Ribs
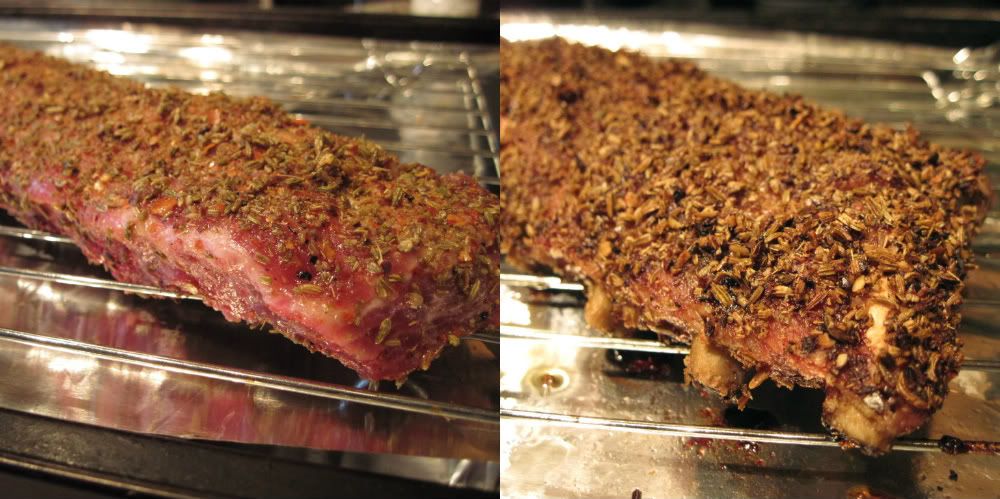
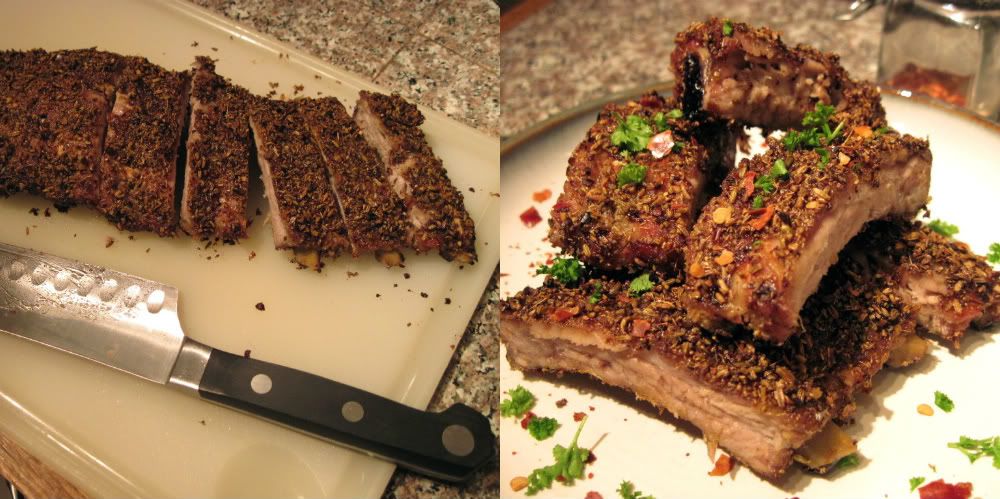
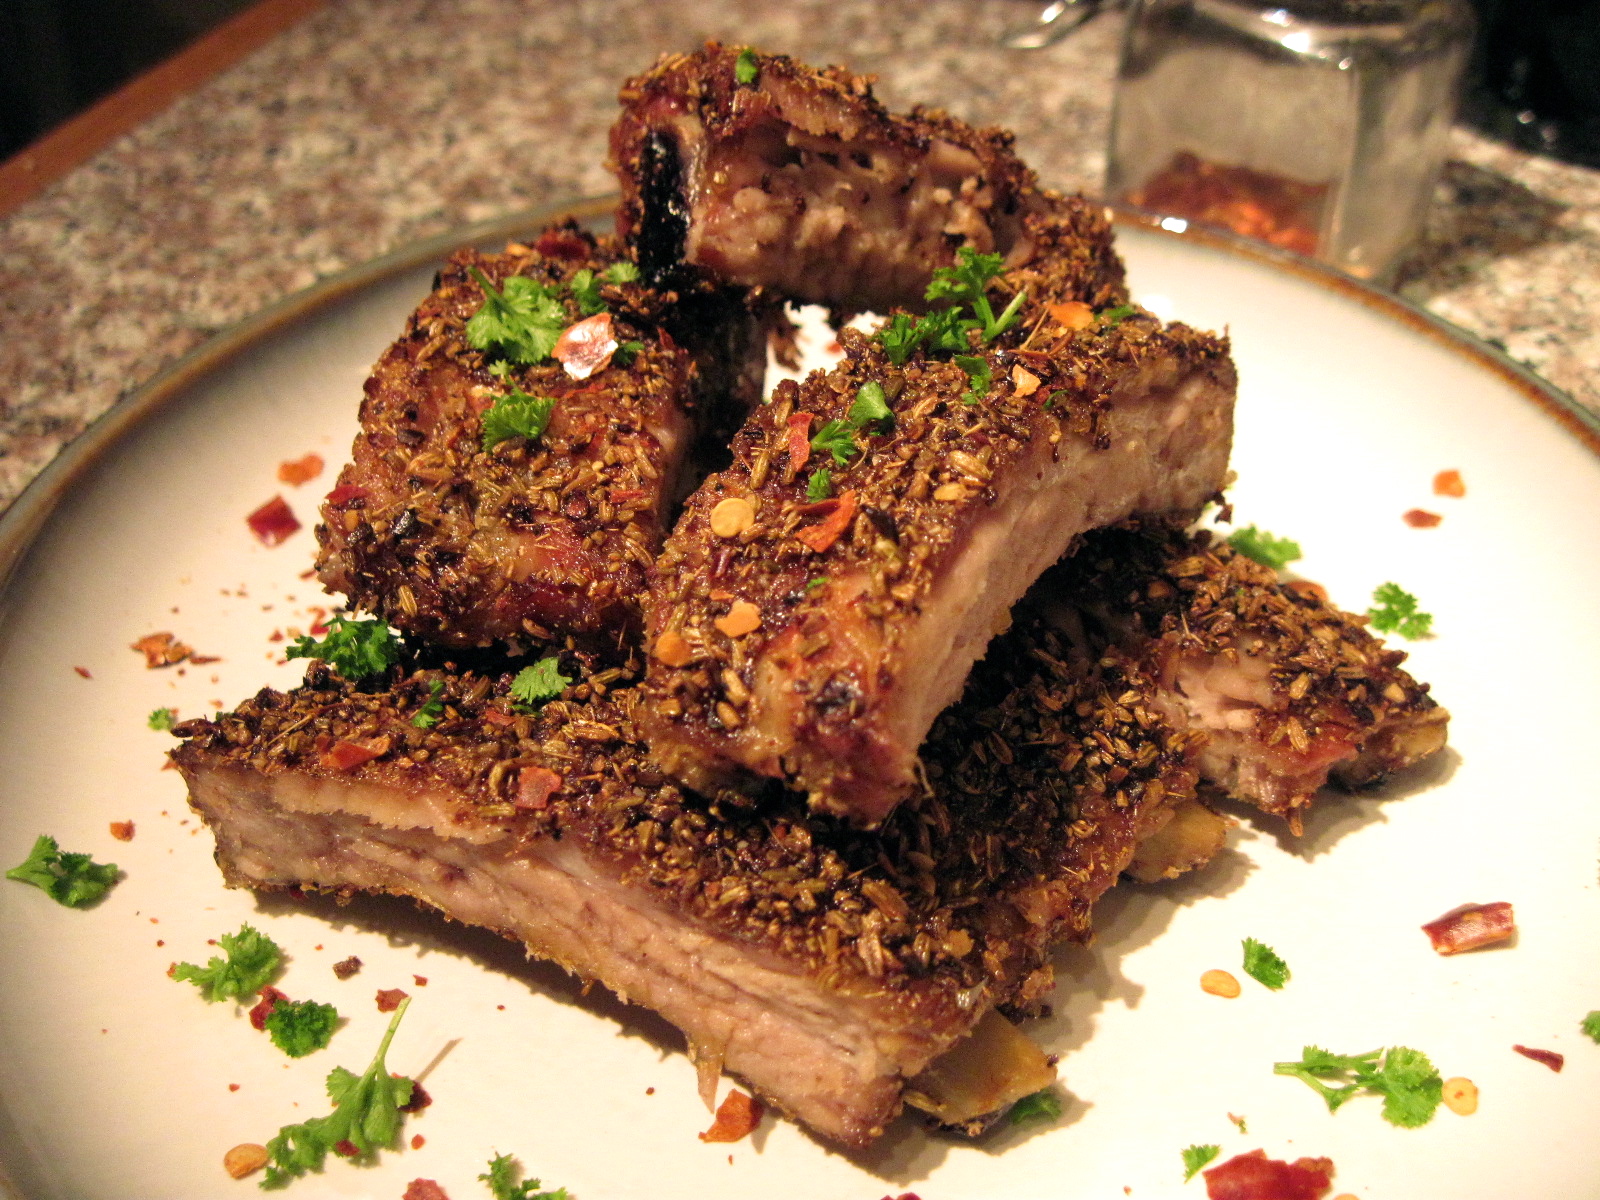 I was reading Heidi Swanson’s beautiful blog 101 Cookbooks a while back, and she mentioned that her newest cookbook was a contestant in The Piglet at Food 52. I had never heard of either of these, so I clicked over to find out more. Turns out that Food 52 is a fairly awesome online foodie community, and The Piglet is a cookbook tournament hosted by the site. The tournament pits 16 cookbooks against each other in a bracket, and well-known foodie types (and a few non-foodie types) review them to decide who makes it to the next round. Heidi’s cookbook, Super Natural Every Day, was up against a cookbook called Cooking in the Moment, and Nigella Lawson was the judge. She wrote a wonderfully informative review of both cookbooks and spoke so highly of these spareribs with crushed fennel and red chilis from Cooking in the Moment that I immediately Googled the recipe.
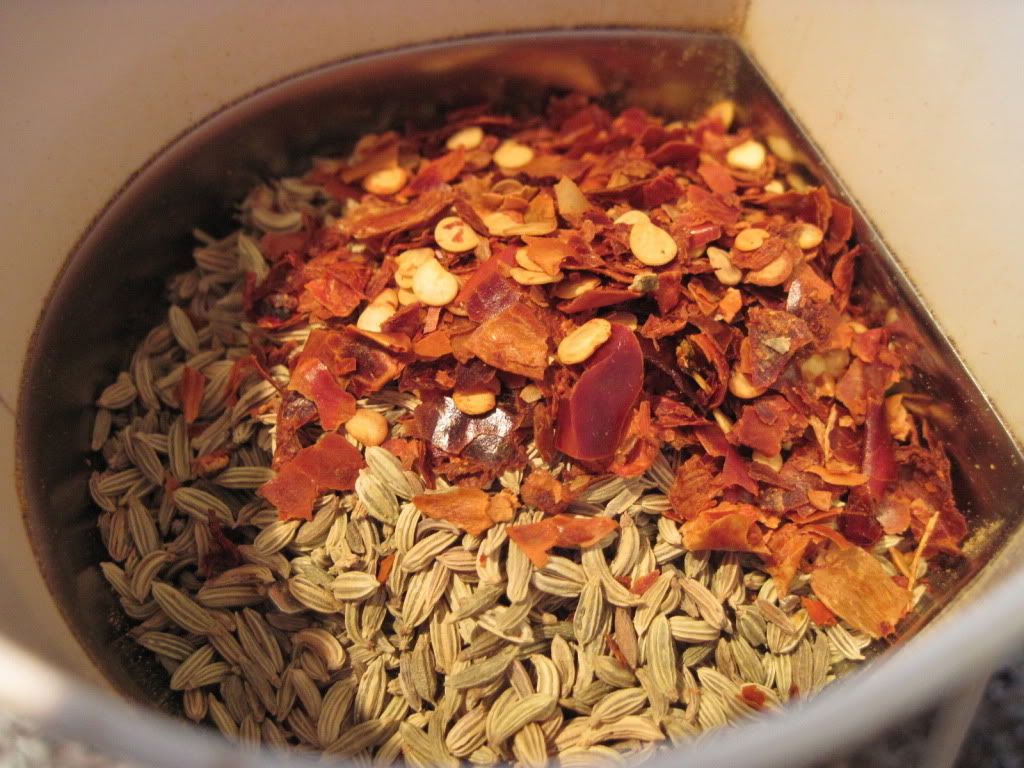
I did a bit of tweaking, but this is pretty much the simplest recipe I’ve ever seen for ribs and also one of the tastiest. I usually like ribs slathered in some kind of sauce, but I’ve made this dry-rub version about four times now, and it’s quickly becoming my favorite way to make ribs. Fennel can be a fairly strong flavour, but the roasting it gets in the oven mellows it out and melds it really well with the heat of the chilis. My one piece of advice would be to be sure to use a dedicated coffee grinder just for spices, as I’m pretty sure mine will never not smell like fennel from now on! (Good thing I’m not a coffee drinker!)
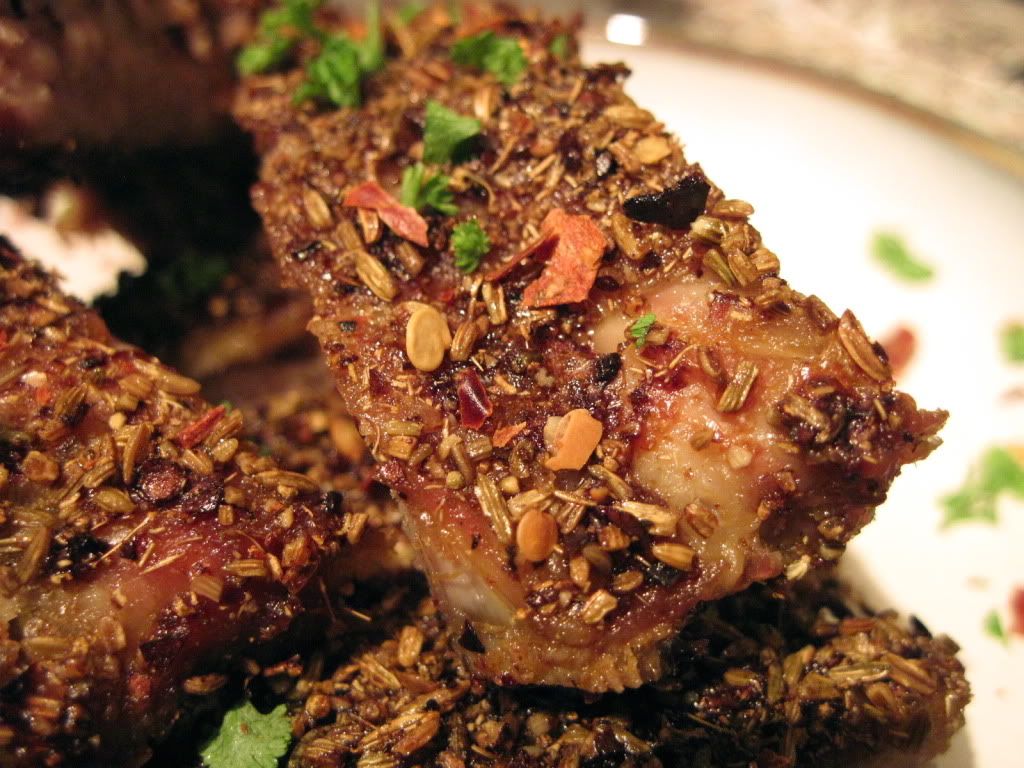
Fennel & Chili Spiced Ribs
Adapted from Cooking in the Moment by Andrea Reusing
Preheat the oven to 450˚F while you prepare the ribs.
Spice Rub
In a coffee or spice grinder, pulverise:
2 tbsp whole fennel seeds
1 tbsp dried chili flakes (use more or less to adjust the heat to your preference)
(A word of caution: hold your breath when taking the lid off the grinder, unless you want to inhale fennel-chili dust and then sneeze for 10 minutes straight!)
Mix the pulverised spices with:
1/2 tsp cracked black pepper
scant 1/2 tsp coarse sea salt
Set aside.

Ribs
2 lbs pork spareribs (I used slightly less than this)
Turn the ribs over, bone-side up, and peel off the thin membrane. Rub the ribs on both sides with 1 tbsp vegetable oil, then cover both sides with the spice rub.
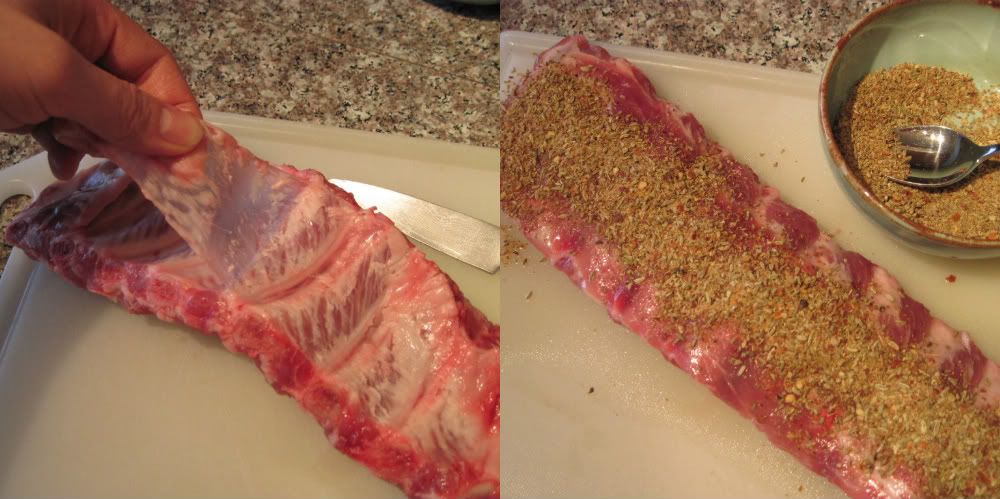
Place the ribs on a rack over a roasting pan and roast at 450˚F for 15 minutes, then reduce the heat to 375˚F and roast for another hour or so, until the meat comes away from the bones easily.
Cut into individual ribs by cutting between the bones.
Filipino Chicken Adobo
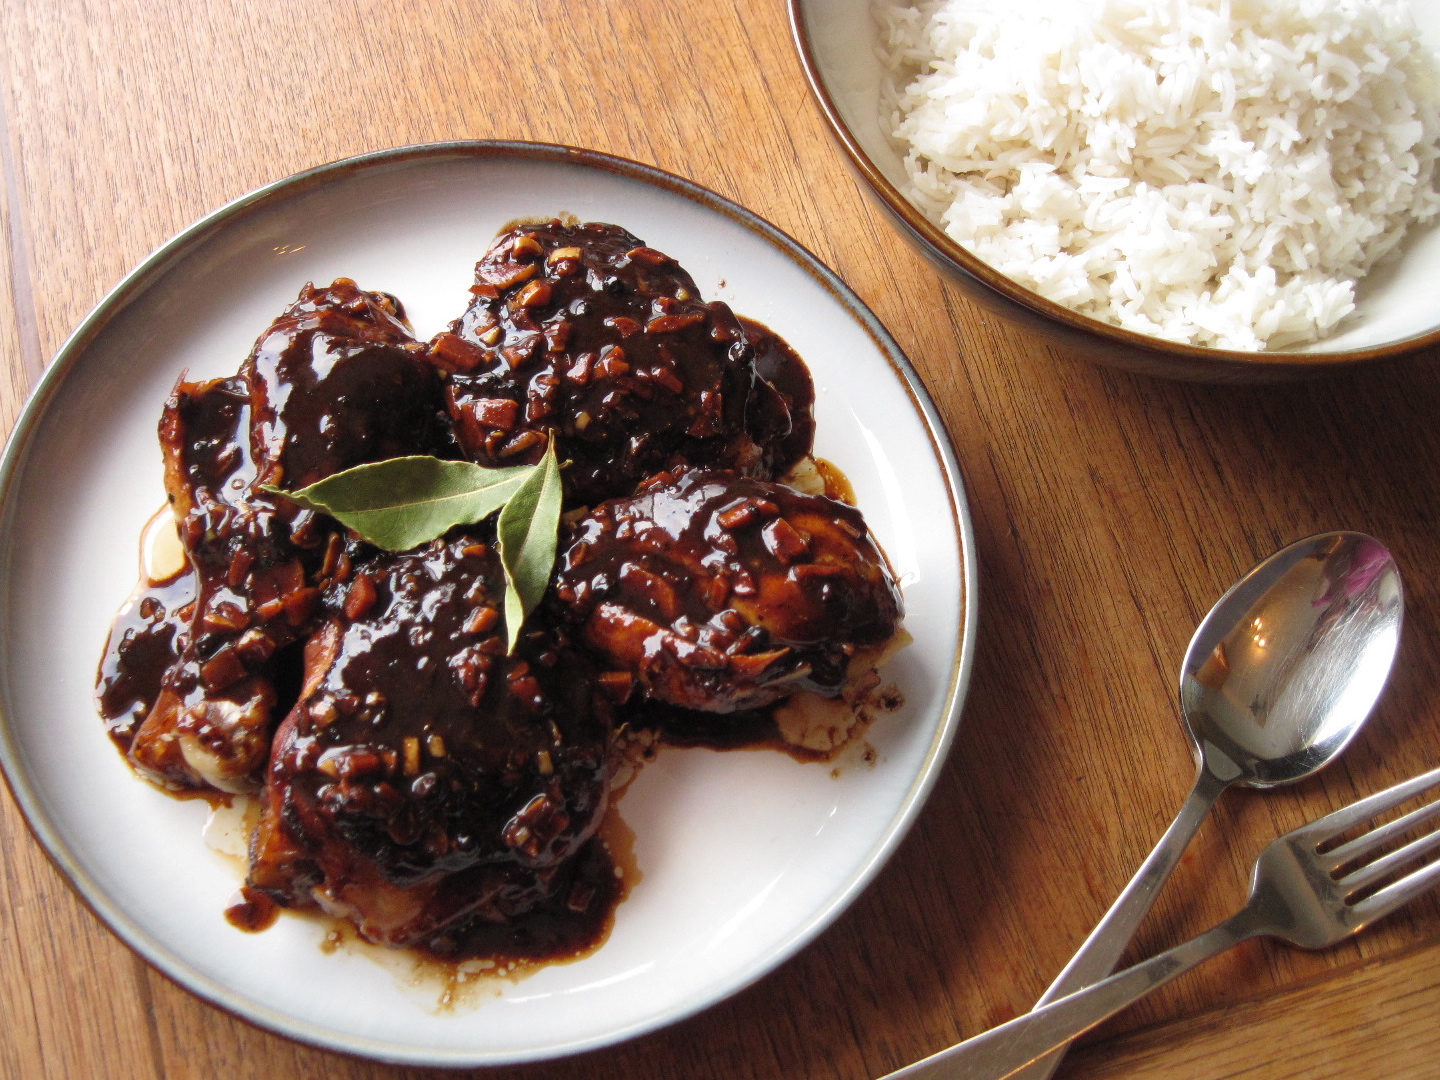 Chicken adobo is a Filipino dish that I’ve had my eye on for quite a while. I worked with a girl who would bring chicken adobo leftovers for lunch and then rave about how it was her favorite thing ever, so naturally my interest was piqued. I did a few internet searches and discovered that adobo just means vinegary sauce (hence “chipotles in adobo” is essentially smoked jalapenos in vinegar), and that there are as many versions of chicken adobo as there are people making it (which is to say, a lot!). The main ingredients in Filipino adobo are soy sauce, vinegar, garlic, black pepper corns, bay leaves, and sometimes coconut milk, and the meat can be either chicken or pork or both.
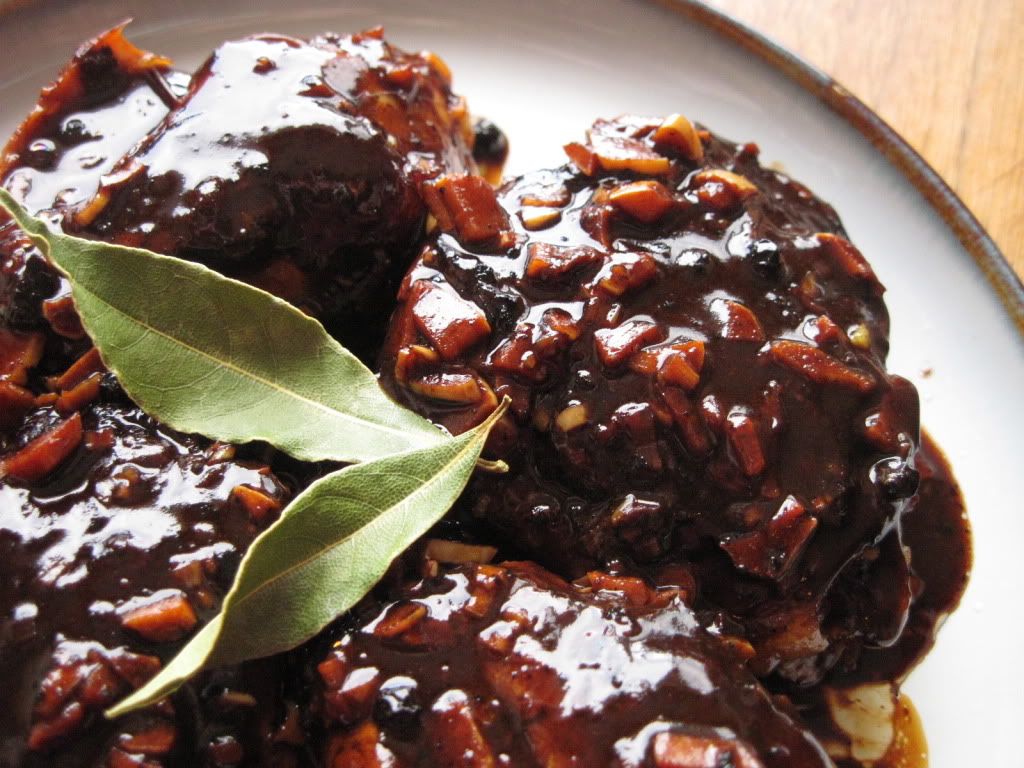
I found an awesome-sounding chicken adobo recipe and sort of had it in mind to make one of these days, when the other day I was browsing through the latest issue of Cook’s Illustrated and lo-and-behold, there was a chicken adobo recipe! Cook’s Illustrated does some pretty serious recipe testing so I was quite sure this one would be good – and it is. Tangy and salty but not too much of either, it also has coconut milk in the sauce – which doesn’t make it taste coconutty, but rather cuts the sourness of the sauce and gives it some nice body. One of the drawbacks to most of the recipes I looked at was that they required a long marinating time, whereas this one can be done in an hour, including marinating, and manages to taste dang good. And it only requires basic pantry items. Make this for dinner – you will thank yourself!
Filipino Chicken Adobo
Adapted from the March/April 2012 issue of Cook’s Illustrated. Serves 2 and can easily be doubled.
In a ziplock bag or bowl, combine:
4 skin-on, bone-in chicken thighs and/or drumsticks
3 scant tbsp soy sauce
Marinate in the fridge for 30 minutes to 1 hour.
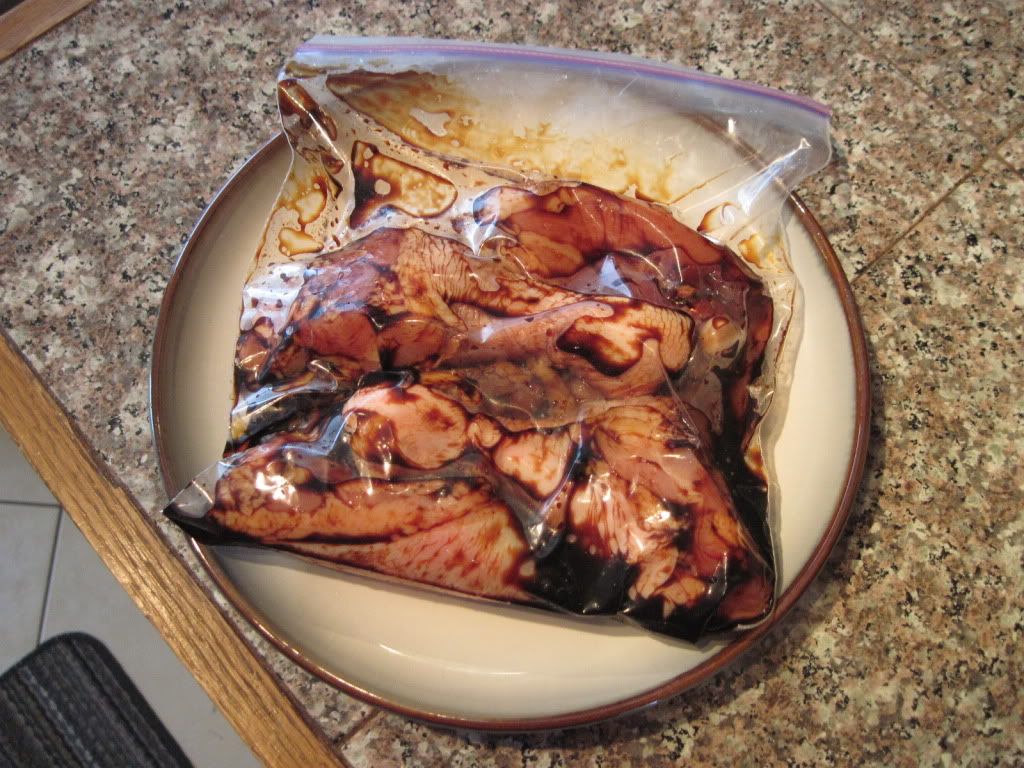
Remove the chicken from the soy sauce, let the excess drip off, and place the chicken, skin side down, in a cold 8″ skillet (non-stick is recommended!). Reserve the soy sauce in a bowl.
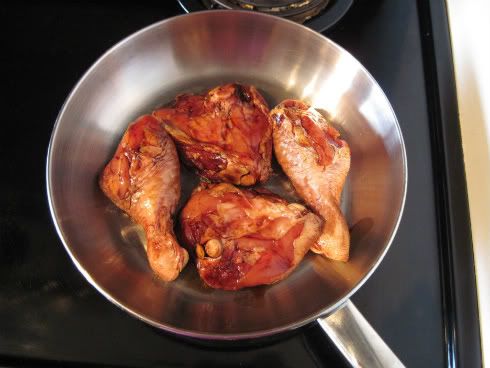
Place the skillet over medium-high heat and cook until the chicken skin is browned and the fat under the skin has rendered out, 5 to 7 minutes.
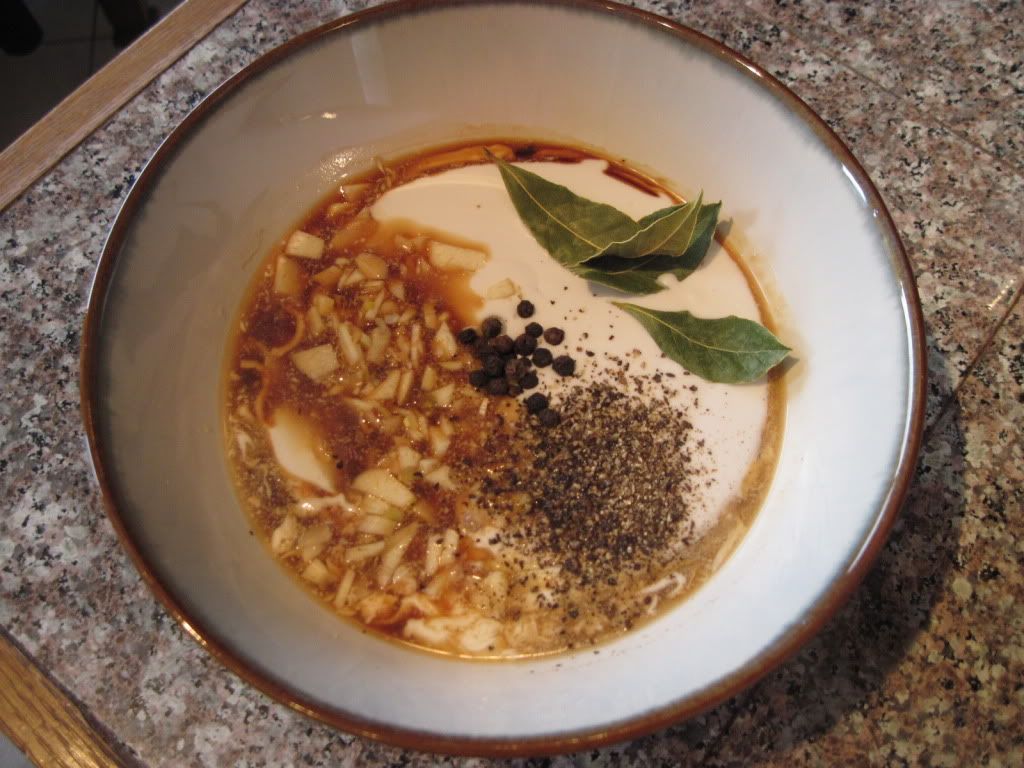
Meanwhile, mix the reserved soy sauce with:
1/2 a can of coconut milk
6 tbsp apple cider vinegar
4 cloves of garlic, roughly chopped
1 tsp freshly ground black pepper (or 1/2 tsp ground and 1/2 tsp whole pepper corns)
2-3 bay leaves
When the chicken has browned, remove it to a plate and pour the fat out of the pan. Return the chicken to the pan, skin side down, and pour in the soy-coconut-vinegar mixture.
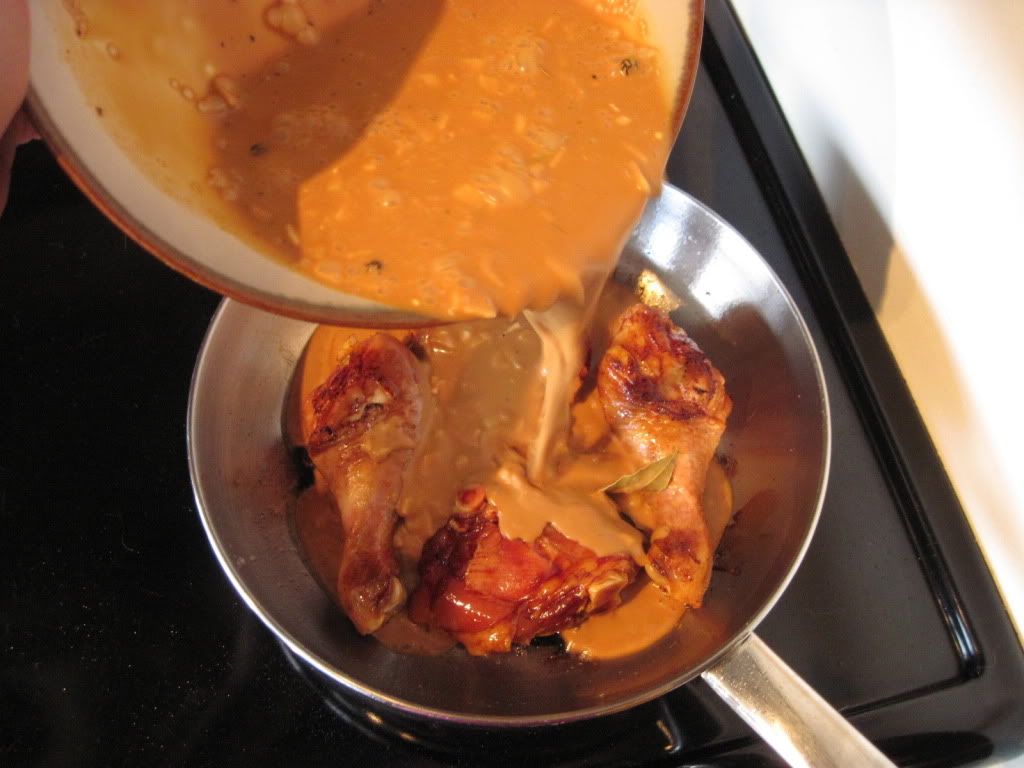
Bring it to a boil, then lower the heat to medium-low and simmer, uncovered, for about 20 minutes.
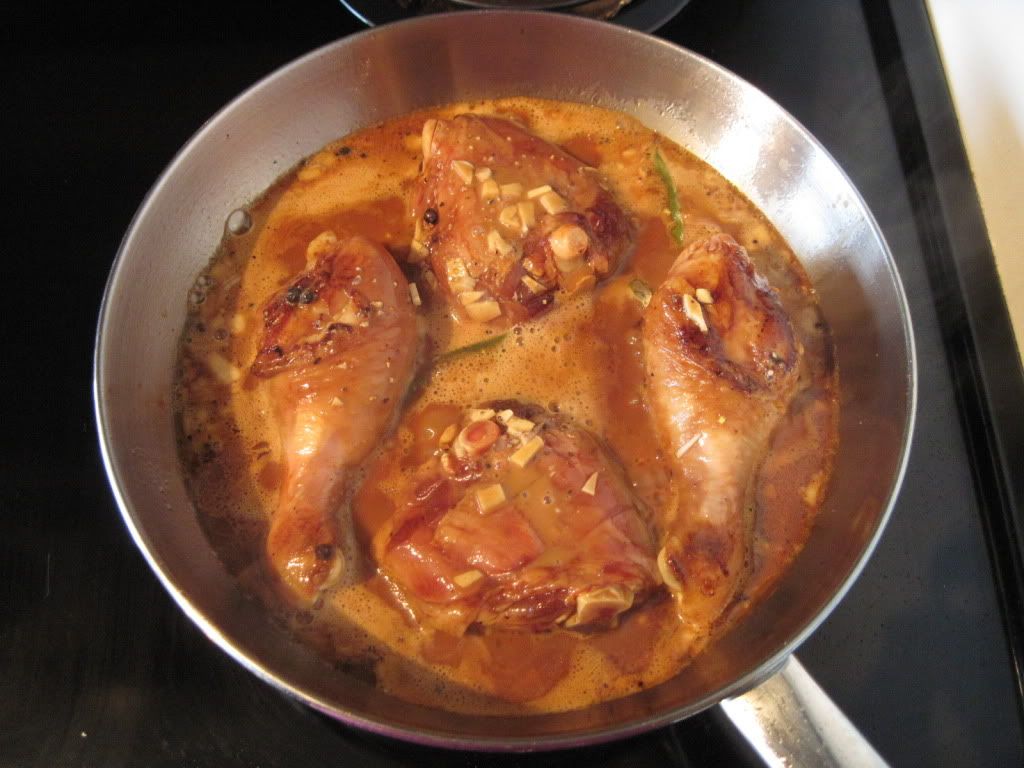
Turn the chicken over and simmer for another 15 minutes, or until the chicken reaches 175˚F on a thermometer.
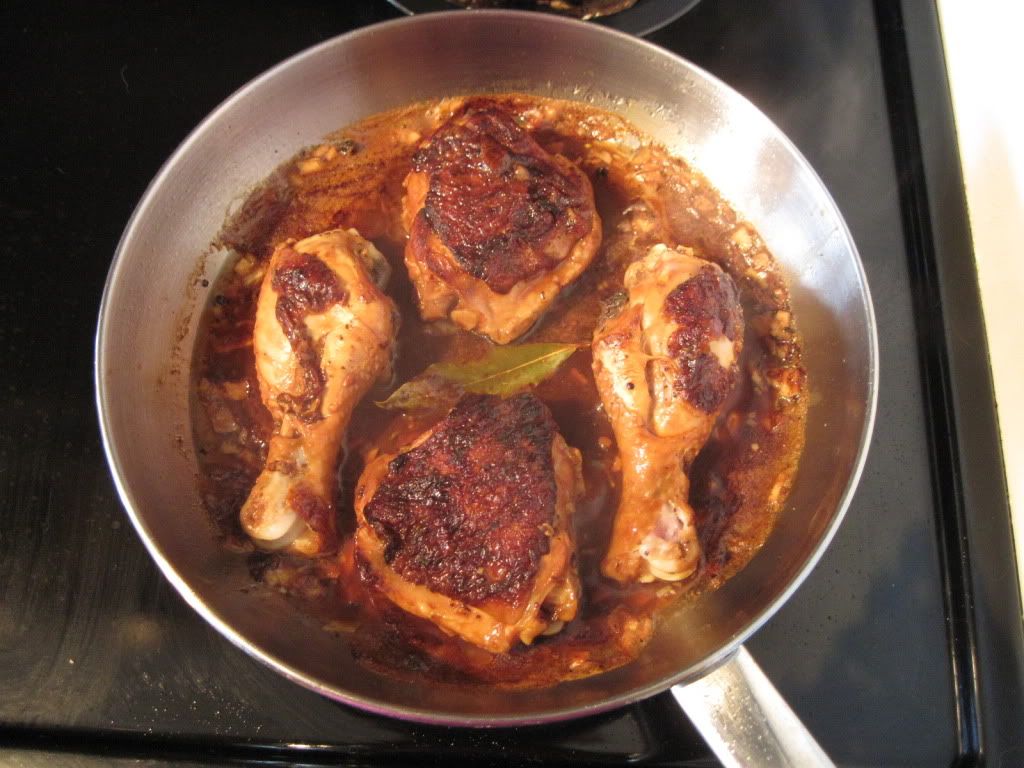
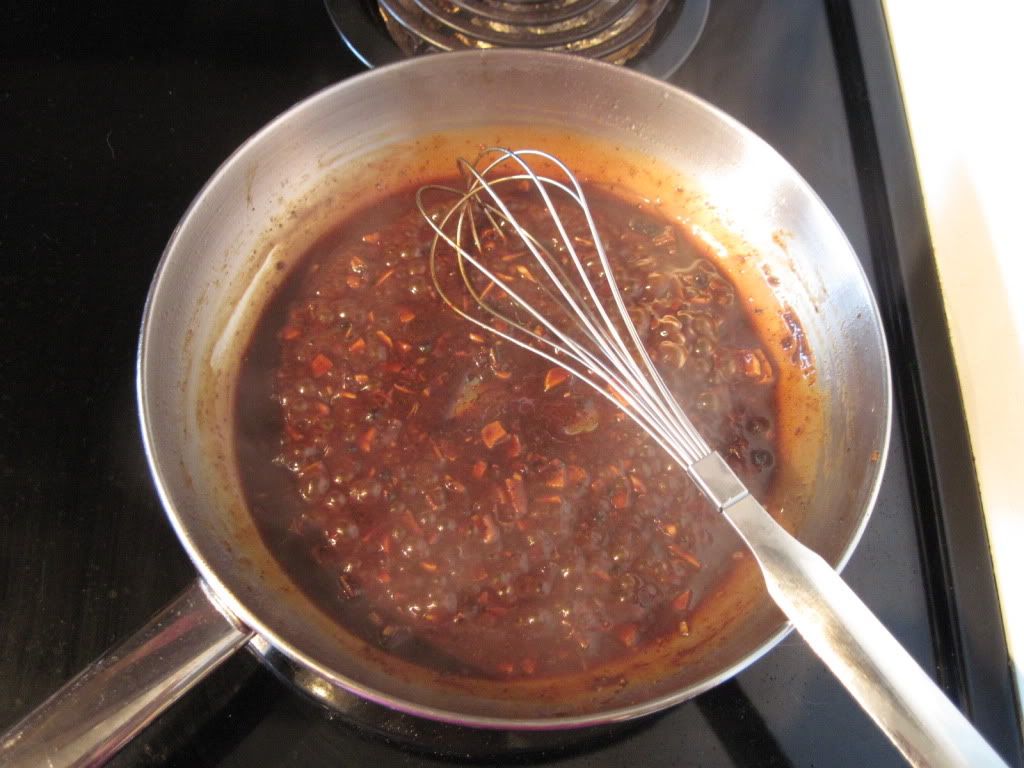
Put the chicken on a plate and cover it lightly with foil. Skim any fat out of the sauce left in the pan and remove the bay leaves. Return the sauce to medium-high heat and simmer to thicken if needed – or you can add a few tablespoons of water if it is too thick already (in my case!).
Pour the sauce over the chicken and serve with steamed rice.
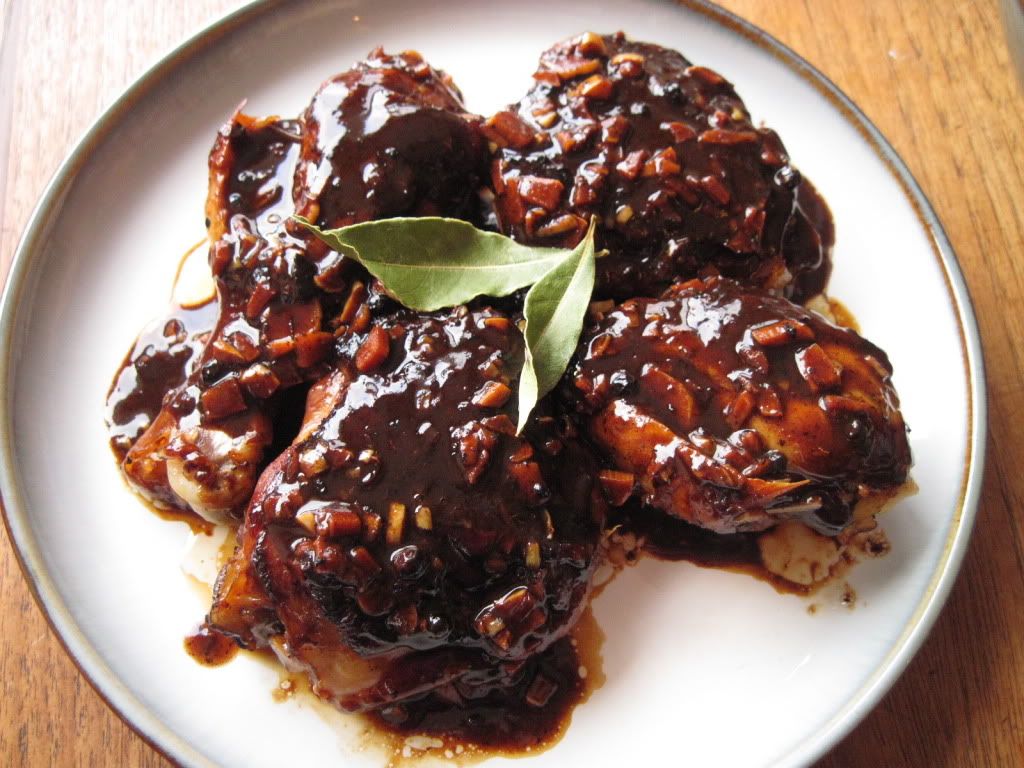
(10 points if you can figure out what colour shirt I was wearing when I took the first photo in this post!)
Pasta Shells with Chicken, Bocconcini, and Cherry Tomatoes
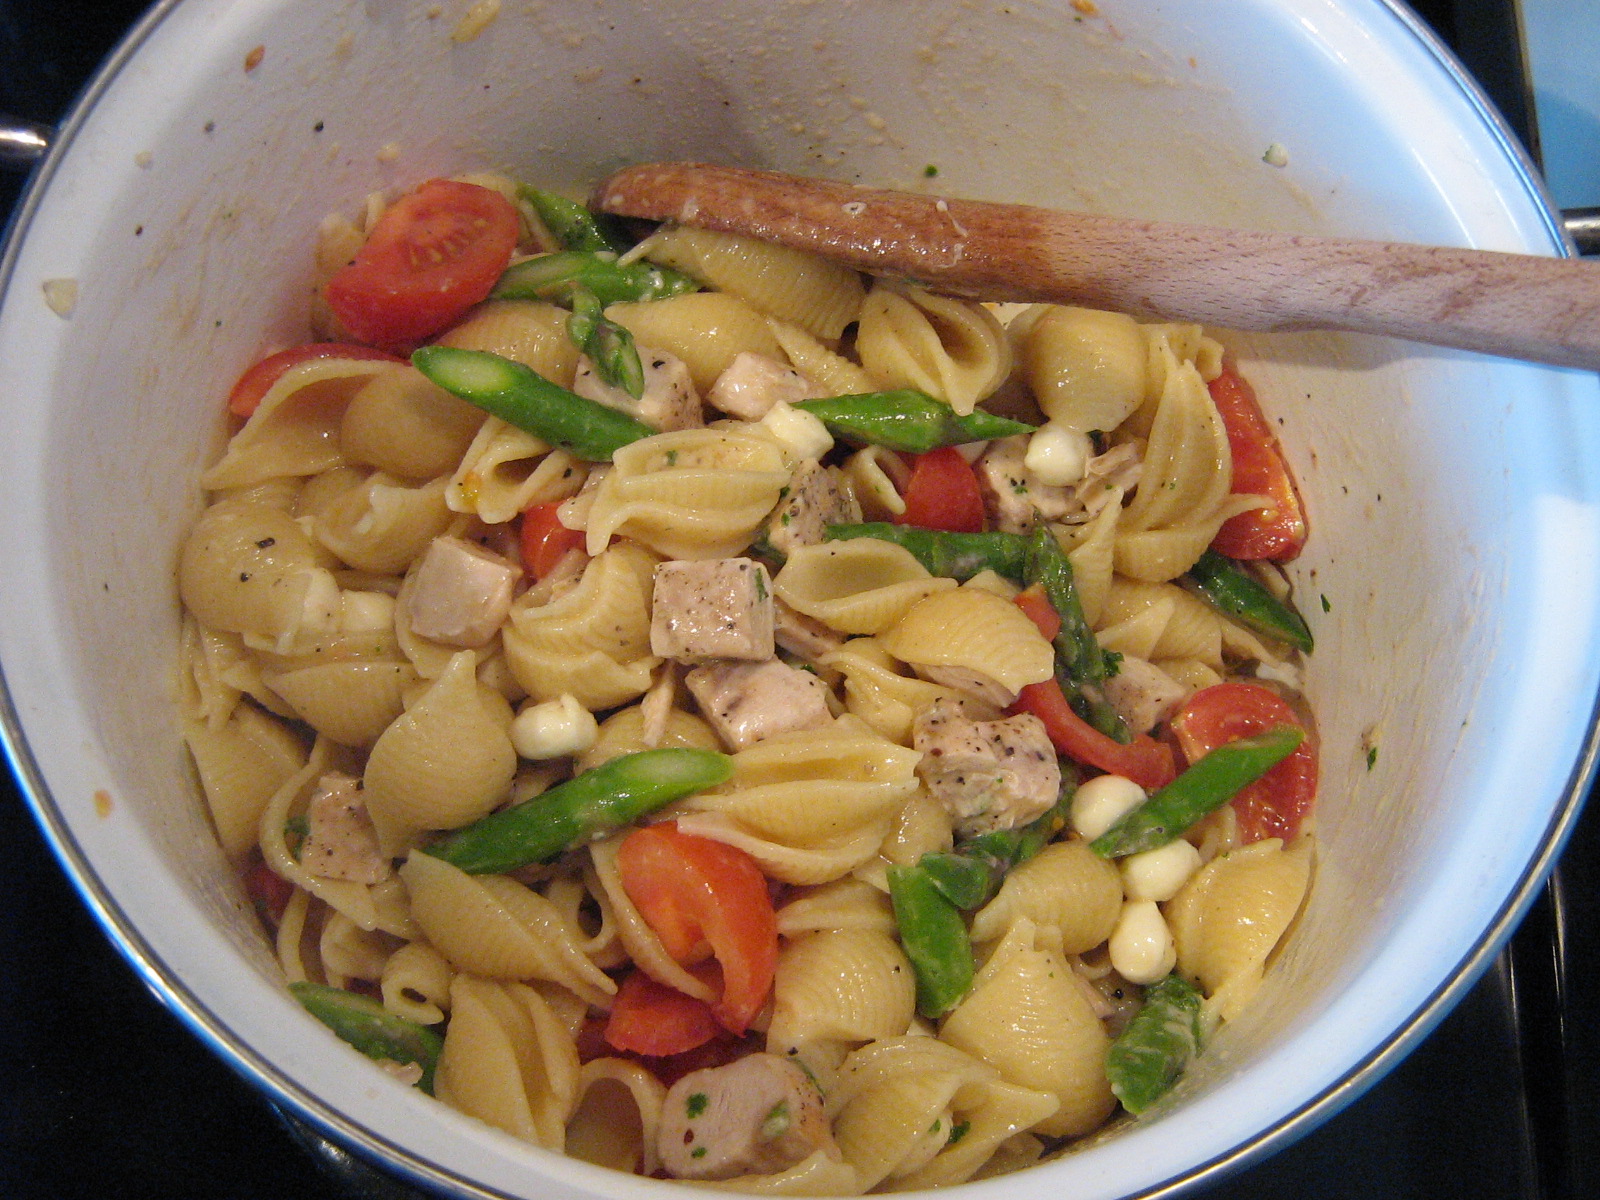
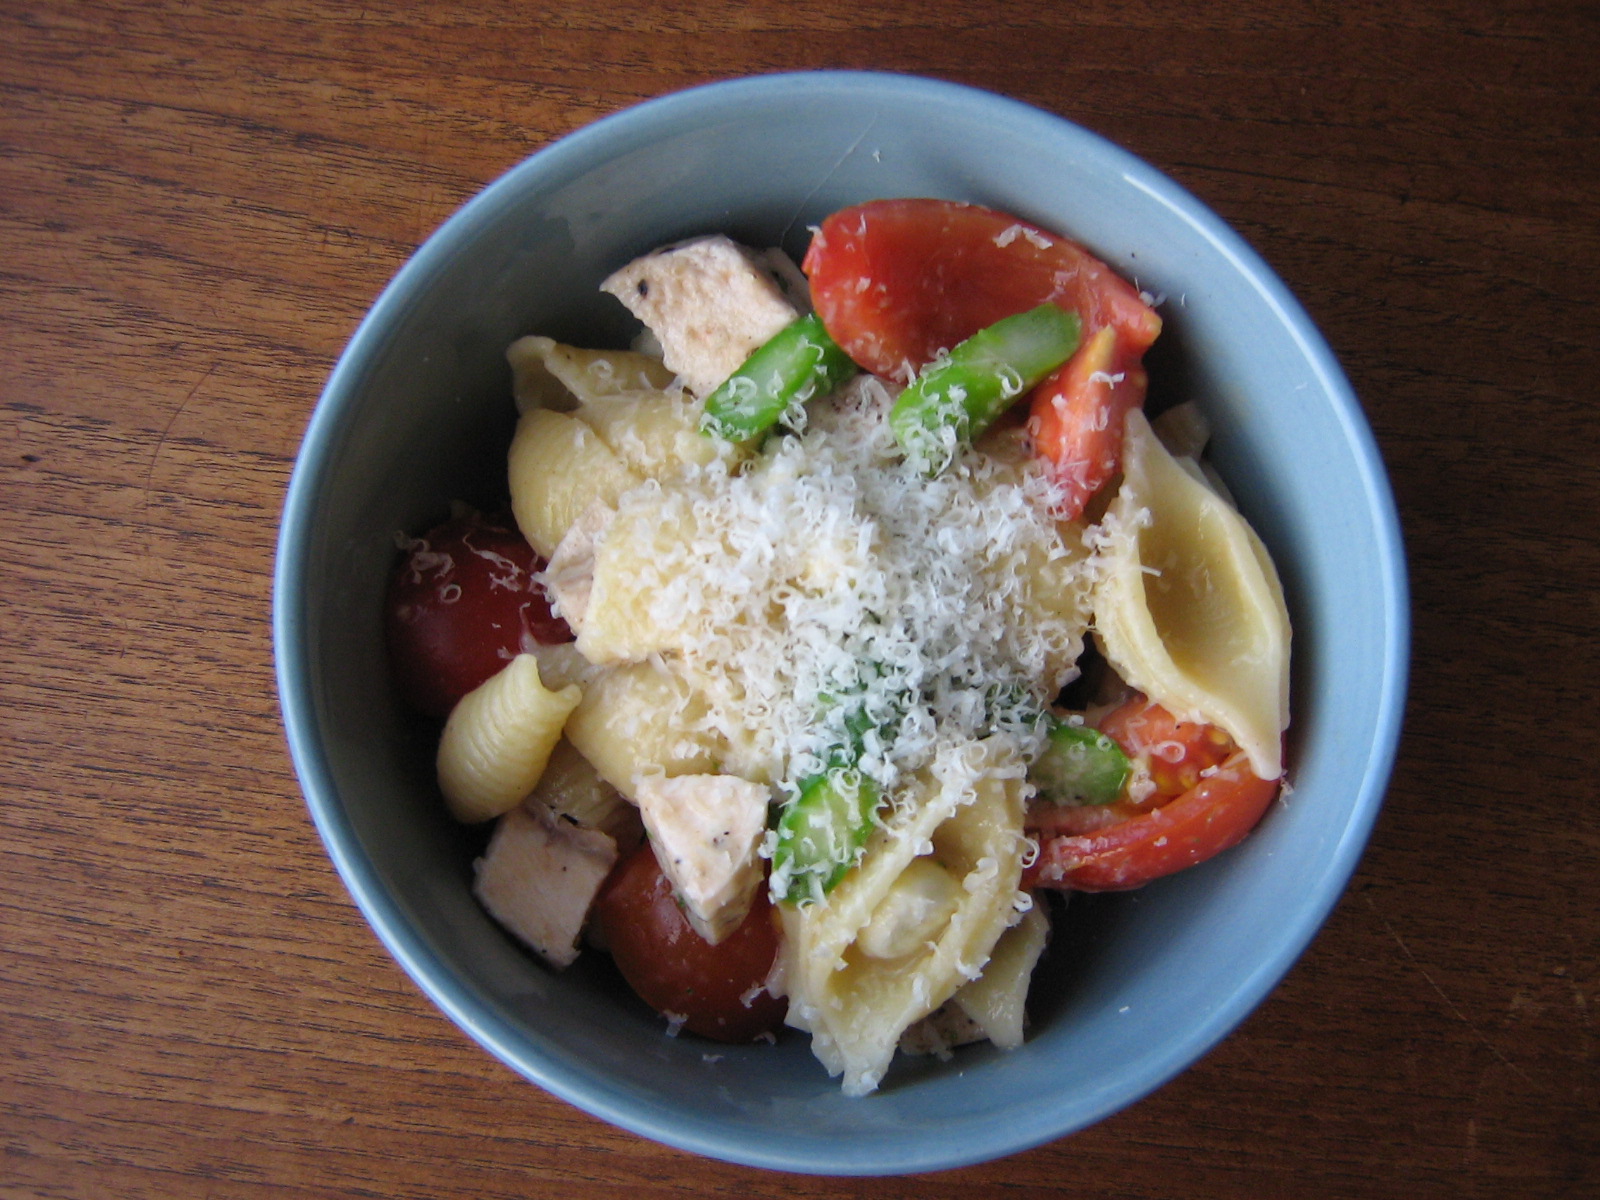
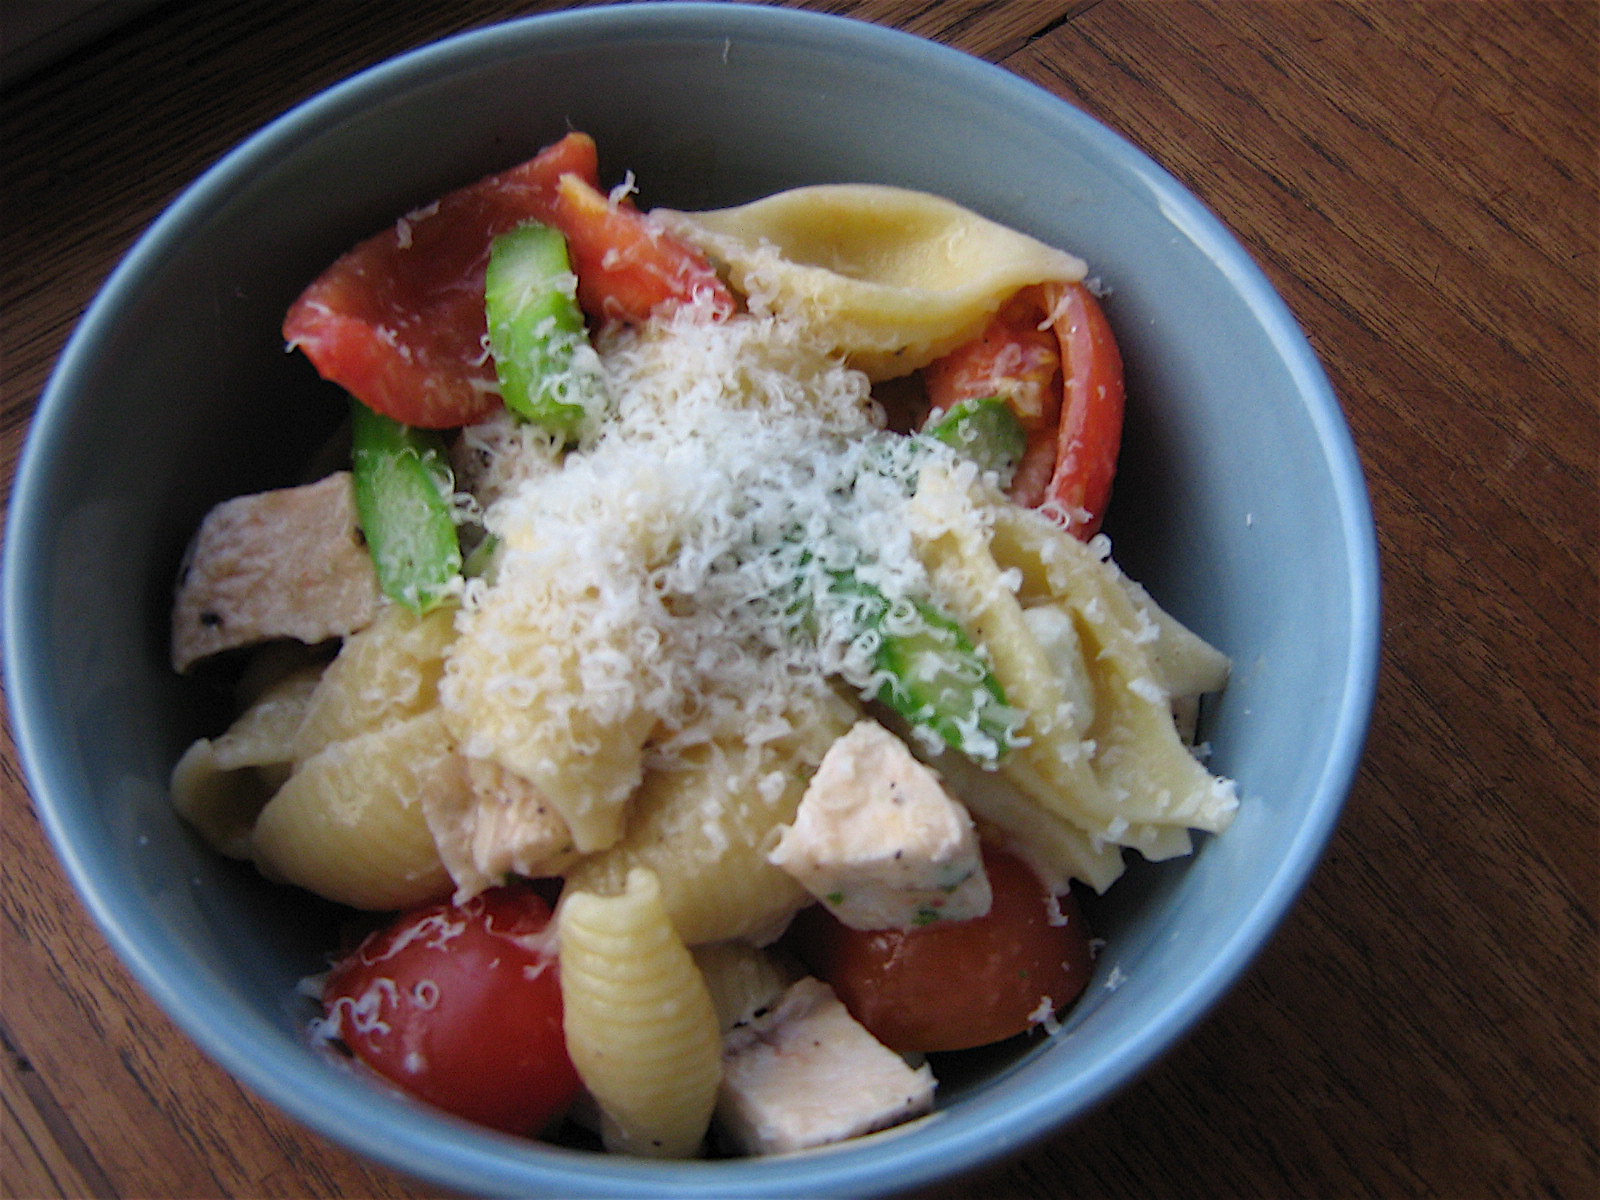 It’s been a long, busy week, and I’m kind of uninspired in the kitchen right now, so it seems that now is a good time to share this pasta dish that I made several months ago. The recipe comes from my trusted friend Martha’s Everyday Food magazine, which I was fortunate enough to have been gifted a subscription to a few years back. This is my kind of pasta: chicken, cheese, fresh vegetables, and a light sauce. It’s SUPER easy to throw together – you barely even need to use measurements, just a handful of this and a handful of that – and you can make it even easier by using left-over chicken. Aside from cooking the chicken, this is a one pot meal: you boil the pasta, drain it, and then toss everything right into the pot with the pasta along with some parmesan, butter, and a splash of the pasta cooking water. Really good, really simple, and now I want it for dinner!
One thing to note – because the tomatoes are just mixed in with the hot pasta and cooking water, they don’t actually get cooked. Nate is not a huge fan of raw tomatoes (neither am I actually, but I don’t mind them here) so next time I will give the tomatoes a quick sauté in a hot pan with some butter or olive oil before adding them to the pasta.
Pasta Shells with Chicken, Bocconcini and Cherry Tomatoes
Adapted from Martha Stewart; serves 2 (with leftovers)
Season 6 – 8 chicken breast cutlets (depending on size) with salt and pepper, and cook on both sides under a preheated broiler or on a grill until cooked through. Cut into bit-sized pieces, cover to keep warm, and set aside.
Bring a large pot of salted water to a boil for the pasta. Meanwhile, assemble the other ingredients:
a handful of cherry or grape tomatoes (about 6 or 7), cut in quarters
several spears of asparagus, cut into one inch pieces
2 oz of bocconcini – about 2 large balls cut into 1/4″ dice, or a handful of tiny pearl or cherry bocconcini
a few handfuls of freshly grated parmesan
a small palmful of chopped parsley
1 soup bowl full of medium/large pasta shells – pasta tends to double in volume when cooked, so start with half the amount (raw) that you want to end up with (cooked) (or about 4 oz raw pasta, if you won’t want to eyeball it)
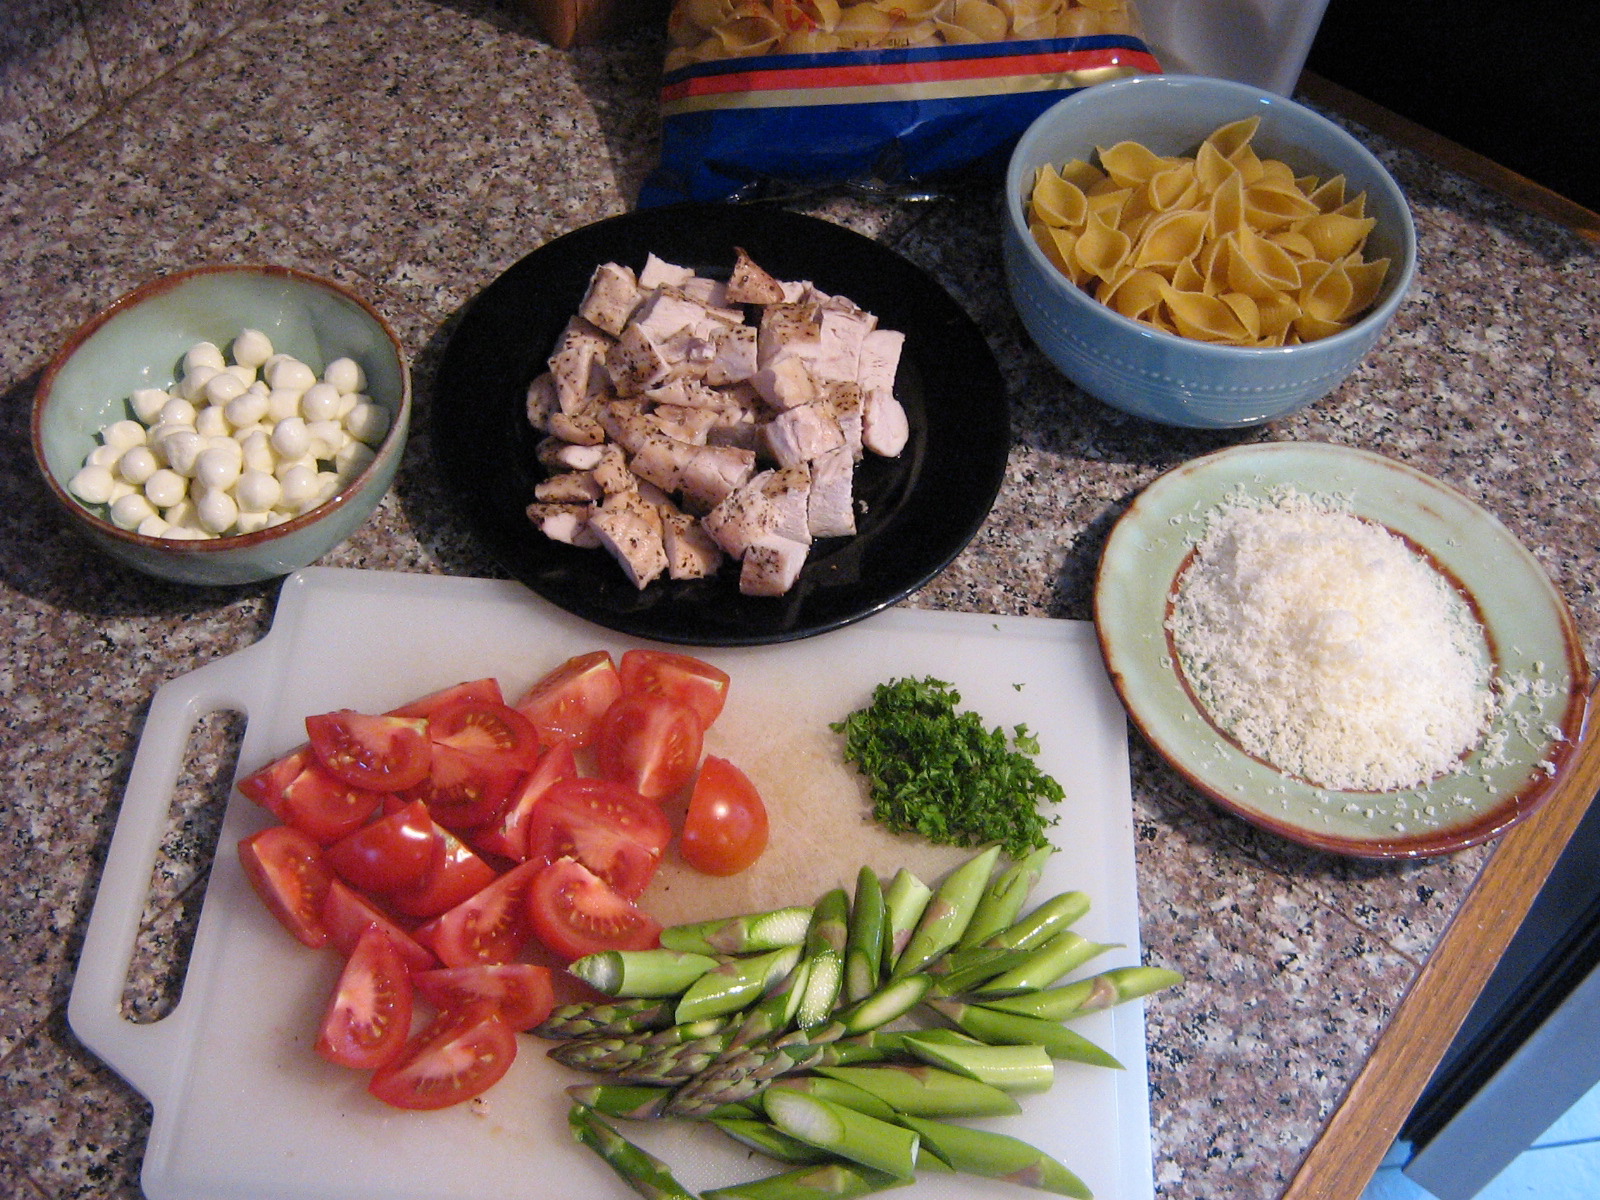 When the water boils, chuck in the pasta. When it is *just* al dente, toss in the asparagus and cook for about 30 seconds. Drain the pasta/asparagus in a colander, reserving about 1 cup of the pasta water. Working quickly so you don’t lose any residual heat, toss everything but the bocconcini in the pot along with:
about a tablespoon of butter
salt and pepper
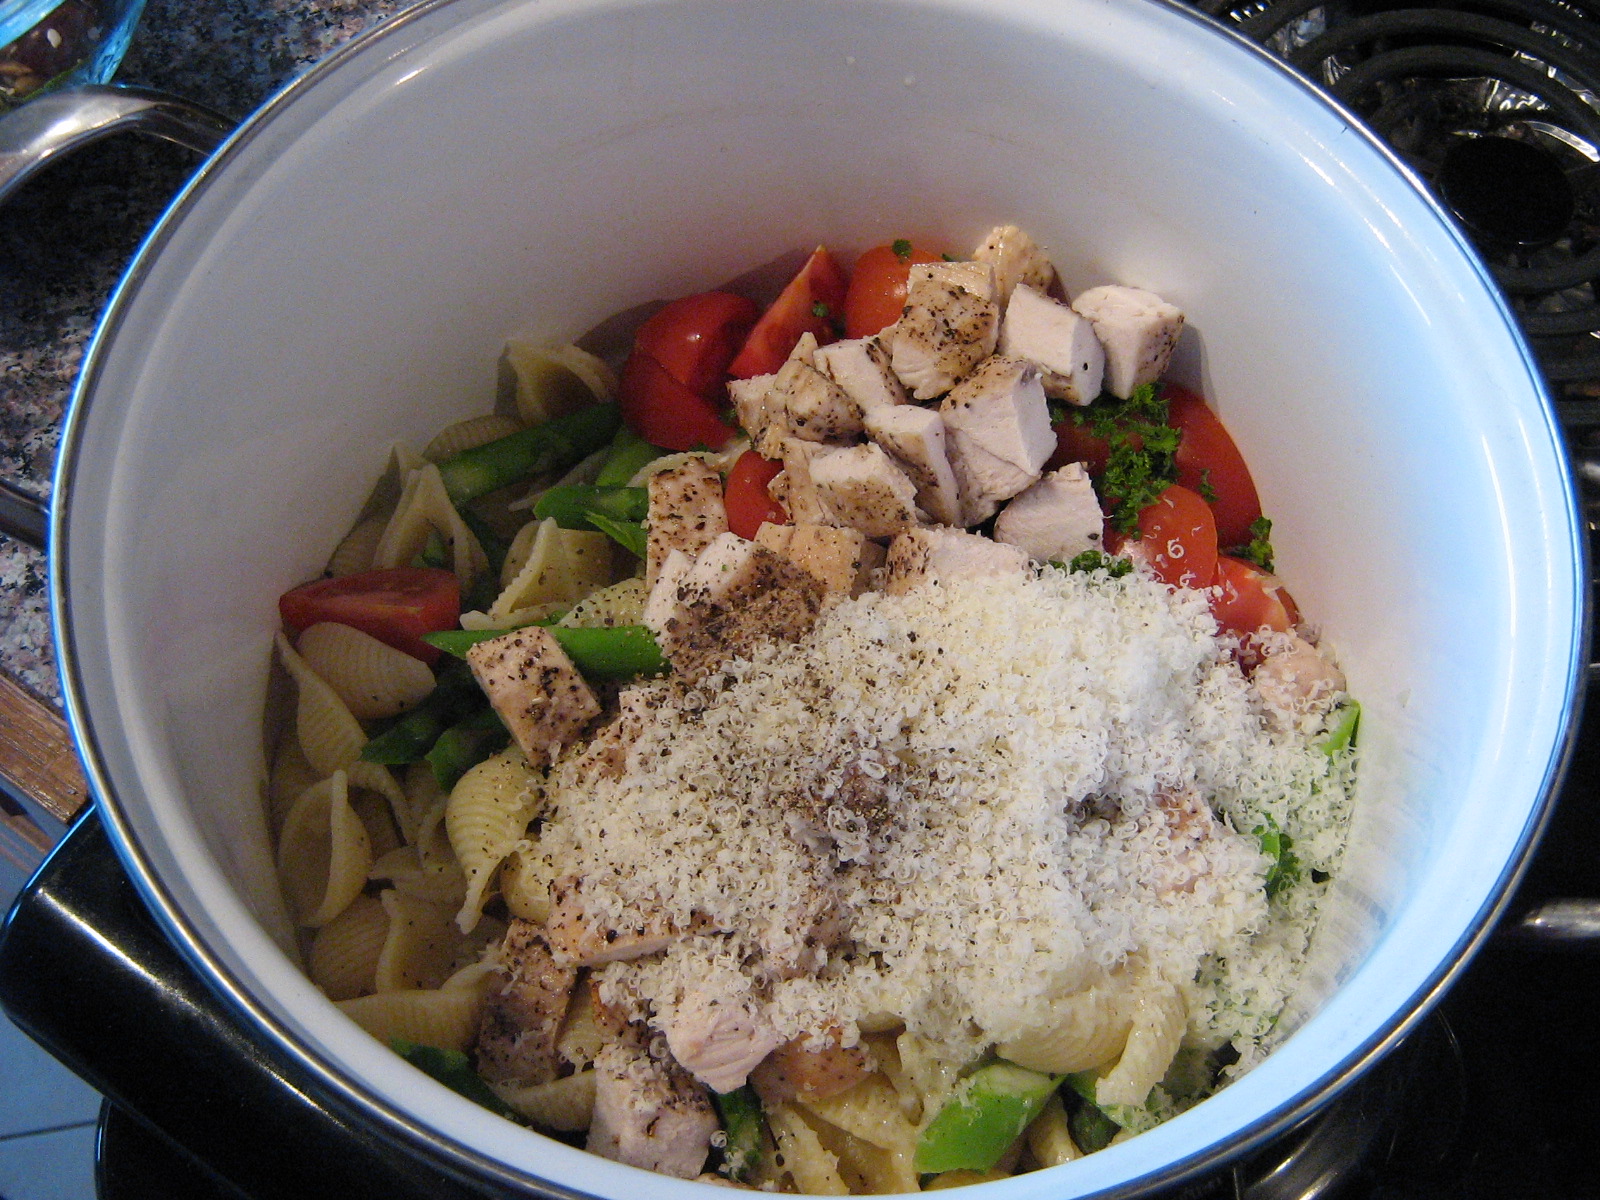 Stir to combine, adding the reserved pasta water a little at a time until you have a light sauce coating the pasta (you probably won’t need all the water). Stir in the bocconcini.
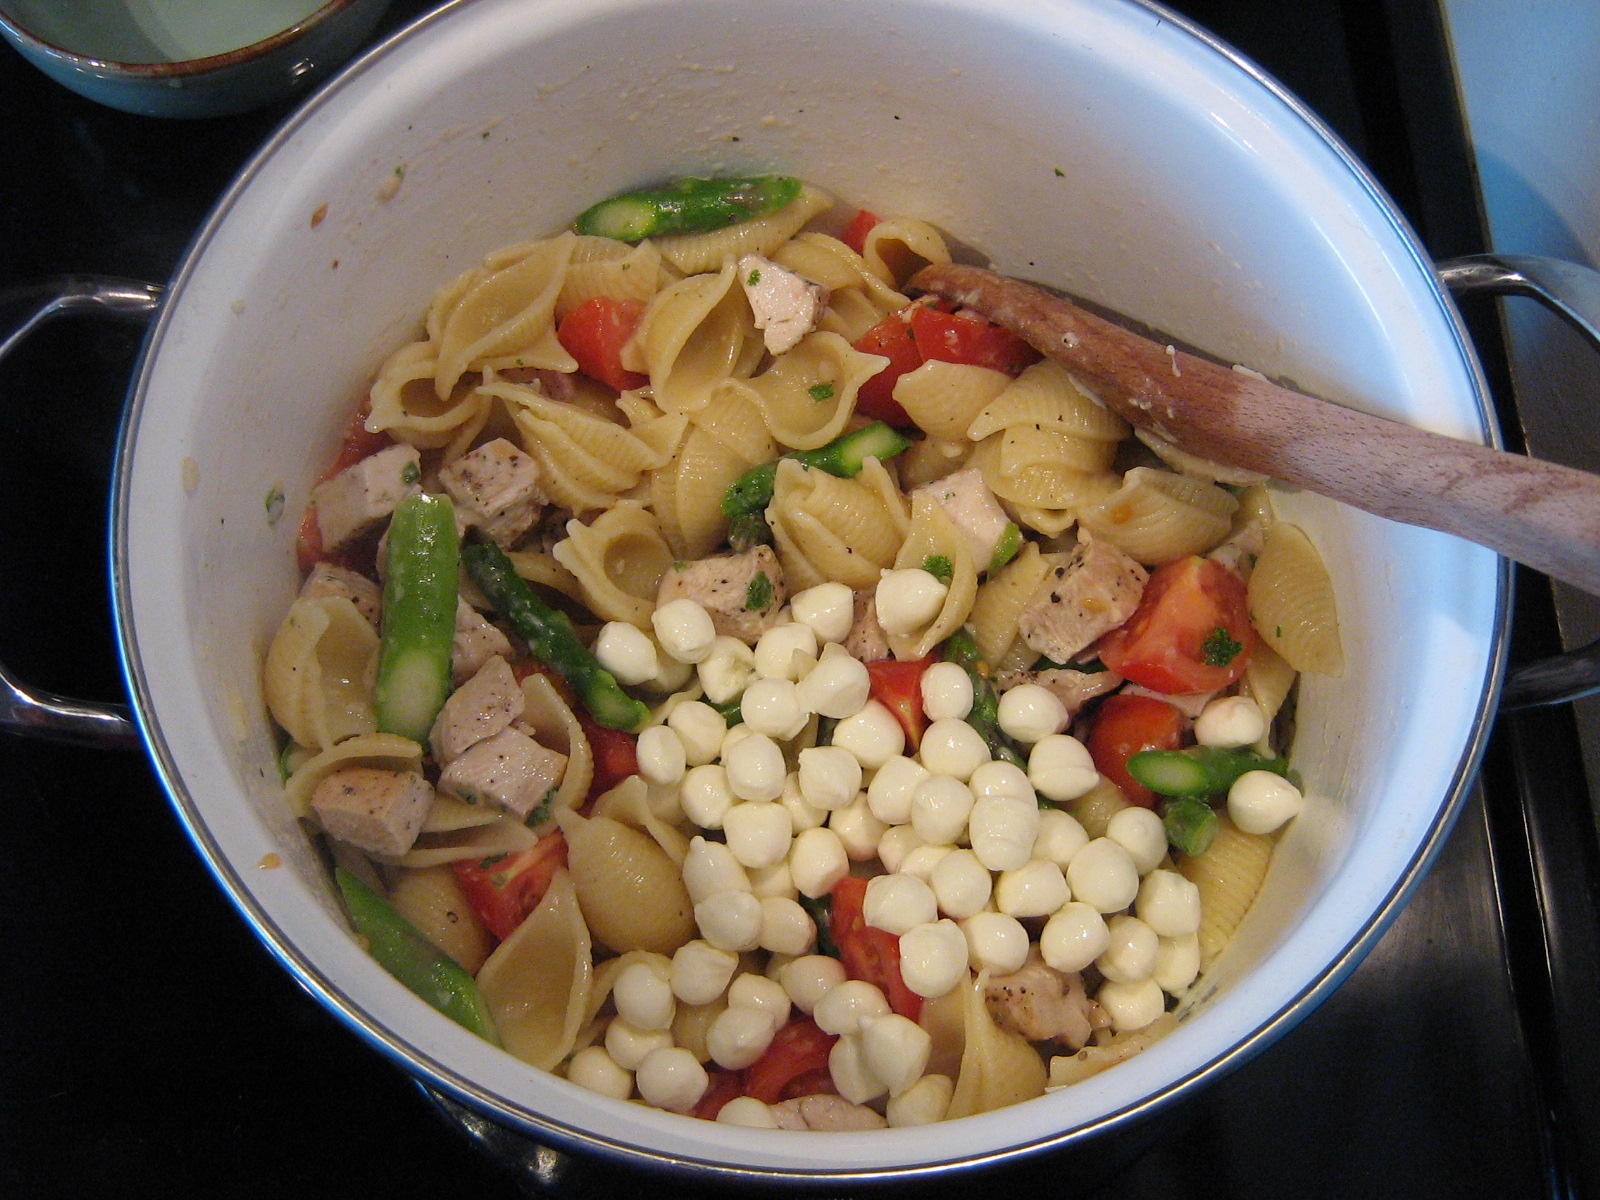
 Serve with more grated parmesan on top.
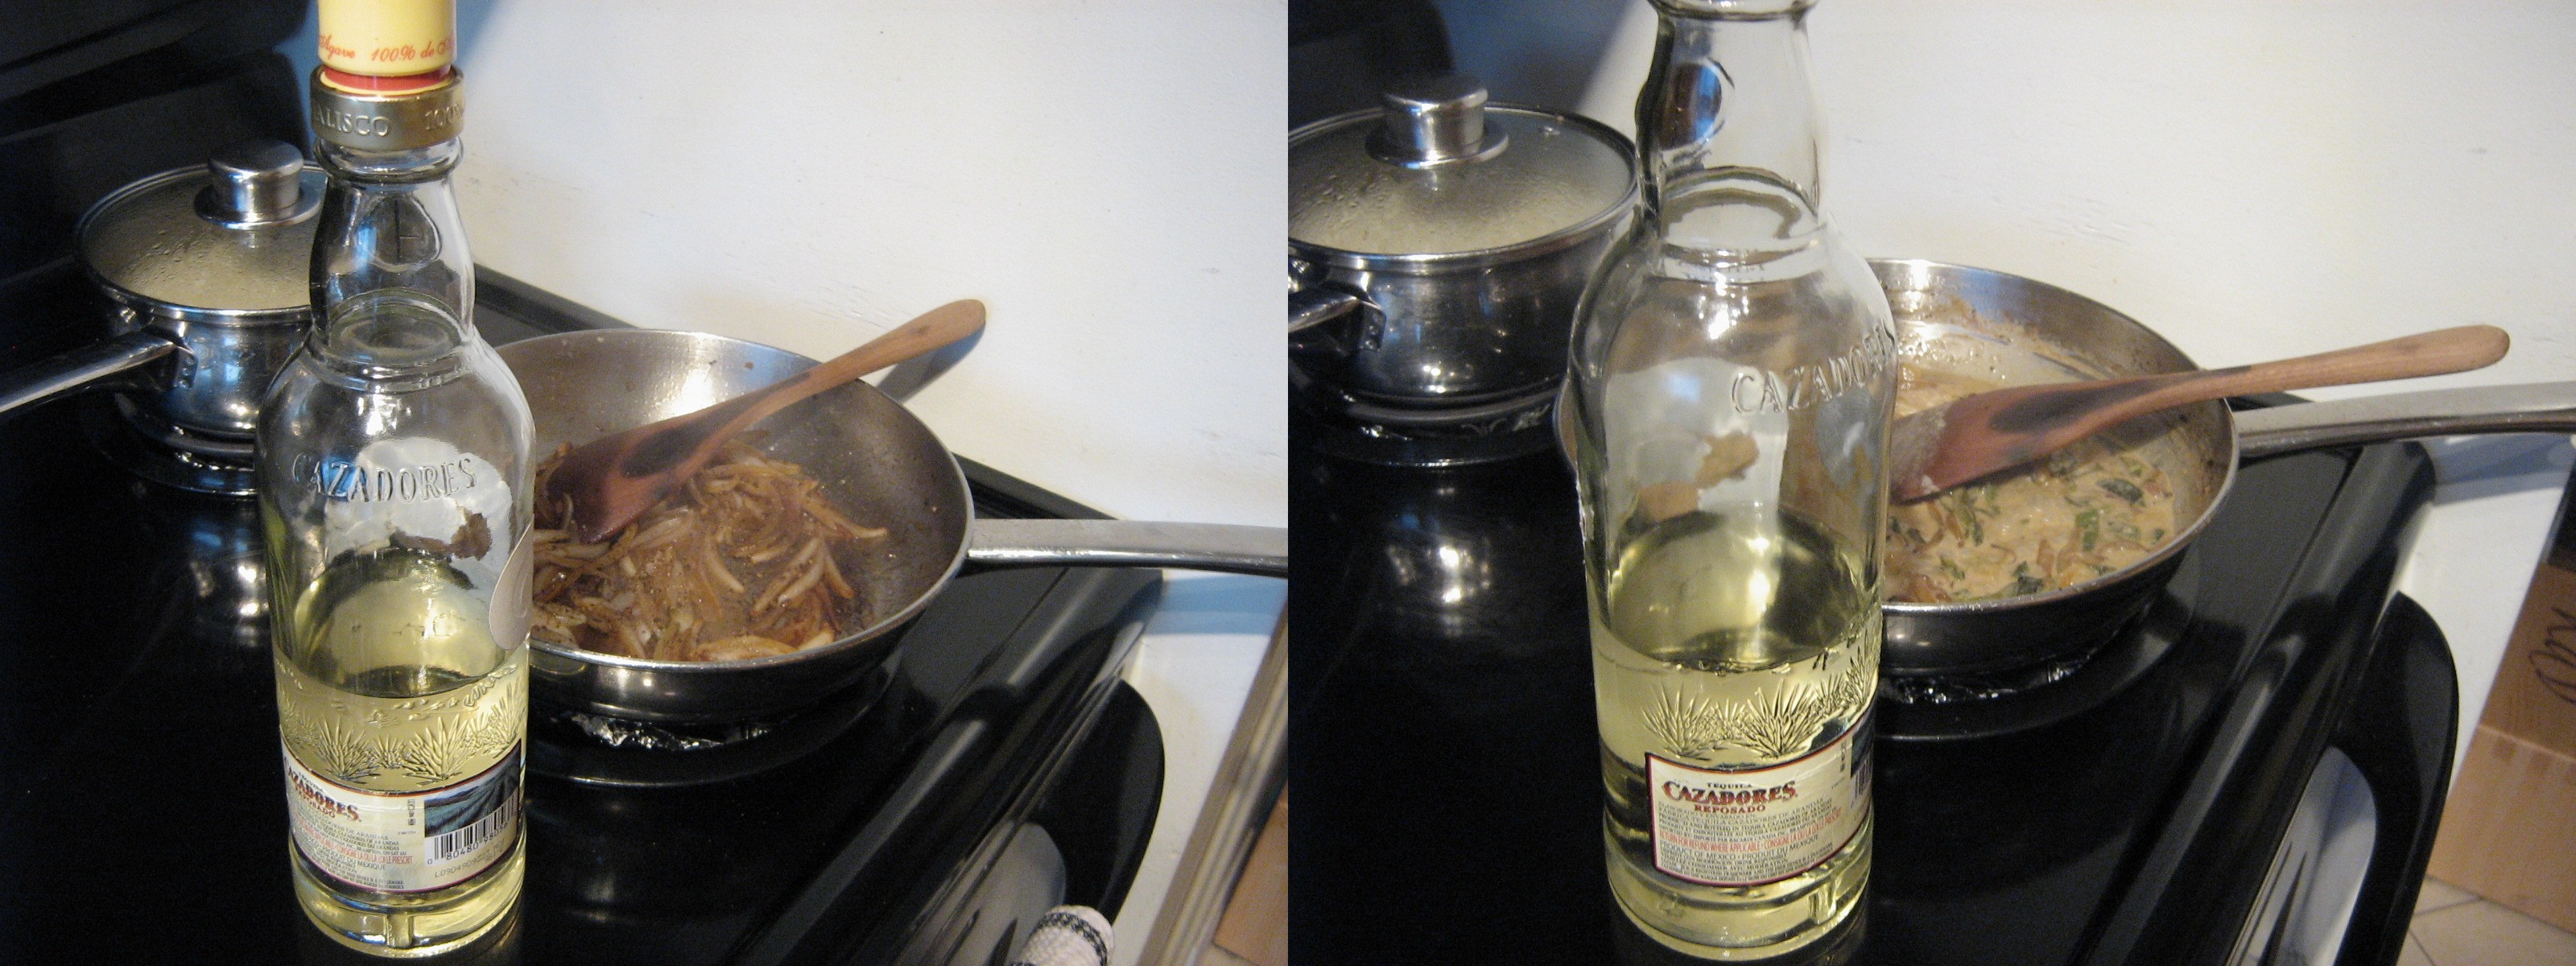
Chili Pepper Pork Chops with Tequila
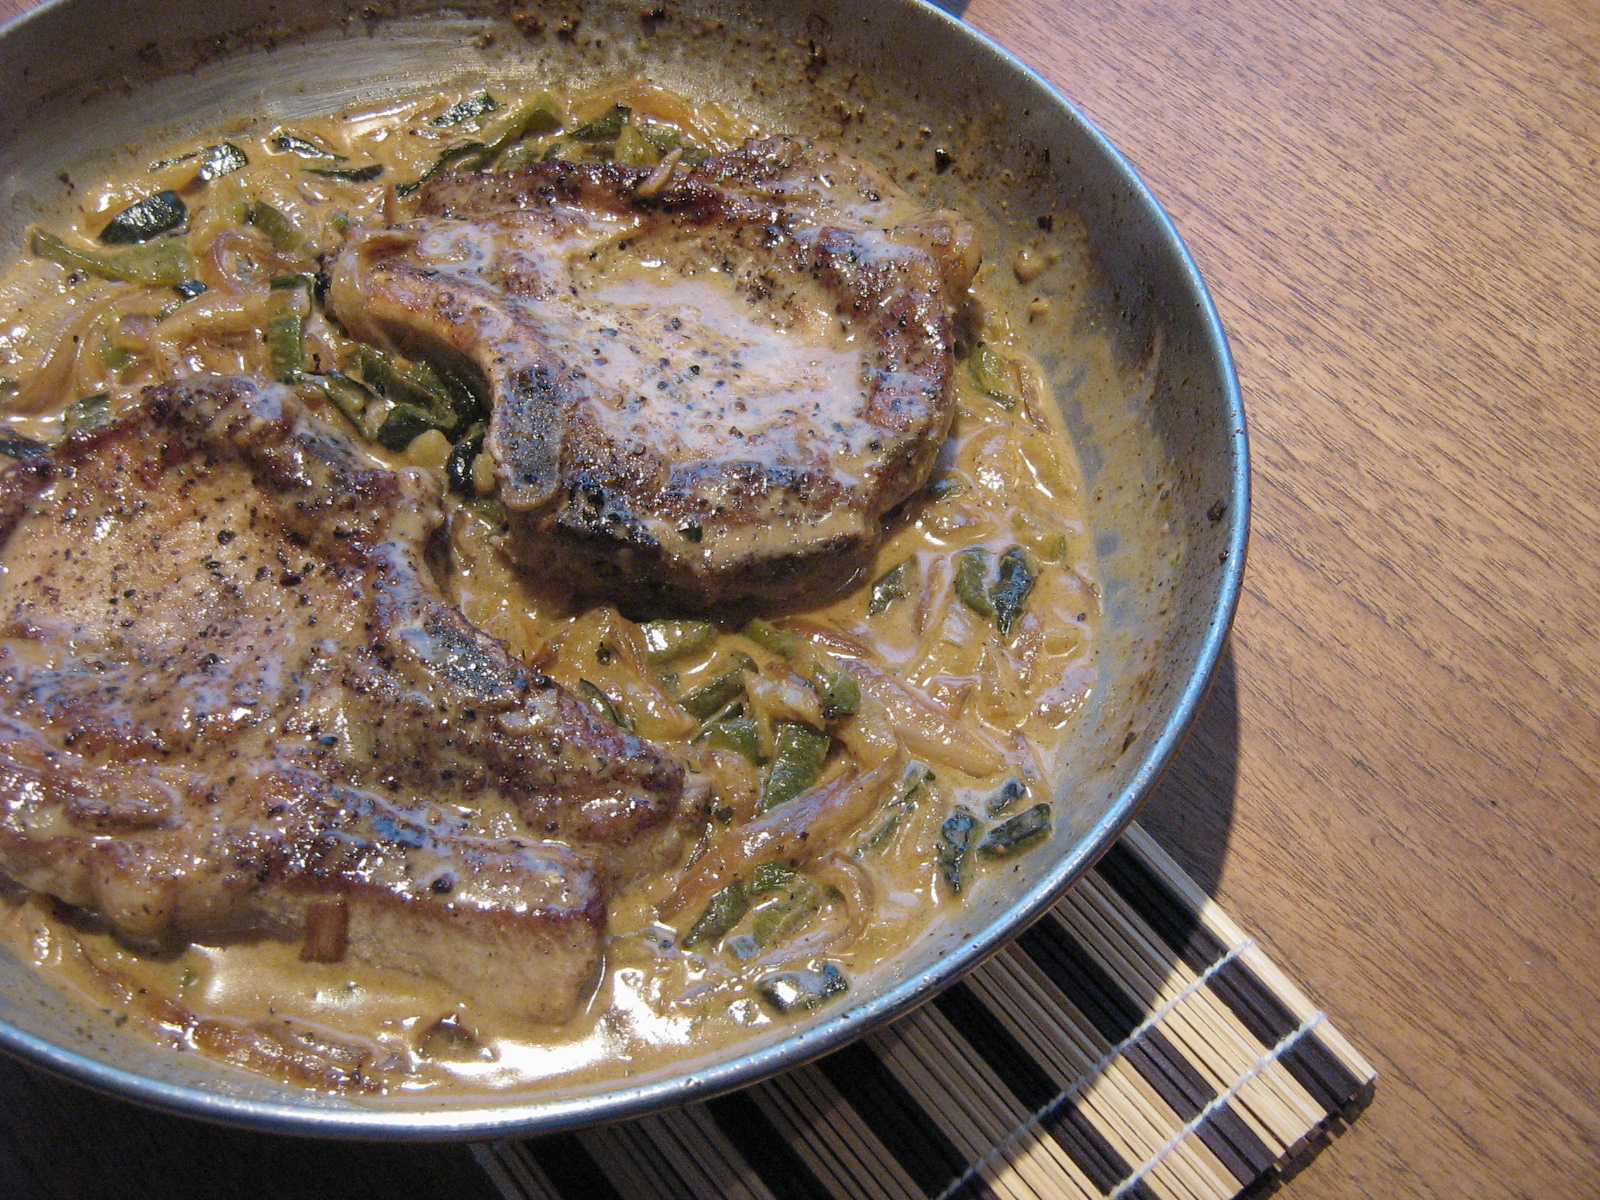 We have a recipe from Nate’s parents involving baked pork loin with green chili peppers and onions in a creamy sauce made with a little sour cream. With those ingredients you can’t really go wrong, but I still decided to play around with it a bit. I used bone-in pork chops (the bone adds more flavour and keeps them juicy) instead of pork loin, roasted peppers instead of canned jalapenos, and added some cumin. I also added tequila because – well, why not? I was feeling a slightly Mexican vibe from the peppers and cumin and it just seemed right. Turns out it was!
Making this is a little bit time consuming because you have to roast the peppers, but if you plan ahead you could roast the peppers while you brown the pork chops, then peel and chop them while the onion is sautéeing. If you’re the plan ahead type, that is. I usually seem to be cooking by the seat of my pants, so to speak.
So, plan ahead and make this. It’s delicious served over brown rice to soak up the sauce, which has a little bit of a tequila kick. Or maybe I’m just a lightweight ;).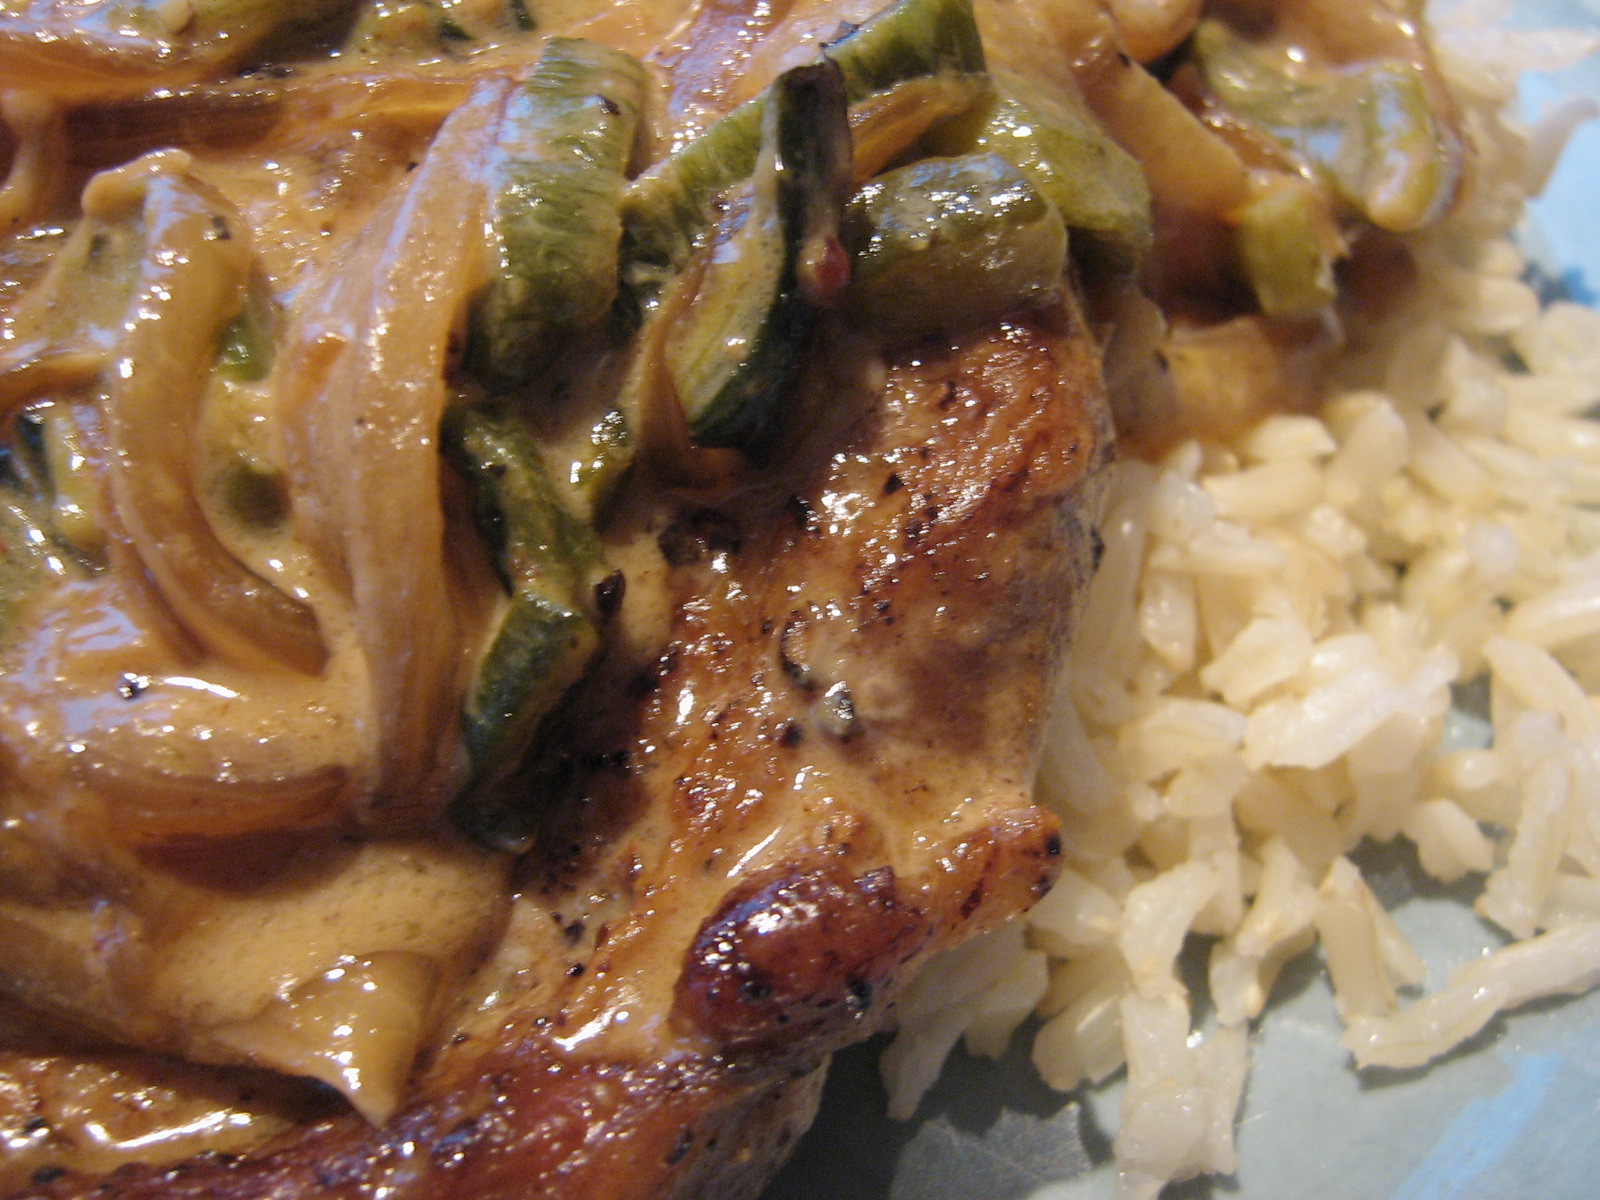
Chili Pepper Pork Chops with Tequila
Serves 2.
First, roast the peppers:
2-3 medium-sized peppers, cut in half lengthwise (I used a poblano pepper, a white Hungarian pepper, and half a green bell pepper, which are all quite mild, but feel free to use a variety with more heat)
Place the peppers cut-side down on a foil lined baking sheet. Broil until the skin is charred, then put the peppers in a bowl and cover with plastic wrap. Let them steam for a few minutes, then remove the seeds and membranes, peel off the skins, and slice into strips. Set aside.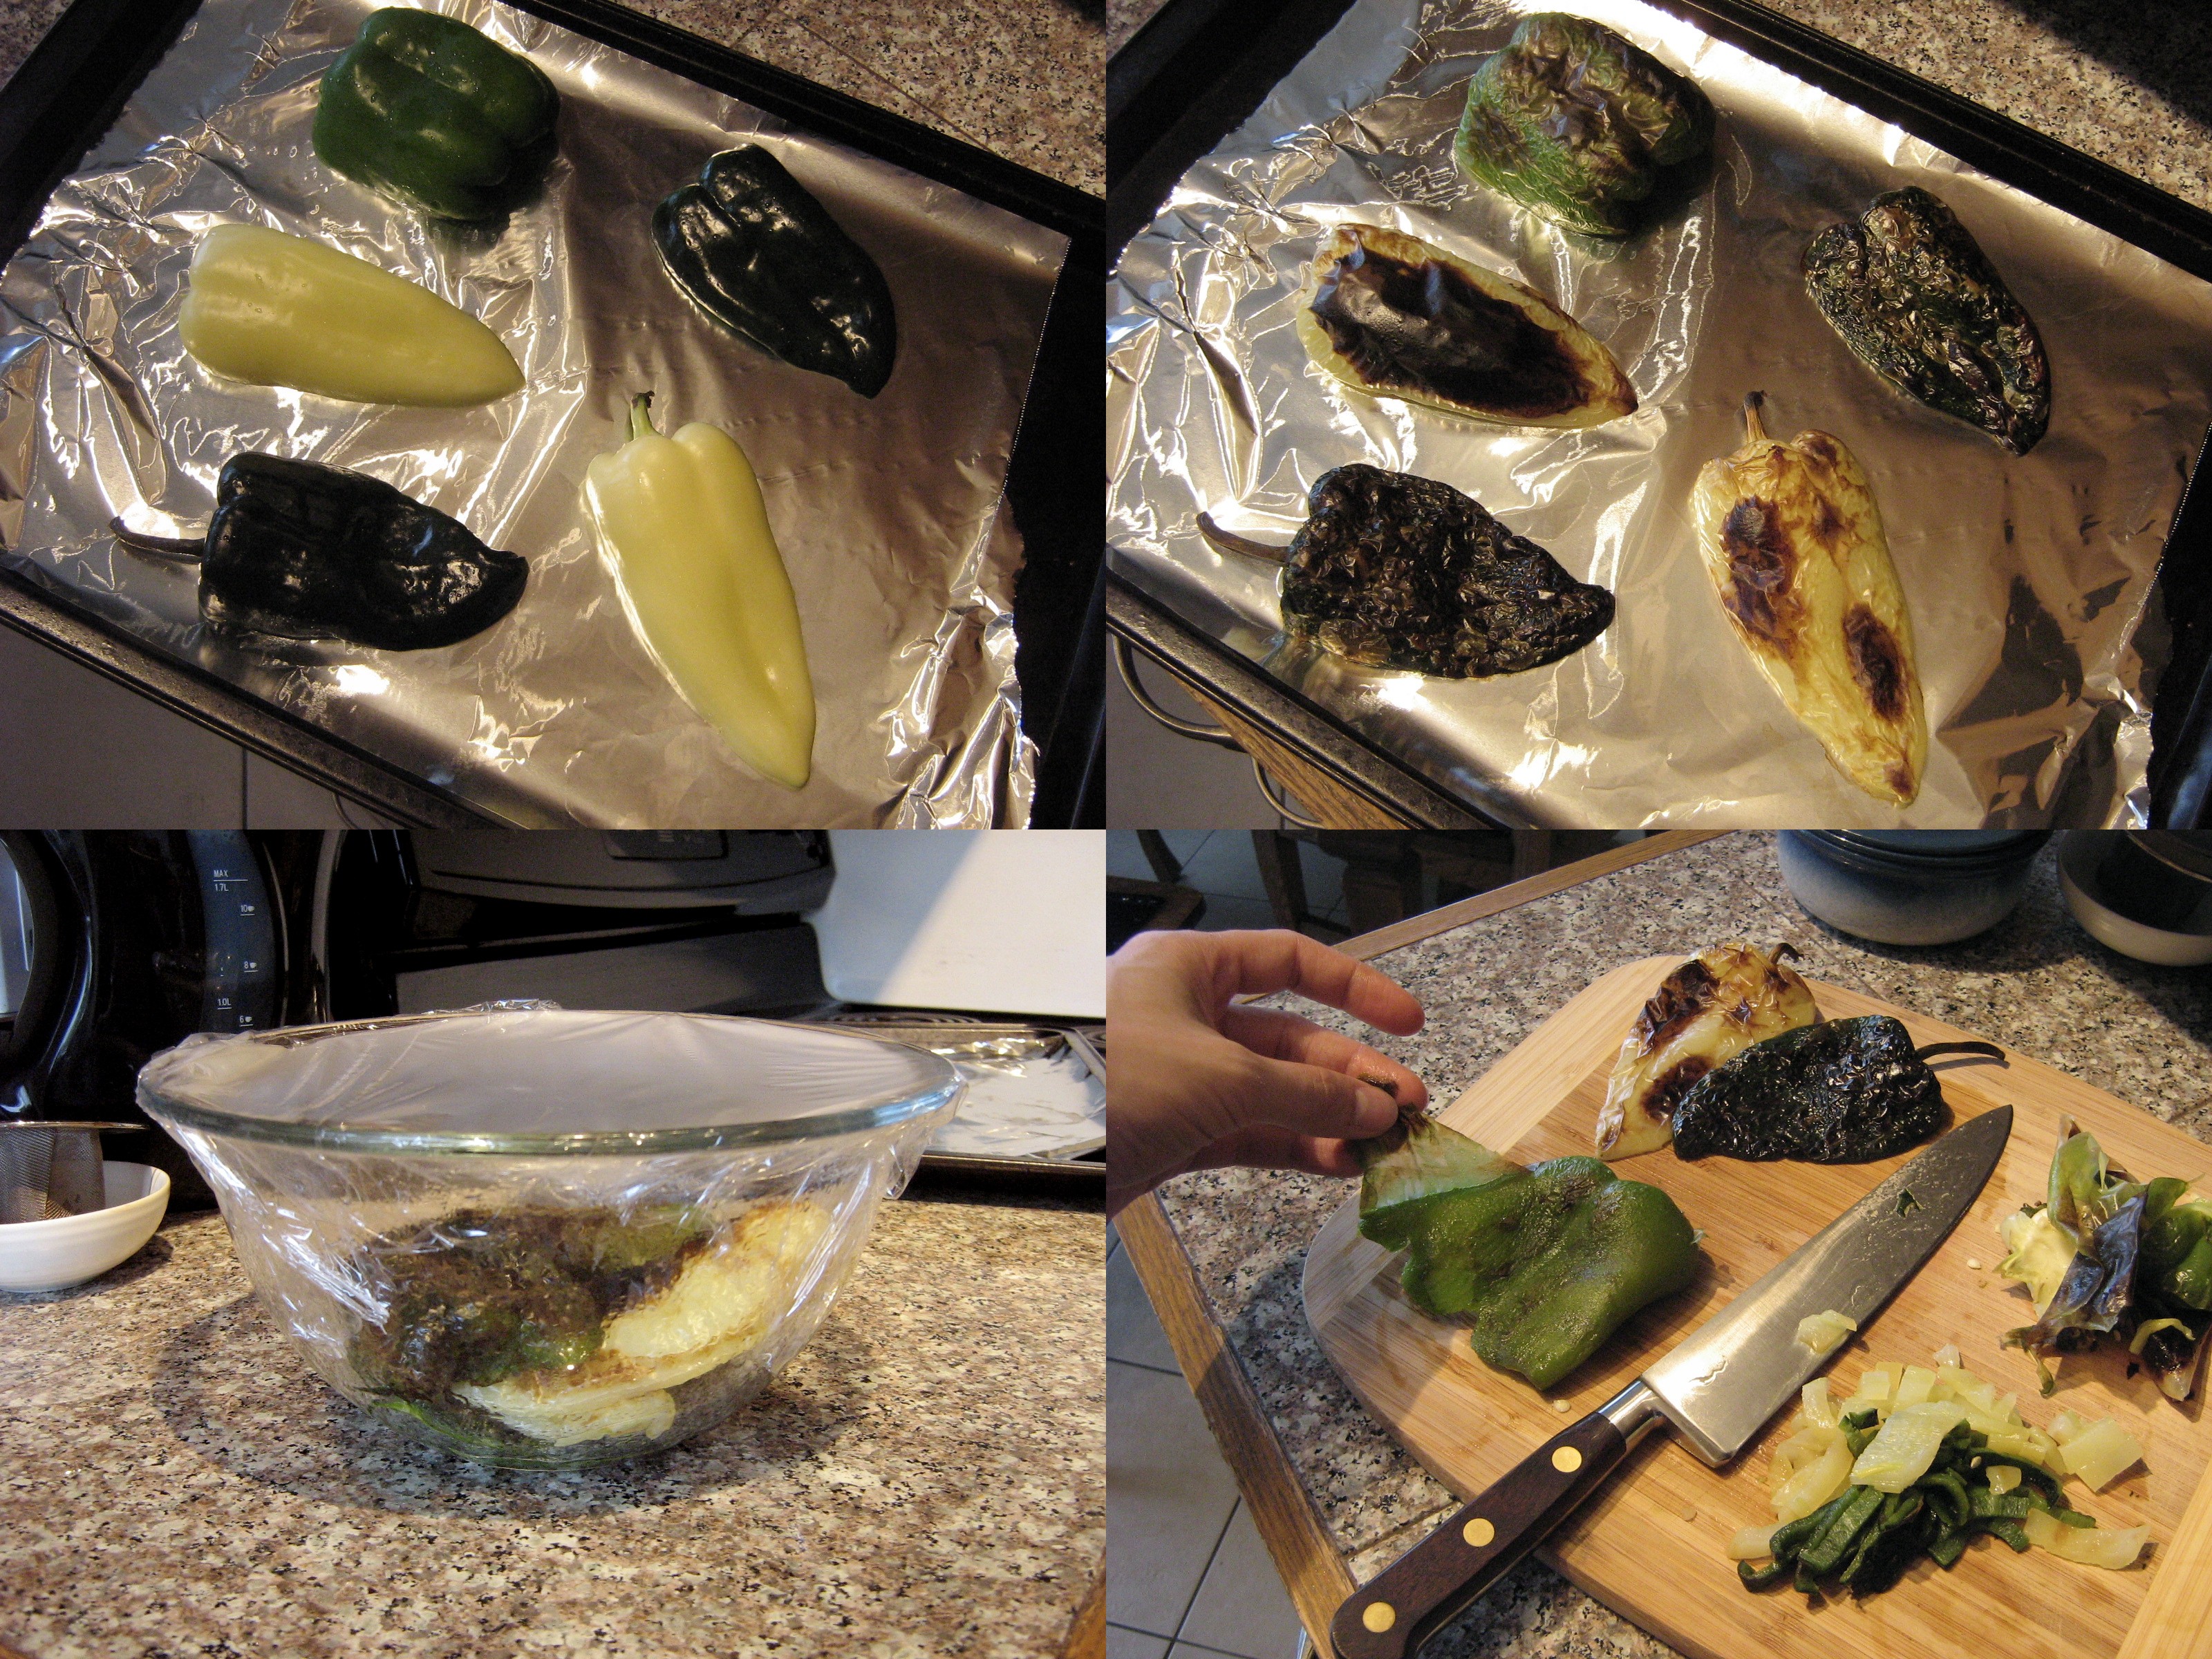
Turn the oven to 350˚F. Prepare the pork chops:
2 bone-in pork chops
Season on both sides with:
salt
pepper
a little granulated sugar (to help with browning and caramelizing, not make them sweet!)
Heat a splash of olive oil and little butter in an oven-proof frying pan over medium heat and cook the pork chops on both sides until golden brown.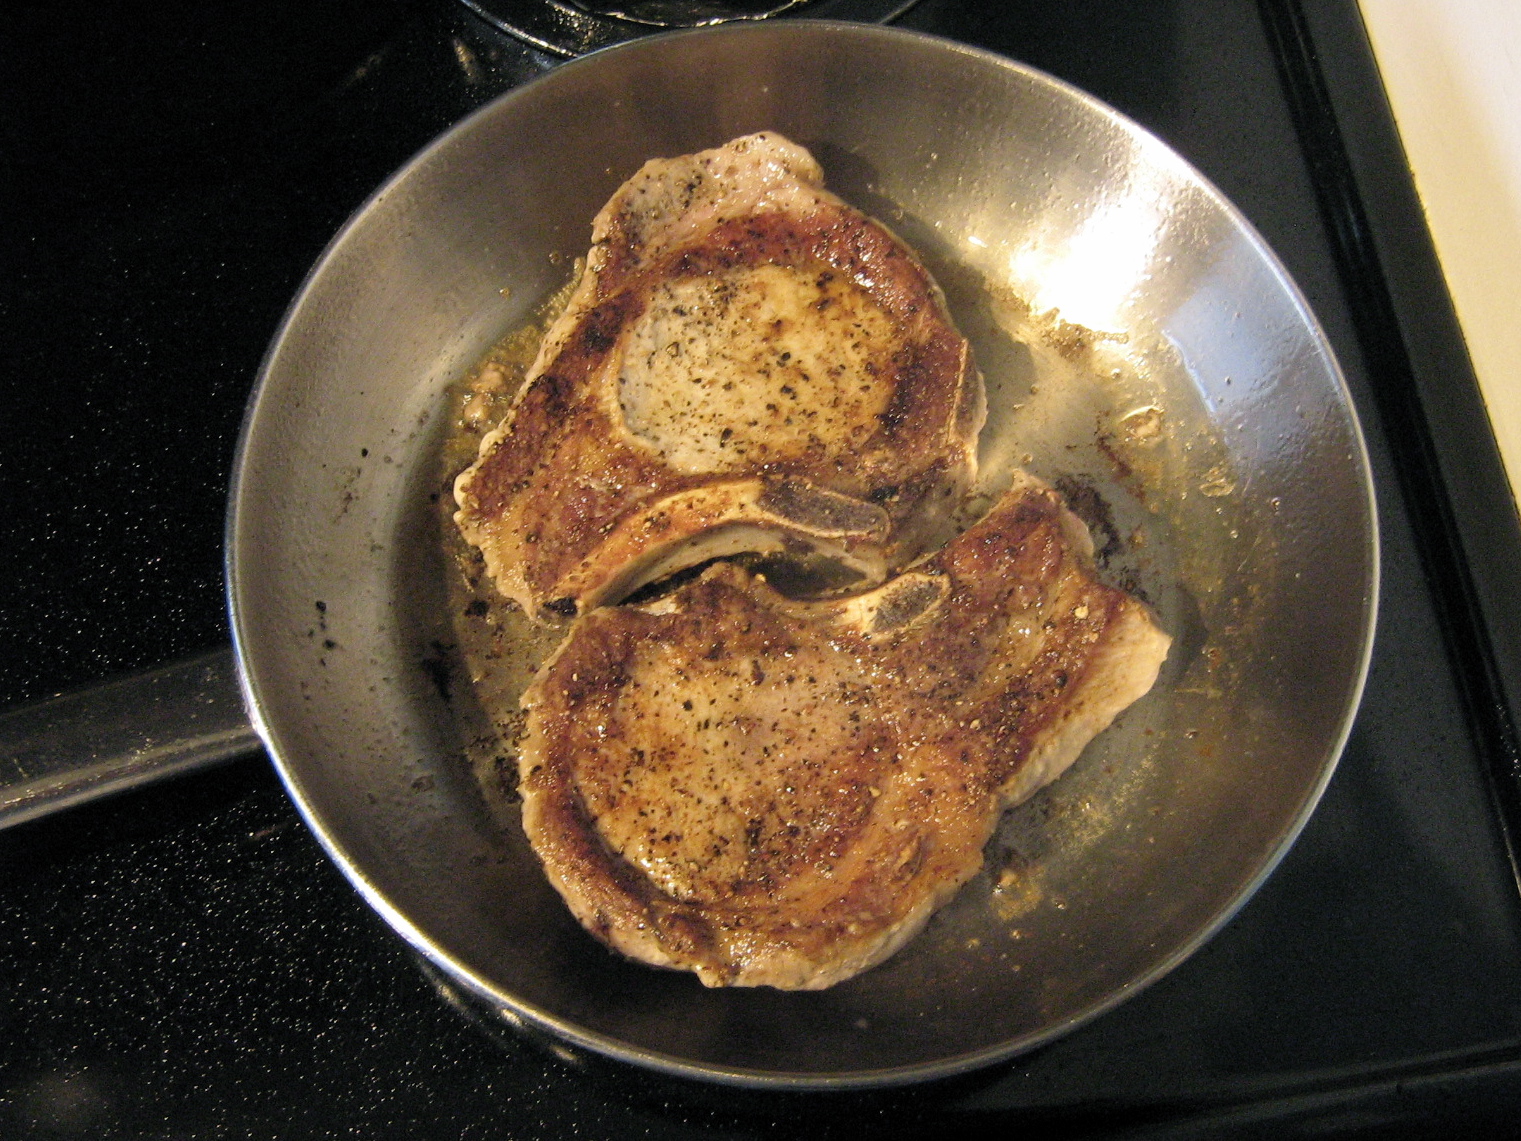 Remove the pork chops from the pan and add:
1 small sliced onion
1 minced garlic clove
Sauté in the frying pan until browned and soft, and season with:
salt
pepper
1 tsp cumin powder
Deglaze the pan with a shot of tequila, stirring to scrape up the browned bits on the bottom of the pan. Nestle the pork chops back in the pan, cover with the roasted peppers, and sprinkle with more salt, pepper, and cumin.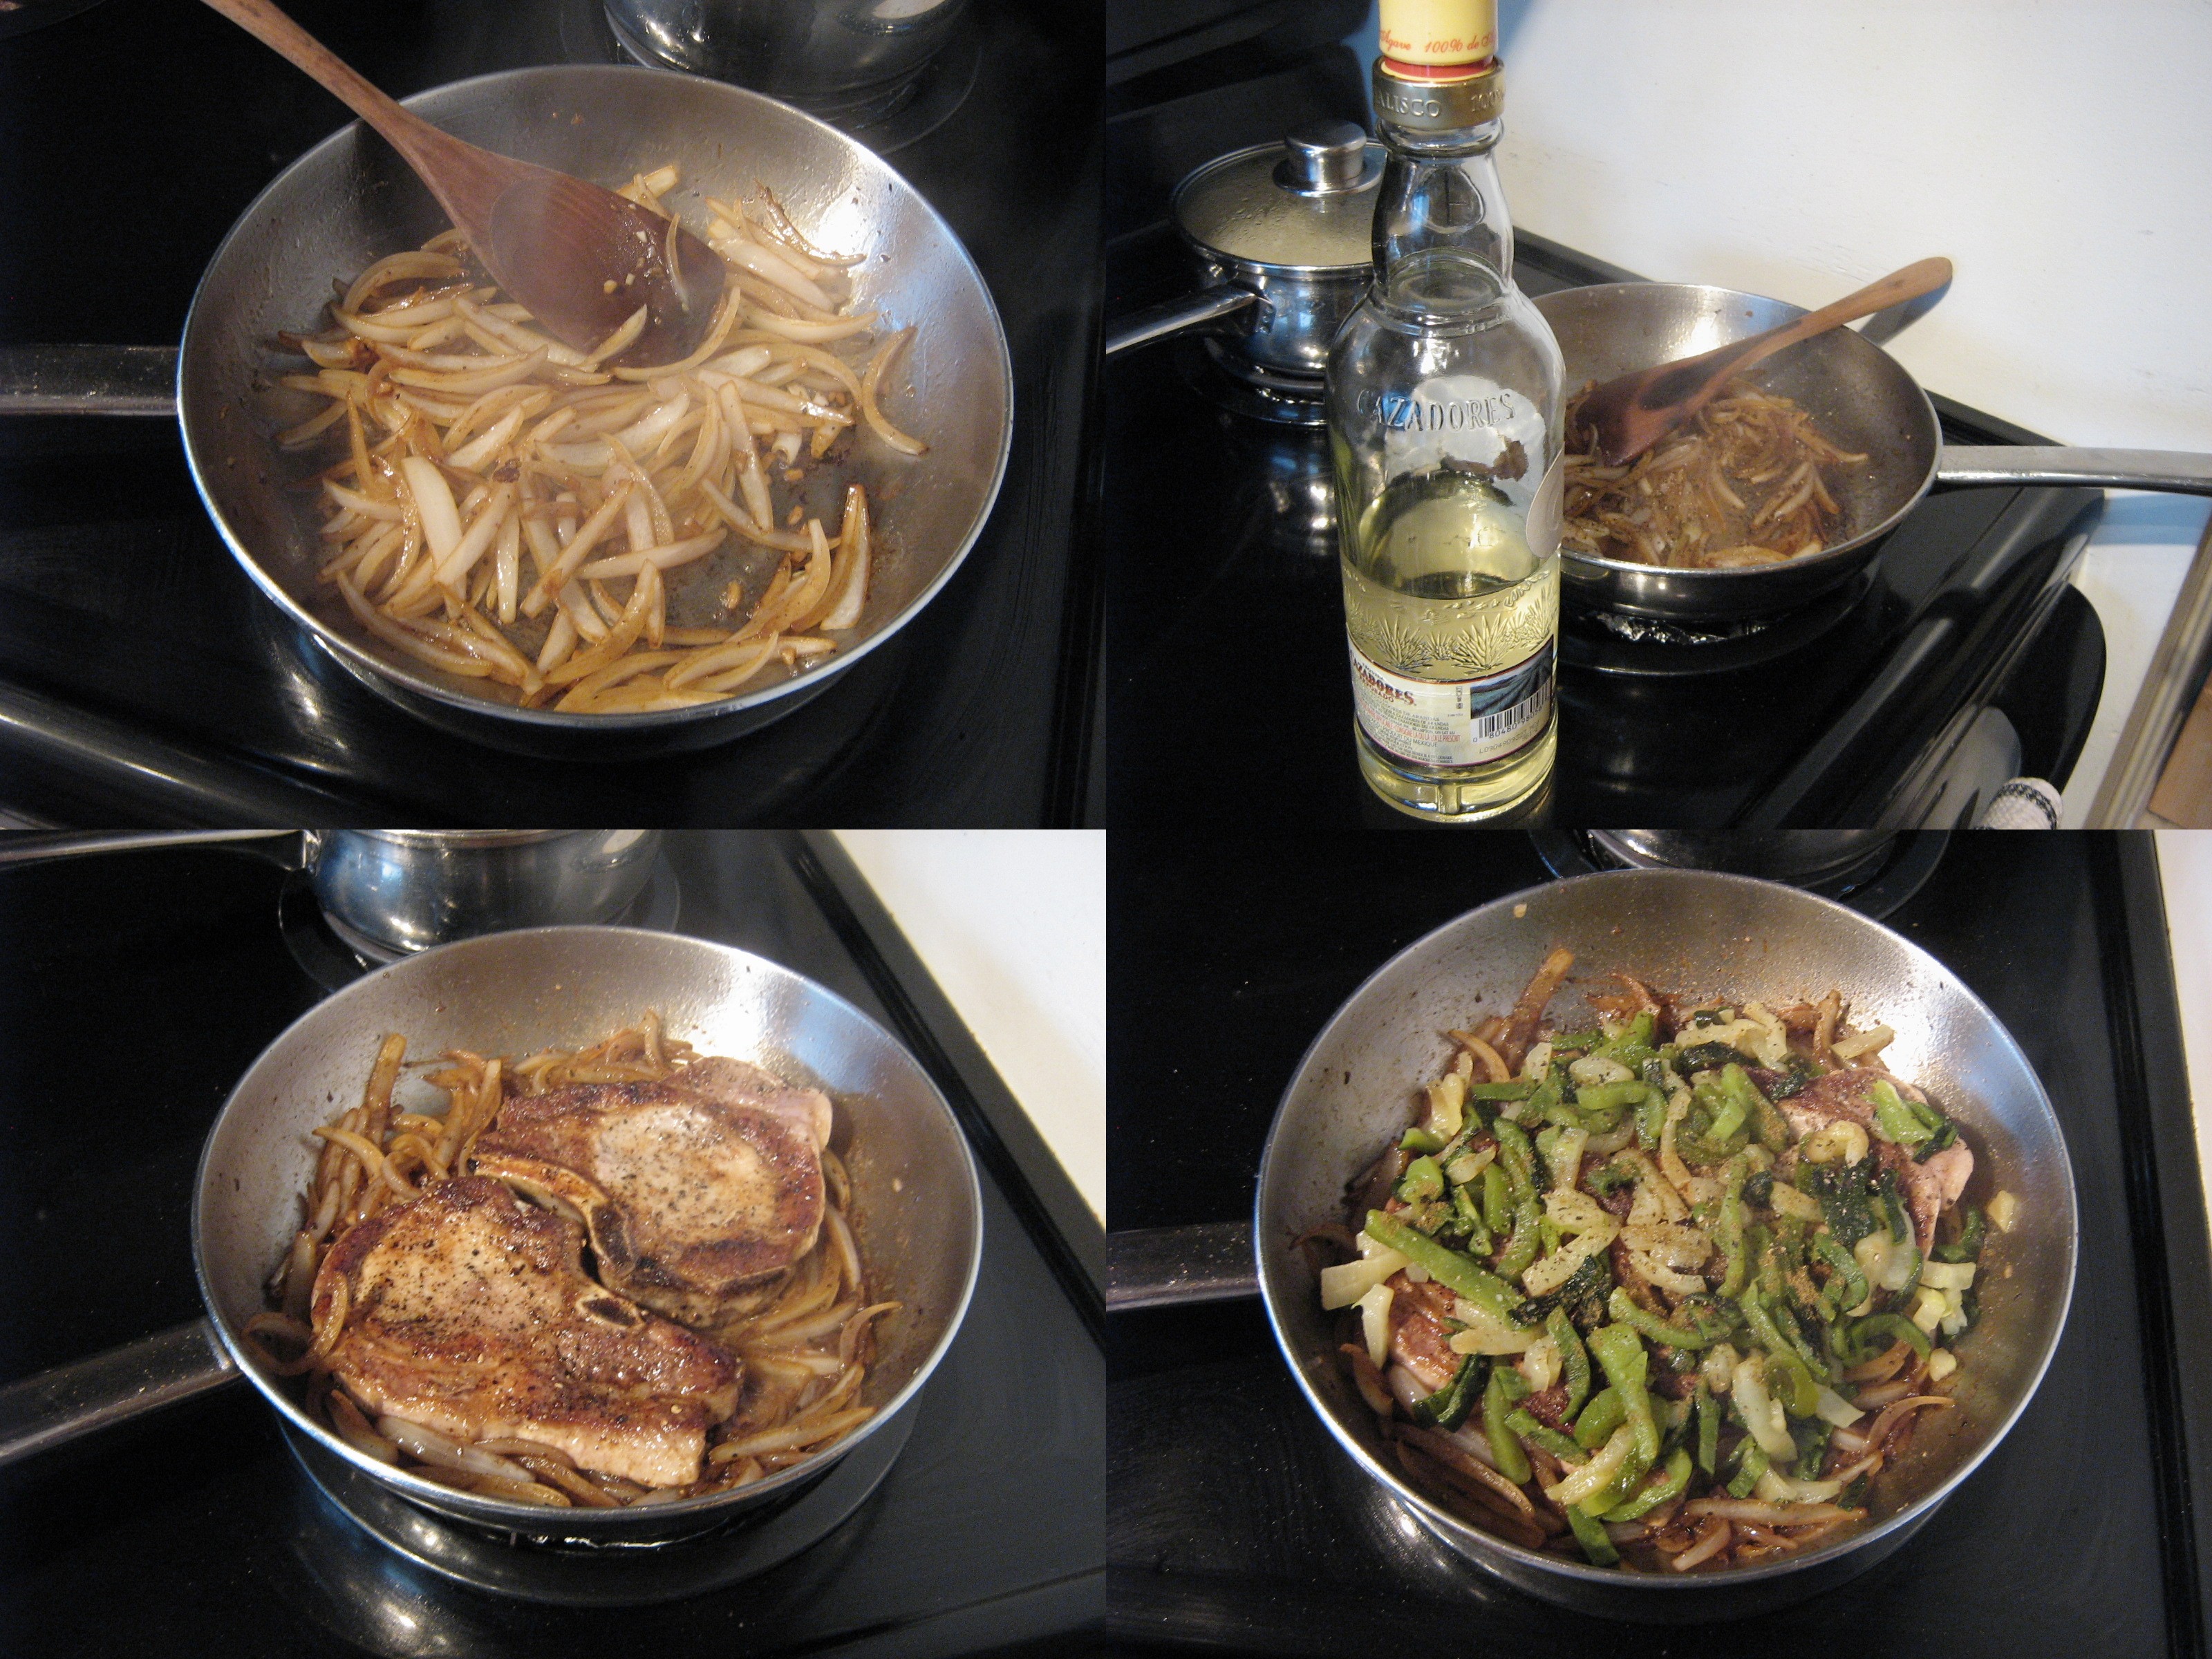
Bake in a 350˚F oven for 20-25 minutes. Remove the pork chops, leaving the onions and peppers in the pan, and place the pan over medium heat. Stir in:
2 tbsp sour cream
1 shot tequila
Simmer for a few minutes, then return the pork chops to the pan and coat with the sauce. Serve over brown rice.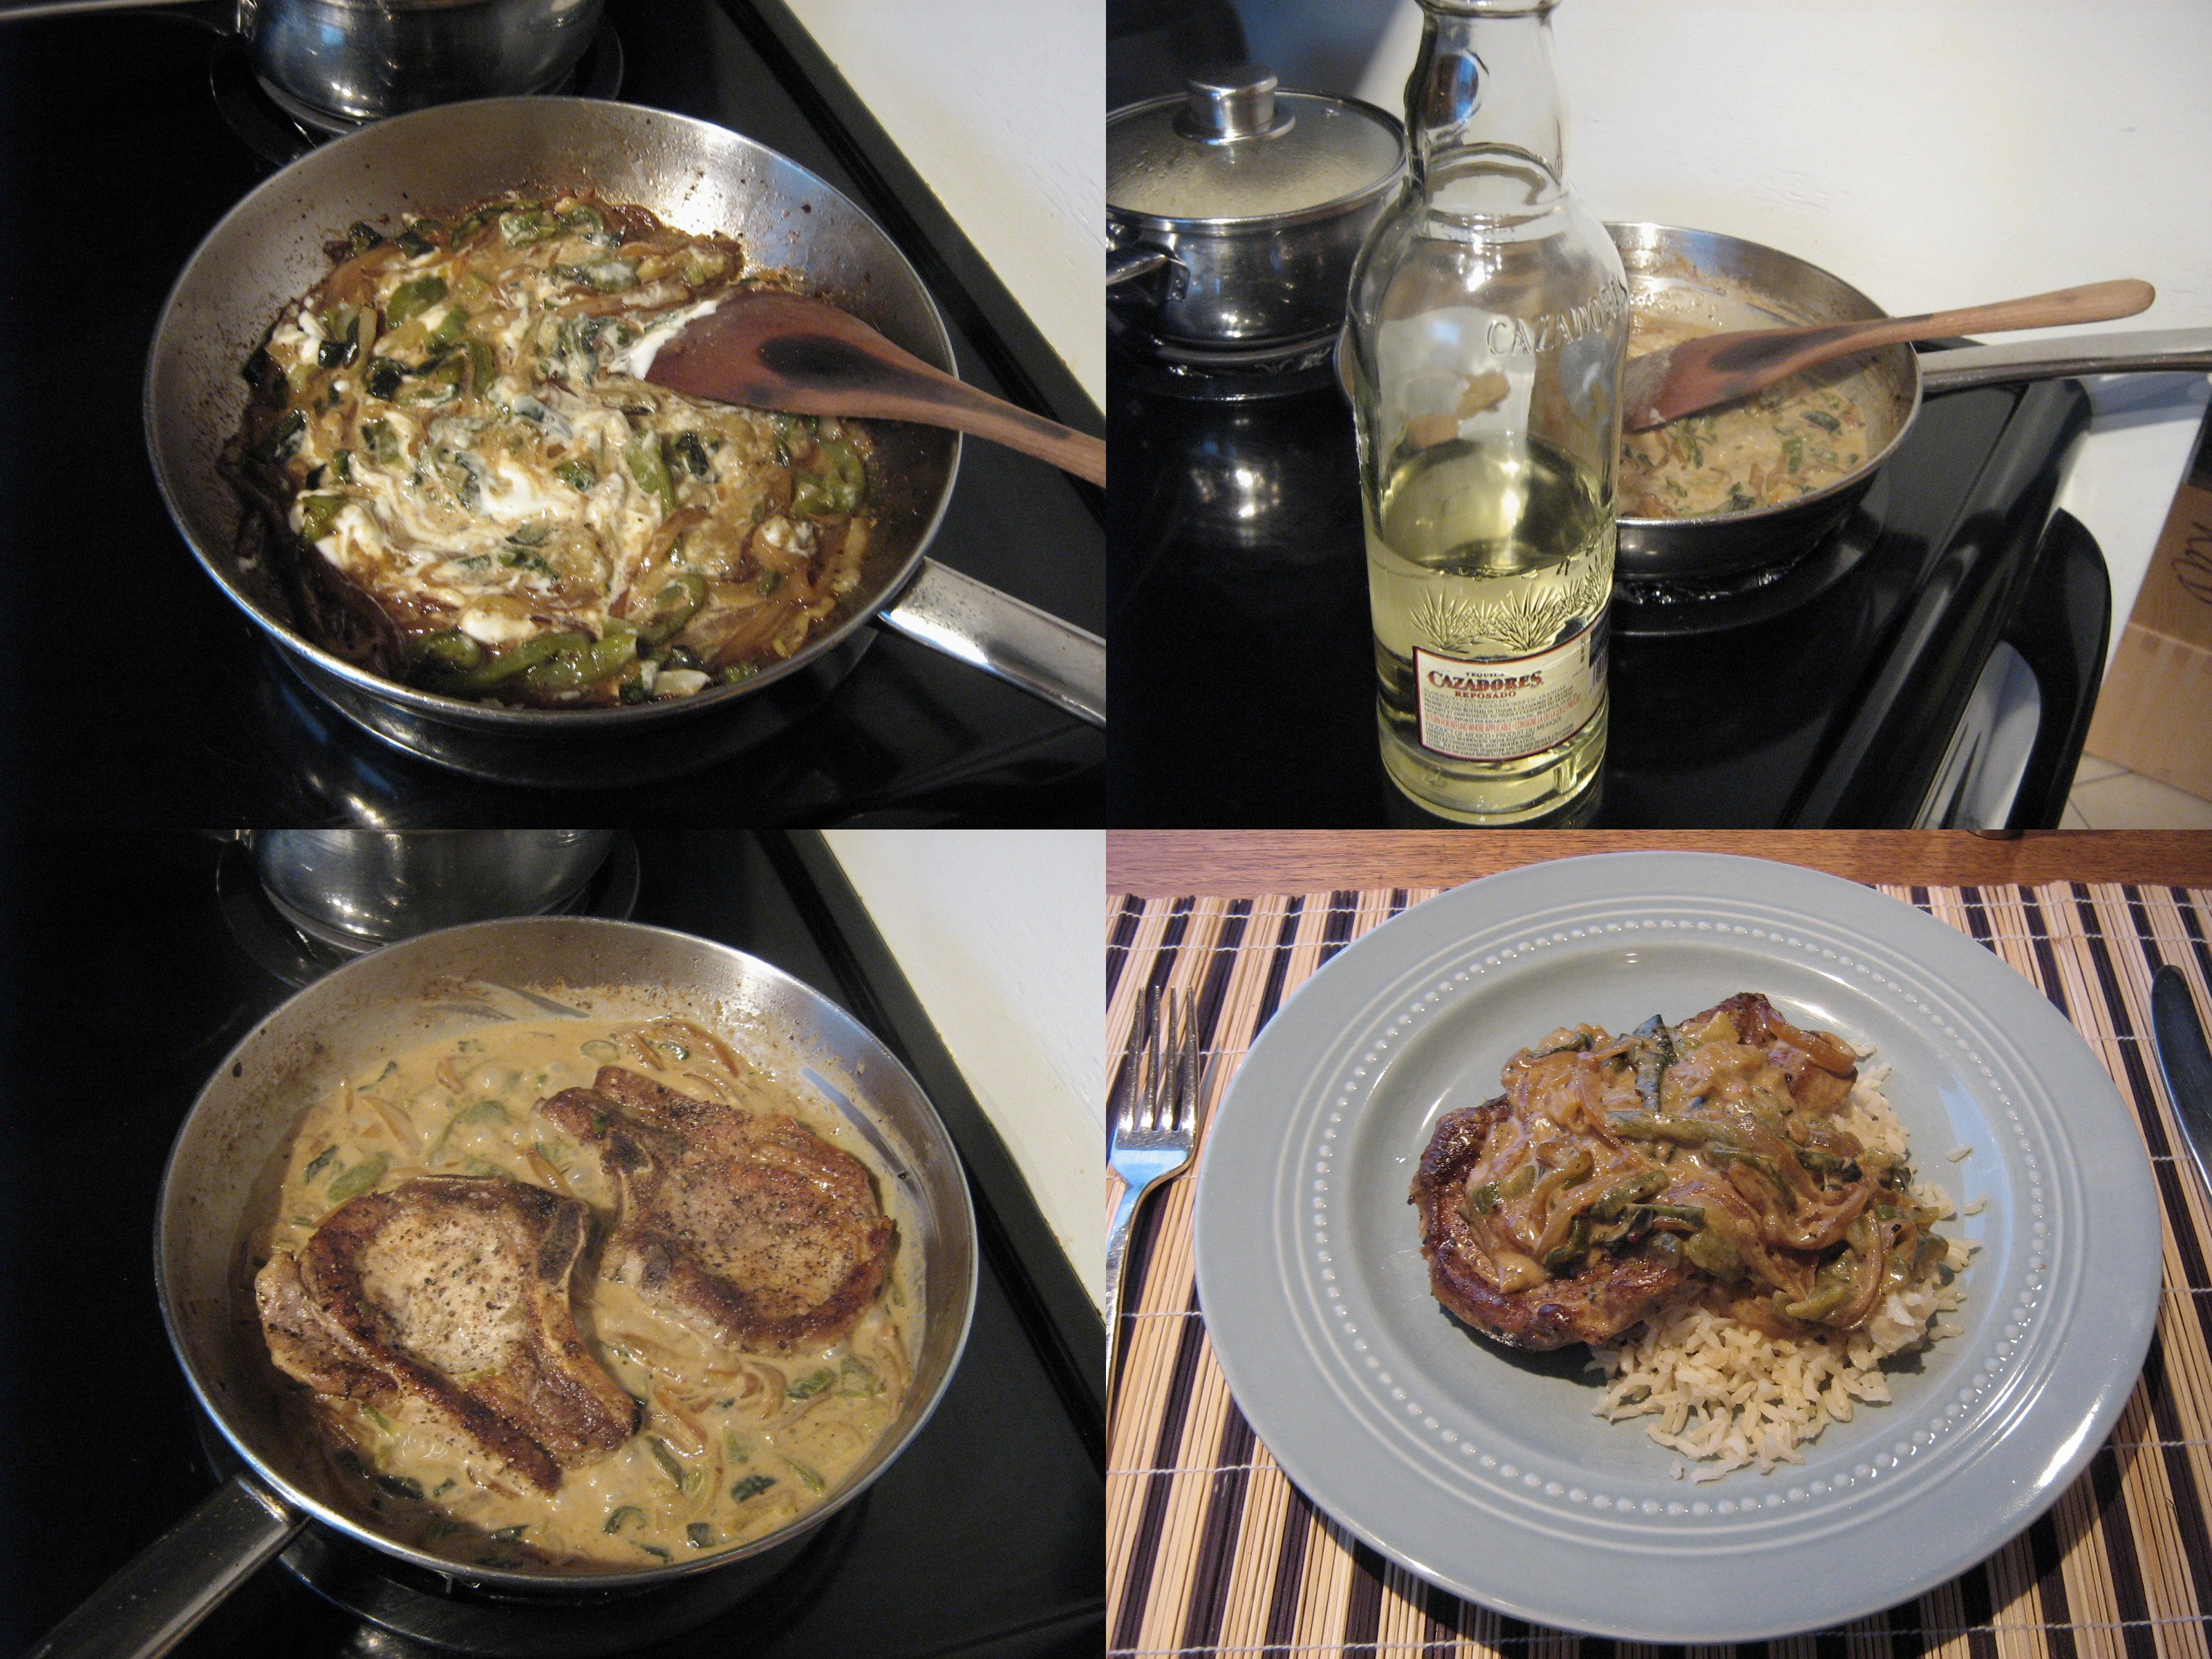
Chicken Fajita Lettuce Wraps
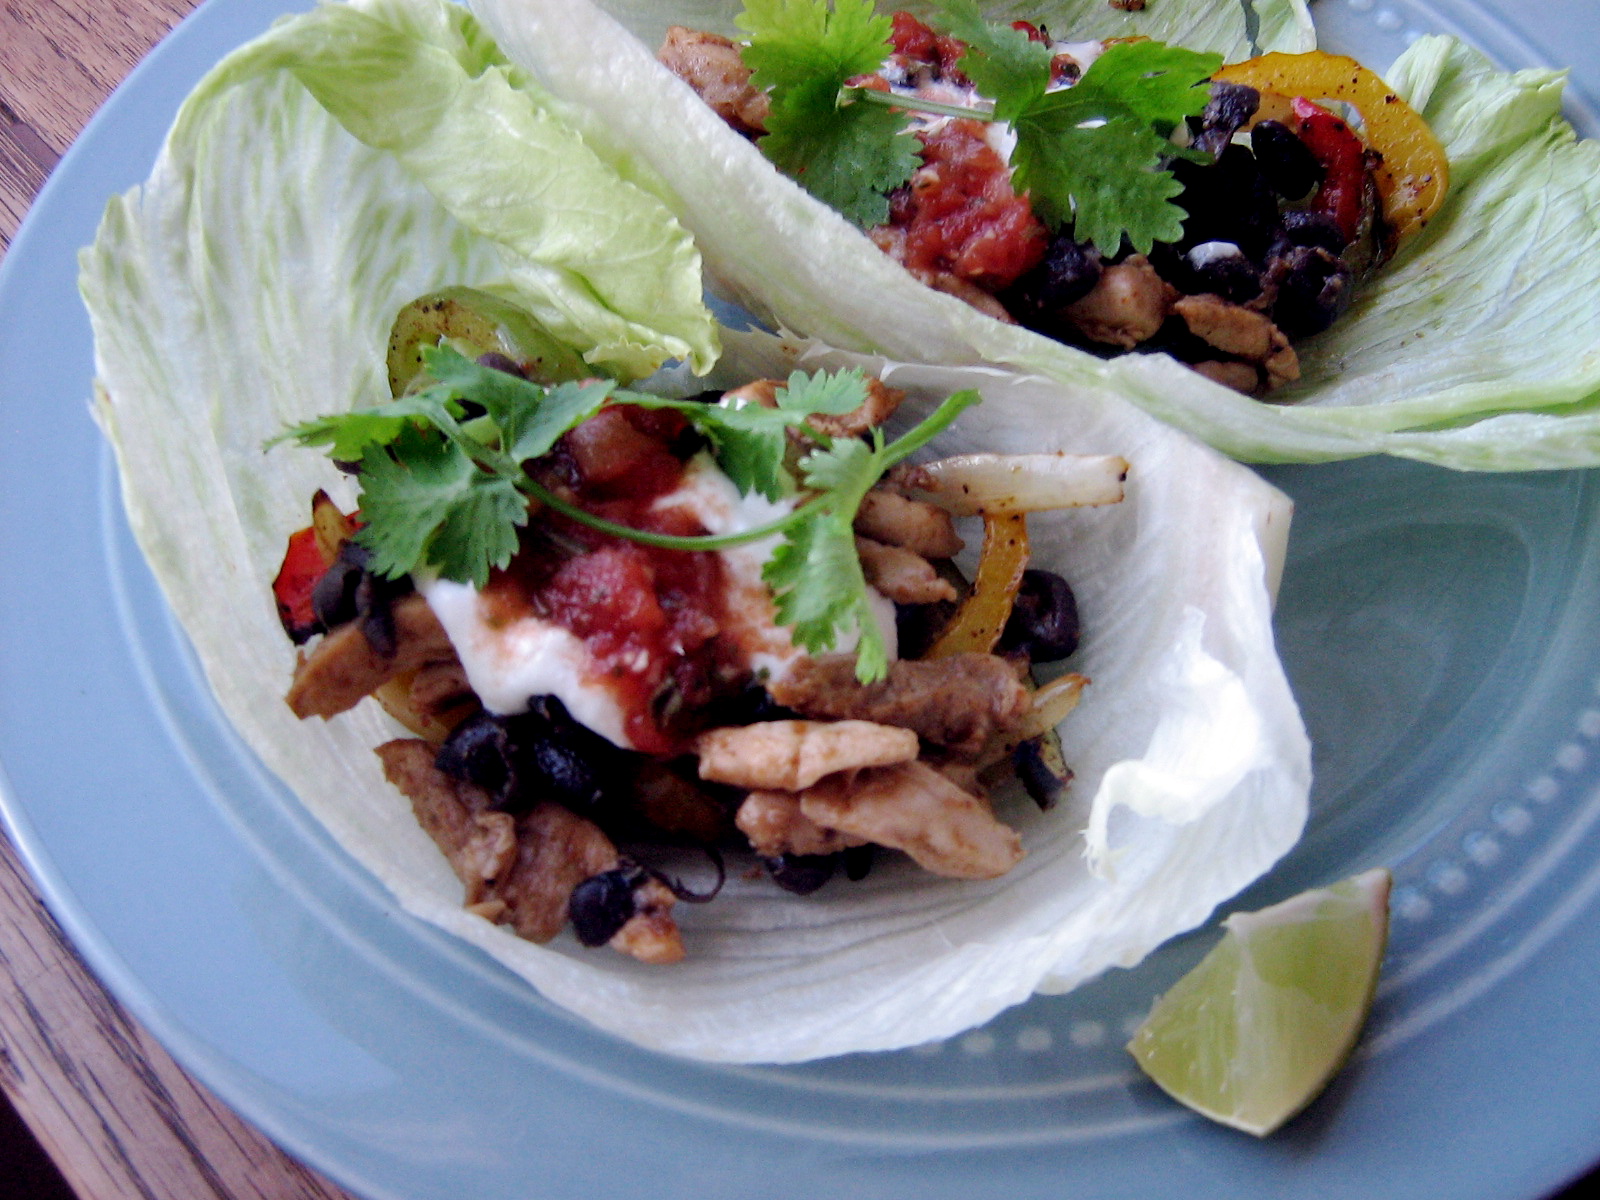 Nate and I have recently sworn off sugar and starchy refined carbs six days a week, with a cheat day on Saturday (you certainly would not guess this based on the amount of sugary, cakey recipes that I’ve been posting lately, but that’s precisely why we’re doing this!). It hasn’t been as difficult as I thought it would be; it just means reinventing some recipes, mostly by adding more vegetables. Fajitas are an easy one – you replace the tortilla with a leaf of lettuce, and it’s just as good, plus you get another serving of vegetables in the meal. This recipe would also be good with beef or pork, cut into thin strips, and obviously, whatever toppings you want. You could even put the filling into a wheat or corn tortilla – but lettuce is a little more adventurous (and messier!!) 😉 I really like this method of broiling the peppers and onions – it gives the filling a nice charbroiled taste.
And for anyone who is wondering, I’m waiting to see if I can get some good photos from the wedding before I post about the wedding cake. It’s coming, I promise!…
Eating Out in San Francisco, Part II: Dinner at Millennium
Read Part 1: Lunch at the Zuni Café
 After stuffing ourselves full of delicious Zuni Café roast chicken at lunch, we spent the rest of our San Francisco afternoon shopping in Union Square and Chinatown (I bought a dress, some shoes, a ring, a scarf, and a comforter – because that’s a really easy thing to bring home in a suitcase, right?!), and then finally ended up at Millennium for dinner. Millennium is a vegetarian restaurant that specializes in healthy, sustainable, environmentally-friendly foods, served in a very up-scale manner. In fact, their entire menu is actually vegan – completely free of animal products – but they stick with the vegetarian label because it is more approachable. Nonetheless, the phrase “vegetarian restaurant” can conjure up images of aging hippies eating bean sprouts, brown rice, and tofu by the forkful, not ladies sporting Fendi Spy handbags, enjoying sophisticated food in an elegant, white-linen’d dining room. But that’s exactly what Millennium delivered. Plus they had these really cool light fixture things:

Apparently the “fishnet” is made of recycled paper bags, and the curtains behind are made from recycled plastic bags. Talk about sustainable!
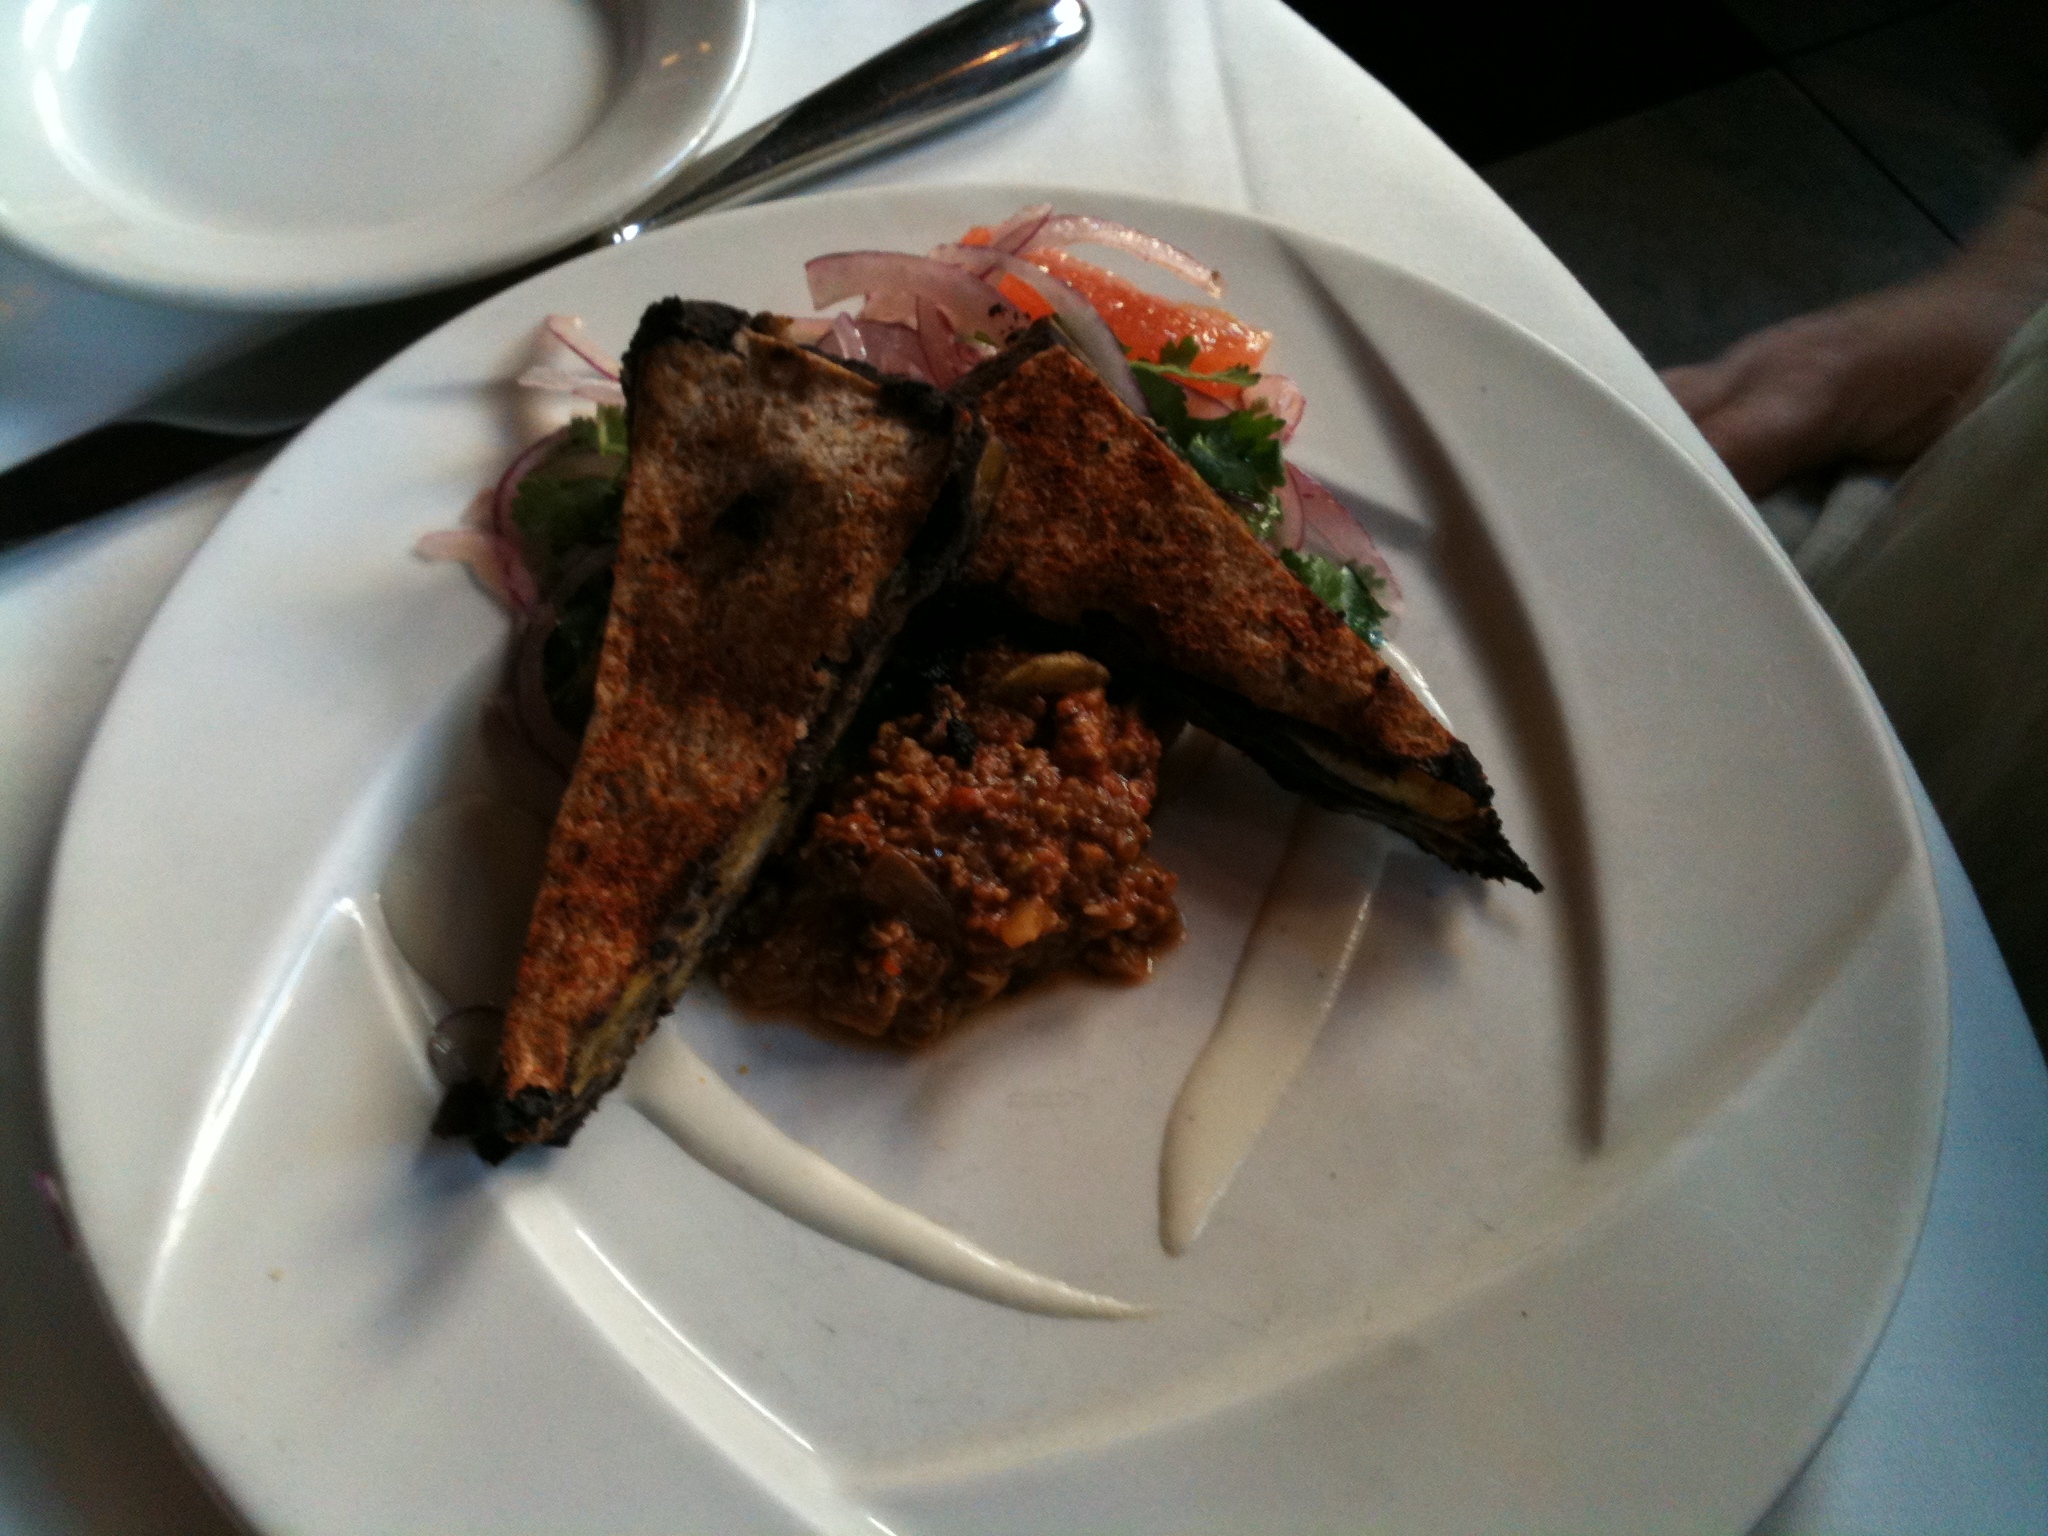
The menu was quite extensive, but after some serious perusing, we settled on appetizers. My uncle had the Crusted Oyster Mushrooms, breaded in rice and sesame flour and deep fried, which looked like calamari and were deliciously crunchy. He was a little disappointed because they didn’t taste very mushroom-y, so maybe breading and deep-frying wasn’t the best treatment for something as subtle as an oyster mushroom.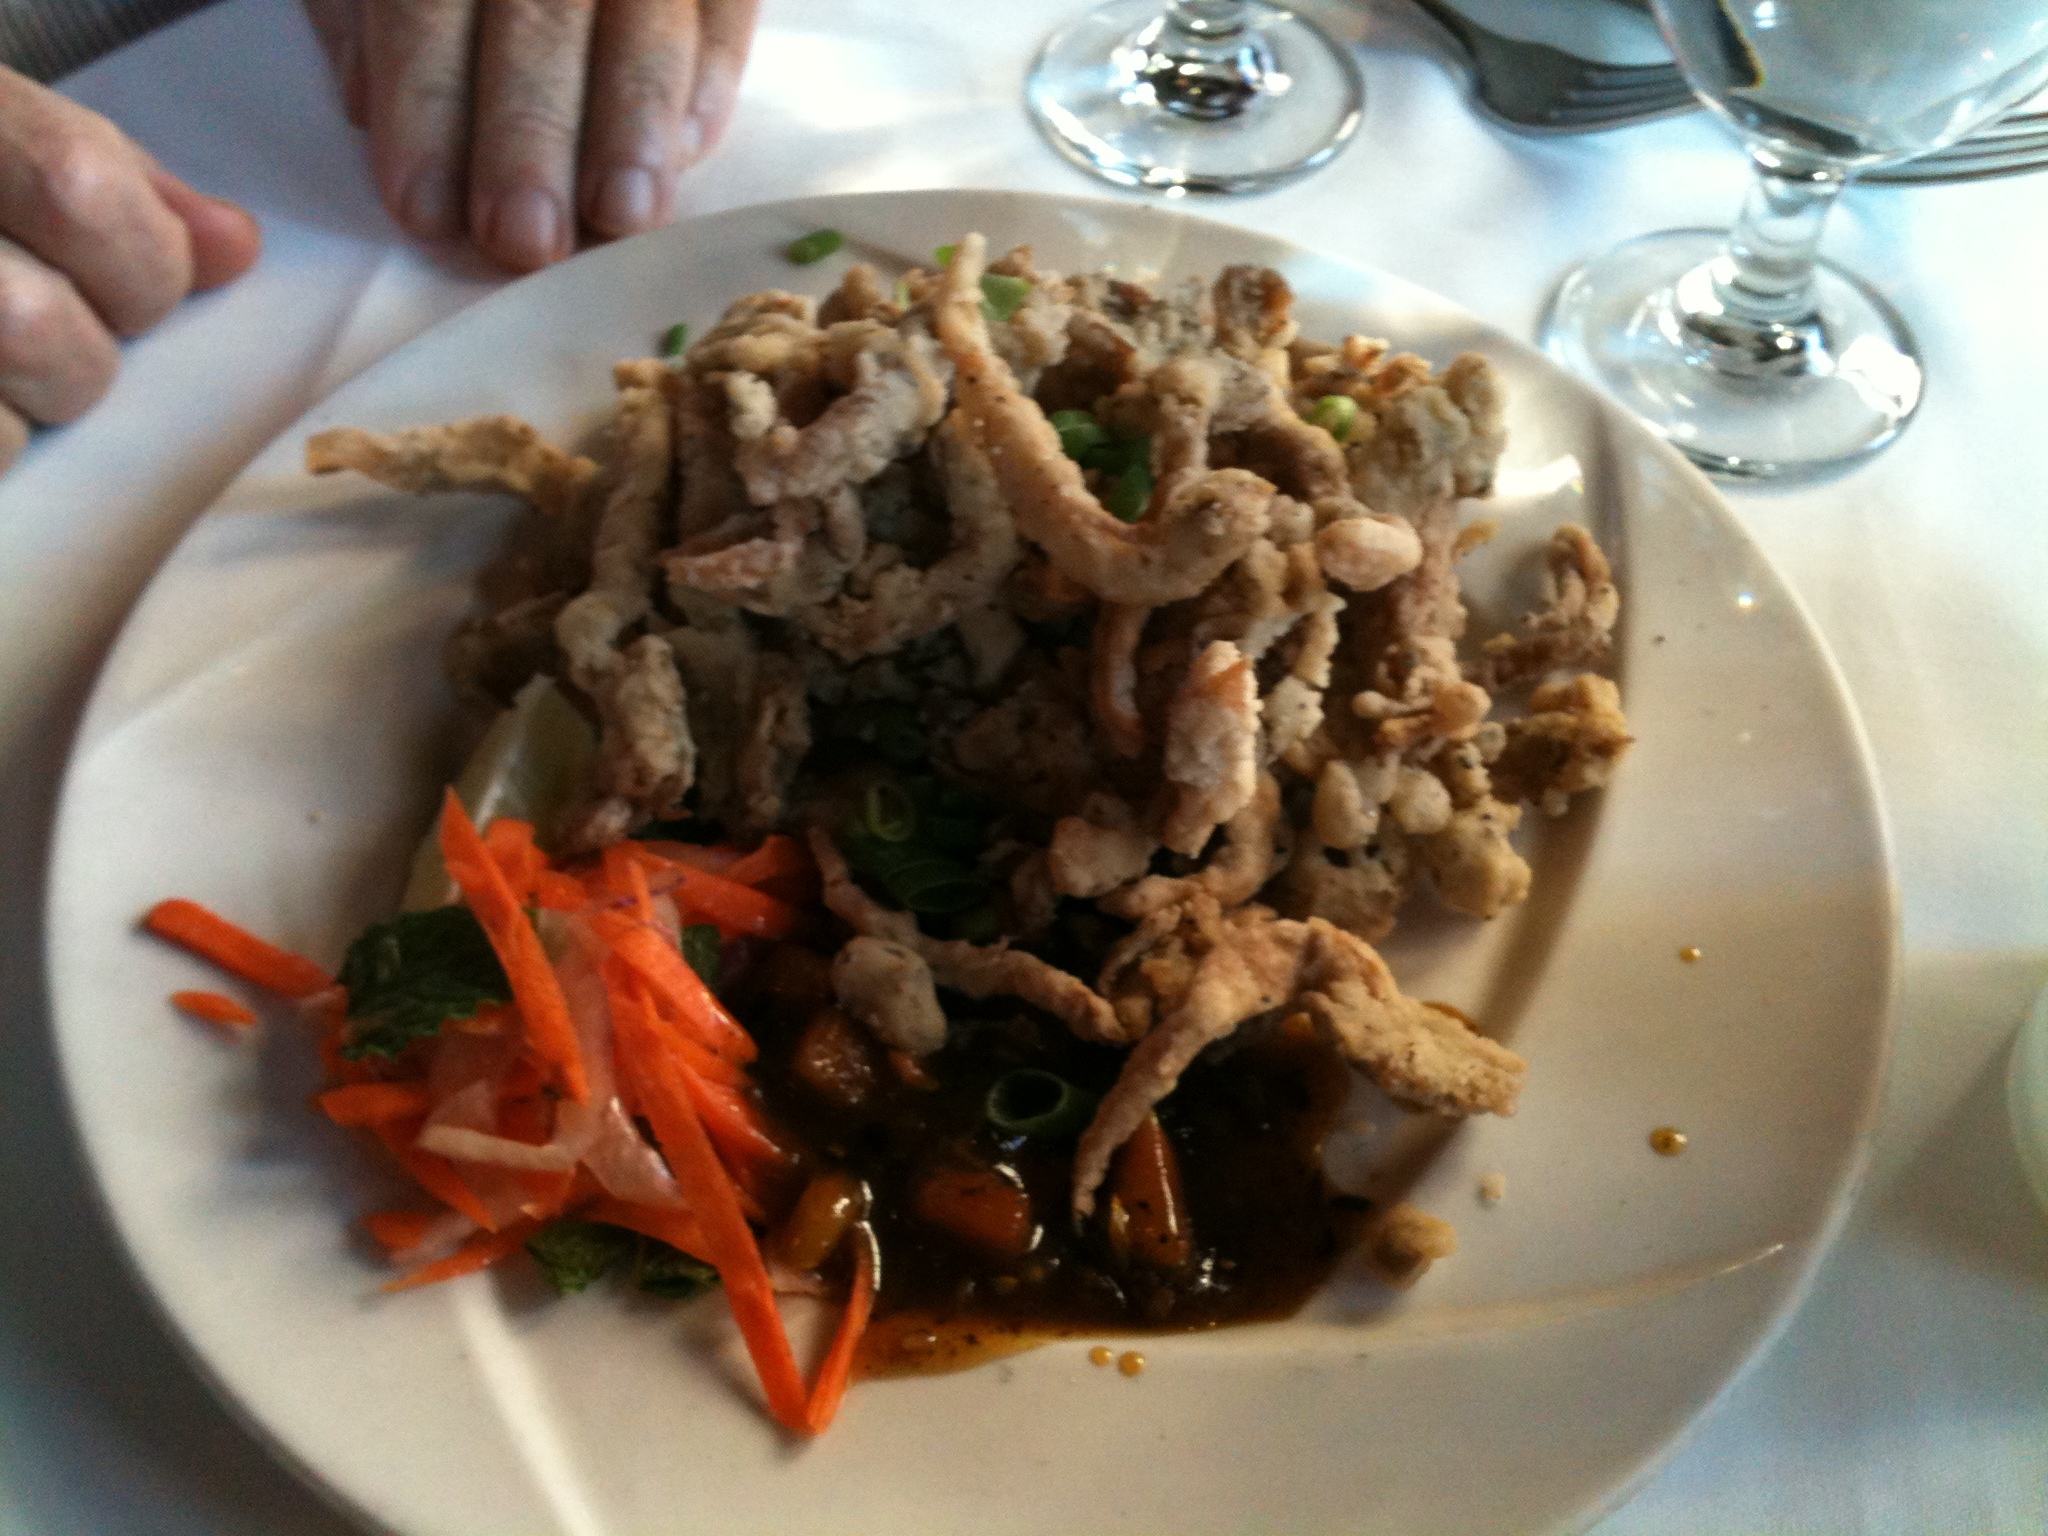 My aunt had a black bean and caramelized plantain torte.
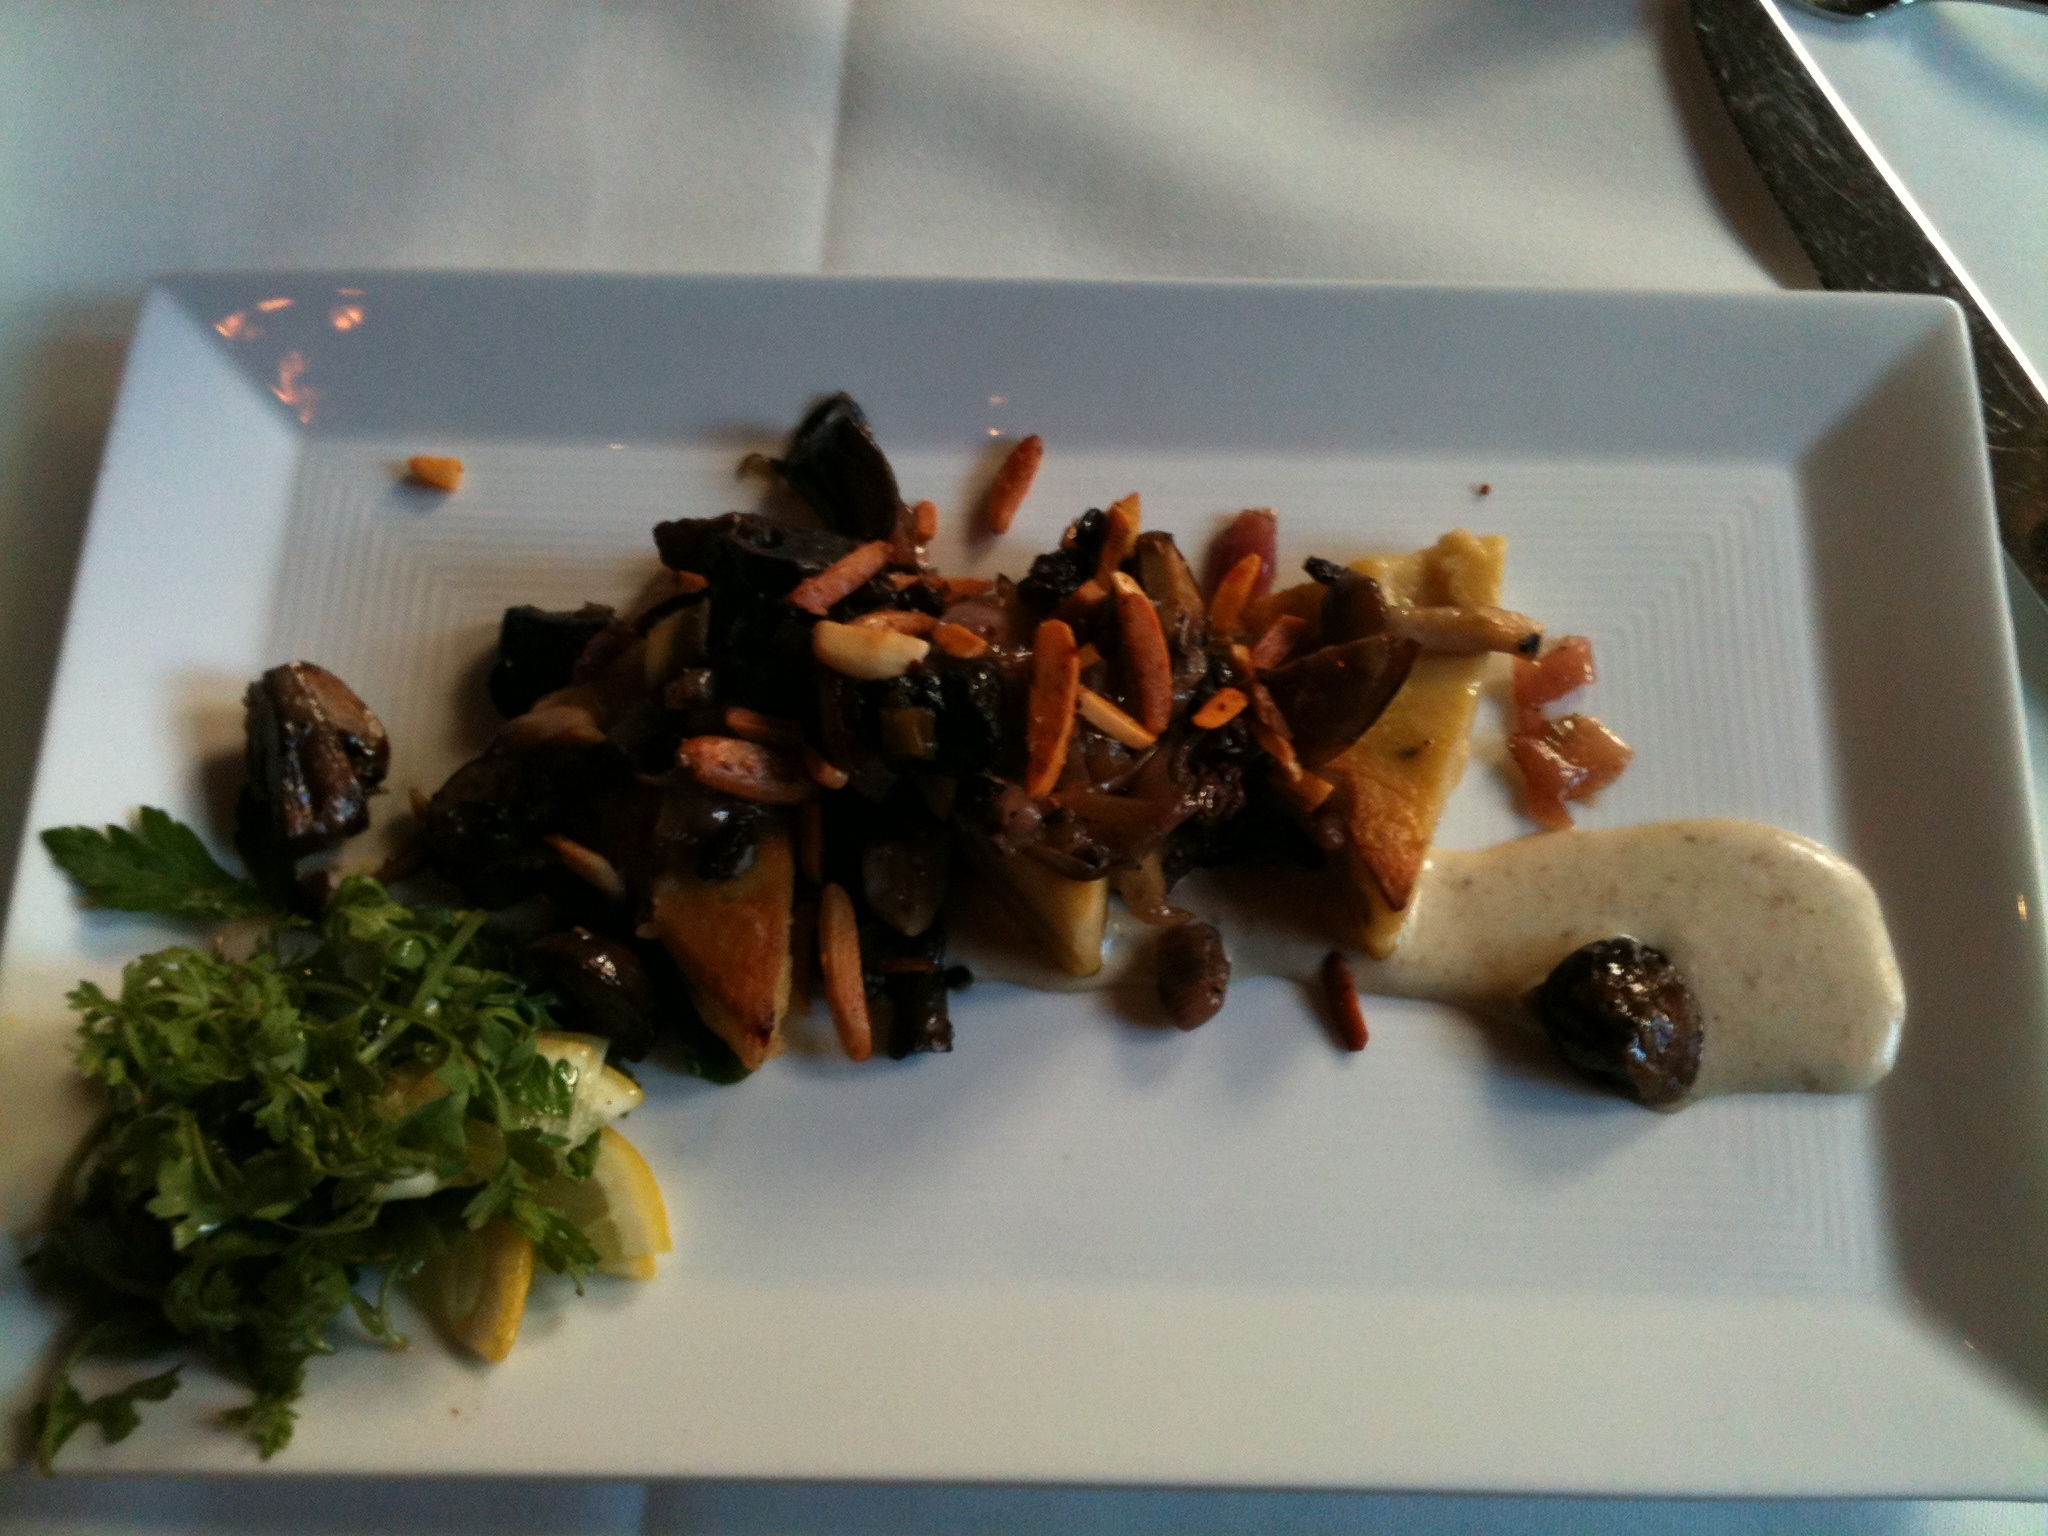
 I had the Chickpea Panisse: a chickpea purée with a firm, almost custard-like texture that was panfried like polenta and served with sautéed mushrooms, onions, raisins, and spiced almonds on top and a roasted garlic-cashew cream sauce underneath. I love chickpeas so this was an easy choice for me. Yummy.
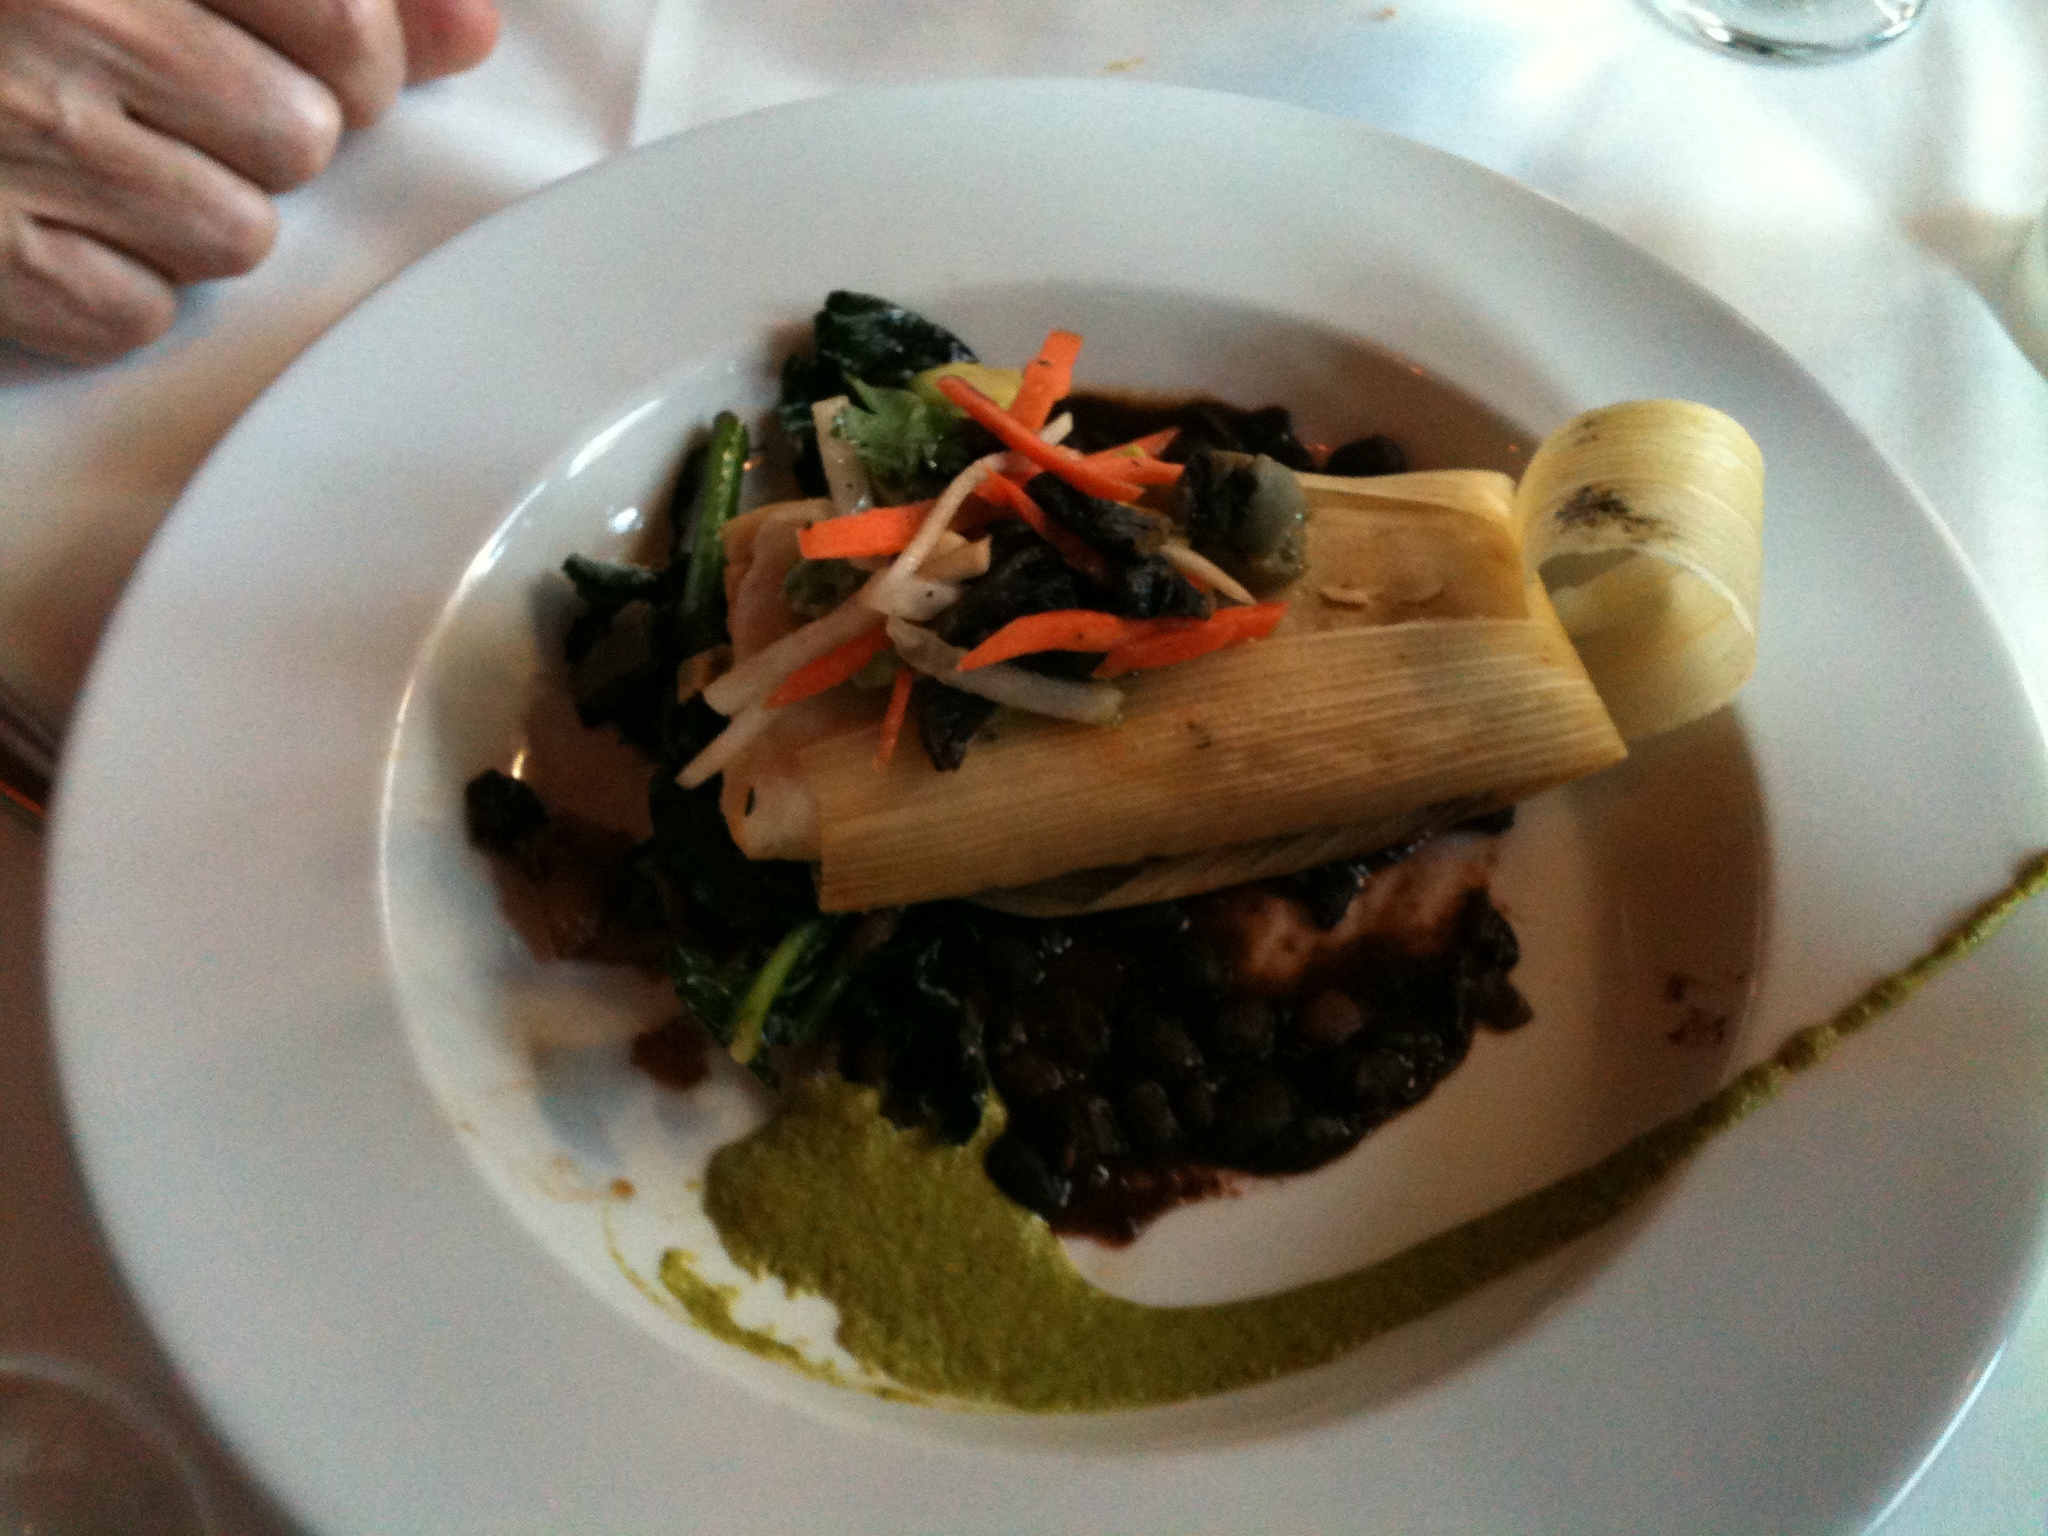
 Next up were the entrées. My uncle continued with the mushroom theme and got the Huitlacoche Tamale, but again found that the mushroom flavour wasn’t as prominent as he was hoping for.
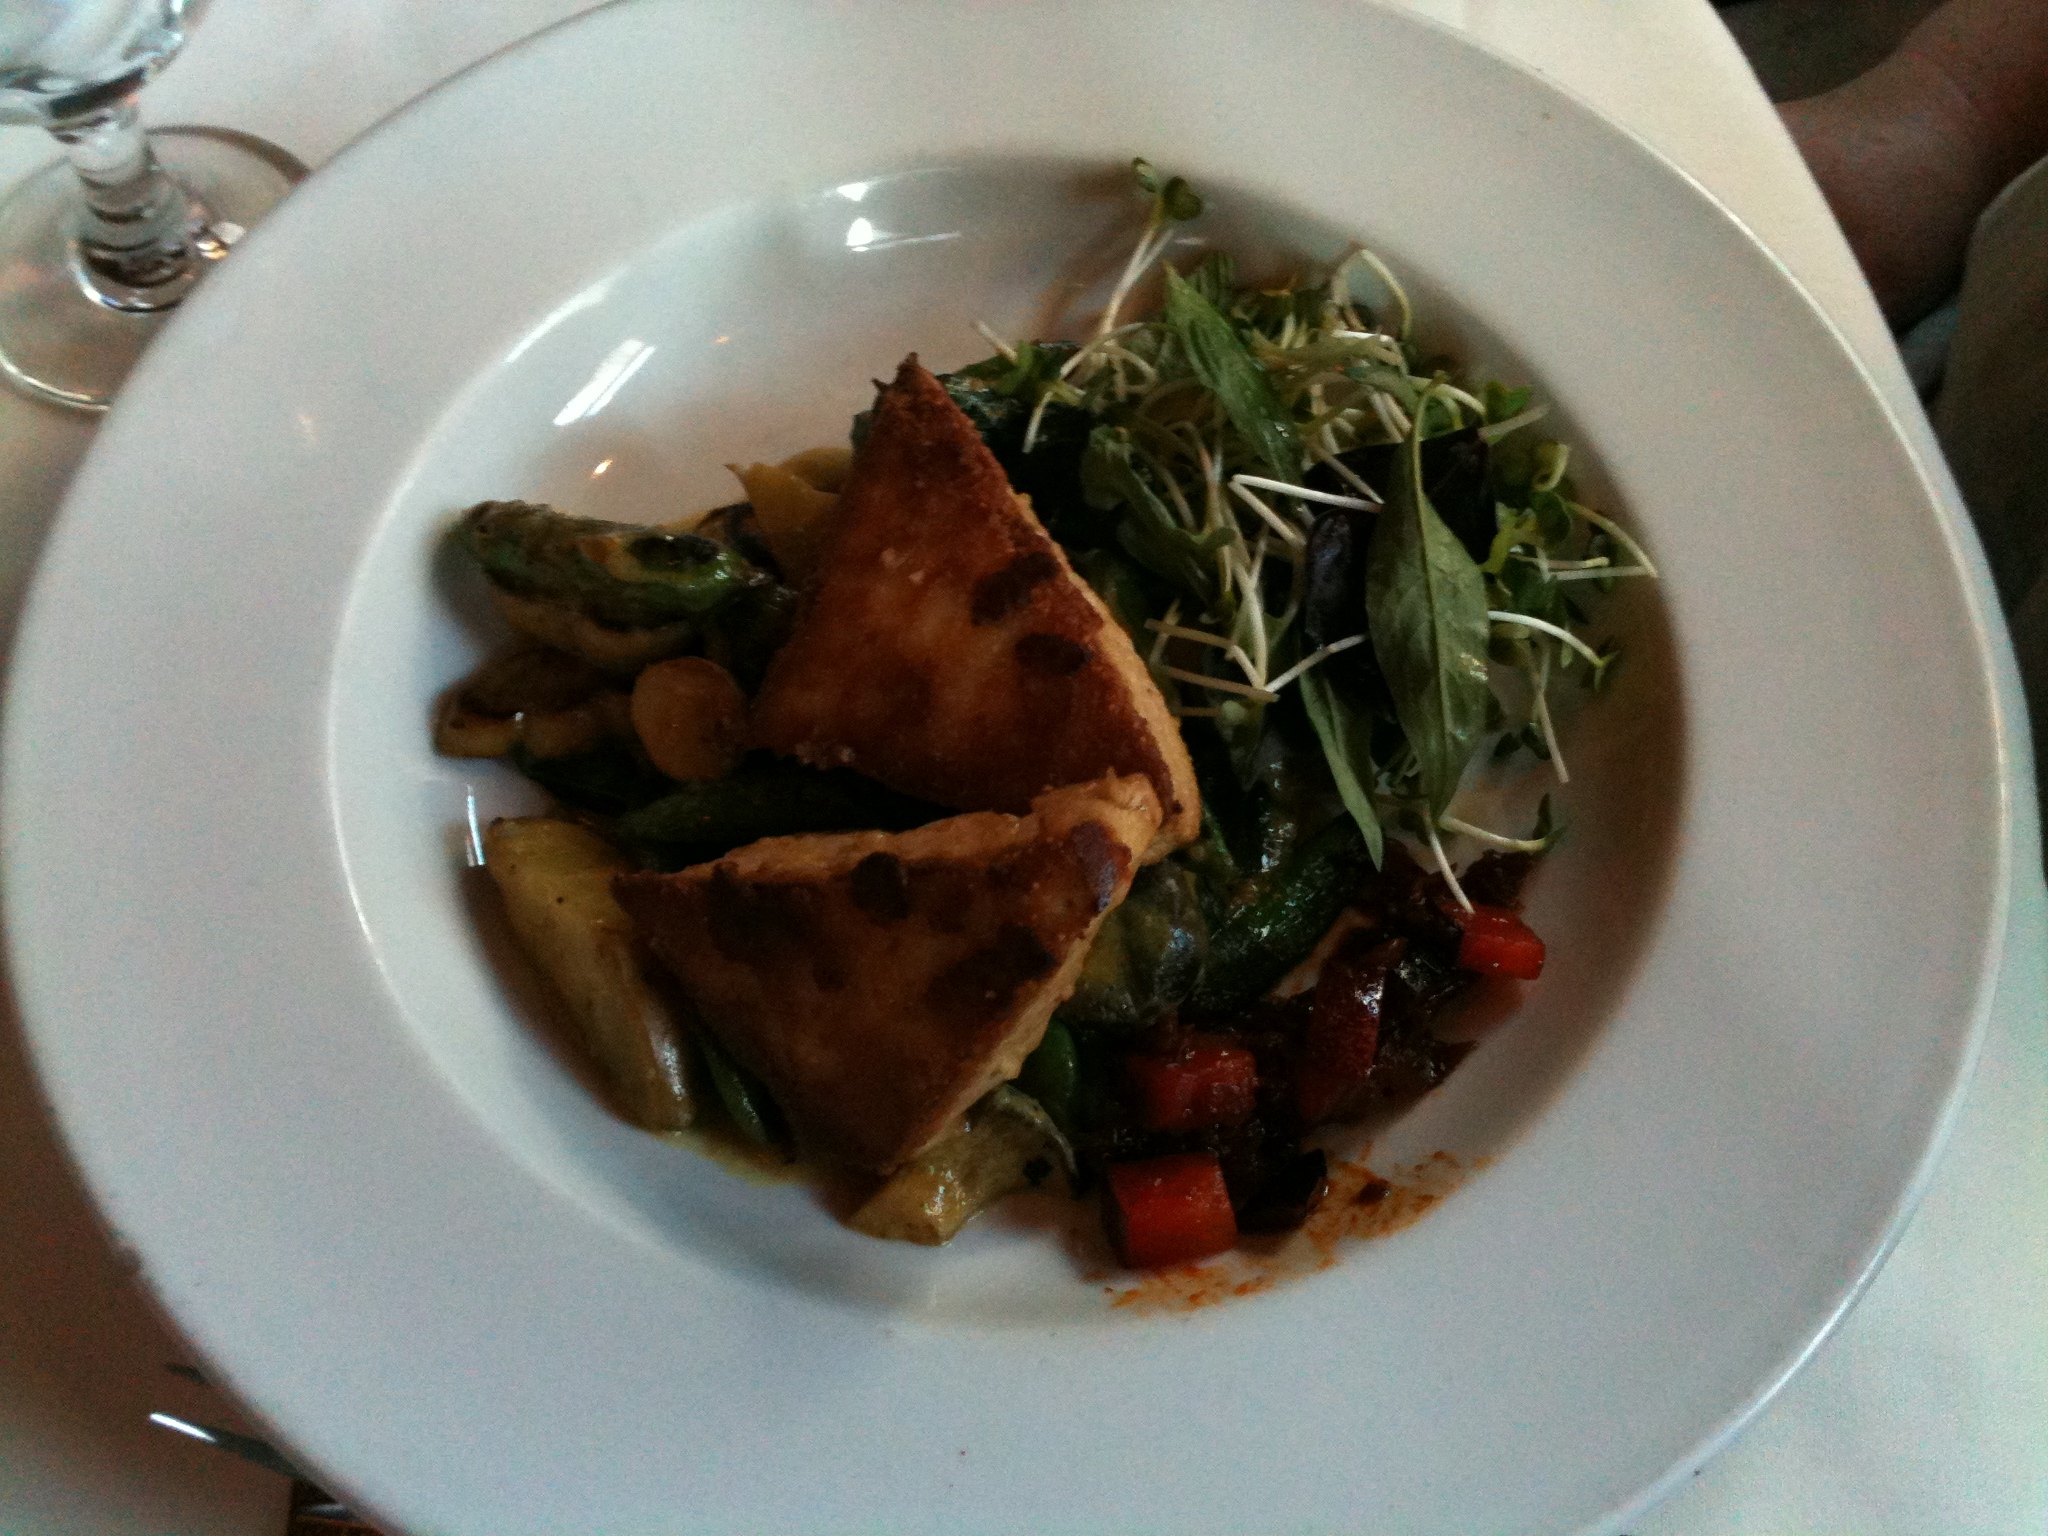
 My aunt had a coconut curry dish that she said was full of very interesting flavours.
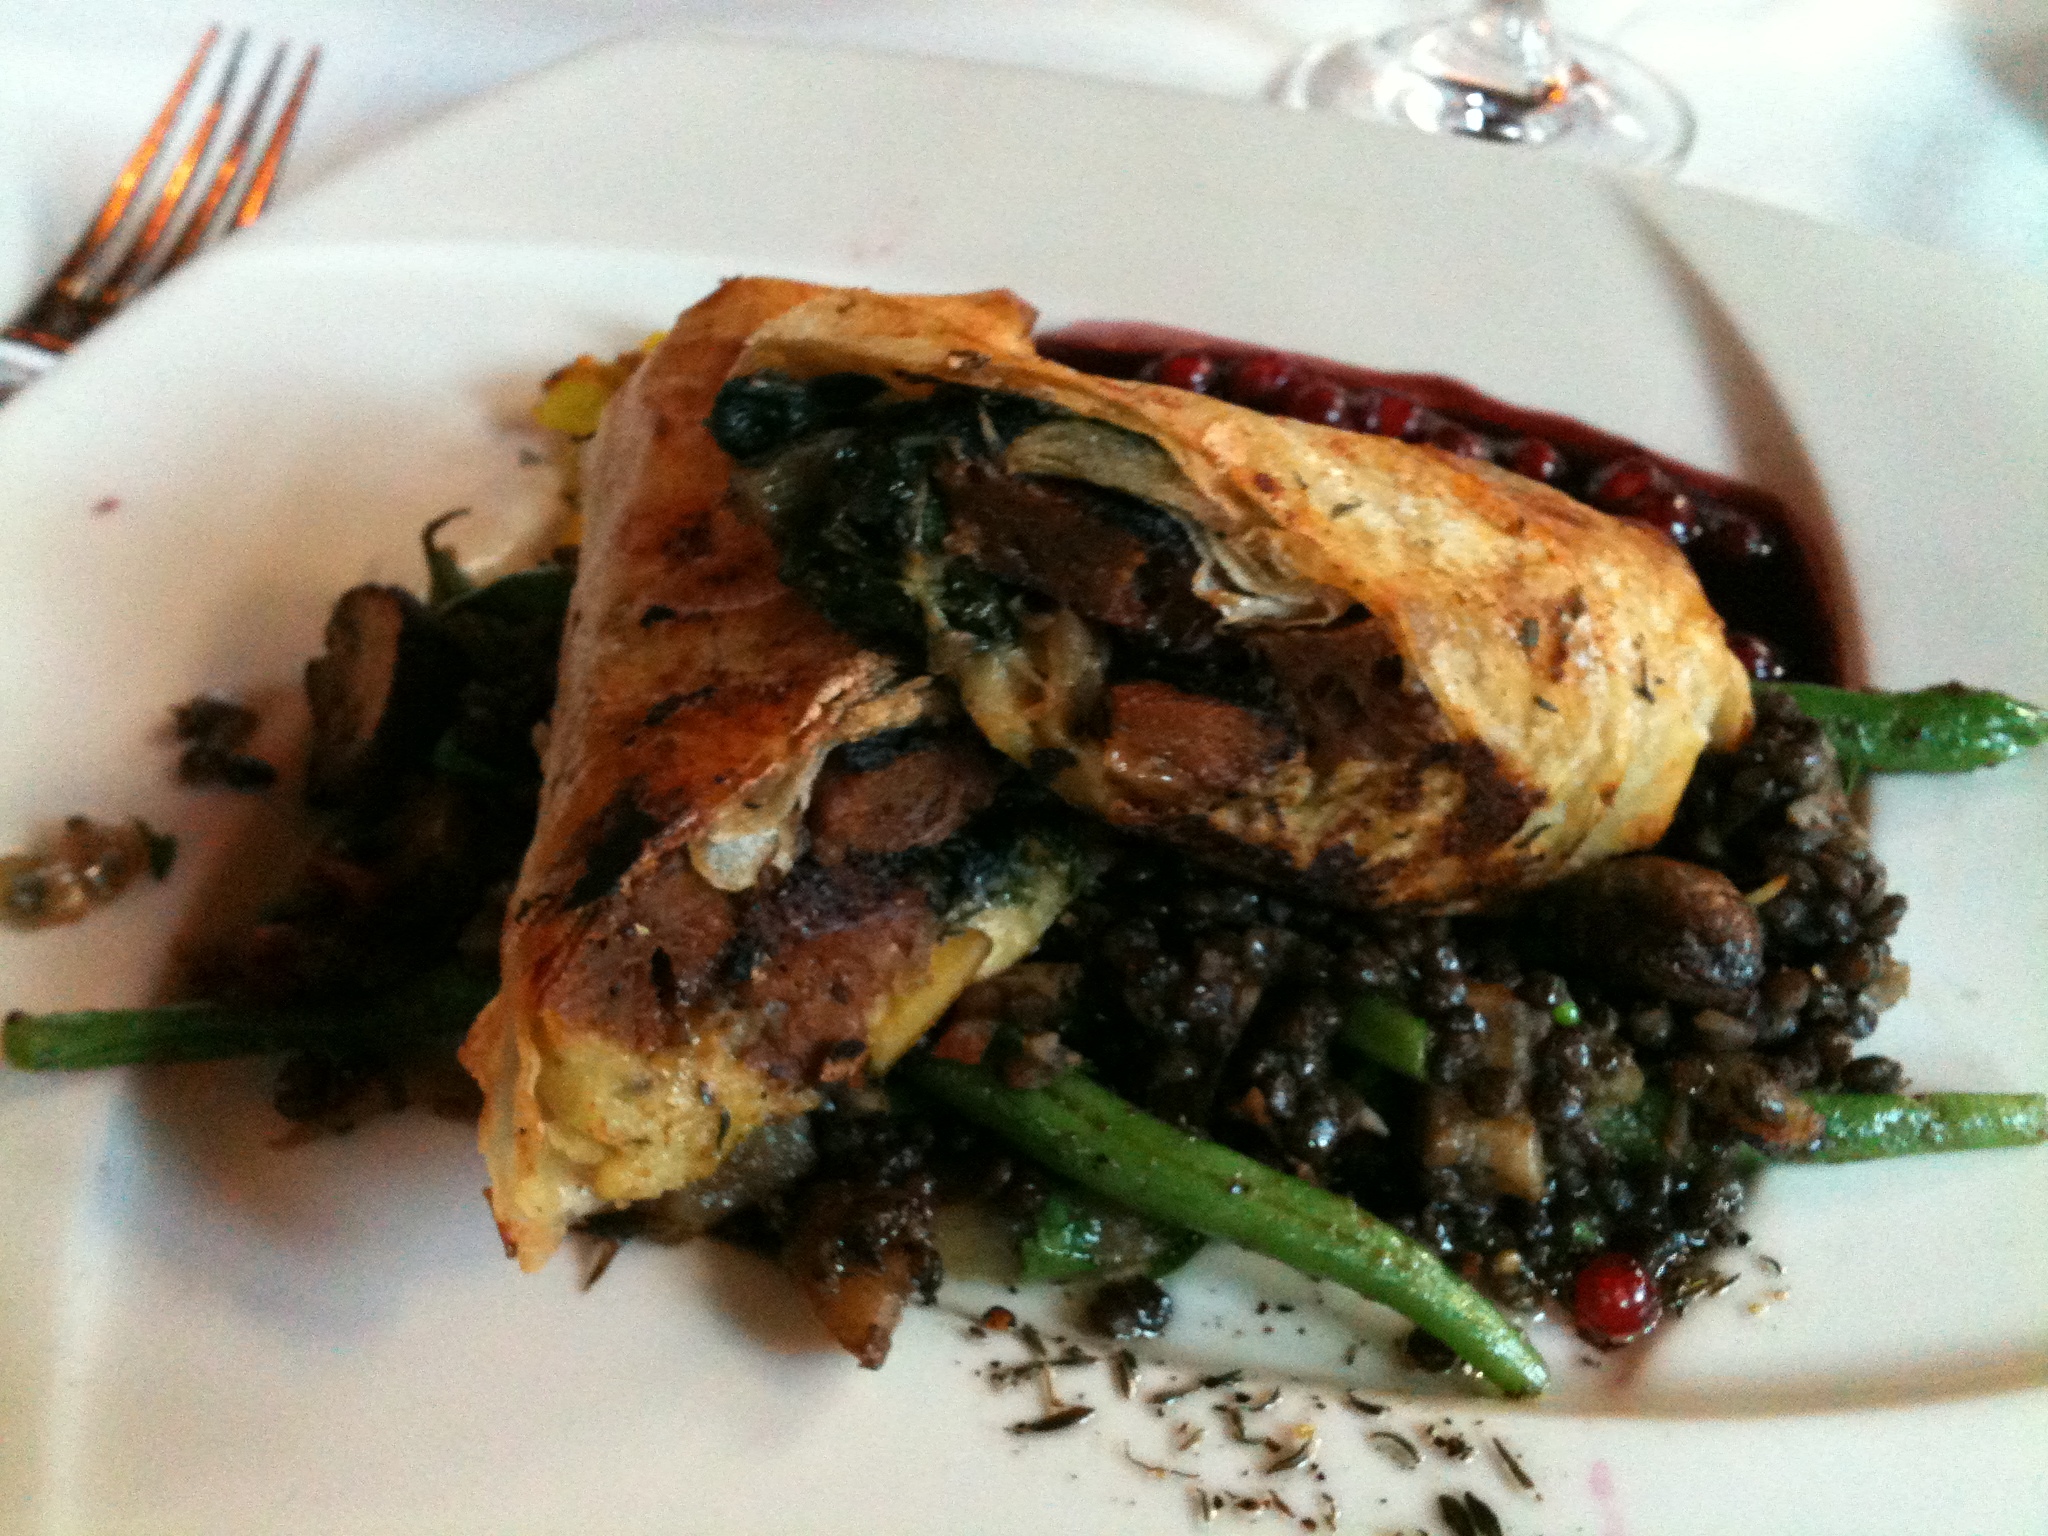
 I had the Brick Pastry, which turned out to be a strudel-like construction of very thin pastry rolled around a filling of seitan, sautéed chard, potatoes, and mushrooms, served over black lentils, green beans, and mushrooms, with a red currant sauce. It was delicious. I’d never had seitan before, and the flavour was quite strong, but still tasty, and the whole thing was balanced really nicely by the acidity of the red currant sauce. And the lentils were awesome – they were almost my favorite part (I never thought I’d say that about lentils!).
 Then my aunt and I shared a dessert. This one was seriously mind-blowing: you would never guess that it wasn’t packed full of dairy and eggs. We had the Chocolate Midnight, which was white chocolate and dark chocolate-mocha mousse on a chocolate nut crust with raspberry sauce. Absolutely to die for.
 Their dessert menu was perhaps the most impressive, because it was all egg- and dairy-free but they still managed to make several kinds of ice cream. Our server told us they use different bases of coconut, almond, rice, and soy milks, and somehow they can even make a dairy-free, vegan “buttermilk” ice cream! I want to go back just to try all their desserts.
This was a really impressive meal and a great example of amazing food – vegetarian, vegan, or otherwise. I didn’t even notice that there wasn’t any meat in my meal, and I certainly didn’t miss it! If you are in San Francisco, definitely give Millennium a visit – try the ice cream and report back to me!
