Korena in the Kitchen

  • Home
  • Recipes
  • About
  • Contact
You are here: Home / Archives for cooking

Turkey Pie with Parmesan & Black Pepper Biscuits

March 6, 2012 By Korena in the Kitchen 4 Comments

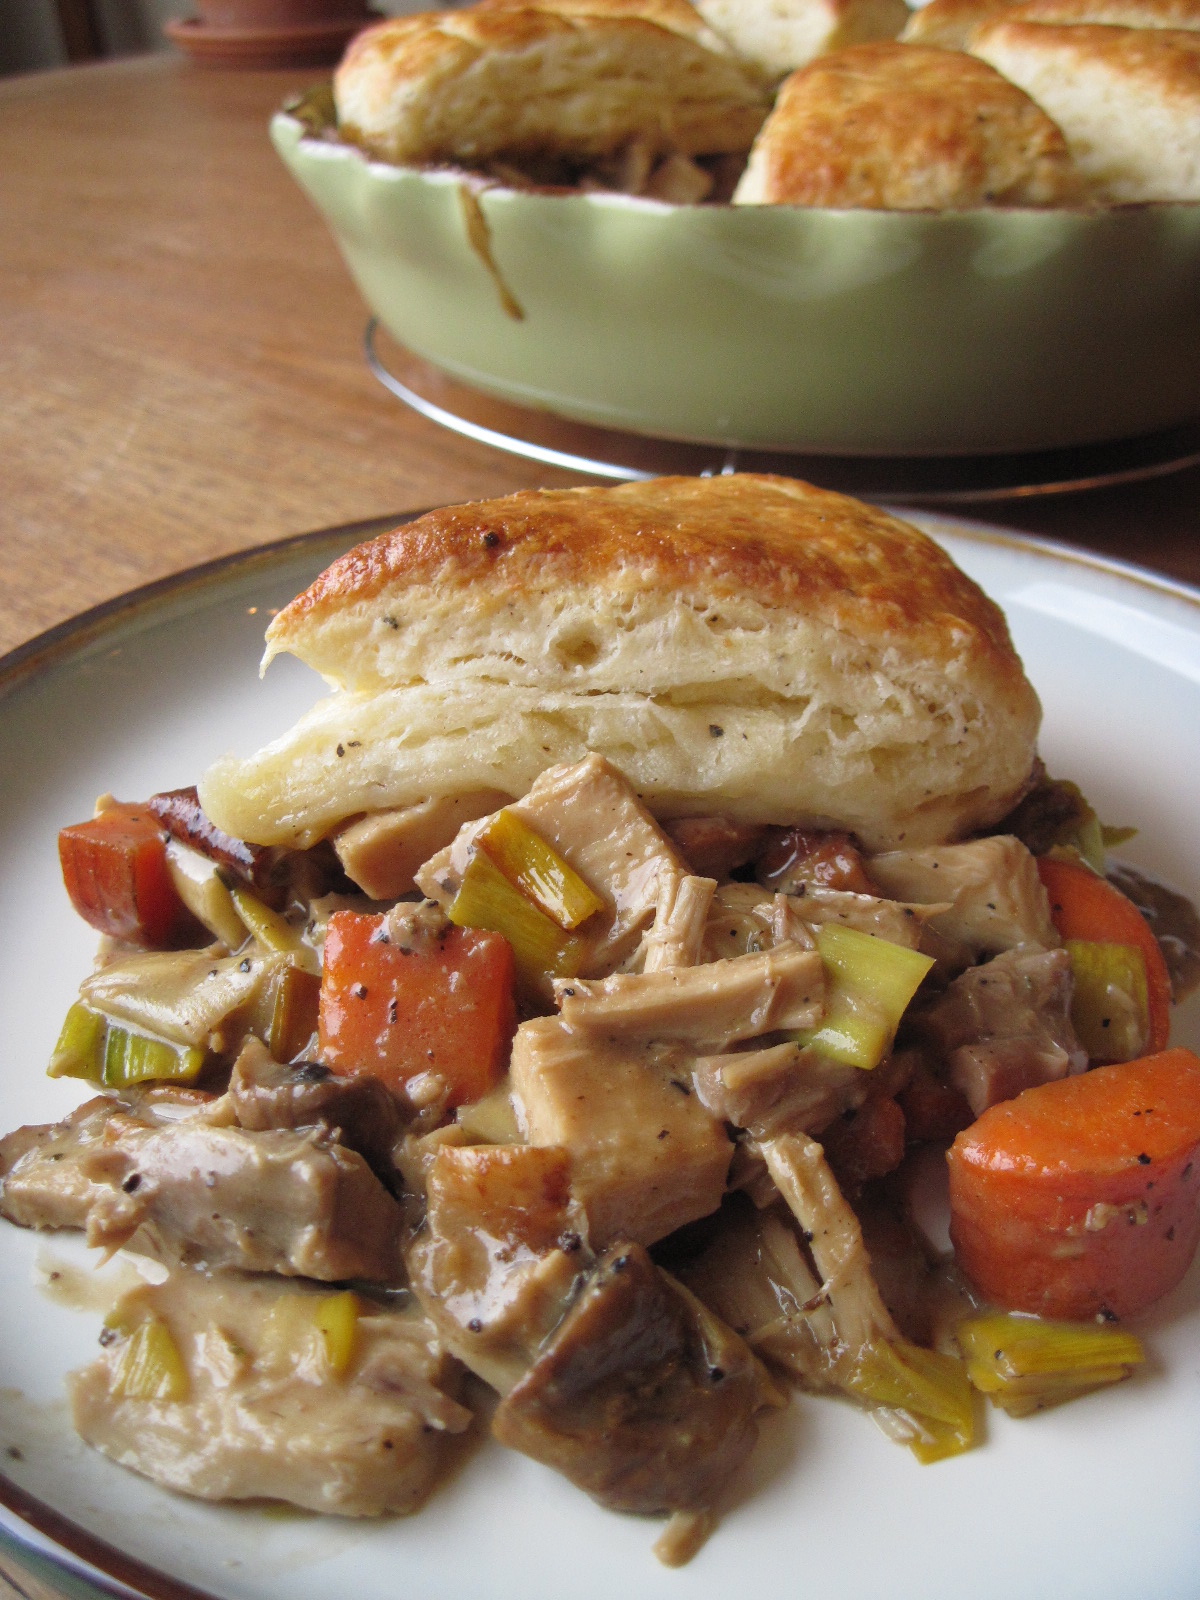
I know it’s about three months late to be posting a recipe for using up Christmas turkey, but I’ve had some turkey leftovers languishing in my freezer just begging to be made into a pie. Who am I to refuse such a request? This pie will not only make your house smell fantastic, but its comfort food mix of turkey, roasted root vegetables, and biscuits will make a dreary mid-winter day seem less so!
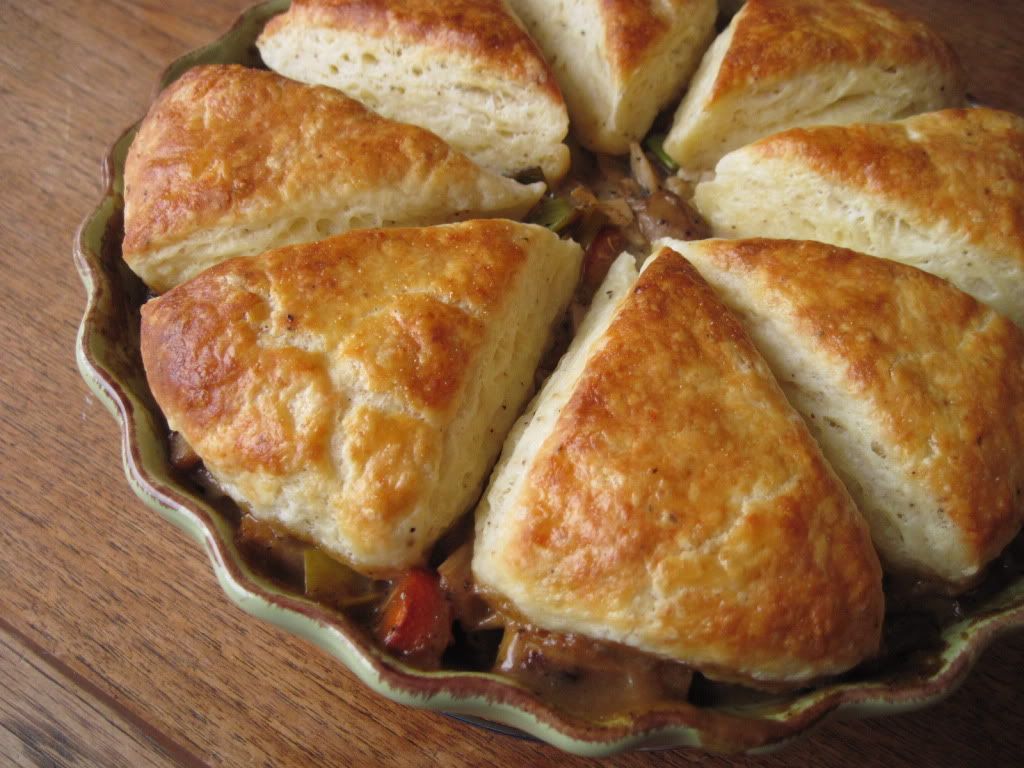
I chose to top this pie with biscuits because they are easy and good for soaking up gravy, but it would be equally tasty with your favorite pie crust in place of the biscuits (make it a single or double crust – your choice). If you go the pie crust route, I recommend working some parmesan and black pepper into it – it’s a great combination.
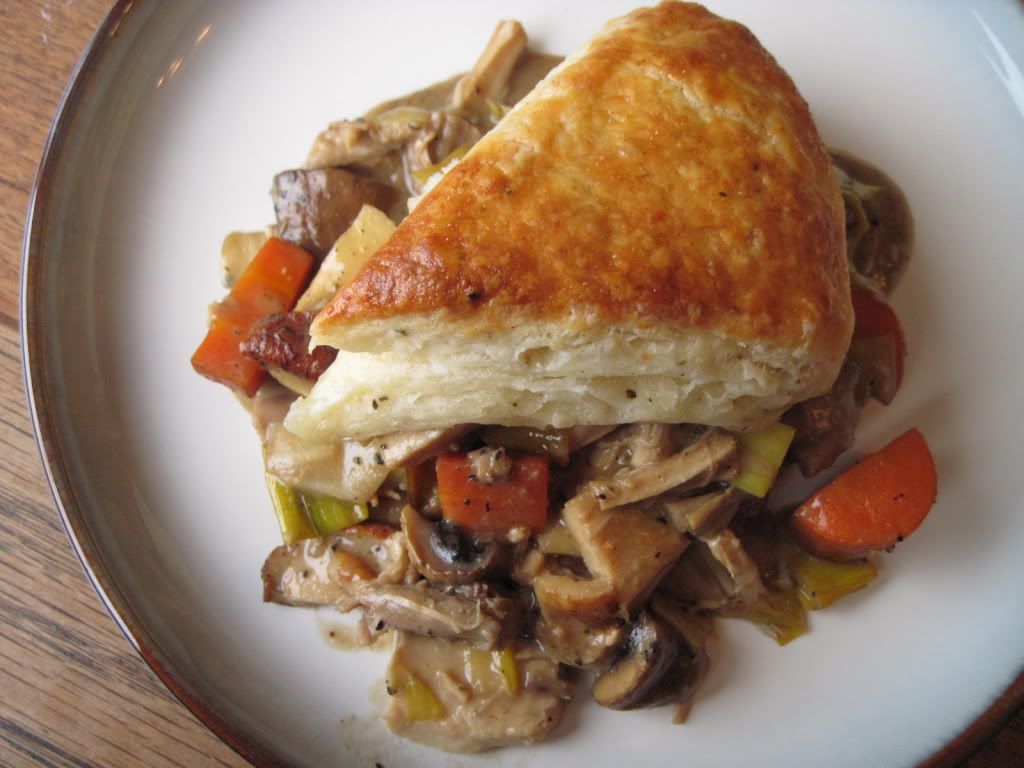
Turkey Pie with Parmesan & Black Pepper Biscuits

Biscuits

In a medium bowl, stir together:

1 1/2 cups flour

3 tsp baking powder

1/4 tsp freshly ground black pepper

large pinch of salt

With a pastry cutter, cut it:

5 tbsp cold unsalted butter
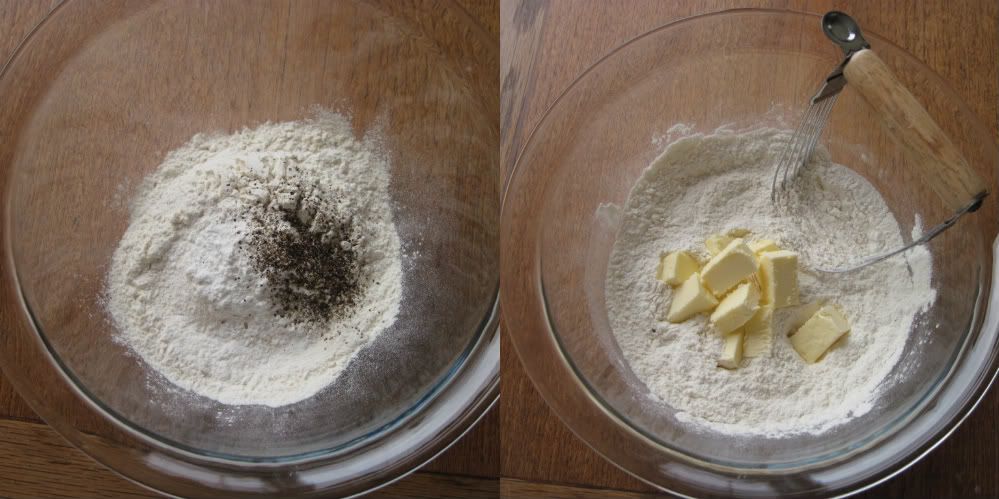
Blend until the butter is in pea-sized chunks. Add:

1/2 cup finely grated parmesan cheese
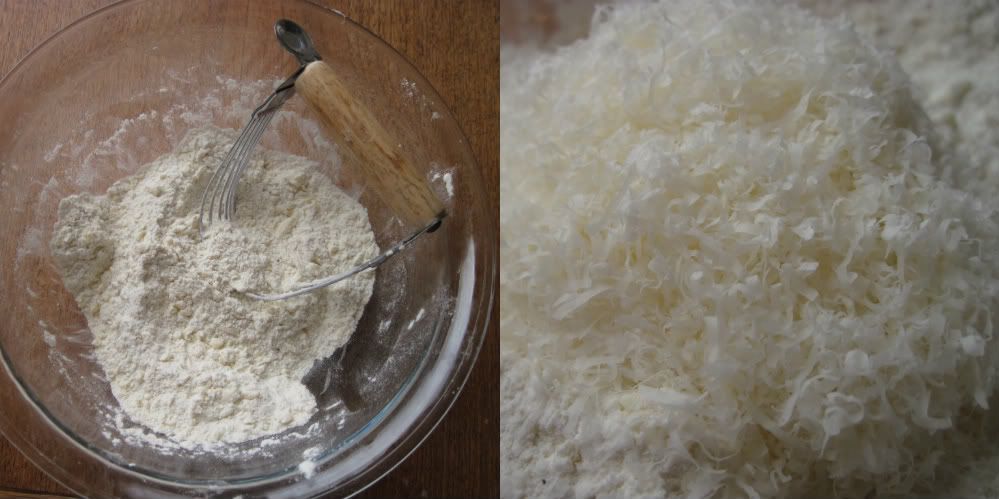
Toss the parmesan into the butter-flour mixture, then make a well in the center and add:

3/4 cup cold milk

With a fork, stir in the milk with as few strokes as possible, using a folding motion to blend in the flour from the bottom of the bowl. It should just come together in a shaggy, sticky dough.
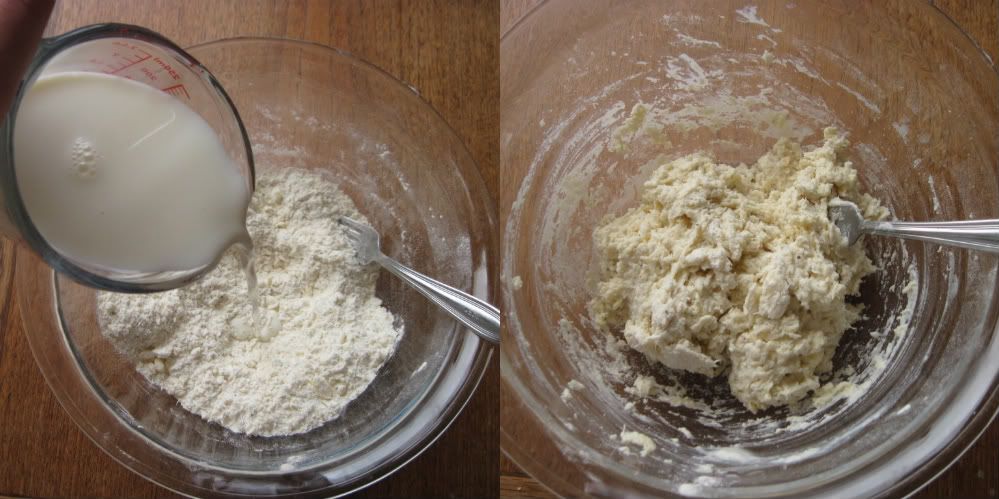
Turn the dough out onto a floured surface and knead it gently 2 – 3 times to gather it all together. Pat it out into a rectangular shape and fold it in thirds like a letter.
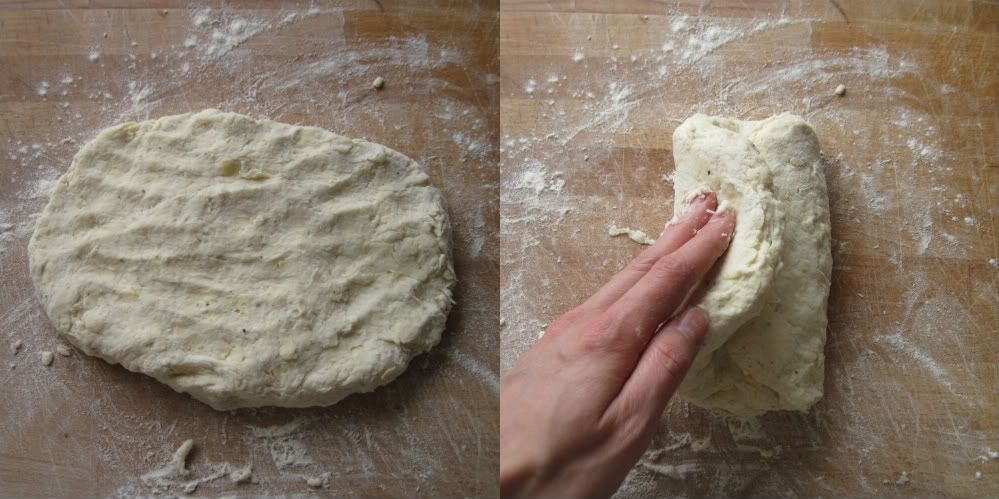
Pat it down again into a rectangle and repeat. After the second fold, shape the dough into a circle and pat it out into a 7-inch round. Cut it into 8 wedges with a sharp knife, using a straight downward cutting motion (this will help the cut edge rise up and be flaky).
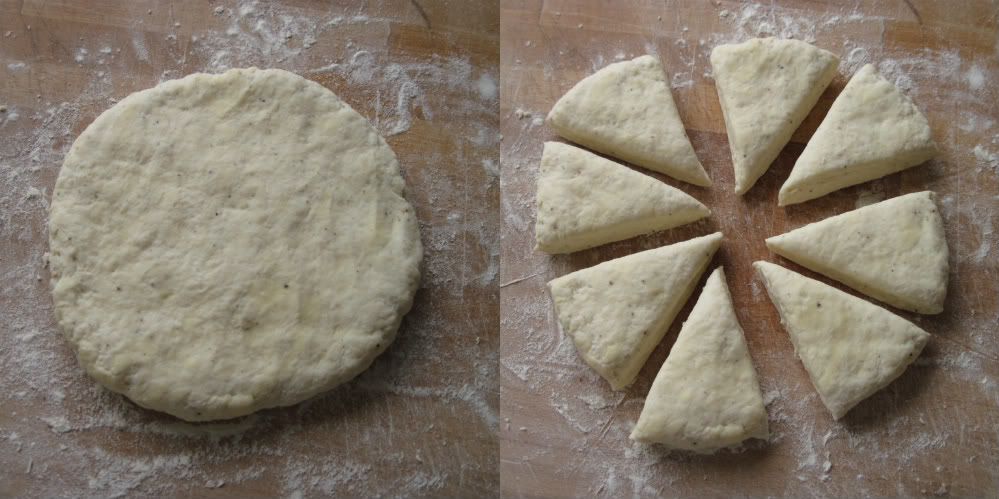
Transfer the wedges to a lightly floured plate, cover them with plastic, and refrigerate while you make the filling.

Turkey & Roasted Vegetable Filling

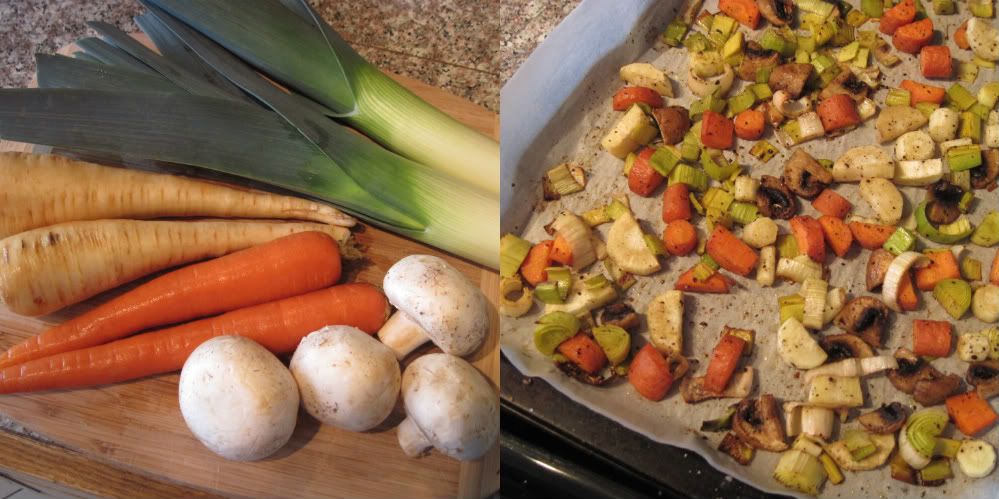
Preheat the oven to 425˚F. Chop the following into 1/2 inch chunks:

2 medium carrots (about 1 cup)

2 medium parsnips (about 1 cup)

4 – 5 button mushrooms (about 1 cup)

1 large or 2 small leeks, white part only (about 1 1/2 cups – wash them very well!)

Spread the vegetables in a single layer on a baking sheet and toss with:

a few tablespoons of olive oil

generous salt and pepper

Roast the vegetables for 20 – 25 minutes, stirring halfway through, until softened and starting to brown.
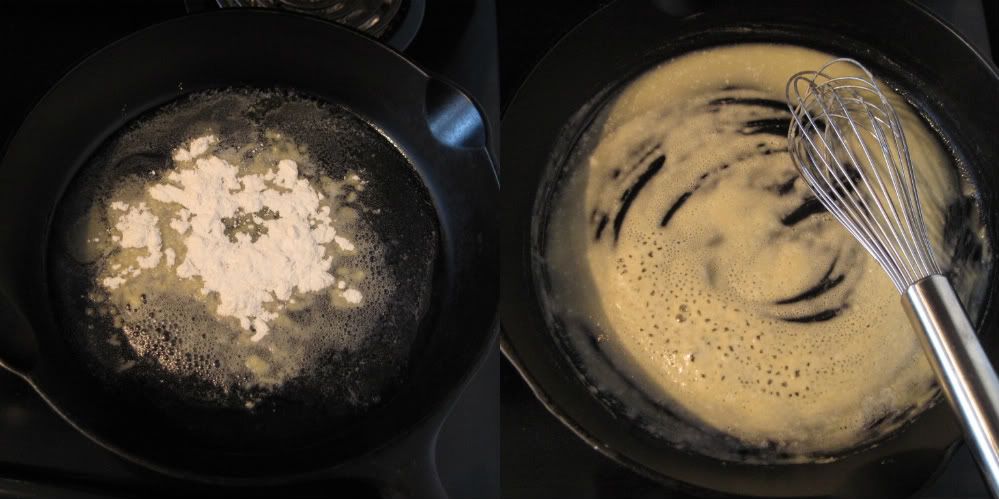
Meanwhile, prepare the gravy. In a large pan over medium heat, melt:

2 tbsp unsalted butter

When it foams, add:

2 heaping tbsp all purpose flour

Whisk and cook for a few minutes, until it starts to smell nutty.
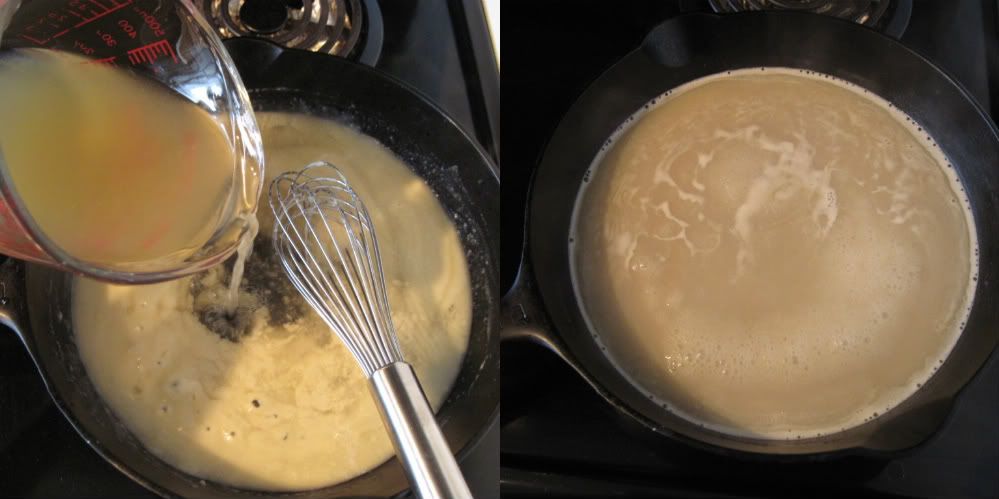
While whisking constantly, slowly pour in:

2 cups chicken or turkey stock

It will seem very thin and watery but will thicken up when it reaches a boil. Raise the heat to medium-high to bring it to a boil and thicken, then reduce back down to medium-low.
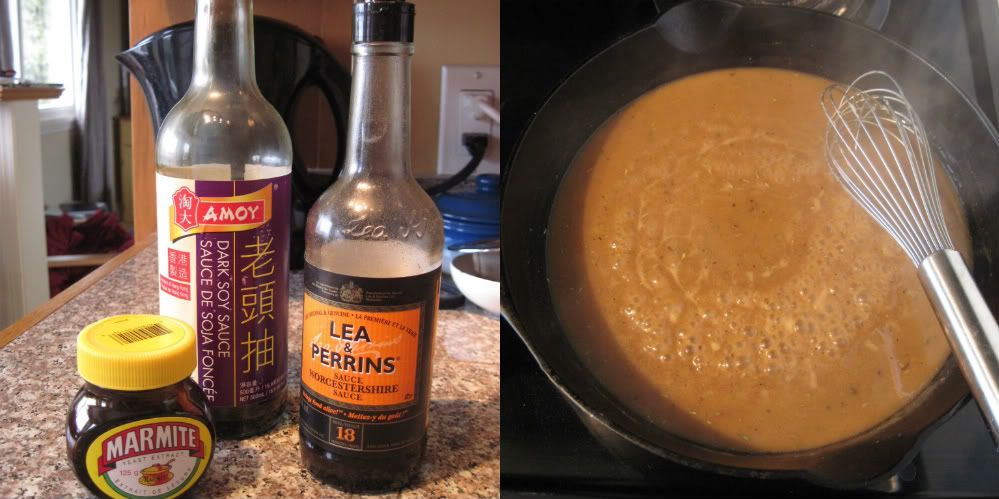
Season to taste with:

a few dashes of Worchestershire sauce

~ 1 tbsp soy sauce (less if using salted stock)

~ 1 – 2 tsp Marmite

1/4 tsp garlic powder

1/2 tsp dried sage

1/2 tsp dried thyme

salt and pepper

Worchestershire, soy sauce, and Marmite are my fail-safe ingredients for awesome gravy. They add great umami taste as well as saltiness, and they give the gravy a beautiful rich, dark colour. Marmite weirds some people out, but it is killer in gravy.
Remove the gravy from the heat. To make it a bit creamy (totally optional), stir in:

2 tbsp sour cream or cream cheese
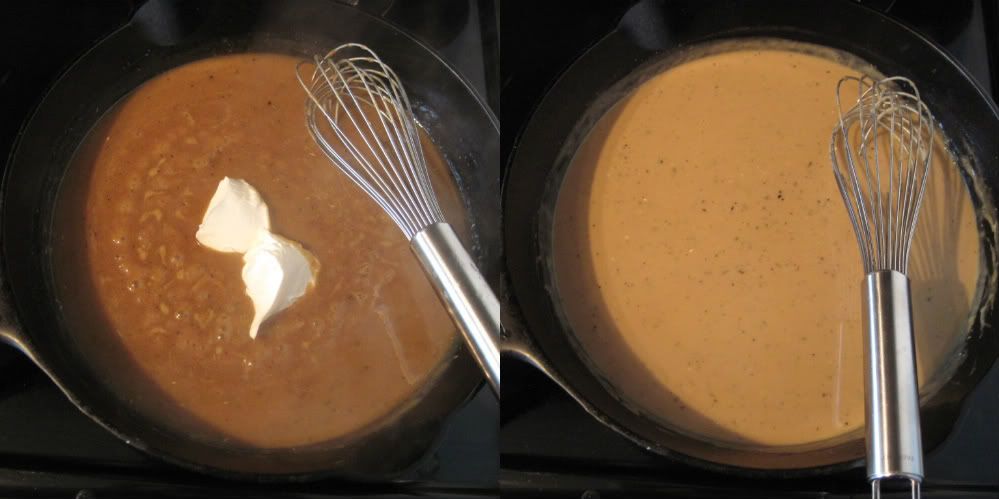
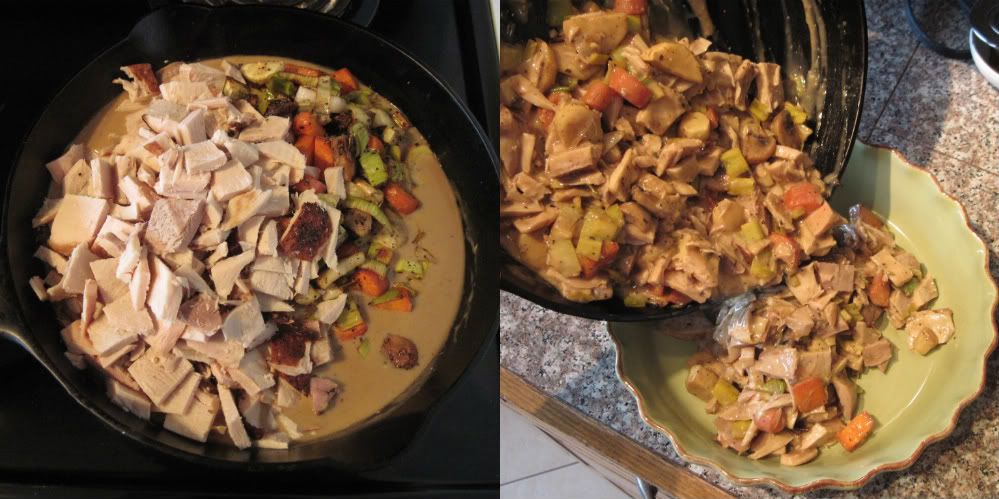
Mix into the gravy:

the roasted vegetables (straight from the oven, preferably)

3 – 4 cups of chopped cooked turkey

Pour the whole thing into a 9-inch pie plate.
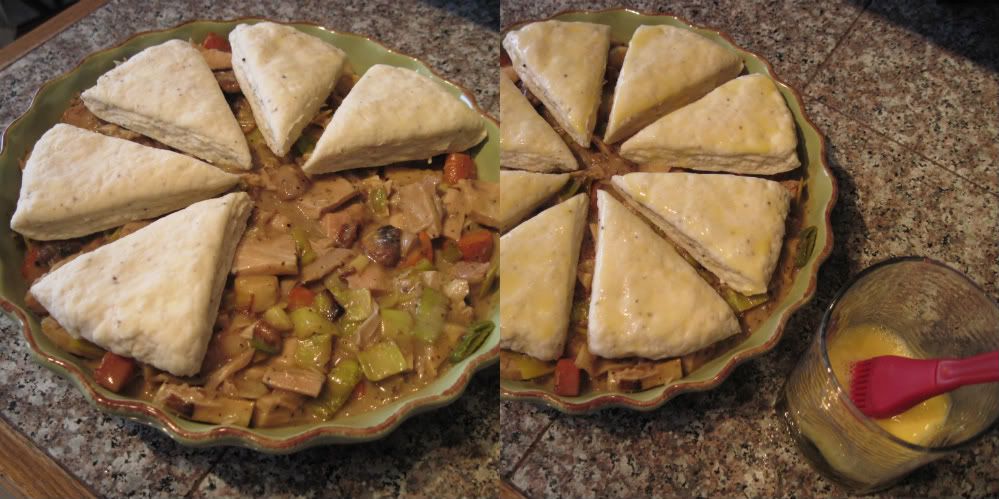
Top it with the chilled biscuits and brush them with an egg wash (1 egg mixed with 1 tbsp water).
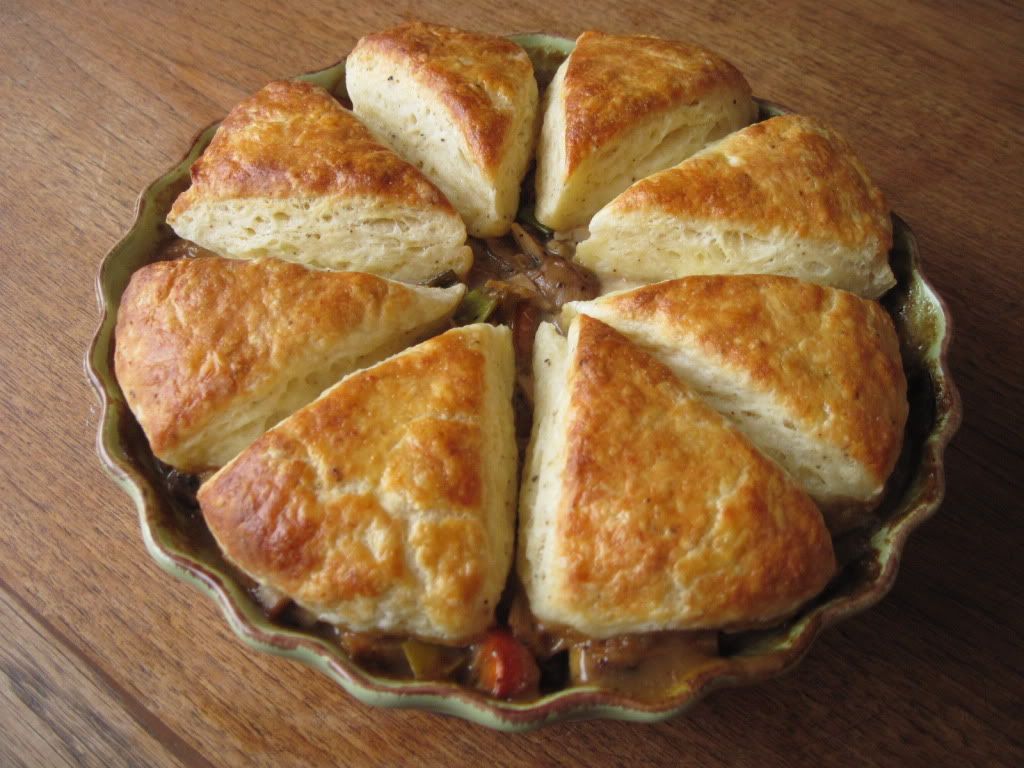
Bake the pie at 425˚F for 20-25 minutes, until the gravy is bubbling and the biscuits are golden brown and puffed. Let it cool for just a few minutes before serving.
Filed Under: Main Dishes, Recipes Tagged With: biscuits, comfort food, cooking, recipe, turkey pie, winter

A recipe that will make you love lentils

February 12, 2012 By Korena in the Kitchen 12 Comments

When I was growing up, “lentil” was practically a bad word in our house. I think my Mum over-did it with lentils when my parents were young hippies living on a shoestring (lentils are cheap and filling!), and as a result, my Dad basically refused to eat them. So, my experience thus far with lentils has been pretty limited and tinged with a prejudice of “yecch”.

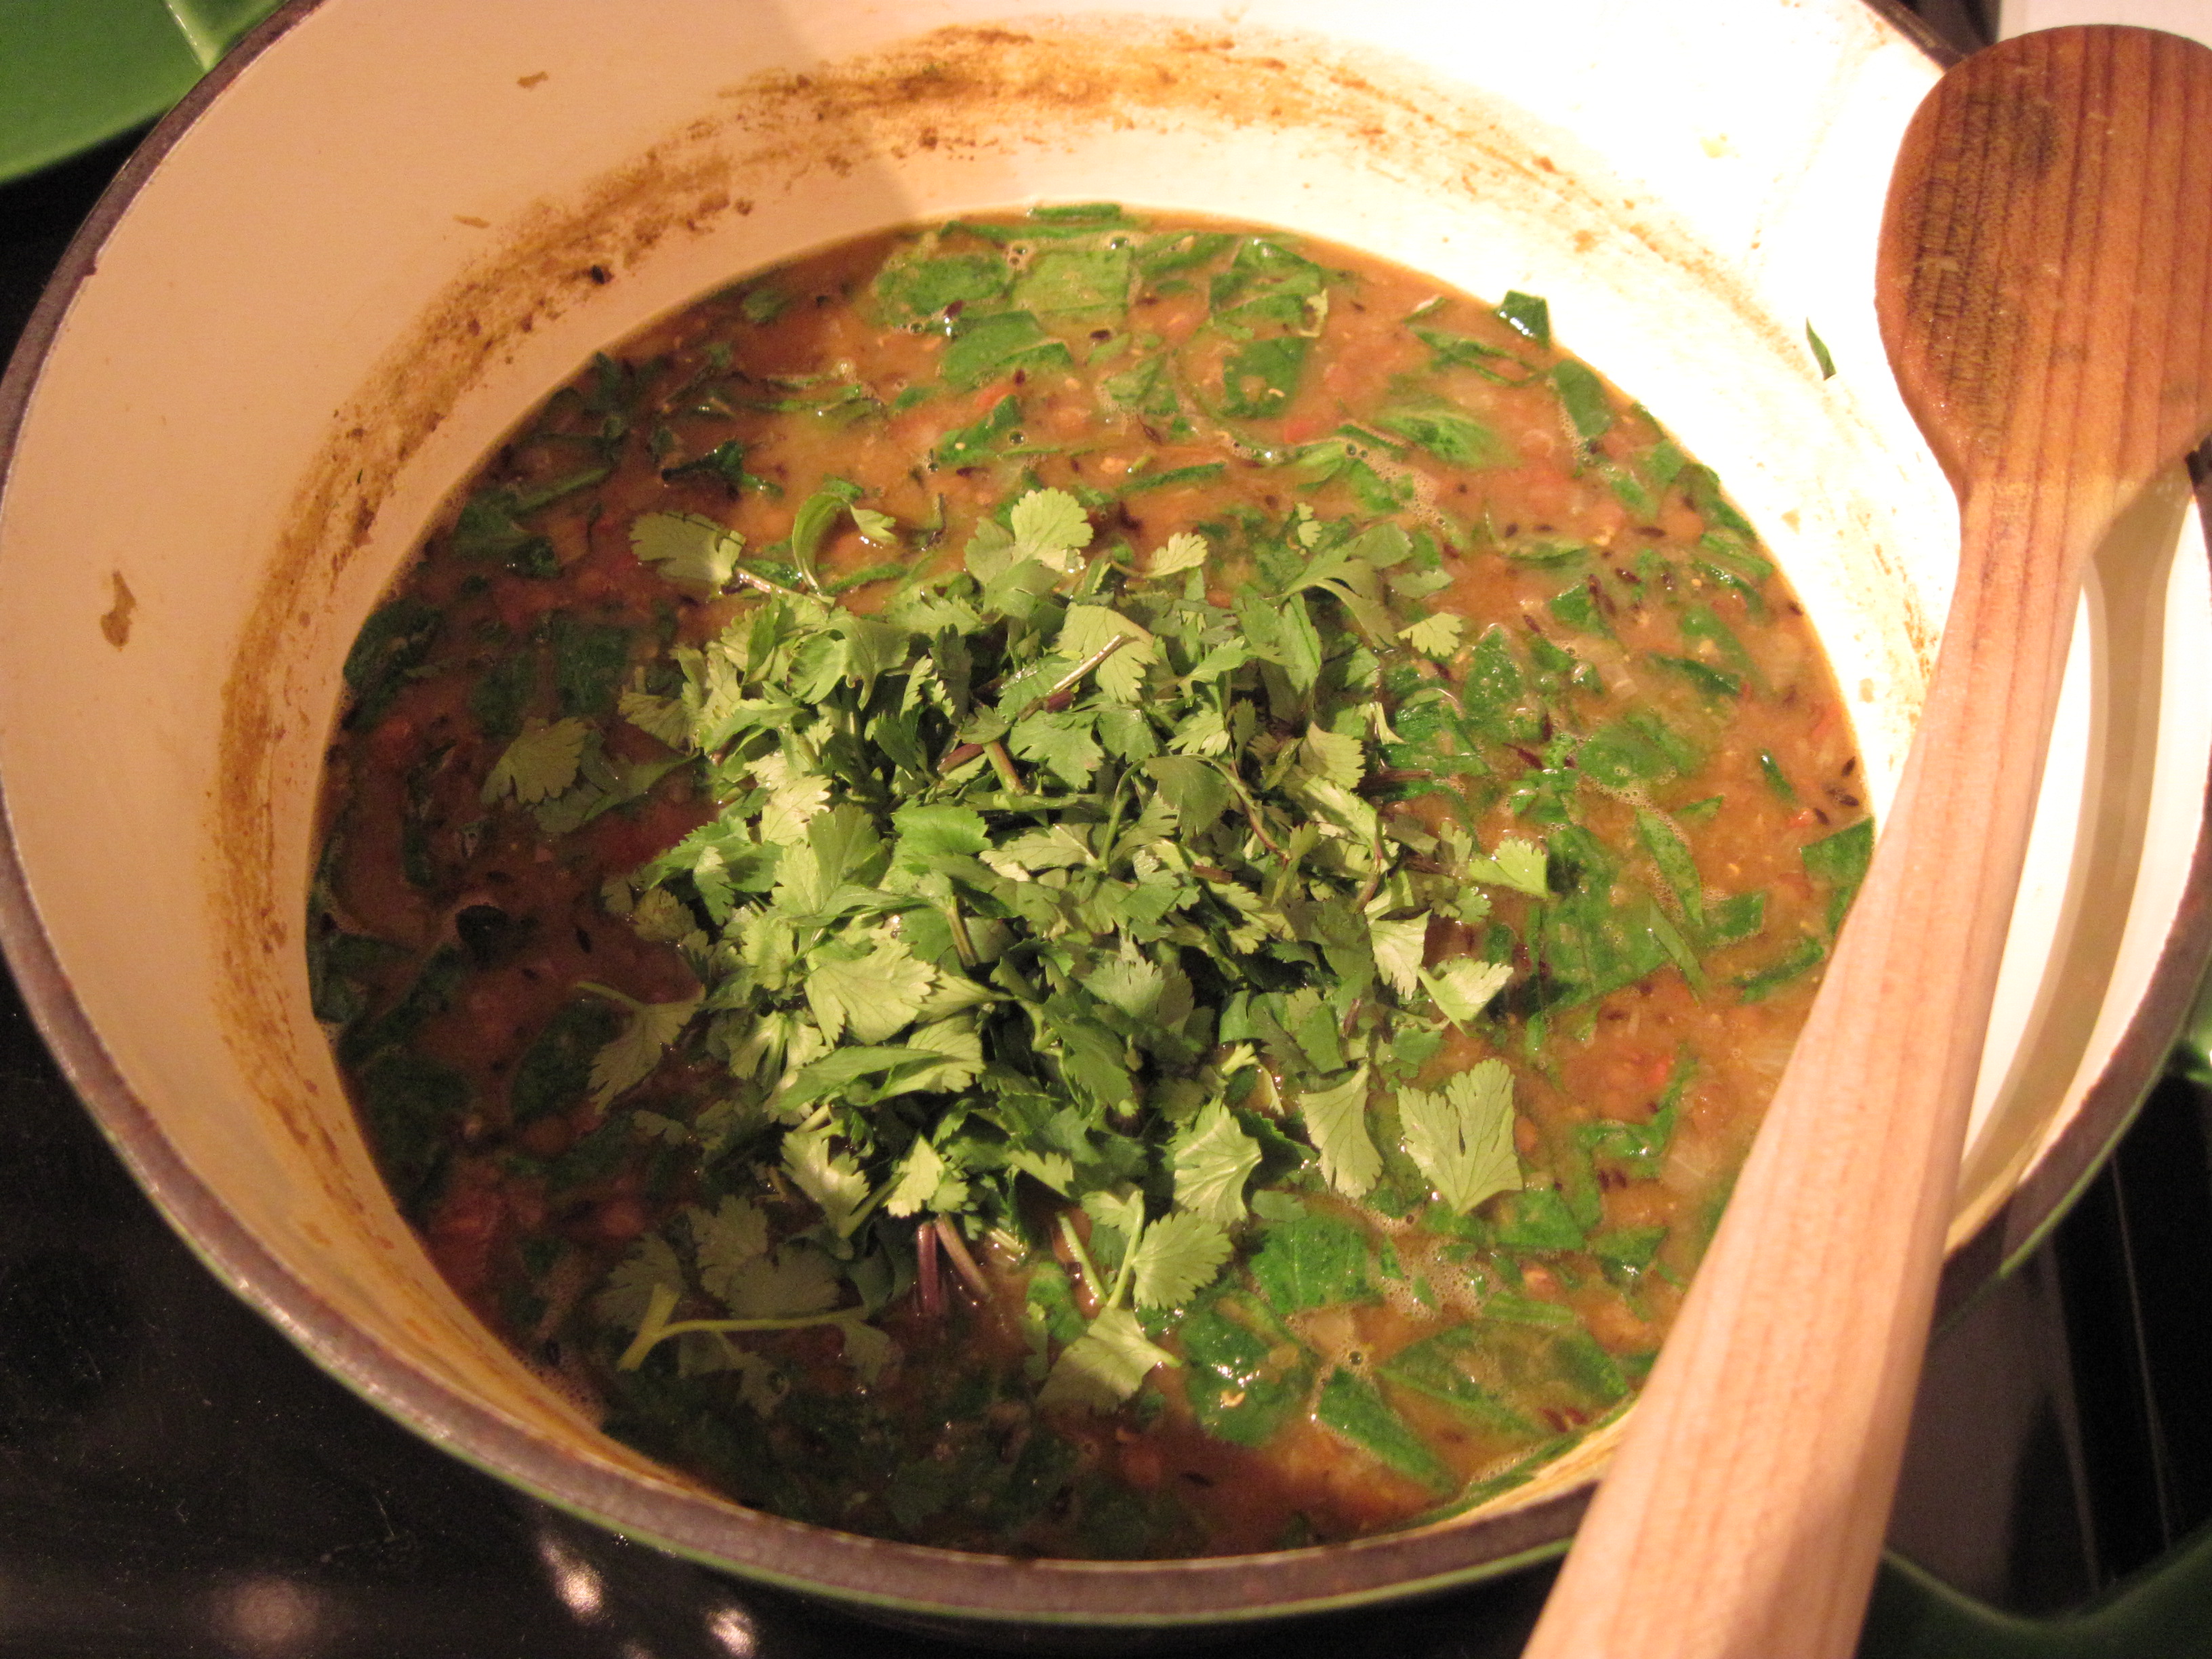
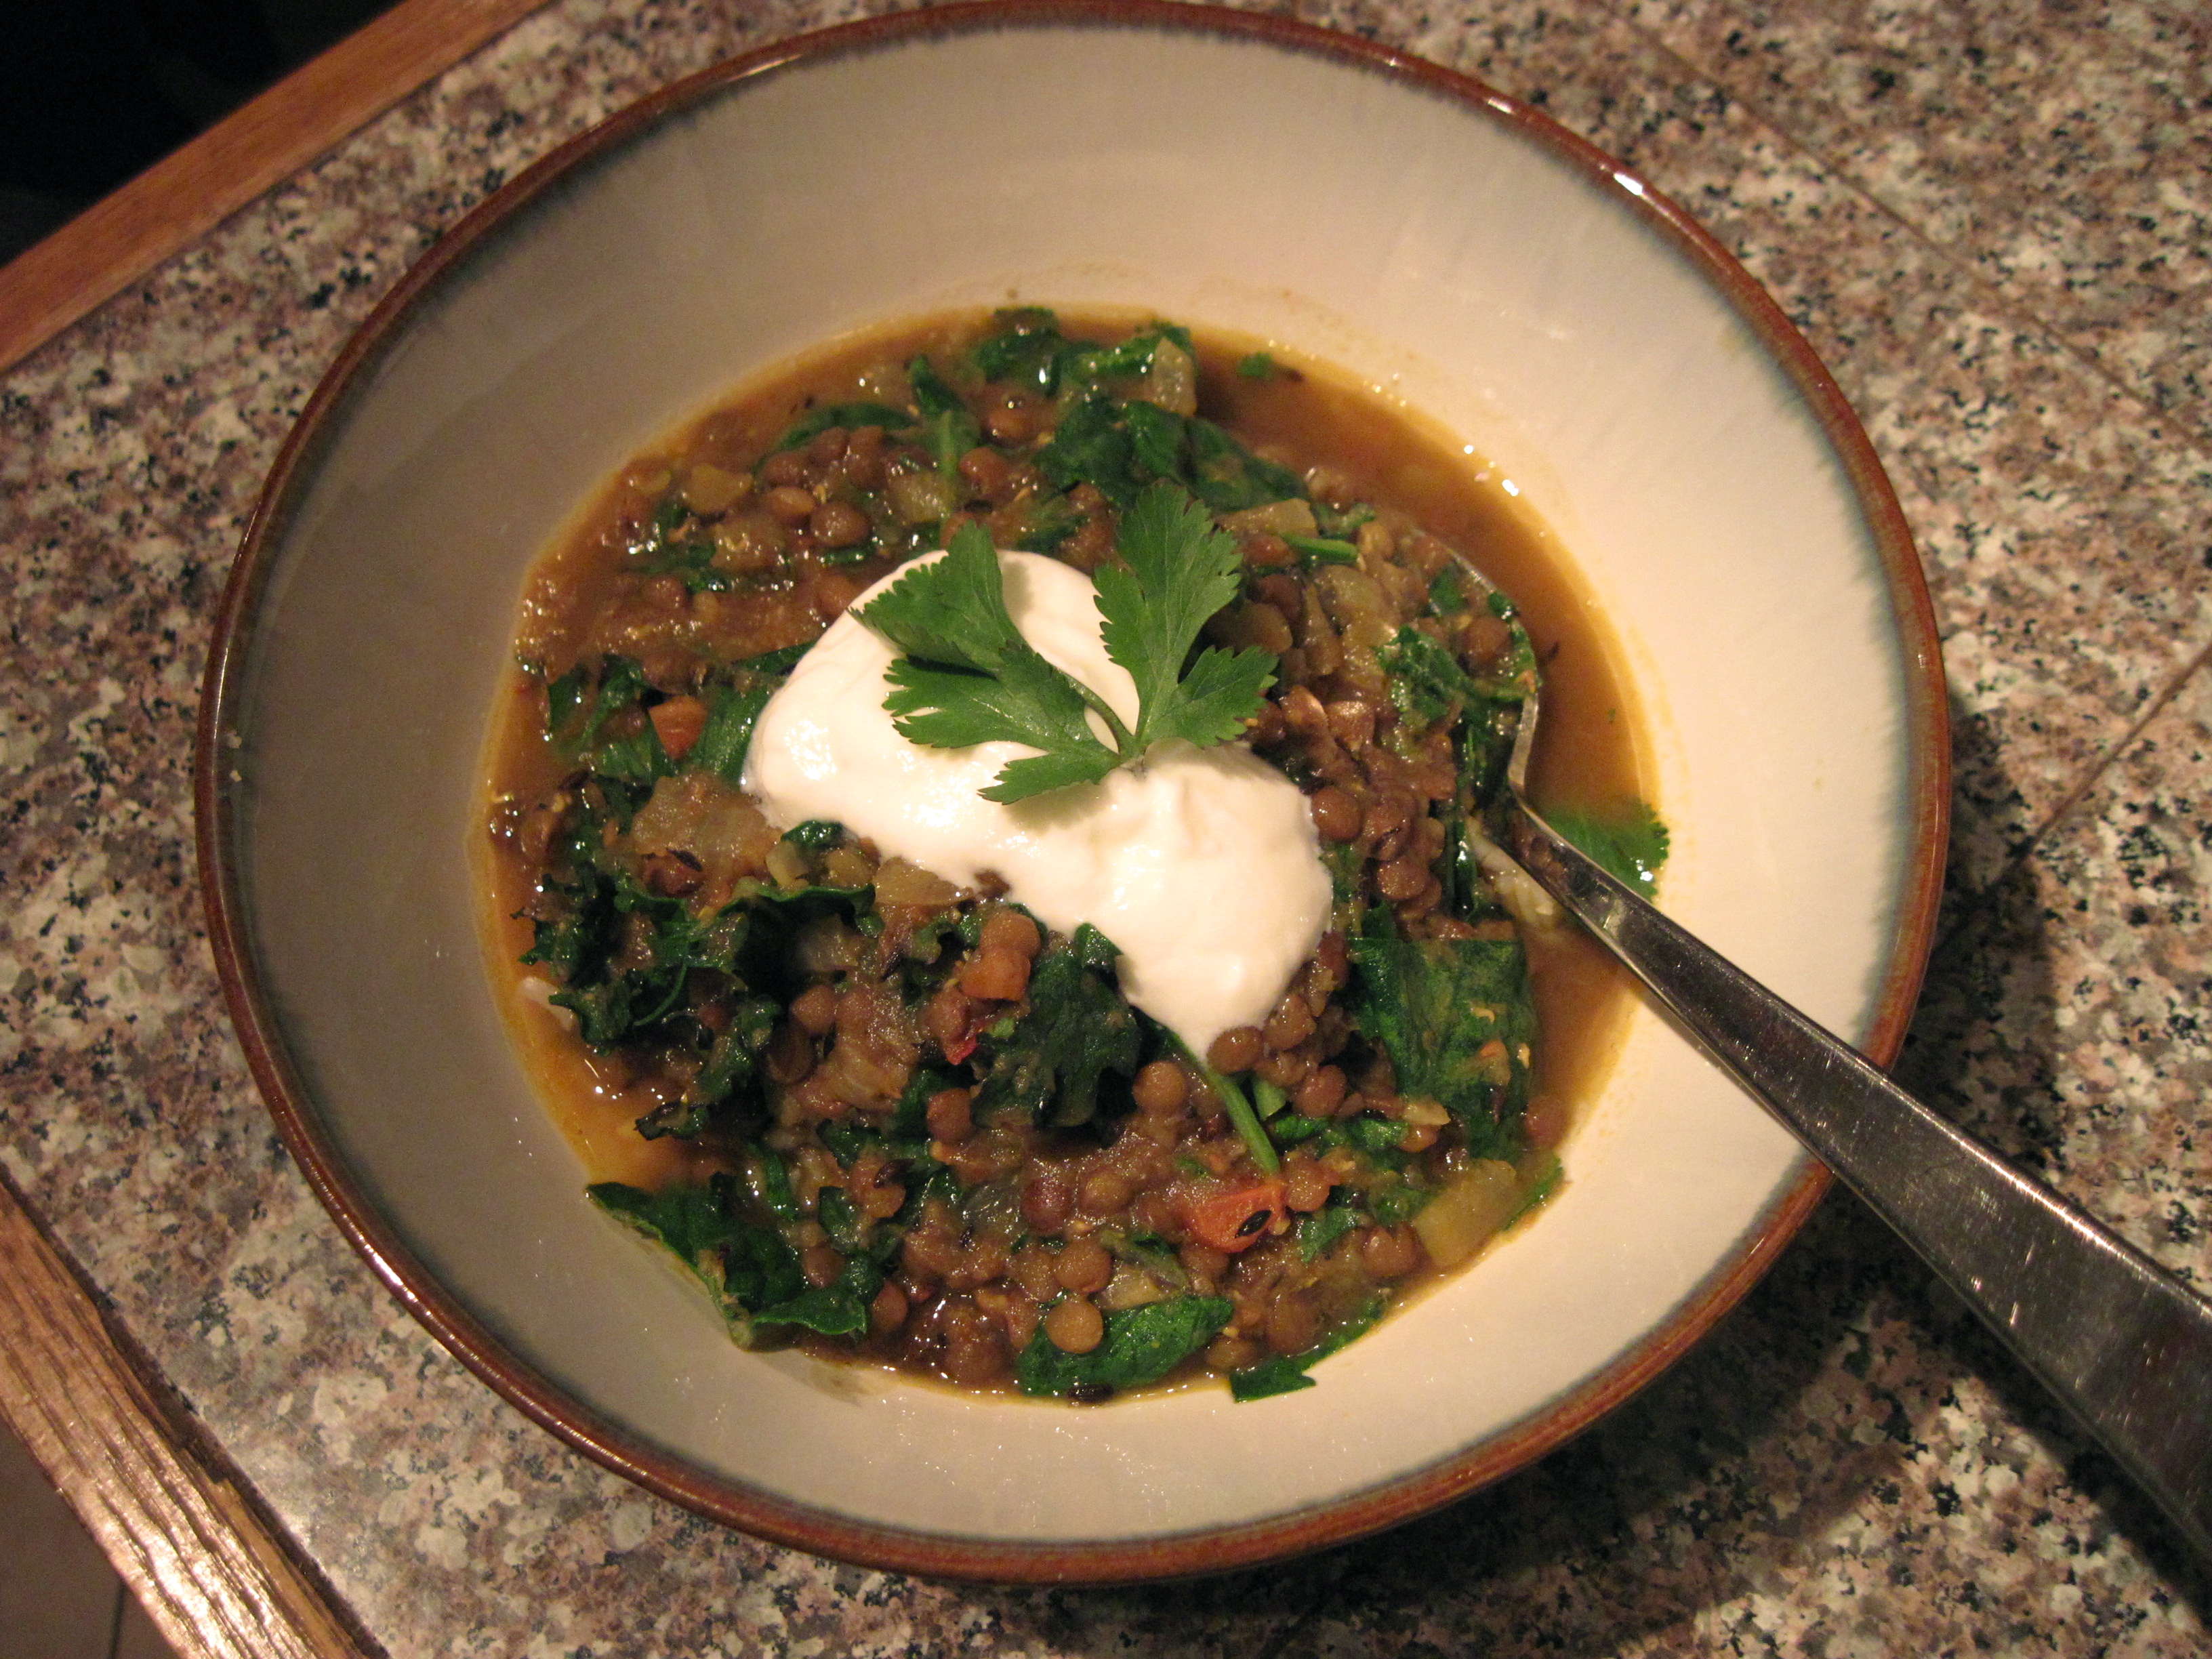
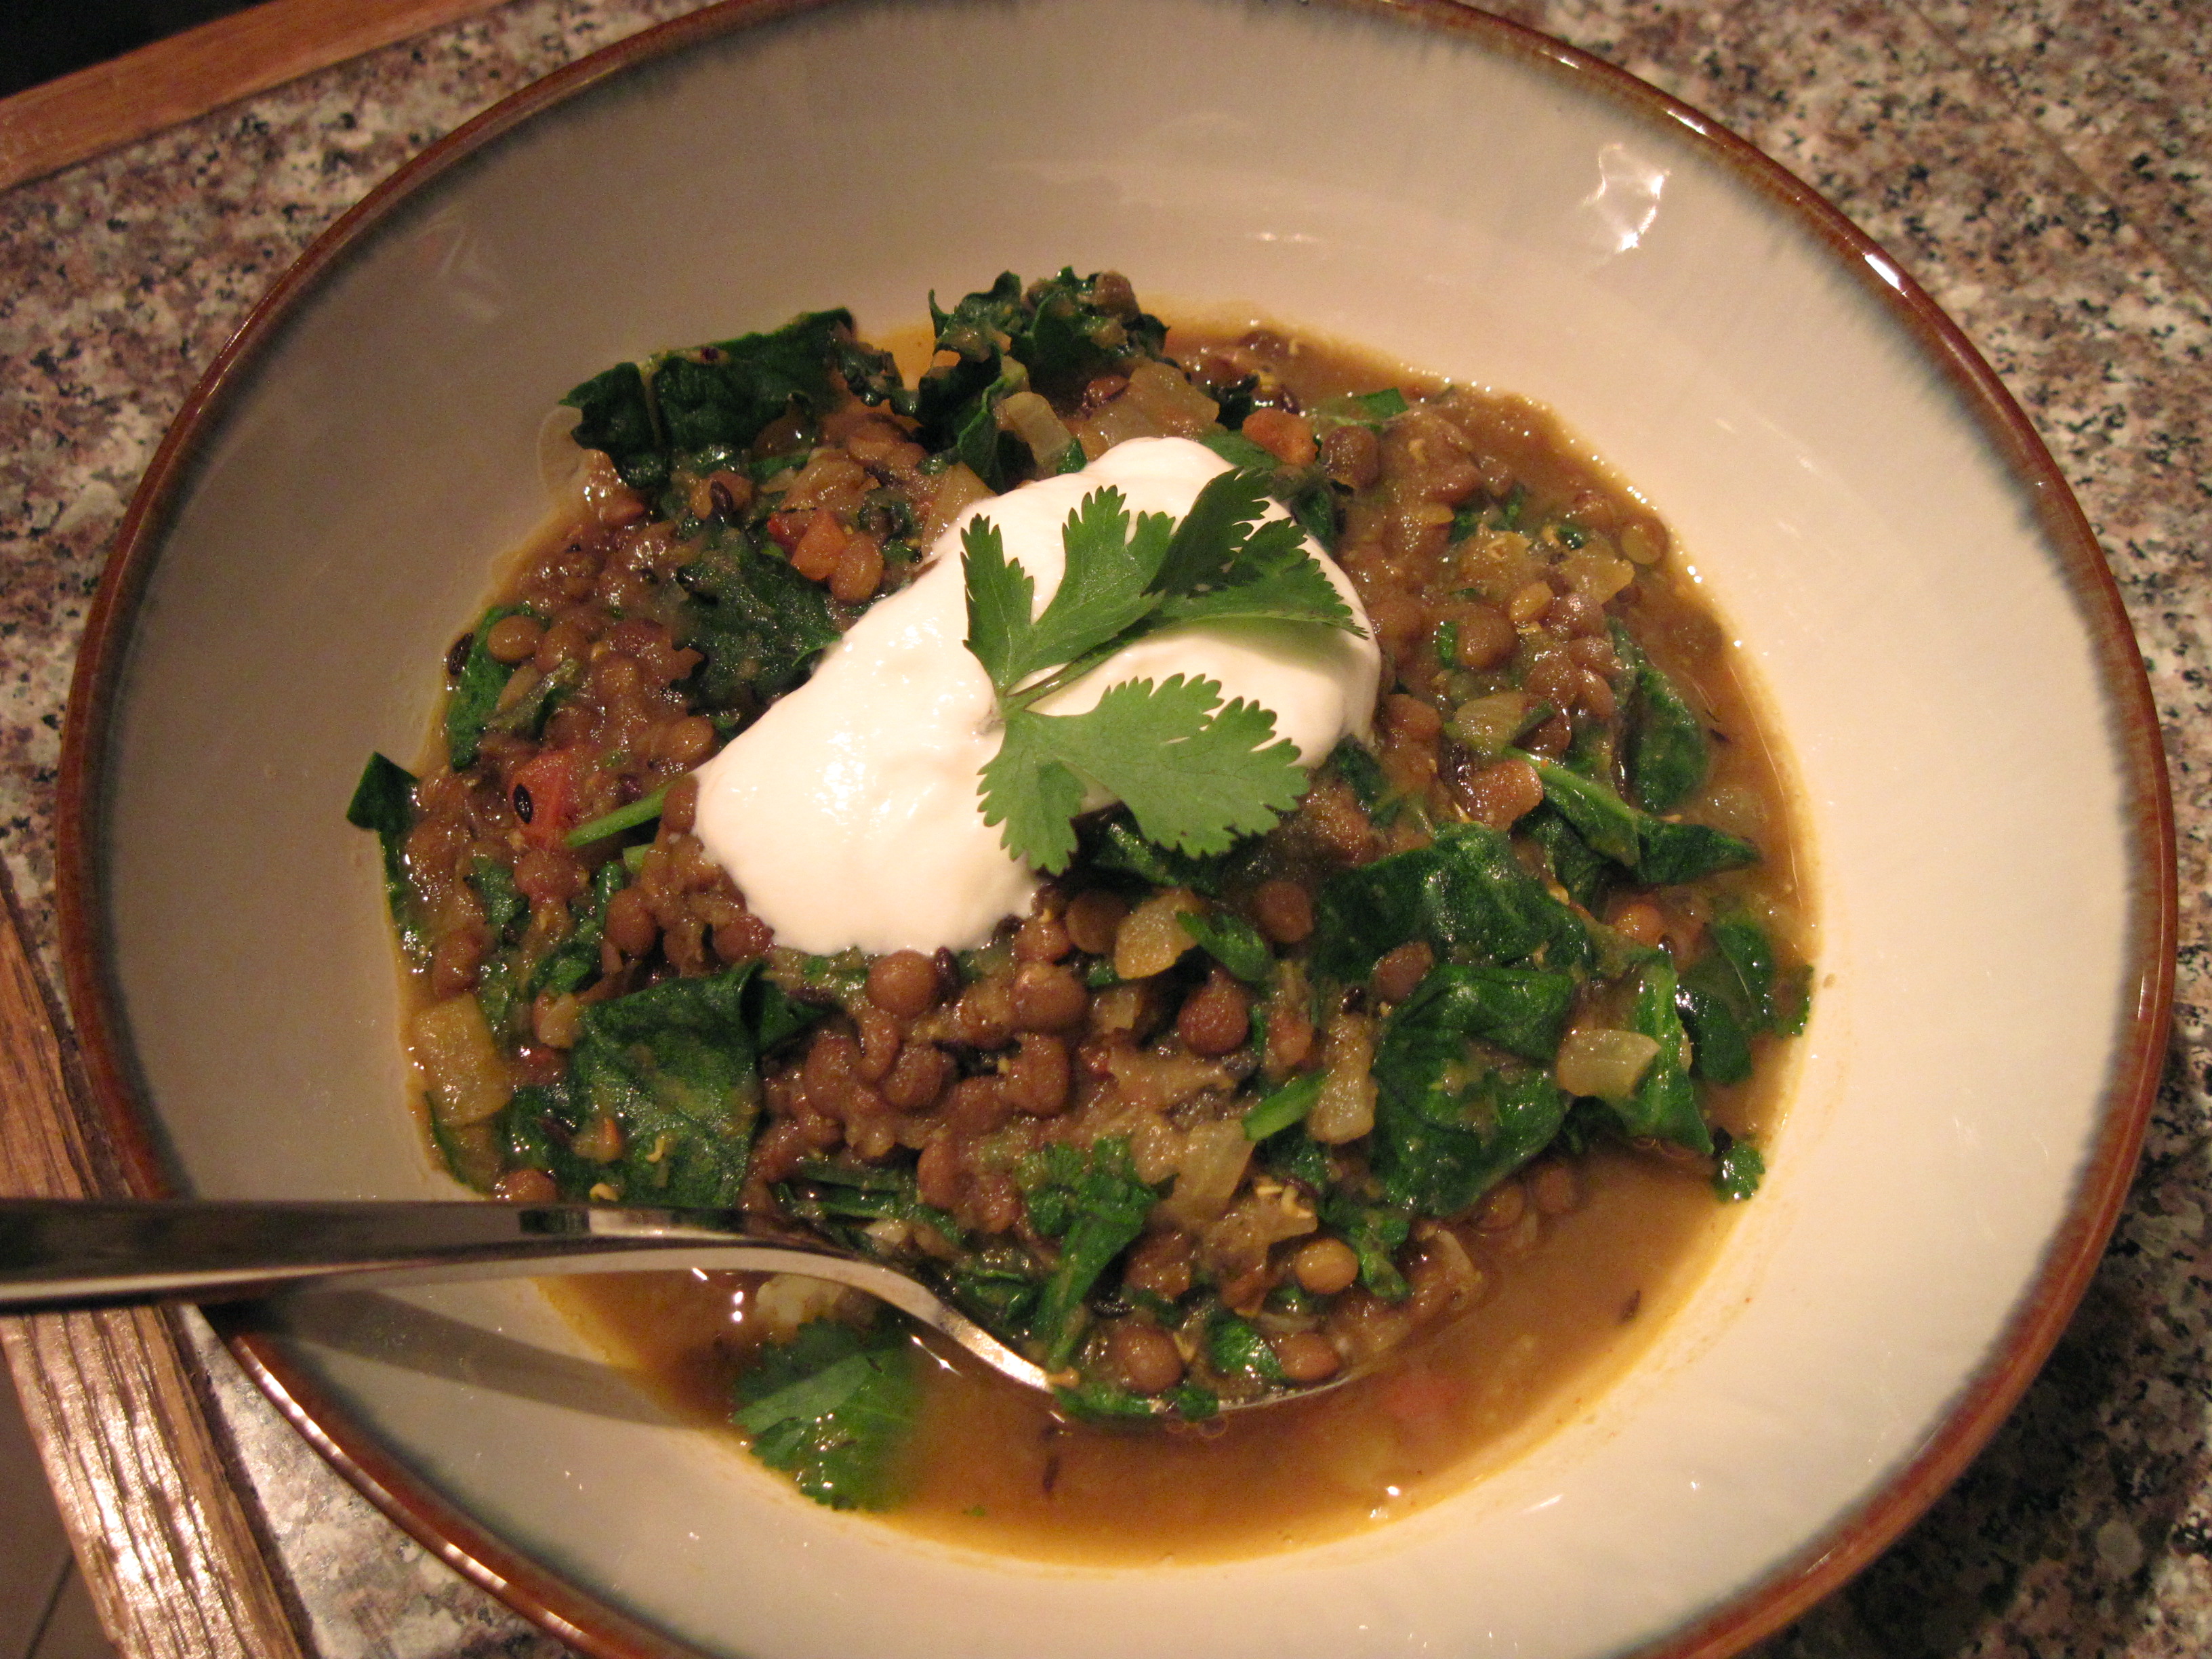
But I guess my hippie mother rubbed off on me, because I still wanted to like lentils. When I was writing my resolution post, I came across this lentil curry recipe (aka dal), and now I can honestly say it is one of the best things I have made – and eaten – in a while! Incredibly flavourful, a little bit spicy, and really simple to make: boil lentils, make a masala (a flavour base of sautéed spices, onion, and tomatoes in ghee), stir in some spinach, and voila. Delicious! This will make you see lentils in a very positive light ;).

Lentil Curry

From Vij’s Elegant & Inspired Indian Cuisine. Serves 4-6.

Lentils

Orange lentils (masur dal) hold their shape when cooked, while moong dal (yellow lentils) dissolve more during cooking. You can use either or both – the consistency of the final dish will just a be a little different. I couldn’t find yellow lentils, so I used brown, which were a good substitute.

In a bowl, combine:

1/2 cup split orange lentils (aka masur dal)

1/2 cup split yellow lentils (aka moong dal) (or substitute brown lentils)

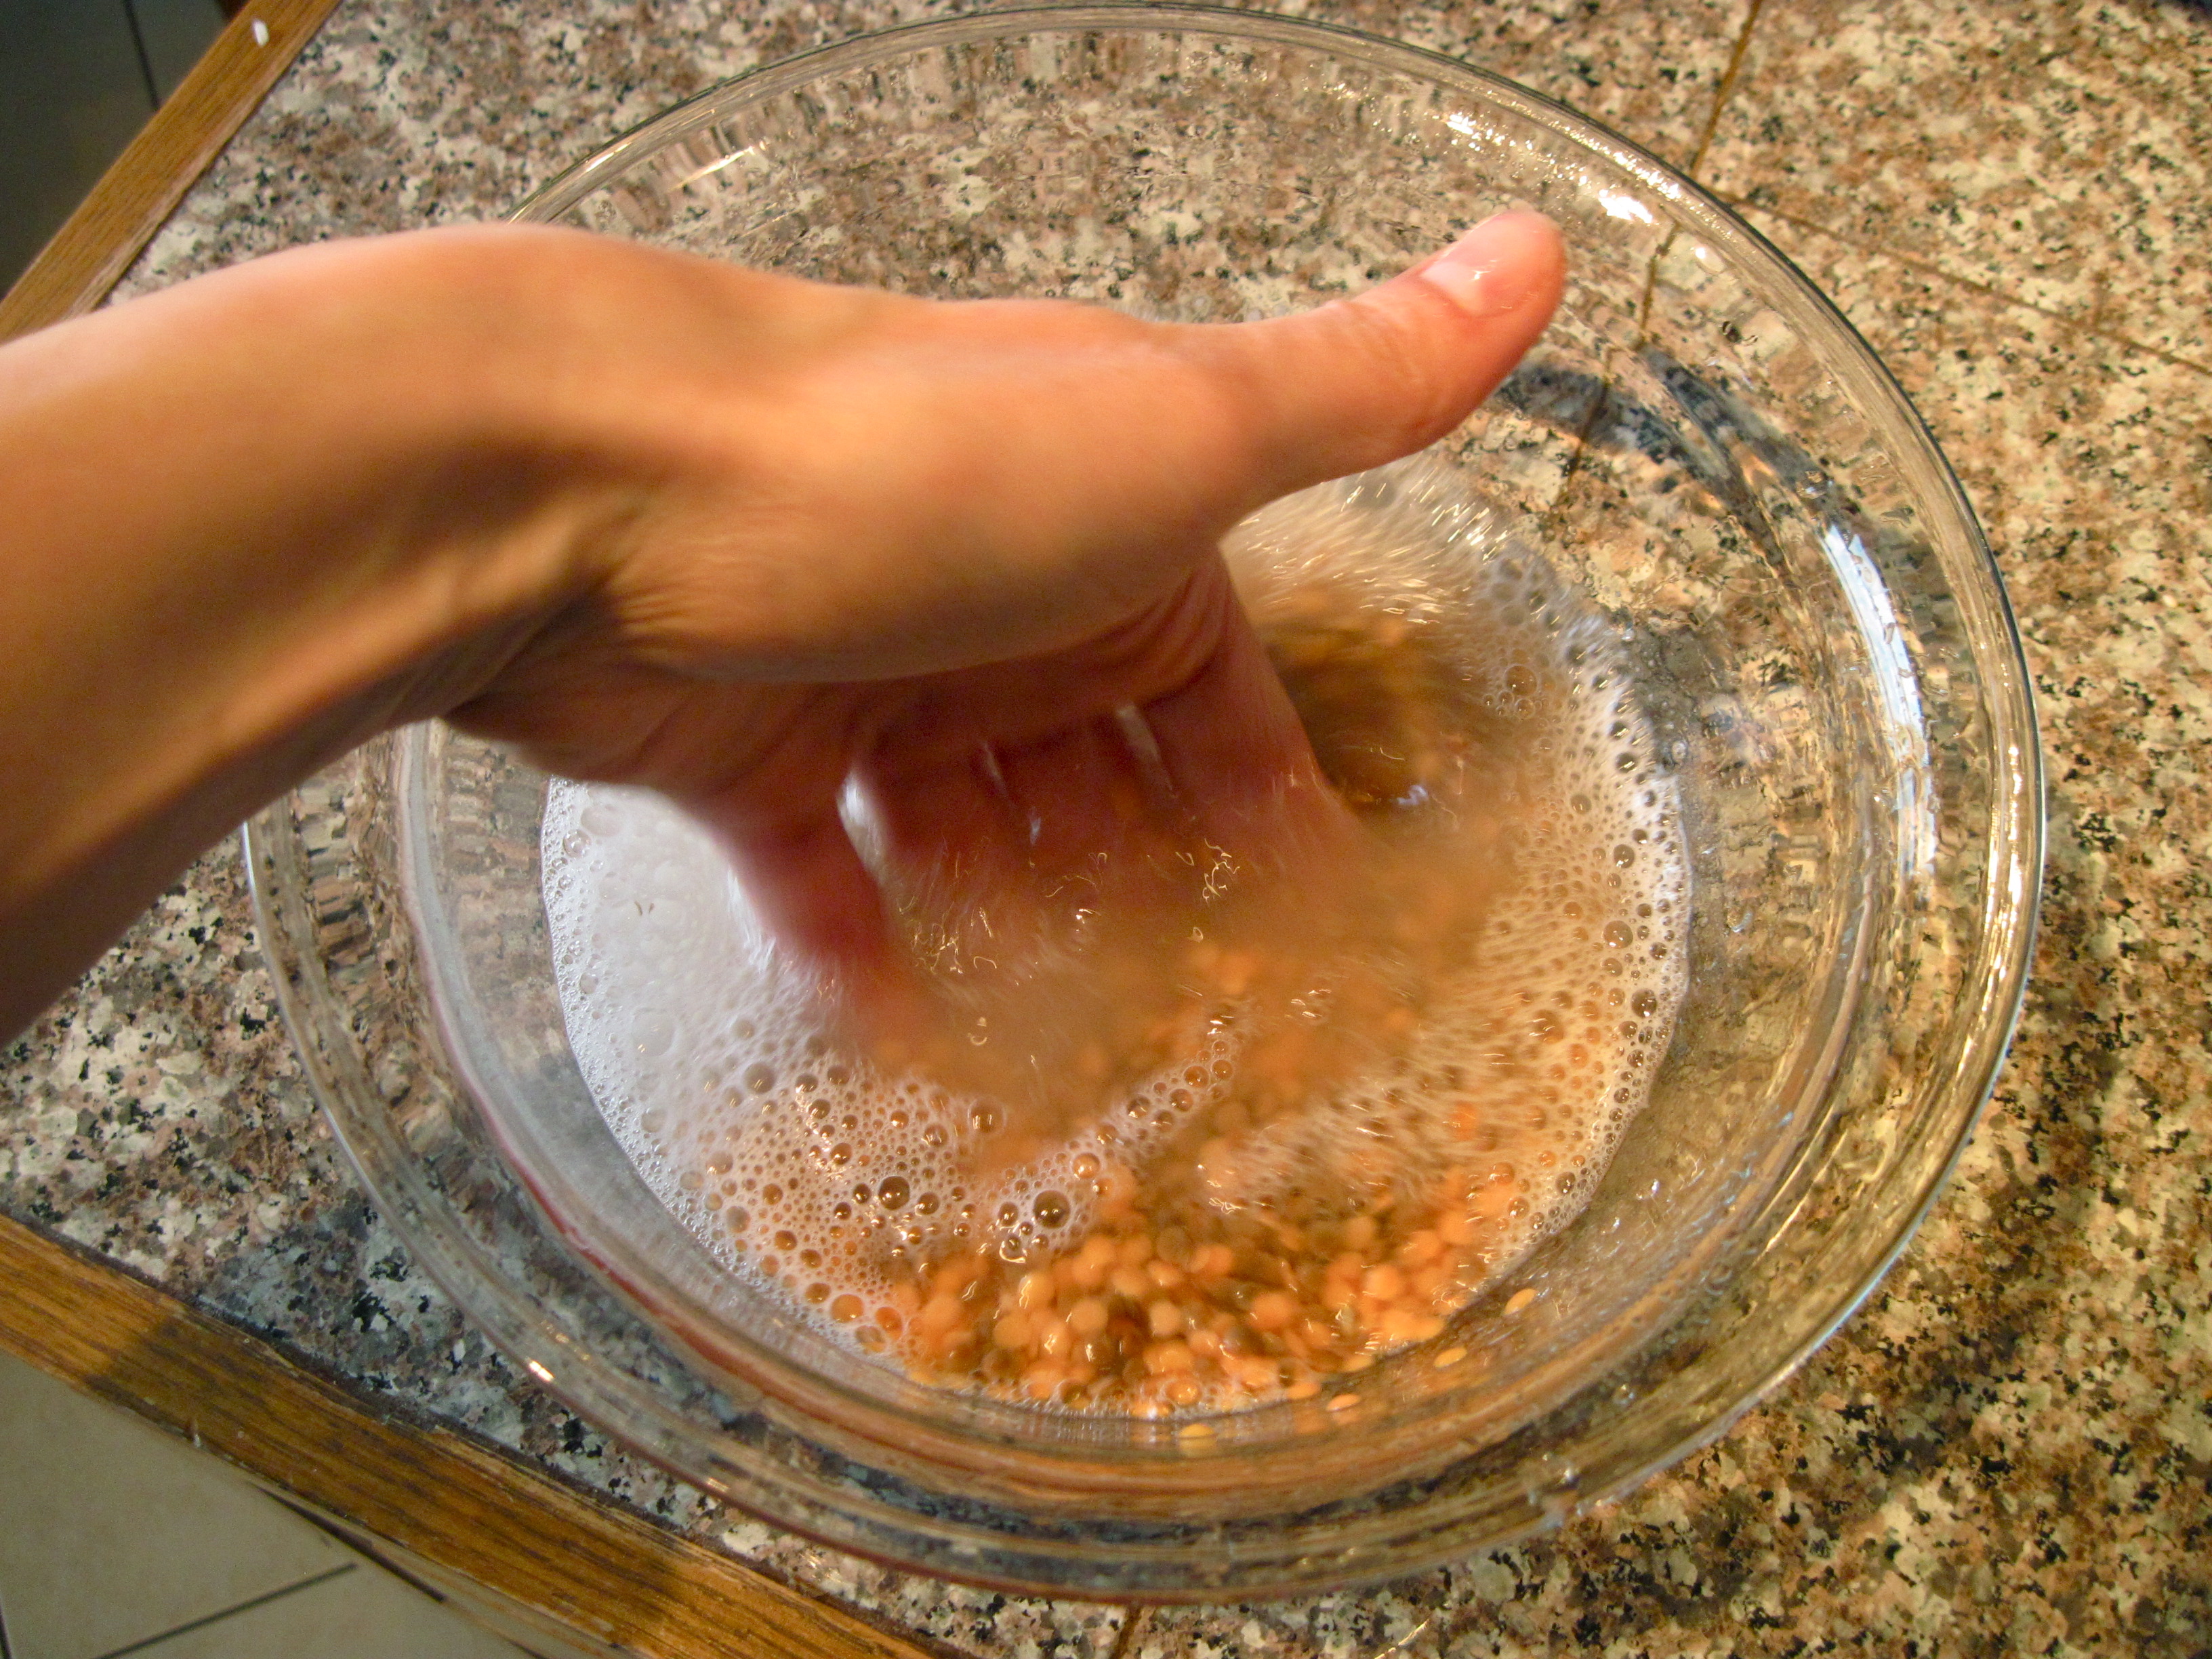
Rift through the lentils to remove any debris or tiny stones, then rinse several times in cold water. Pour them into a large pot with a tight fitting lid. Add:

5 1/2 – 7 1/2 cups water (7 1/2 cups will give you soup)

2 tsp salt

1 tsp turmeric

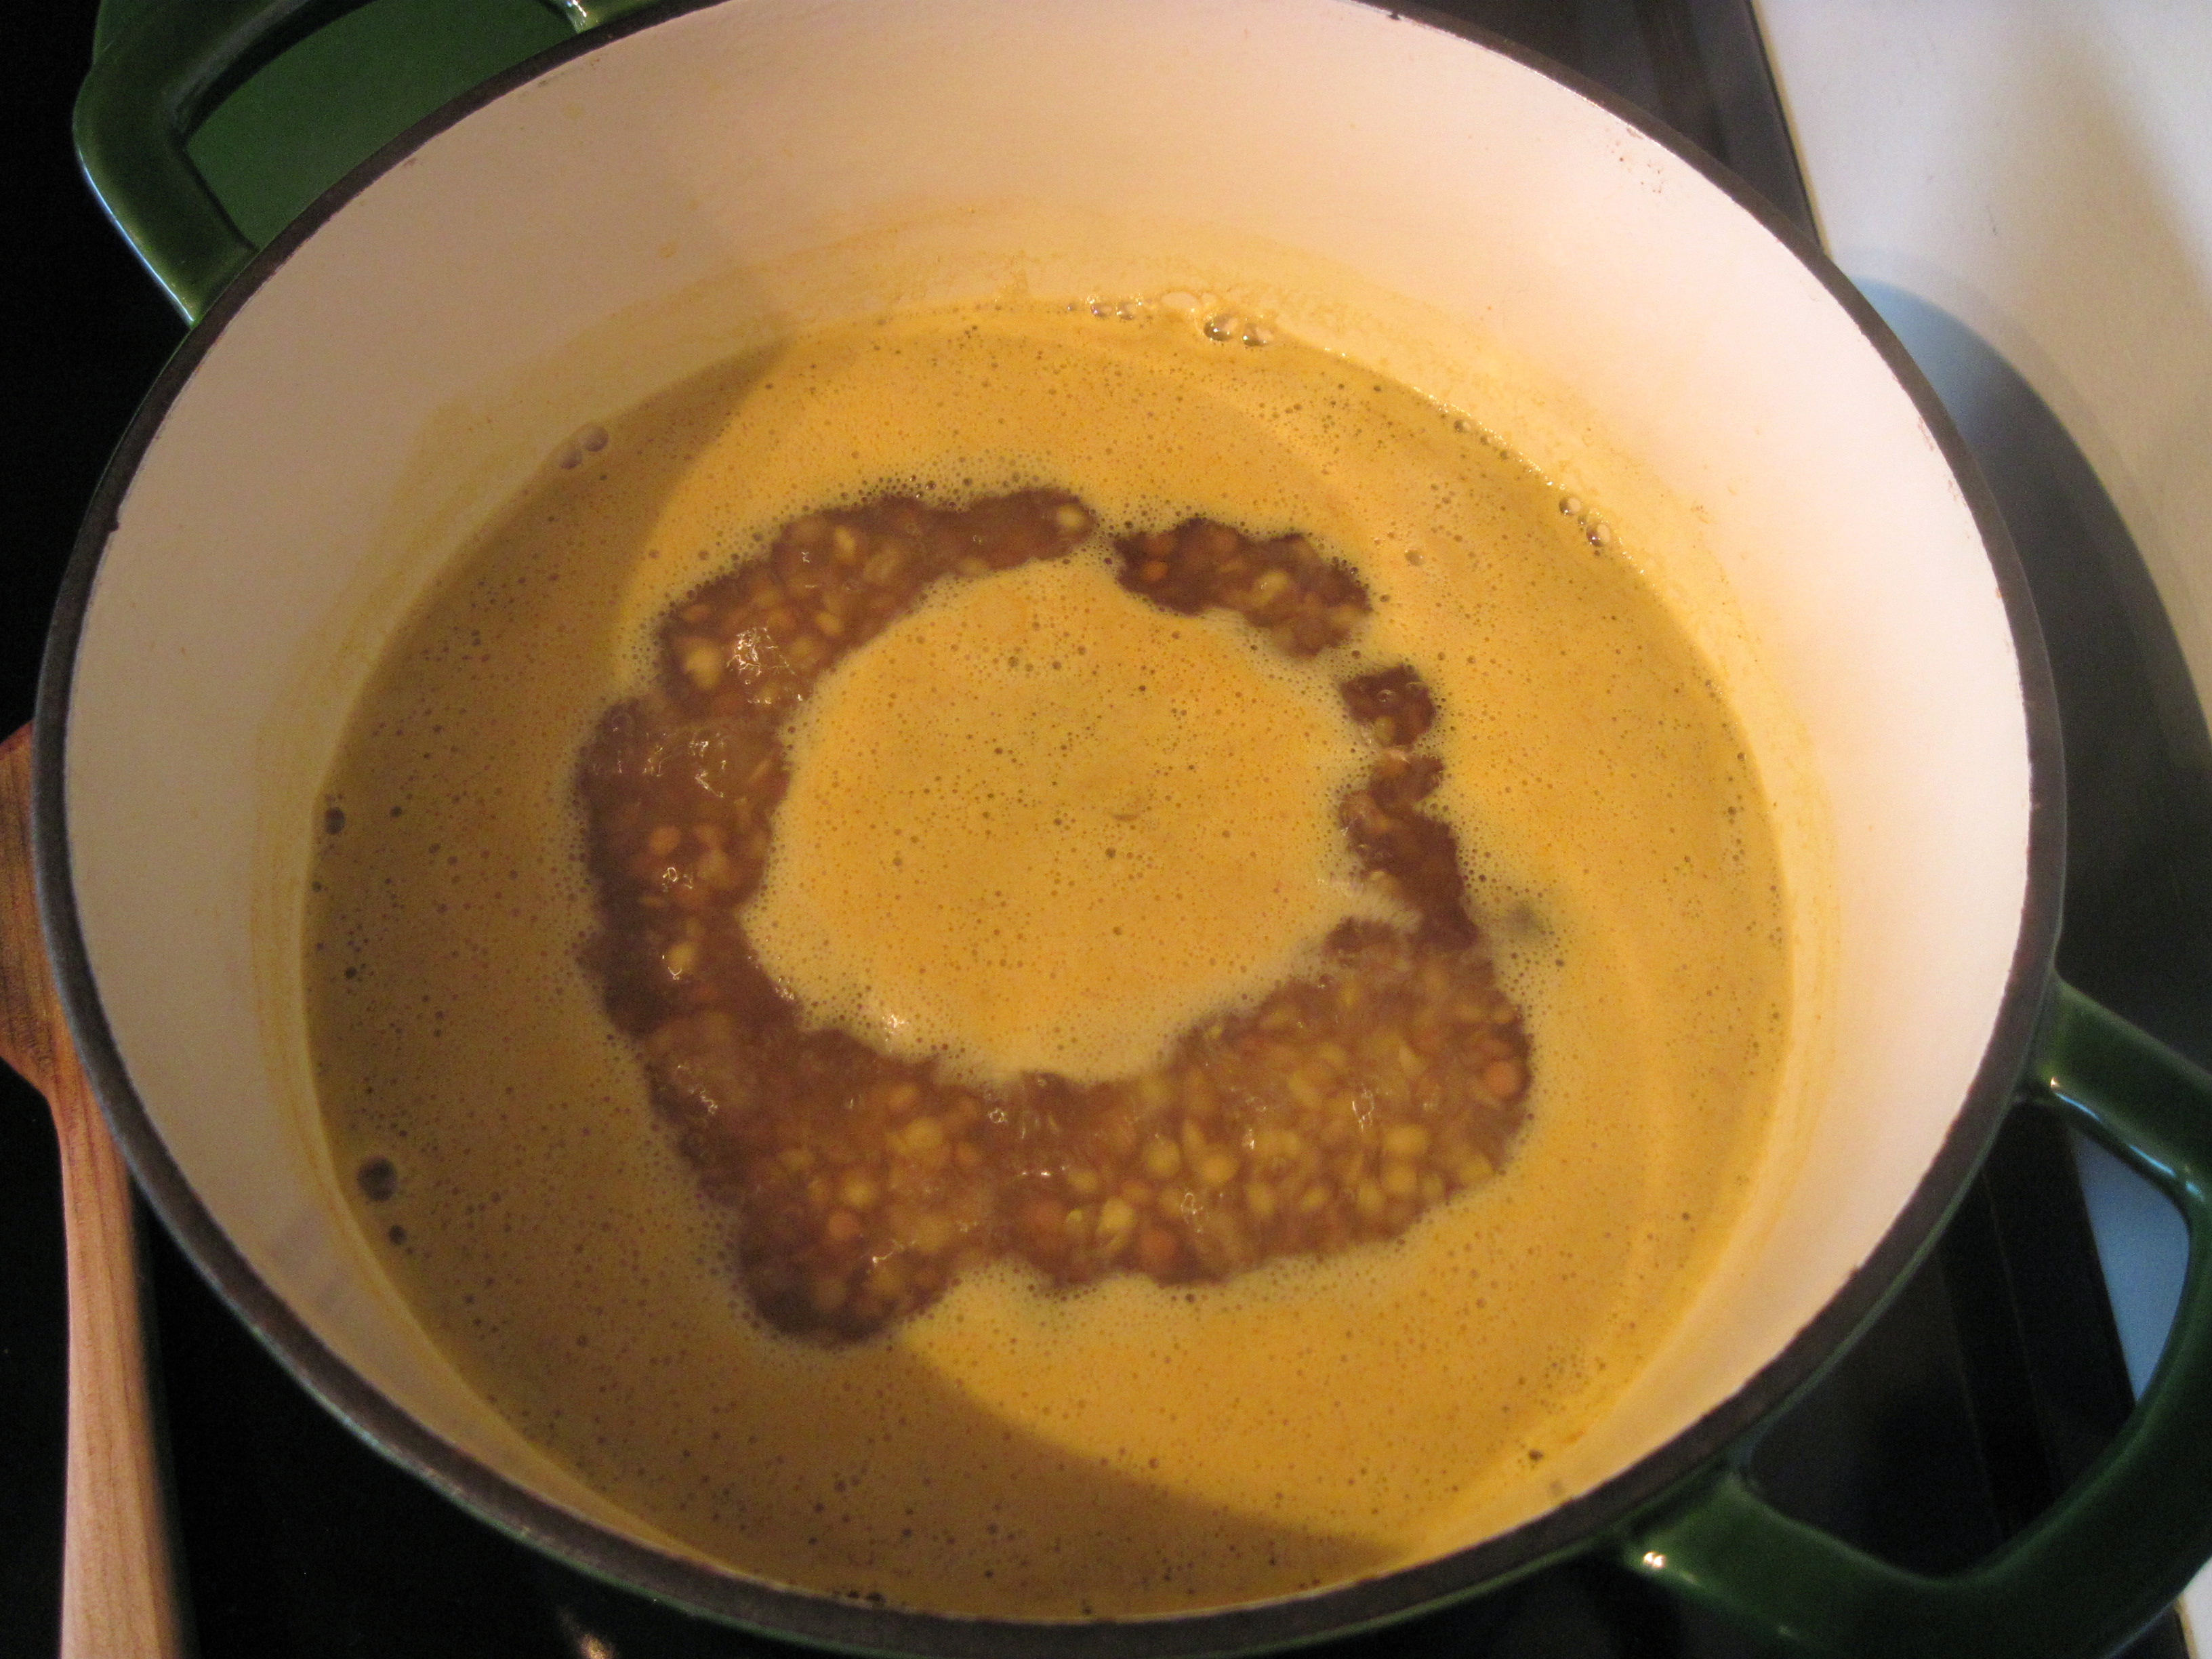
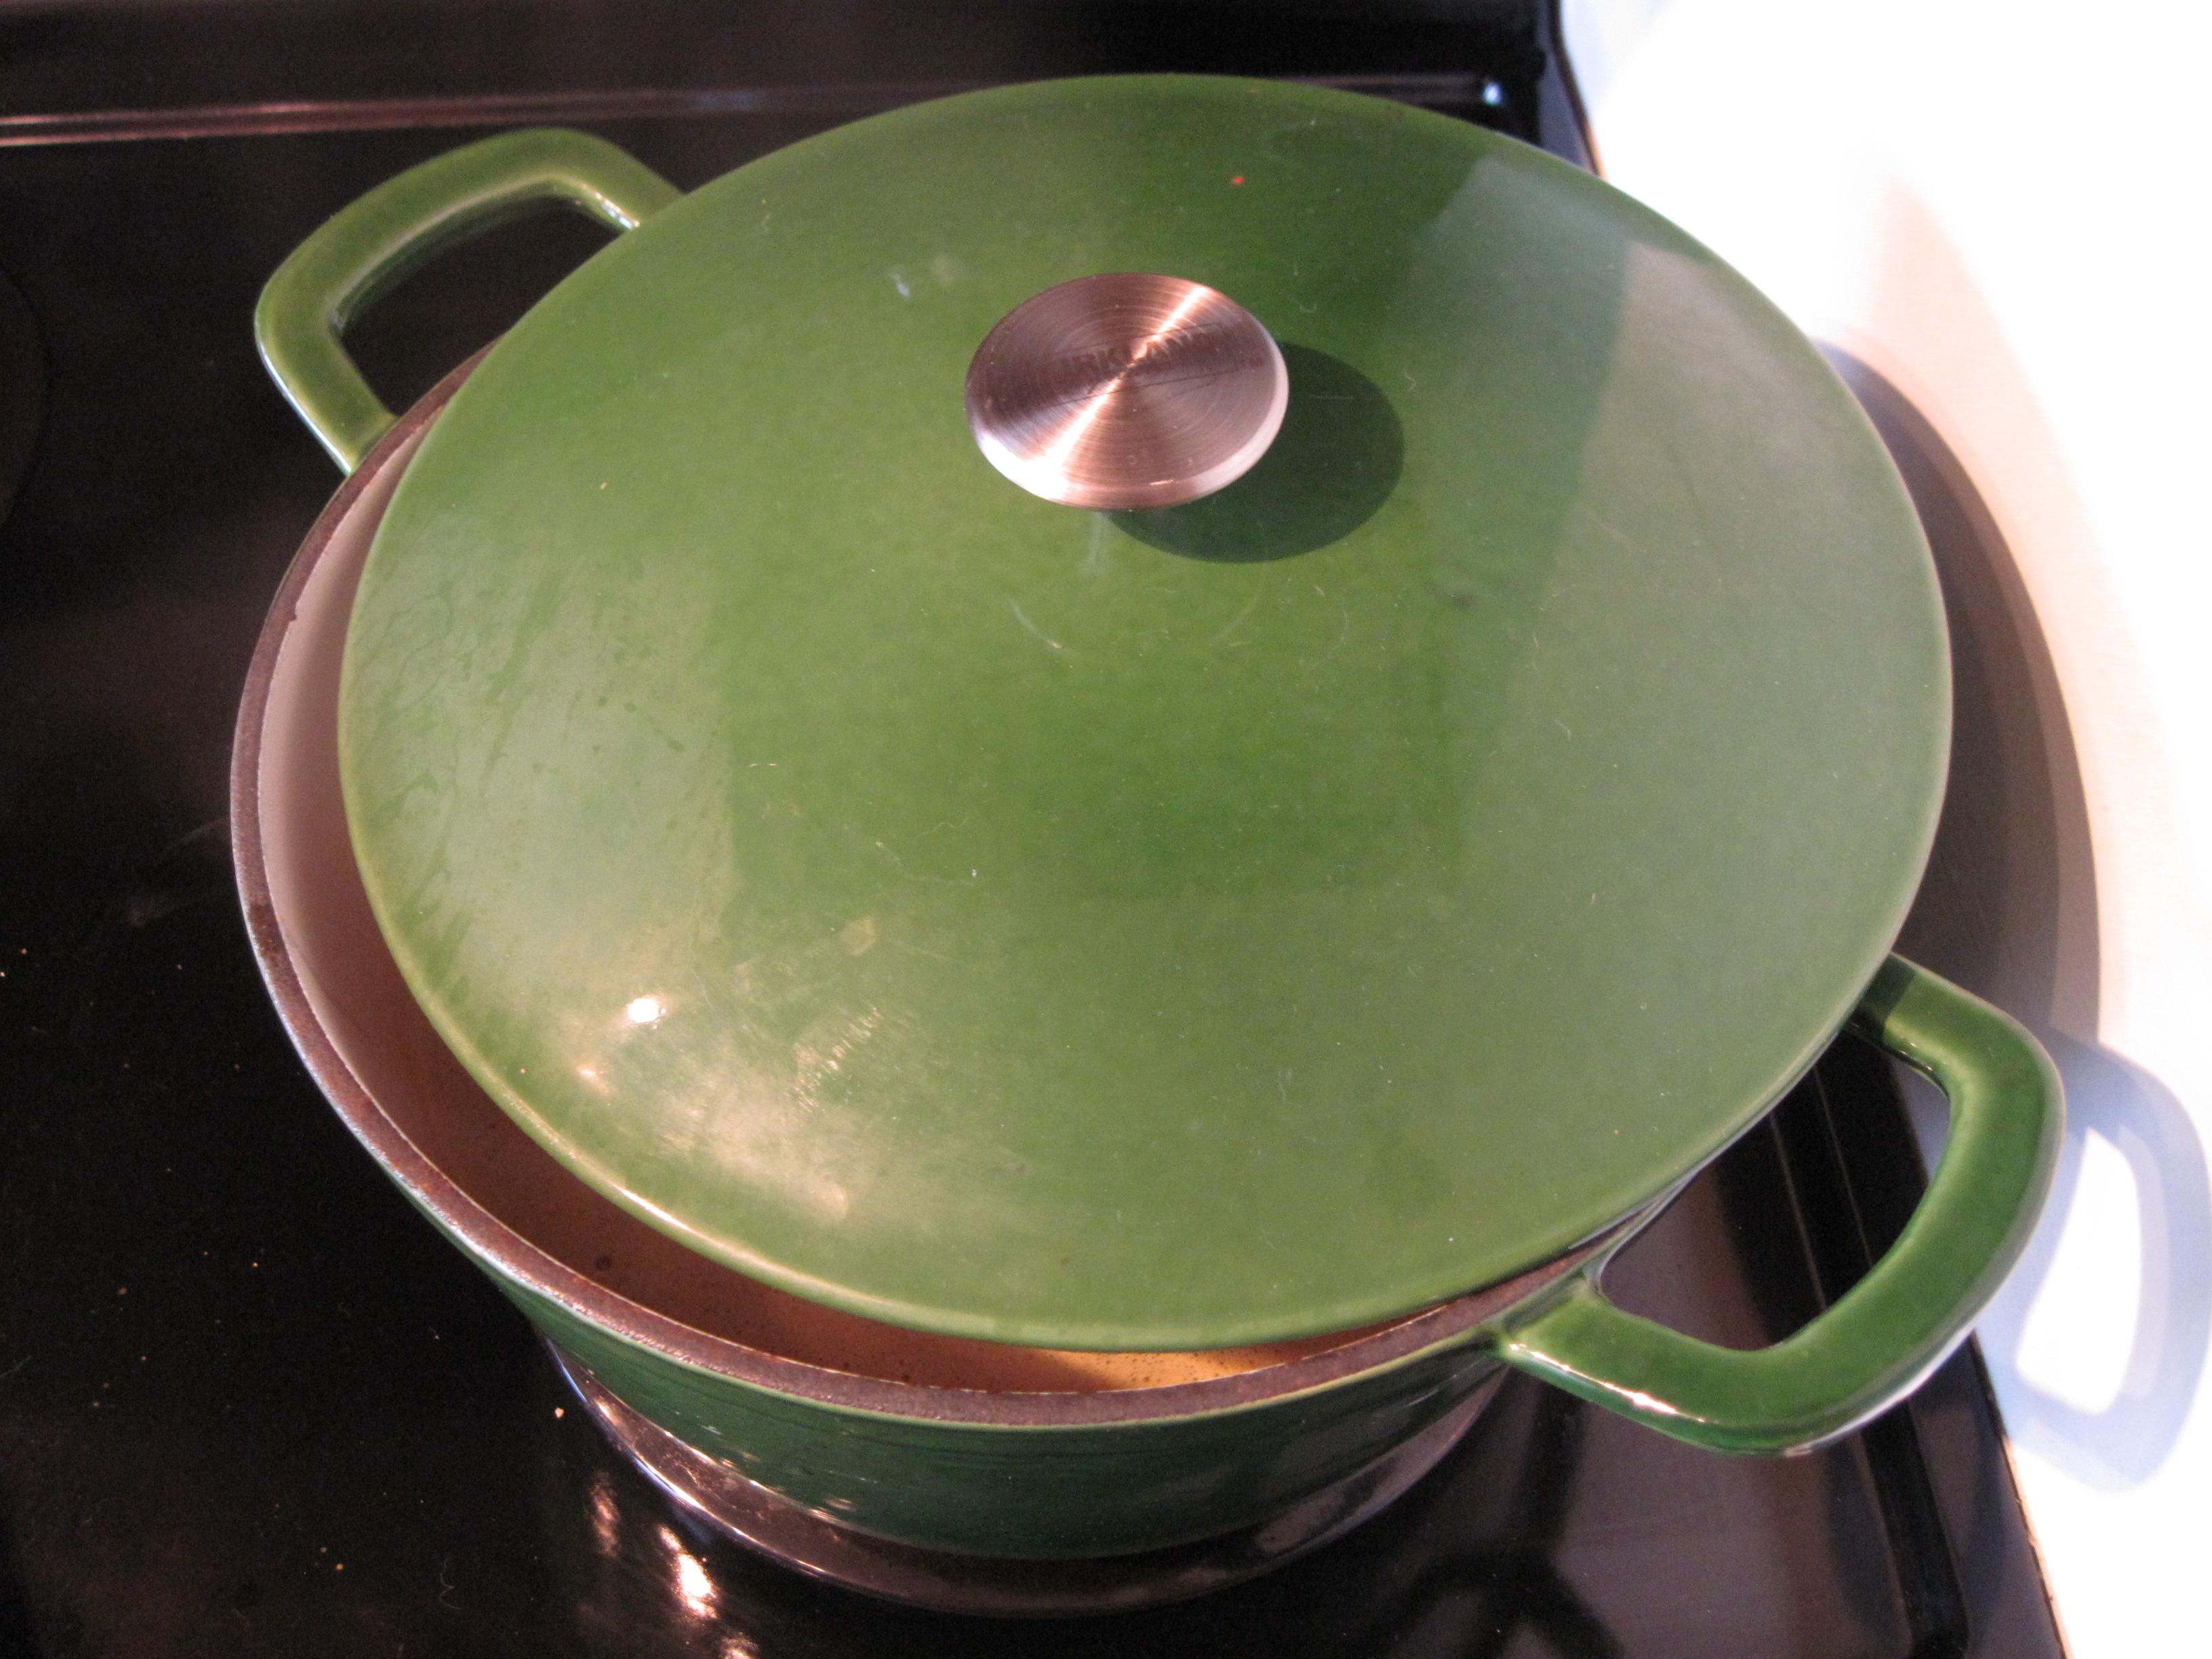
Stir, then bring the lentils to a boil, uncovered, over medium-high heat. The lentils will be foamy-looking. Stir, then reduce the heat to medium-low and partially cover the pot with the lid, leaving a 1 inch space (this will stop the lentils from foaming over as they boil). When the foaming has subsided (5 – 8 minutes later), cover the pot fully and let simmer for about 30 minutes, until the lentils are tender.

Meanwhile, make the ghee and masala.

Ghee

Ghee, aka clarified butter, is butter with all the milk solids removed so that it can be heated to a higher temperature. You can use vegetable oil instead of ghee (and skip this step altogether), but ghee adds delicious flavour.

In a small pot over medium heat, melt:

6 tbsp of unsalted butter

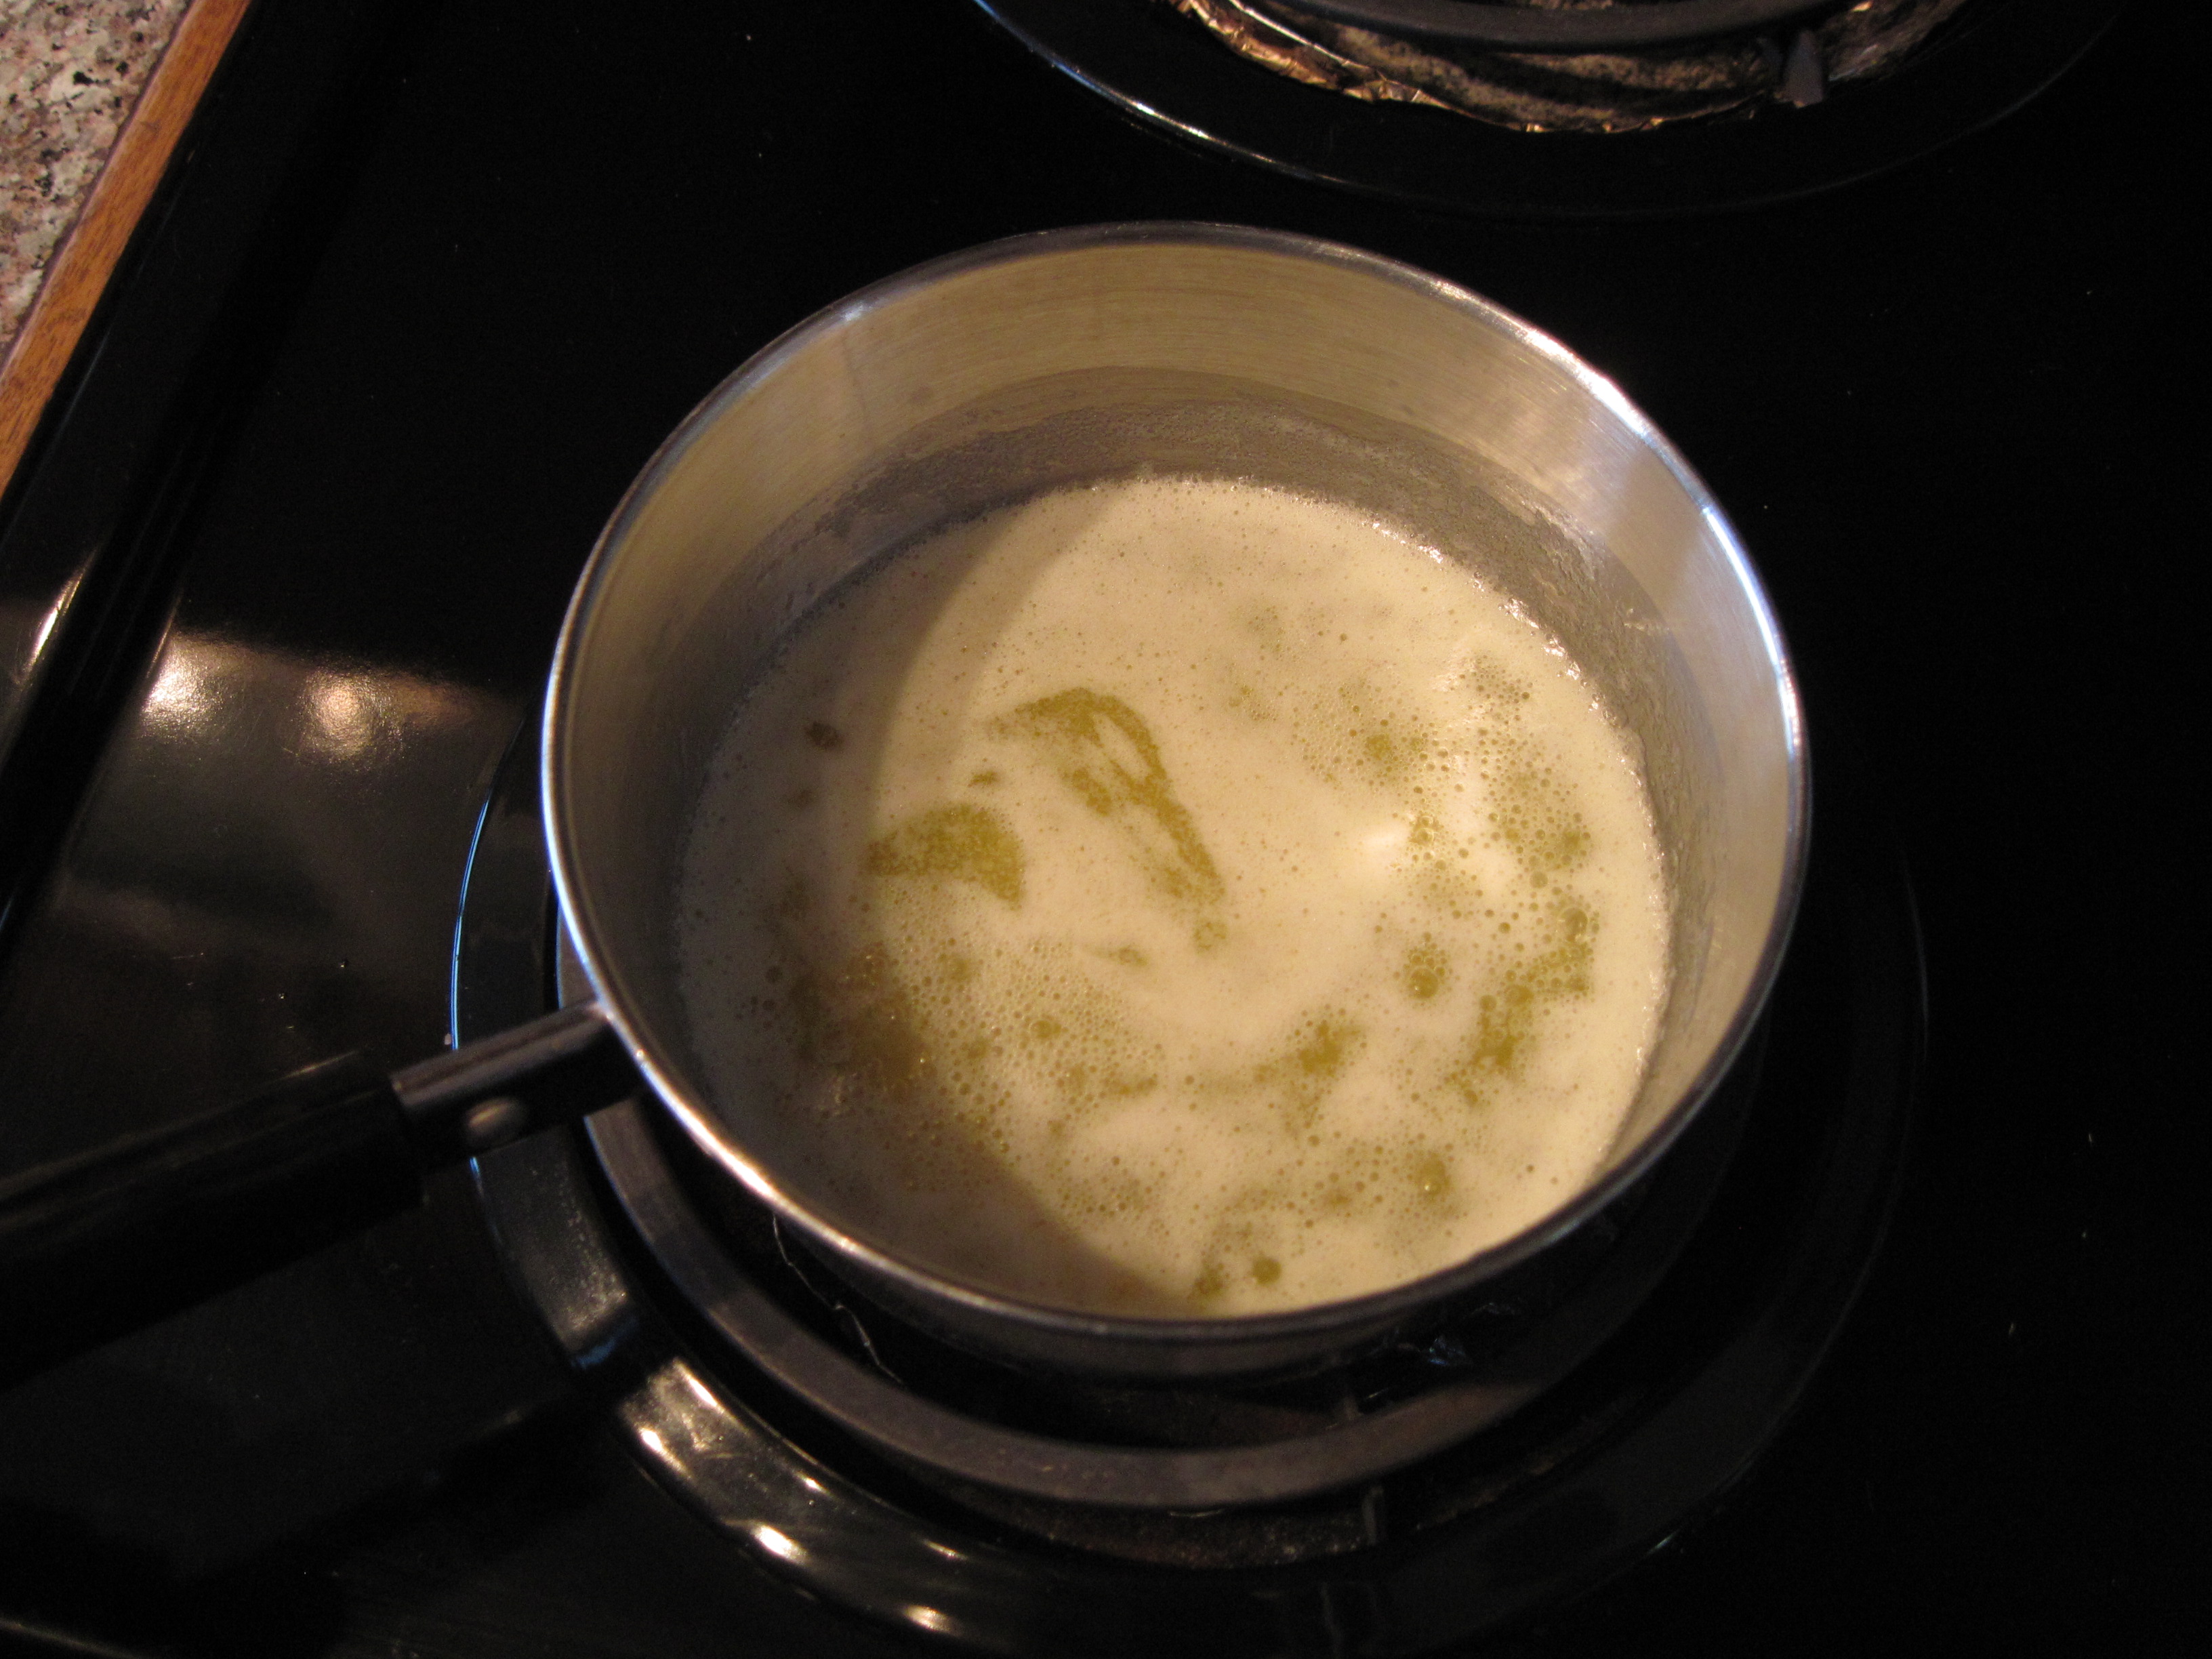
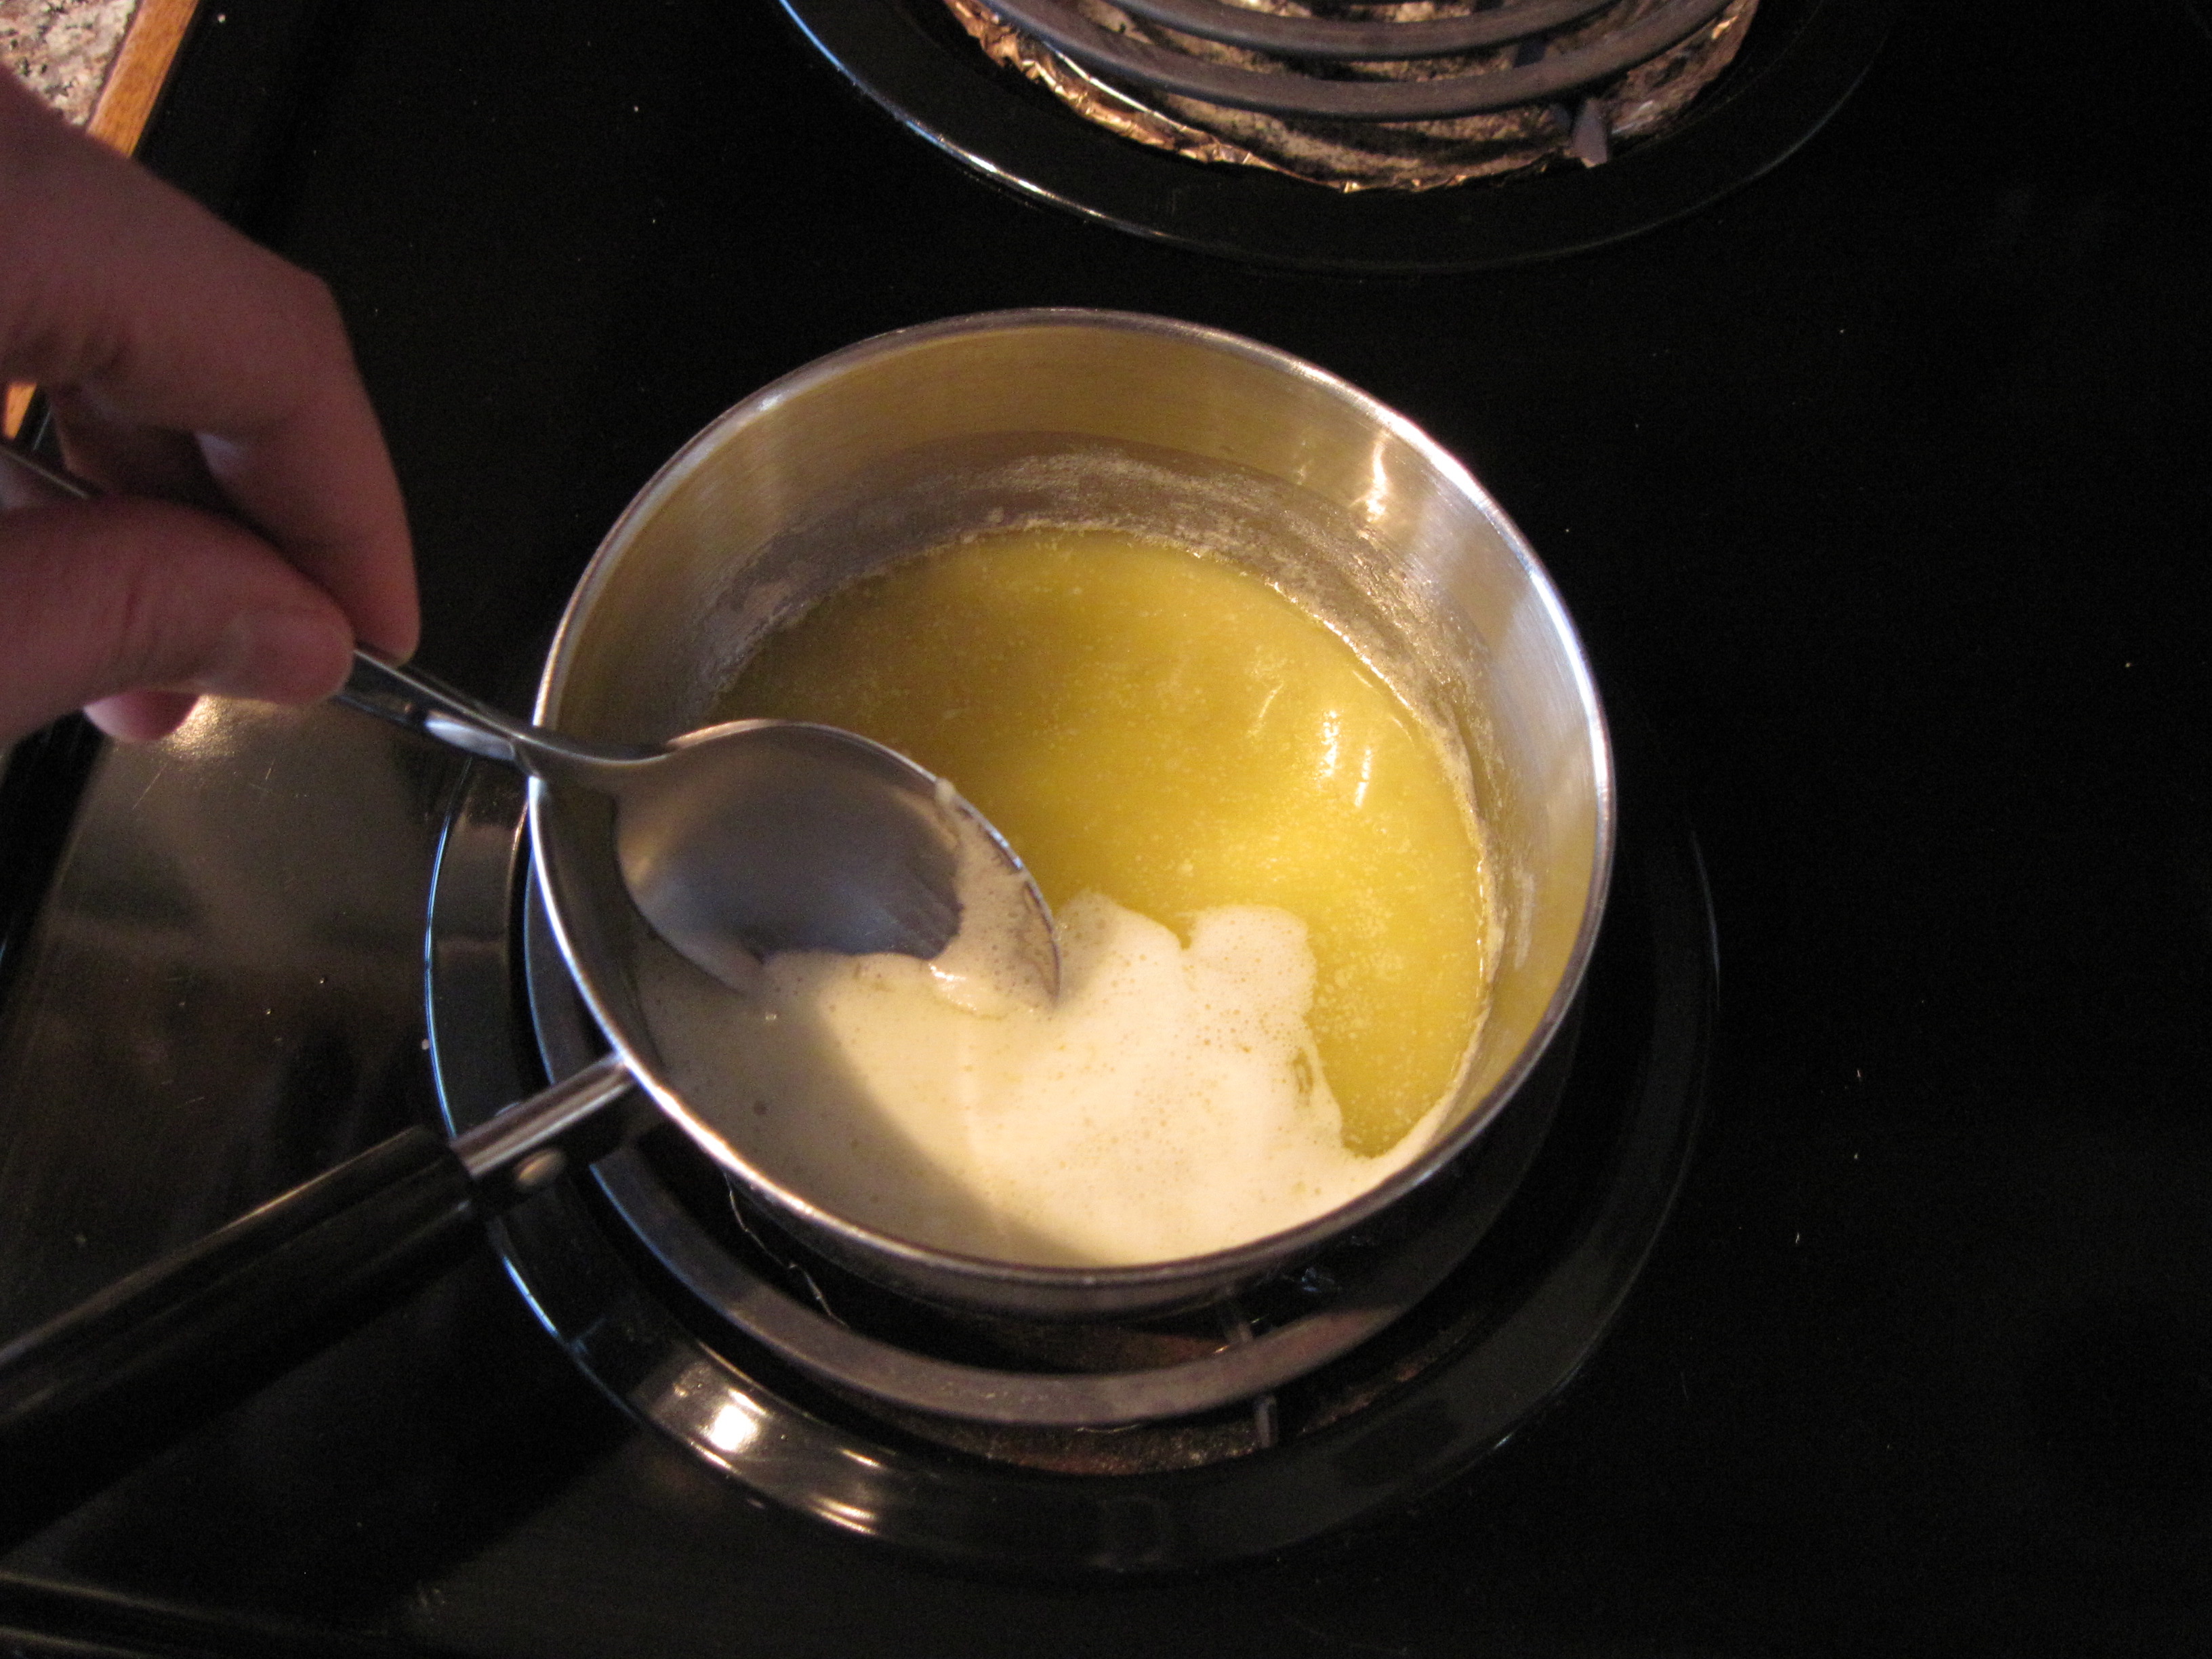
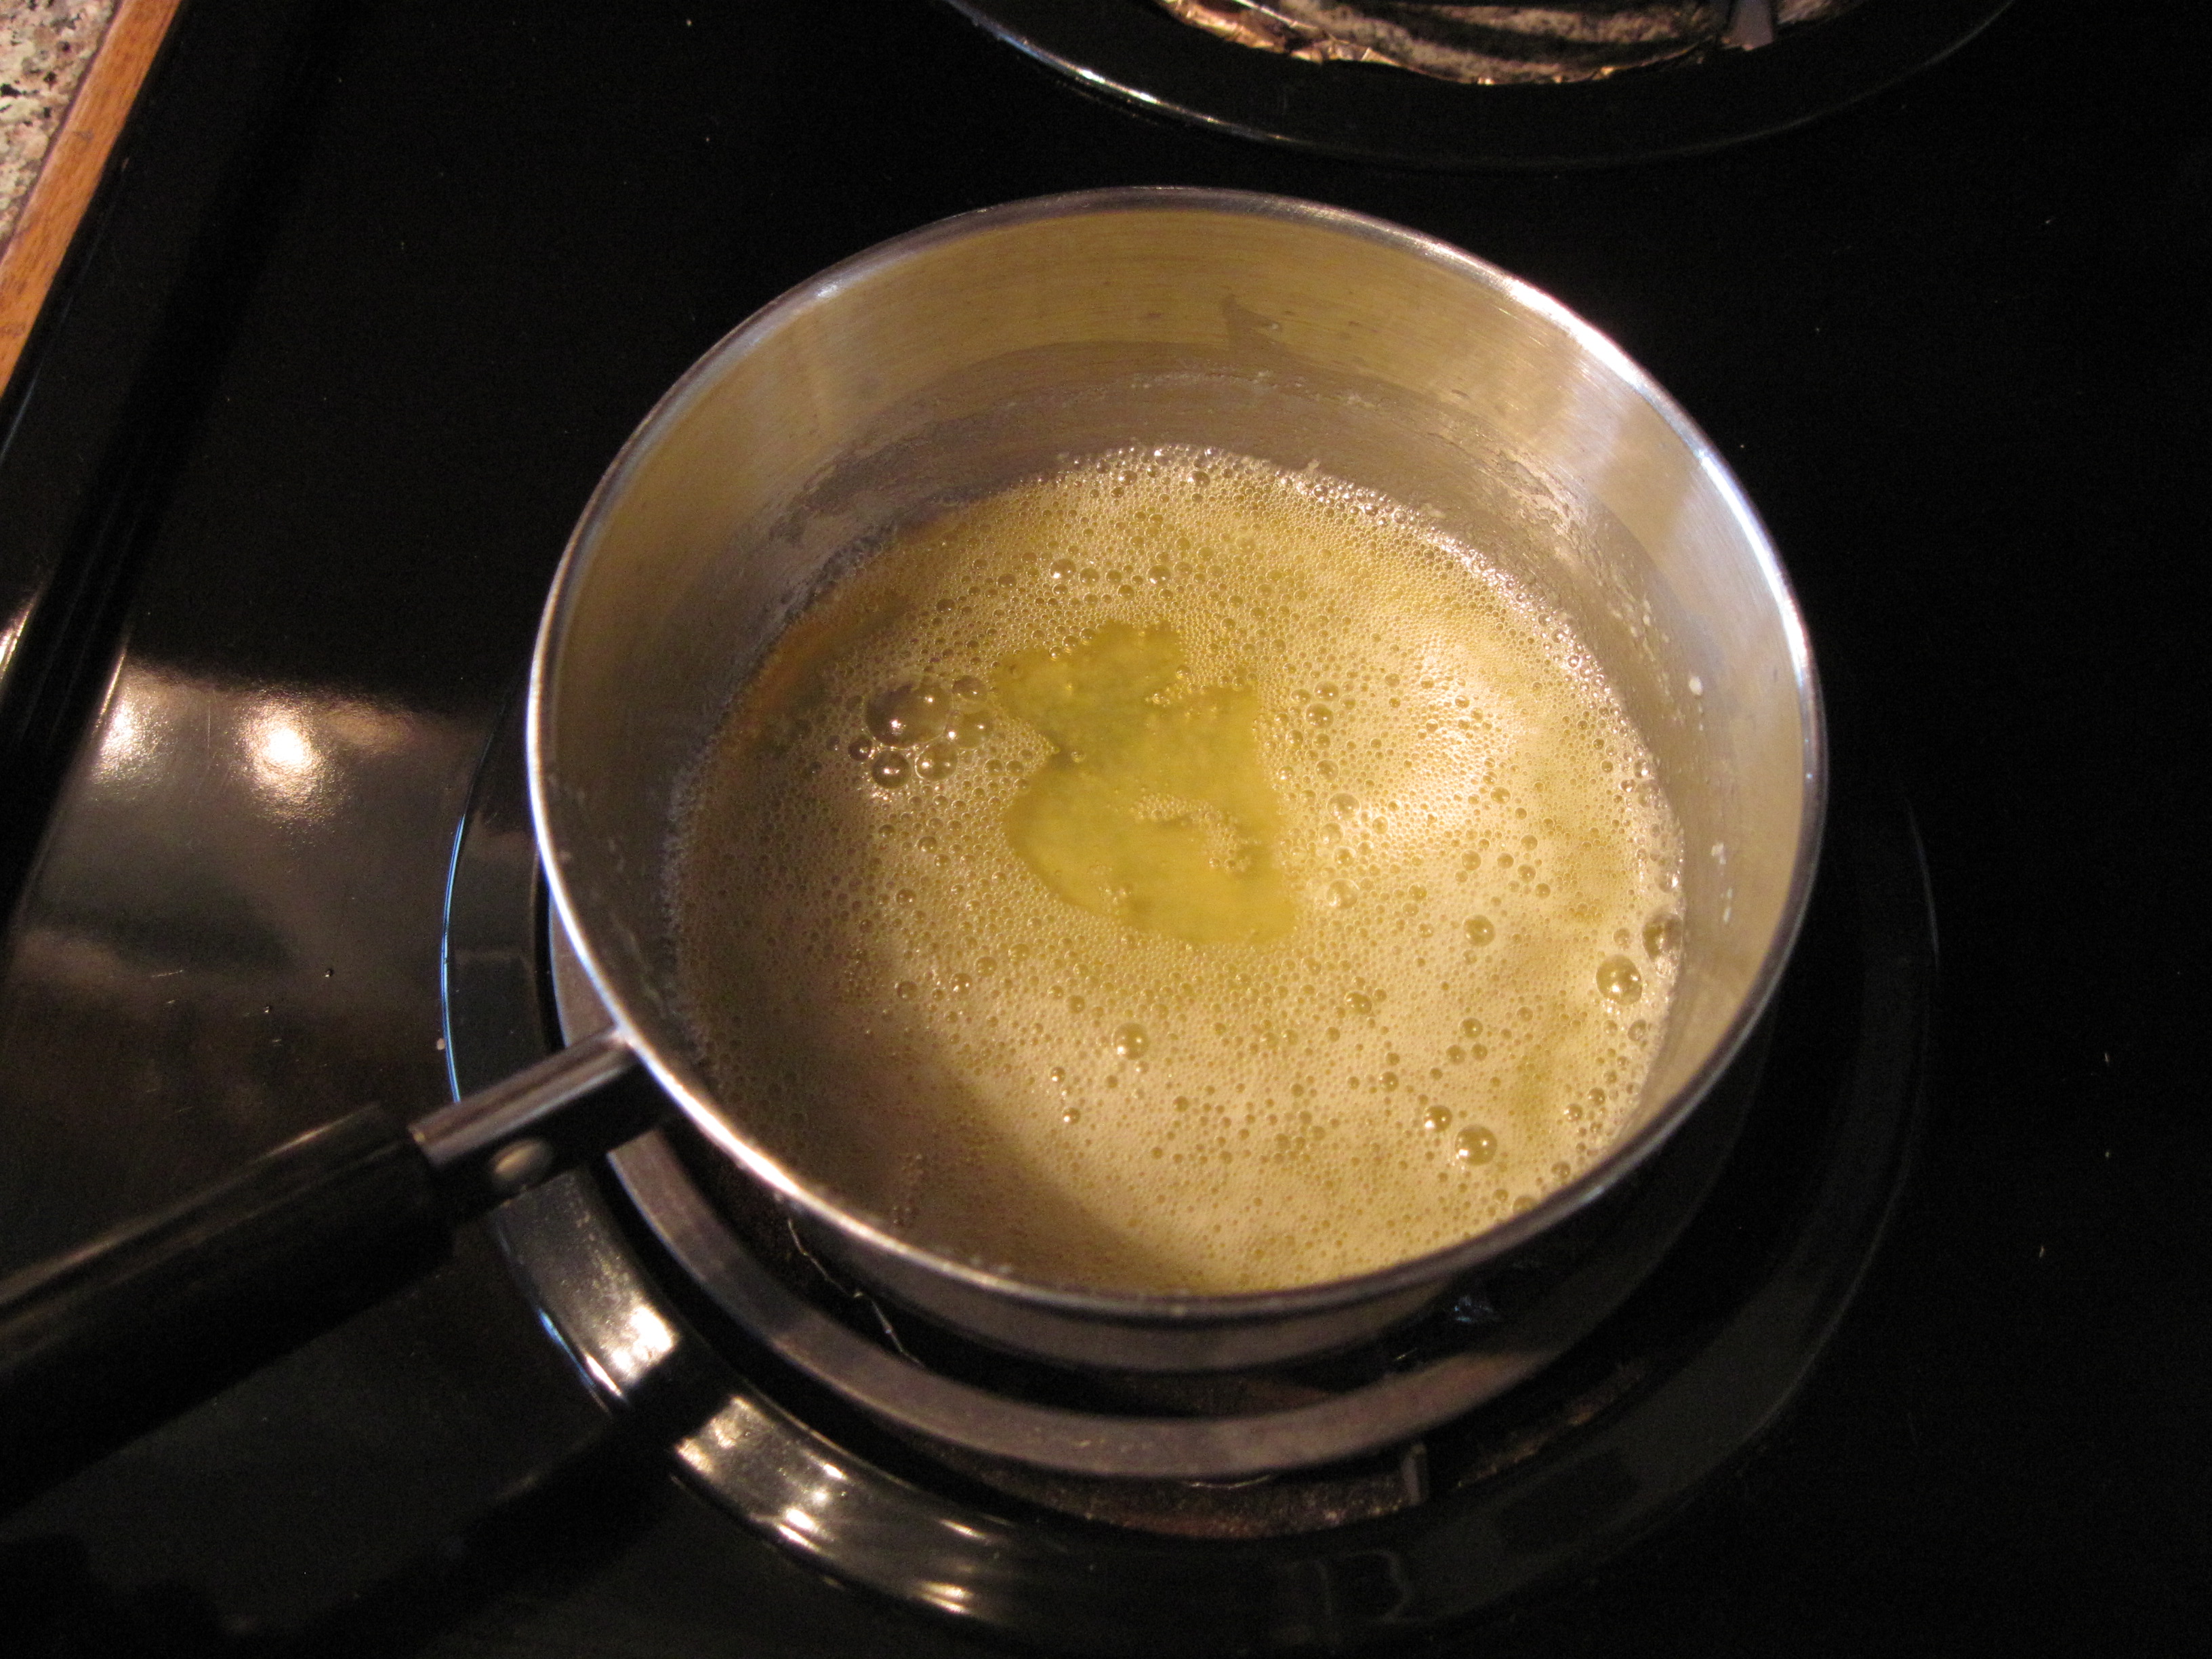
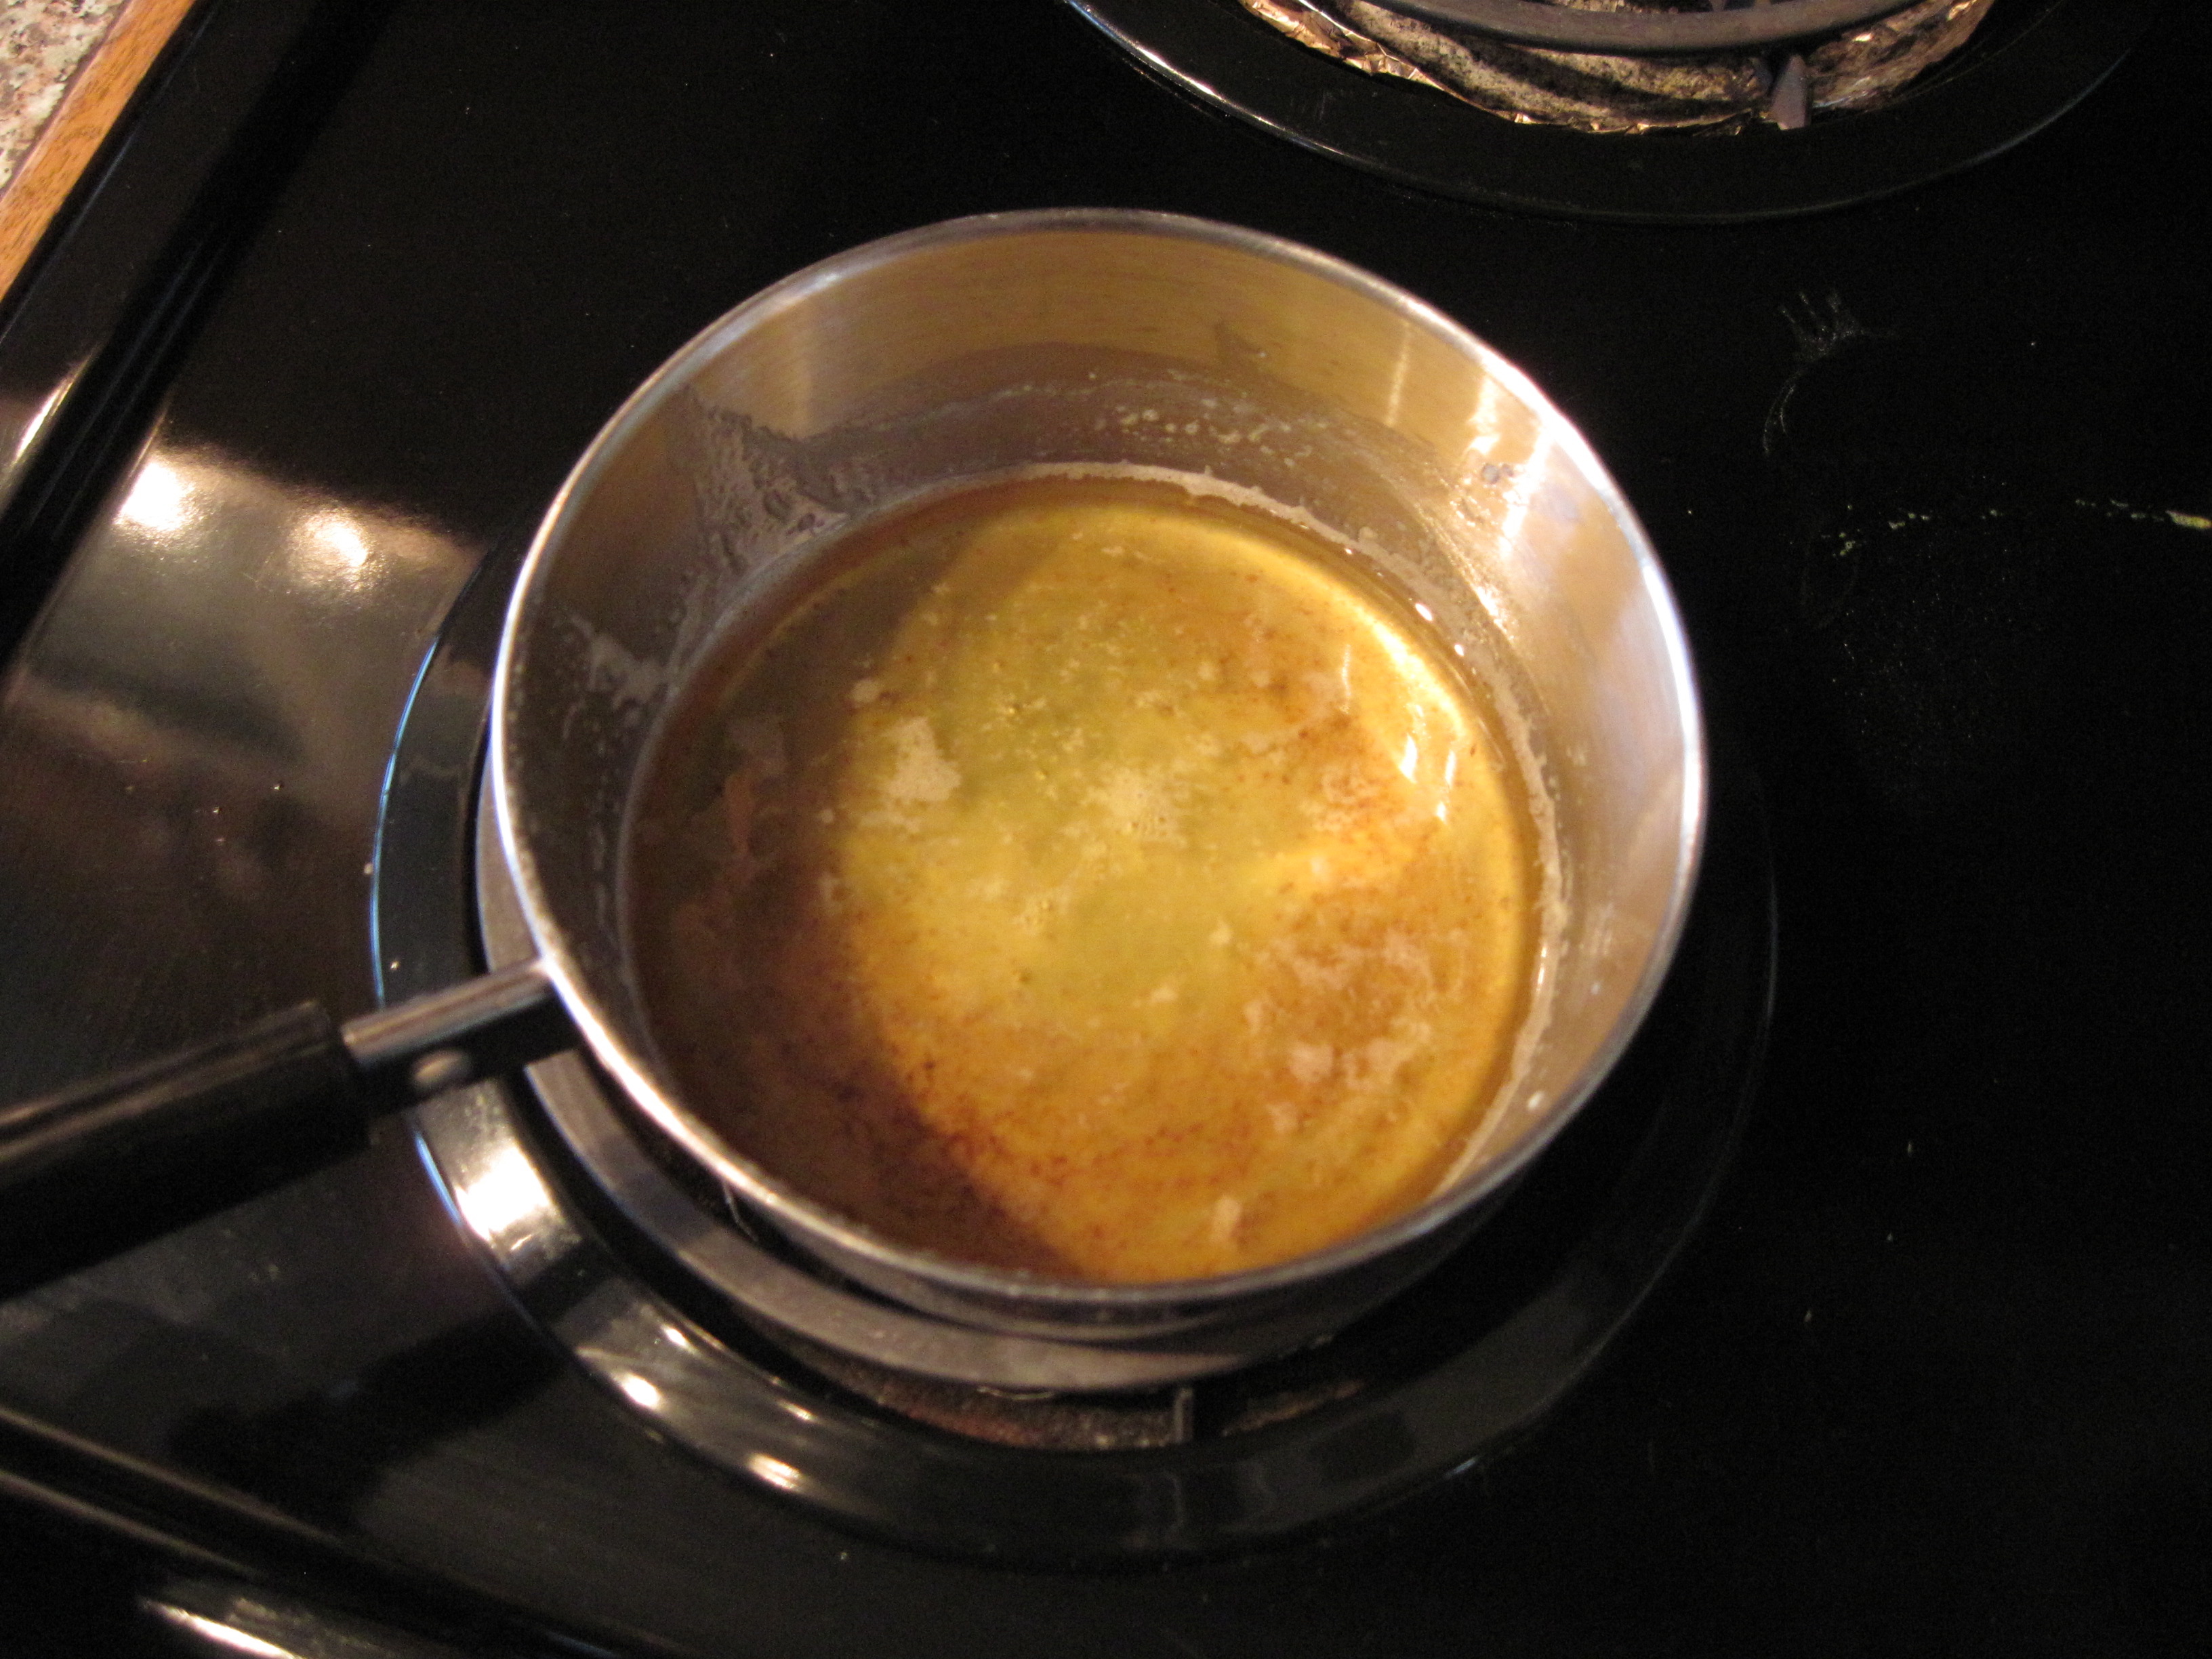
When it has melted, reduce the heat slightly and let it boil gently for a few minutes. A white foam of milk solids will form on top. With a spoon, carefully scoop out the foamy milk solids (be careful to leave the yellow butterfat behind). Continue boiling gently, scooping out the foam every few minutes. After about 10 minutes, the ghee will start to form bubbles on top rather than white foam. Scoop out the bubbles. At this point, the ghee should smell slightly nutty and be turning from yellow to light golden brown. You will know it is ready when there is no more foam or bubbles and it stops boiling – this means that all the milk solids (which were causing the boiling and foaming) are gone and all that remains is pure, delicious butterfat. Pour the ghee into a bowl and set aside. You should have about 1/4 cup of ghee.

Masala

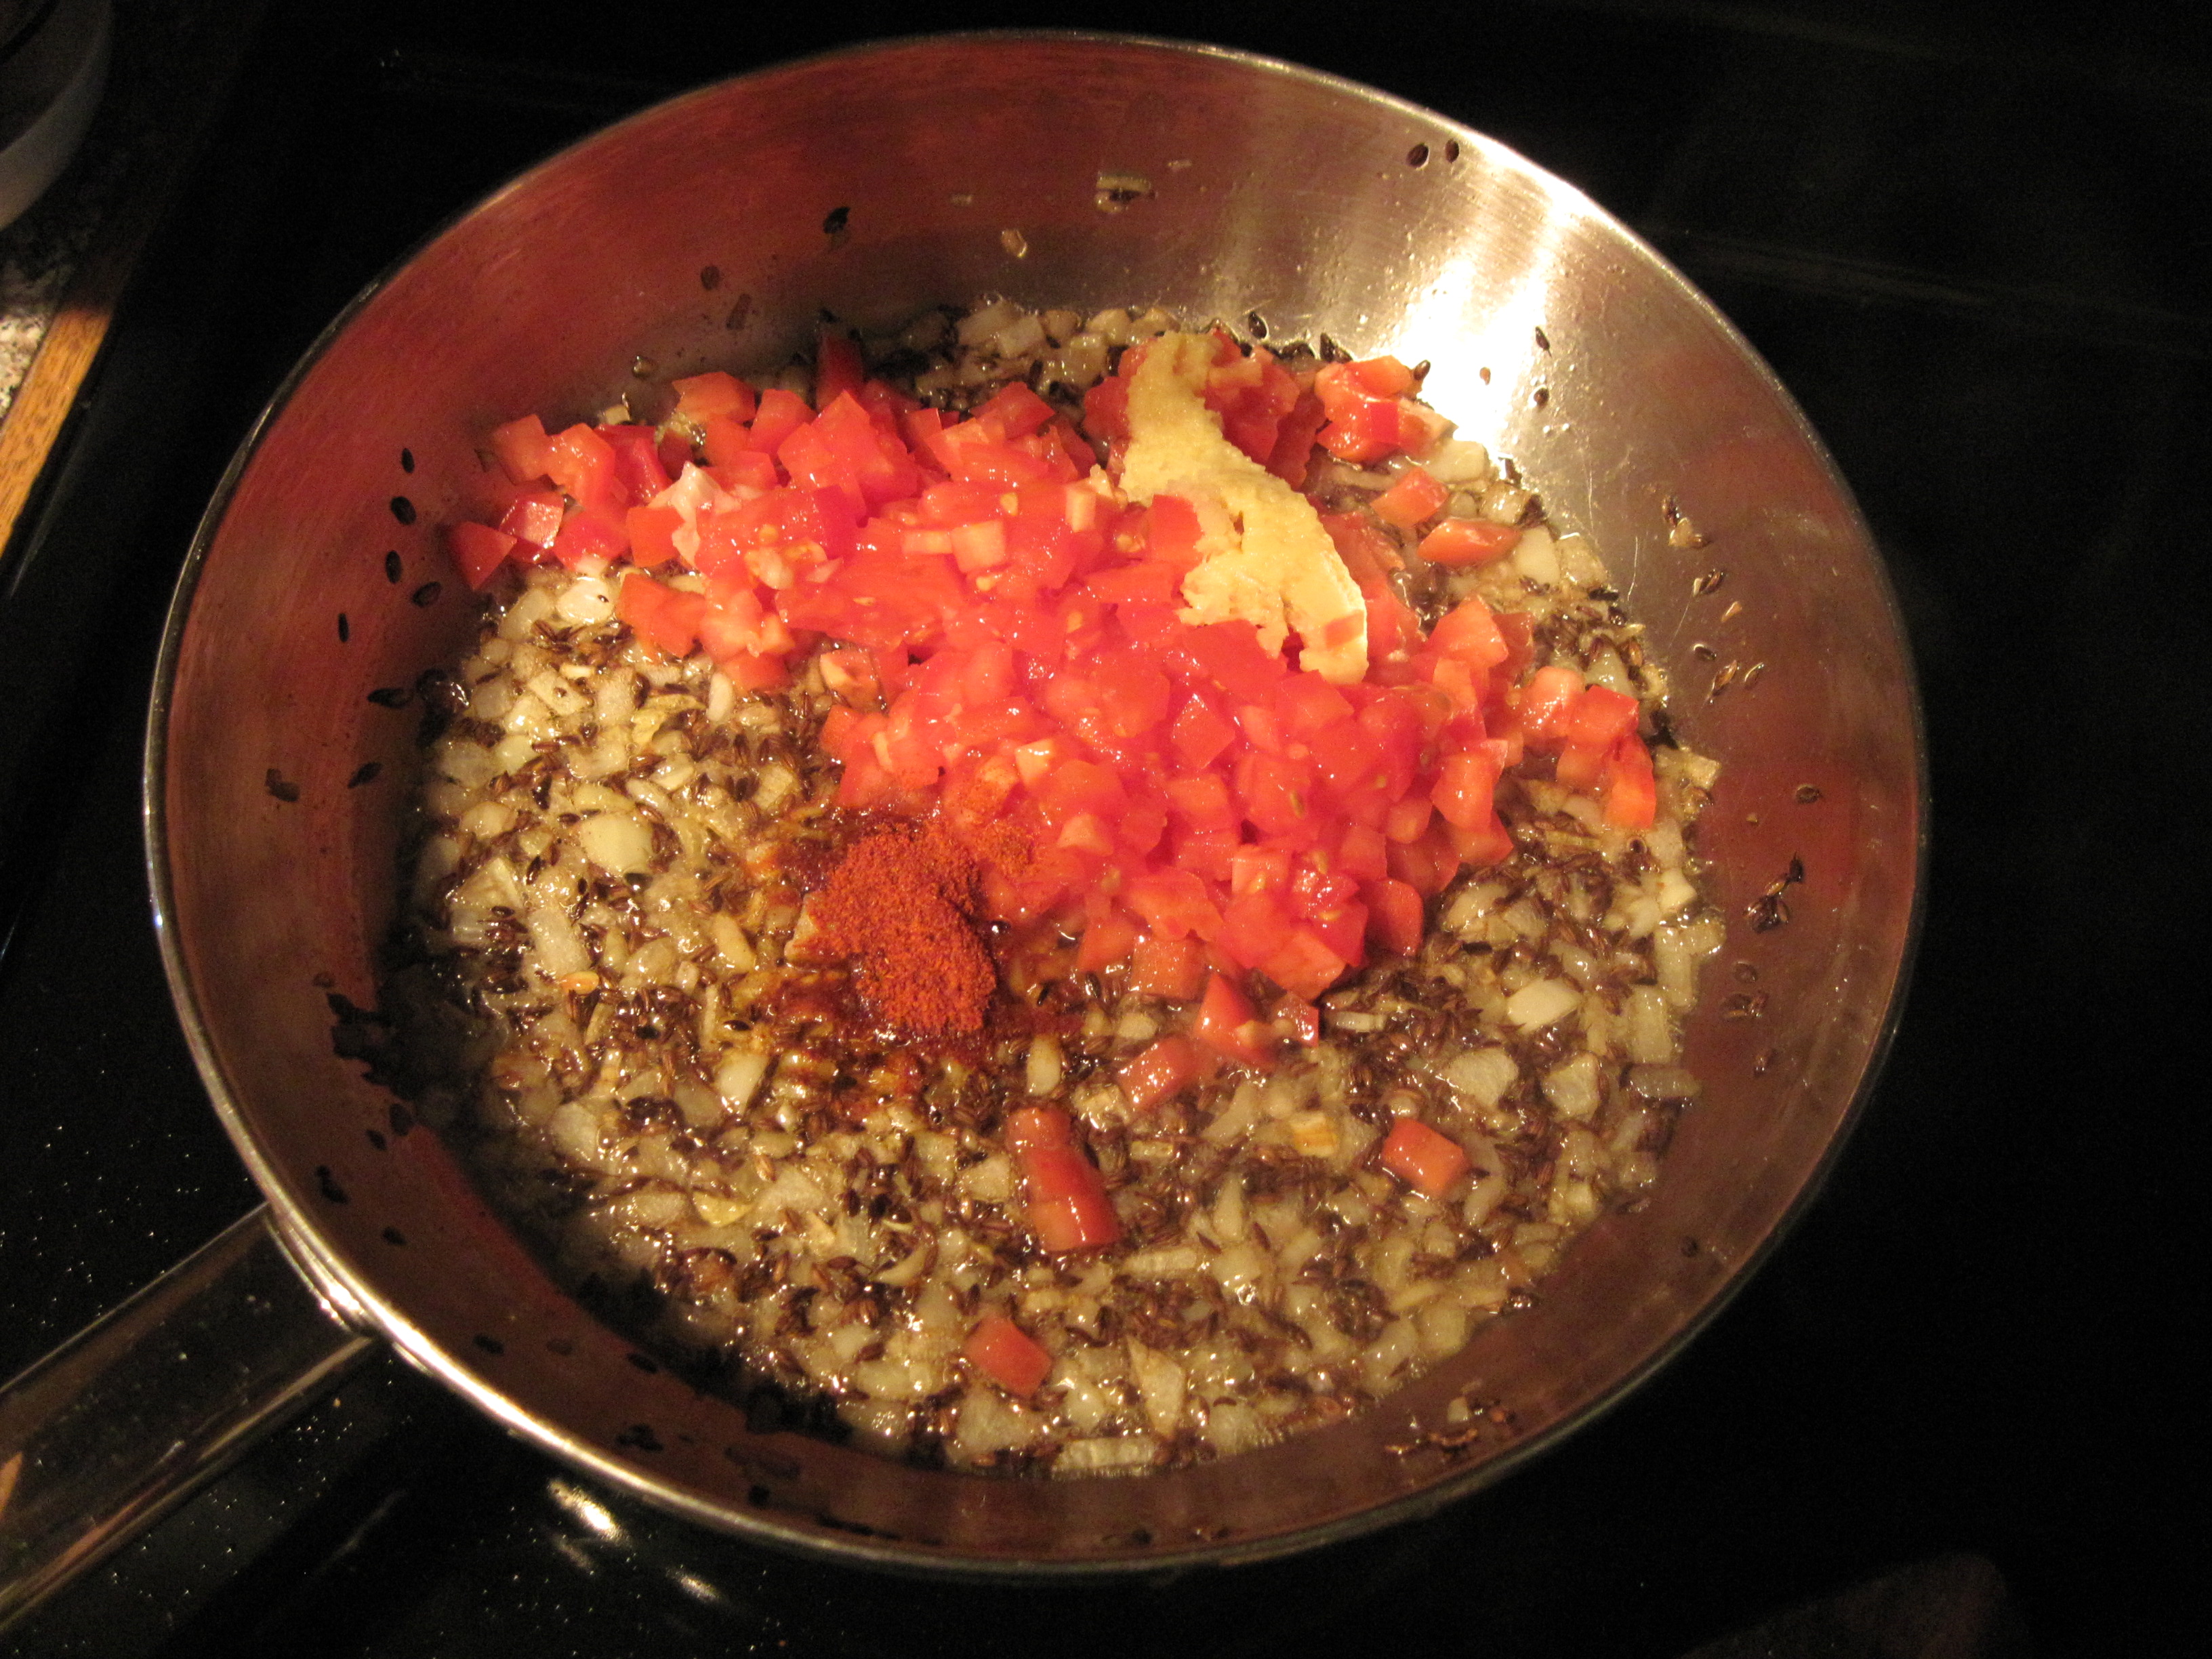
In a shallow frying pan over medium-high, heat 1/4 cup ghee for about 45 seconds. Add:

1 tbsp whole cumin seeds

Sizzle for 15 seconds, then reduce the heat to medium and add:

3/4 cup finely chopped onion (about 1/2 a medium onion)

Sauté until brown, 8 – 10 minutes. Add:

3/4 cup finely chopped tomato (about 1 1/2 roma tomatoes)

1 tbsp grated ginger

1/4 – 1/2 tsp cayenne pepper

Sauté, stirring, for about 5 minutes or until the ghee glistens on top of the masala.

Add the masala to the cooked lentils and stir well. While the lentils are still very hot, stir in:

3-4 handfuls of chopped spinach leaves (I also threw in a handful of kale leaves)

Just before serving, stir in:

1/2 cup chopped cilantro

Serve over steamed basmati rice with a dollop of yogurt.

Filed Under: Main Dishes, Recipes, Vegetables Tagged With: cooking, curry, Indian cuisine, lentils, recipe, spicy food, vegetarian, Vij's

Grilled Hot Wings with Blue Cheese Dip

February 9, 2012 By Korena in the Kitchen 2 Comments

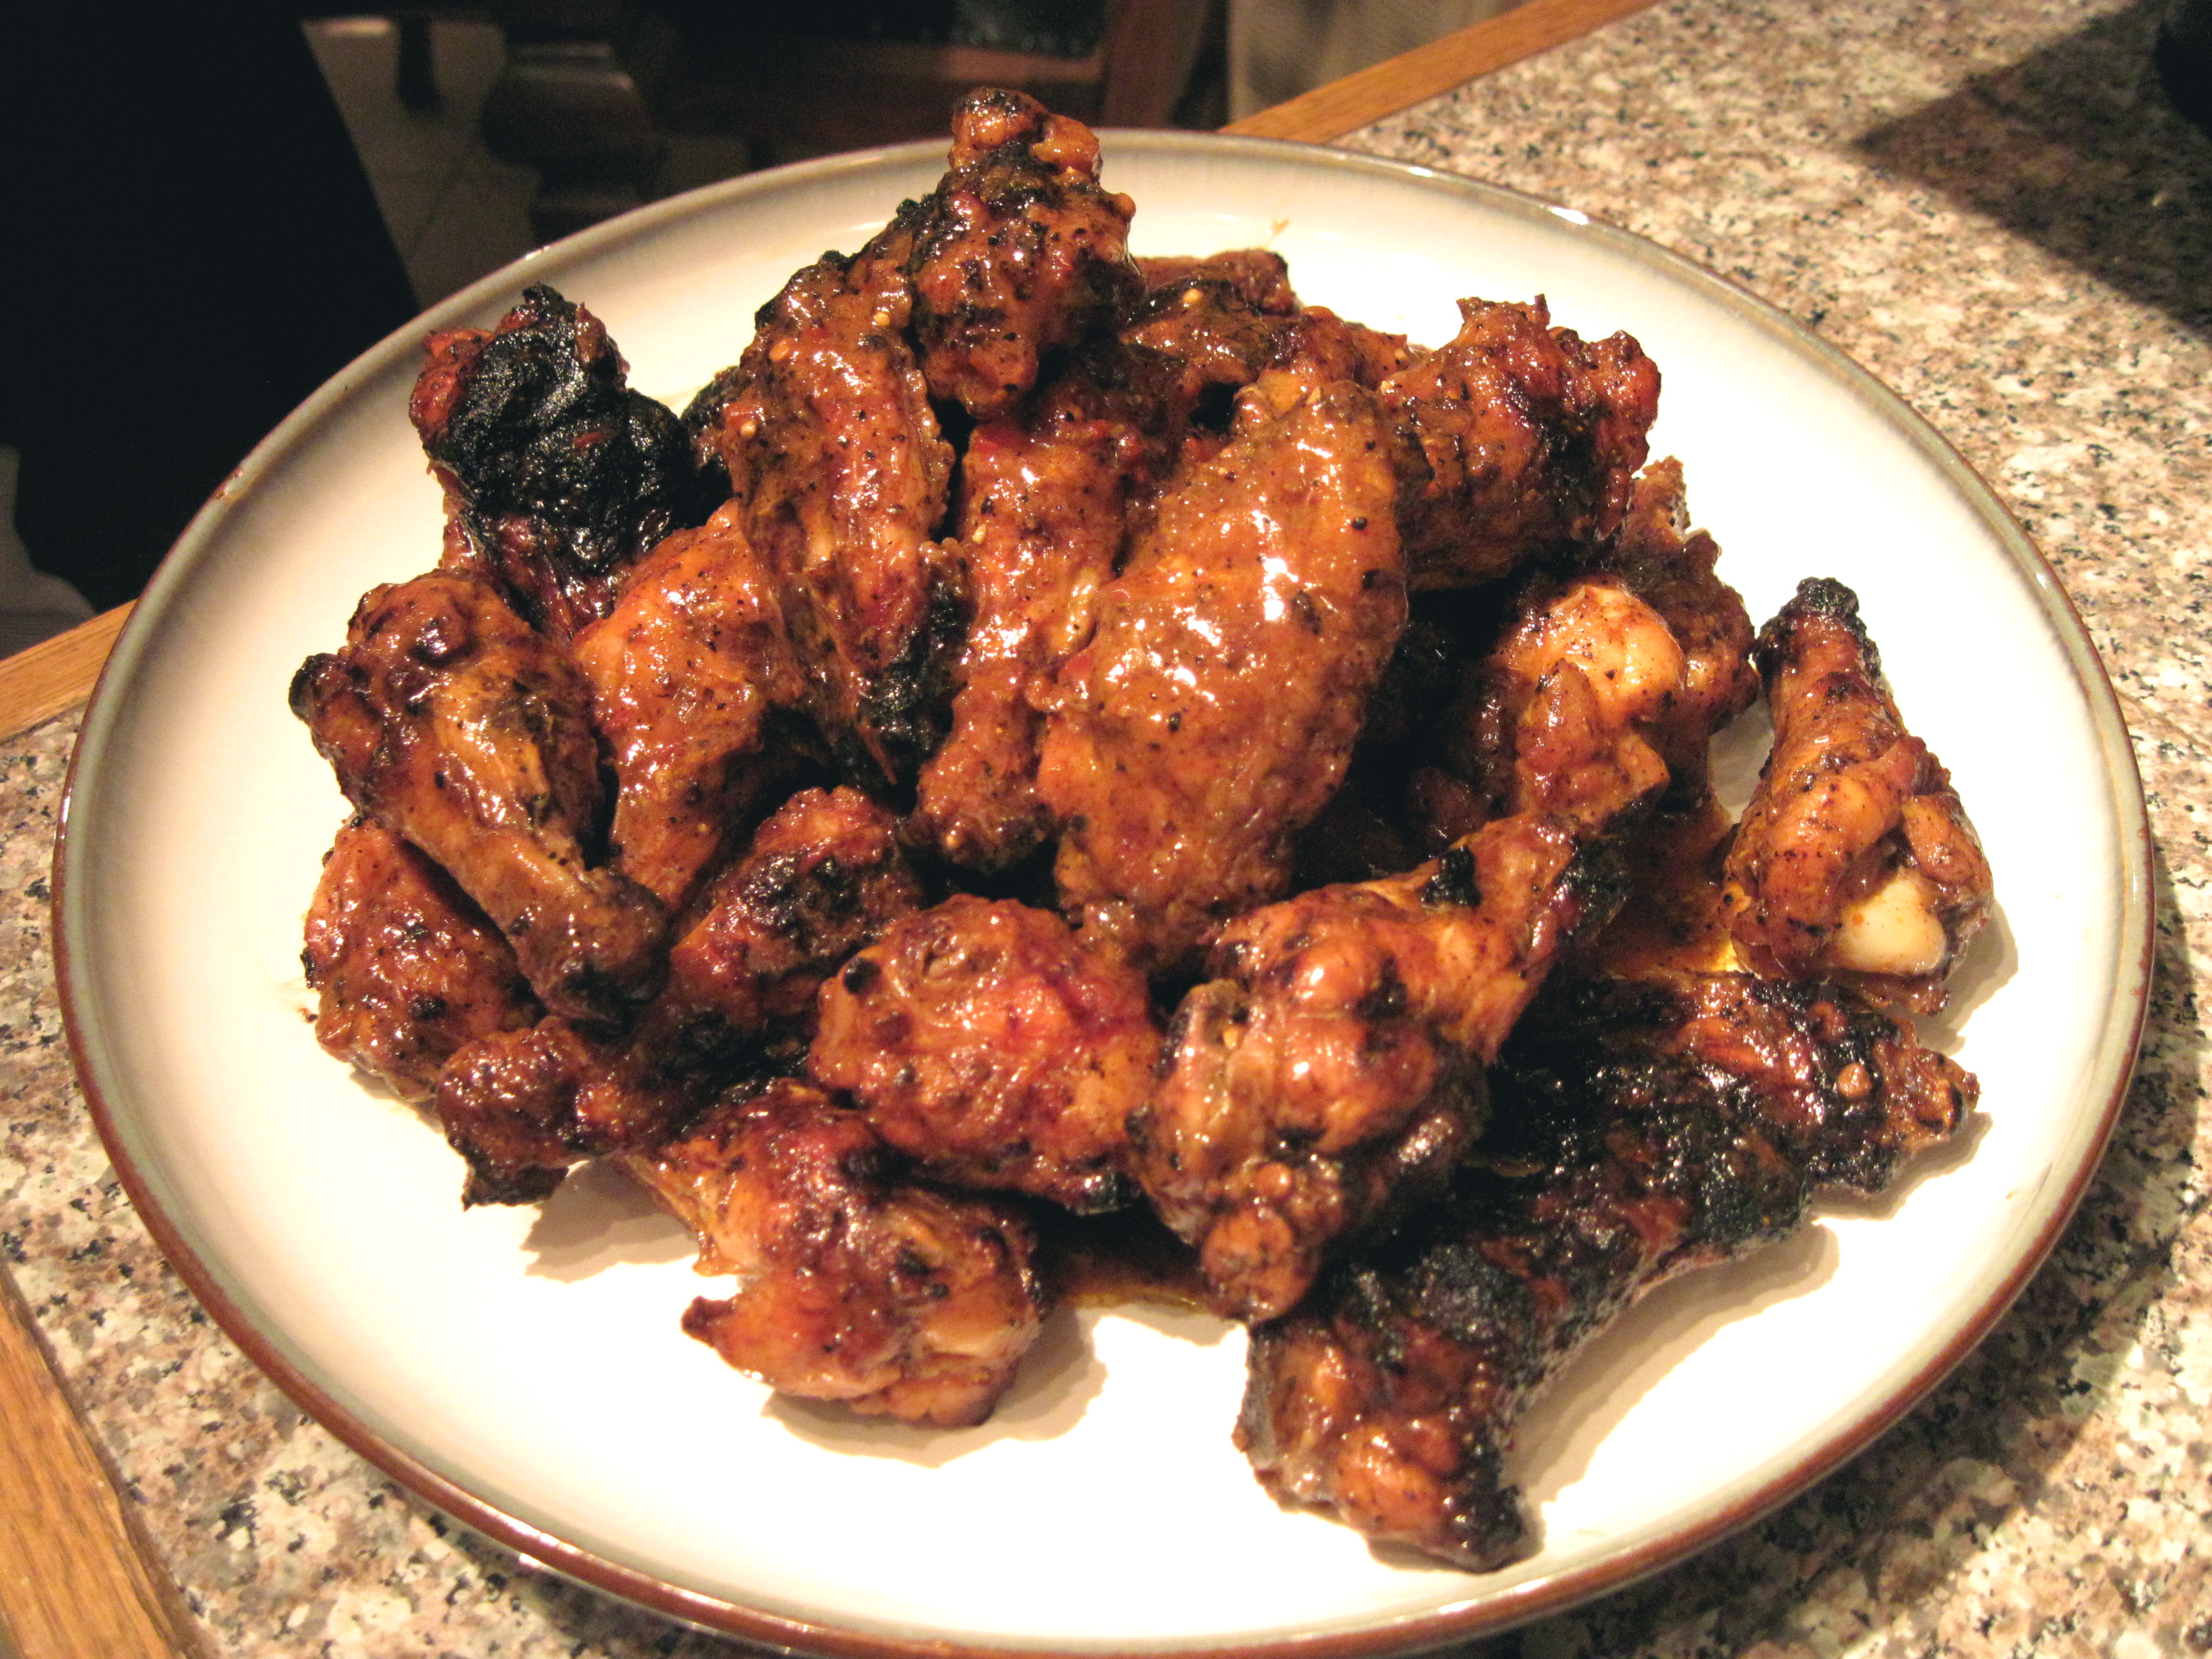
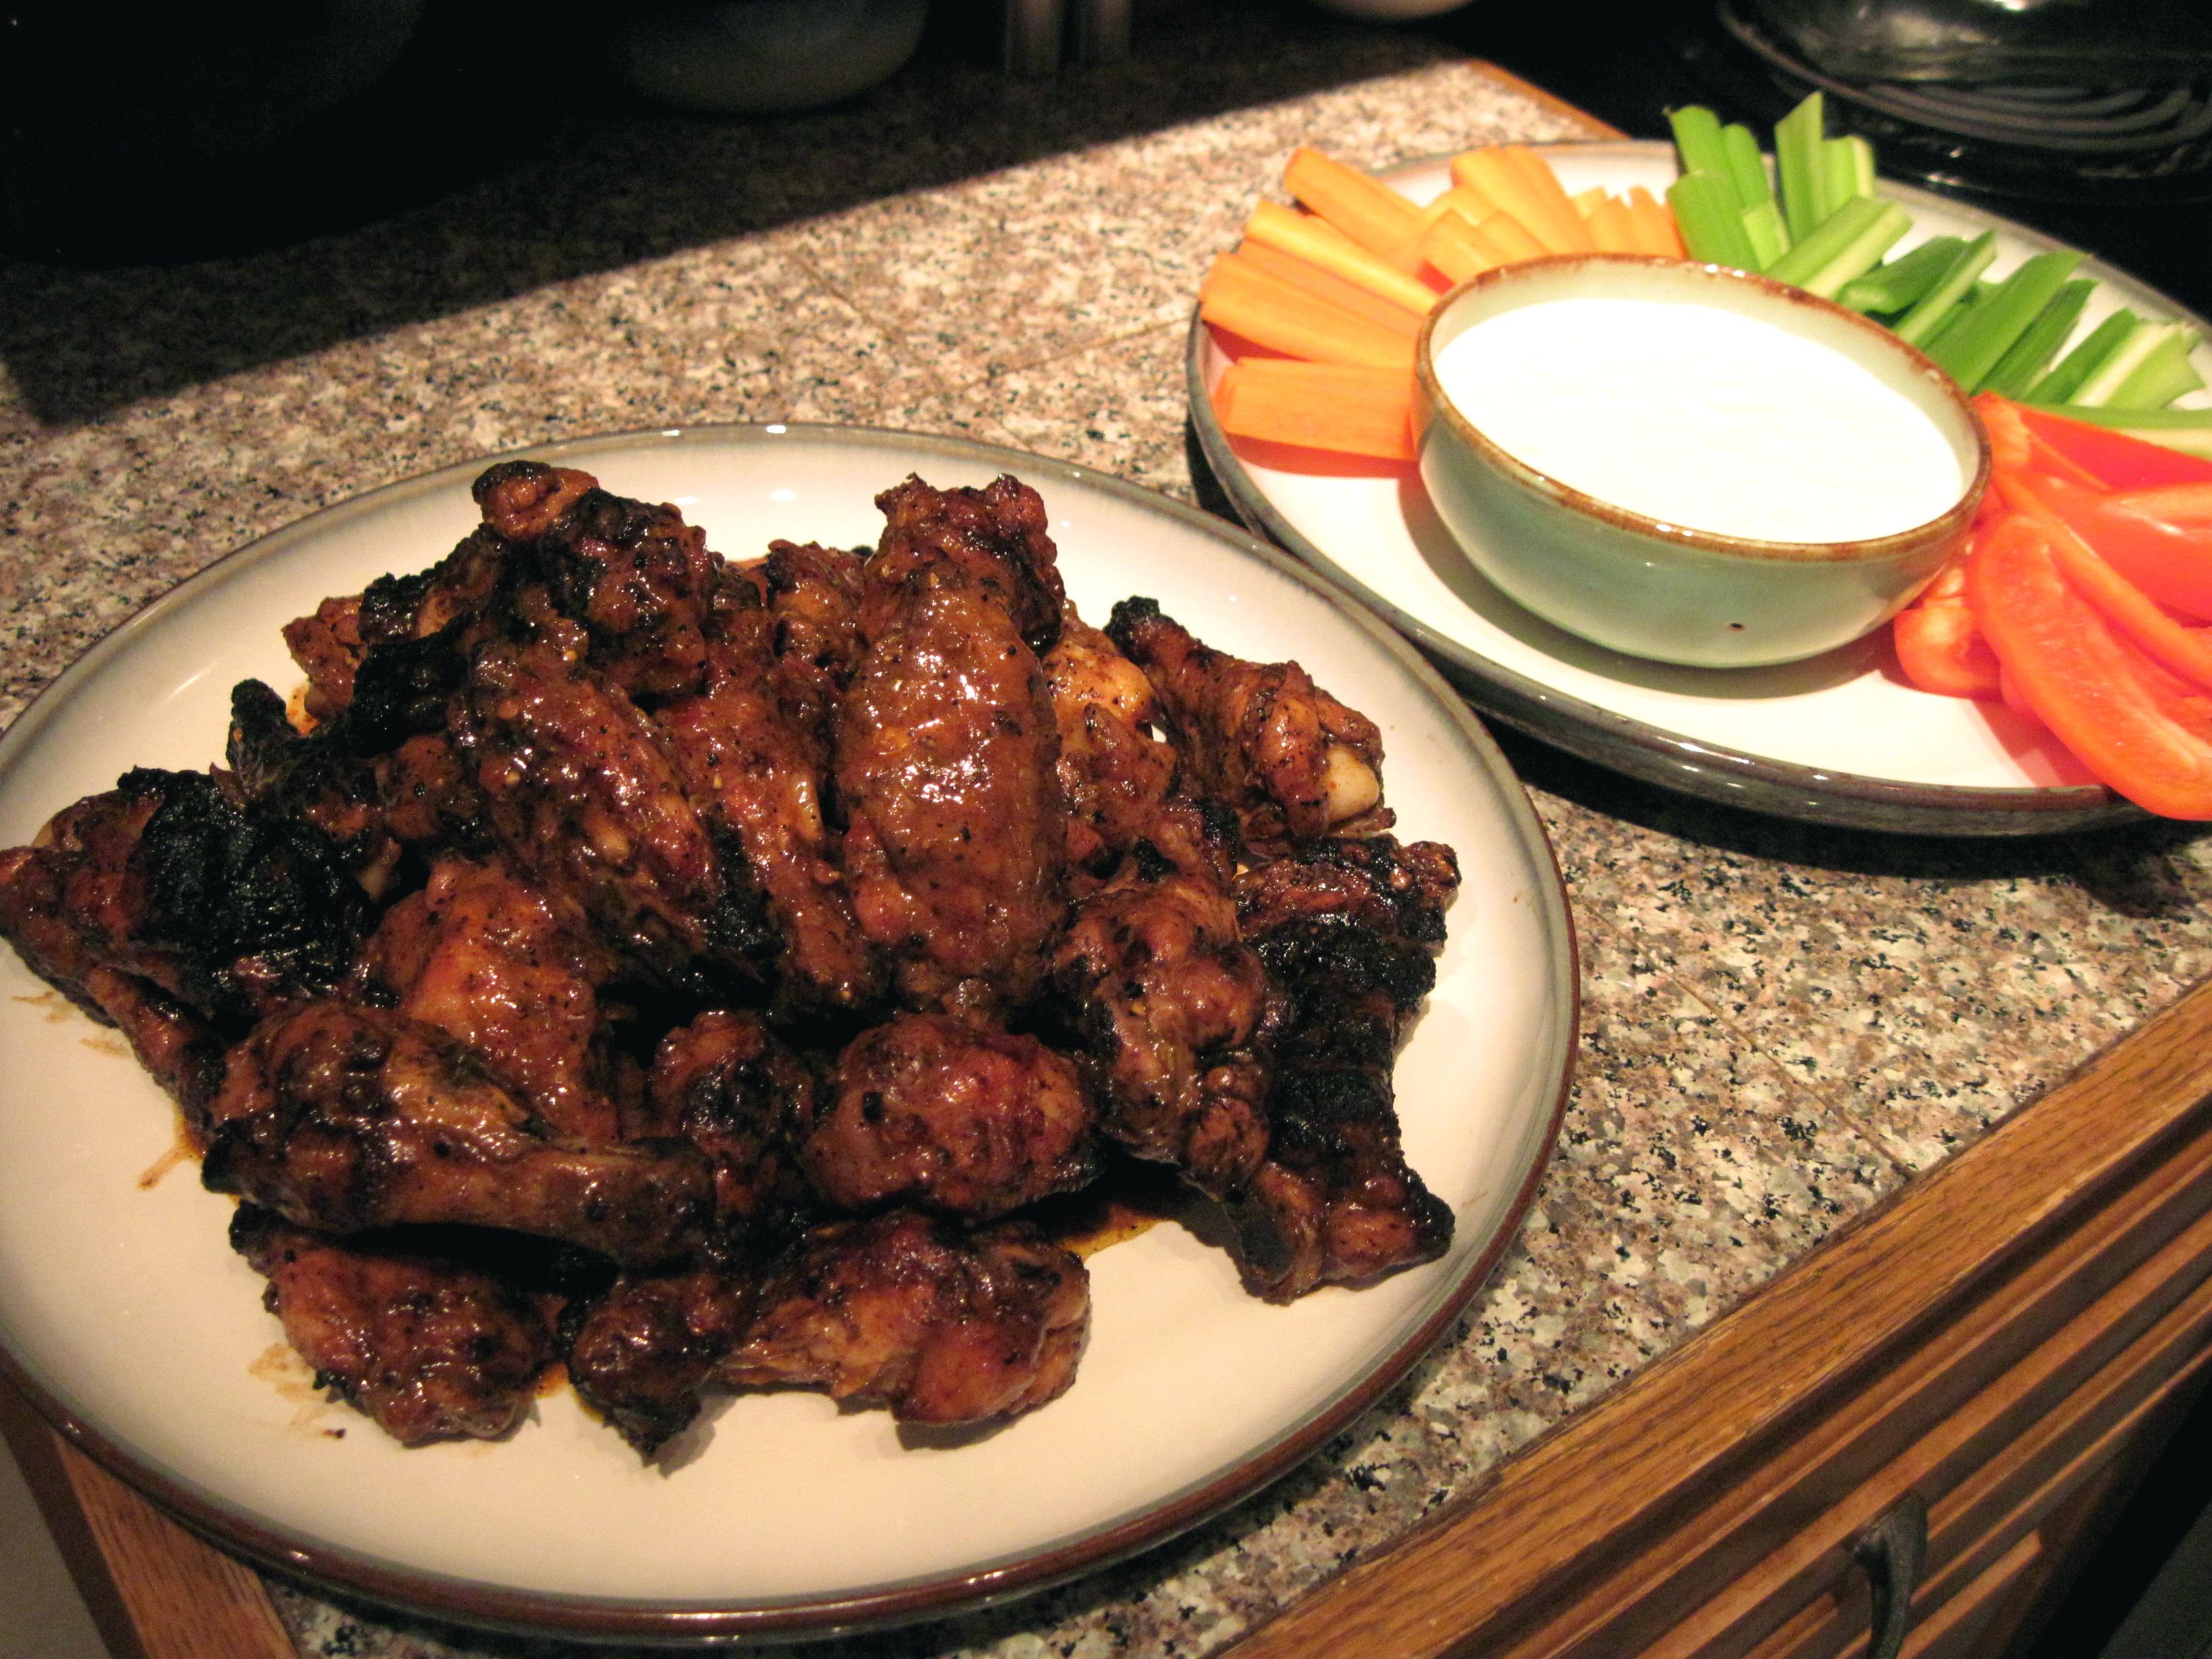
When Nate said he was going to watch the Super Bowl on Sunday, I suddenly got the urge to make hot wings. I was hoping that I could tie this in with my cookbook resolution, but wouldn’t you know it, I couldn’t find a recipe for plain old hot wings in any of my cookbooks. So to the internet I went! This is a twist on the basic hot wing sauce – butter, vinegar, and hot sauce – spiced up with a little chipotle (because I can’t seem to make anything without adding chipotle, but you could use any kind of hot chili sauce) and poured over grilled chicken wings. The grilling part was Nate’s idea, and it was a good one; however the thing about barbequing in February is that it gets dark early, and then you find yourself wearing your camping headlamp and feeling like a dork while turning your chicken wings. And because it’s dark, it’s hard to tell when things are getting a bit charred. But charred or not, these were really tasty and I can’t wait to make them again – but maybe I’ll wait for better daylight ;).

Grilled Hot Wings

Hot wing sauce adapted from Allrecipes.com

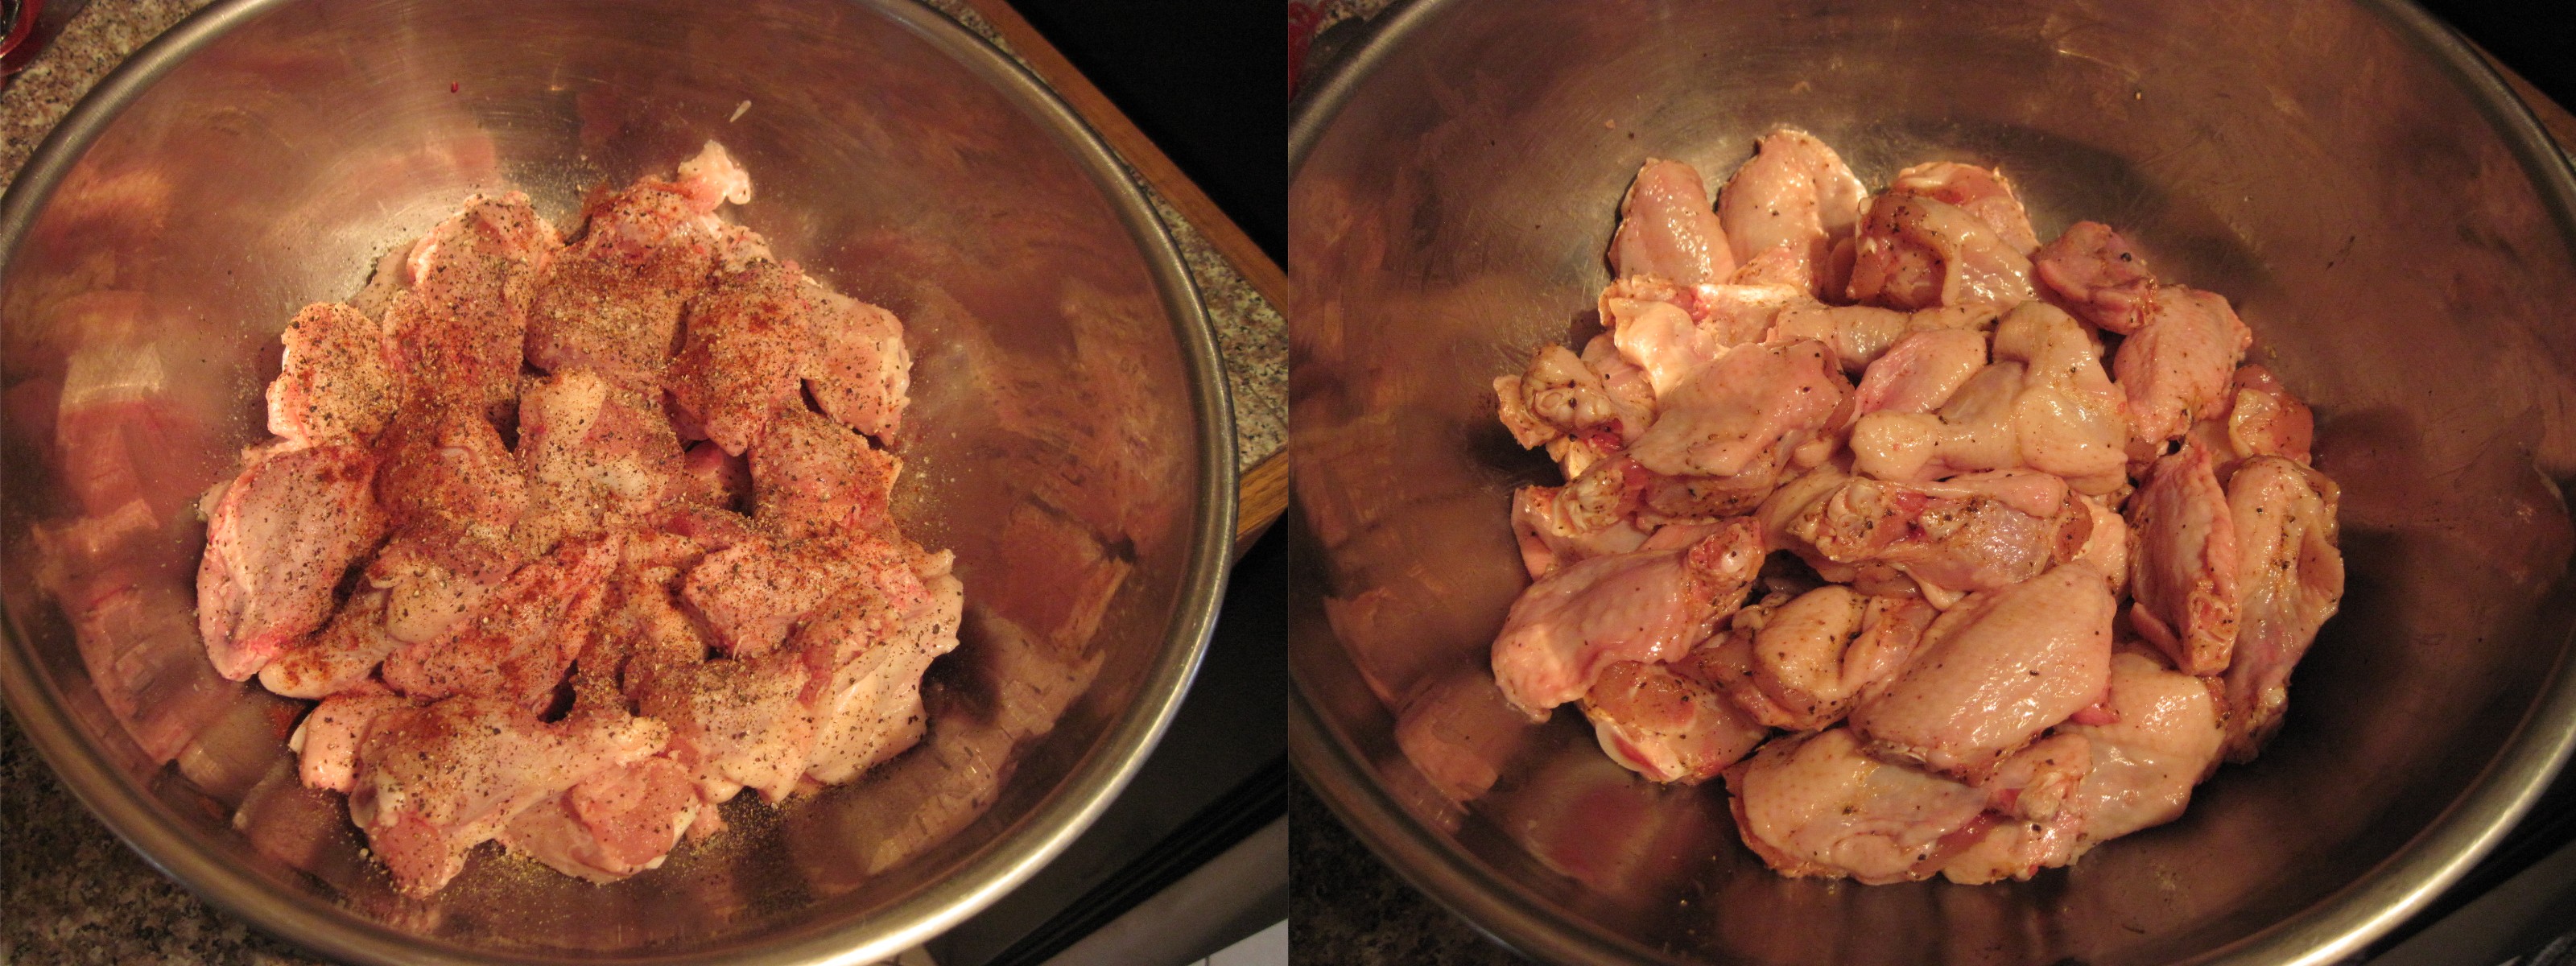
Place 3 lbs of chicken wings (drumettes and wingettes separated) in a large bowl and season very generously with:

black pepper

salt

garlic powder

cayenne or other hot chili powder

Toss the wings around with your hands so they are all evenly seasoned.

Preheat the barbeque, then arrange the seasoned wings on a lightly greased grill over low heat. Put the lid down and let them cook 10-15 minutes, until lightly brown on one side. Turn them over and grill for another 10-15 minutes with the lid down, until they are evenly browned and cooked through, moving them around a bit to avoid hot spots and burning. The wings need a little more babysitting during the second half of cooking, as they can go from golden brown to charred pretty quickly.

Losing the light (the camping headlamp didn’t quite cut it for photos!)

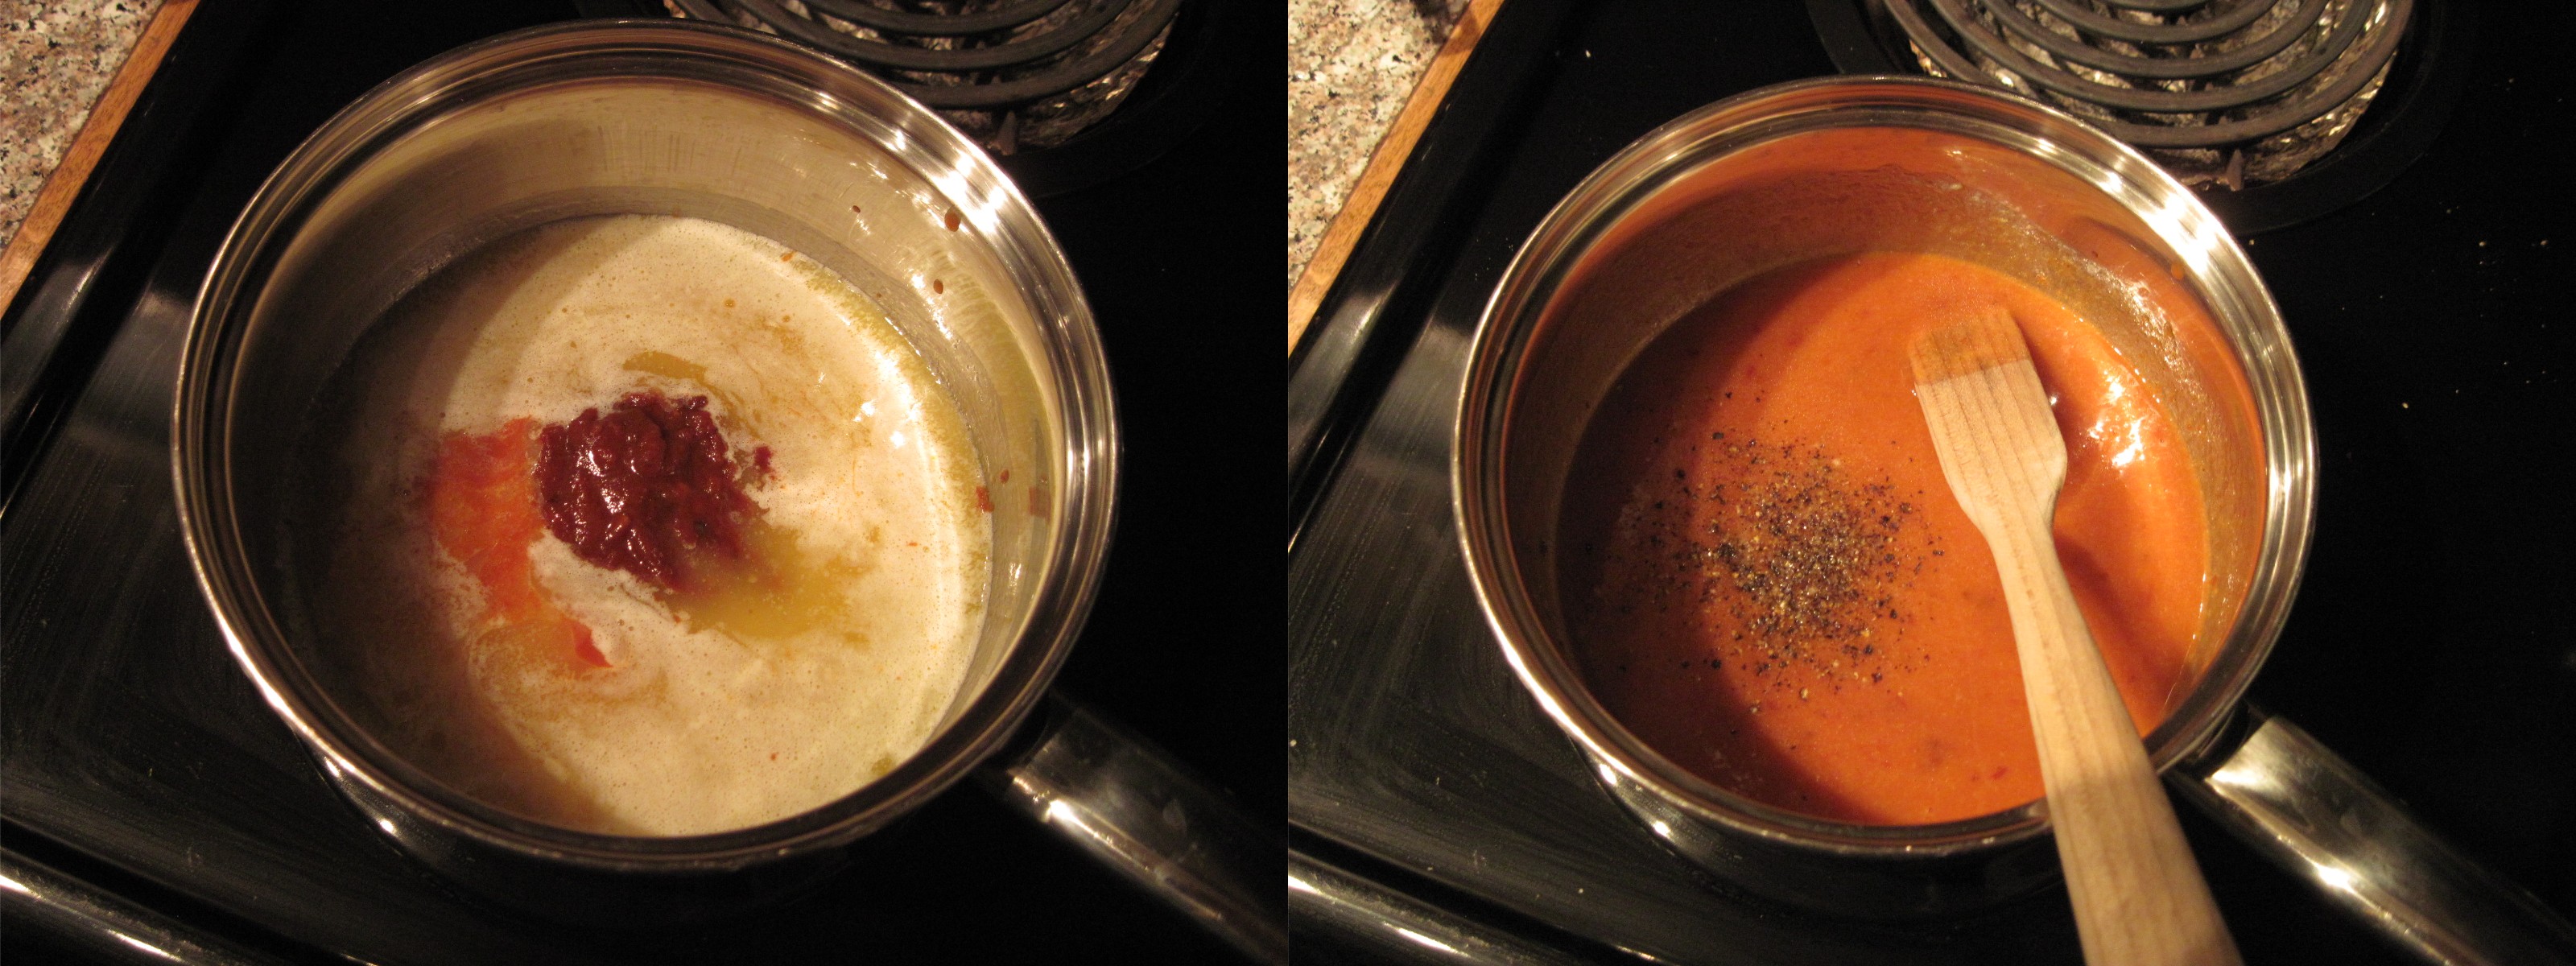
Meanwhile, make the sauce. In a saucepan over medium heat, melt 6 tbsp butter, then stir in:

1/3 cup + 2 tbsp hot sauce (I used 1/3 cup Cholula hot sauce and 2 tbsp chipotle purée – use whatever kind of hot sauce(s) you prefer)

1 1/2 tbsp white vinegar

salt and pepper to taste

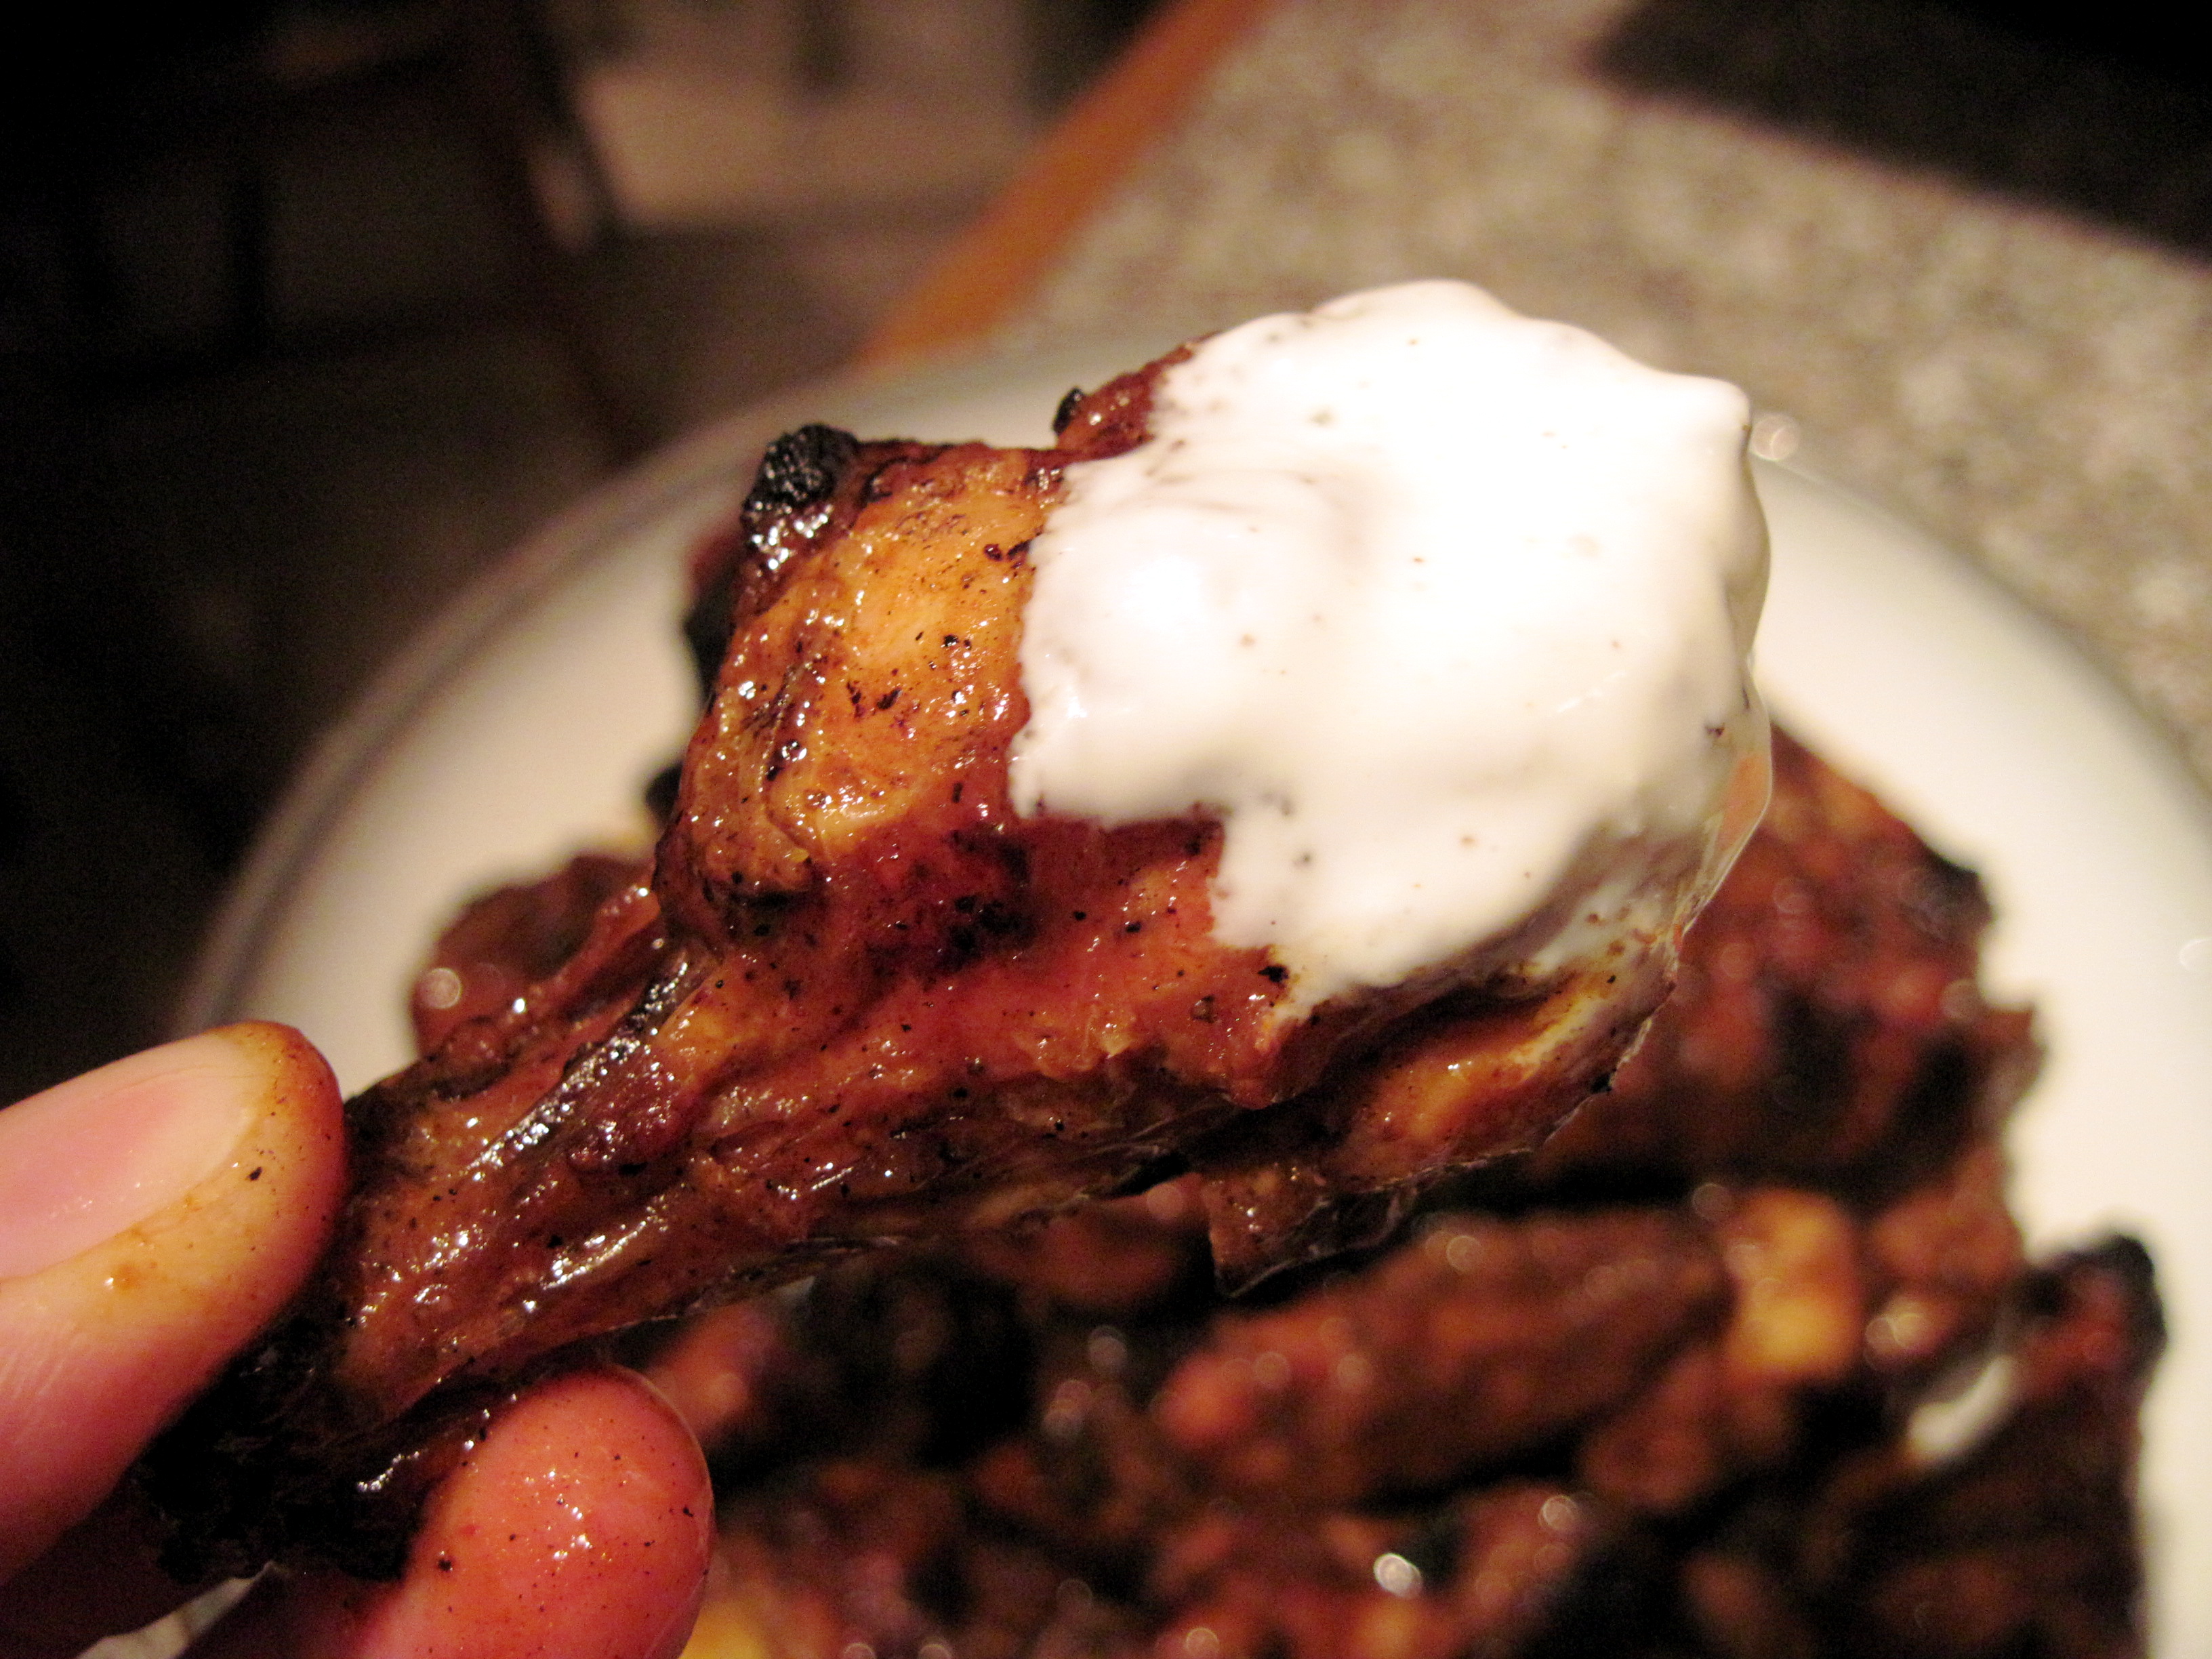
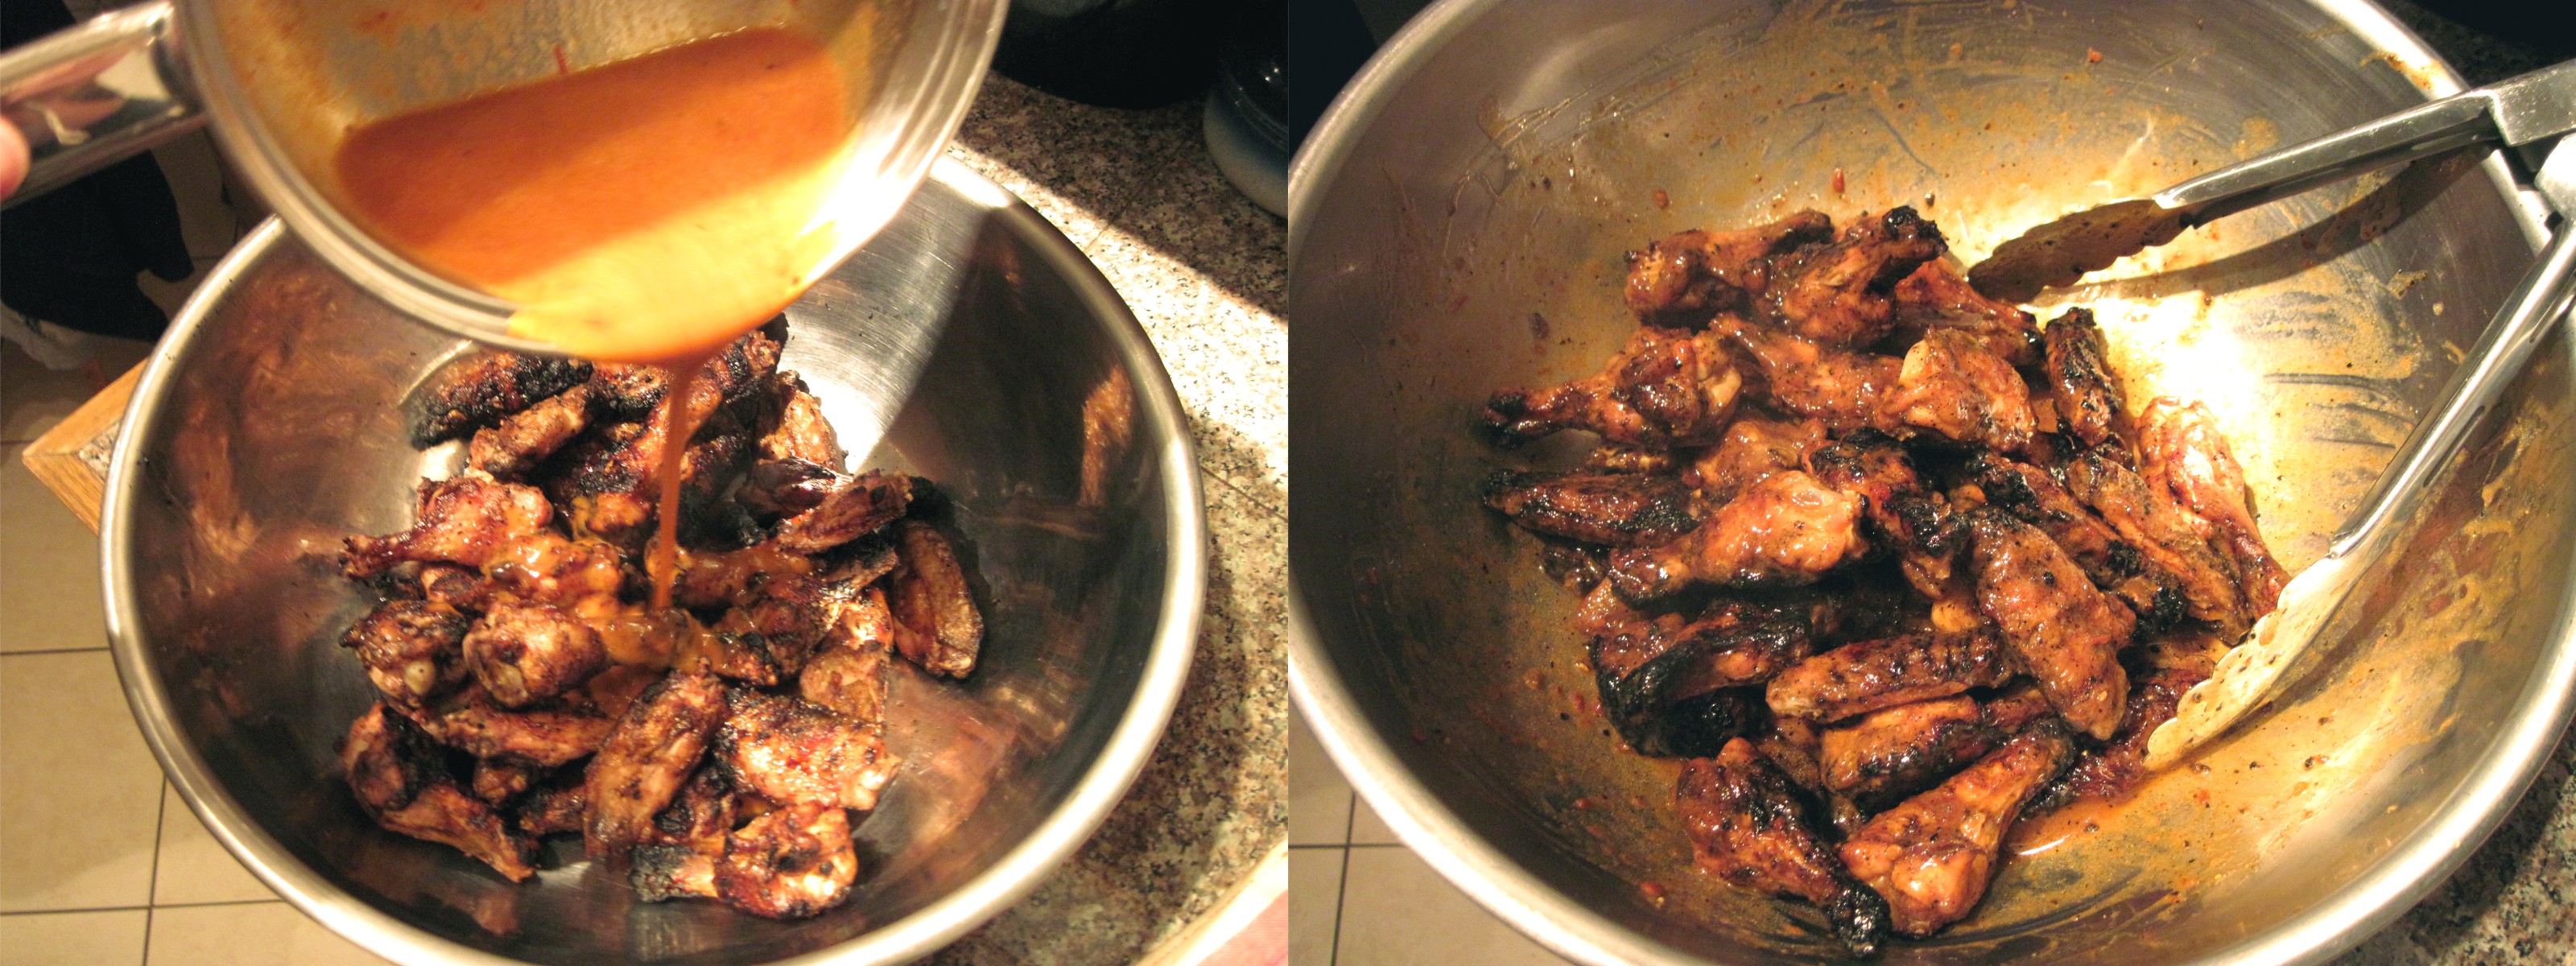
When the wings are cooked, place them in a bowl, pour the sauce over them, and toss to coat. Serve with Blue Cheese Dip (below), cut-up veggies such as celery and carrots (optional), and lots of napkins (definitely not optional!).

Blue Cheese Dip

In a small bowl, combine:

1/3 cup plain yogurt or sour cream

1/3 cup mayonnaise

1/4 cup crumbled blue cheese

1/4 tsp garlic powder

dash of paprika

salt and pepper to taste

Mix it all together and refrigerate for about 30 minutes, to let the flavours meld a bit. Serve with the hot wings.

Filed Under: Recipes, Soups, Sides & Snacks Tagged With: appetizer, bbq, blue cheese, chicken, cooking, grilling, hot wings, recipe, spicy food, Super Bowl

Homesick Texan Sloppy Joes

February 6, 2012 By Korena in the Kitchen 8 Comments

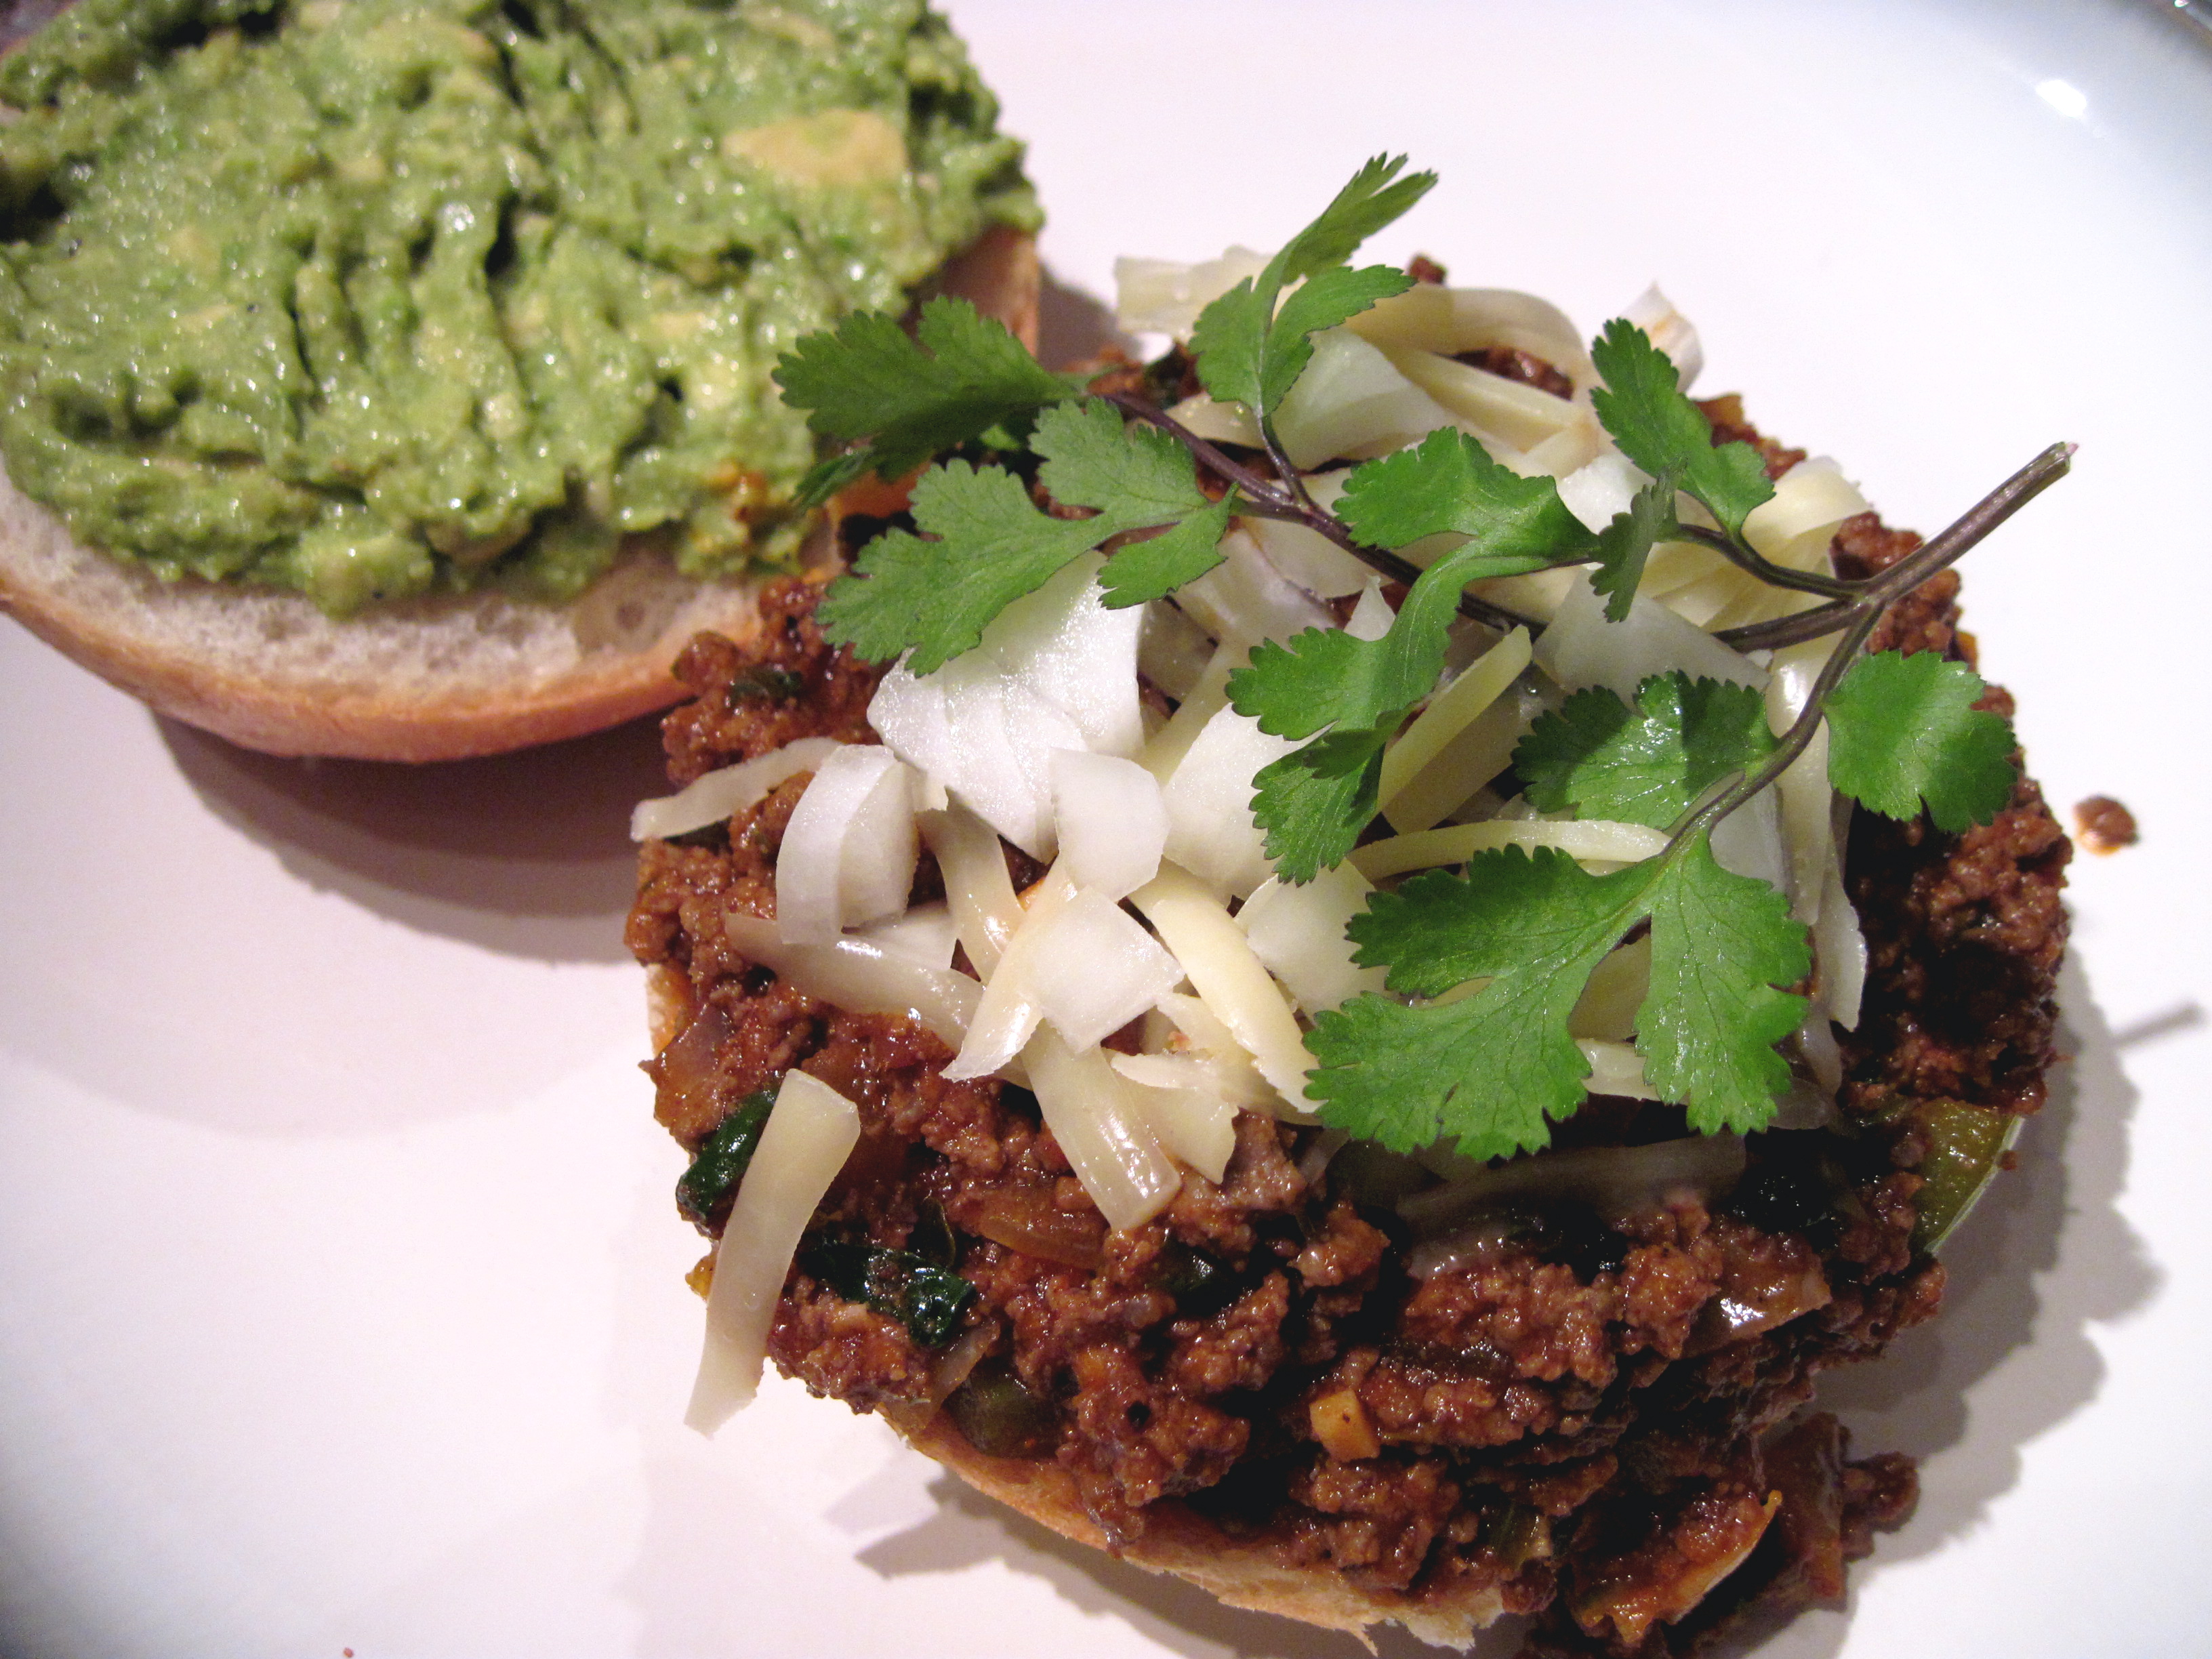
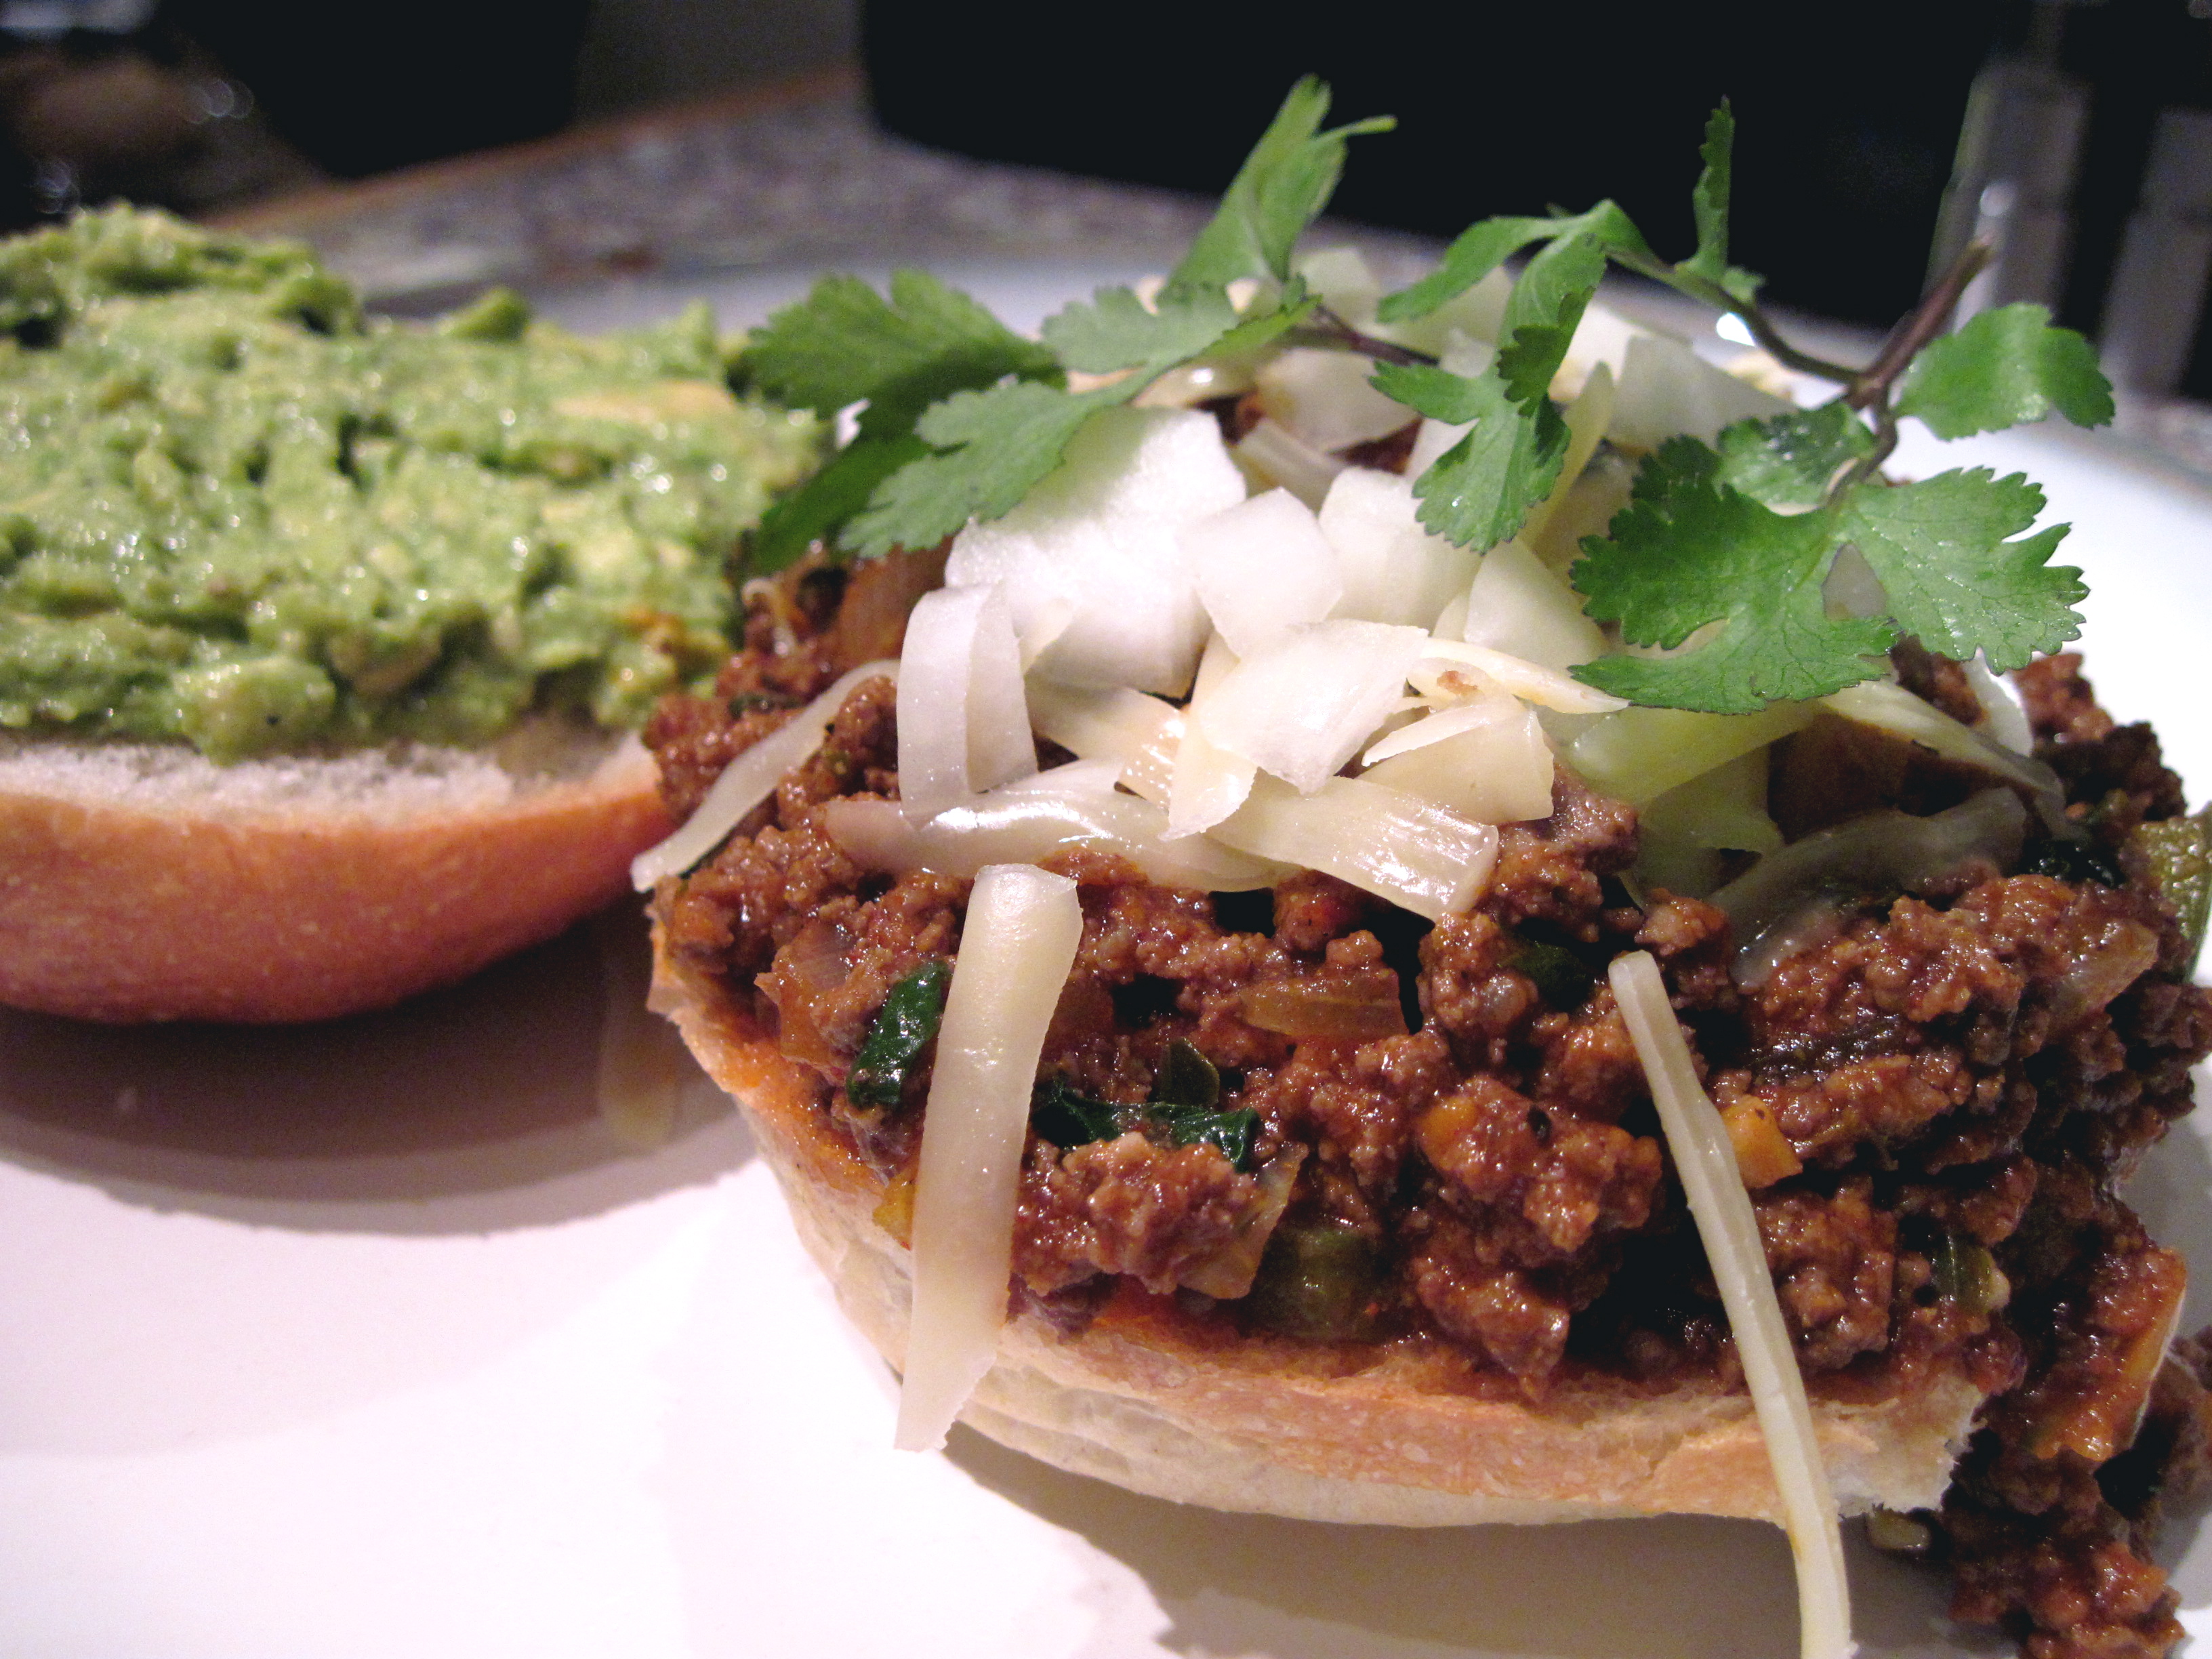
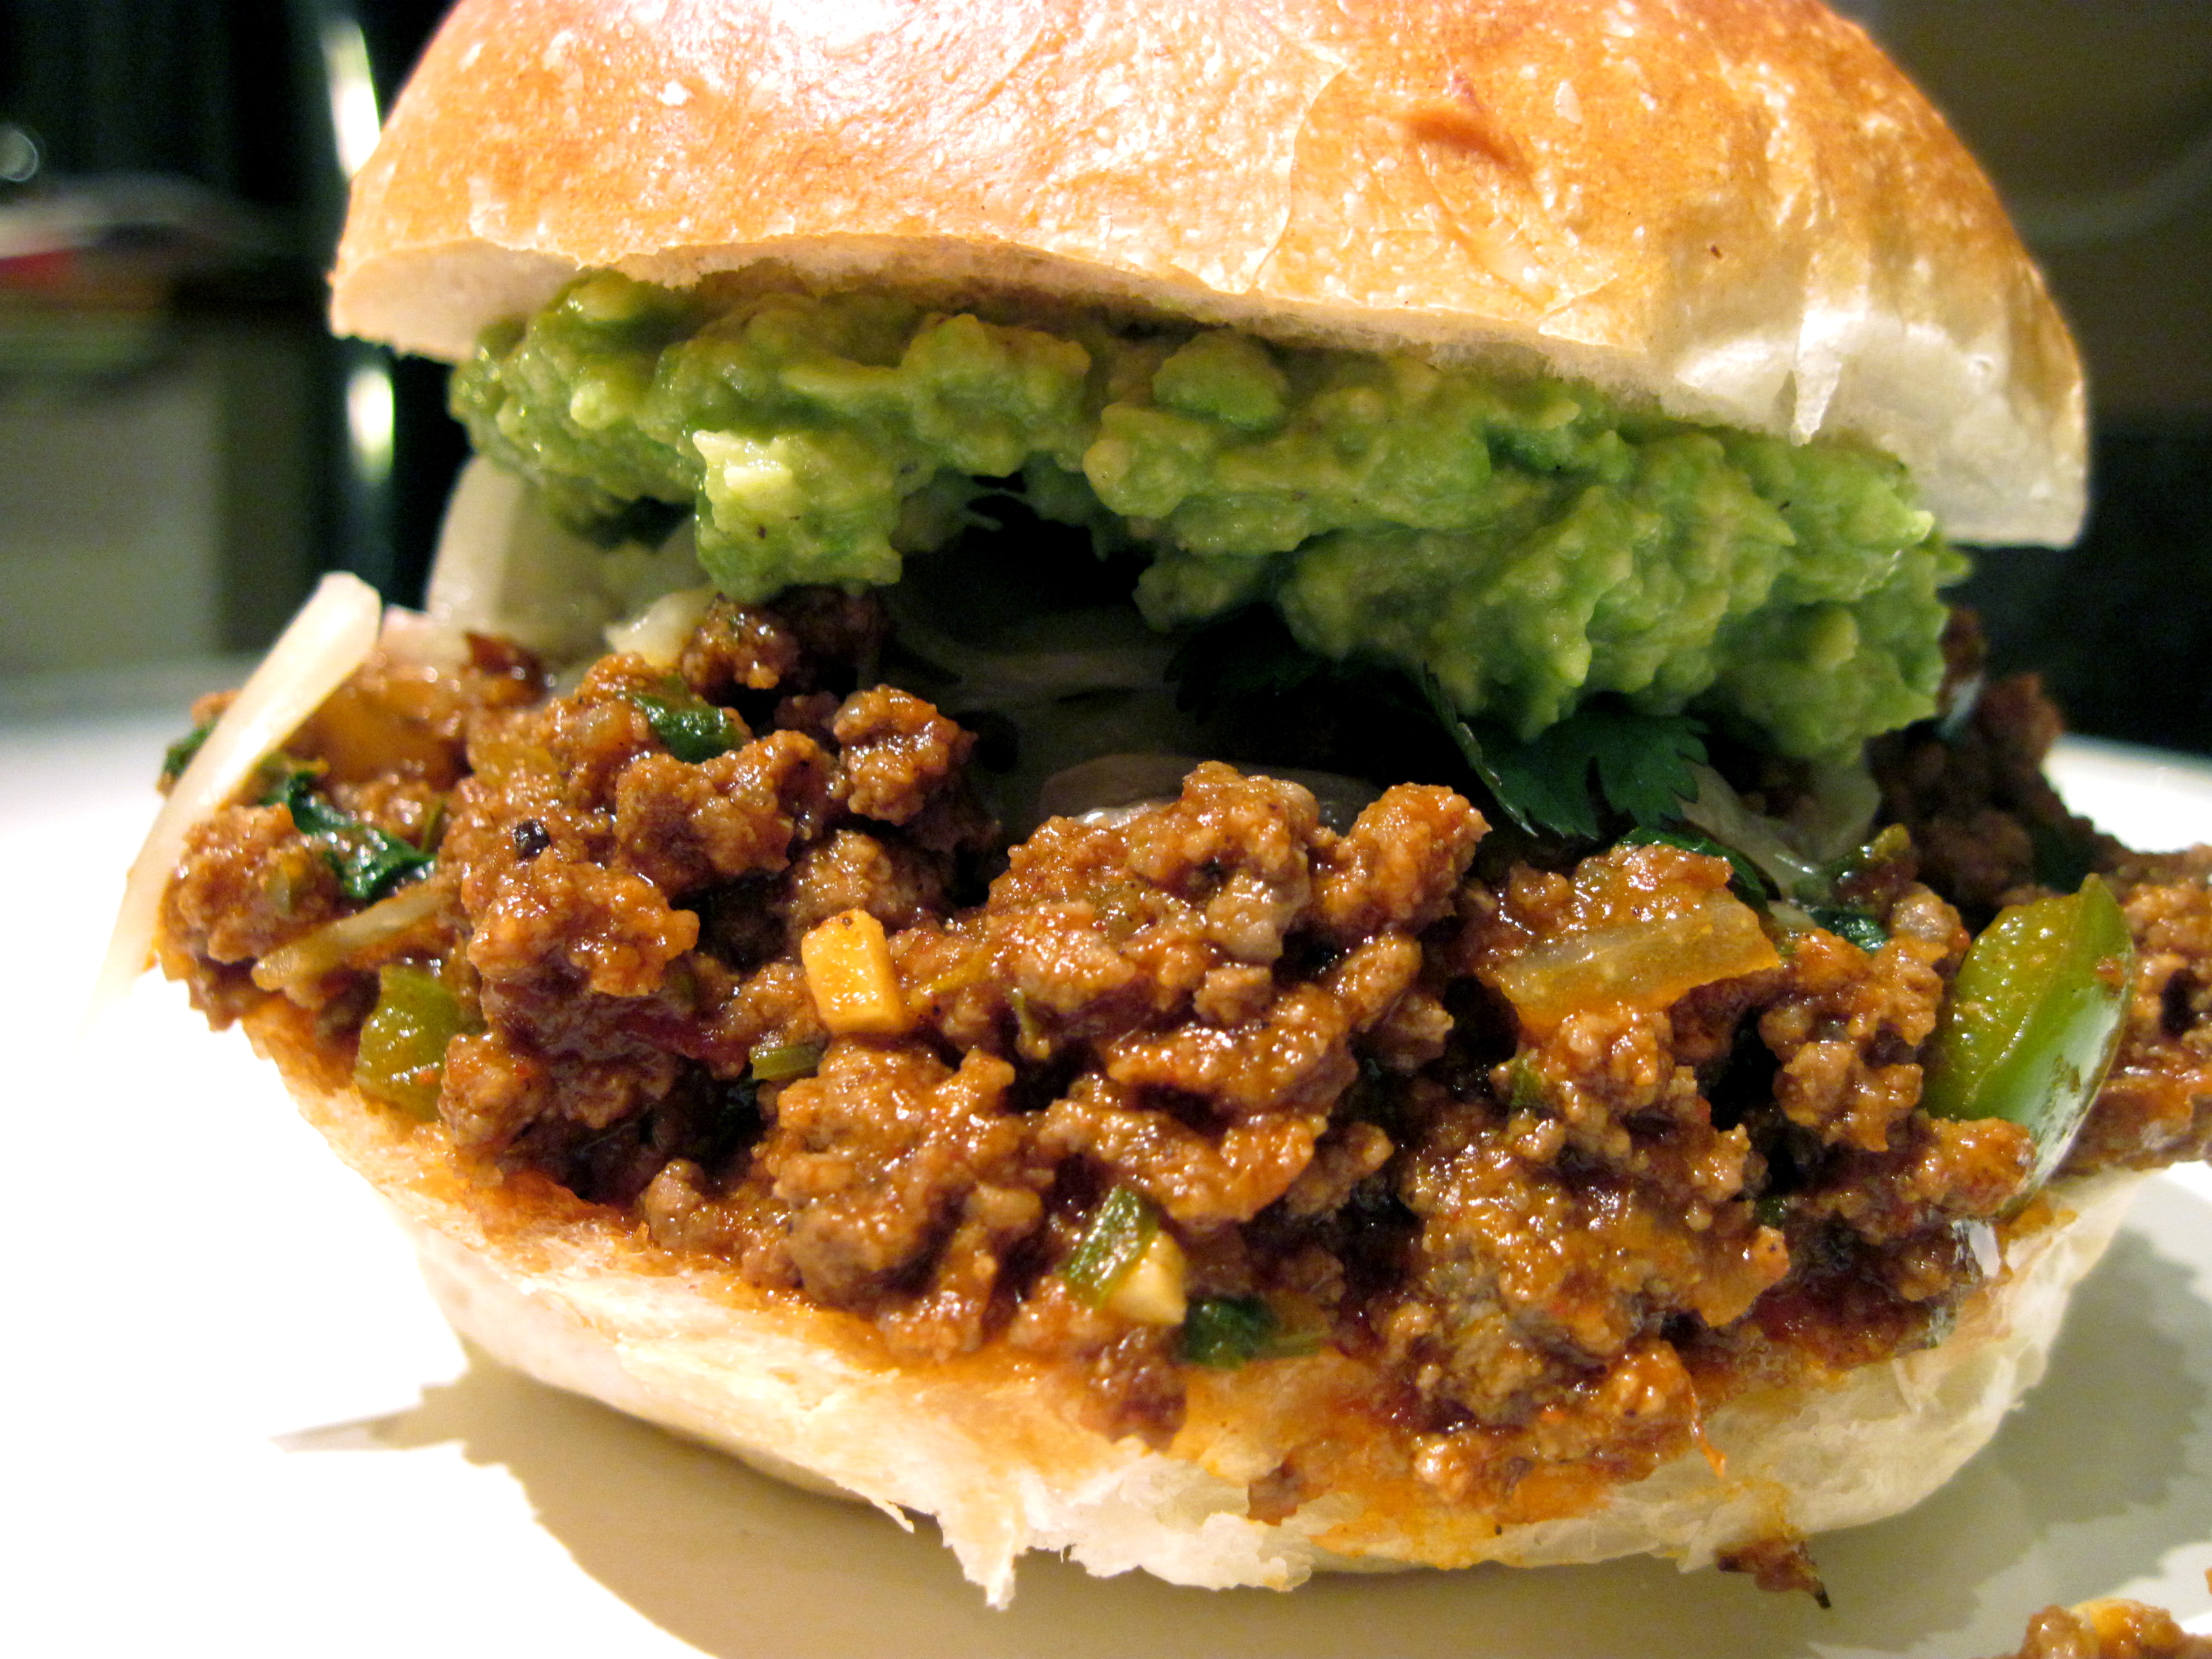
I can’t honestly remember the last time I even had a sloppy Joe, but I can assure you, it was not as good as these ones were. I am a sucker for anything Tex-Mex, so as soon as I saw this recipe on Homesick Texan (which was about 8 am on a Saturday morning!), I knew I was making them for dinner. They were awesome. A little bit spicy, a little bit sweet, a really nice mix of flavours from all the spices, a bit of creaminess from the guacamole, and very, very sloppy. I made a few changes simply because I didn’t have everything that was called for, and they still came out great. And the leftovers made fantastic huevos rancheros the next morning with some tortillas, refried beans, cheese, and eggs!

To make the chipotle purée that I used in this recipe (and that I use all the time because I friggin’ love chipotle), chuck a can of chipotle peppers in adobo in the blender and purée. Store the purée in a small container in the fridge. I usually freeze half because it takes me a while to go through a whole batch – this stuff is spicy!

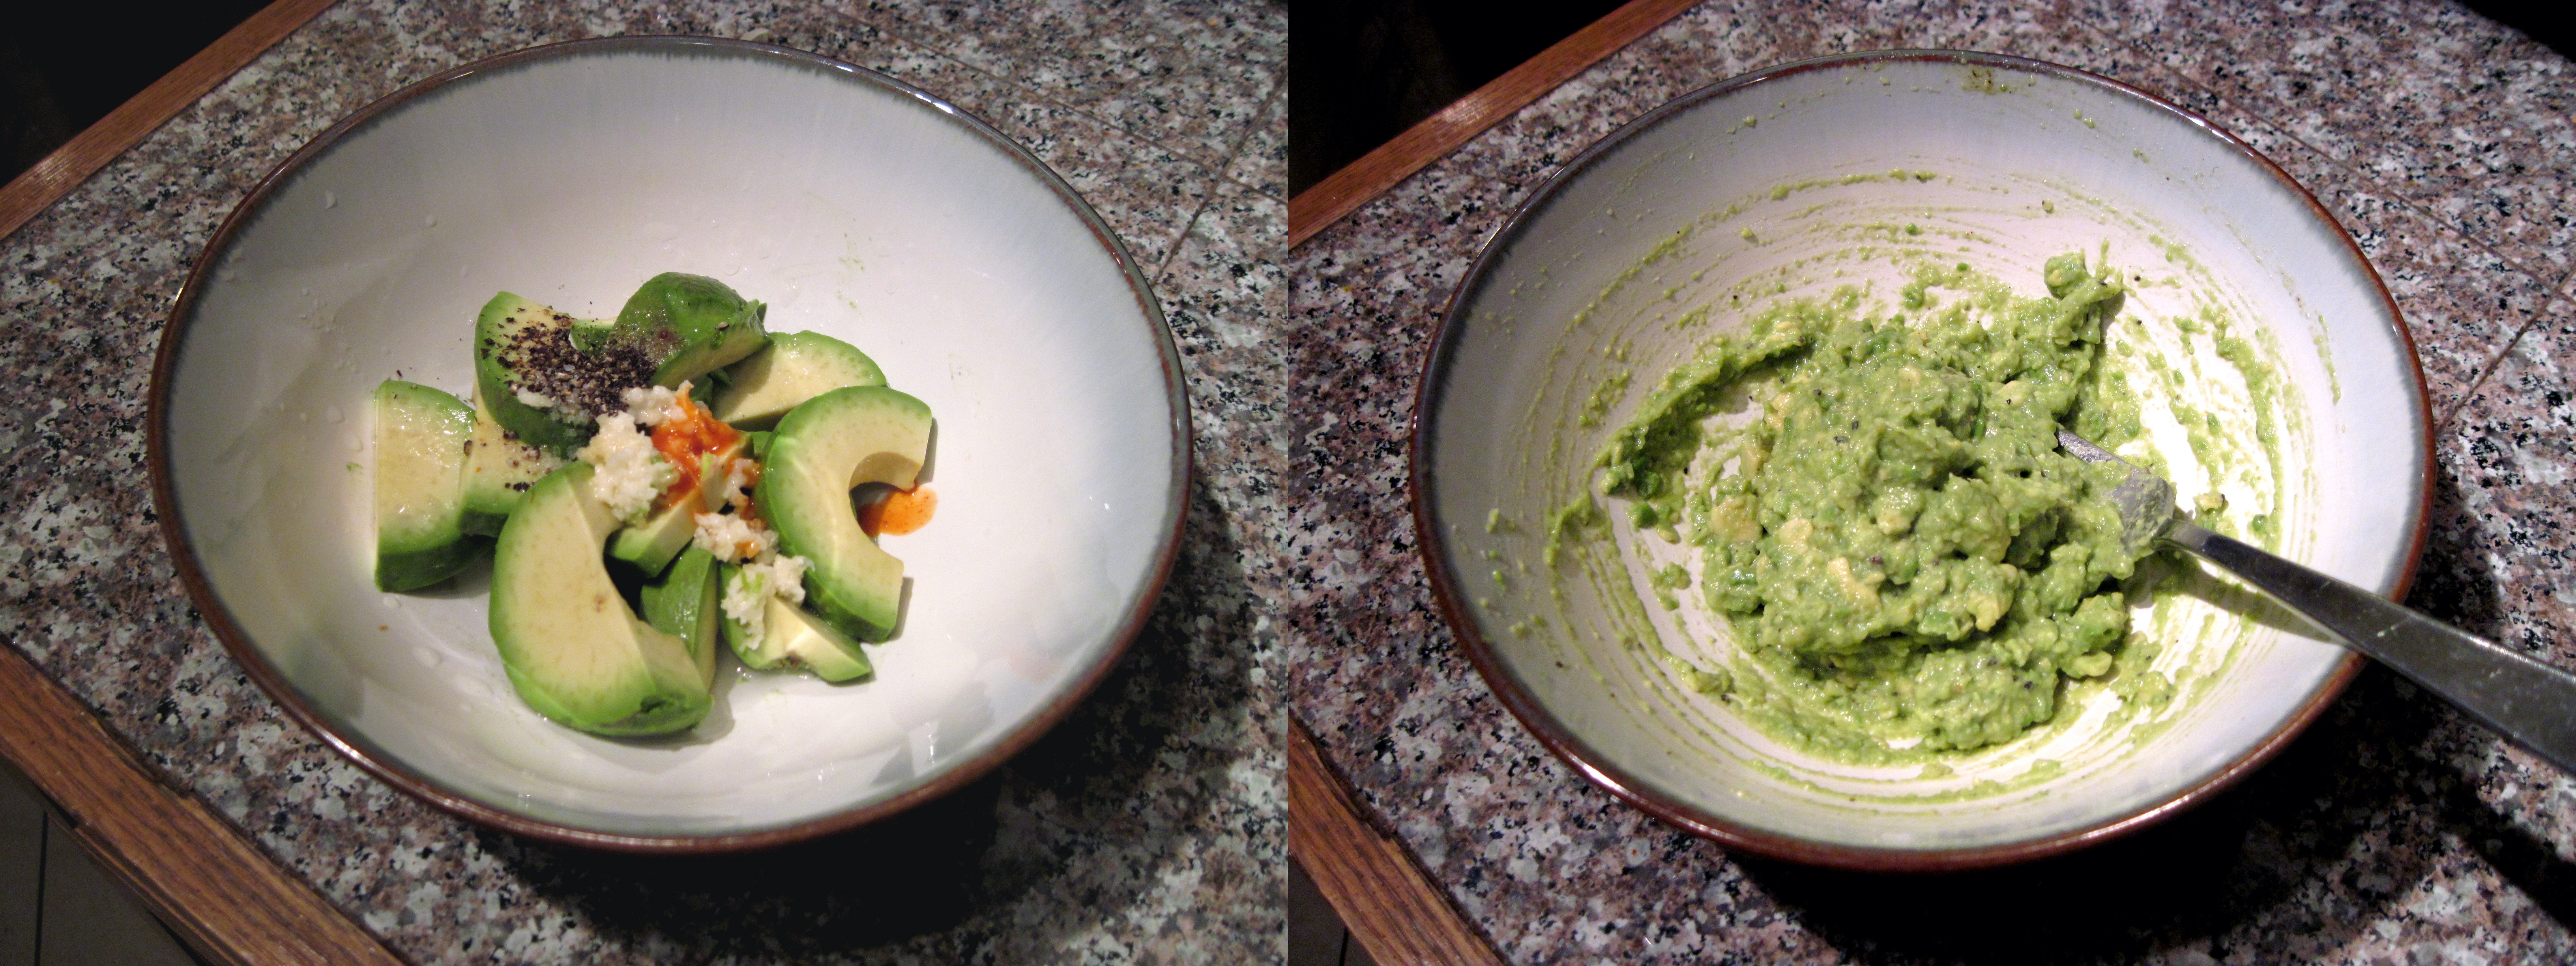
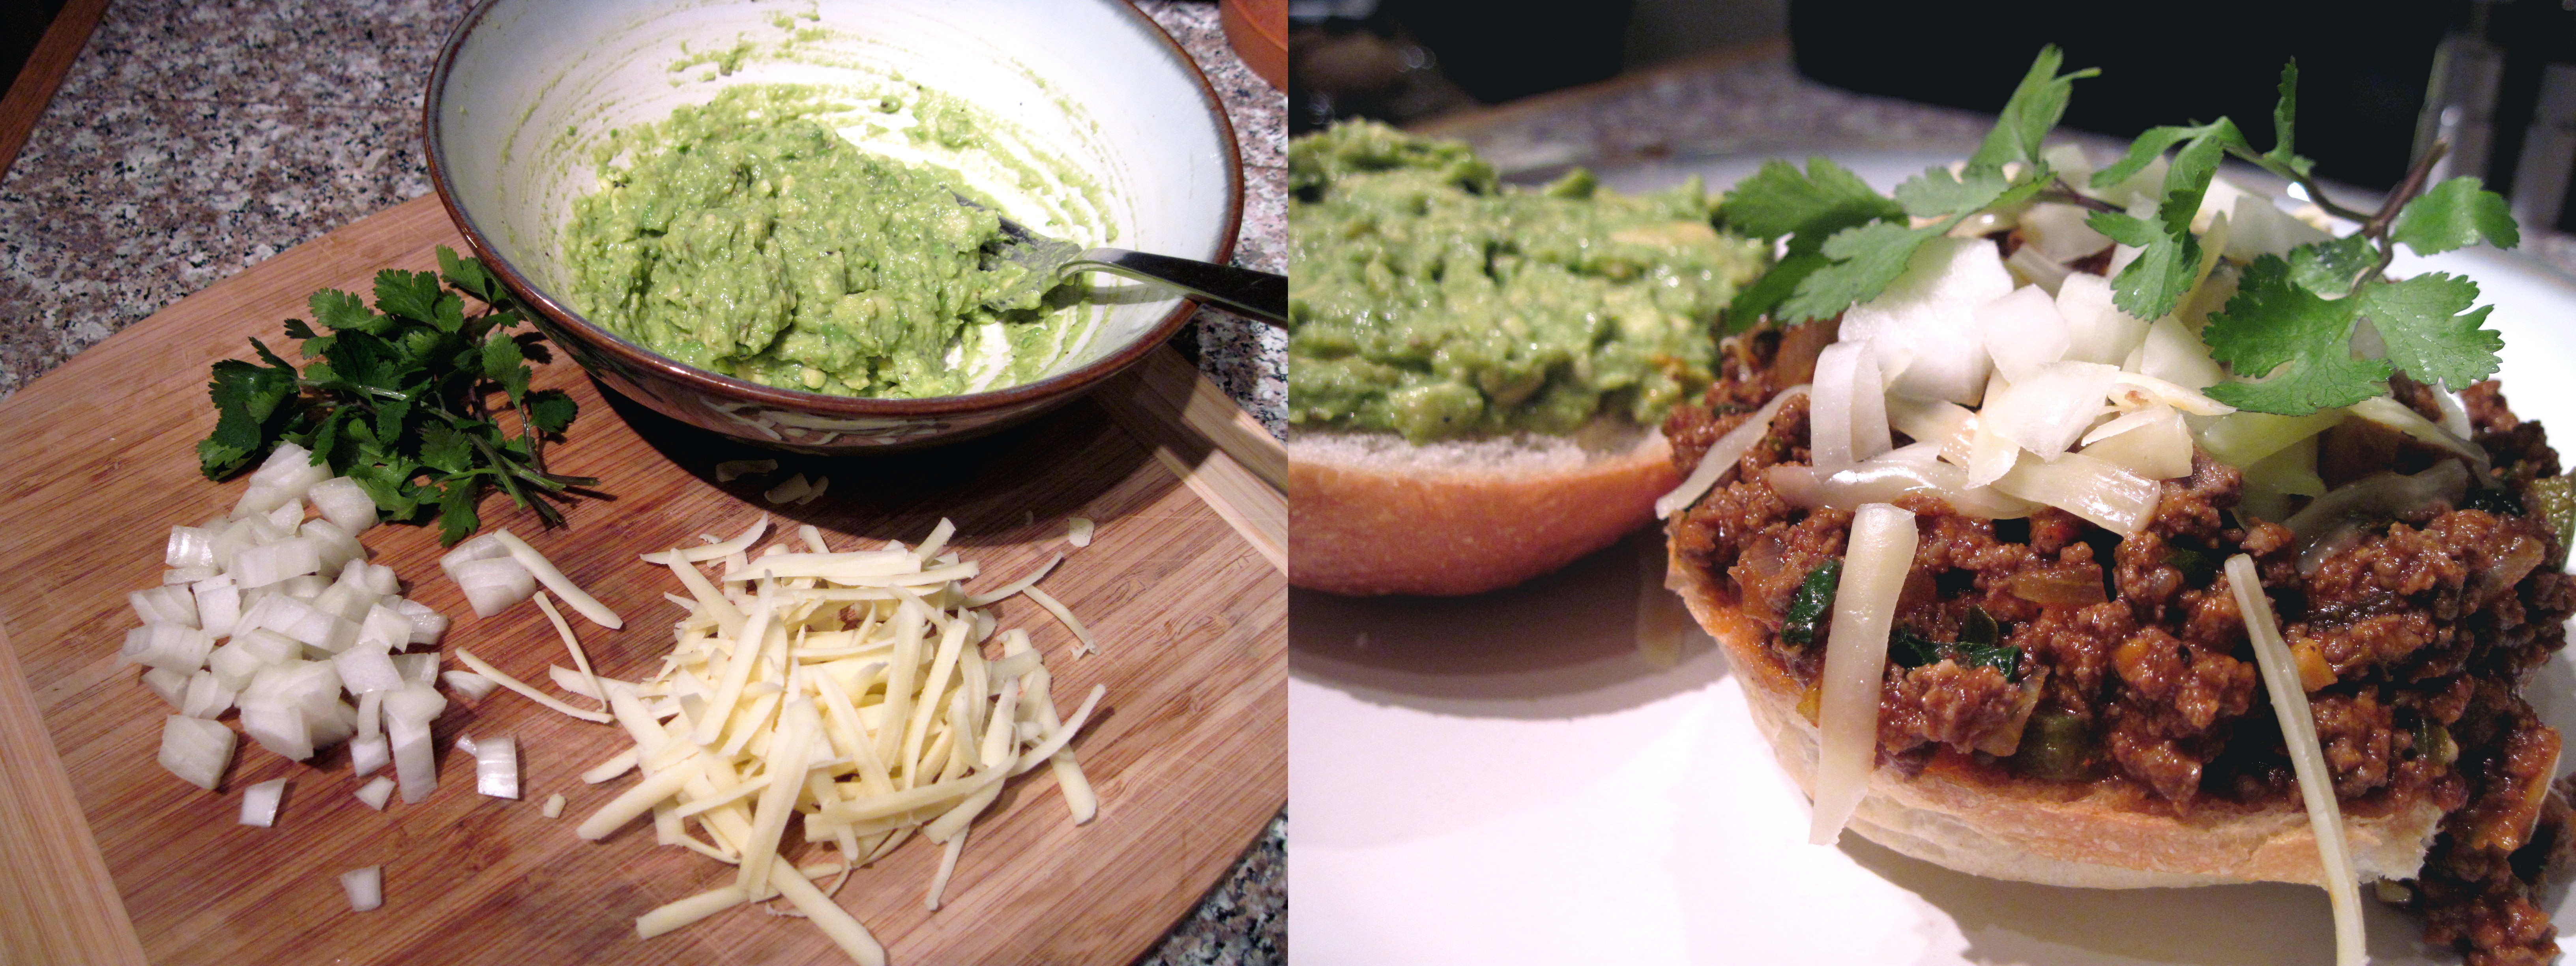
And as for the guacamole that tops these sloppy Joes, feel free to make your own favorite version. I don’t have a set guacamole recipe, but it usually involves avocados (of course!), minced garlic, lemon or lime juice, salt and pepper, and a dash of hot sauce. If guacamole feels like too much work, sliced or mashed avocado would do the trick.

Please try these. They are really really good!

Tex-Mex Sloppy Joes

Adapted very slightly from Homesick Texan. Serves 2 with left-overs.

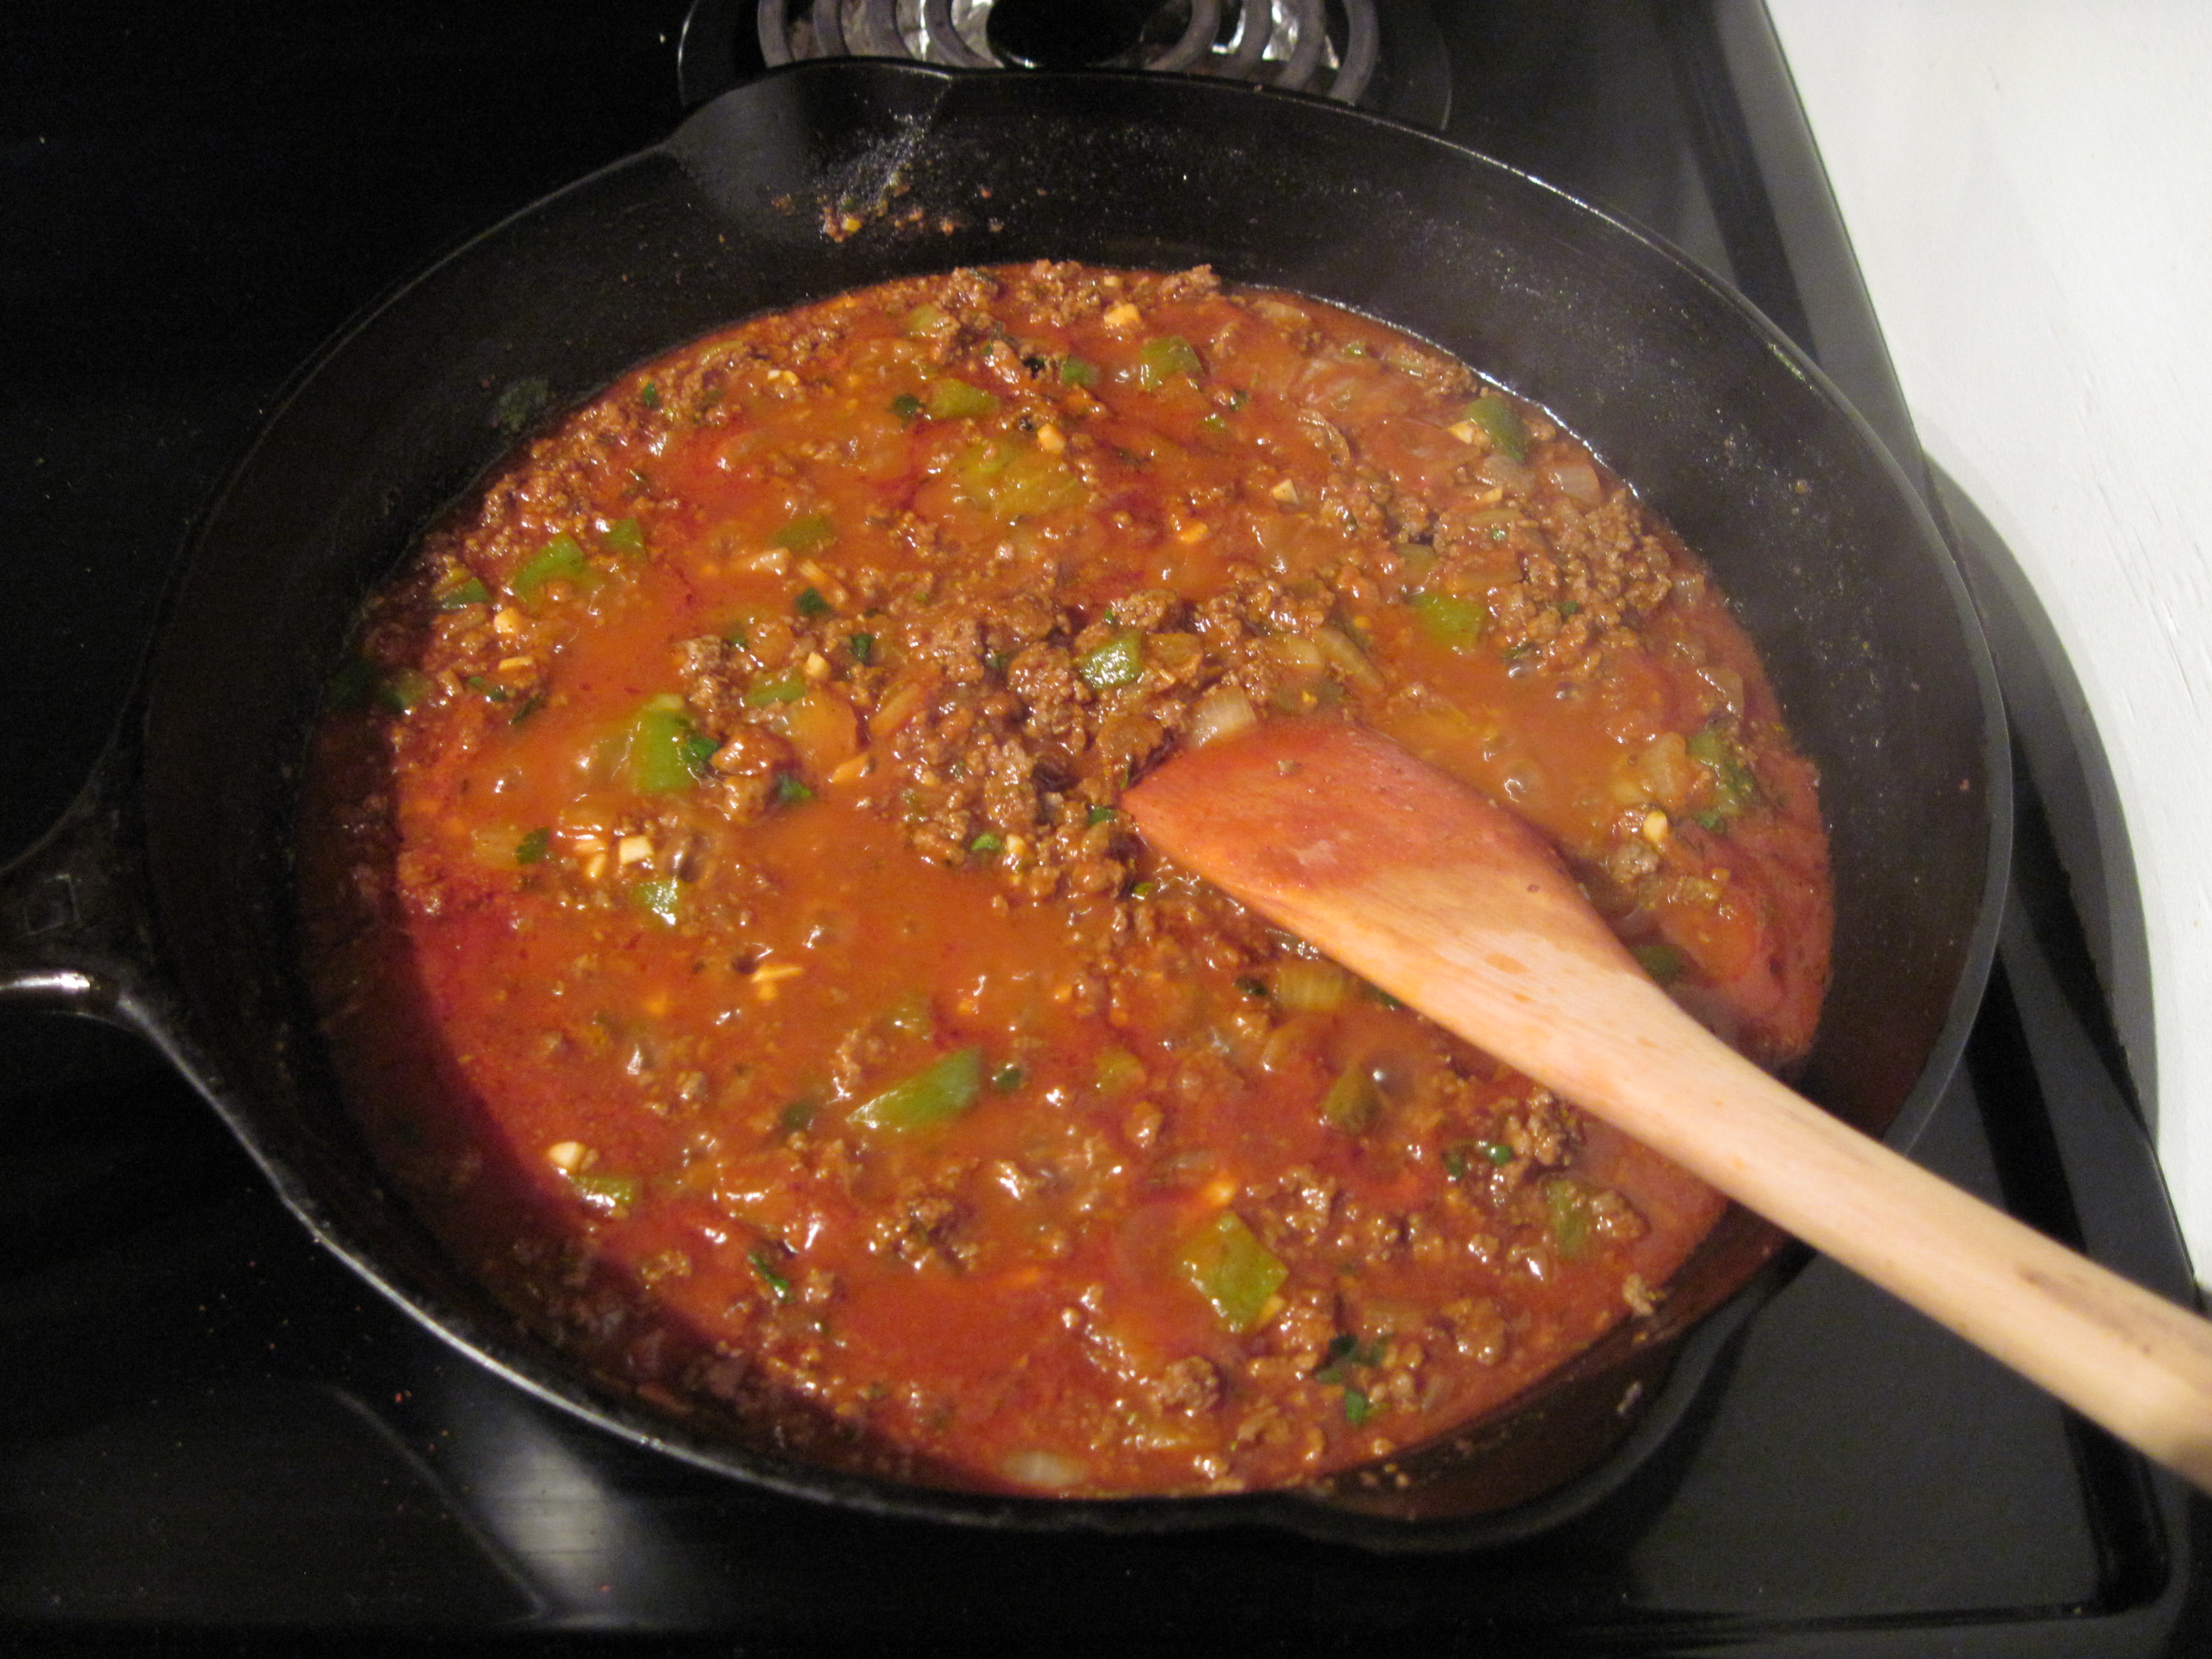
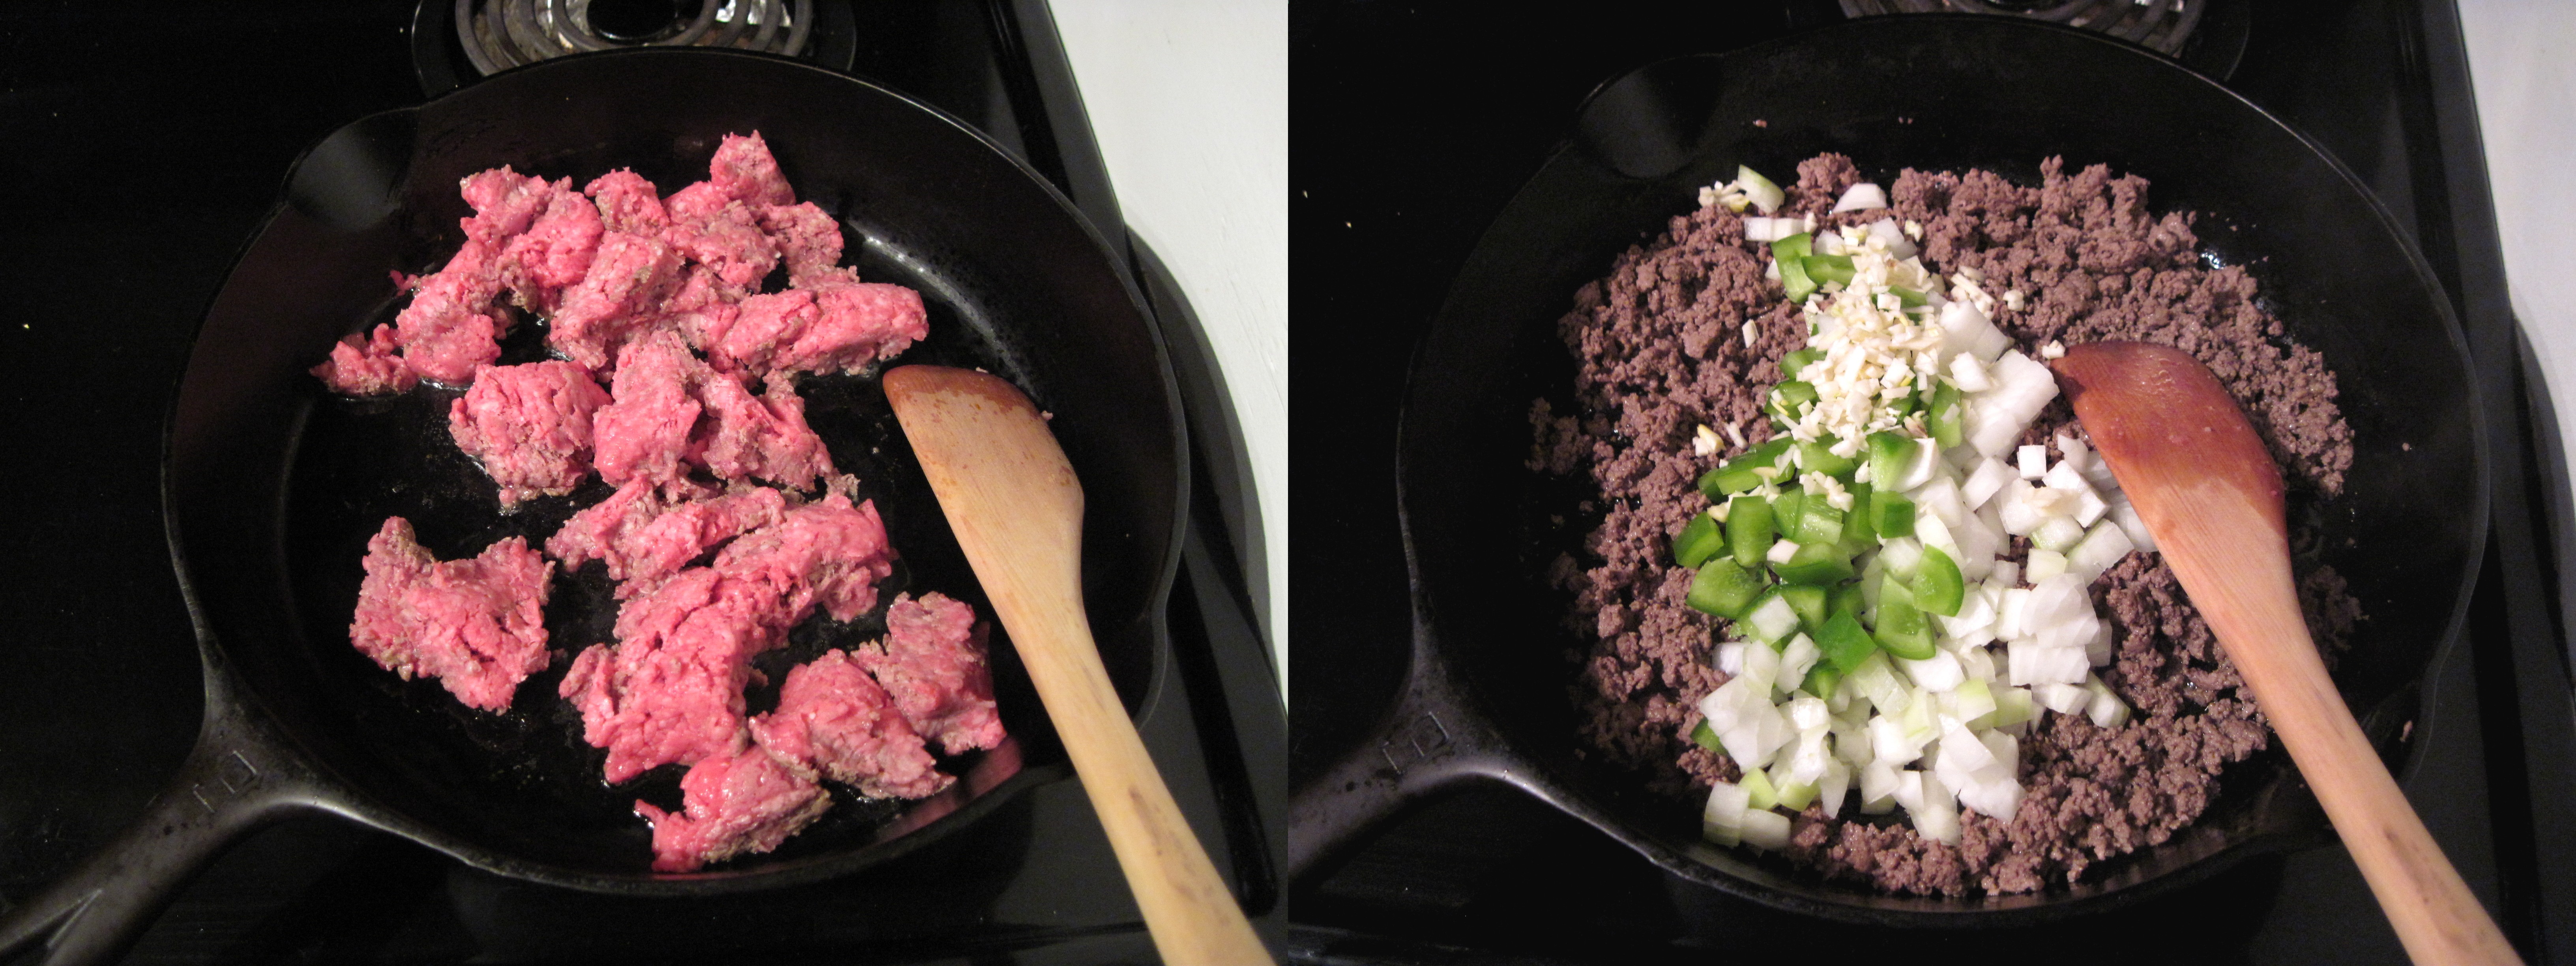
In a heavy skillet over medium/medium-high heat, brown:

3/4 – 1 lb of ground beef

Drain off all but 1 tbsp of fat, then add:

1-2 cloves of garlic, minced

1/4 yellow onion, diced

1/4 green pepper, diced

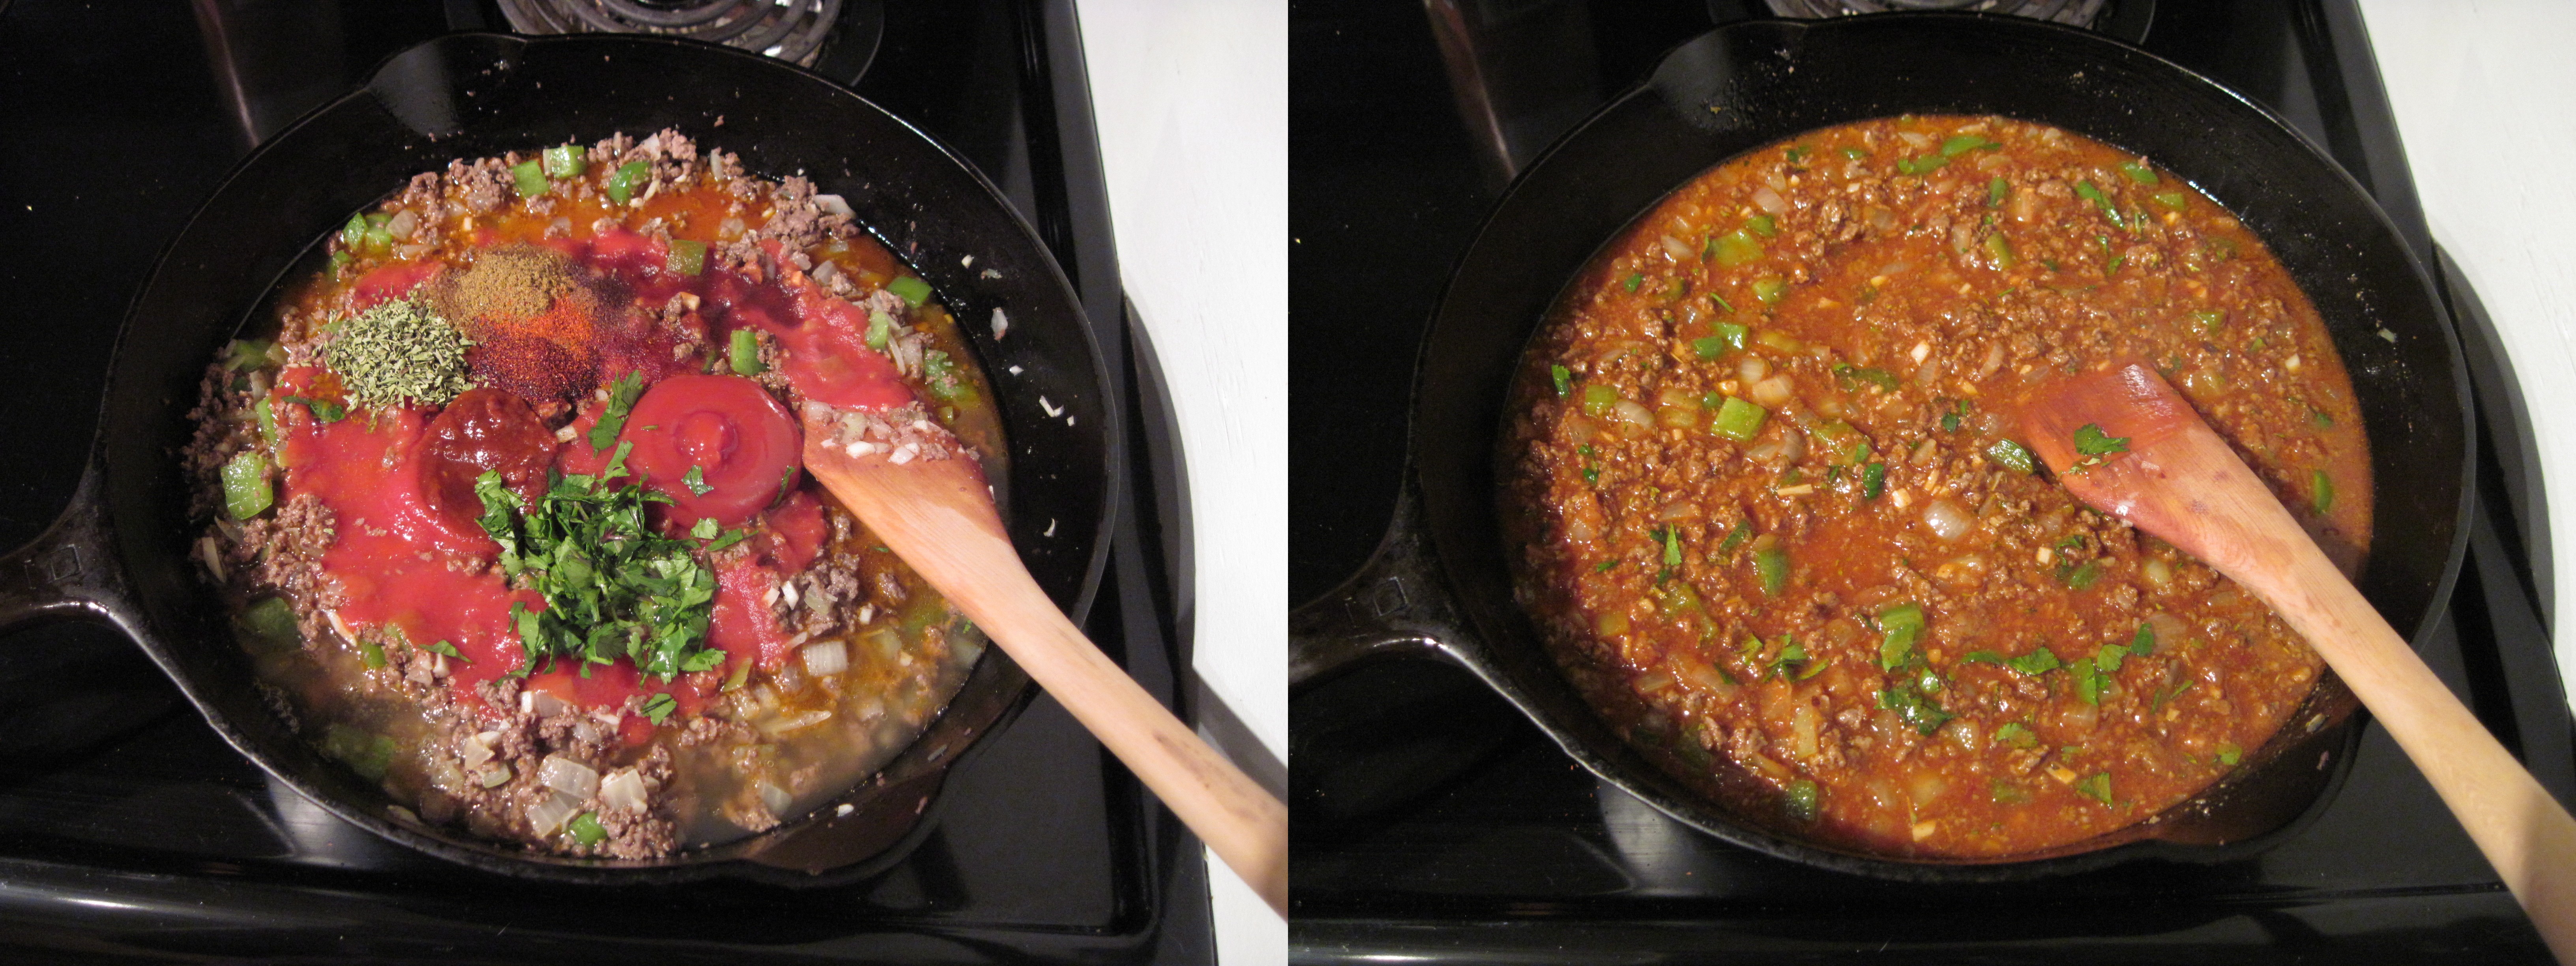
Cook until the vegetables are slightly softened, then add:

1 small, 213 ml can of tomato sauce (about 7 oz)

1-2 heaping tsp chipotle purée

1 tsp dried oregano

1 tsp ground cumin

1/2 tsp ground ancho chili (or smoked paprika – I didn’t have any)

1/8 tsp ground allspice

dash of cayenne pepper

1 tsp Worchestershire sauce

1 tbsp ketchup

3/4 cup chicken stock (or Mexican beer! This would be so good with beer, but again, I didn’t have any :(. It still came out fine though.)

2 tbsp chopped cilantro

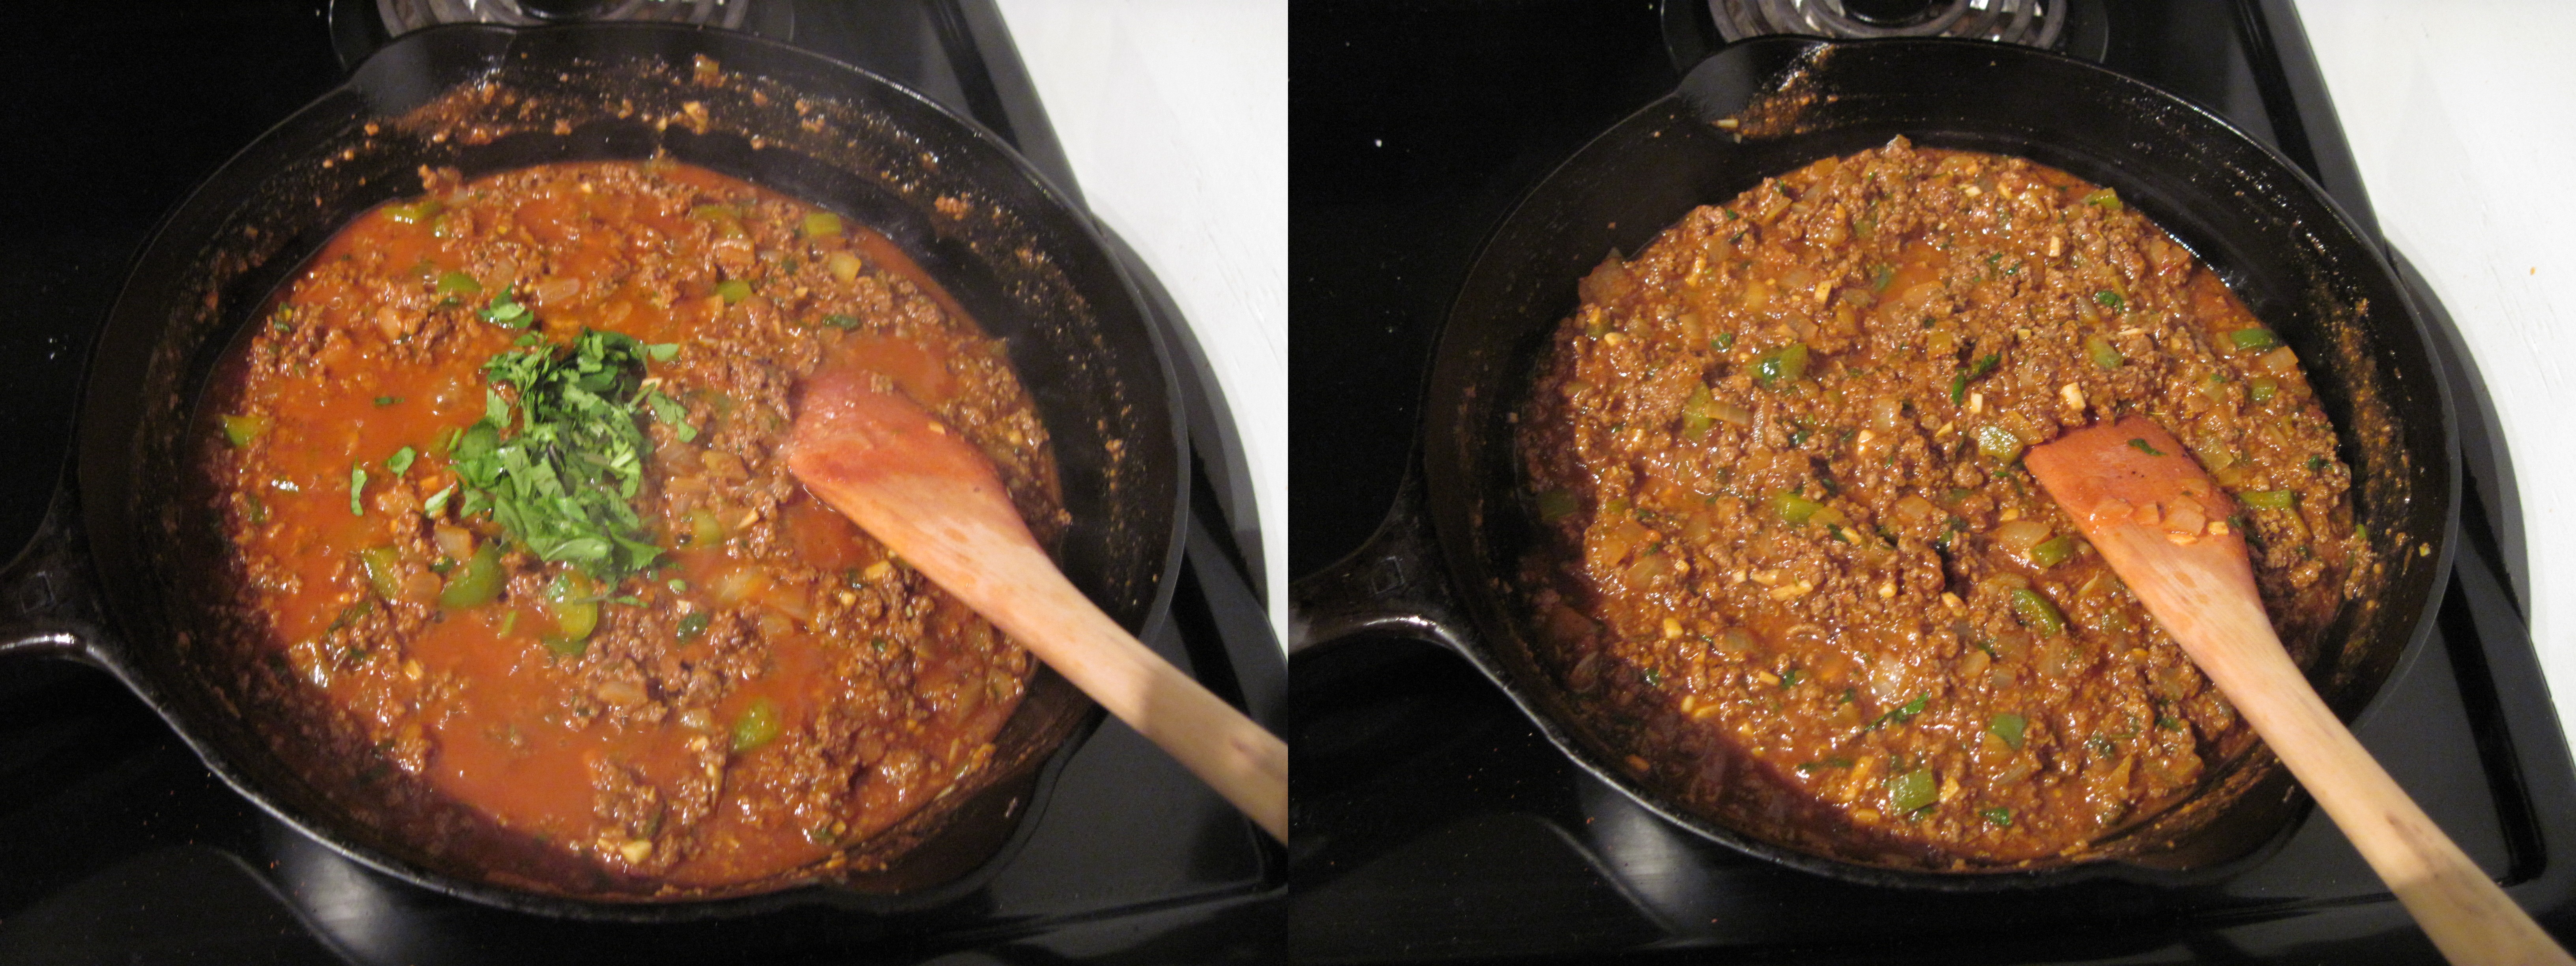
Stir it all together and let it simmer, uncovered, for about 15 minutes or until thickened. When it looks thick enough to spoon onto a bun without completely falling off, stir in:

2 tbsp chopped cilantro

lime juice, to taste

salt and pepper

To serve, slice 2 soft buns in half. Smear the top half with guacamole, and spoon the sloppy Joe mixture onto the bottom. Top it with grated cheese (I used white cheddar), chopped onion, and more cilantro (jalapenos are also a tasty-sounding option if you want more heat). Serve with a large side of napkins ;).

Filed Under: Main Dishes, Recipes Tagged With: cooking, Homesick Texan, recipe, sandwich, sloppy Joe, Tex-Mex

Sourdough Pancakes

January 1, 2012 By Korena in the Kitchen 7 Comments

Happy New Year!!

The end of this month marks one year since I started this blog, and I just wanted to say thank you to everyone who has visited and read my blog over the past year. I’ve had a ton of fun cooking and taking pictures and writing and I’m excited for another year of good food. Cheers! 😀

And now back to important matters at hand: Sourdough Pancakes!

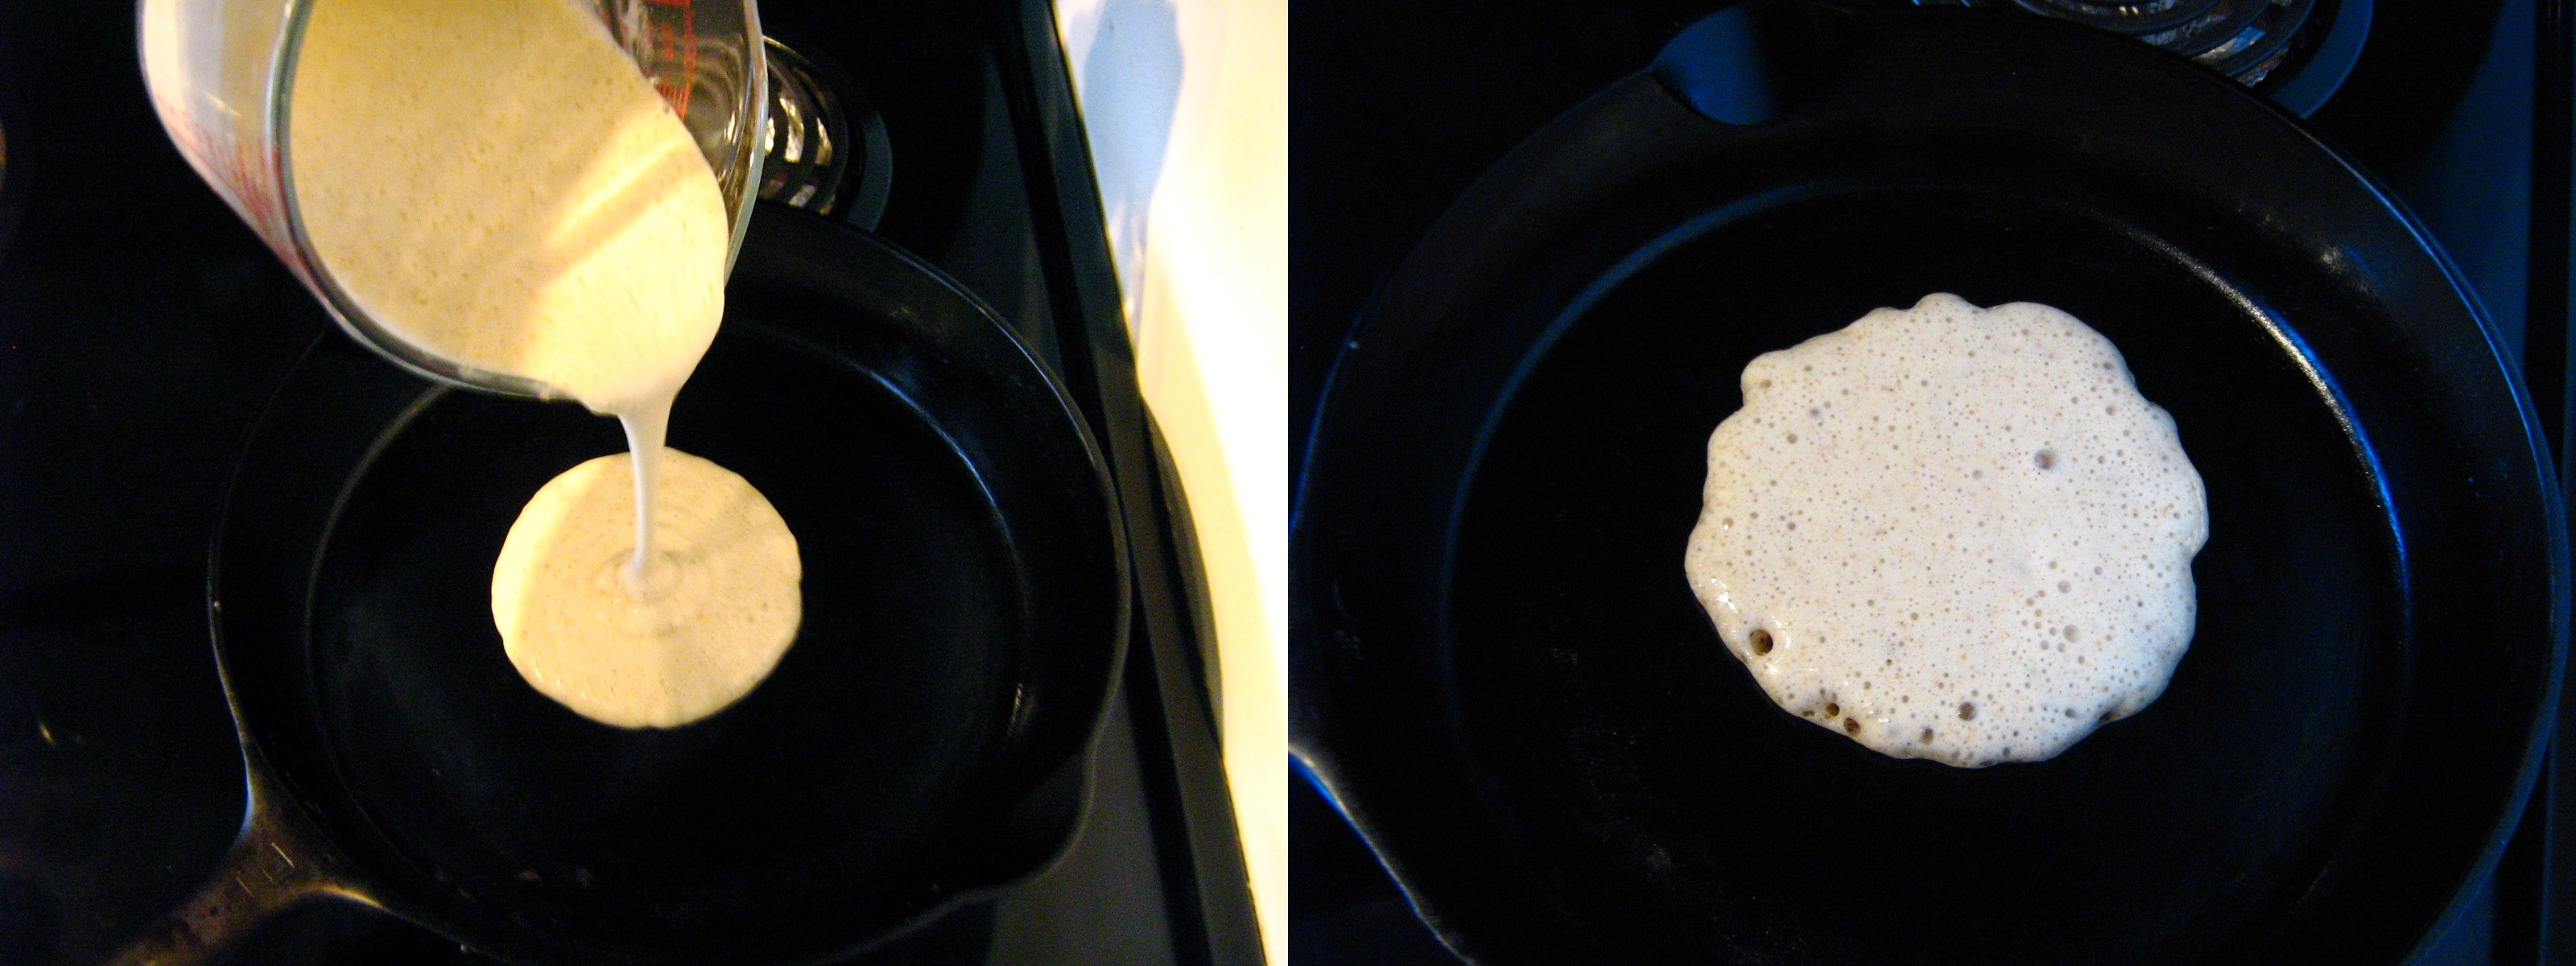
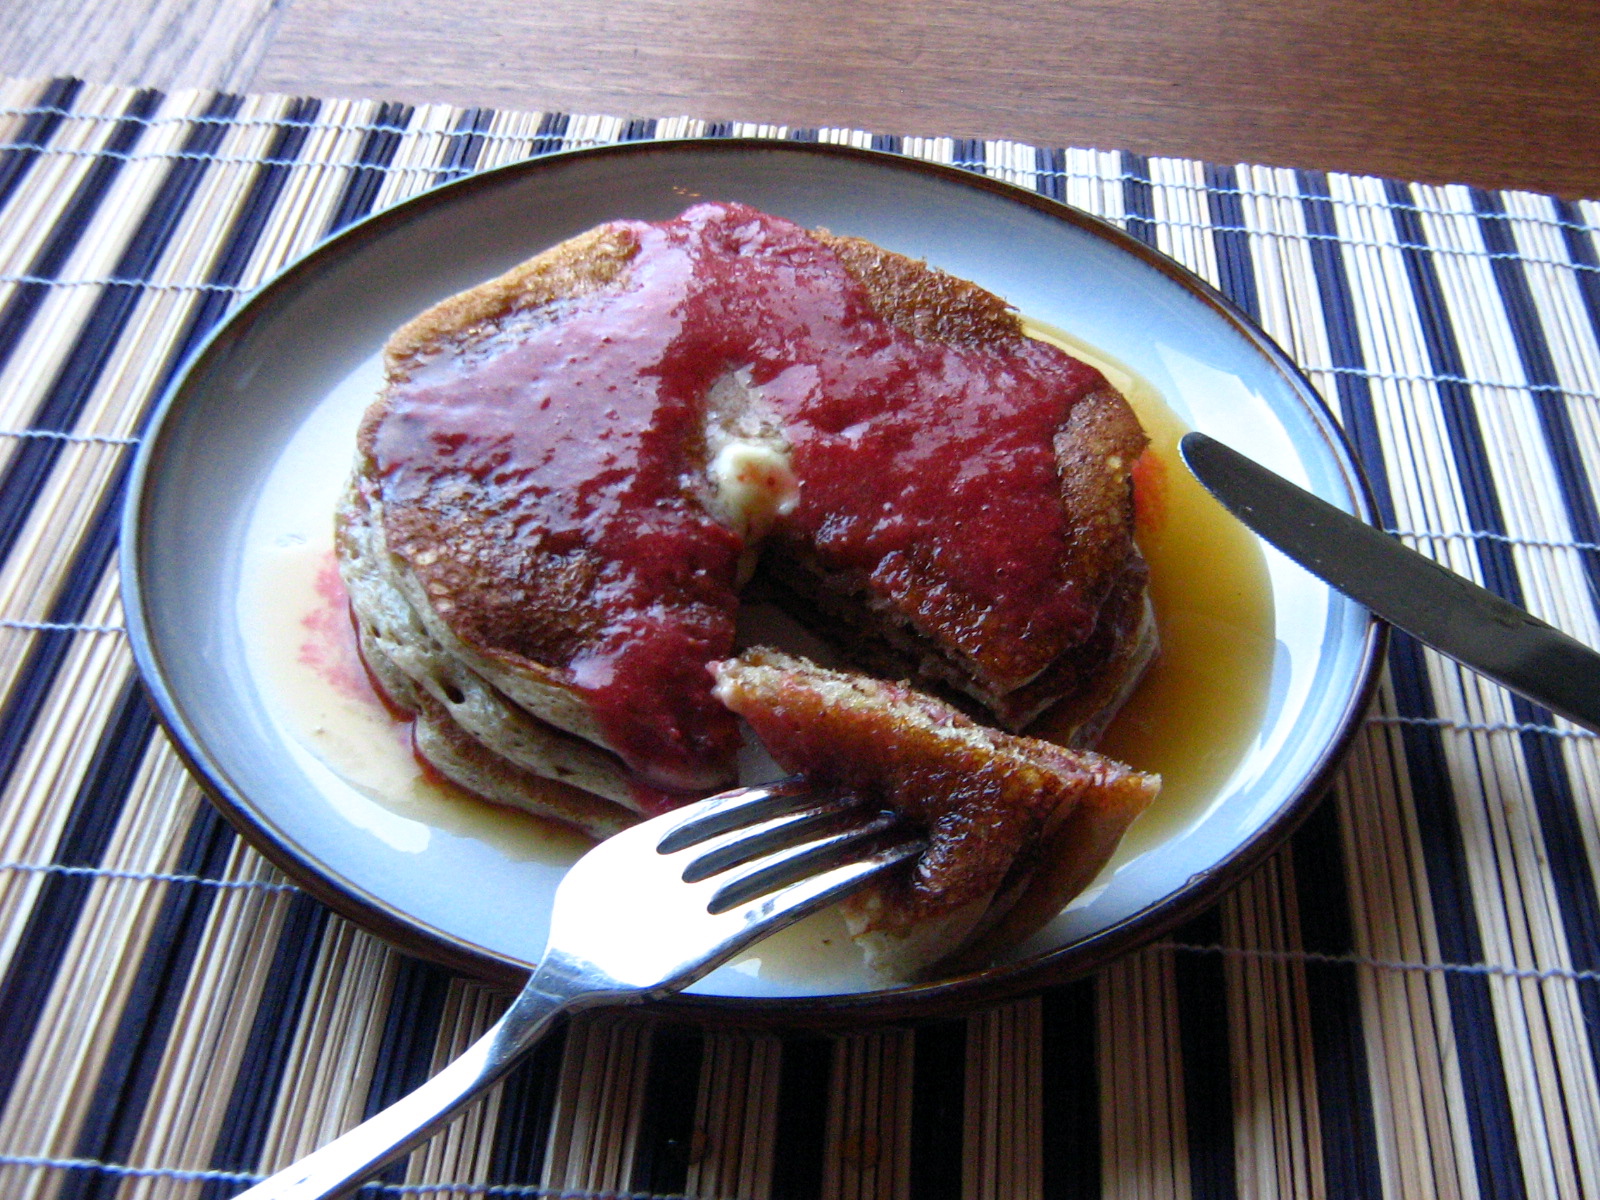
As I now have a Tupperware container of sourdough starter living in my fridge, I’ve been looking for ways to use the excess that comes out of every feeding. I’ve made these pancakes twice now (on the list are also crumpets, English muffins, and obviously, bread) and they are delicious! Light and fluffy, they have a more complex flavour than regular pancakes, thanks to the fermentation of the yeasts in the starter. They are full of bubbles and have an almost lacy texture because of it.

These pancakes are very absorbent little sponges, so to give them something in addition to maple syrup to soak up without becoming sickly sweet, I made a quick strawberry-orange sauce: about 1 cup of frozen strawberries cooked with the juice of 2 mandarin oranges, a dash of water, and a few tablespoons of sugar. I boiled it until it thickened slightly, then pureed it in the blender and served it warm with the pancakes and maple syrup.

You need 3/4 cup starter to make these, which is more than the extra I end up with after each feeding, so I put that extra starter in another Tupperware container and “save up” until I have enough. Right now I’m feeding my starter once a week, so it takes a few weeks for the “extra” starter to amount to 3/4 cup, but it seems perfectly happy to sit in the fridge in the interim. If it looks like it needs feeding (ie, lots of liquid “hootch” on top), then I’ll just add a small amount of flour and water (equal parts by weight) to keep it happy until I’m ready to use it.

Sourdough Pancakes

Recipe from Allrecipes.com. Makes 6-8 pancakes.

Preheat a large skillet over medium-low (4 out of 10) heat.

In a large measuring cup (or a medium bowl with a pouring spout), mix together:

3/4 cup sourdough starter

1 egg

2 tbsp water (can use more or less depending on the thickness of your starter)

2 tsp vegetable oil

(1 tsp vanilla would be a good addition too!)

In another small bowl, combine:

1/3 cup powdered milk

3/4 tsp salt

1 tsp baking soda

1-2 tbsp granulated sugar

Whisk the powdered milk mixture into the starter mixture until smooth (don’t worry about over-mixing like regular pancake batter). It should be a bit thinner than regular pancake batter and sort of foamy.

Grease the heated skillet with a bit of vegetable oil on a paper towel, then pour about 1/4 – 1/3 cup of the batter into the pan. The batter will spread out a bit, so I like to cook just one pancake at a time. The surface of the pancake will be covered in irregular-sized bubbles. Cook until the edges are slightly dry and the bottom is deeply golden, then flip using a thin spatula. Cook until the other side is just as deeply golden, about 30-45 seconds.

Serve warm with butter, syrup, etc…

Filed Under: Breakfast & Brunch, Recipes Tagged With: breakfast, cooking, pancakes, recipe, sourdough starter

Spiced Meatballs in Tomato Sauce

November 4, 2011 By Korena in the Kitchen 8 Comments

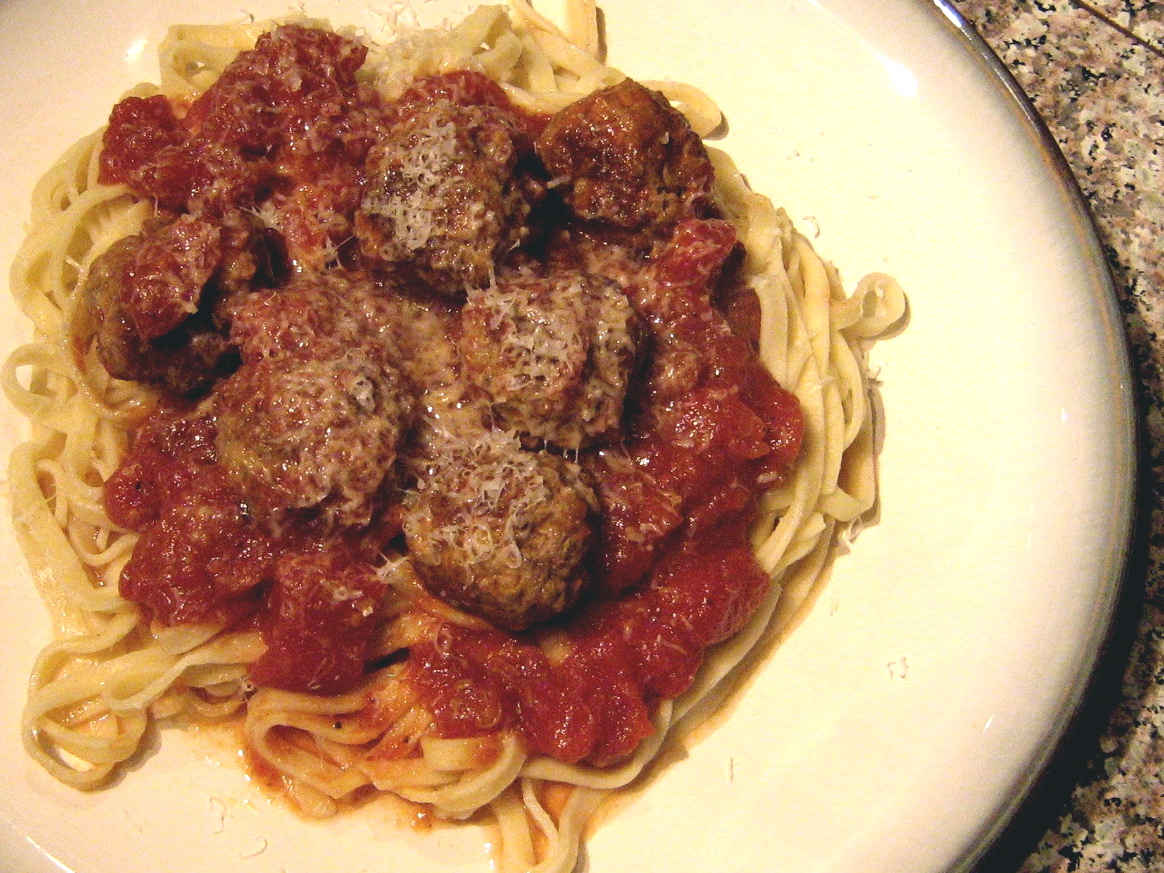
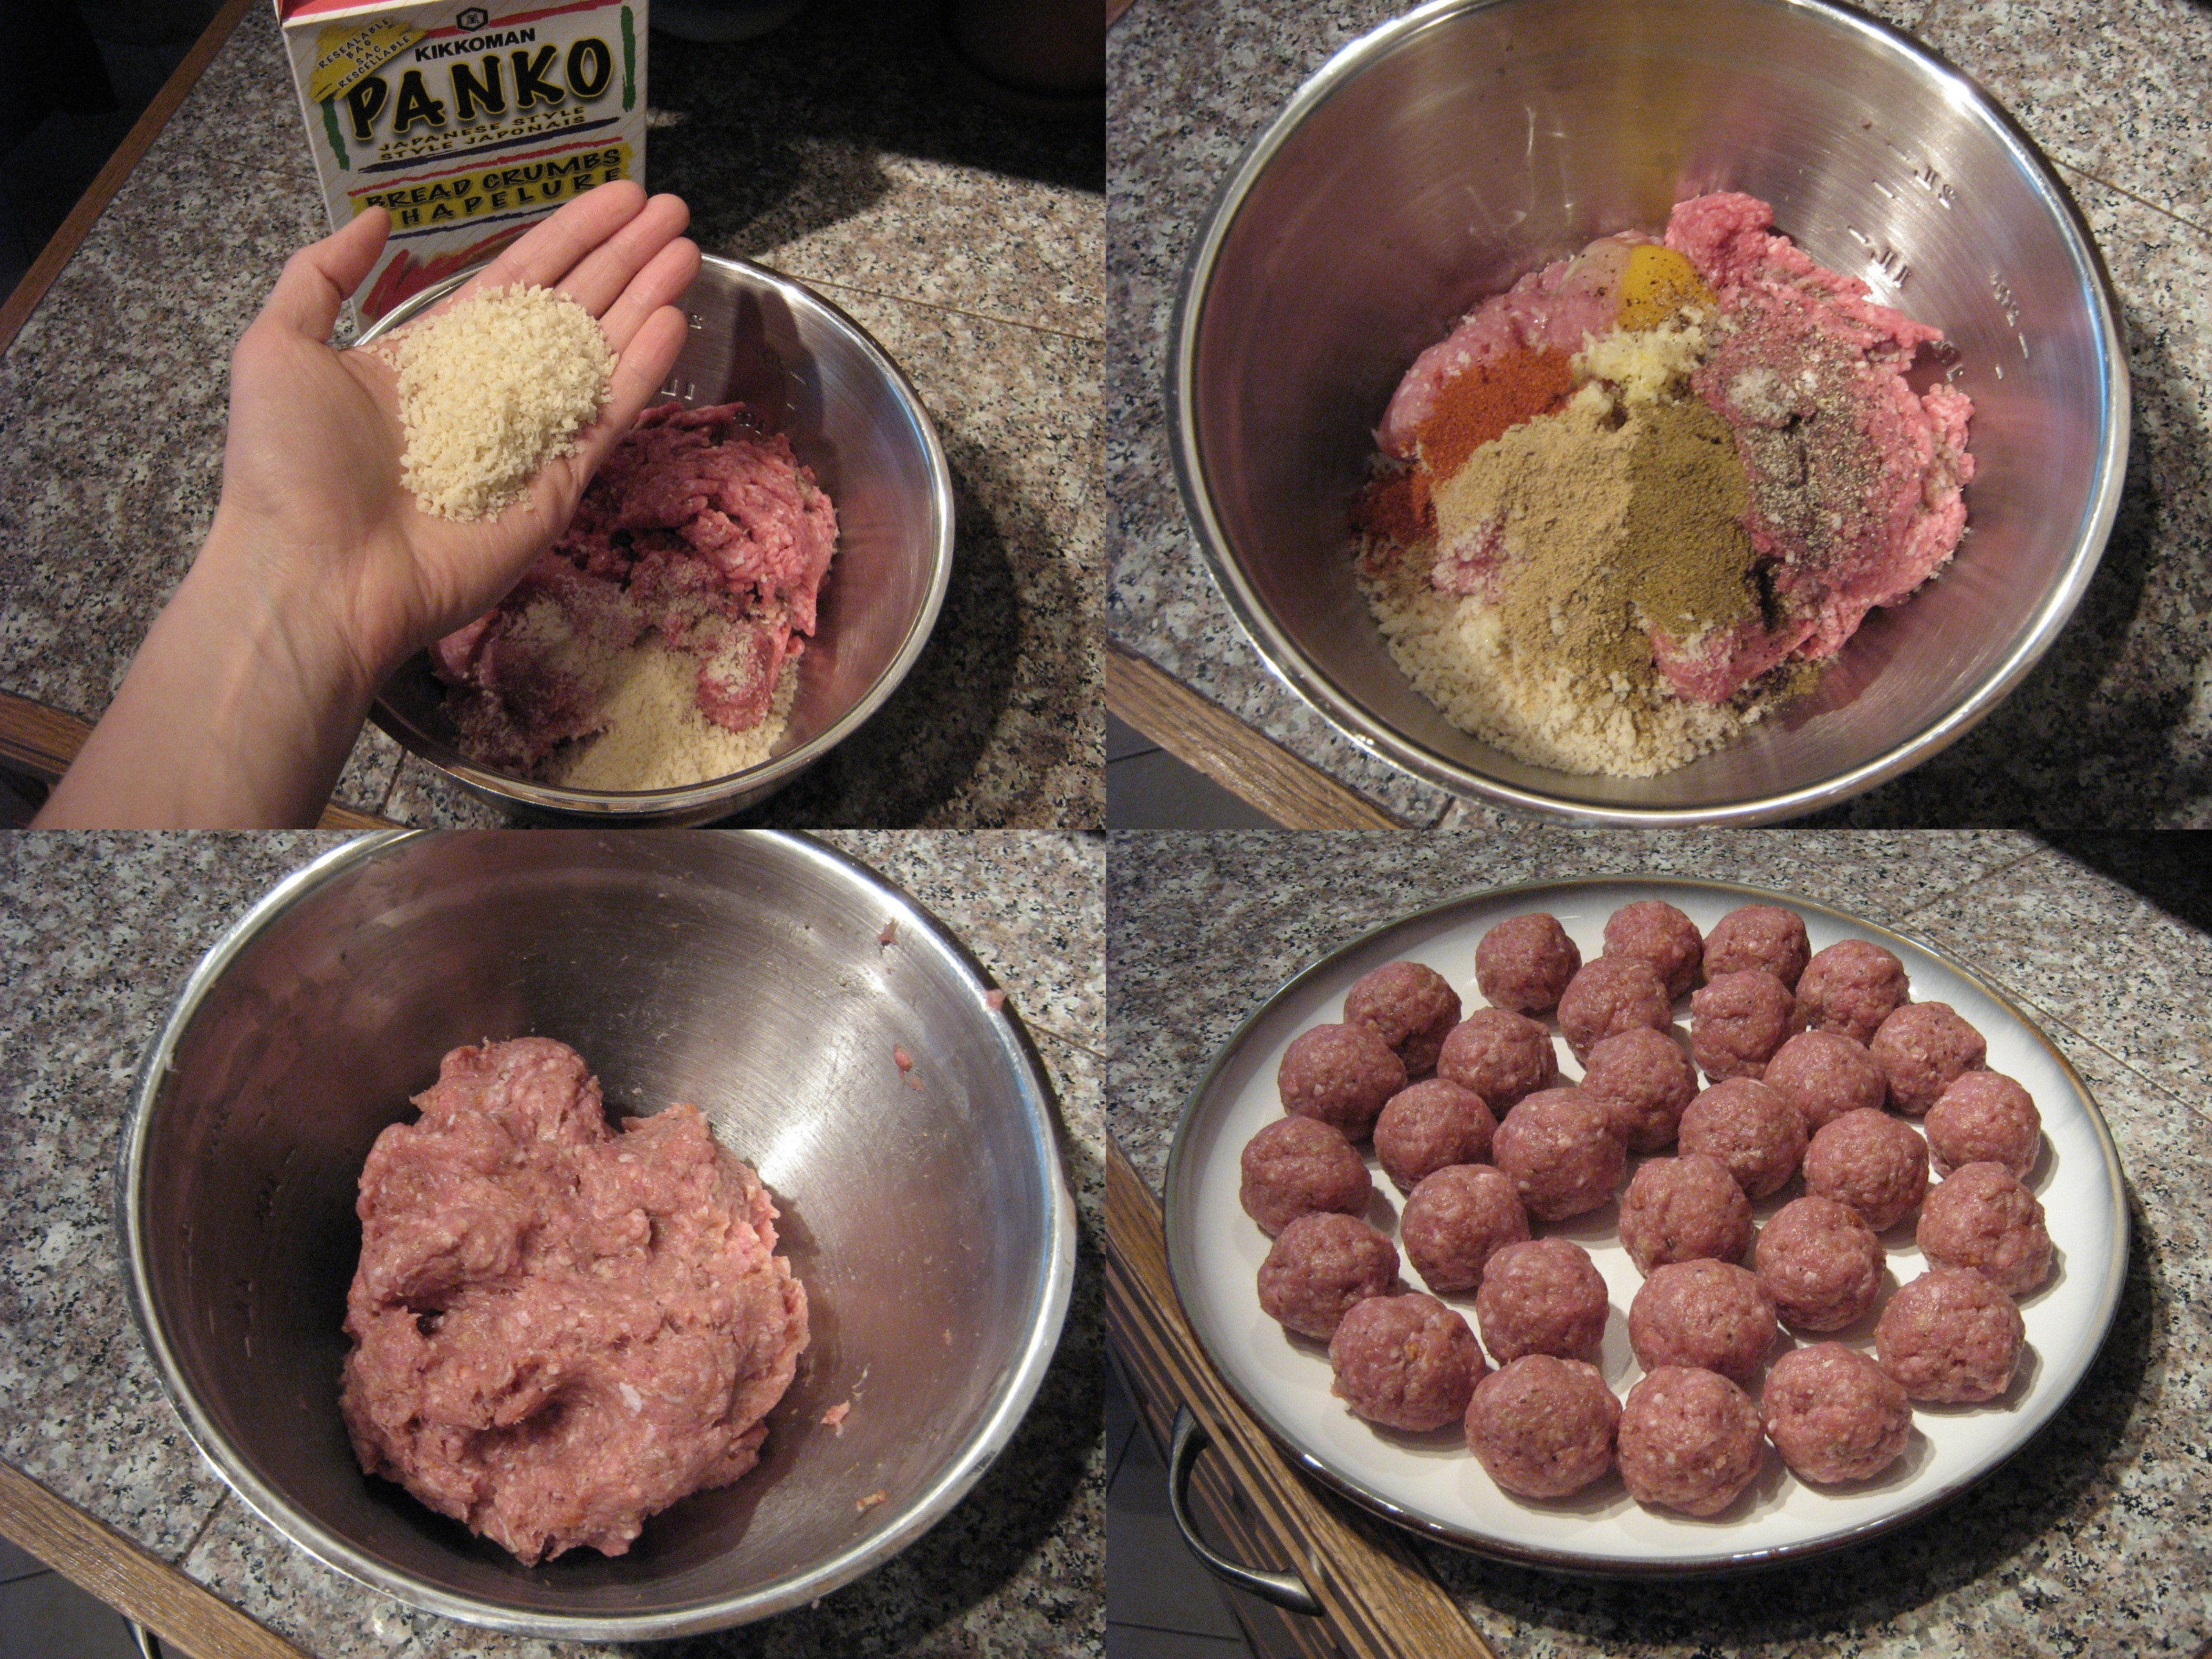
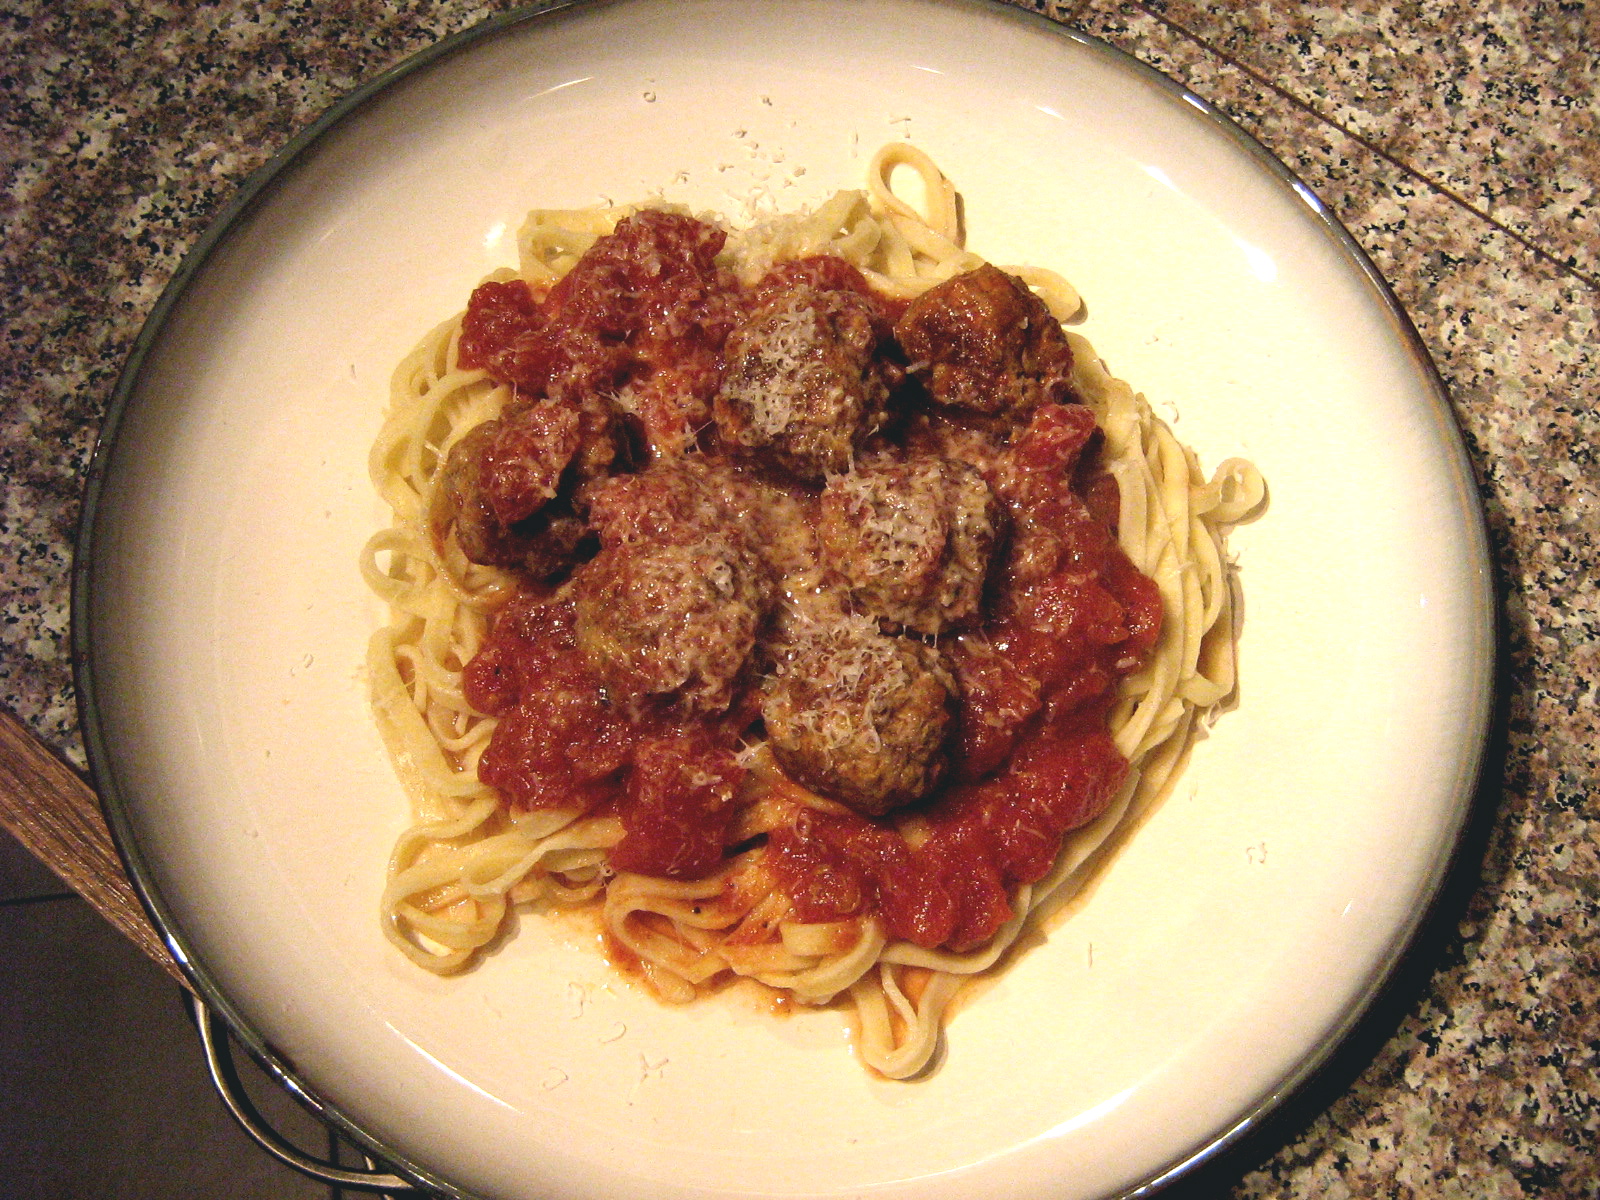
Pasta is one of my favorite comfort foods, and spaghetti and meatballs is pretty much the ultimate incarnation of that. What makes these meatballs special is the spices: cumin, coriander, and cayenne, inspired by the Middle Eastern Spicy Kebabs in Artisan Breads in Five Minutes a Day (the kebabs are supposed to go with homemade naan bread, which explains why they are included in a bread-making book!). However if you have a craving for the more traditional “Italian” meatball, you can just replace those spices with a few handfuls of chopped parsley and grated parmesan cheese and whatever herbs you feel like. Both the “Middle Eastern” and “Italian” versions are tasty. My trusted friend Martha first taught me how to make meatballs in tomato sauce, so I follow her method of browning the well-seasoned meatballs and then simmering them with a can of chopped tomatoes. This makes for a fairly plain but delicious tomato sauce where the meatballs are the star. If you want, you can jazz up the tomato sauce with some sautéed onion or garlic, but I find that the meatballs have enough flavour on their own. Serving these on fresh pasta (rather than dried) just makes the meal a little bit more delicious :). One day I’ll make my own homemade pasta, but that seems a little too ambitious for a weeknight!

Spiced Meatballs in Tomato Sauce

I prefer to use a combination of ground beef and pork for meatballs – it gives good flavour and texture – but feel free to use all beef, or even ground turkey, instead. This recipe makes a double amount of meatballs – enough for two meals – so I usually freeze half of them for later.

In a medium sized mixing bowl, combine:

300-350 grams each lean ground beef and lean ground pork

2 handfuls of breadcrumbs (I use panko)

1 egg

2 cloves garlic, smashed

generous 1 tsp ground cumin

generous 1 tsp ground coriander

3/4 tsp cayenne pepper (or more if you want more heat)

generous salt and pepper

Mix it all together gently with your hands. Form the mixture into 1-inch balls and place them on a plate. You should get about 30 meatballs. Freeze half of them for later.

Heat 1 tbsp olive oil in a heavy skillet over medium heat. Add the remaining 15-or-so meatballs to the pan and brown them on all sides, either by turning them with tongs or by giving the pan a violent shake to dislodge them from the bottom of the pan. When they are thoroughly browned, add:

1 28-oz can of chopped tomatoes

Stir, cover, bring to a simmer, then reduce the heat to medium-low and continue simmering for about 20 minutes. Remove the lid and check the seasoning of the tomato sauce – the meatballs should have given it some flavour, but it will probably need salt and pepper. Continue to simmer, uncovered, until the sauce reaches the desired thickness. Serve over cooked, long pasta (spaghetti or linguini or whatever) with lots of parmesan cheese. Serves 2-3.

Filed Under: Main Dishes, Pasta Dishes, Recipes Tagged With: cooking, cumin, meatballs, pasta, recipe, tomato sauce

Pulled Molasses Taffy

October 24, 2011 By Korena in the Kitchen 5 Comments

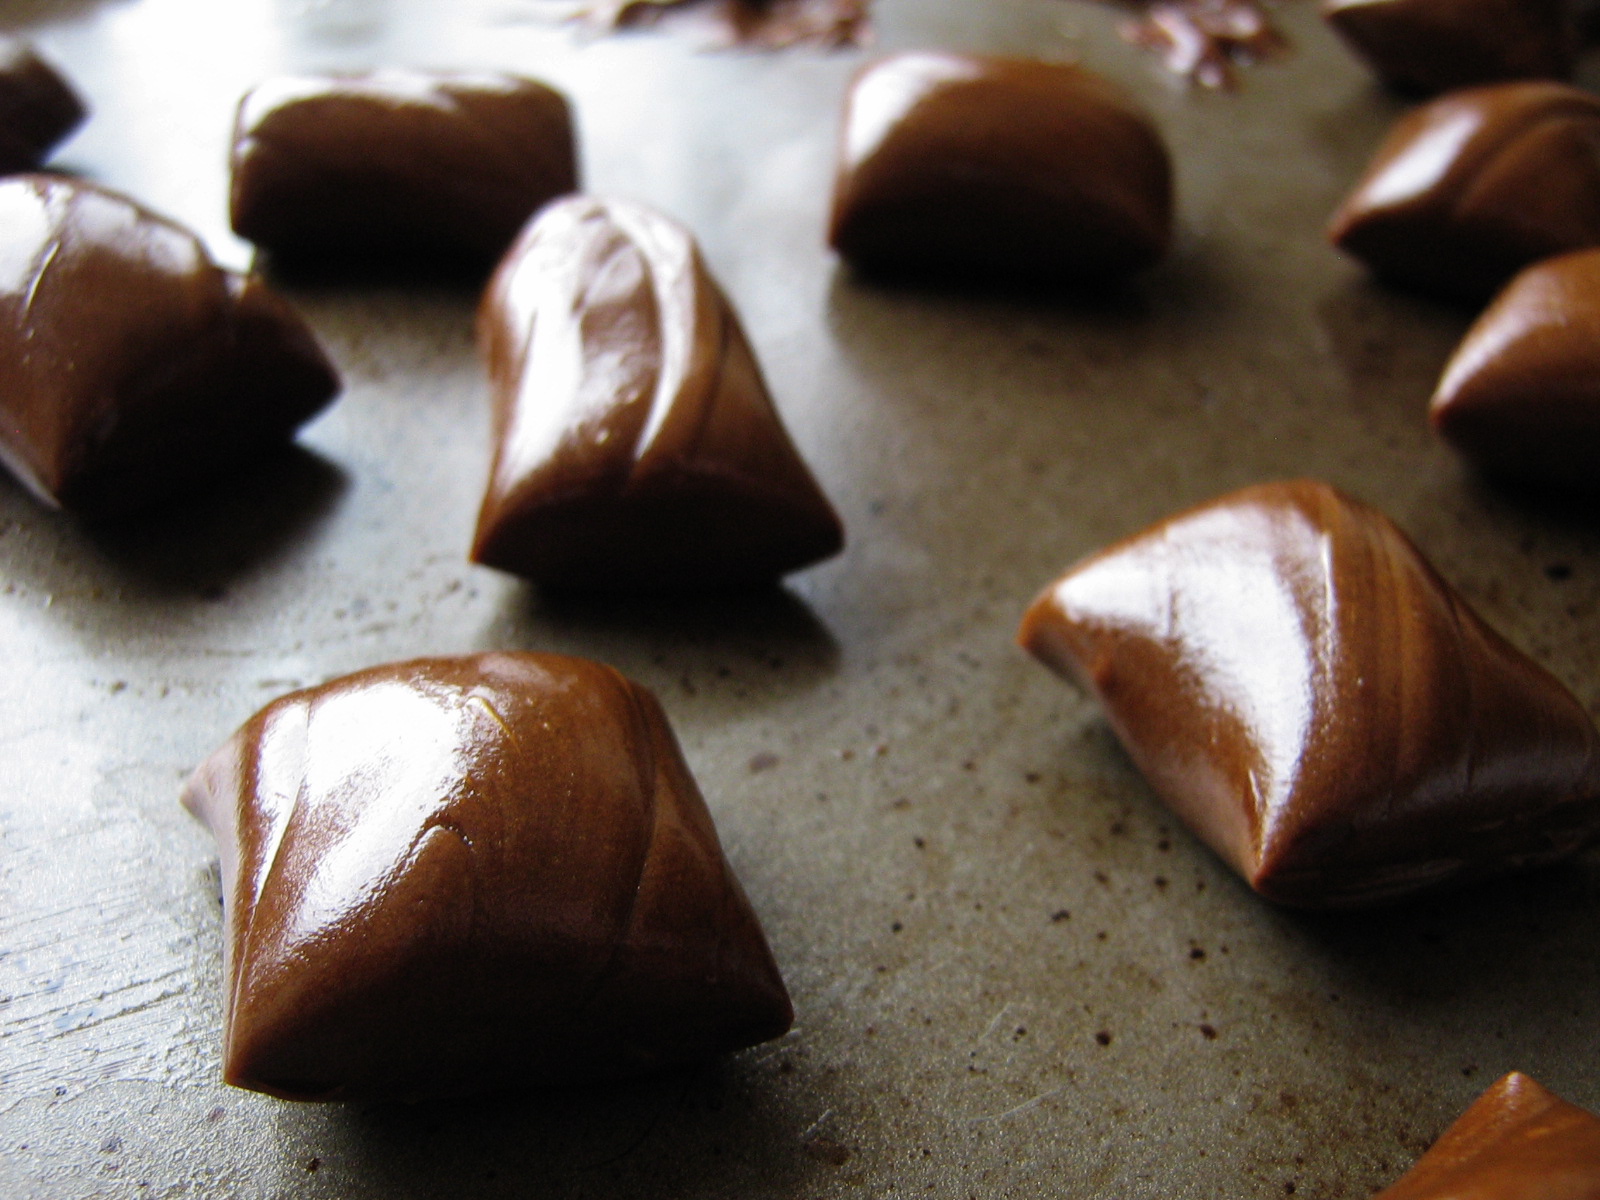
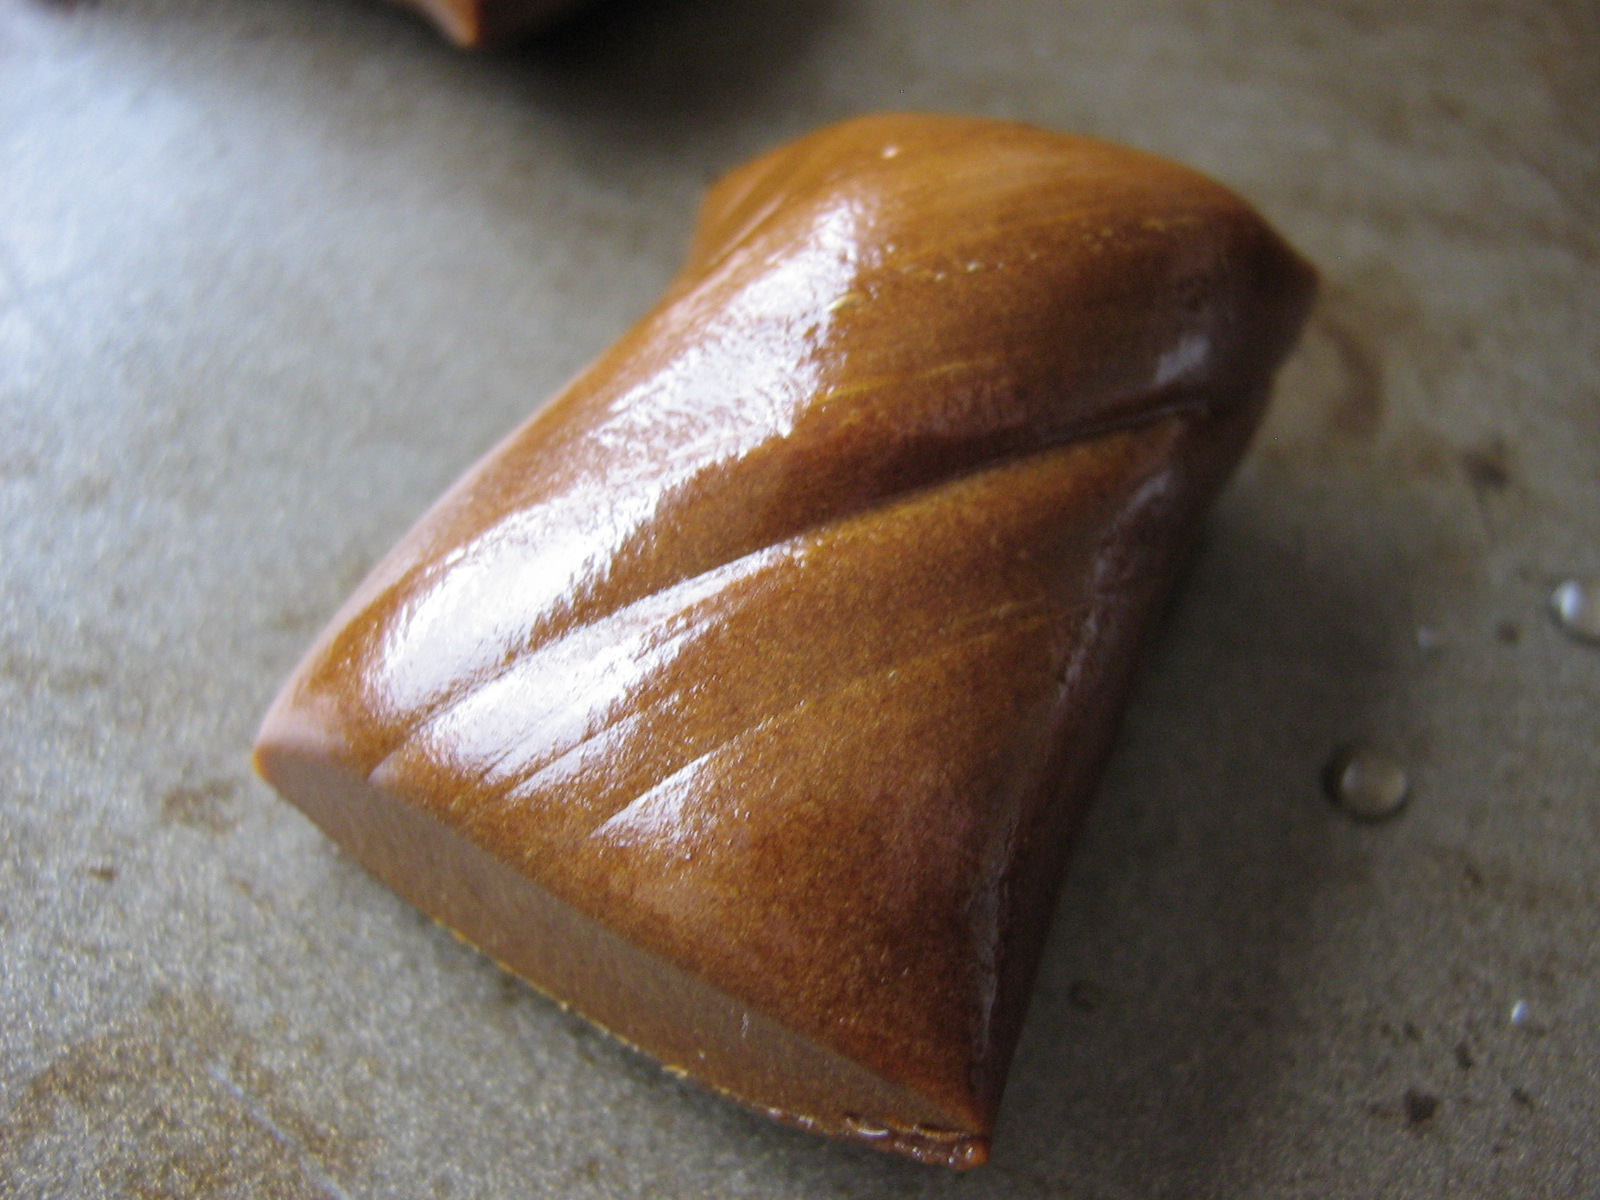
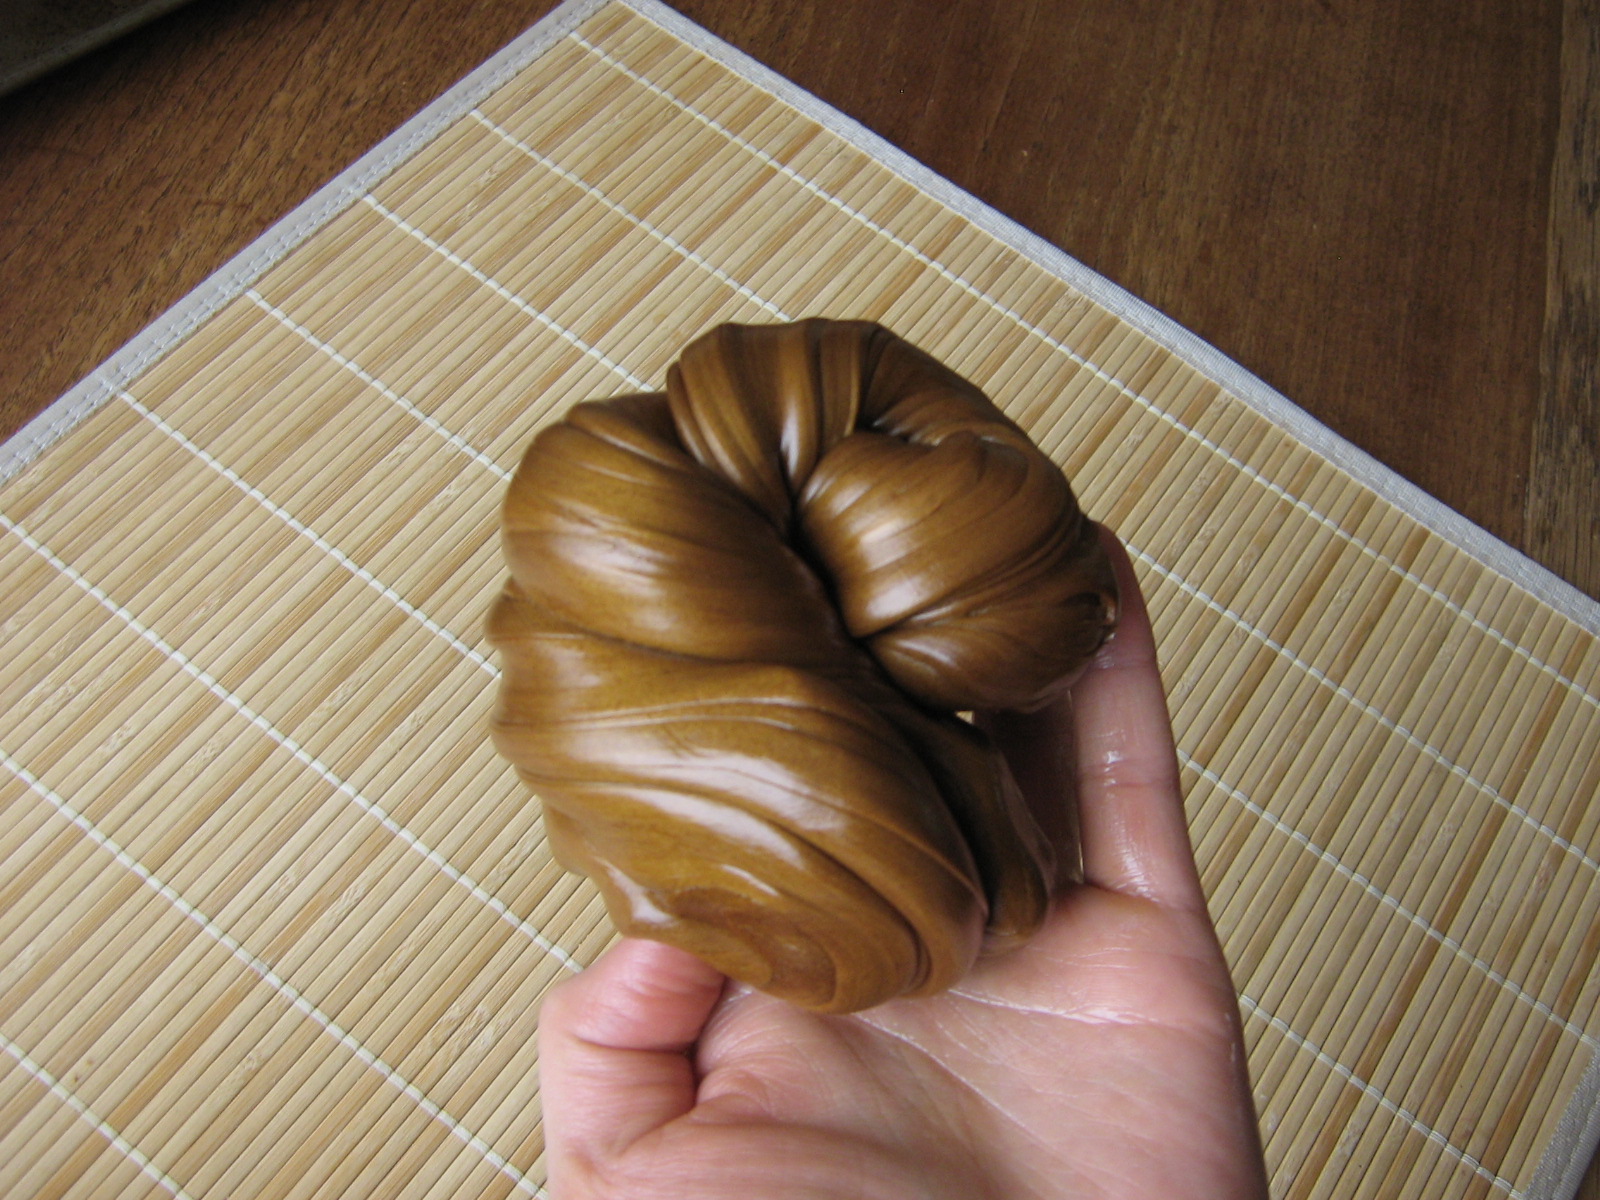
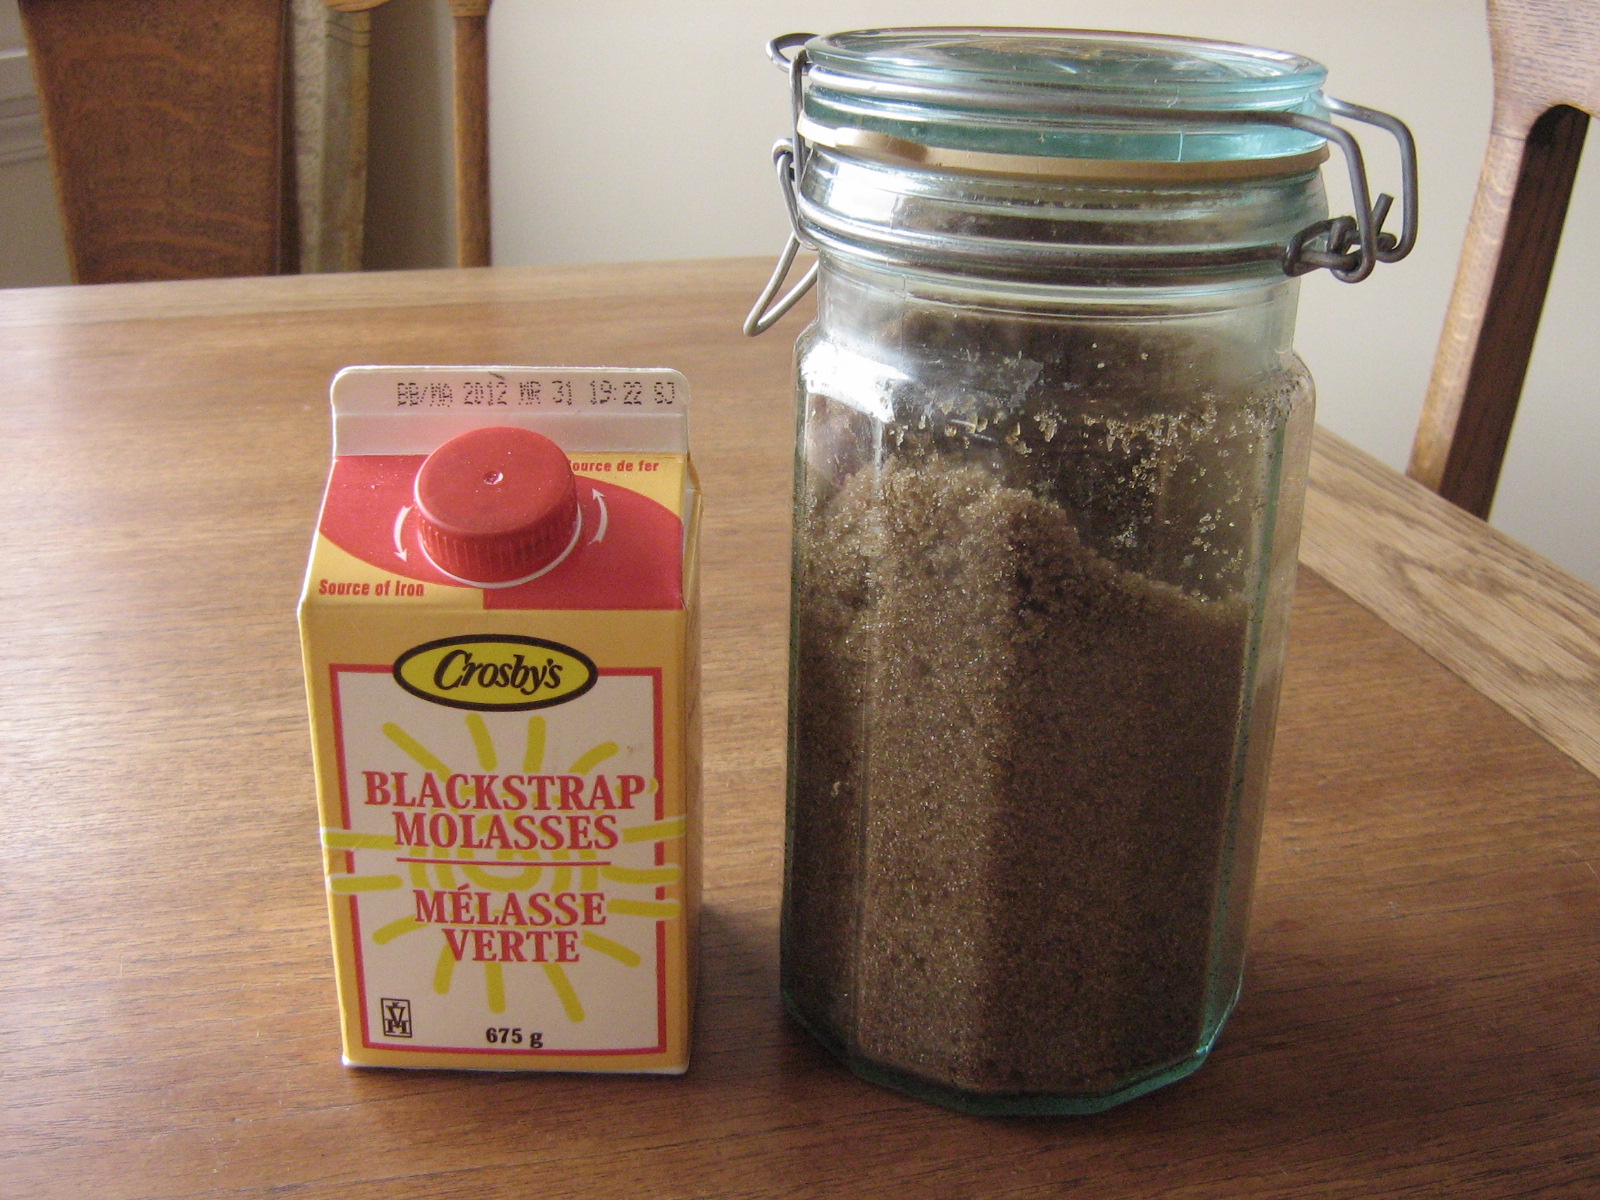
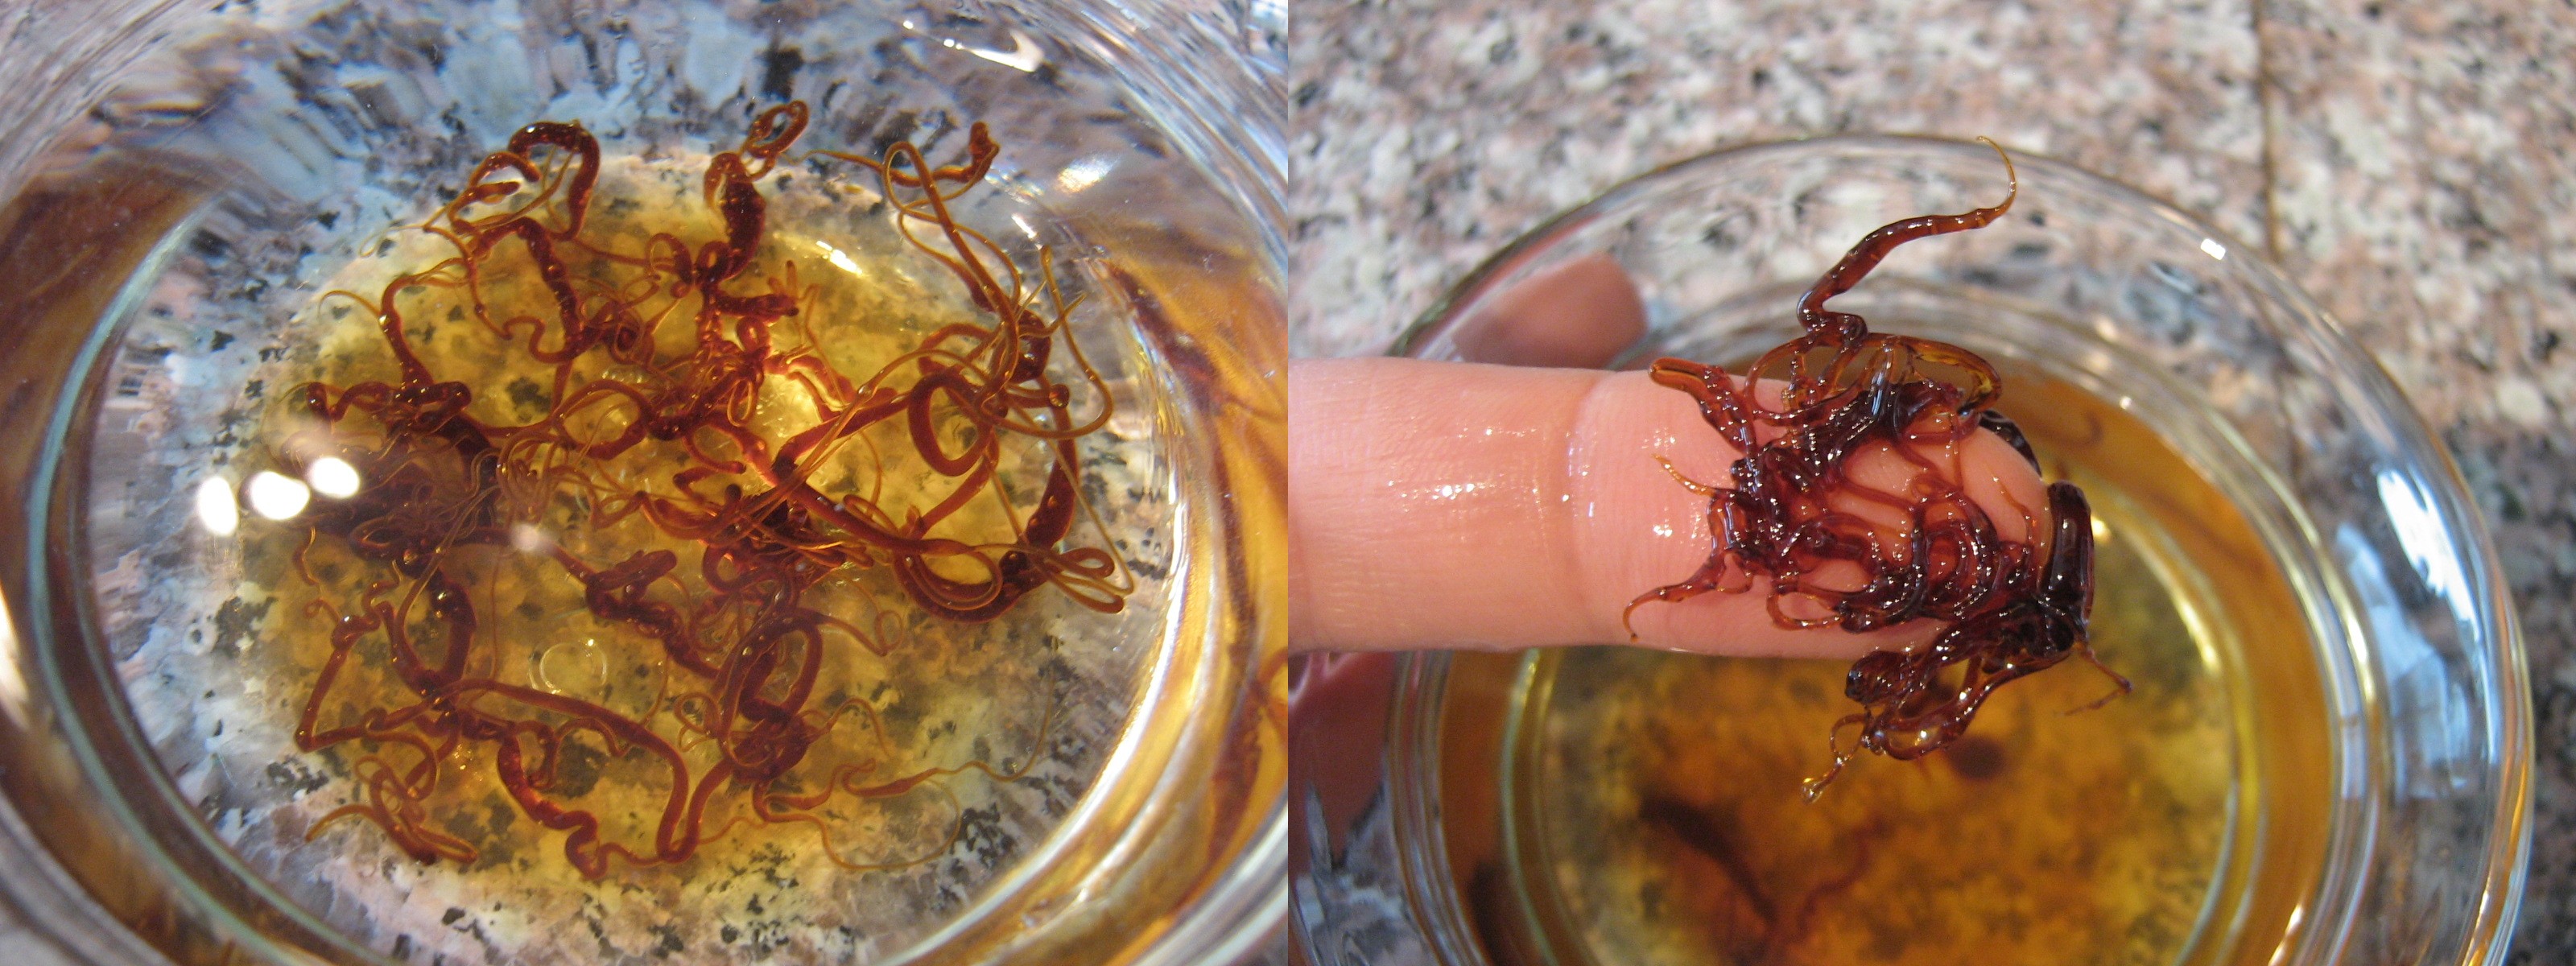
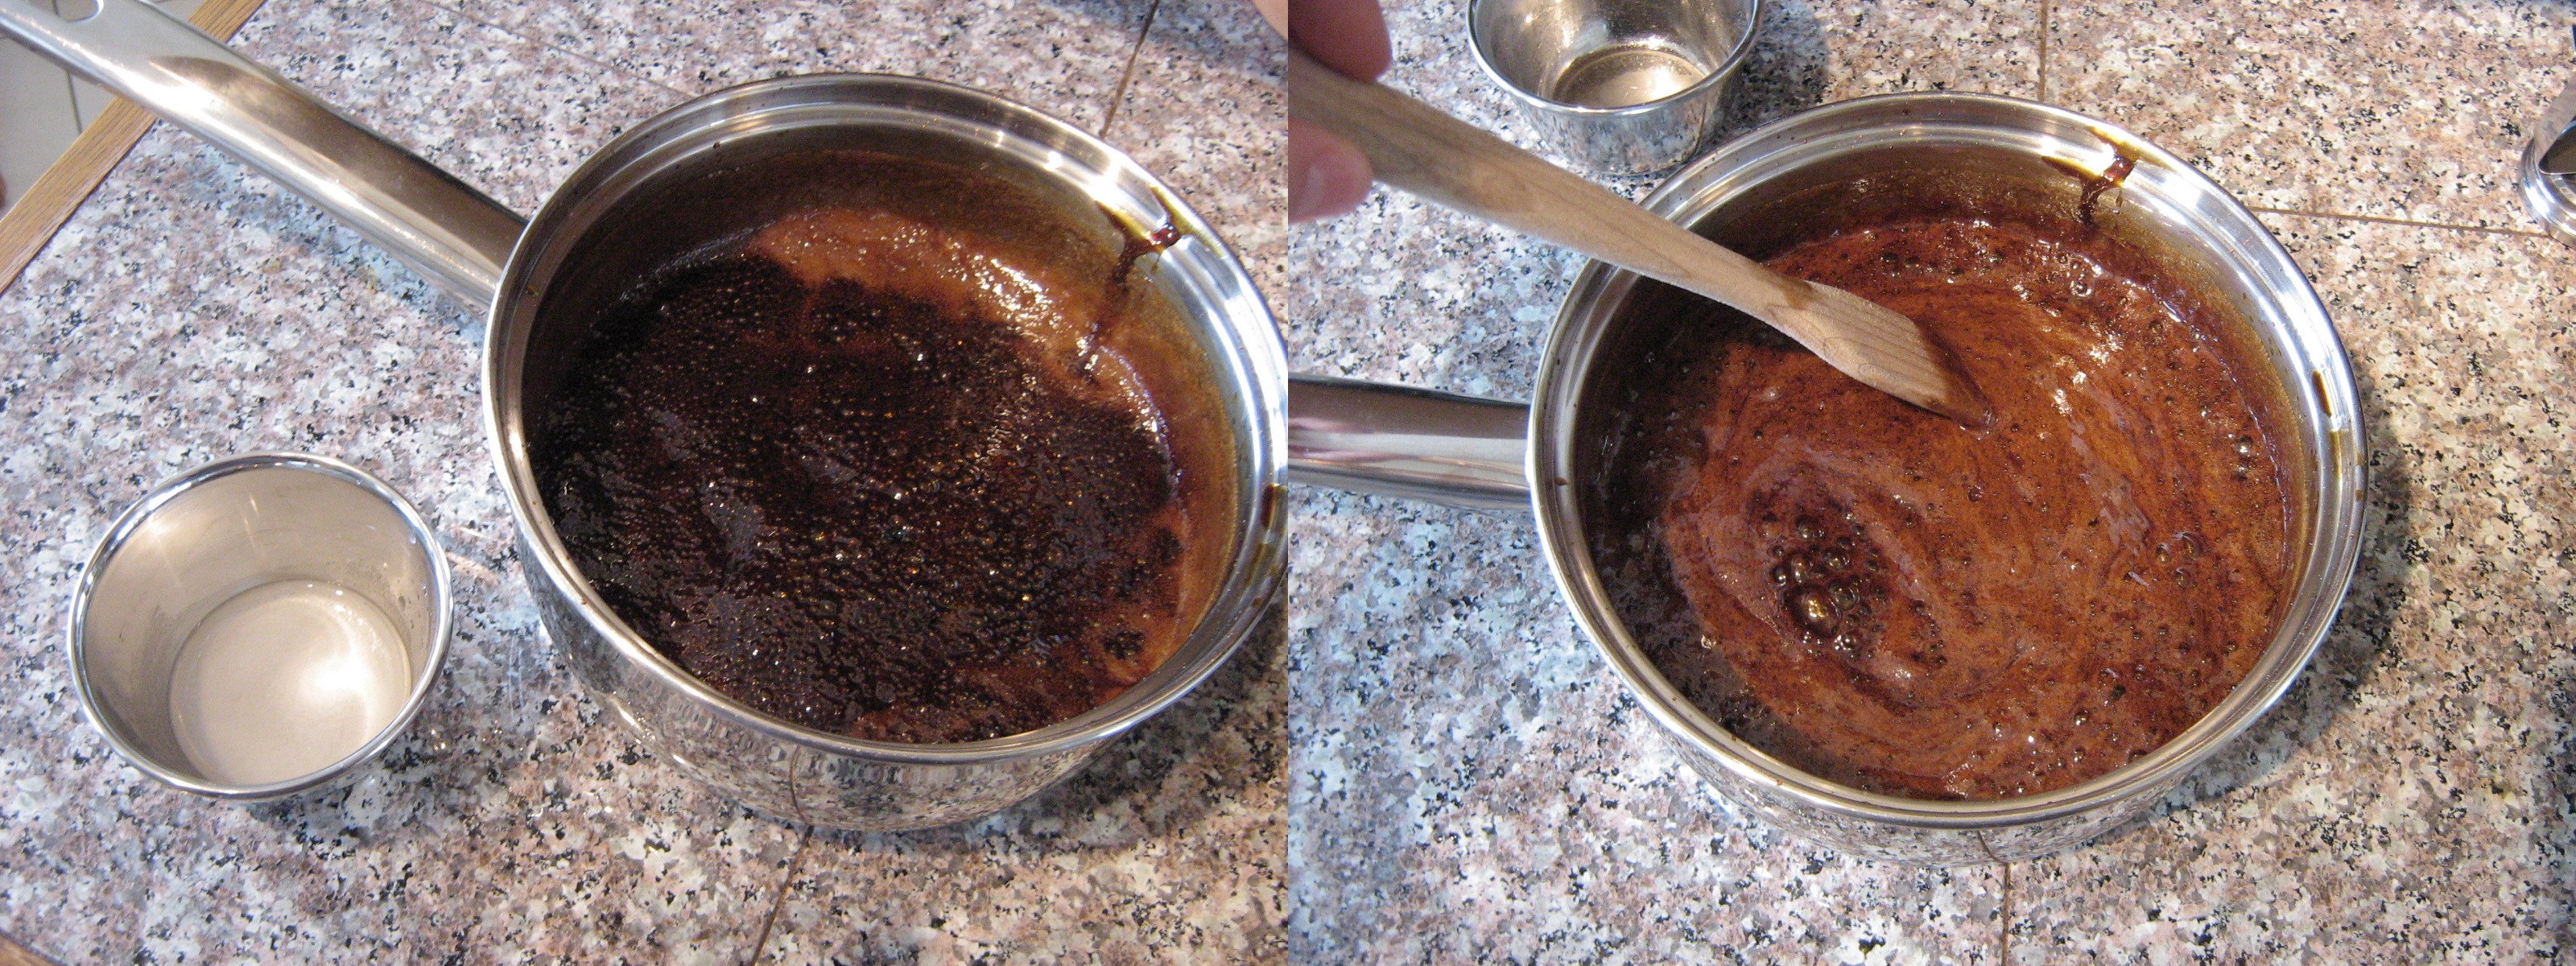
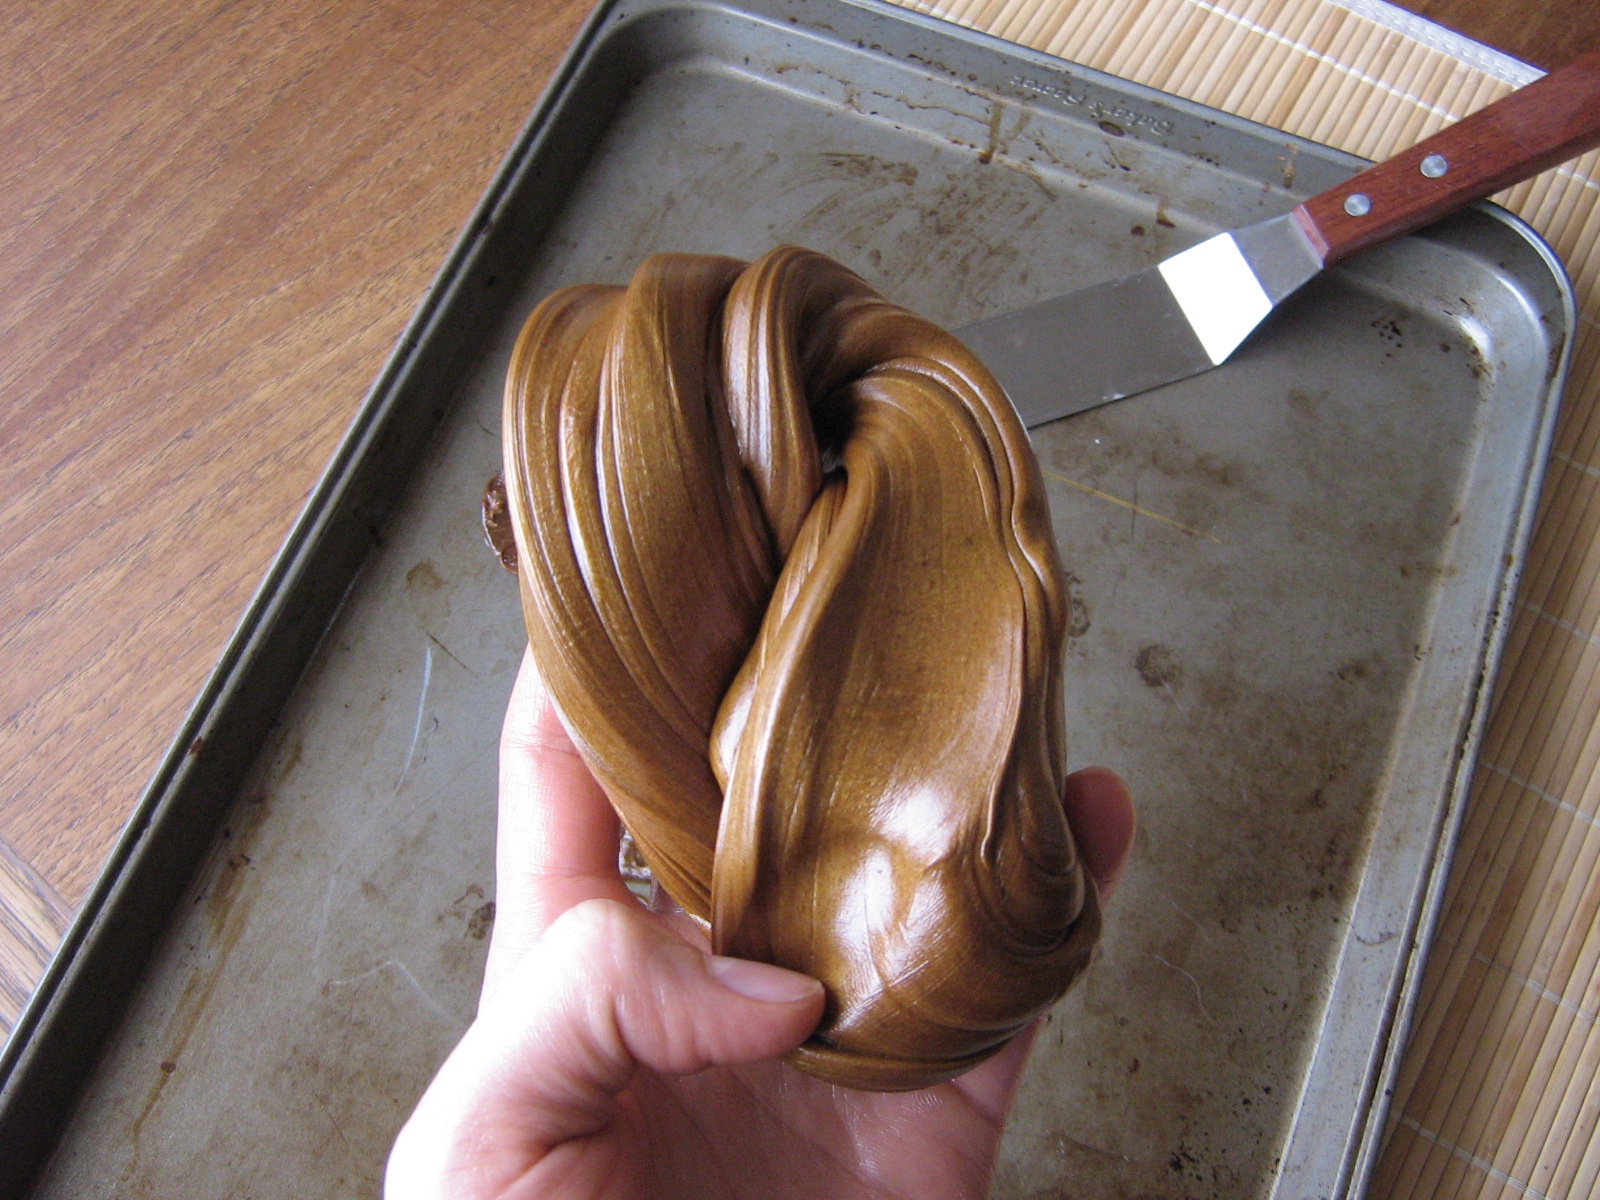
One of my favorite things about Hallowe’en, other than the adorable trick-or-treaters and watching fireworks, is the molasses taffy that comes wrapped up in the black and orange waxed paper. I love the brown sugary flavour and the chewy texture, but last year I could not find them for sale ANYWHERE, so I decided that I would try to make them myself this year. So, the other day, I did. Pulling taffy is fun in the same way that making “ghost gum” out of a marshmallow is fun, and it looks like spun gold while you’re doing it – it gets this metallic sheen that unfortunately disappears when you stop. The candies came out tasting great, but they are rather harder than I was hoping for. You’re supposed to cook the syrup to 270˚F, or the “soft crack” stage, but during the process I discovered that my candy thermometer didn’t work, so I used the “sugar syrup and water” method instead, which is less precise and resulted in a slightly overcooked syrup. But with a working thermometer, these candies would be perfect! I used blackstrap molasses, so the flavour is quite strong. If you prefer a mellower molasses flavour, use fancy molasses instead. I would also recommend using demerara brown sugar if you can find it – it is a less-refined brown sugar with more flavour than regular brown sugar, which is actually just white sugar with molasses added back into it!

Pulled Molasses Taffy

From Canadian Living

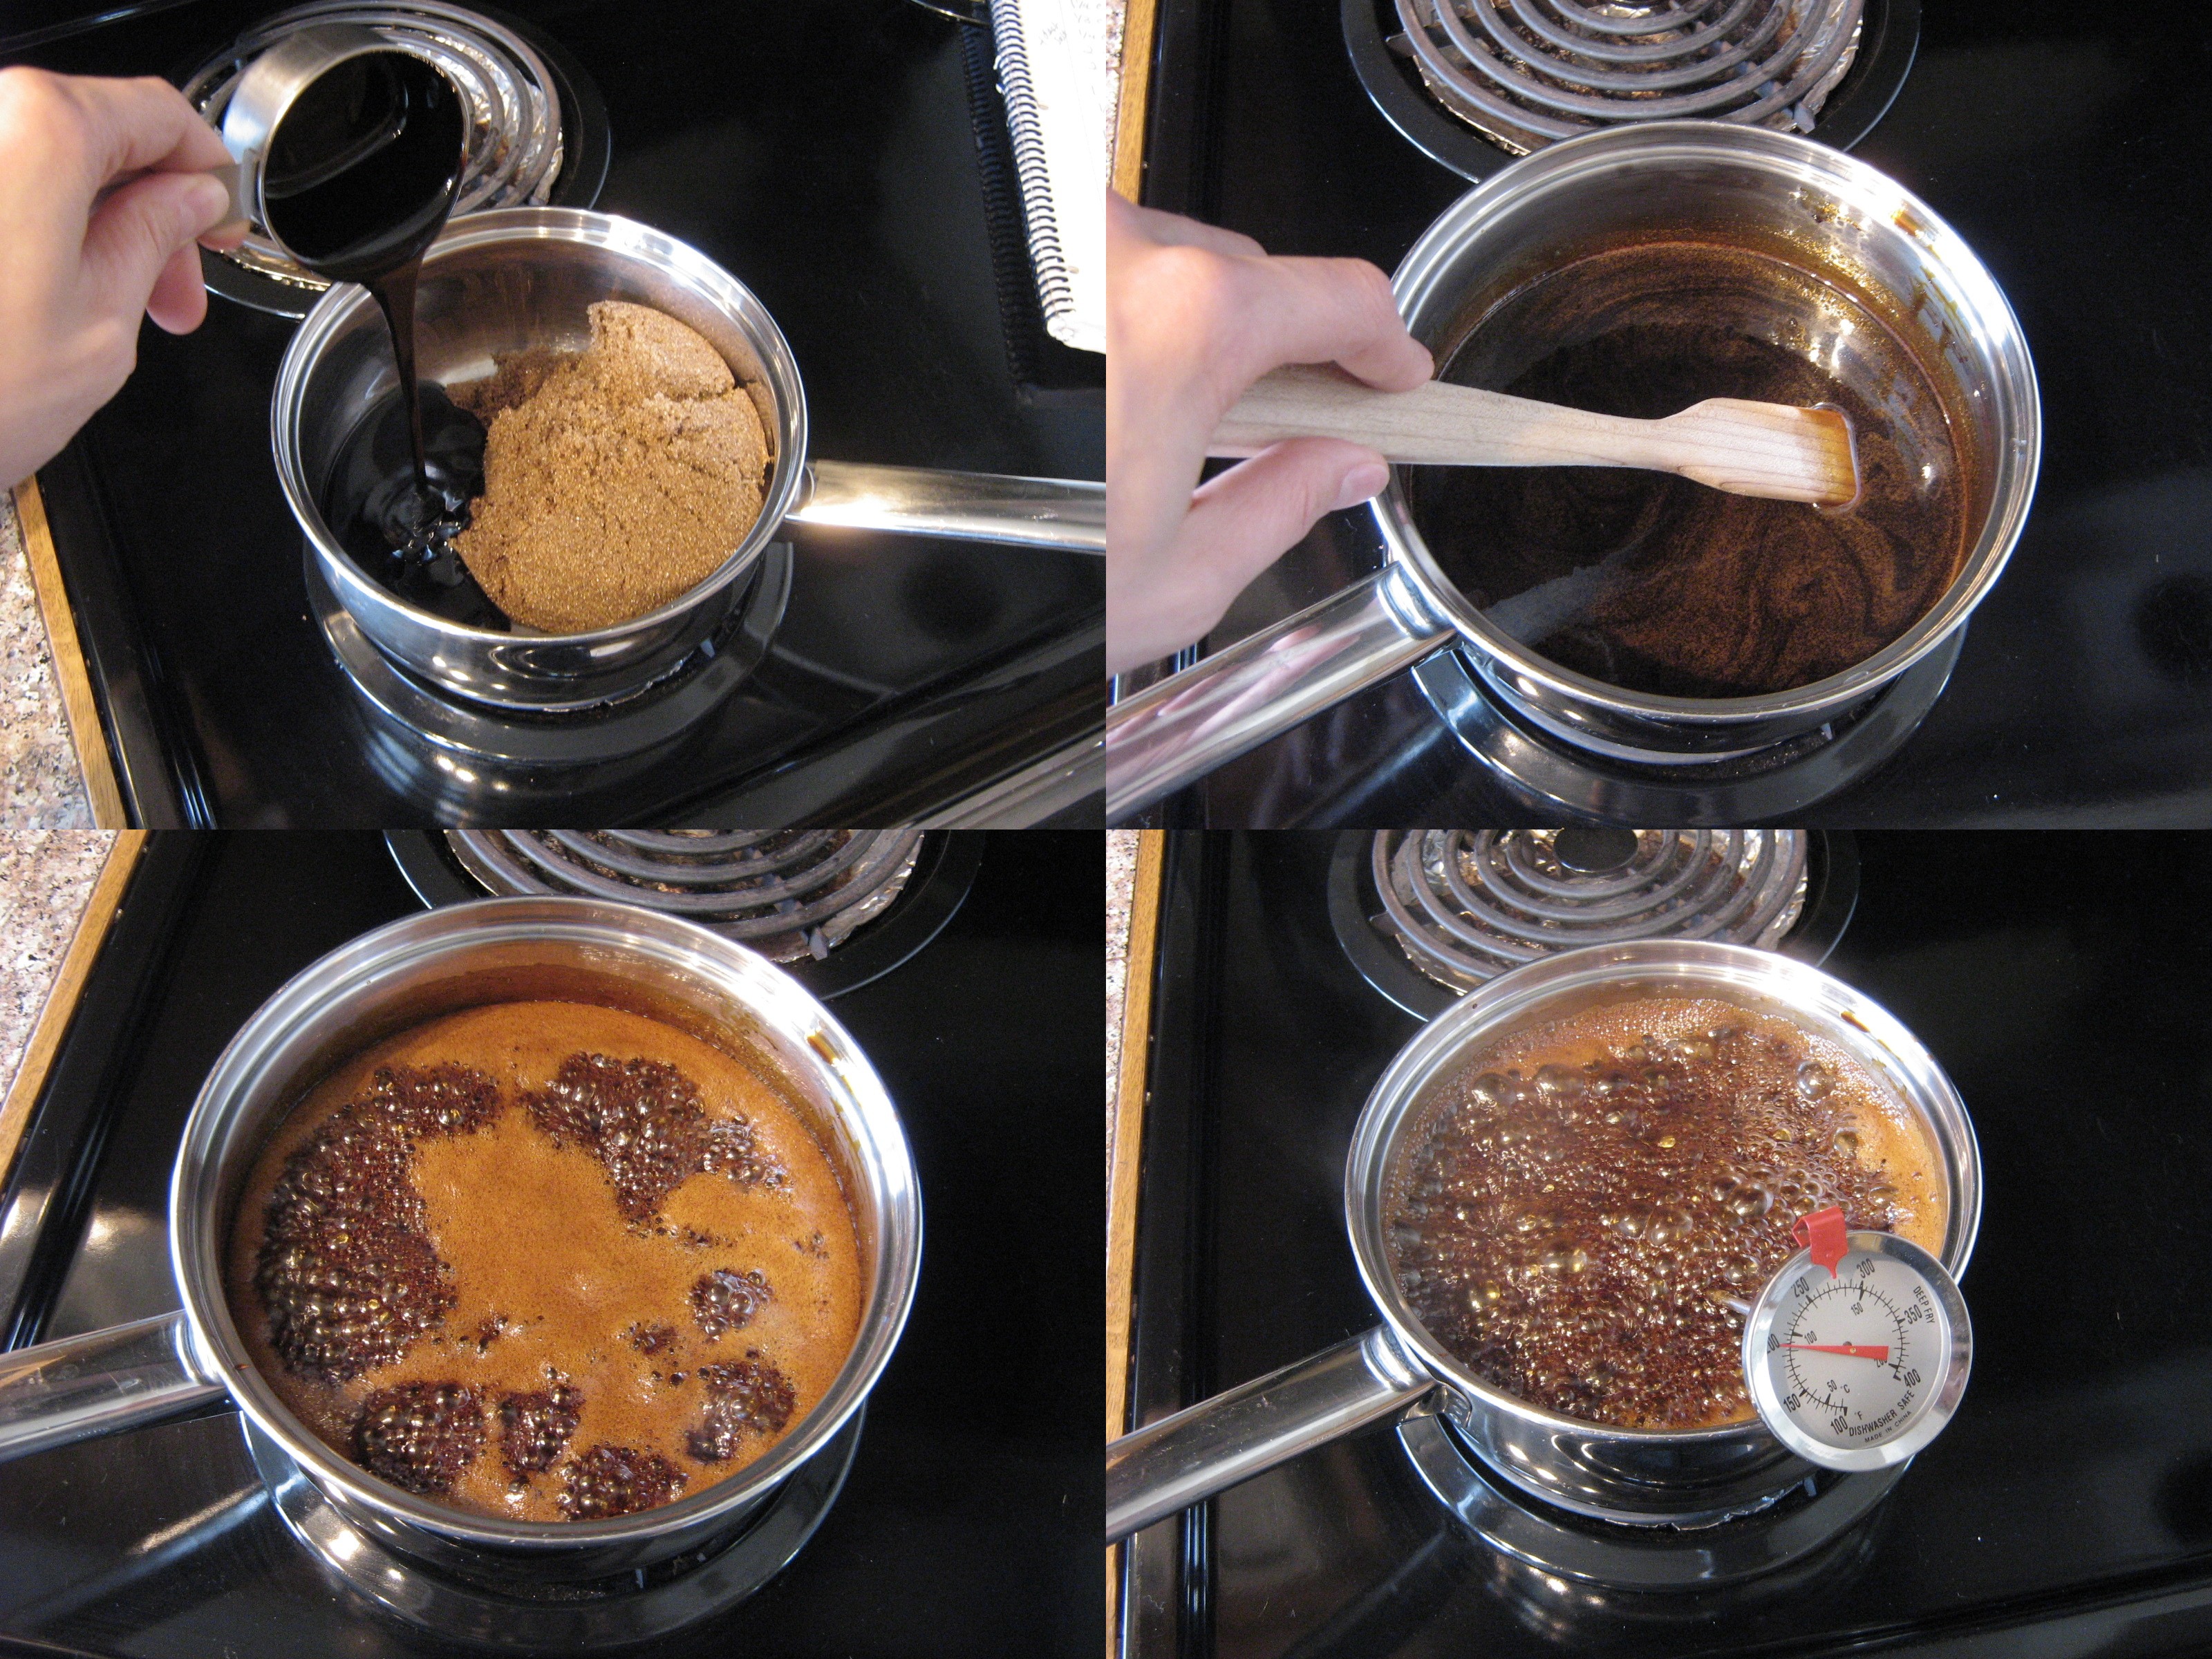
In a medium sized pot with high sides, combine:

1 1/4 cup packed brown sugar, preferably demerara

1/3 cup molasses, blackstrap or fancy, your choice

1/4 cup water

2 tbsp cider vinegar

2 tsp butter

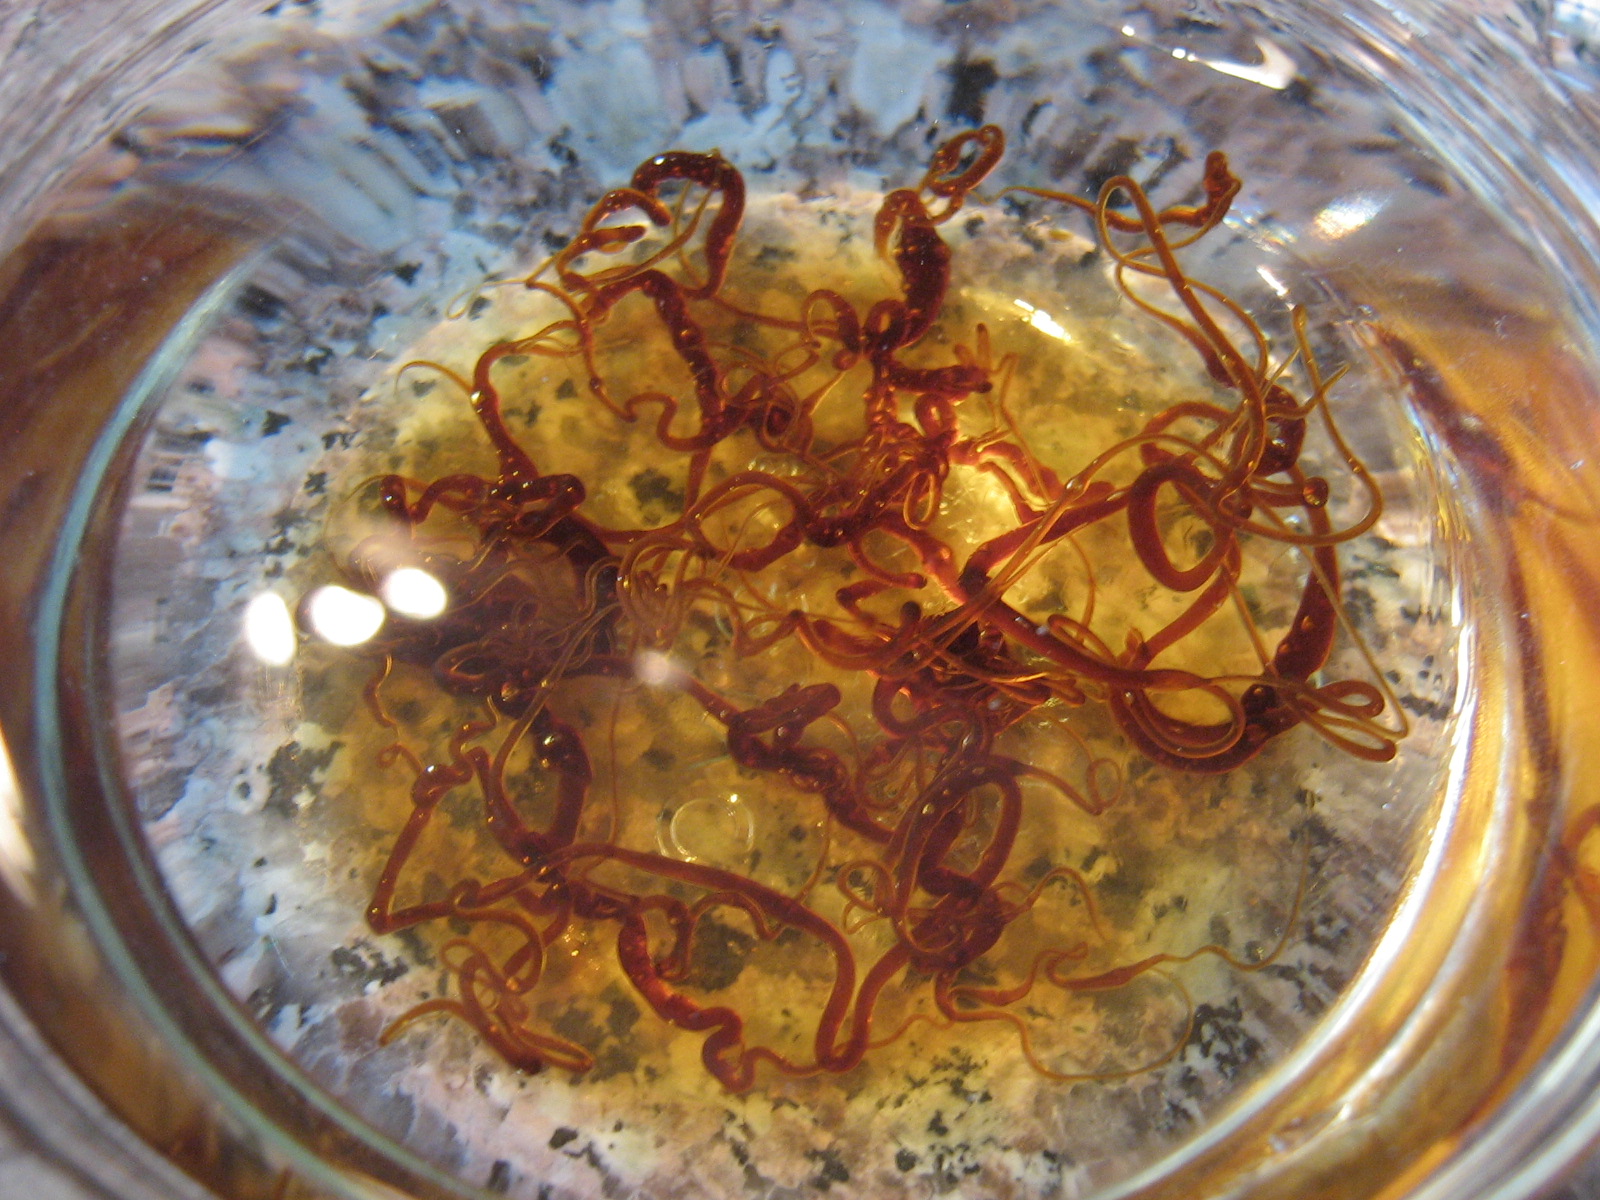
Bring a boil, stirring, over medium heat. Attach a candy thermometer to the side of the pot and without stirring, let the mixture cook over medium heat until it gets to 270˚F. Alternately, test the temperature by drizzling a bit of the syrup off a spoon into a cup of cold water – when the syrup forms hard but pliable threads (aka “soft crack” stage), it is ready.

While the syrup boils, mix together:

1 tsp warm water

1/4 tsp baking soda

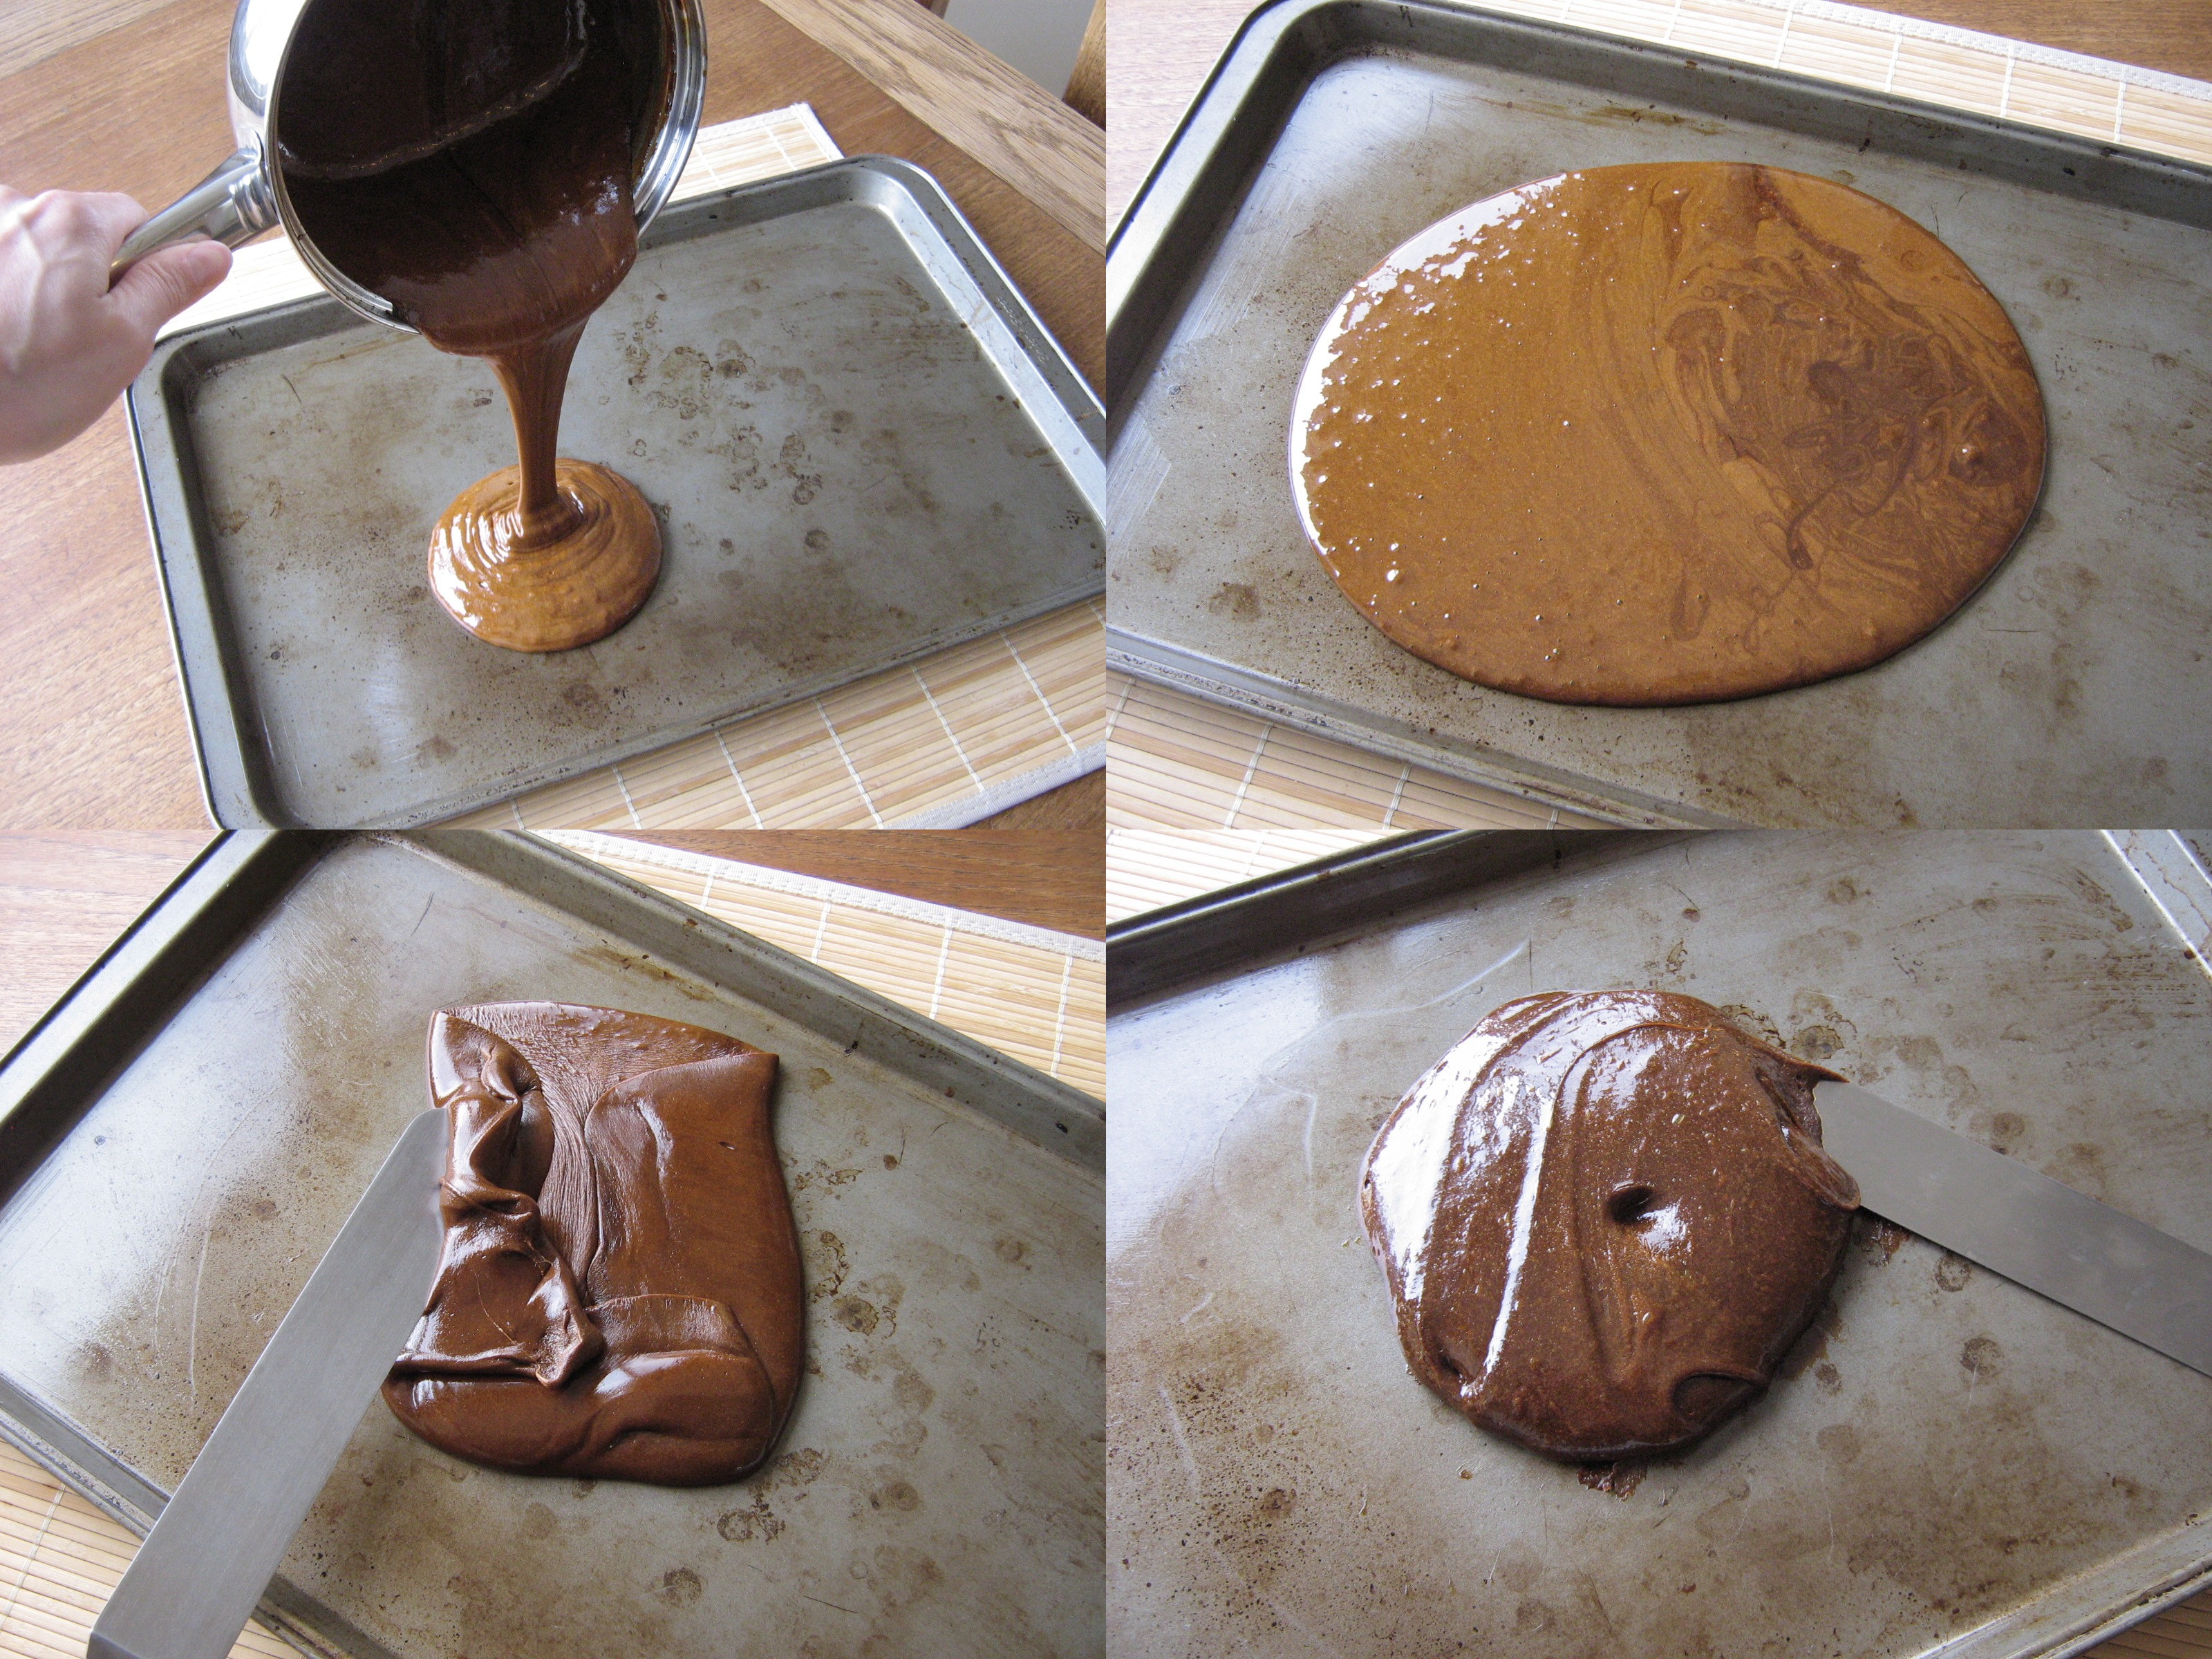
When the syrup reaches the correct temperature, remove it from the heat and immediately stir in the baking soda mixture. It will foam up a bit – stir vigorously to dissipate the chemical reaction. Pour the taffy mixture onto a greased cookie sheet and let it cool for about 5 minutes. With a greased spatula, fold the edges of the taffy in towards the middle. Continue until the taffy is cool enough to handle and when you poke it with your finger, an indentation remains.

Pick up the taffy with well-greased hands. Pull the taffy apart with a twisting motion, then fold it in half and pull it apart again, twisting with your hands. Repeat until the taffy is glossy and light in colour with a metallic shine, about 5 minutes. Divide the taffy in half and pull/twist each half into a rope about 1/2 an inch thick. Place on the greased cookie sheet. With a pair of scissors dipped in cold water, snip the taffy into 1/2″ pieces. If the taffy is soft enough, wrap each piece individually in a small piece of waxed paper (if it’s too hard it will just rip the paper when you twist the ends). Alternately, layer in an airtight container between sheets of waxed paper.

Filed Under: Other Baked Goods & Sweets, Recipes Tagged With: candy making, cooking, Halloween, molasses, old fashioned molasses taffy, recipe, soft crack stage, taffy

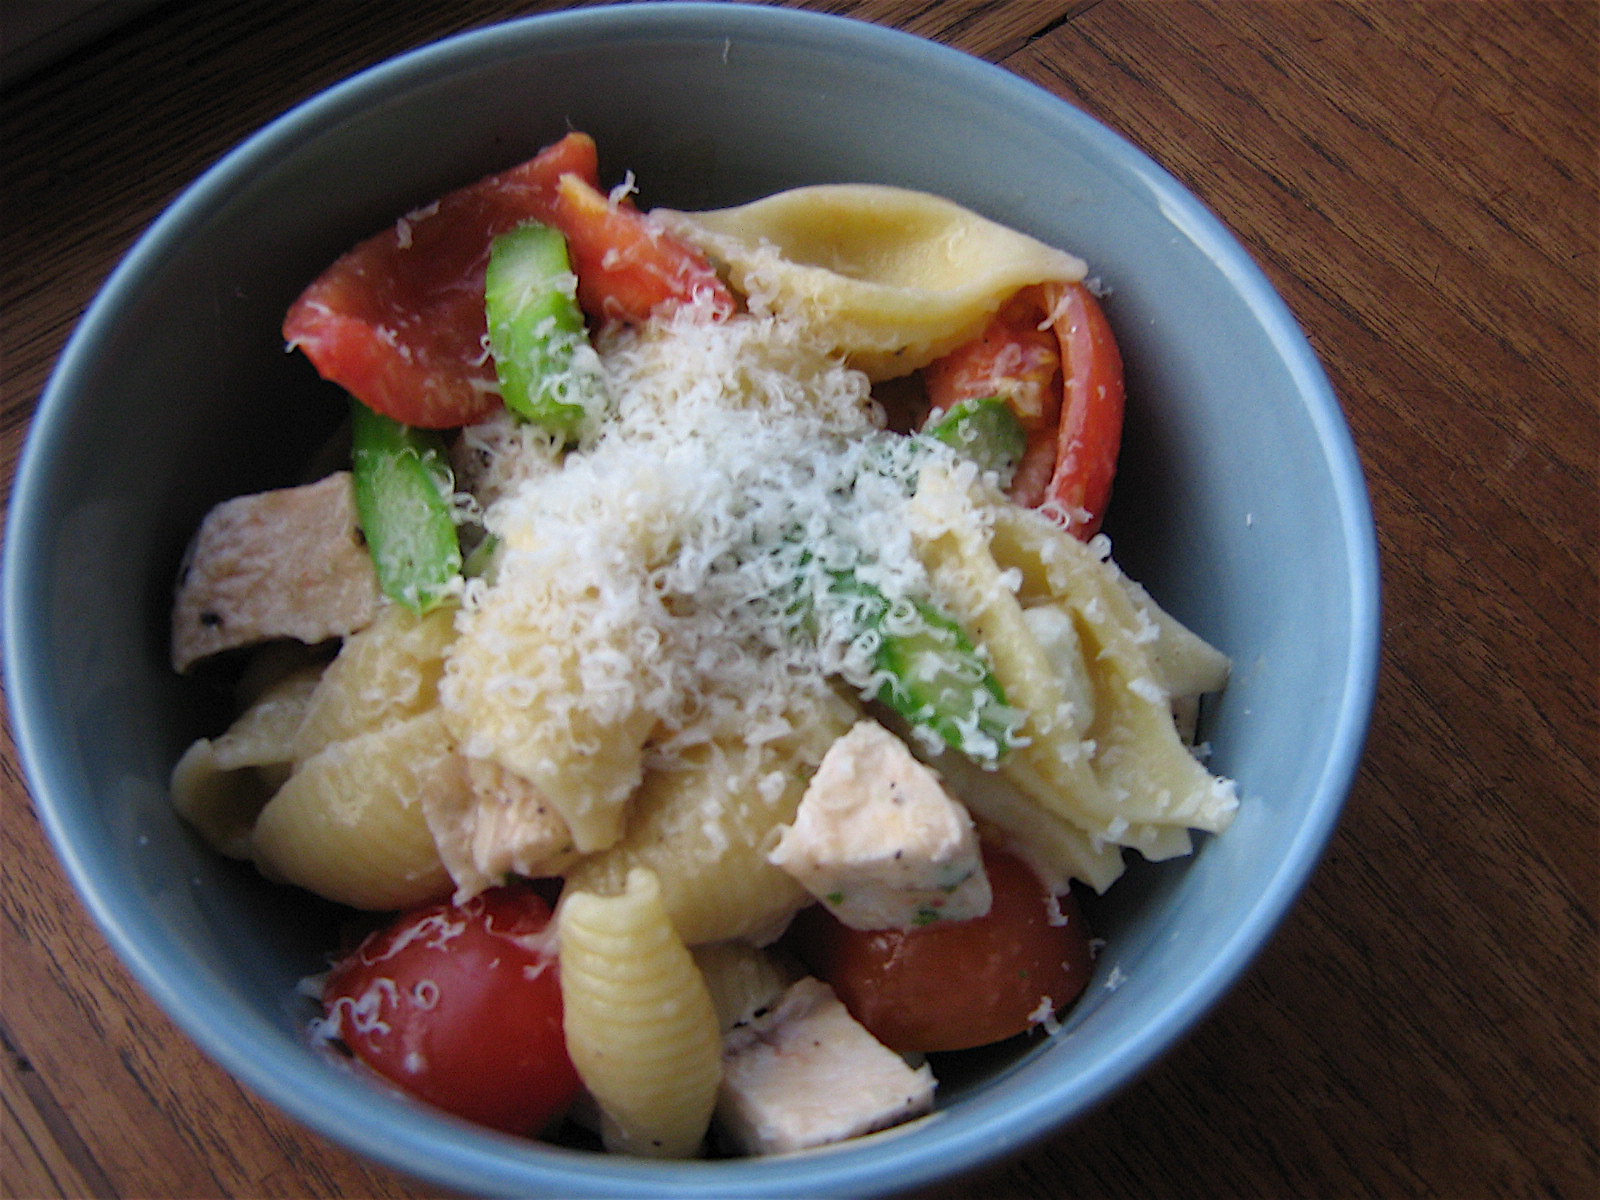
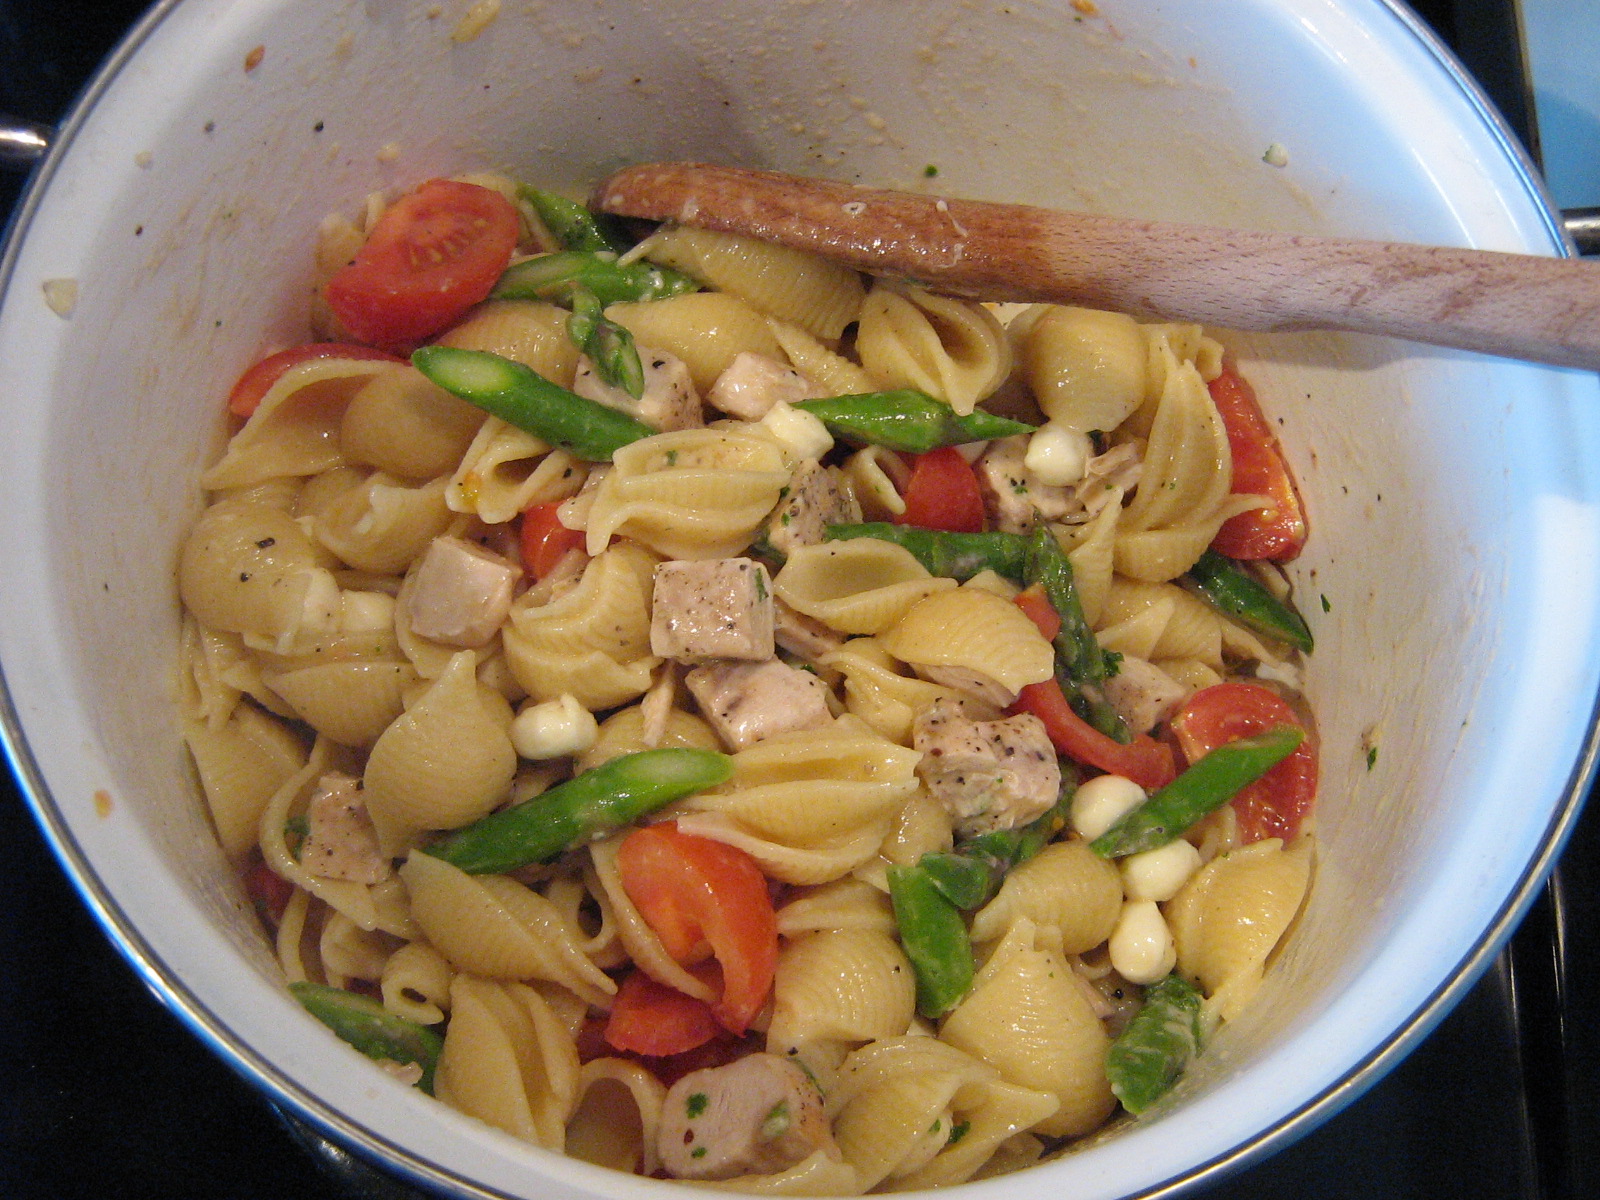
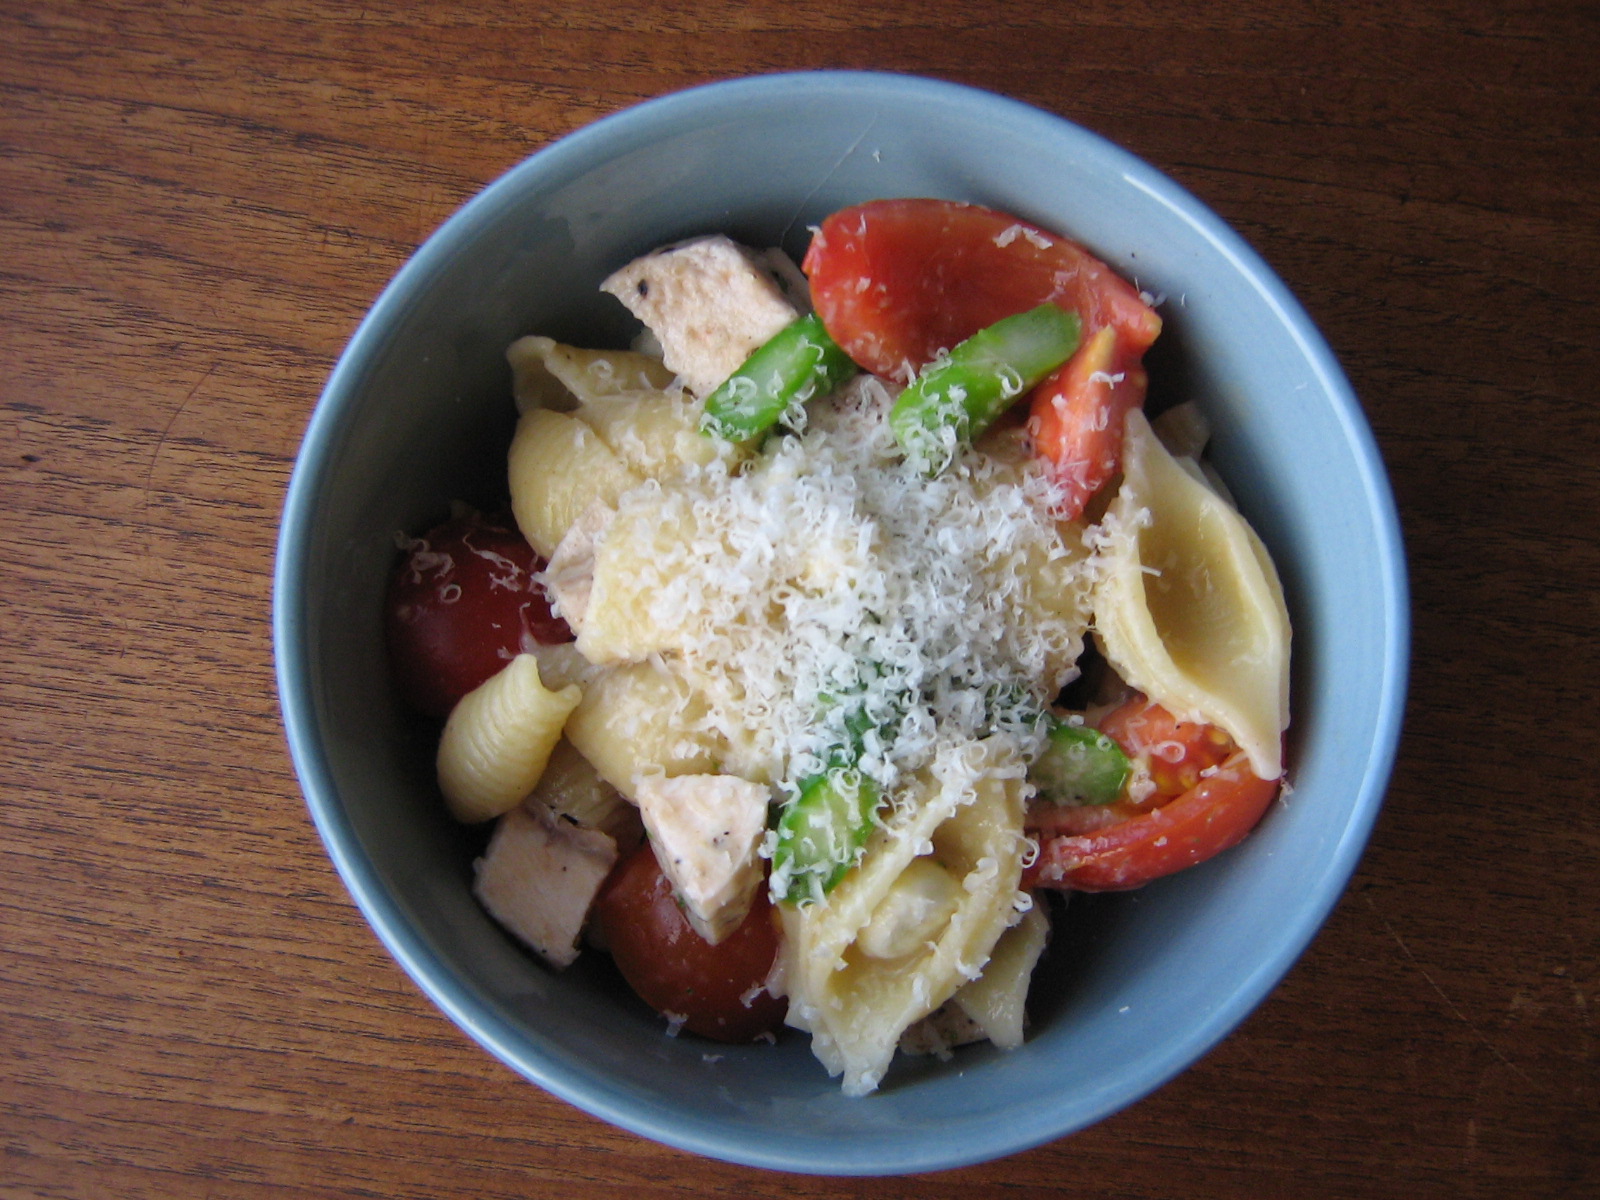
Pasta Shells with Chicken, Bocconcini, and Cherry Tomatoes

October 21, 2011 By Korena in the Kitchen 4 Comments

It’s been a long, busy week, and I’m kind of uninspired in the kitchen right now, so it seems that now is a good time to share this pasta dish that I made several months ago. The recipe comes from my trusted friend Martha’s Everyday Food magazine, which I was fortunate enough to have been gifted a subscription to a few years back. This is my kind of pasta: chicken, cheese, fresh vegetables, and a light sauce. It’s SUPER easy to throw together – you barely even need to use measurements, just a handful of this and a handful of that – and you can make it even easier by using left-over chicken. Aside from cooking the chicken, this is a one pot meal: you boil the pasta, drain it, and then toss everything right into the pot with the pasta along with some parmesan, butter, and a splash of the pasta cooking water. Really good, really simple, and now I want it for dinner!

One thing to note – because the tomatoes are just mixed in with the hot pasta and cooking water, they don’t actually get cooked. Nate is not a huge fan of raw tomatoes (neither am I actually, but I don’t mind them here) so next time I will give the tomatoes a quick sauté in a hot pan with some butter or olive oil before adding them to the pasta.

Pasta Shells with Chicken, Bocconcini and Cherry Tomatoes

Adapted from Martha Stewart; serves 2 (with leftovers)

Season 6 – 8 chicken breast cutlets (depending on size) with salt and pepper, and cook on both sides under a preheated broiler or on a grill until cooked through. Cut into bit-sized pieces, cover to keep warm, and set aside.

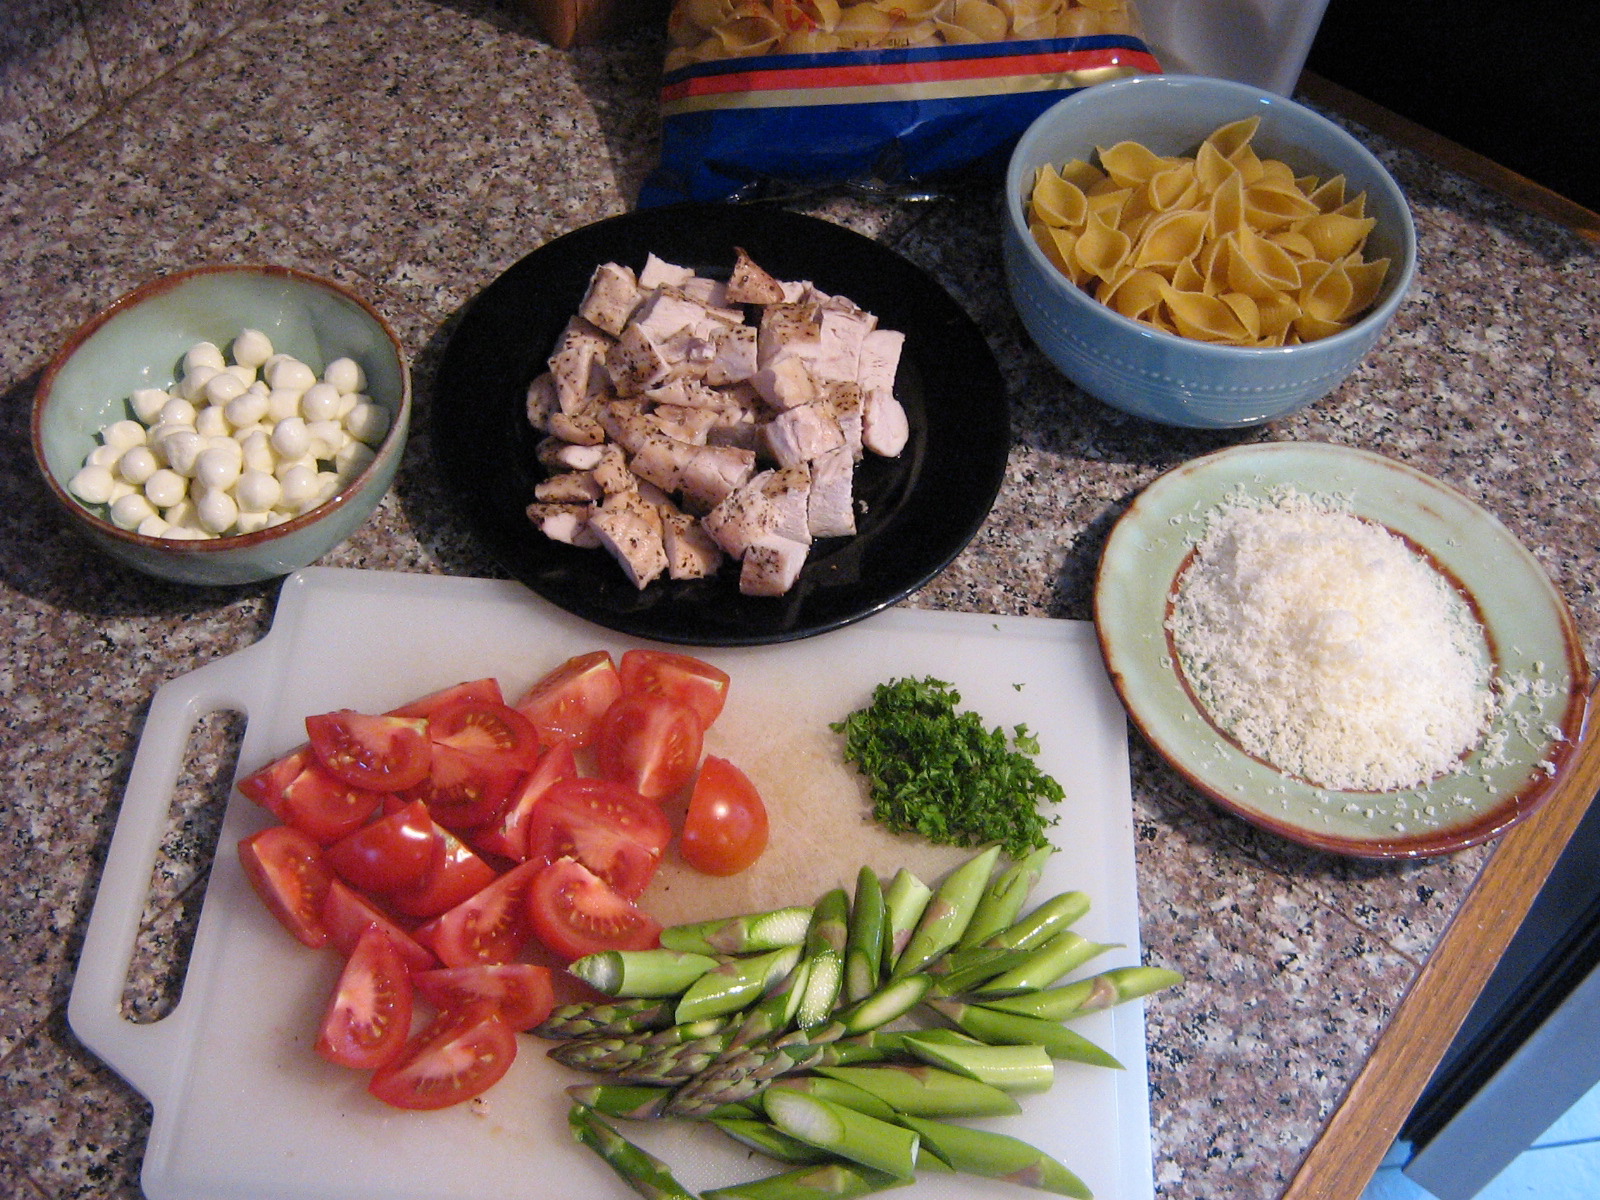
Bring a large pot of salted water to a boil for the pasta. Meanwhile, assemble the other ingredients:

a handful of cherry or grape tomatoes (about 6 or 7), cut in quarters

several spears of asparagus, cut into one inch pieces

2 oz of bocconcini – about 2 large balls cut into 1/4″ dice, or a handful of tiny pearl or cherry bocconcini

a few handfuls of freshly grated parmesan

a small palmful of chopped parsley

1 soup bowl full of medium/large pasta shells – pasta tends to double in volume when cooked, so start with half the amount (raw) that you want to end up with (cooked) (or about 4 oz raw pasta, if you won’t want to eyeball it)

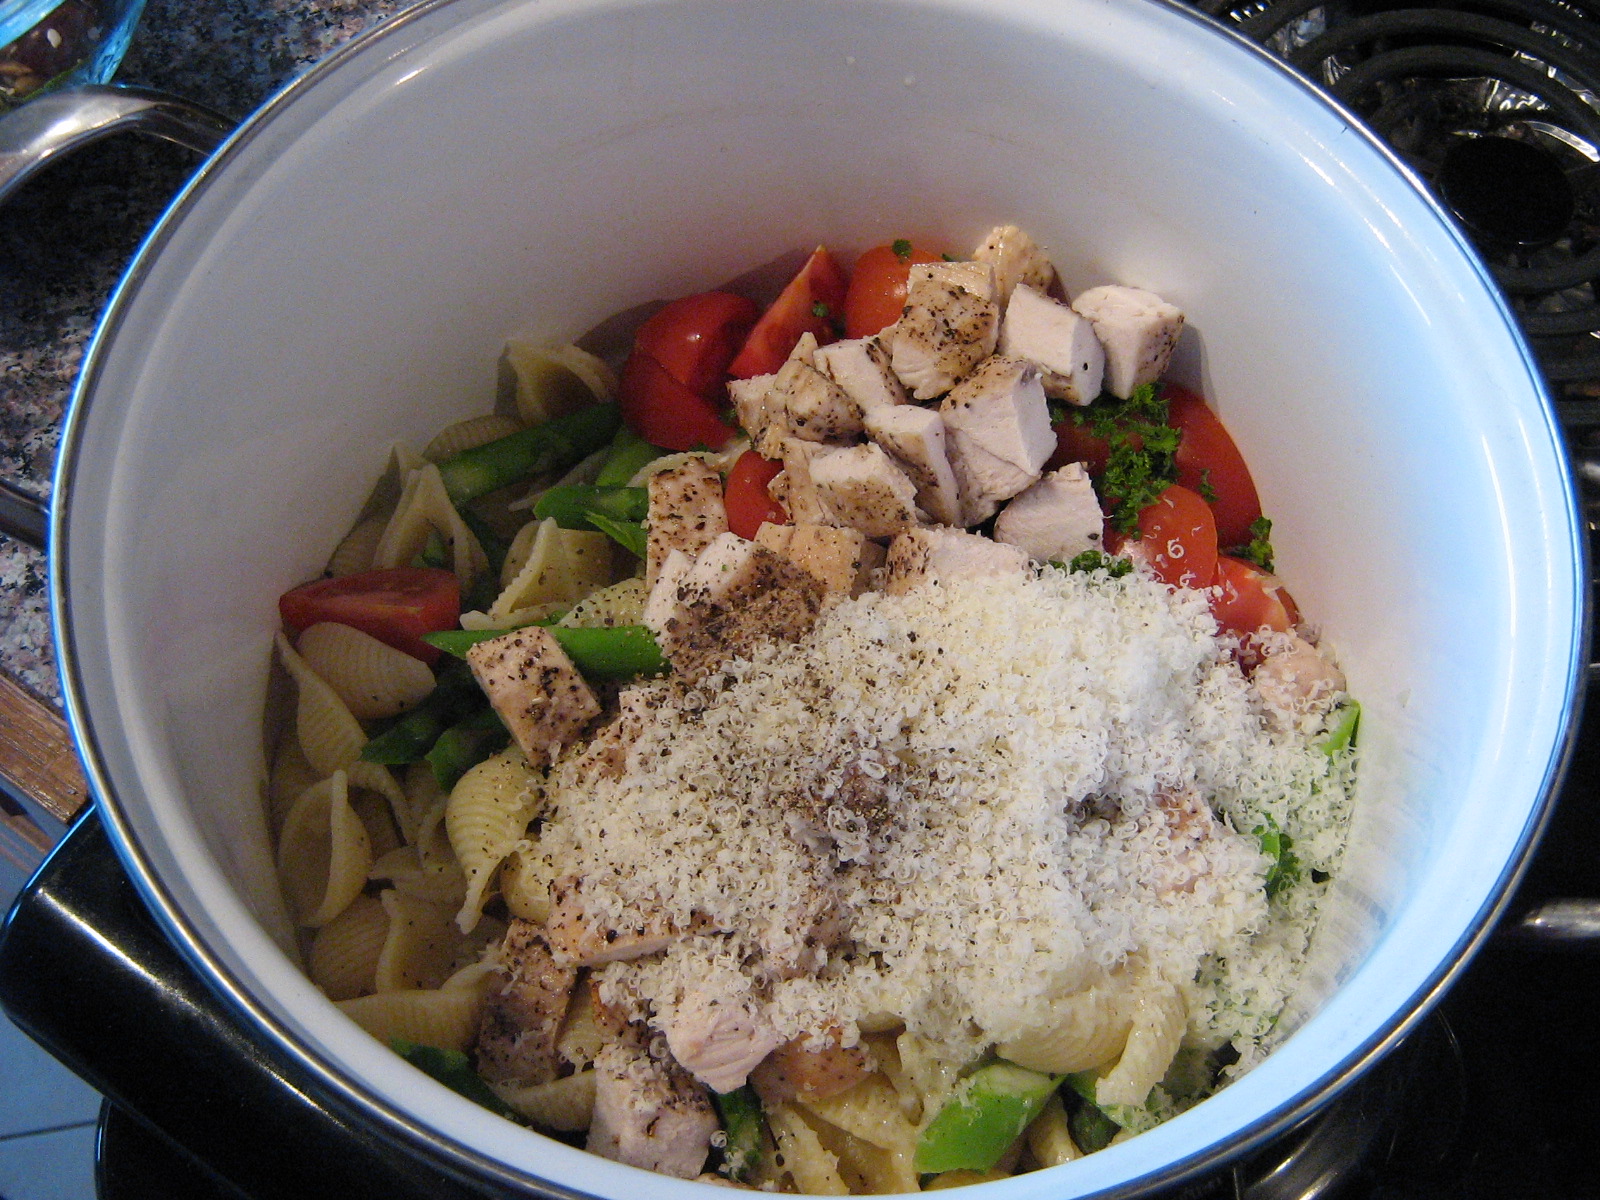
When the water boils, chuck in the pasta. When it is *just* al dente, toss in the asparagus and cook for about 30 seconds. Drain the pasta/asparagus in a colander, reserving about 1 cup of the pasta water. Working quickly so you don’t lose any residual heat, toss everything but the bocconcini in the pot along with:

about a tablespoon of butter

salt and pepper

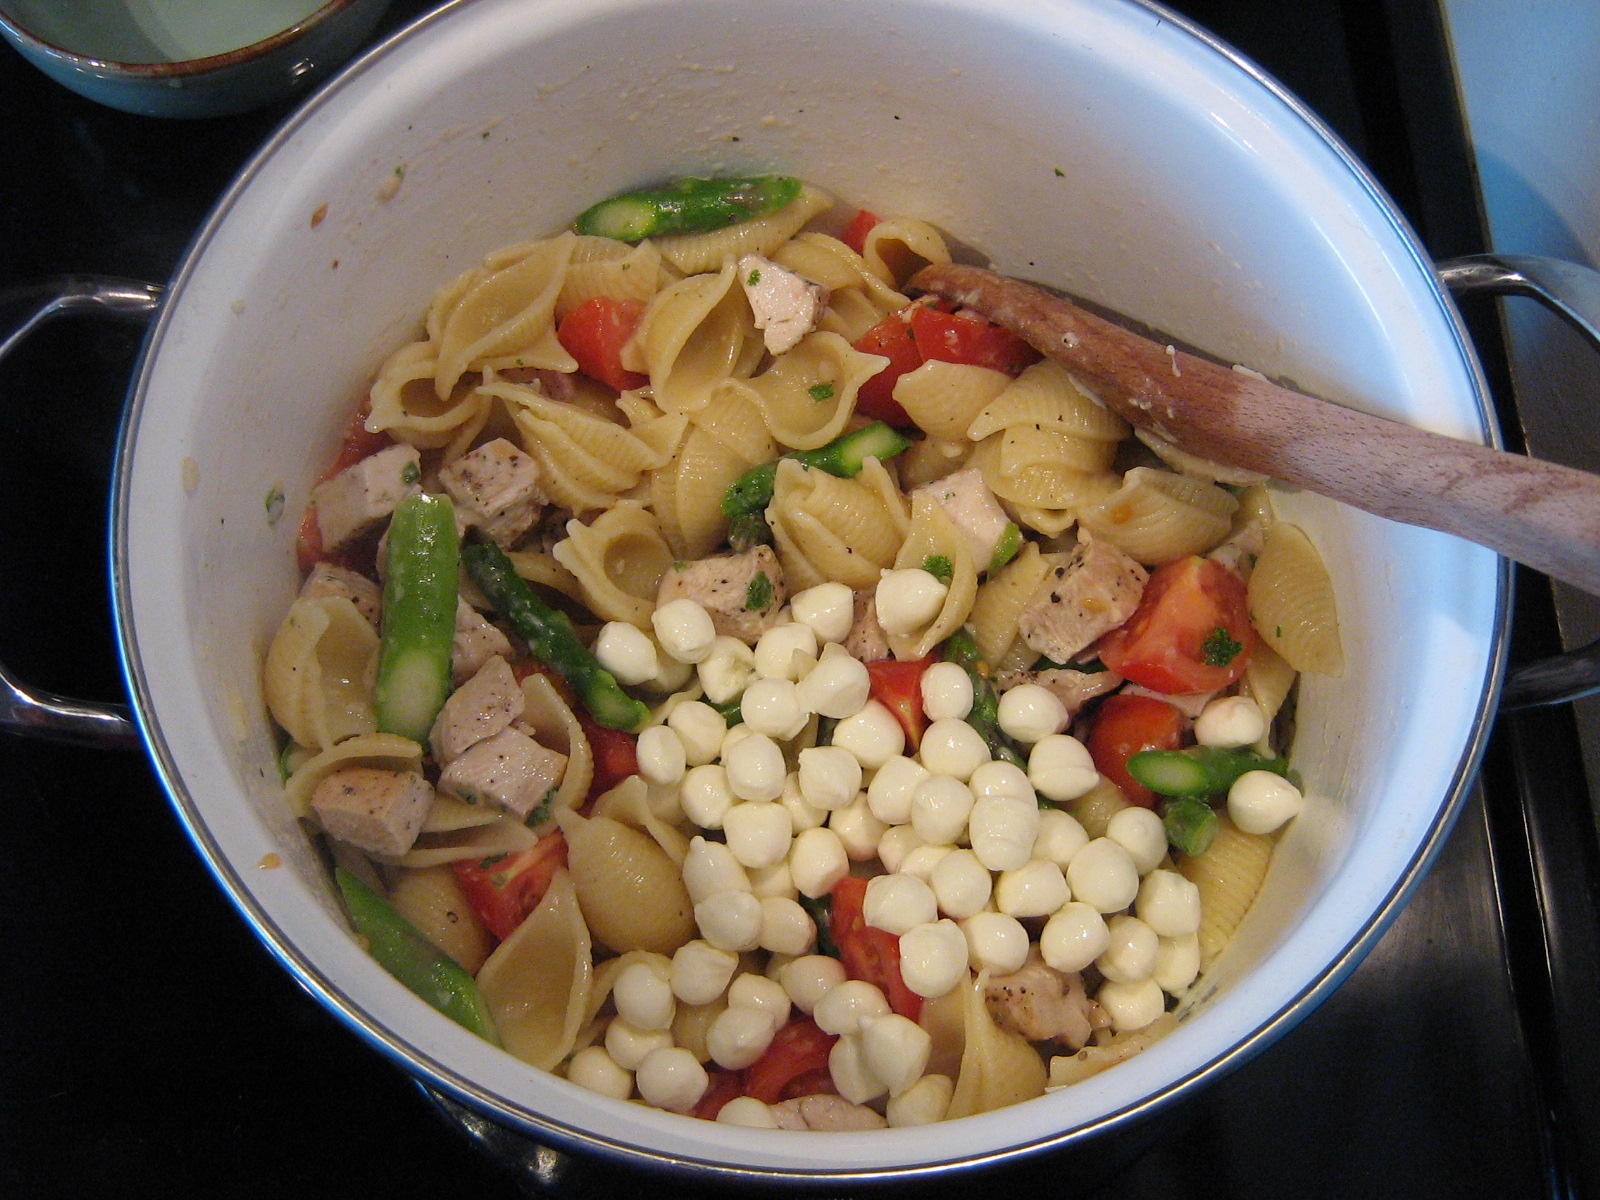
Stir to combine, adding the reserved pasta water a little at a time until you have a light sauce coating the pasta (you probably won’t need all the water). Stir in the bocconcini. Serve with more grated parmesan on top.

Filed Under: Pasta Dishes, Recipes Tagged With: bocconcini, chicken, cooking, dinner, food, pasta, recipe, tomatoes

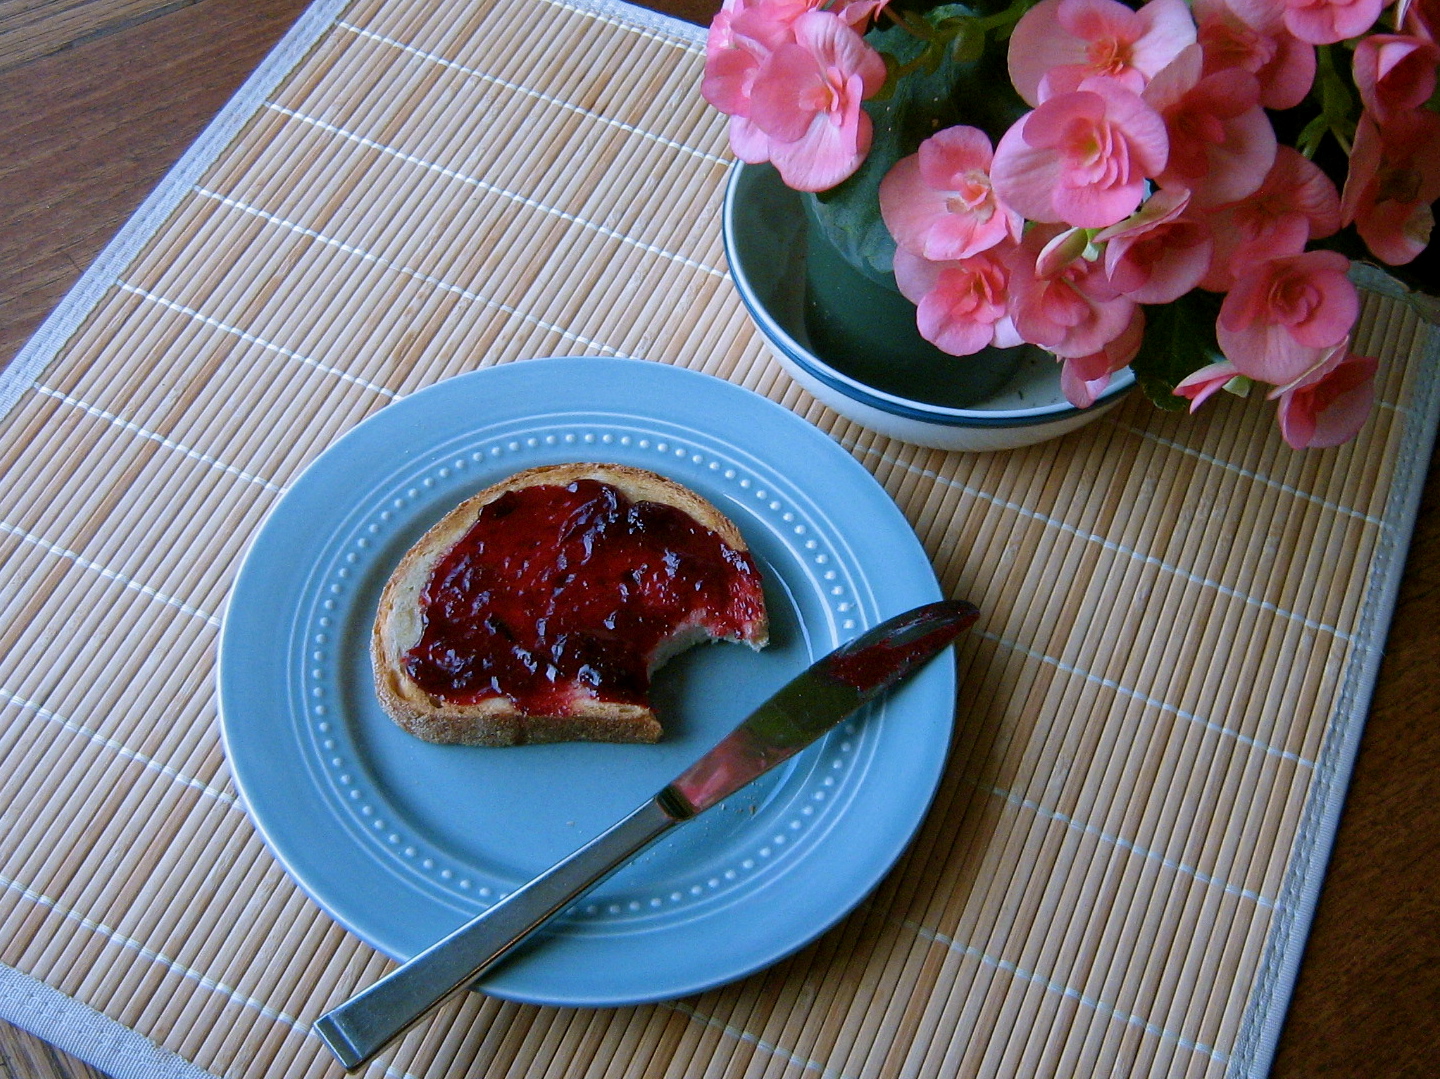
Spiced Plum and Strawberry-Vanilla Jams

September 20, 2011 By Korena in the Kitchen 1 Comment

After the success of the peach butter I made a little while ago, I have become seriously enamoured with making jam, inspired mostly by Food in Jars. I think what I like about this whole canning/preserving thing is that I get to make something delicious and sweet but don’t have to feel bad about eating it, because you don’t eat an entire batch of jam at once. I’ll admit that sometimes I feel a bit guilty after making a bunch of cookies, because it means I will be on a sugar binge until they’re all gone – because you gotta eat them while they’re fresh, right? But jam is different. I feel so thrifty and satisfied looking at the filled jars on the shelf – plus there’s all this fantastic fruit around right now, and what better way to use it than to save it for later!

Be sure to follow the proper procedure for canning to ensure that the food is shelf-stable and safe to eat. I follow the canning instructions from Canadian Living.

Spiced Plum Jam

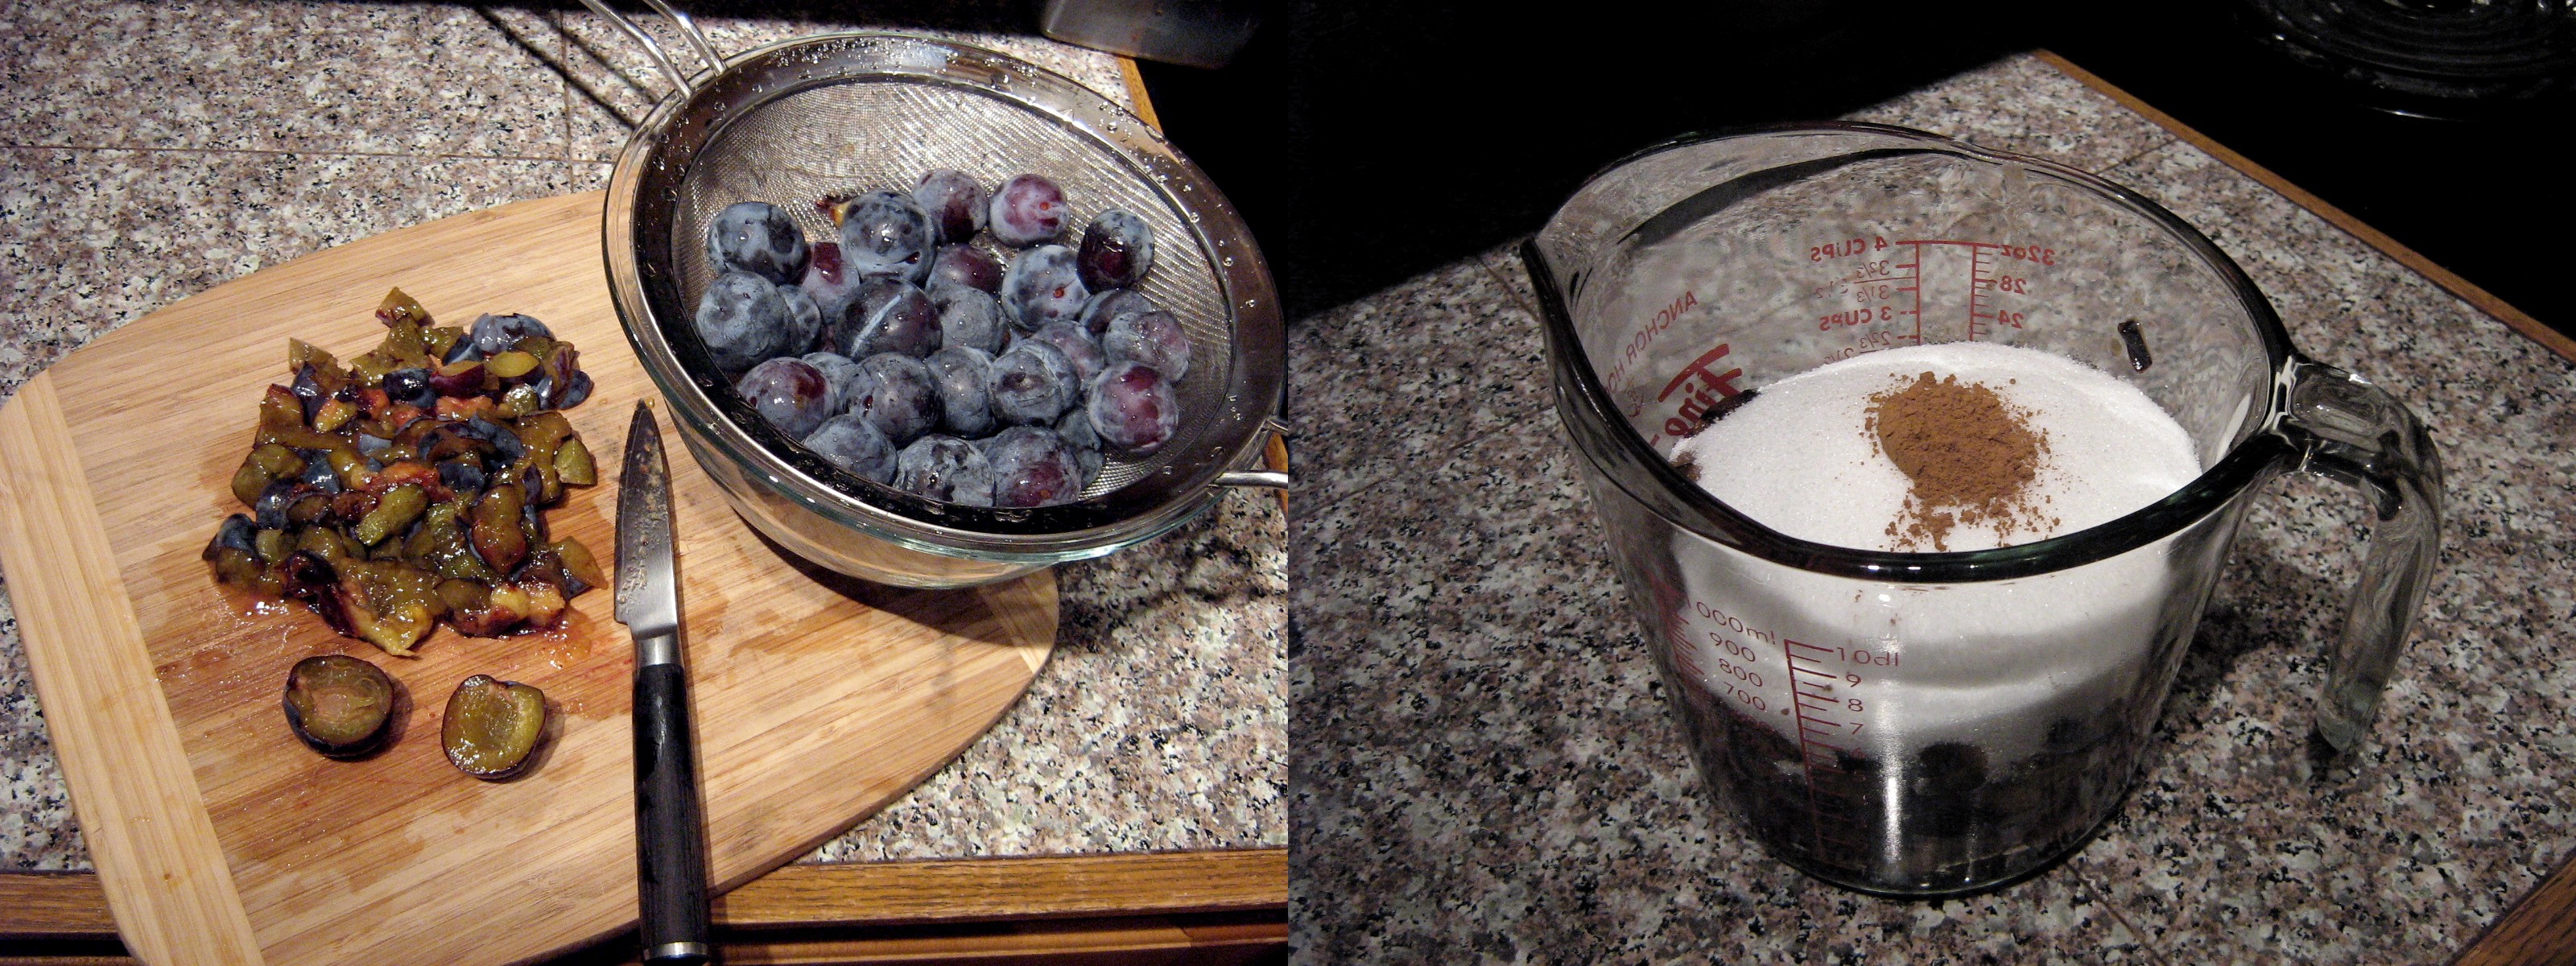
Inspired by the Honey-Sweetened Skillet Stonefruit Jam on Food in Jars. I didn’t have any honey but I did have a bowlful of prune plums from the tree in our backyard and this seemed like the perfect thing to do with a small amount of fruit before it went bad! The cinnamon comes from the plum coffeecake with cinnamon struesel that my mum used to make.

Makes slightly more than enough to fill 2 half-pint jars.

Combine and let macerate over night:

2 2/3 cups pitted and chopped prune plums

2/3 cups granulated sugar

1/2 tsp cinnamon

The next day, pour the macerated fruit into a skillet and add:

2/3 cups granulated sugar

1/4 tsp cinnamon (or a cinnamon stick)

juice of 1/2 lemon

(If you want, you can skip the macerating step and just combine all the ingredients in the skillet.)

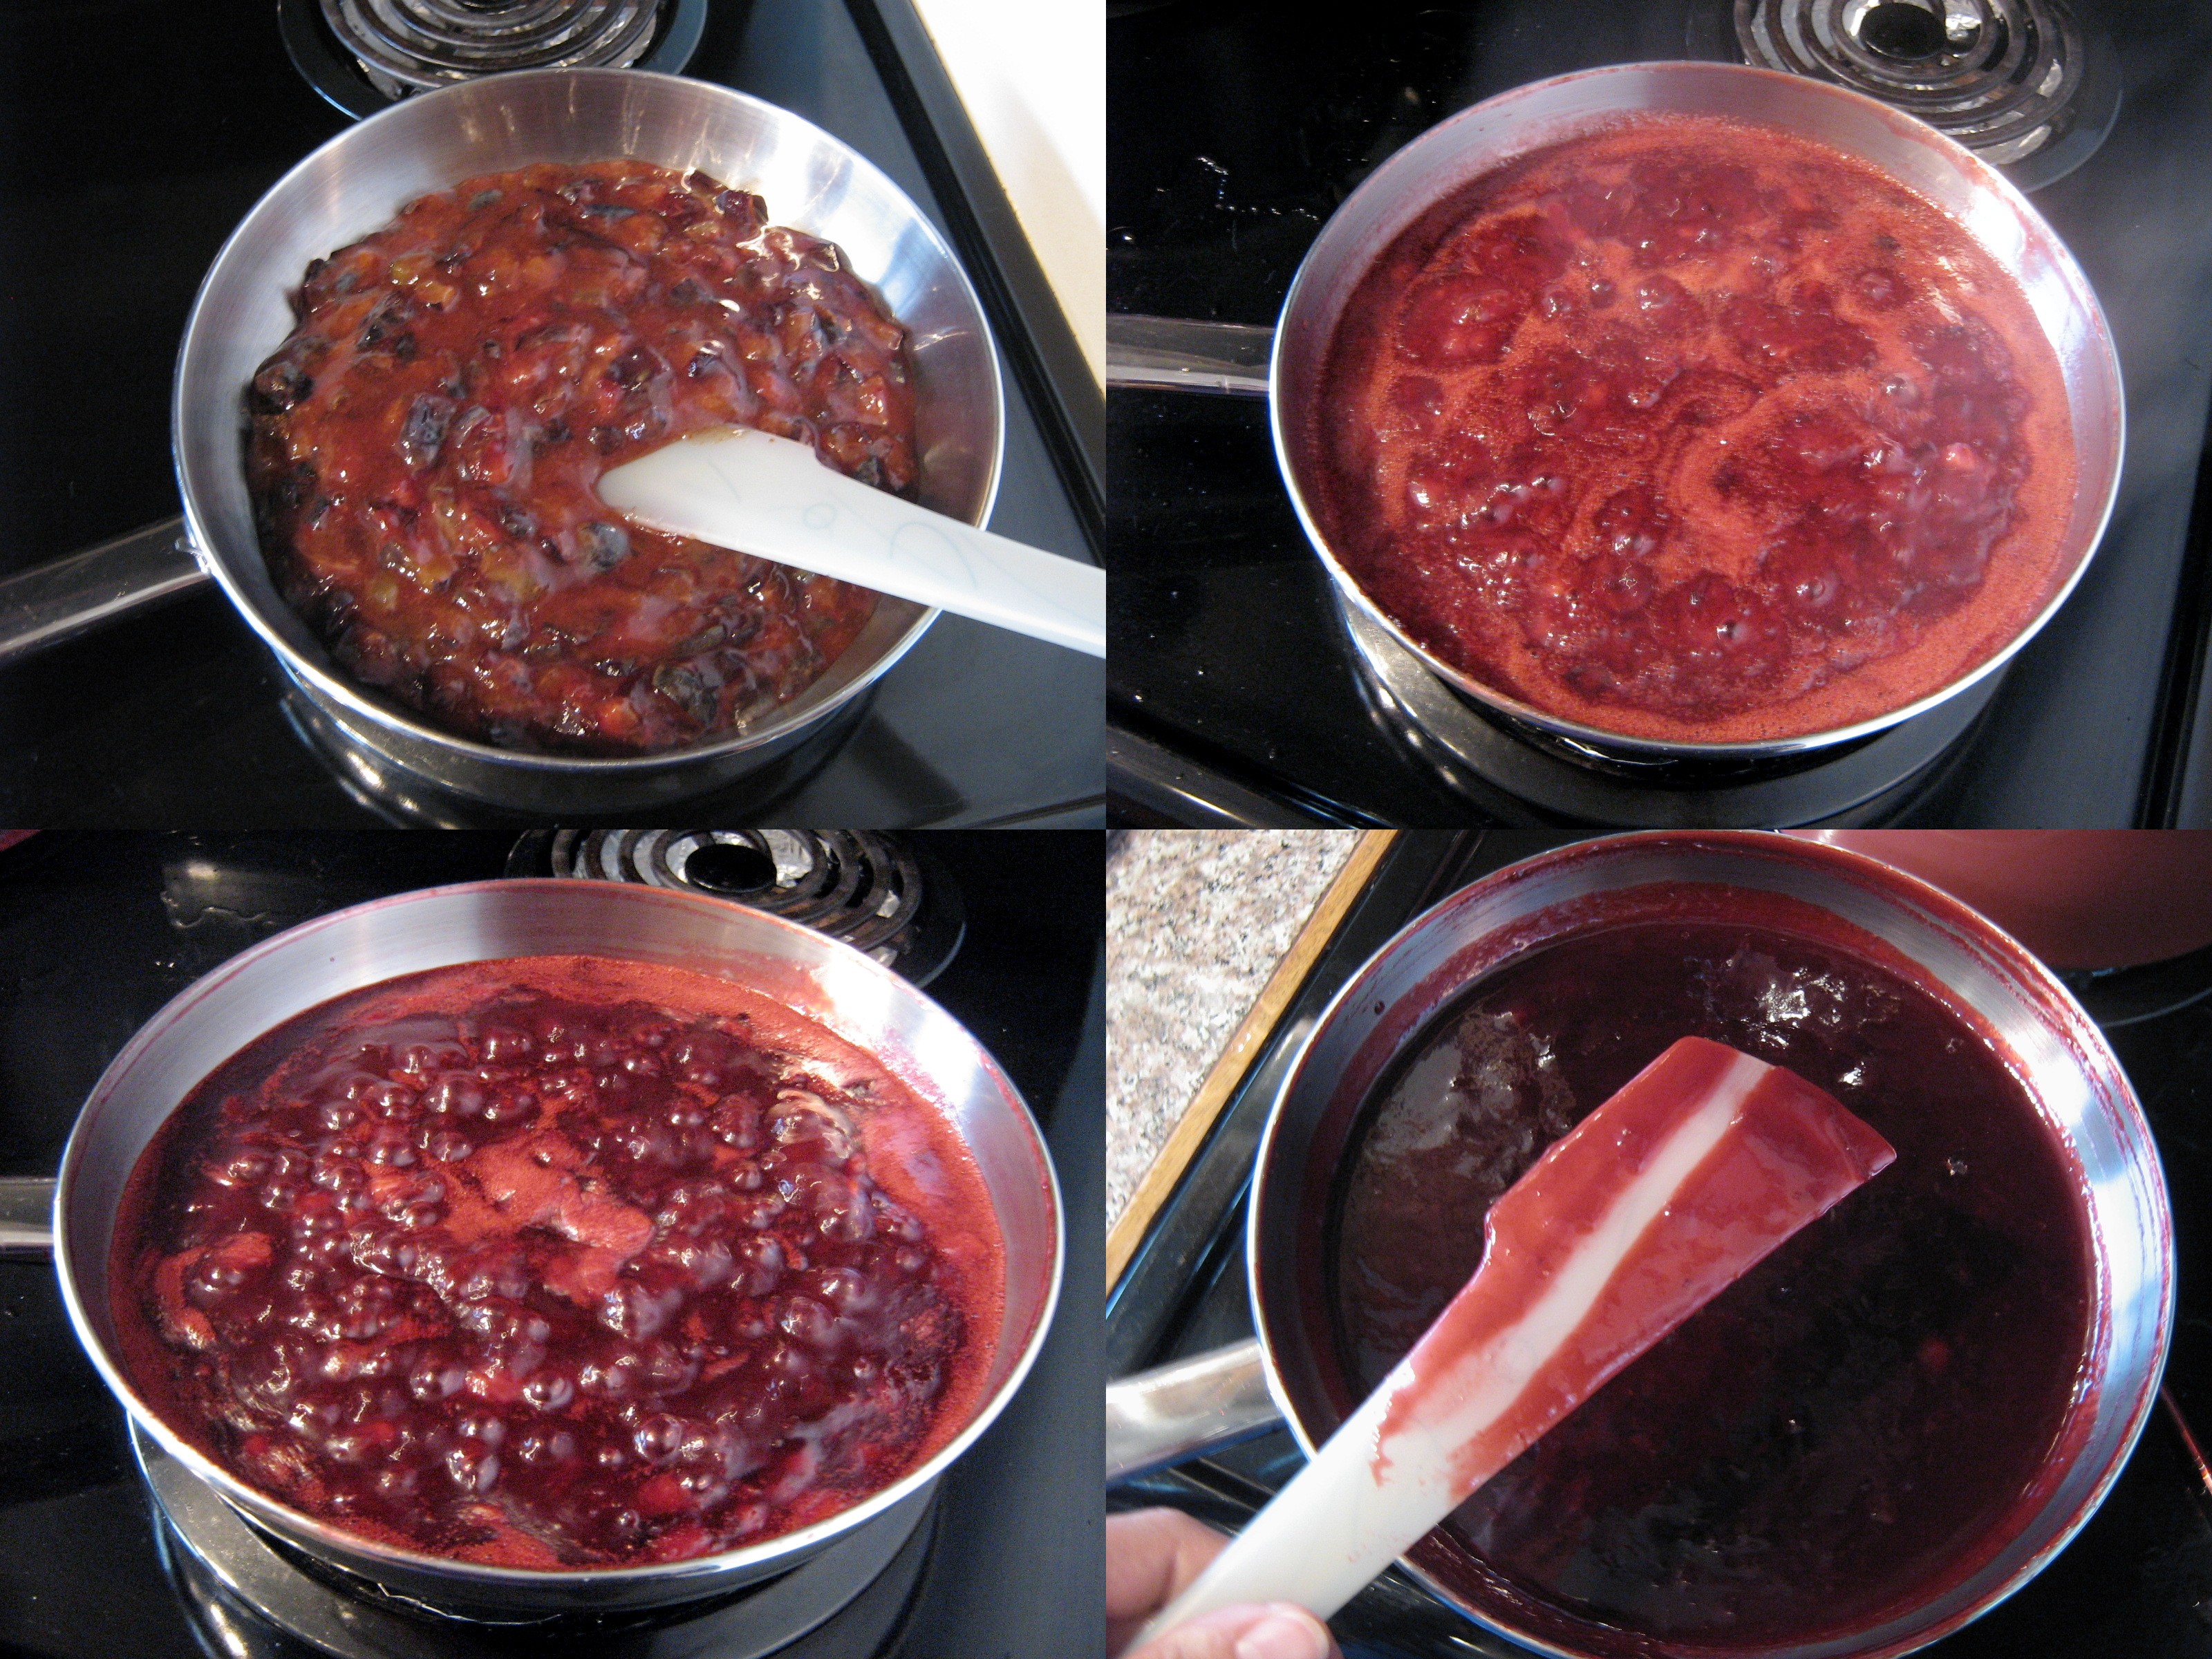
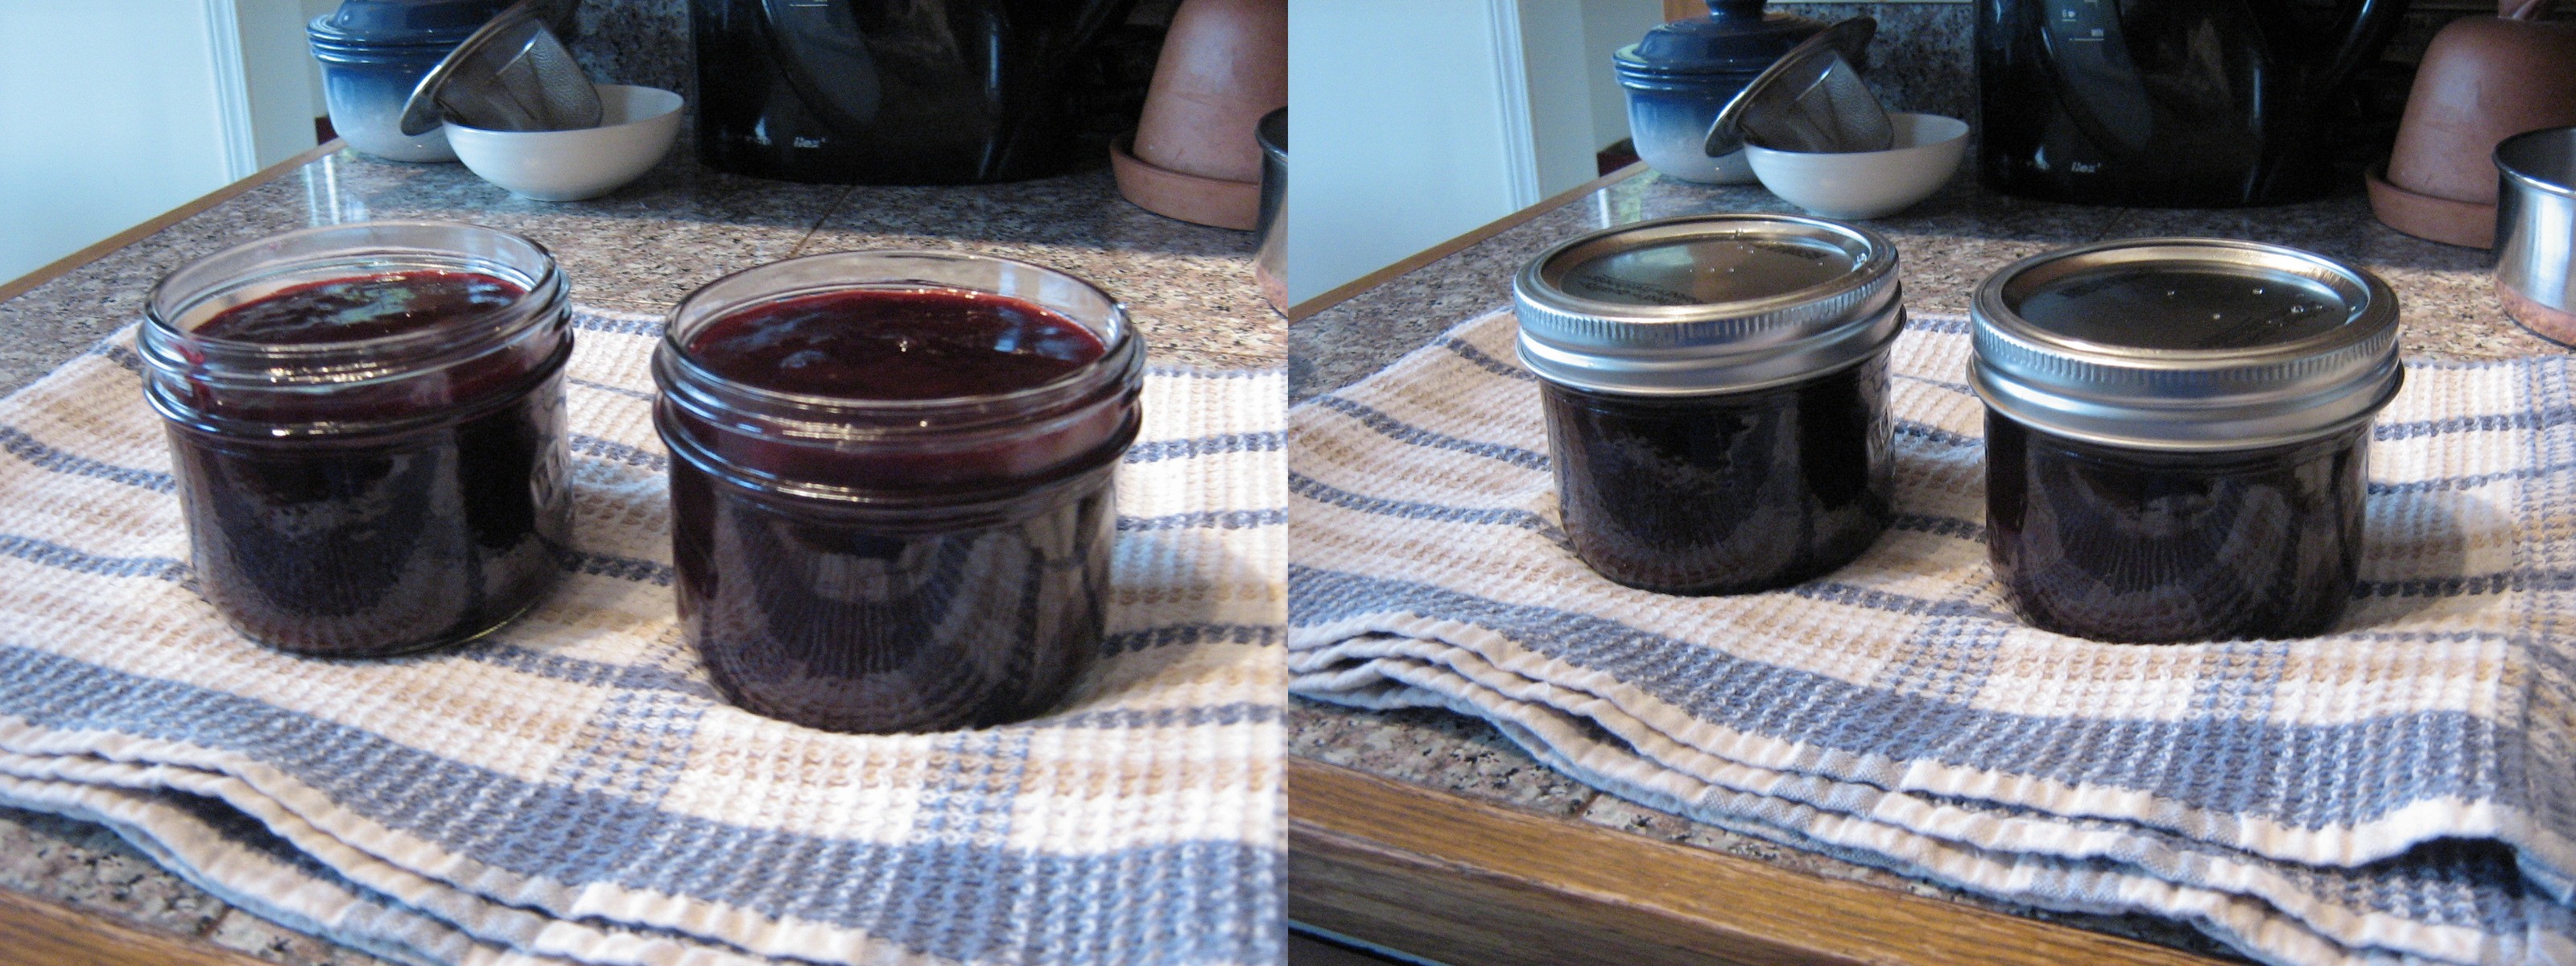
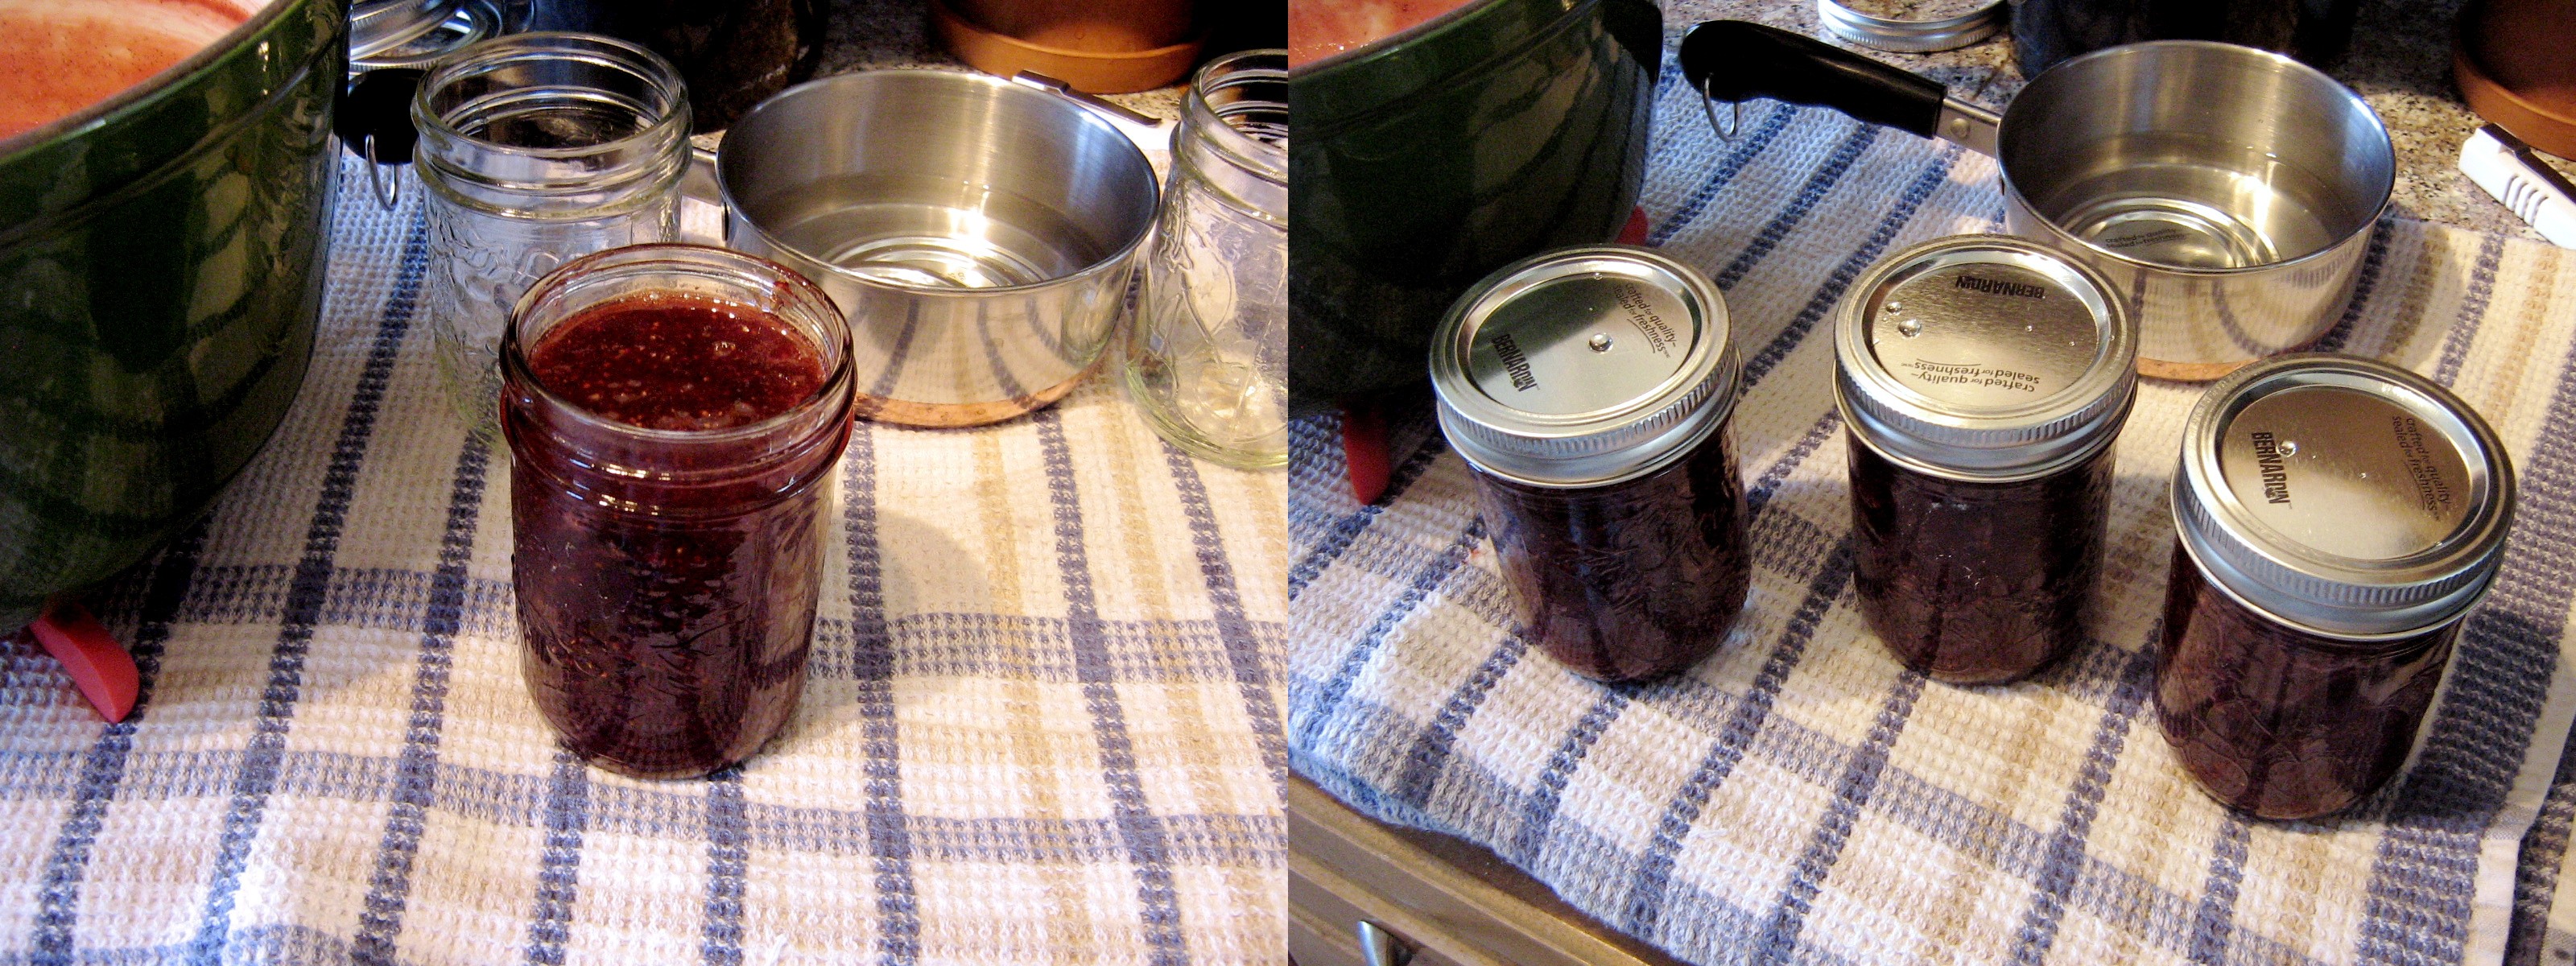
Cook over medium-high heat, stirring, until it starts to thicken, get syrupy, and turn a deep reddish-purple. You know it is done when it reaches 220˚F or when you can draw a line with you finger through the jam on the back of the spoon. Remove the cinnamon stick, if using (or break it in half to put in each jar). Pour the jam into two sterilized half-pint jars and process in a boiling water bath for 10 minutes. Sit back and listen for the “ping” as the jars seal :).

Strawberry-Vanilla Jam

Again, inspired by the Small Batch Strawberry Vanilla Jam on Food in Jars. I knew I wanted to try this recipe and I just happened to find these local strawberries on sale – end of the season! I only had one and a half vanilla beans in the cupboard, so I added a little vanilla extract as well (feel free to use more vanilla beans instead).

Makes exactly enough to fill 4 half-pint jars.

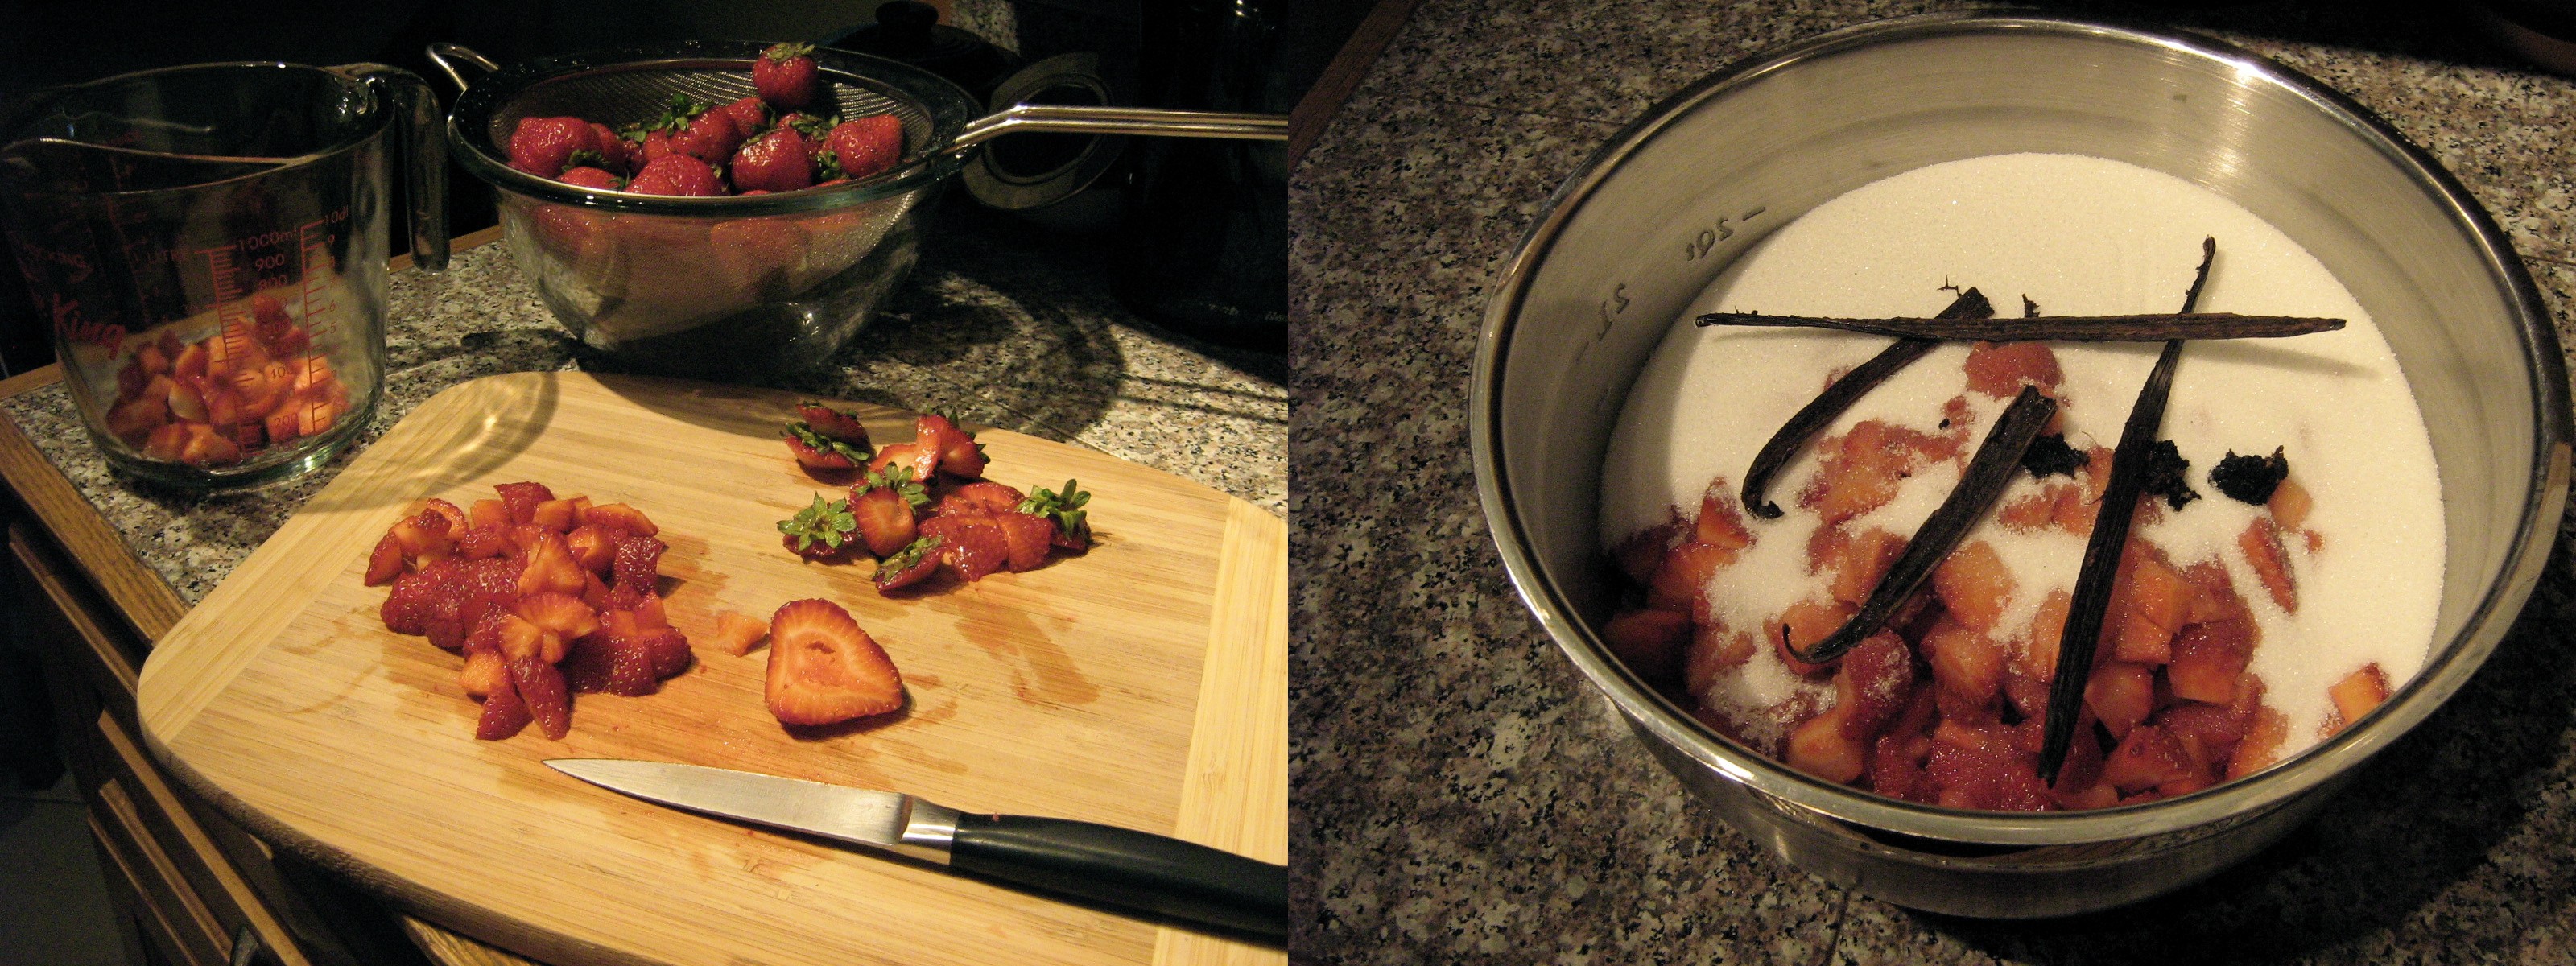
Combine and macerate over night:

2 cups hulled and chopped strawberries (about 2.5 lbs)

1 1/2 cup granulated sugar

1 1/2 vanilla bean pods (split and scraped) and seeds

The next day, pour the macerated fruit into a large heavy pot and add:

1 1/2 cups granulated sugar

1 tsp vanilla extract

juice of 1 1/2 lemons or limes

(If you want, you can skip the macerating step and just combine all the ingredients in the pot.)

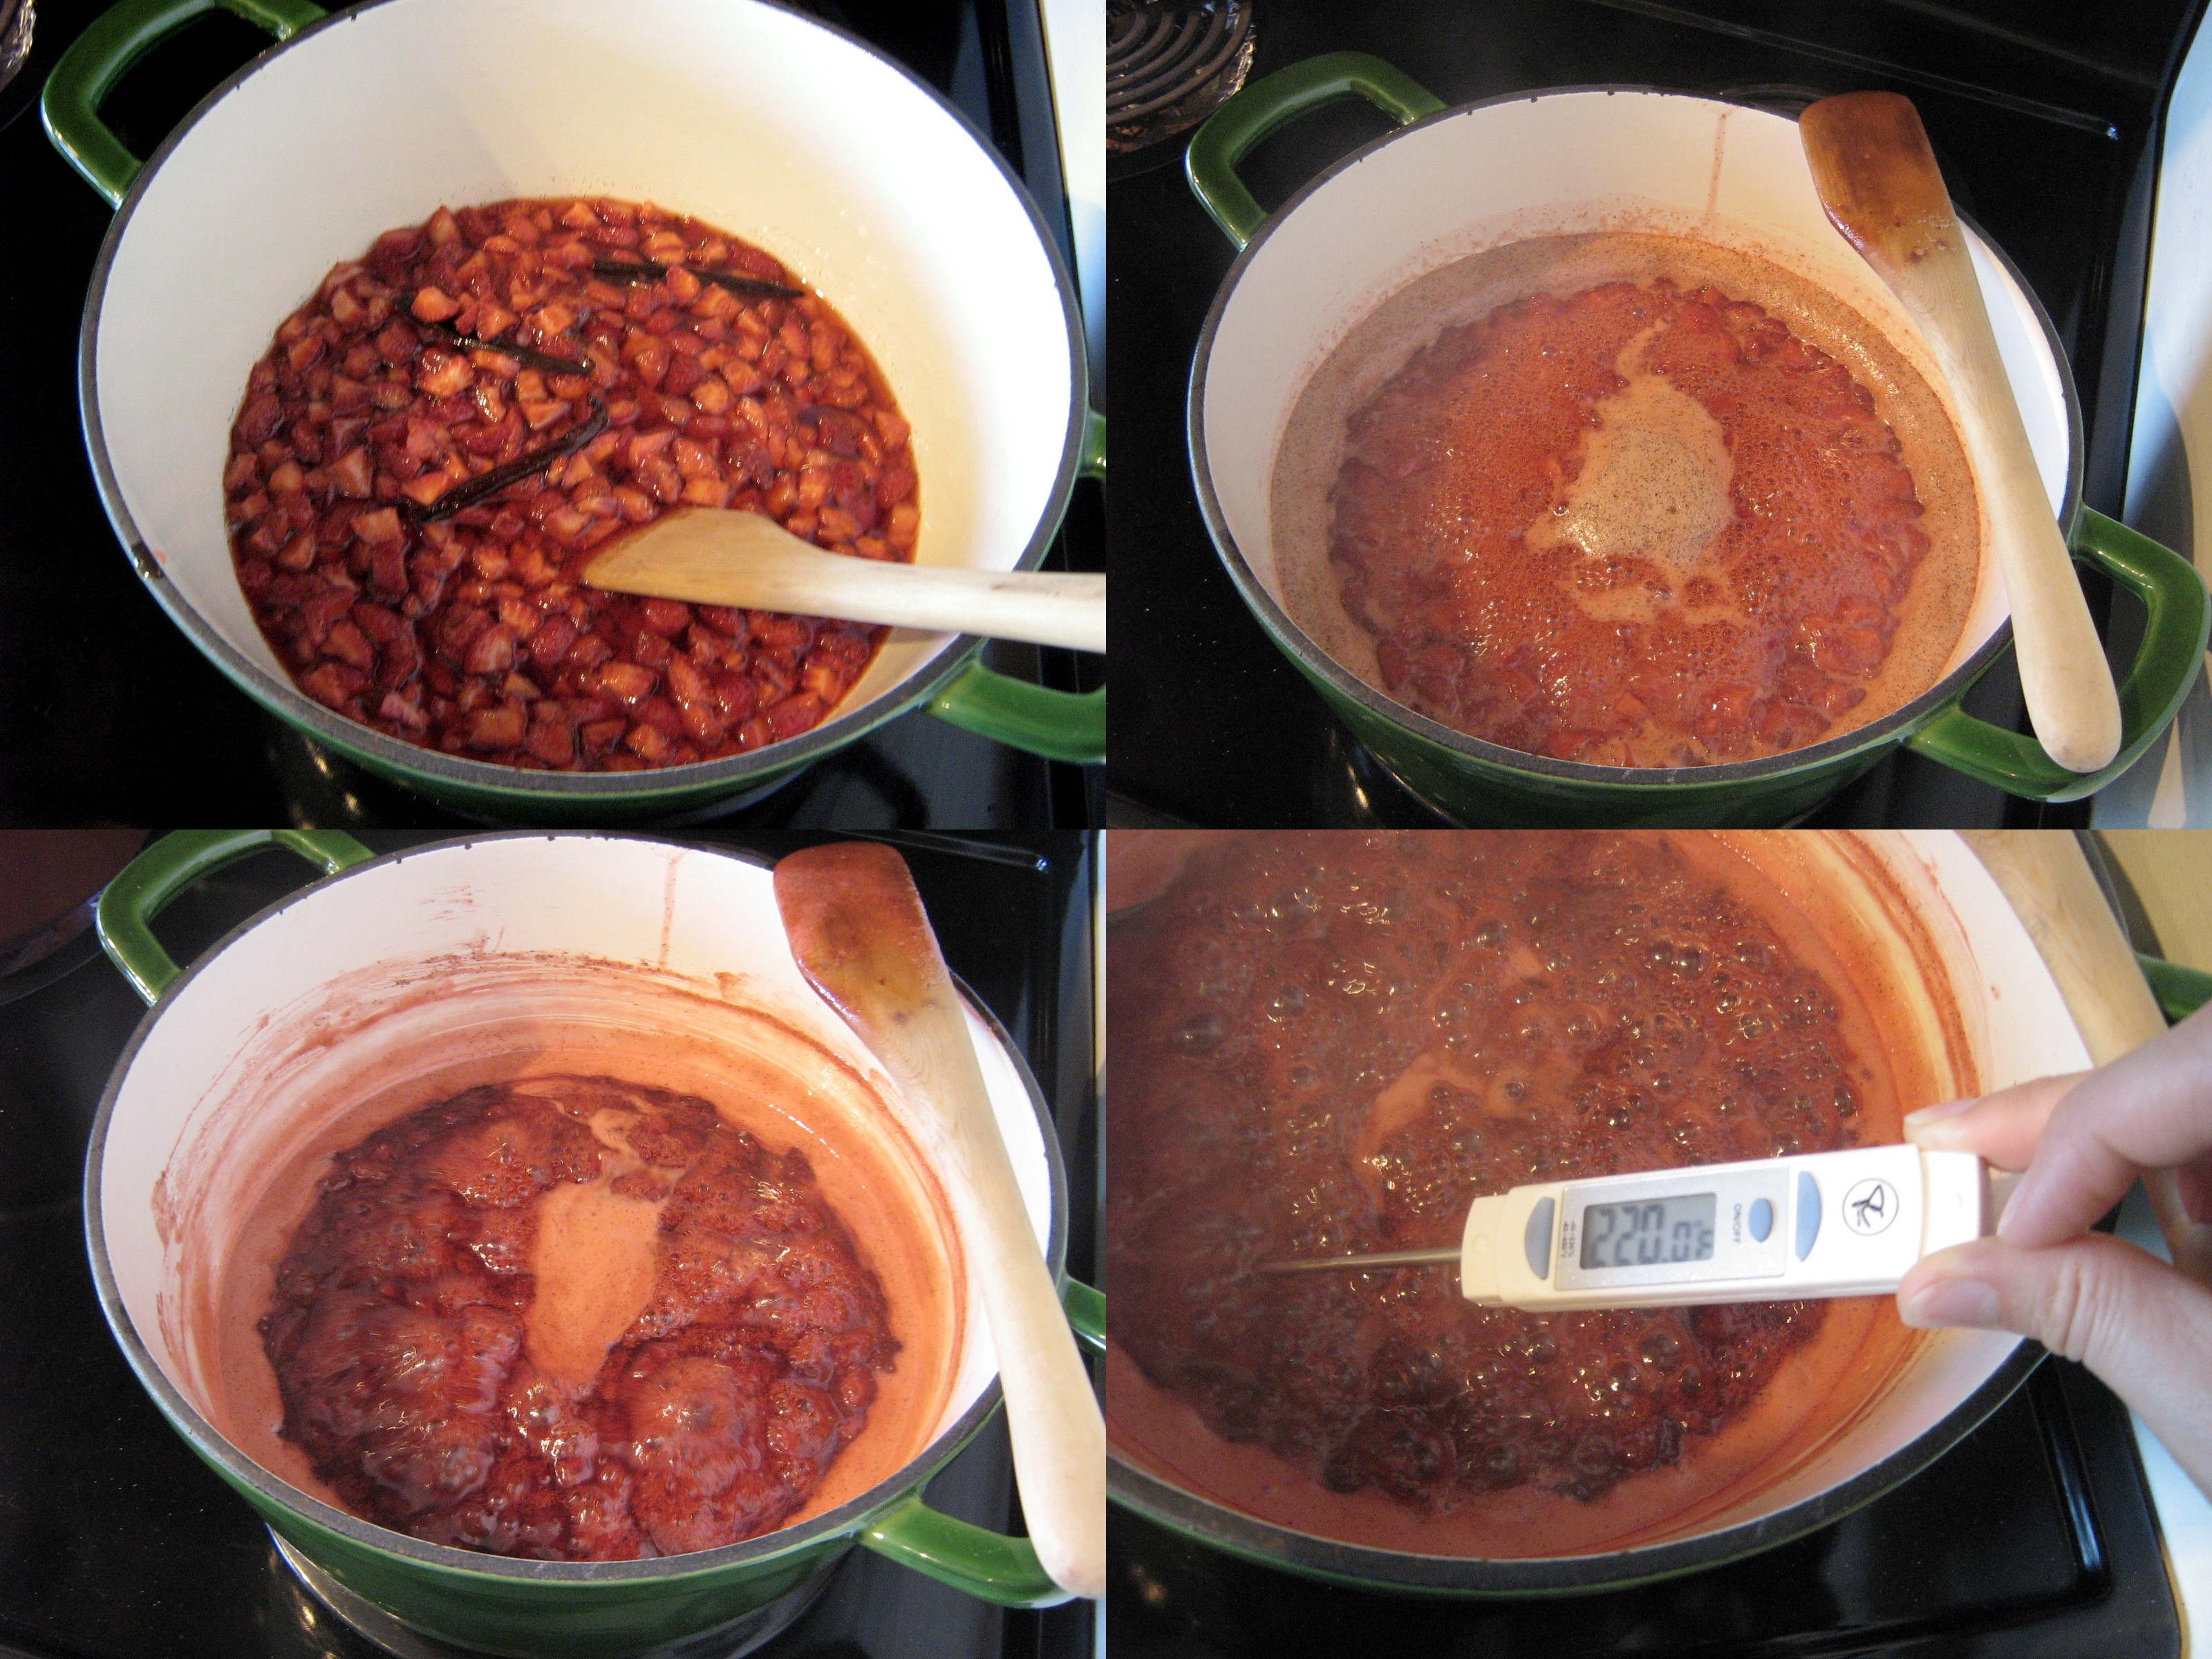
Cook over medium-high heat, stirring, until it starts to thicken, get syrupy, and turn a darker red. You know it is done when it reaches 220˚F or when you can draw a line with you finger through the jam on the back of the spoon. Pour the jam into four sterilized half-pint jars, with a piece of vanilla bean in each jar, and process in a boiling water bath for 10 minutes. Sit back and listen for the “ping” as the jars seal :).

Filed Under: Drinks & Condiments, Fruit, Recipes Tagged With: canning, cooking, food, fruit, jam, preserving, recipe

Chili Pepper Pork Chops with Tequila

September 15, 2011 By Korena in the Kitchen 2 Comments

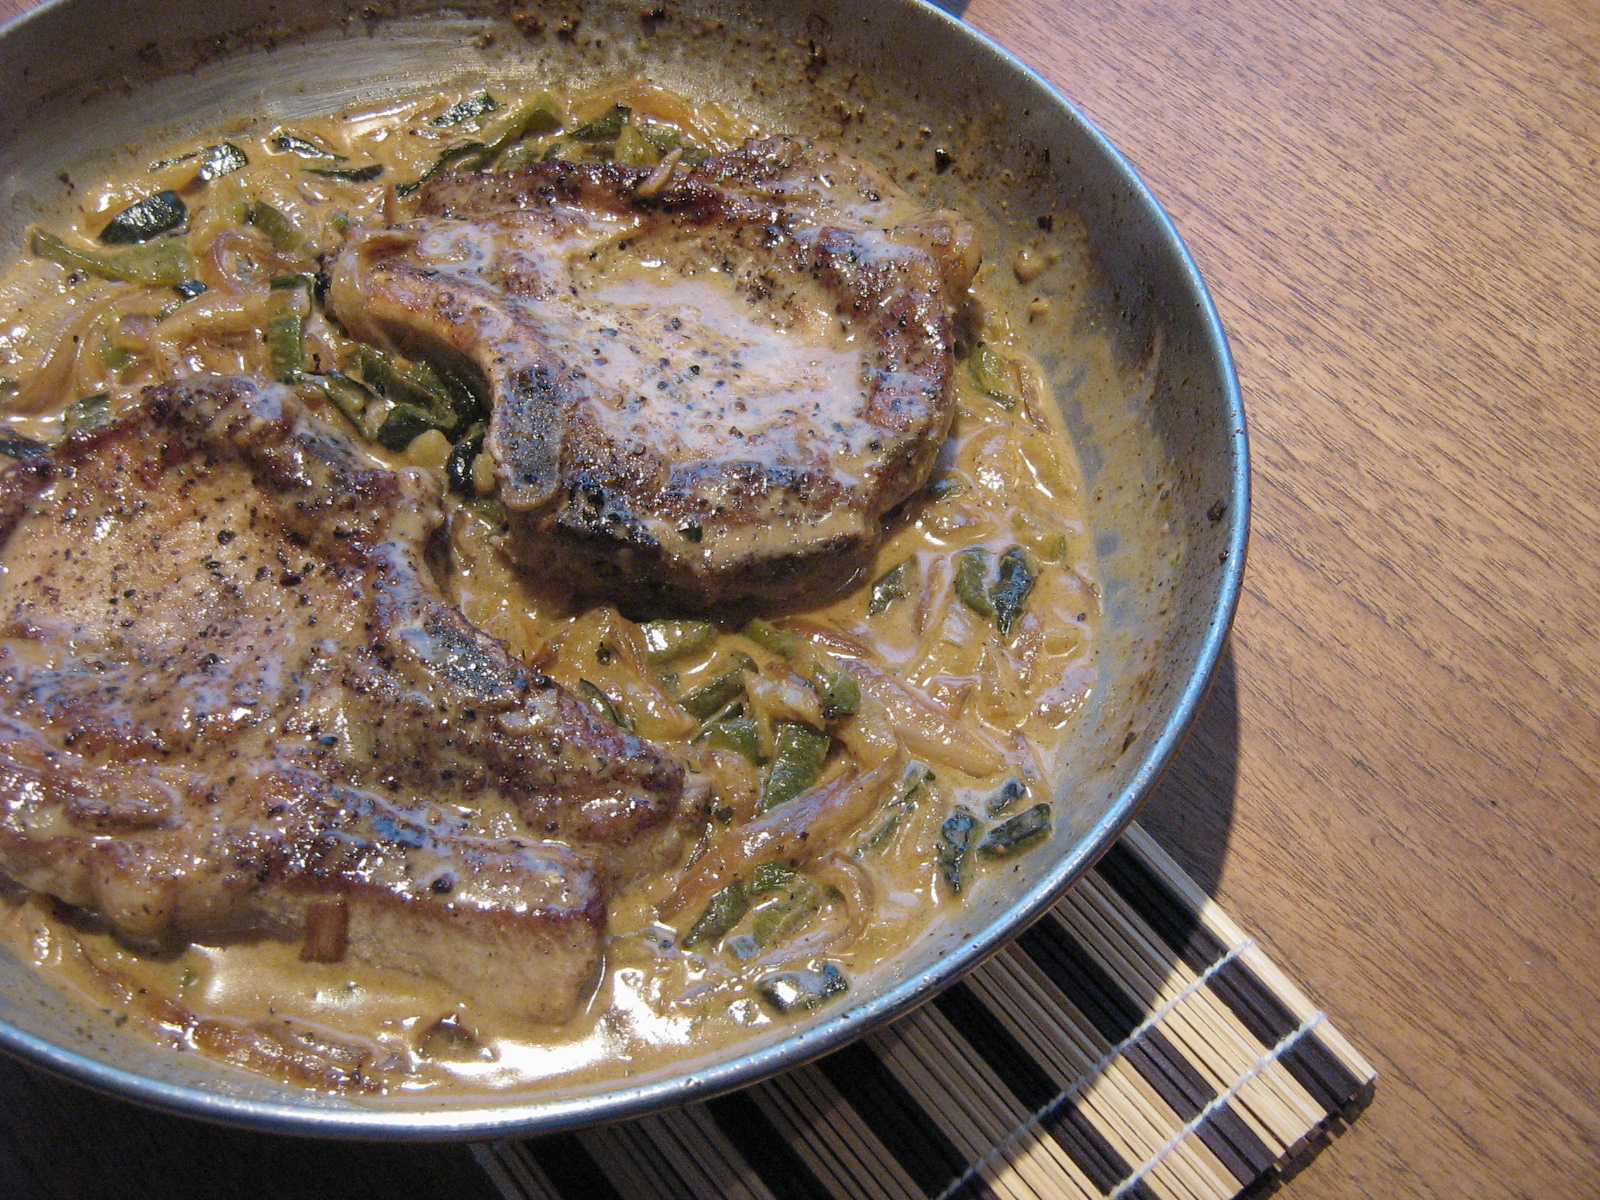
We have a recipe from Nate’s parents involving baked pork loin with green chili peppers and onions in a creamy sauce made with a little sour cream. With those ingredients you can’t really go wrong, but I still decided to play around with it a bit. I used bone-in pork chops (the bone adds more flavour and keeps them juicy) instead of pork loin, roasted peppers instead of canned jalapenos, and added some cumin. I also added tequila because – well, why not? I was feeling a slightly Mexican vibe from the peppers and cumin and it just seemed right. Turns out it was!

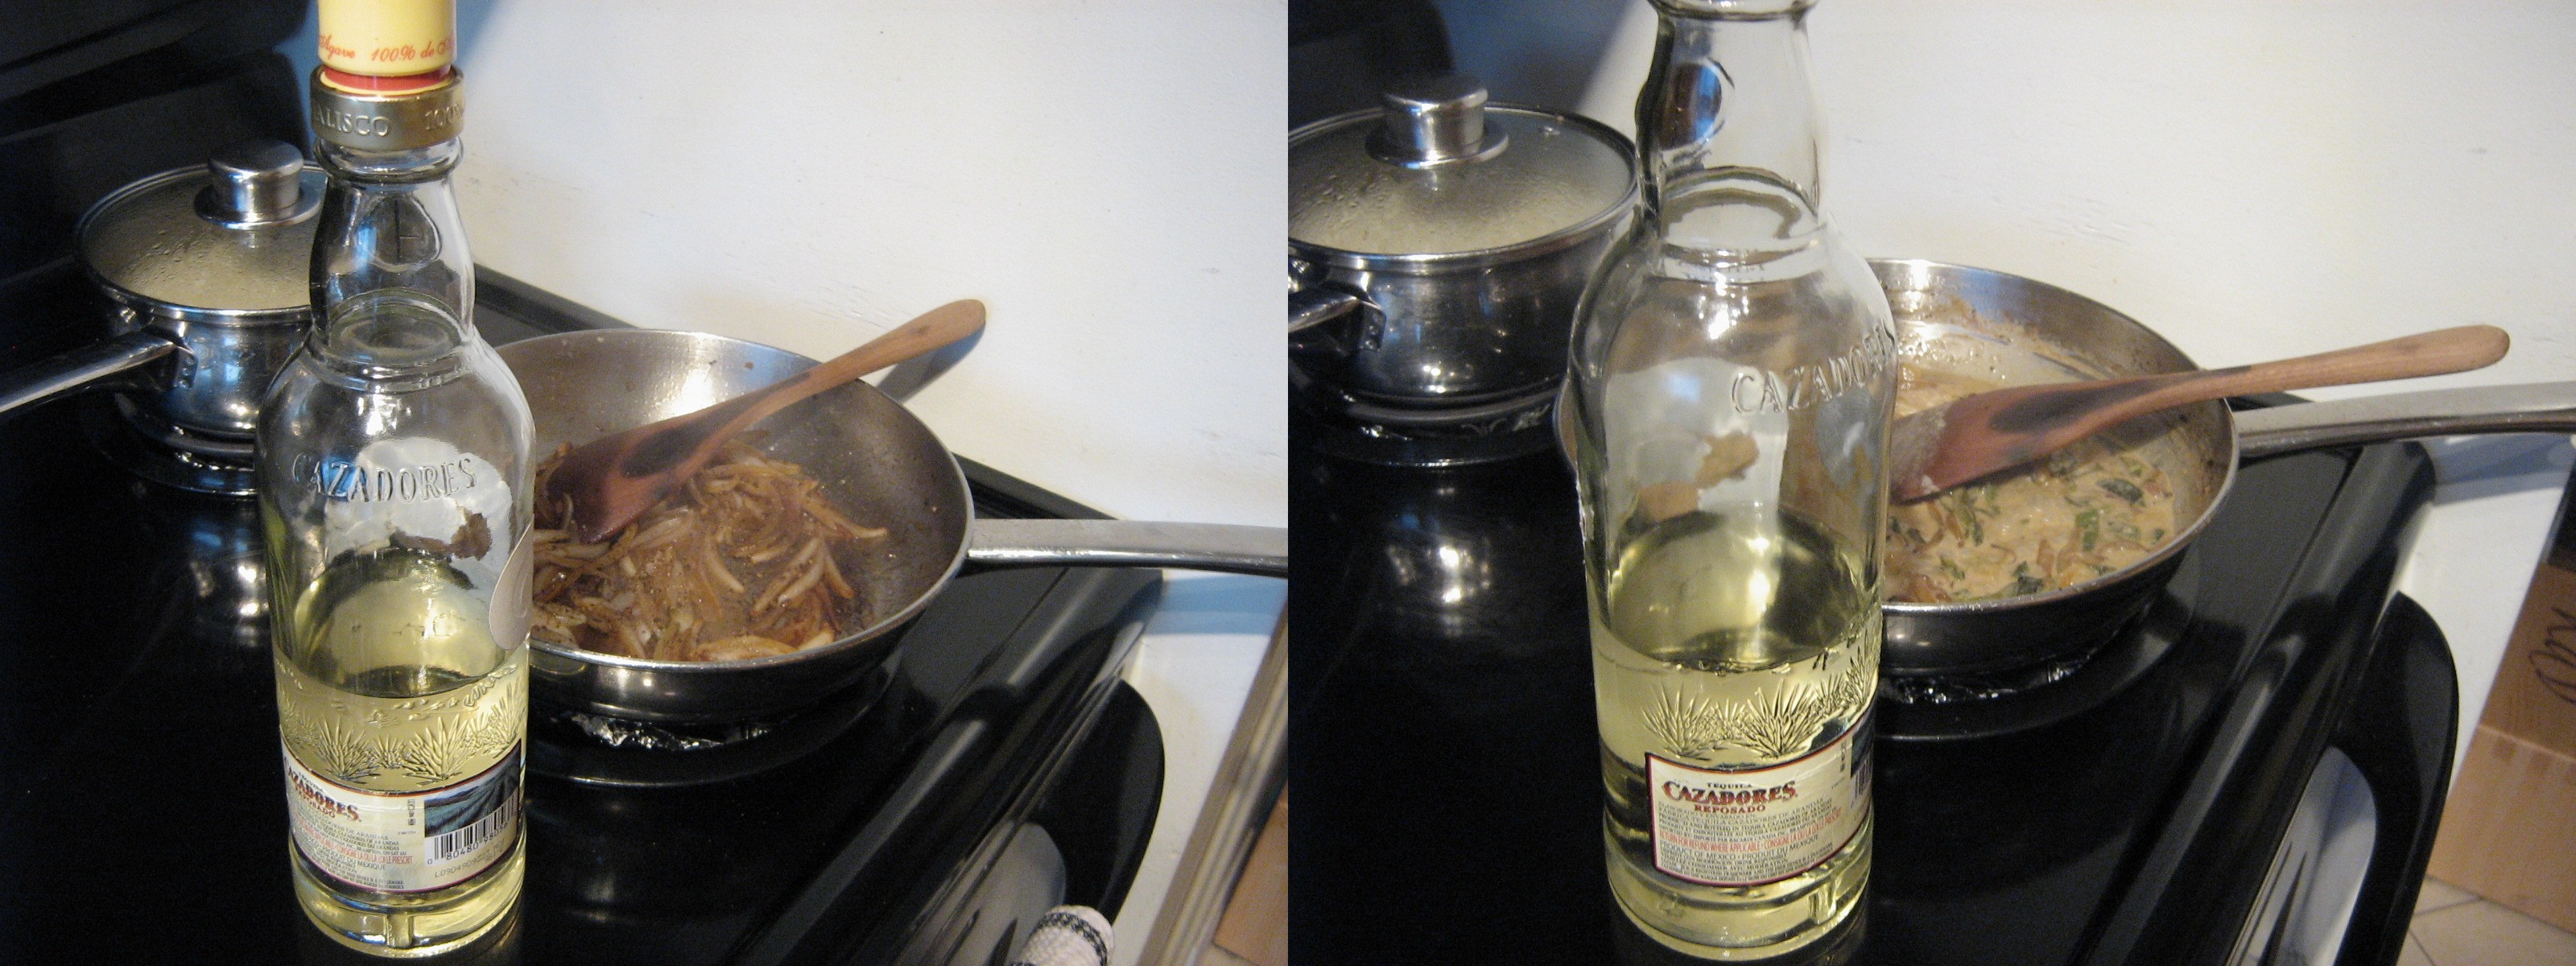
Actually I added tequila twice… 😉

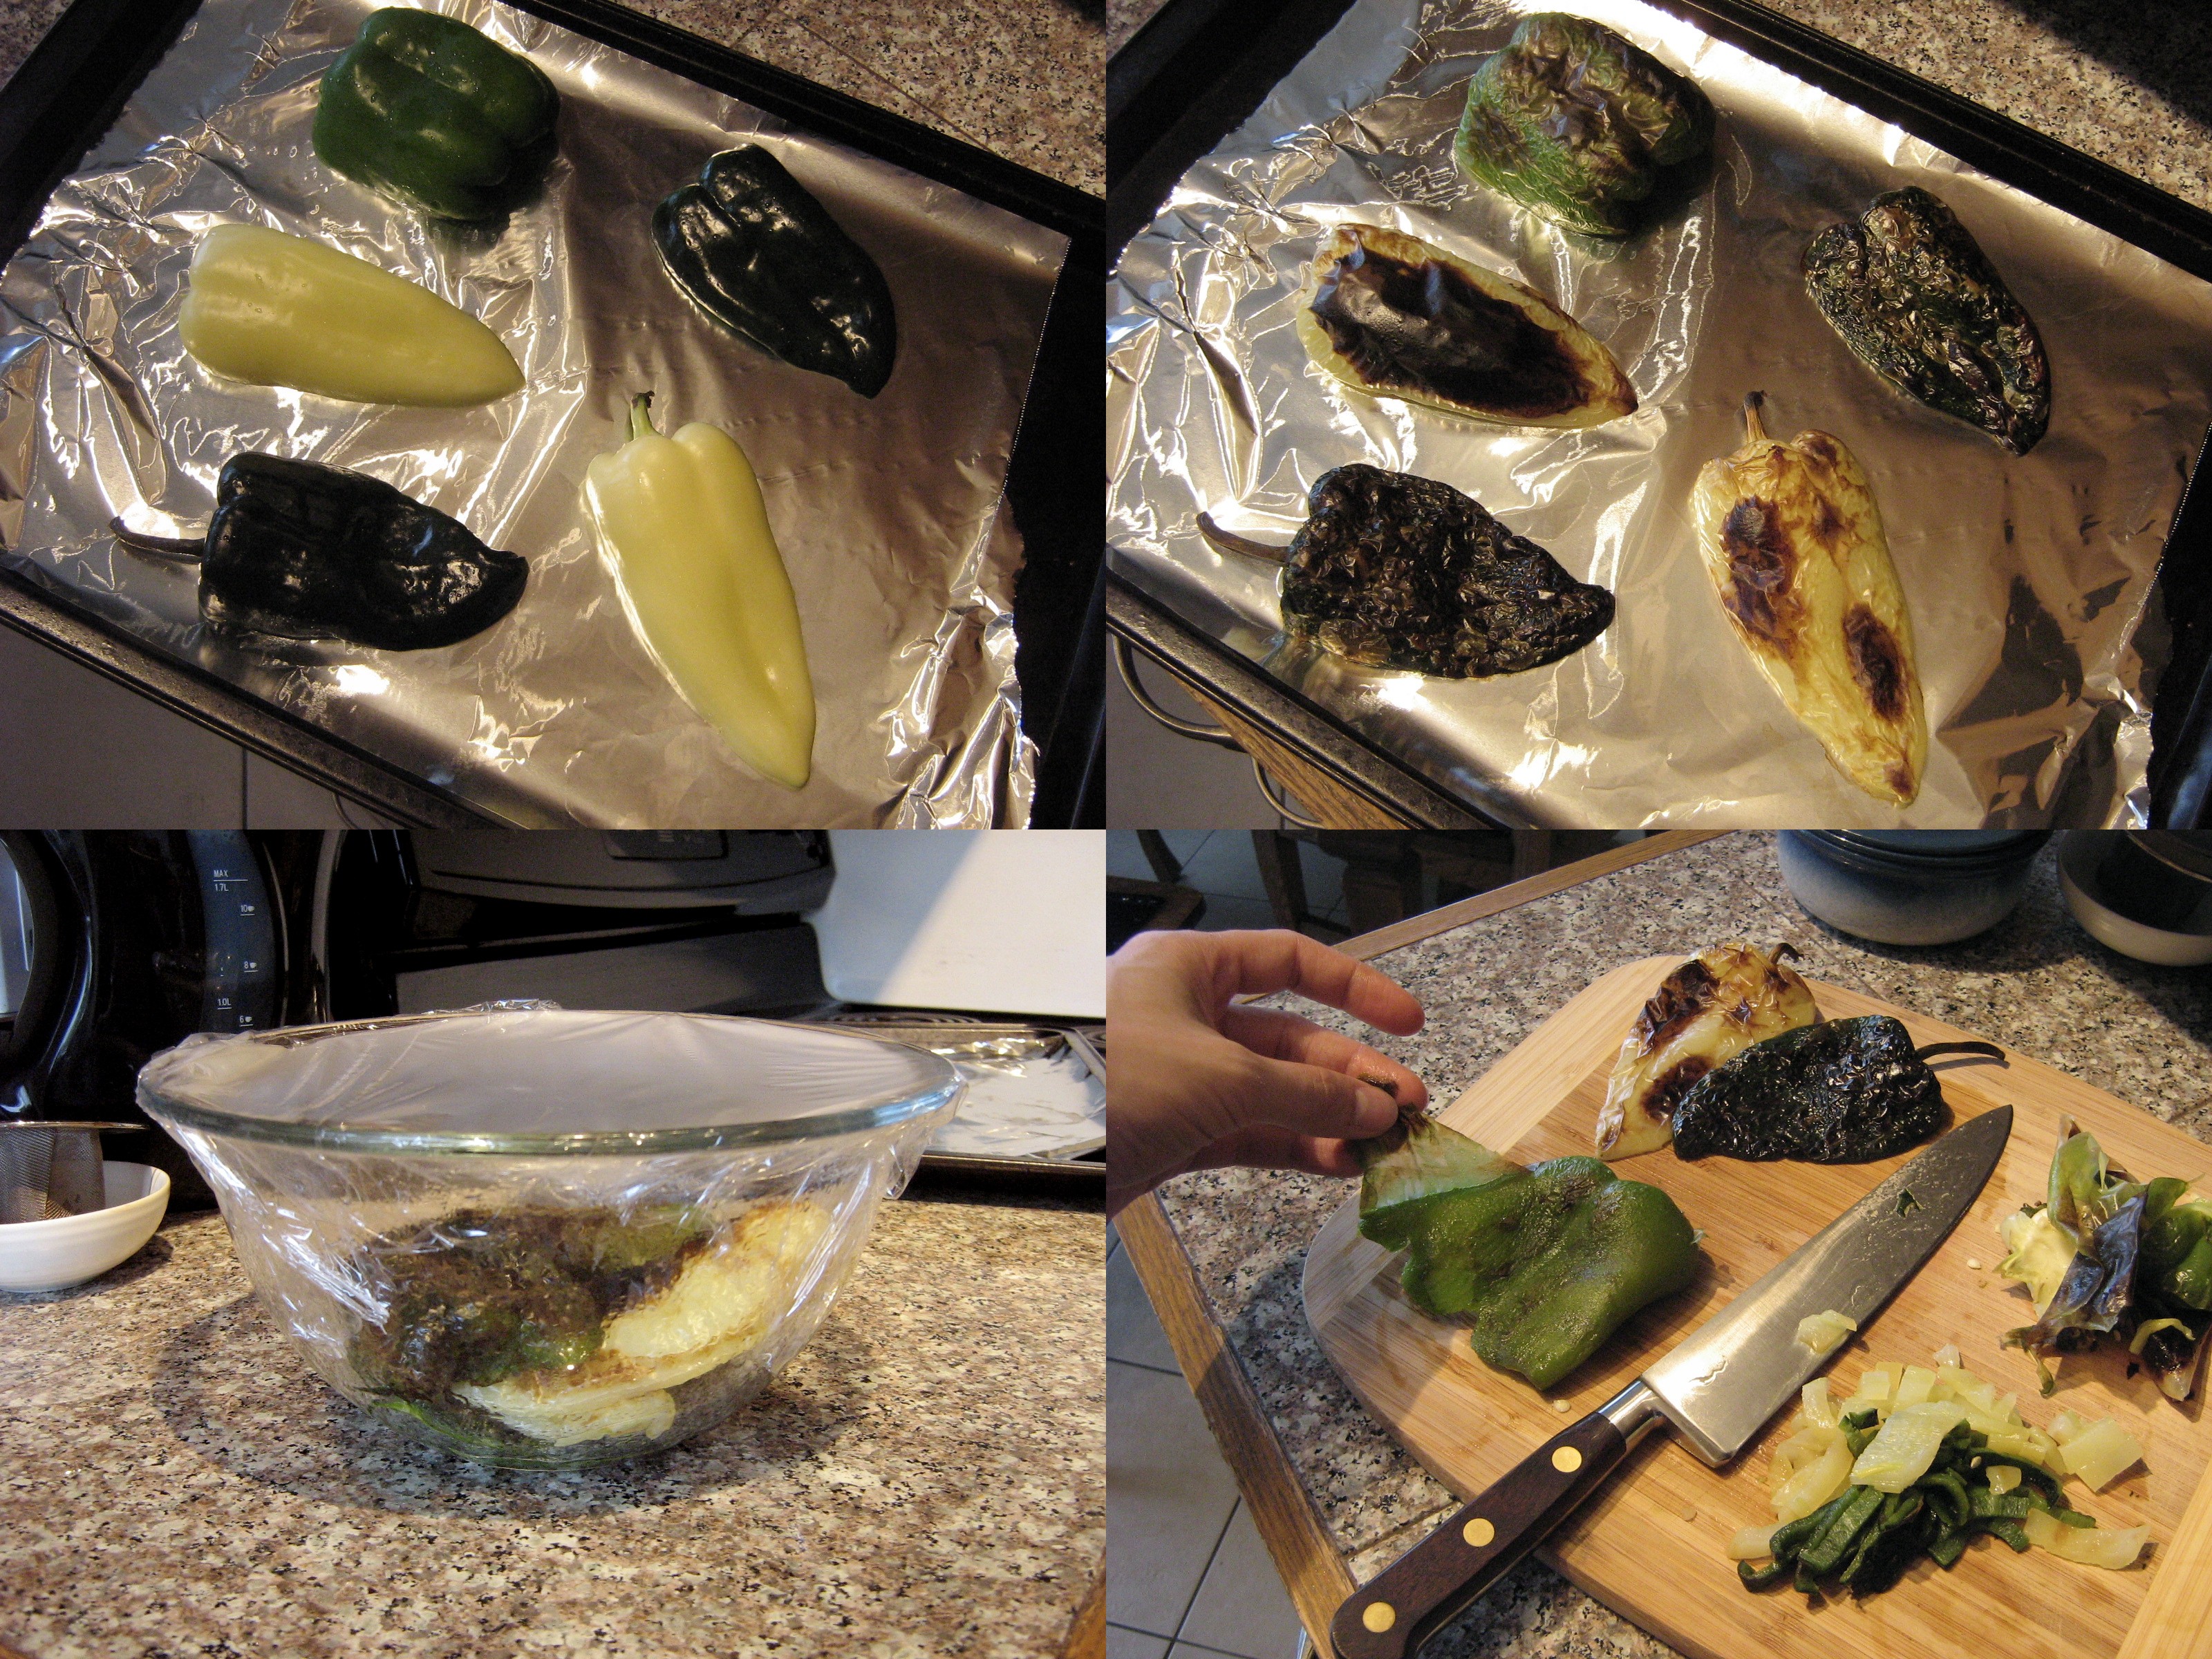
Making this is a little bit time consuming because you have to roast the peppers, but if you plan ahead you could roast the peppers while you brown the pork chops, then peel and chop them while the onion is sautéeing. If you’re the plan ahead type, that is. I usually seem to be cooking by the seat of my pants, so to speak.
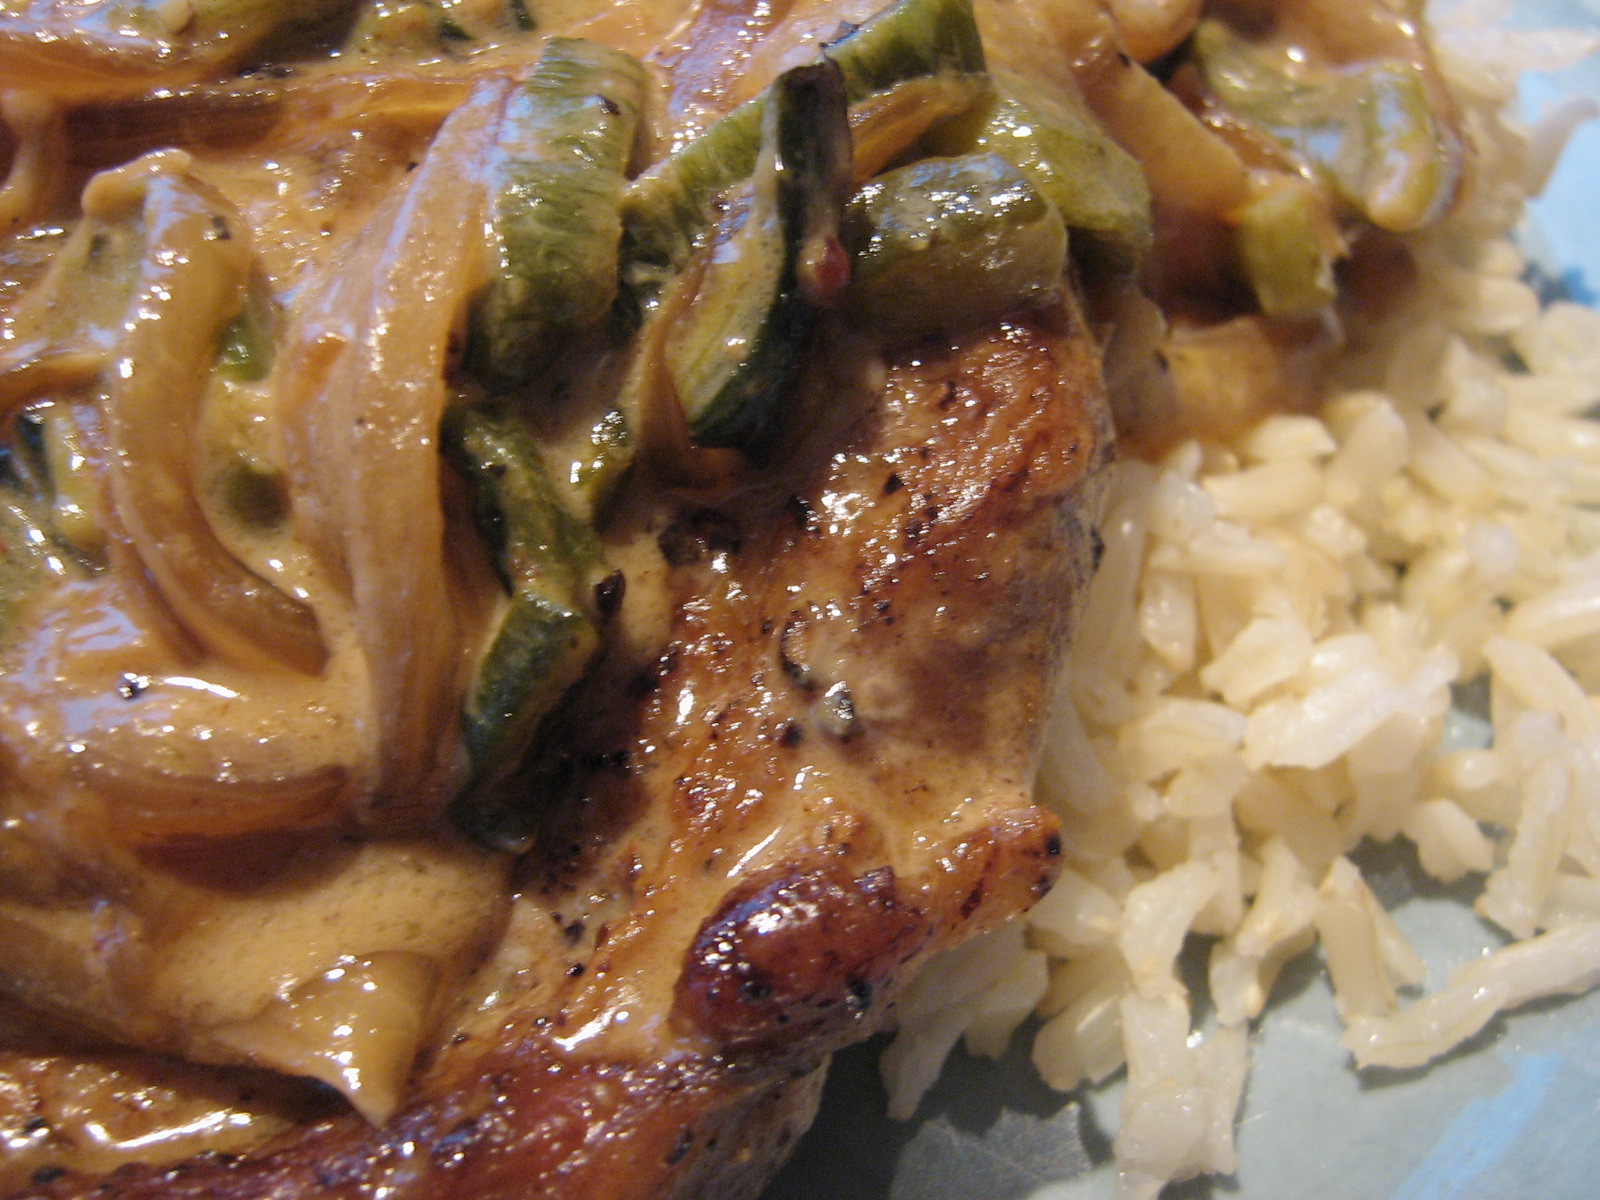
So, plan ahead and make this. It’s delicious served over brown rice to soak up the sauce, which has a little bit of a tequila kick. Or maybe I’m just a lightweight ;).

Chili Pepper Pork Chops with Tequila

Serves 2.

First, roast the peppers:

2-3 medium-sized peppers, cut in half lengthwise (I used a poblano pepper, a white Hungarian pepper, and half a green bell pepper, which are all quite mild, but feel free to use a variety with more heat)

Place the peppers cut-side down on a foil lined baking sheet. Broil until the skin is charred, then put the peppers in a bowl and cover with plastic wrap. Let them steam for a few minutes, then remove the seeds and membranes, peel off the skins, and slice into strips. Set aside.

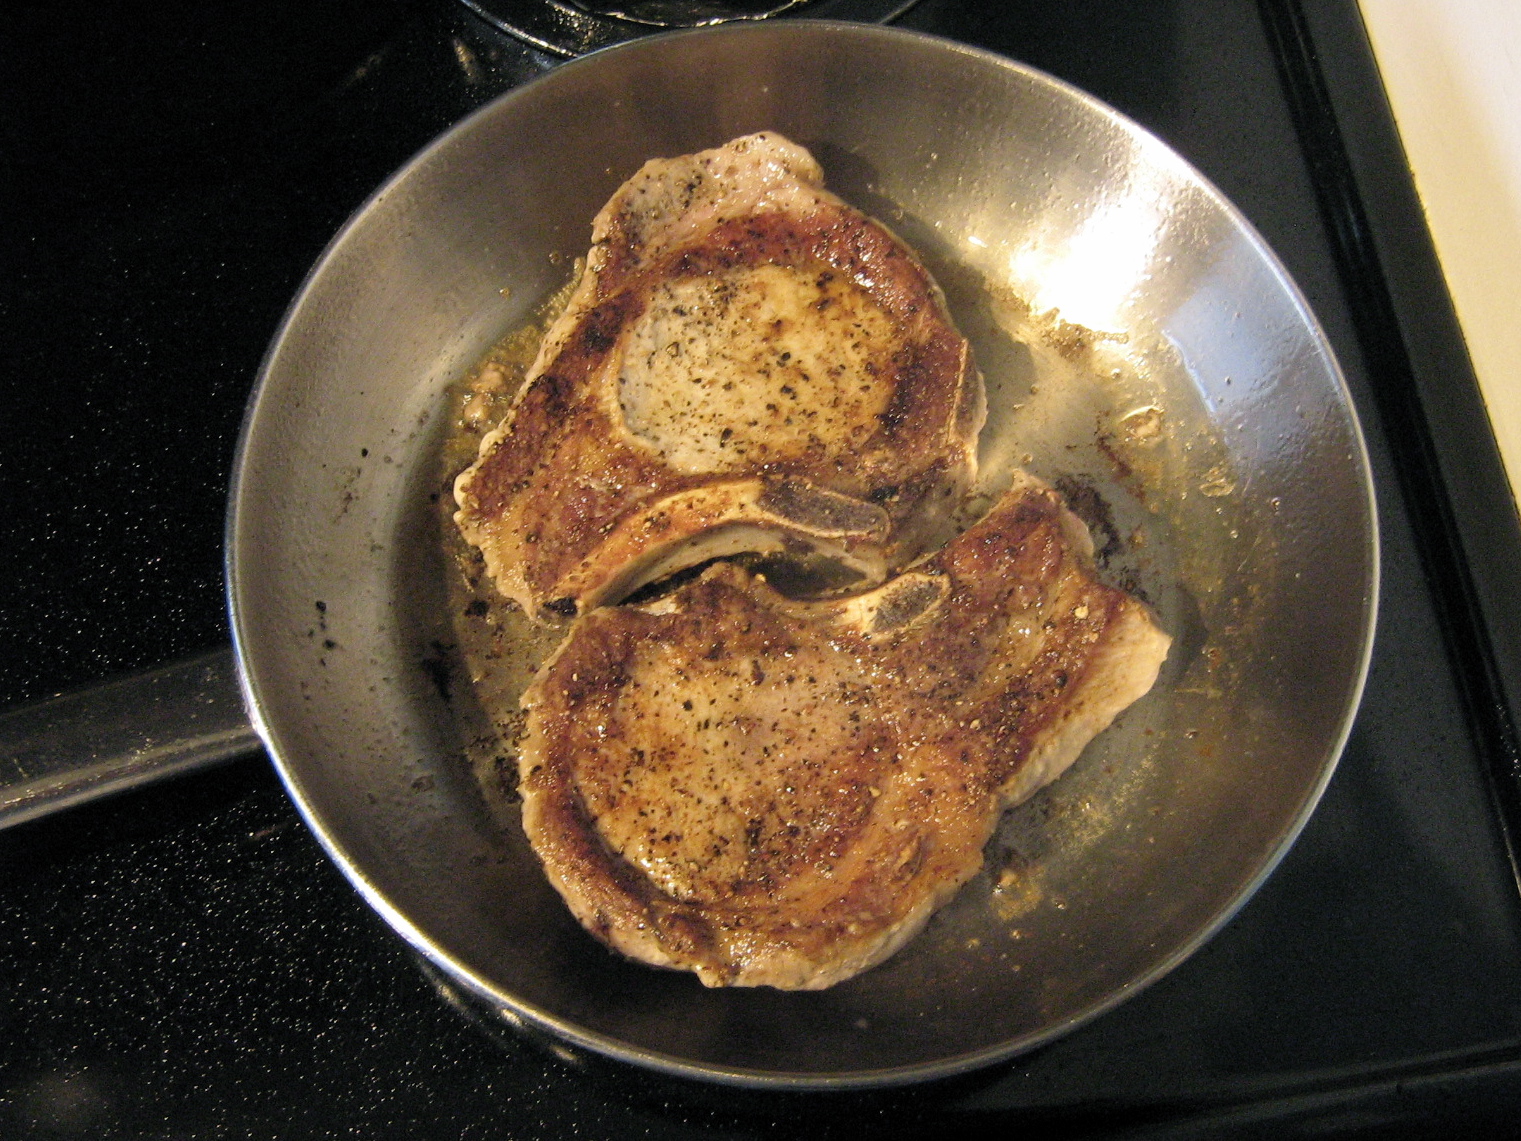
Turn the oven to 350˚F. Prepare the pork chops:

2 bone-in pork chops

Season on both sides with:

salt

pepper

a little granulated sugar (to help with browning and caramelizing, not make them sweet!)

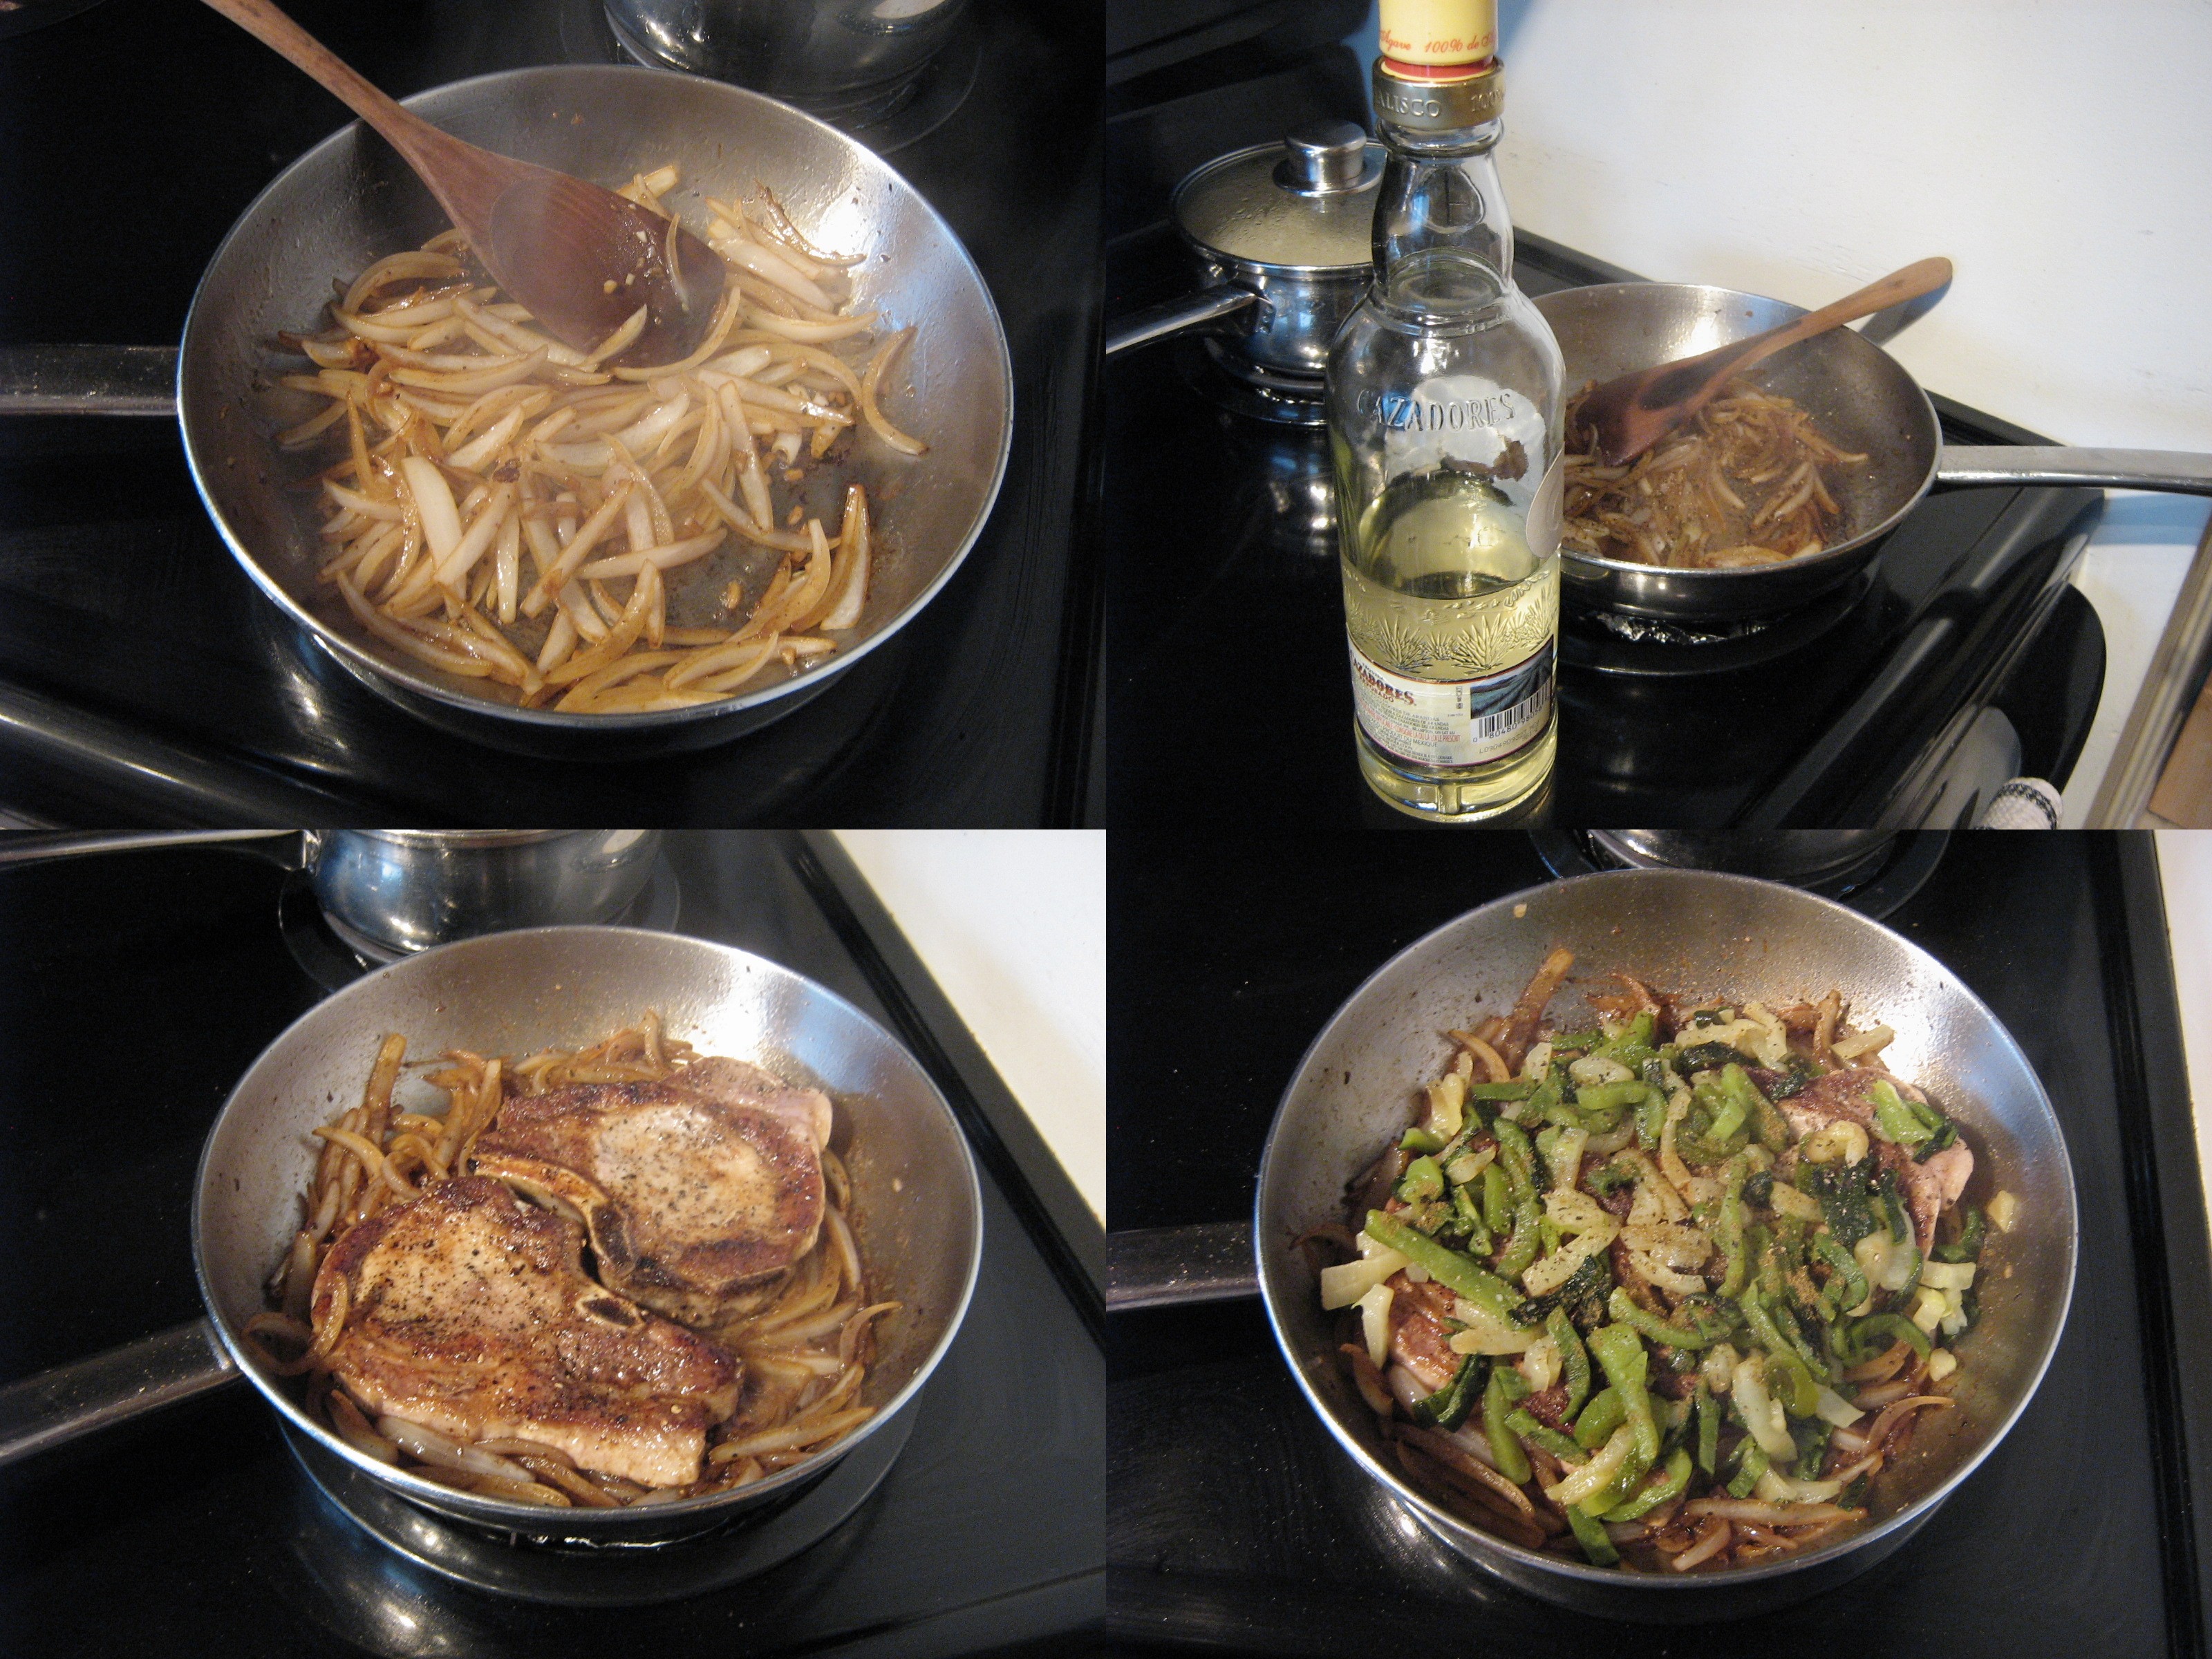
Heat a splash of olive oil and little butter in an oven-proof frying pan over medium heat and cook the pork chops on both sides until golden brown. Remove the pork chops  from the pan and add:

1 small sliced onion

1 minced garlic clove

Sauté  in the frying pan until browned and soft, and season with:

salt

pepper

1 tsp cumin powder

Deglaze the pan with a shot of tequila, stirring to scrape up the browned bits on the bottom of the pan. Nestle the pork chops back in the pan, cover with the roasted peppers, and sprinkle with more salt, pepper, and cumin.

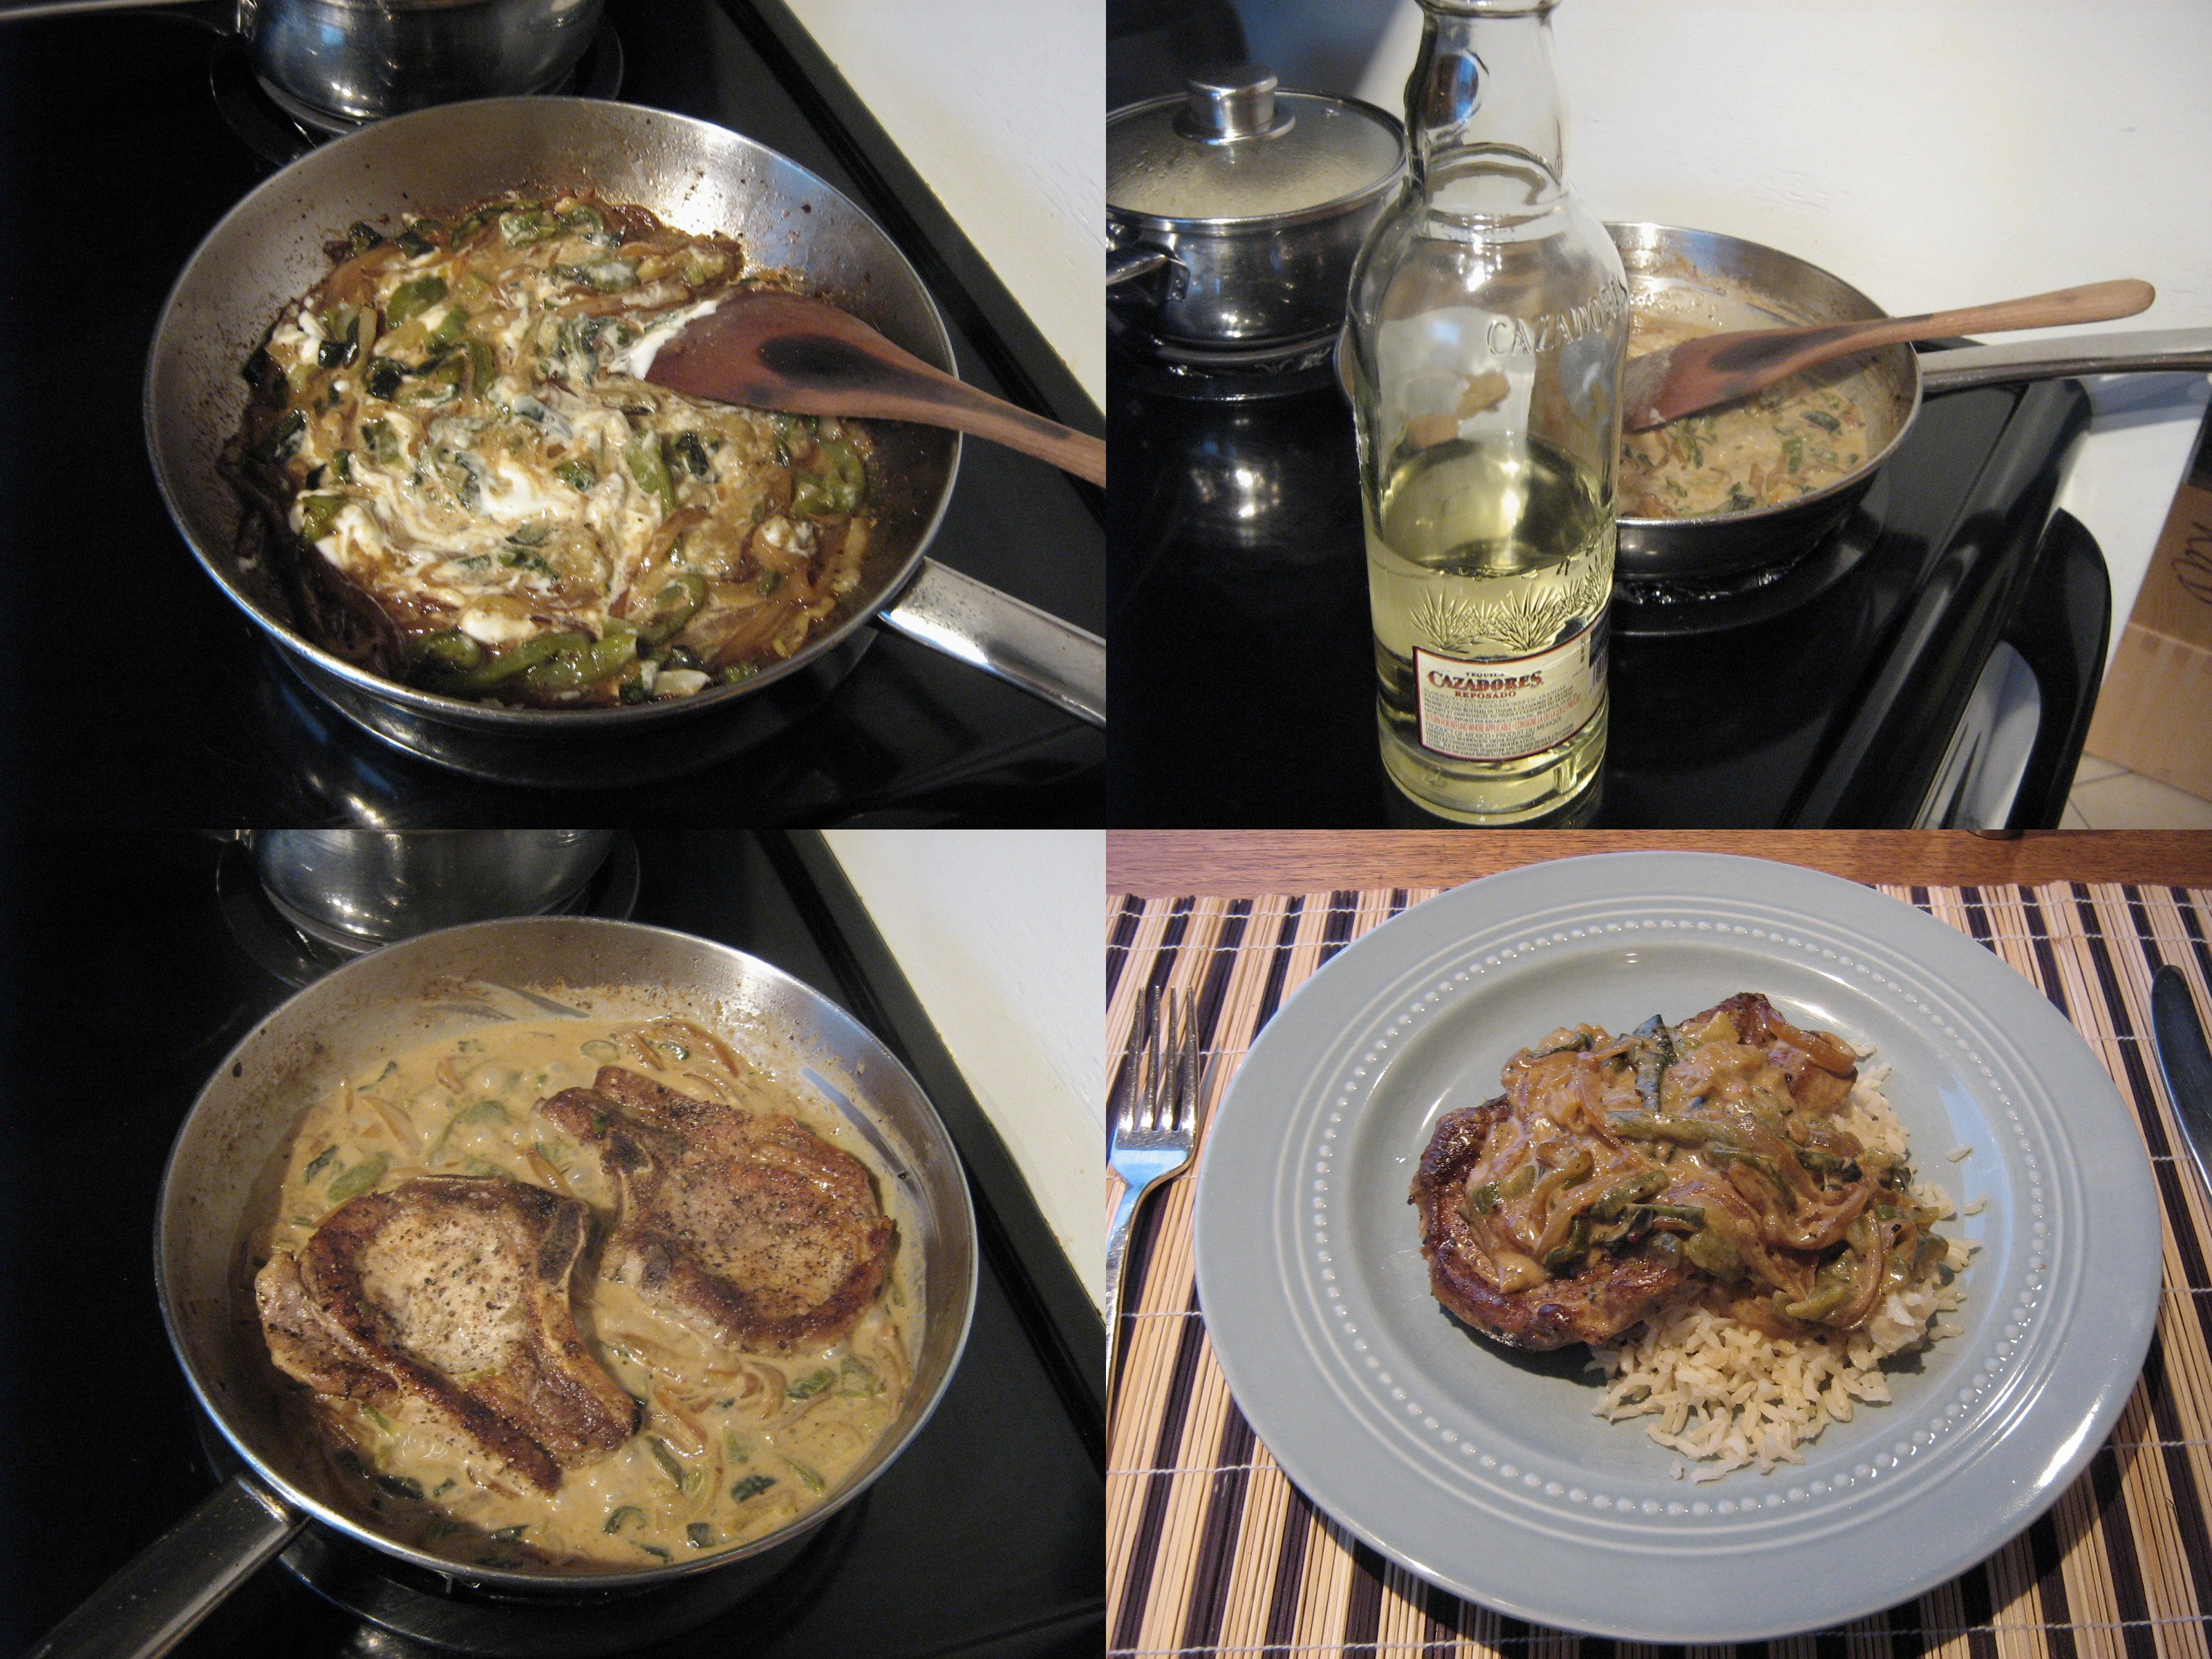
Bake in a 350˚F oven for 20-25 minutes. Remove the pork chops, leaving the onions and peppers in the pan, and place the pan over medium heat. Stir in:

2 tbsp sour cream

1 shot tequila

Simmer for a few minutes, then return the pork chops to the pan and coat with the sauce. Serve over brown rice.

Filed Under: Main Dishes, Recipes Tagged With: cooking, dinner, food, pork chops, recipe, roasted peppers, tequila

  • « Previous Page
  • 1
  • 2
  • 3
  • 4
  • 5
  • Next Page »

Welcome to my kitchen!

I'm Korena: cook, baker, dirty-dishes-maker. My favourite things include flour, butter, sugar, and chocolate. Read More…

  • Bloglovin
  • Email
  • Facebook
  • Instagram
  • Pinterest
  • RSS

Subscribe by Email!

Top Posts

Greek Kataifi
Daring Bakers: Ukrainian Easter Paska
Daring Bakers: Asian Coconut Custard Buns
Daring Bakers: Sfogliatelle Ricci and Lobster Tail Pastries
Cream Cheese Swiss Meringue Buttercream Frosting, Take 2: Success!
10 Years! {Nigella Lawson's Coffee and Walnut Layer Cake}

Search

Categories

Archives

Blogs I Like

  • 101 Cookbooks
  • Baking with Sibella
  • Bitter Baker
  • Bread and Companatico
  • Chocolate & Zucchini
  • Chocolate & Zucchini
  • De La Casa
  • Dinner With Julie
  • Dinner: A Love Story
  • Food in Jars
  • FrugalFeeding
  • Homesick Texan
  • Joy the Baker
  • Poires au Chocolat
  • Rufus' Food and Spirits Guide
  • Simple Bites
  • Simply Recipes
  • smitten kitchen
  • Steamy Kitchen
  • Tartelette
  • Tea & Cookies
  • The Pioneer Woman Cooks
  • The Wednesday Chef
  • Venison for Dinner
  • Bloglovin
  • Email
  • Facebook
  • Instagram
  • Pinterest
  • RSS

Subscribe by Email!

Search

Home | Recipes About | Contact |

All content © Korena Vezerian and Korena in the Kitchen, 2011 – 2021. Please contact me before duplicating any content, including pictures. Excerpts and links may be used, provided that full and clear credit is given to Korena Vezerian and Korena in the Kitchen with appropriate and specific direction to the original content.

Copyright © 2025 · Foodie Pro Theme On Genesis Framework · WordPress · Log in


Loading Comments...