Skip to content
Korena in the Kitchen
Search
Home
About
Recipe Index
Contact
Category:
Other Baked Goods & Sweets
The Pioneer Woman’s Chocolate Pots de Crème
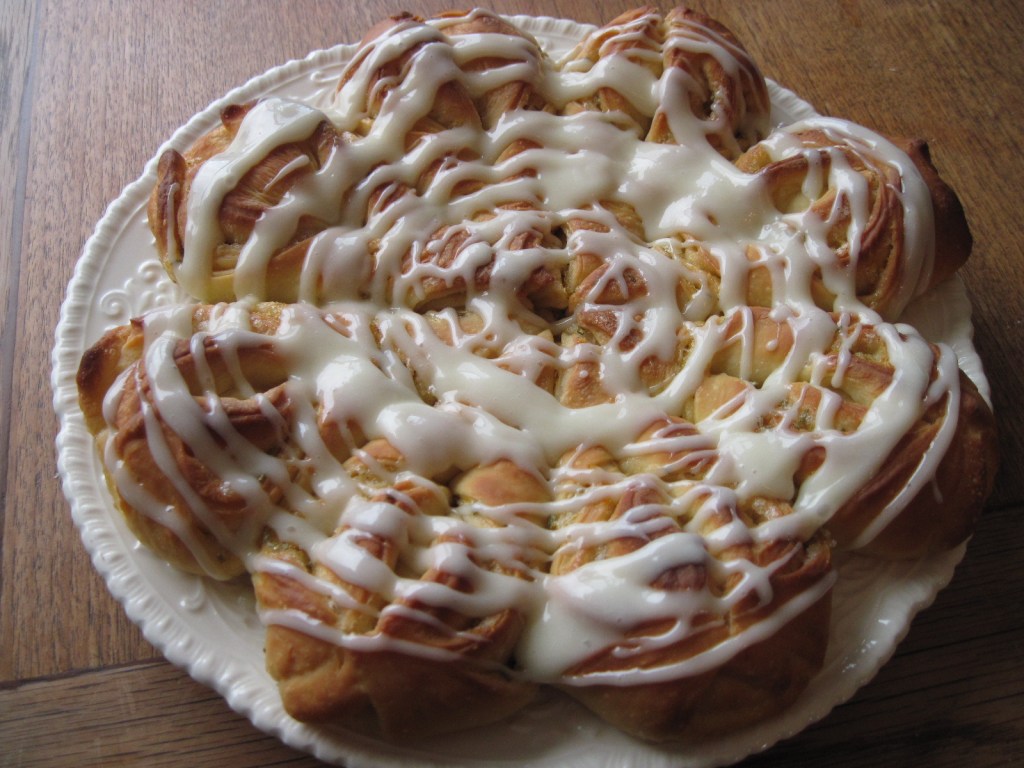
Lemon Rosemary Sticky Bun Twists
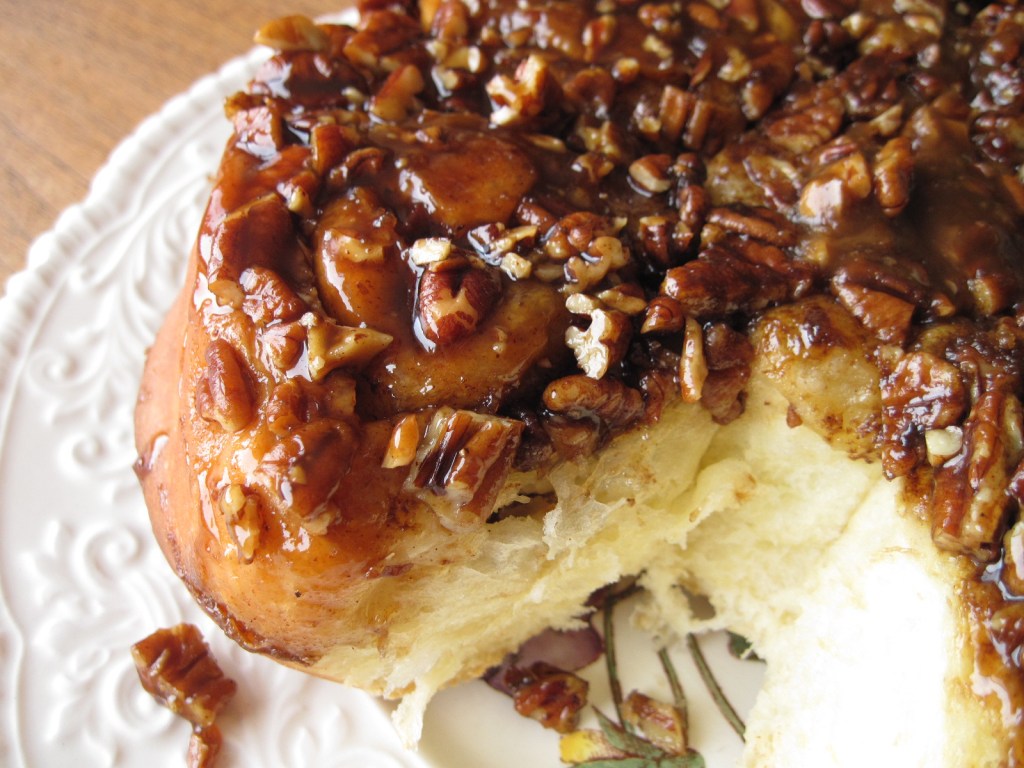
Caramel Pecan Sticky Buns
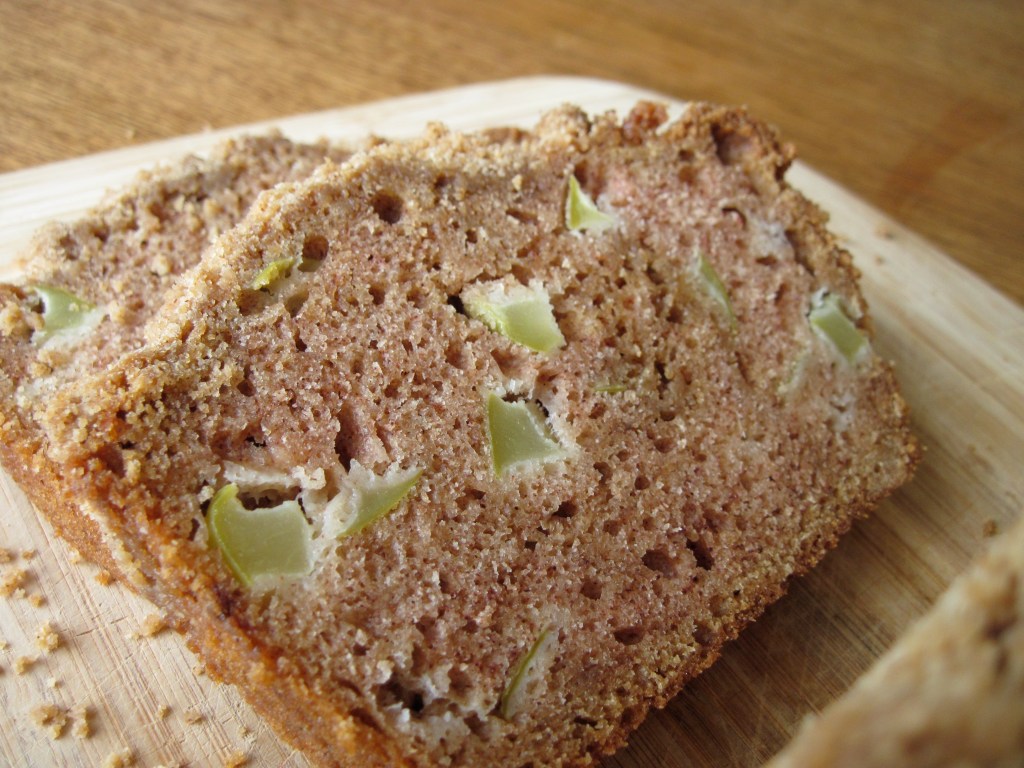
Daring Bakers: Quickbread
Devonshire Cream
Daring Bakers: Scone Mojo
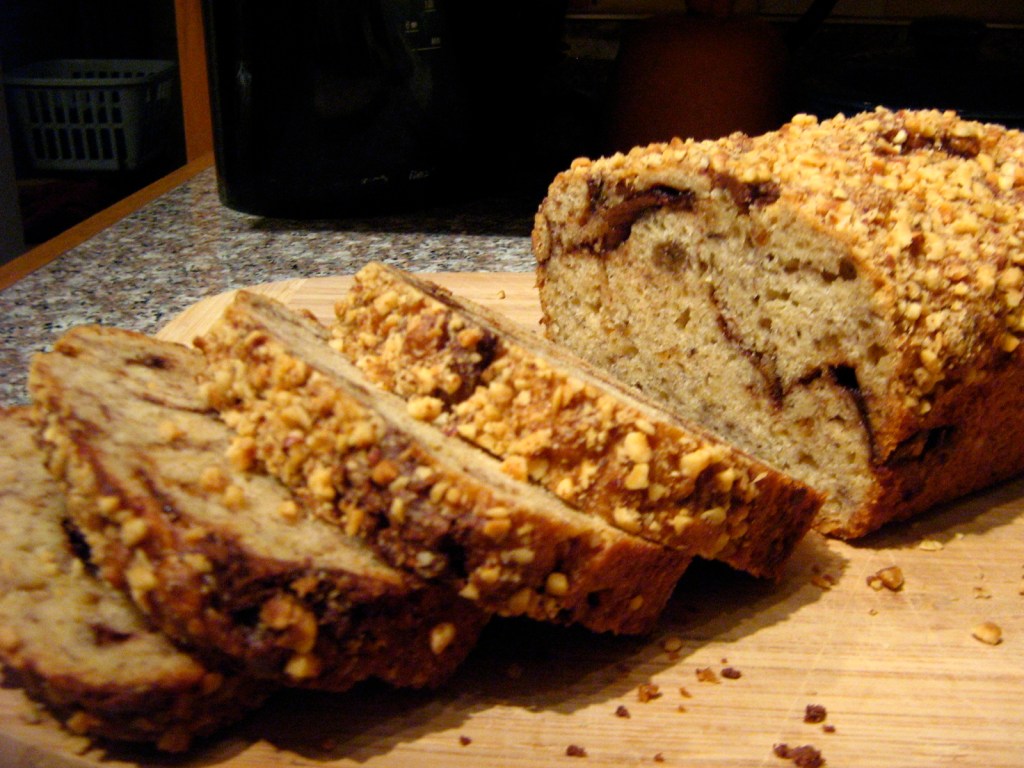
Chocolate Hazelnut Banana Bread
Daring Bakers: Povitica
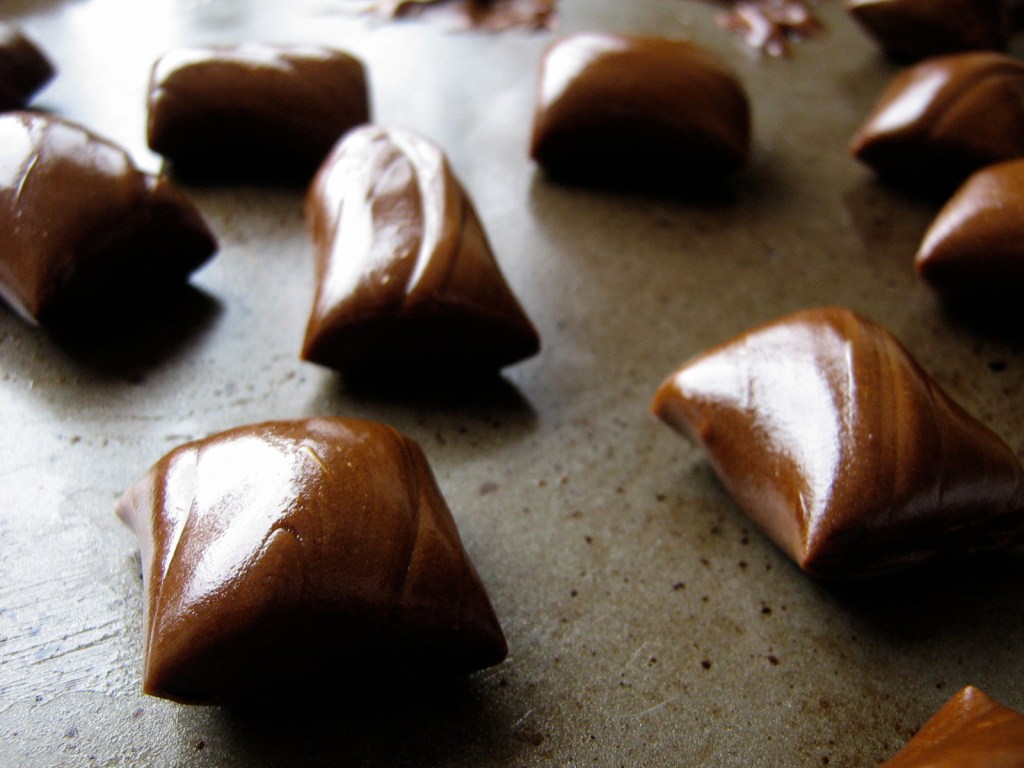
Pulled Molasses Taffy
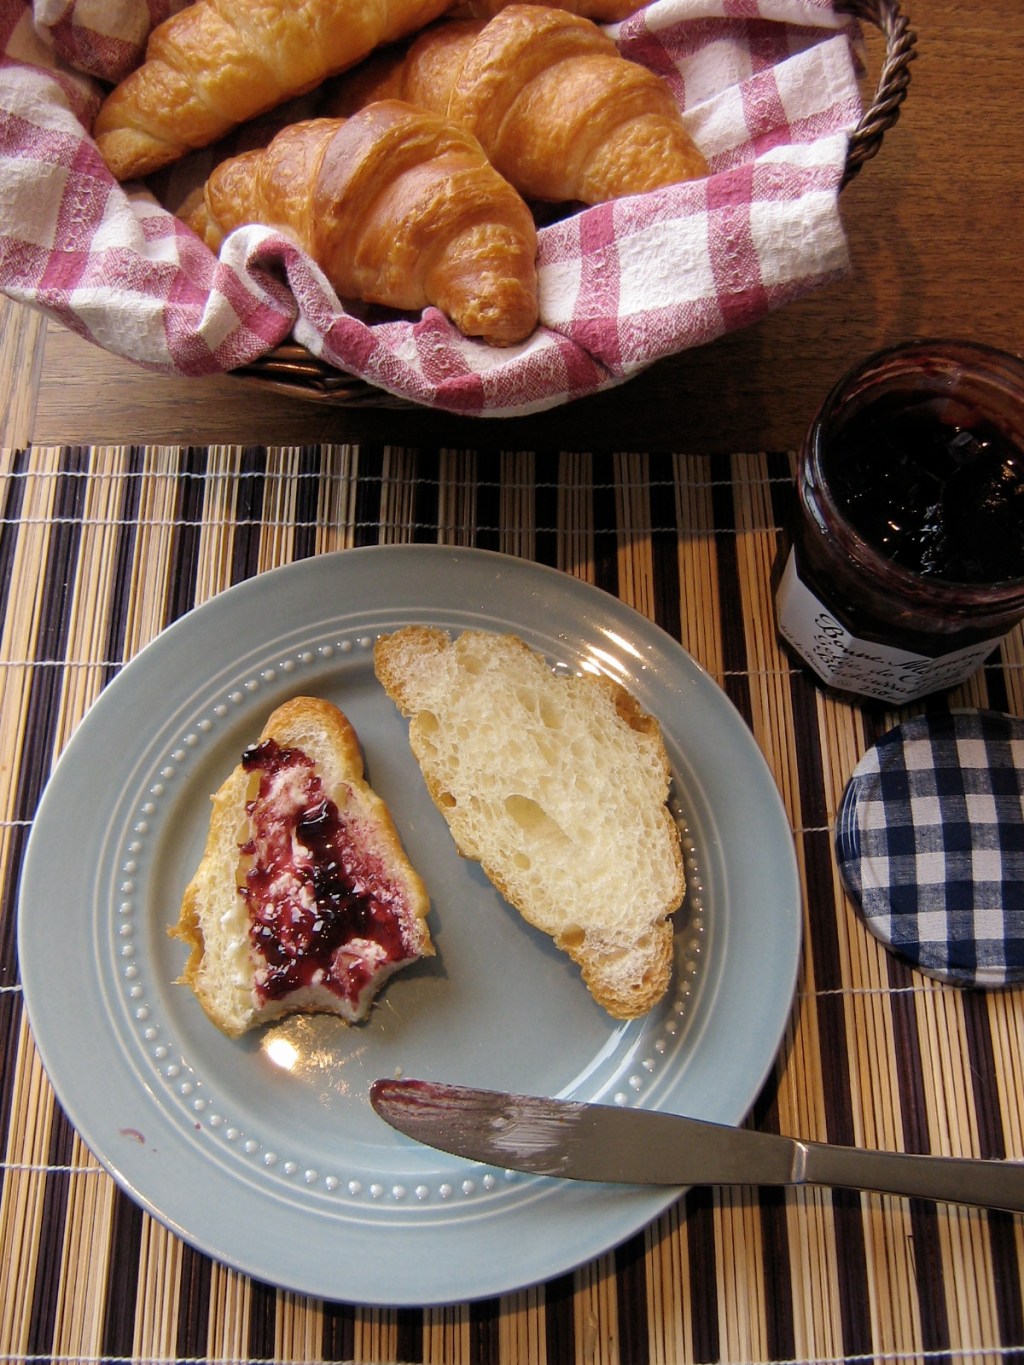
Daring Bakers: Homemade Croissants!
Previous Page
Next Page
Subscribe
Subscribed
Korena in the Kitchen
Join 390 other subscribers
Sign me up
Already have a WordPress.com account?
Log in now.
Korena in the Kitchen
Subscribe
Subscribed
Sign up
Log in
Report this content
View site in Reader
Manage subscriptions
Collapse this bar