Skip to content
Korena in the Kitchen
Search
Home
About
Recipe Index
Contact
Category:
Main Dishes
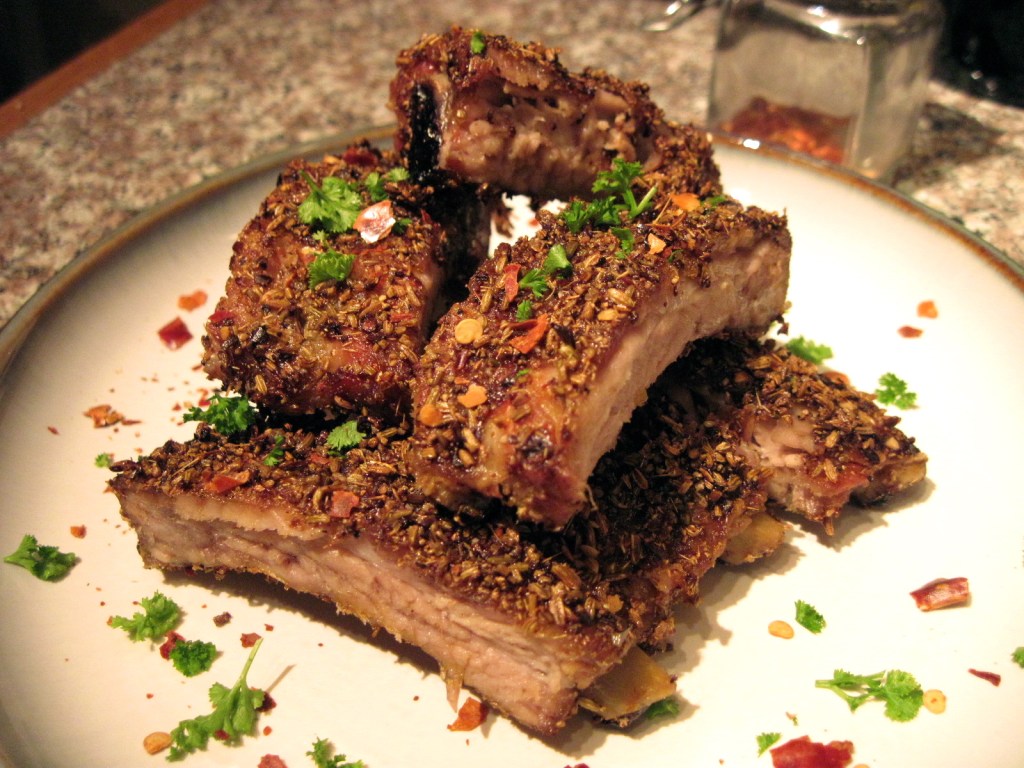
Fennel & Chili Spiced Ribs
Turkey Pie with Parmesan & Black Pepper Biscuits
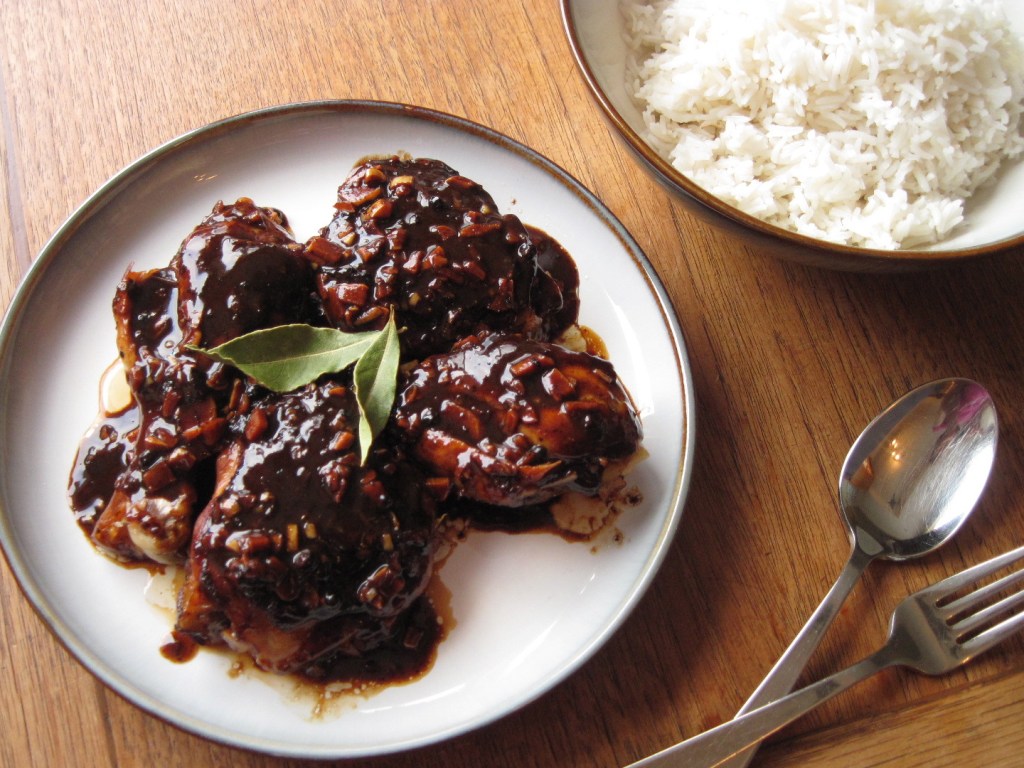
Filipino Chicken Adobo
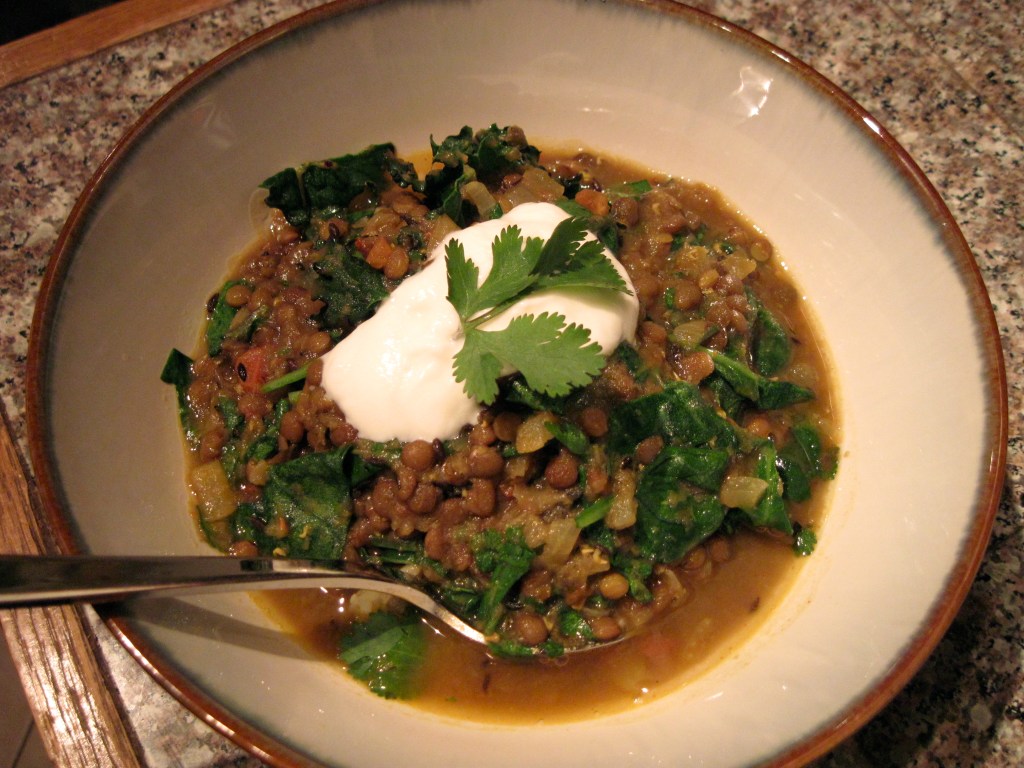
A recipe that will make you love lentils
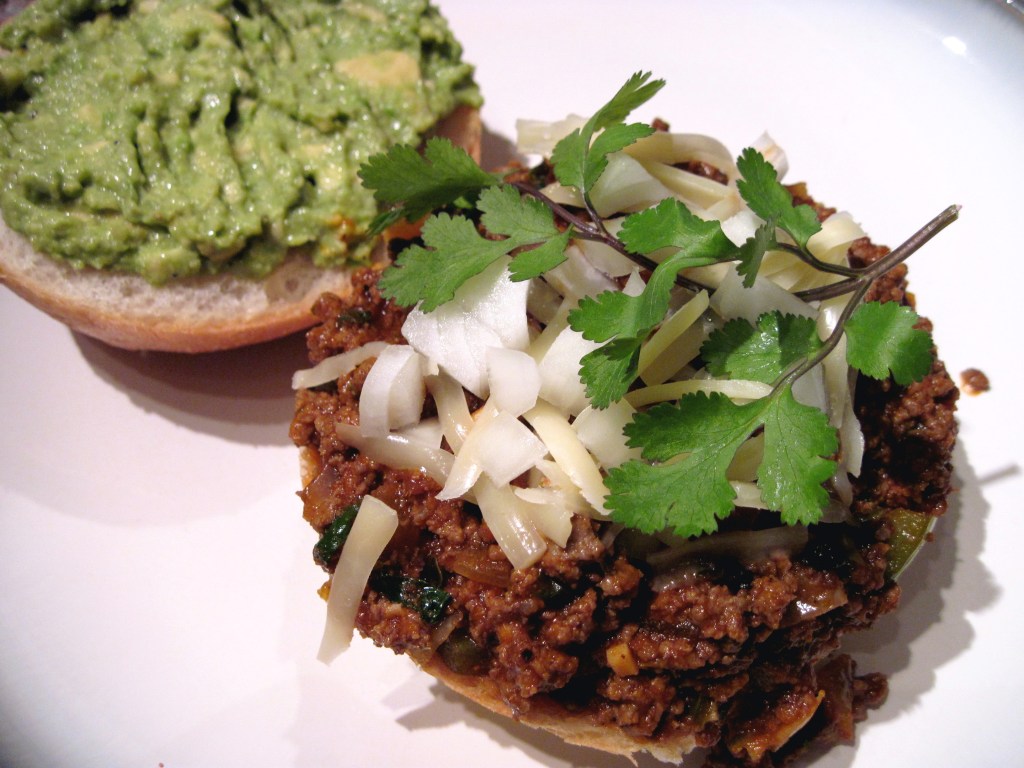
Homesick Texan Sloppy Joes
Leek, Swiss Chard & Prosciutto Quiche (and a non-shrinking tart crust!)
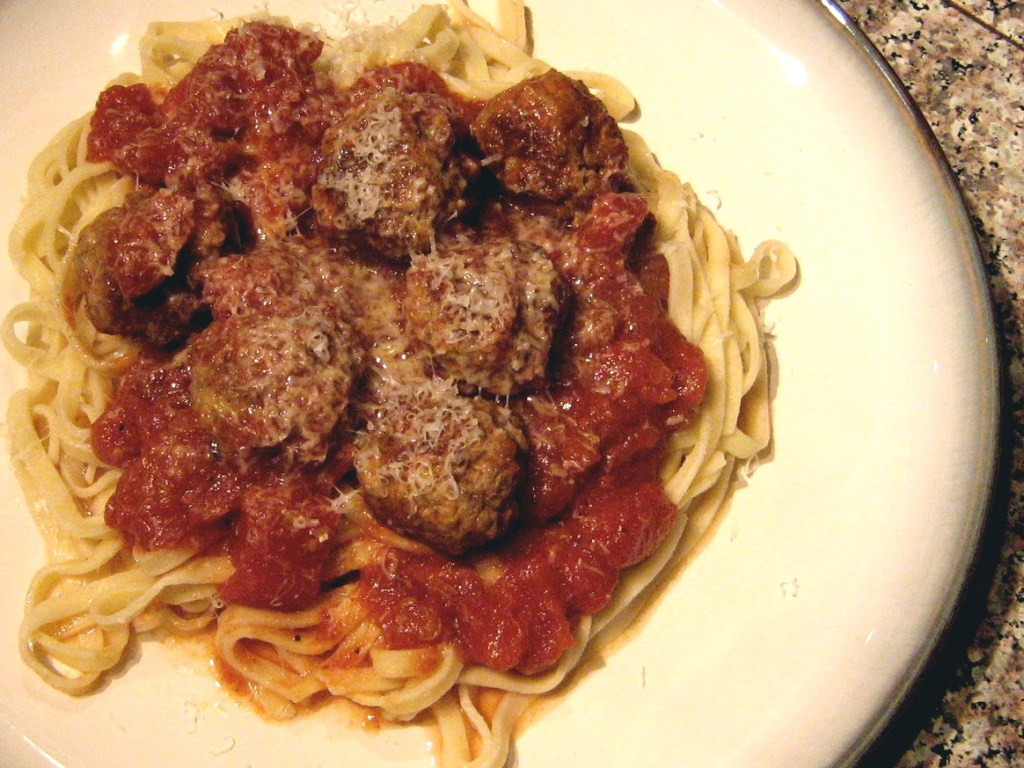
Spiced Meatballs in Tomato Sauce
Chili Pepper Pork Chops with Tequila
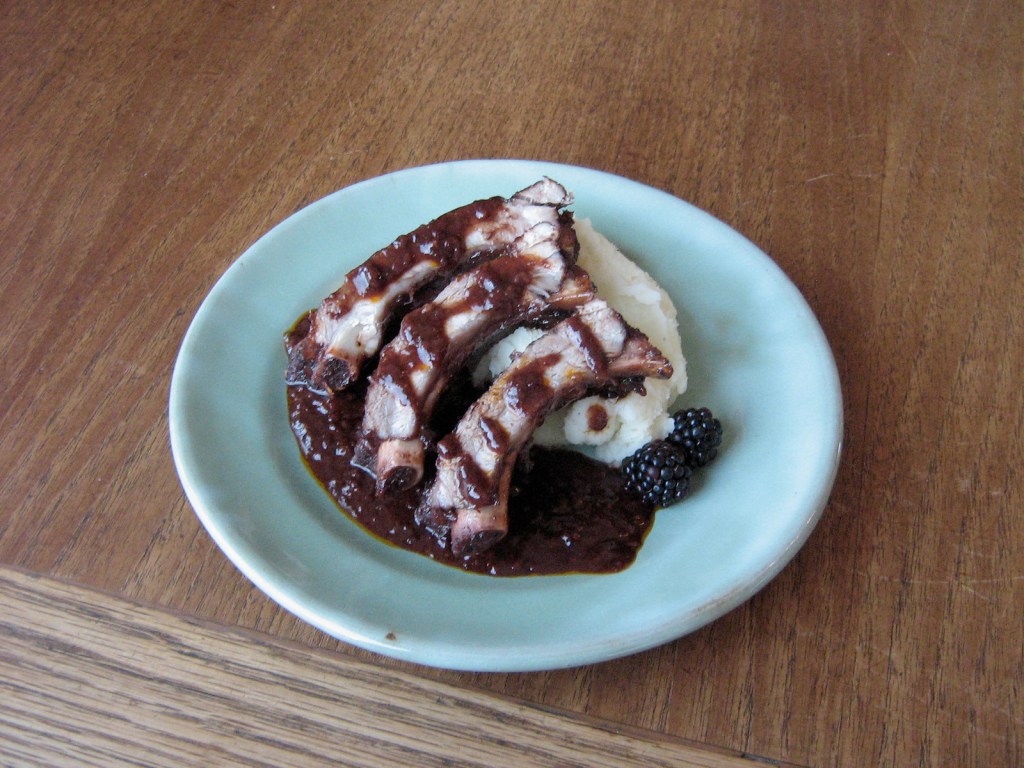
Blackberry Summer, Part 2: Blackberry Ribs
Chicken Fajita Lettuce Wraps
Previous Page
Next Page
Subscribe
Subscribed
Korena in the Kitchen
Join 390 other subscribers
Sign me up
Already have a WordPress.com account?
Log in now.
Korena in the Kitchen
Subscribe
Subscribed
Sign up
Log in
Report this content
View site in Reader
Manage subscriptions
Collapse this bar