Skip to content
Korena in the Kitchen
Search
Home
About
Recipe Index
Contact
Category:
Fruit
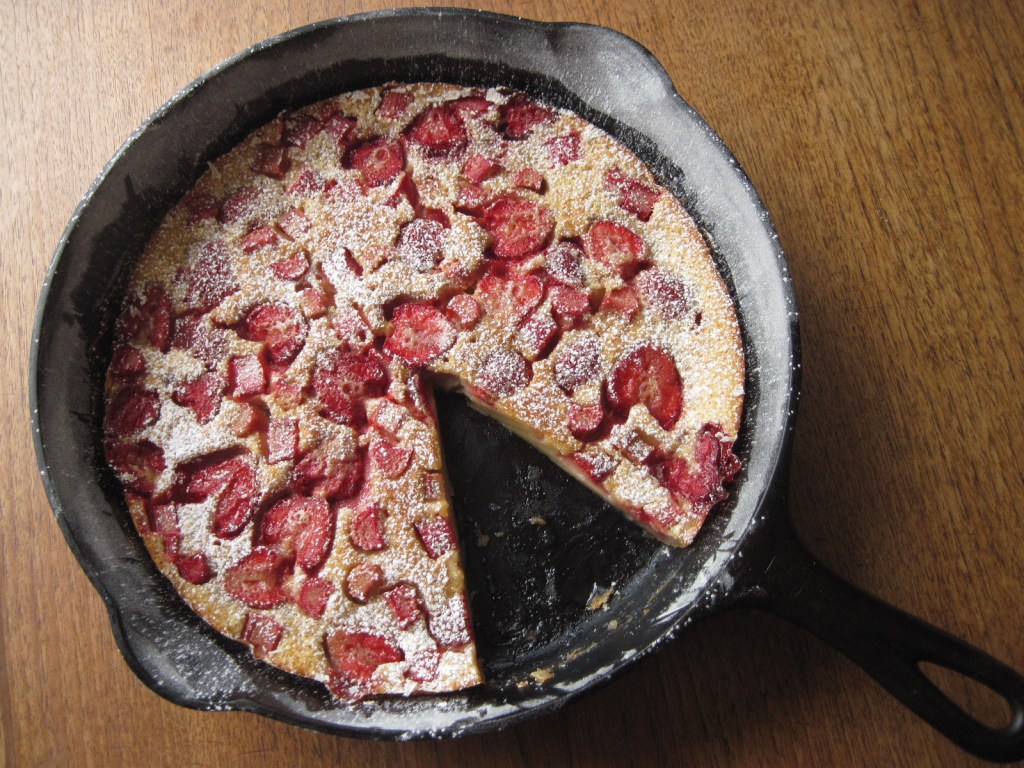
Strawberry Rhubarb Skillet Clafoutis
Bread, Butter & Jam
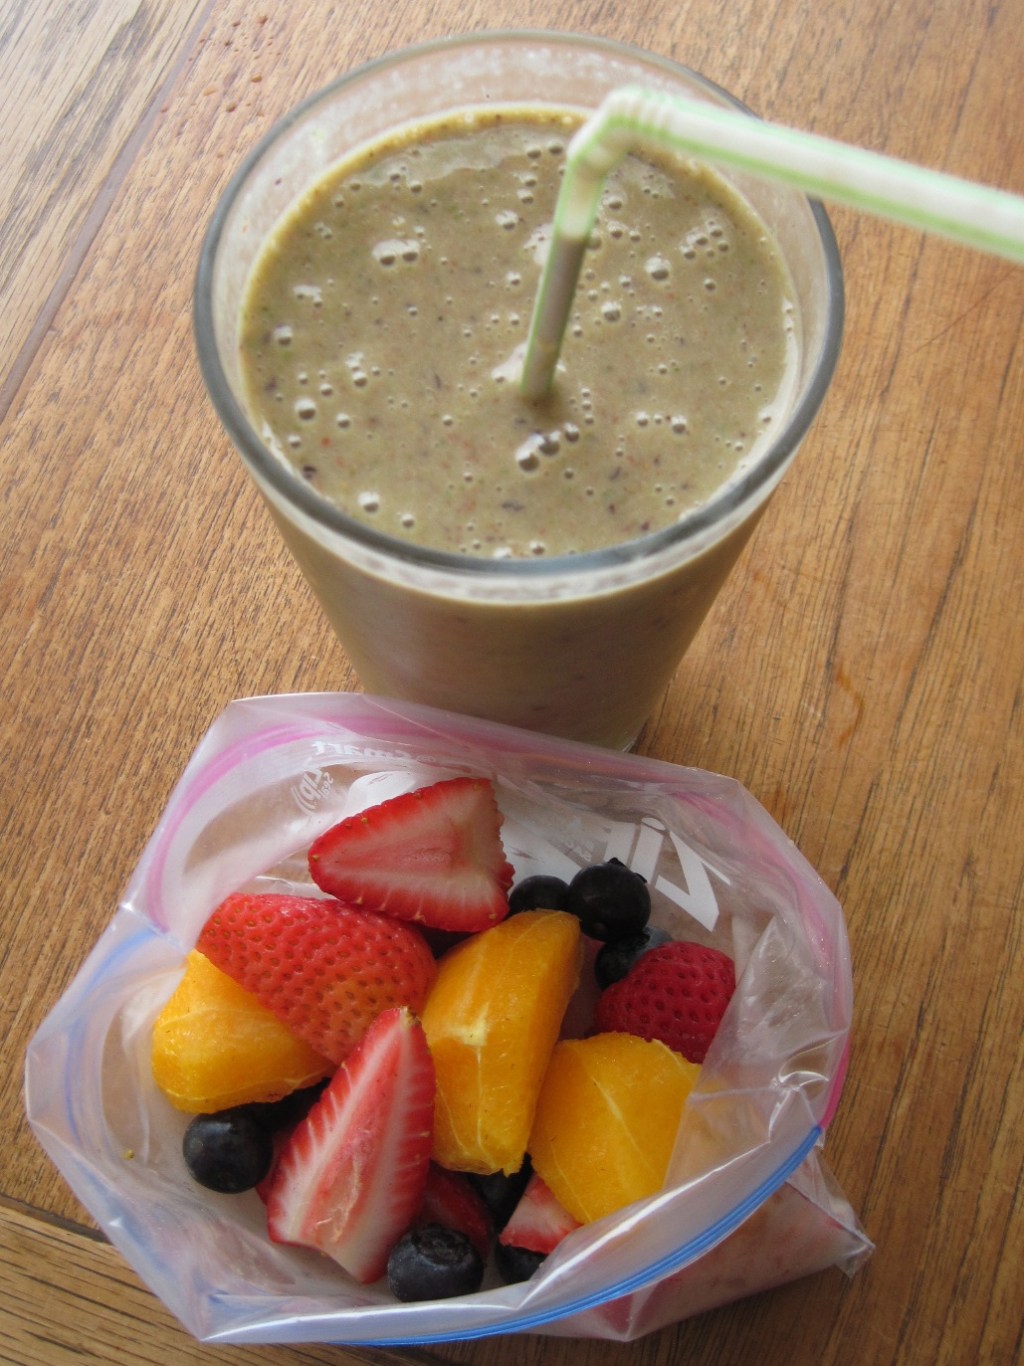
Smoothie Packs and a Strawberry-Blueberry-Orange Smoothie
Cookbook Review: Whitewater Cooks with Friends (plus a bonus recipe!)
Strawberry Shortcake Torte
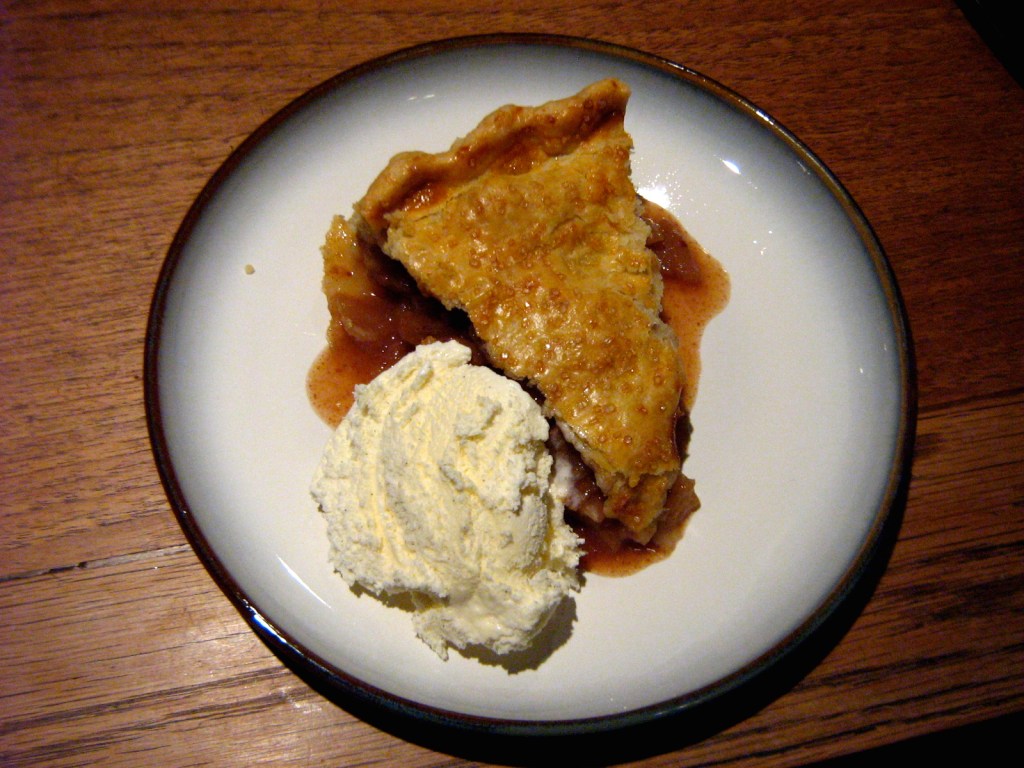
Comfort in Pastry Form
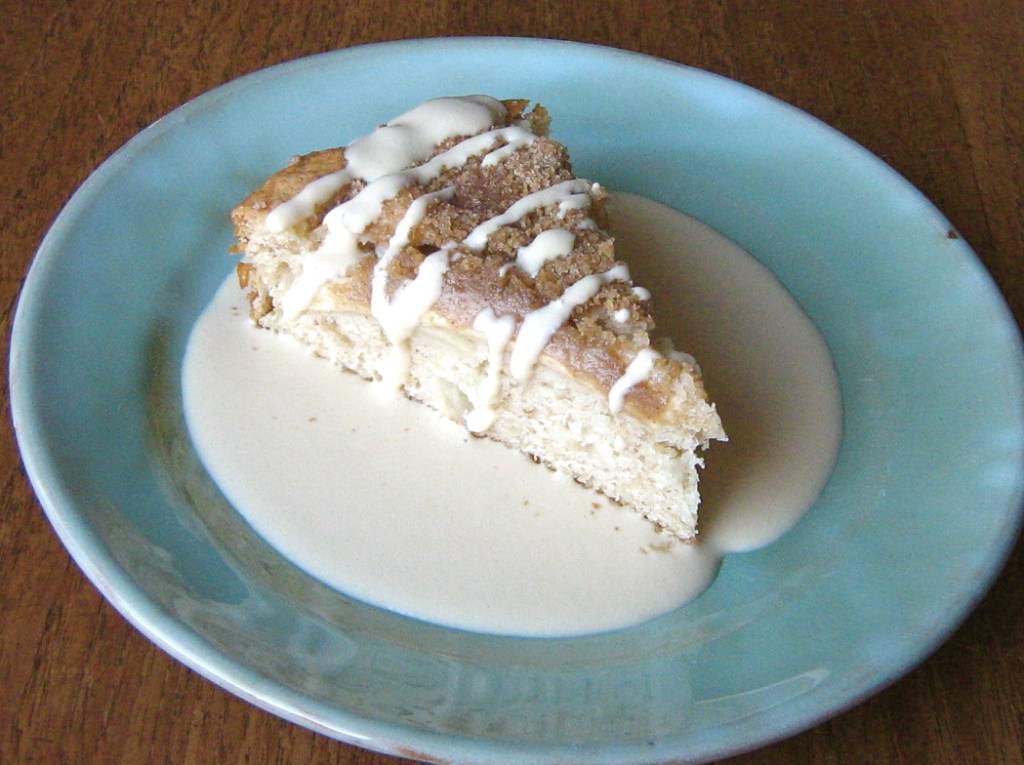
Apple Struesel Cake with Creme Anglaise
Spiced Plum and Strawberry-Vanilla Jams
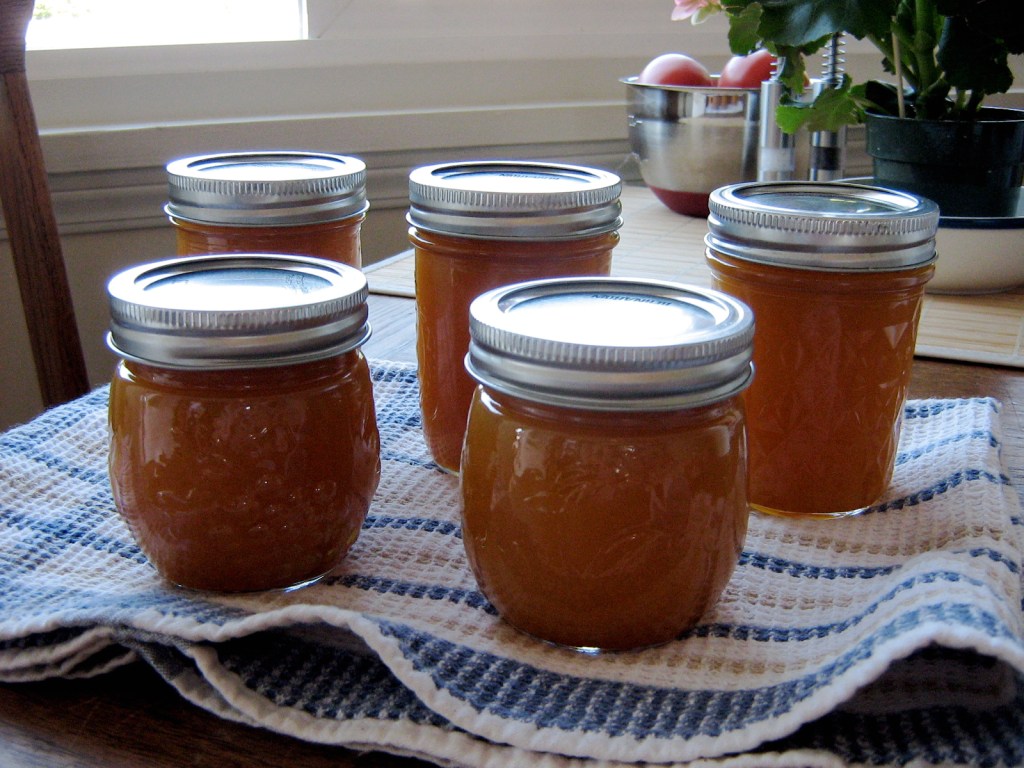
Smitten Peach Butter
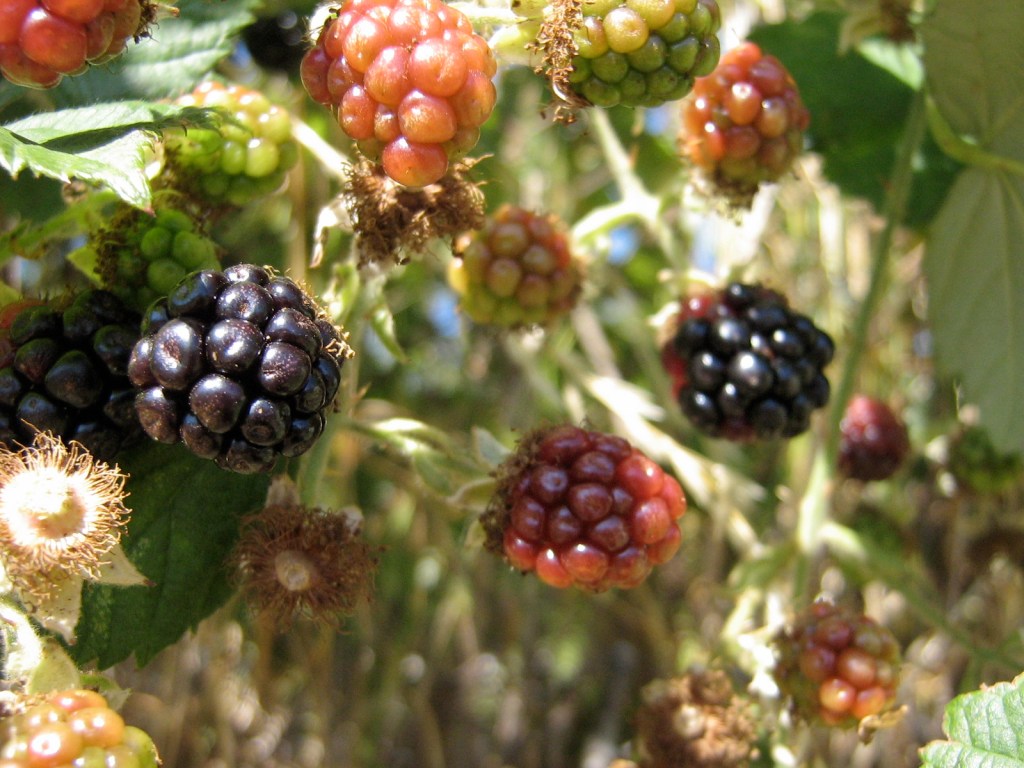
Blackberry Summer, Part 1: Galettes and Scones
Previous Page
Next Page
Subscribe
Subscribed
Korena in the Kitchen
Join 390 other subscribers
Sign me up
Already have a WordPress.com account?
Log in now.
Korena in the Kitchen
Subscribe
Subscribed
Sign up
Log in
Report this content
View site in Reader
Manage subscriptions
Collapse this bar