Skip to content
Korena in the Kitchen
Search
Home
About
Recipe Index
Contact
Author:
Korena in the Kitchen
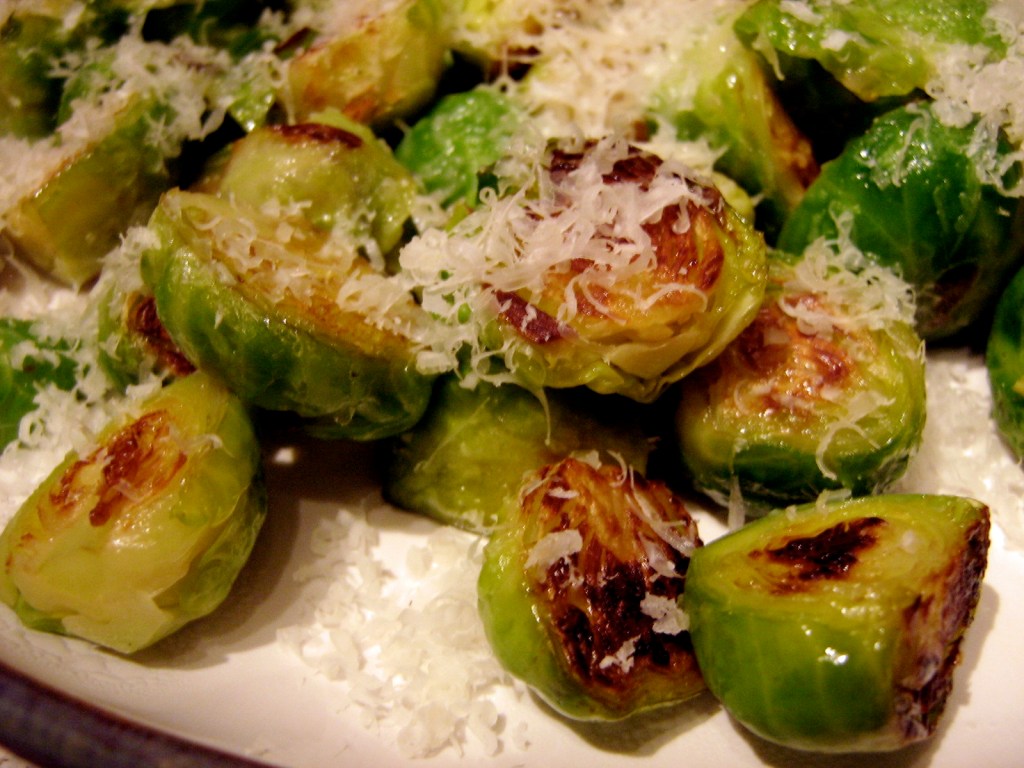
Skillet “Roasted” Brussels Sprouts
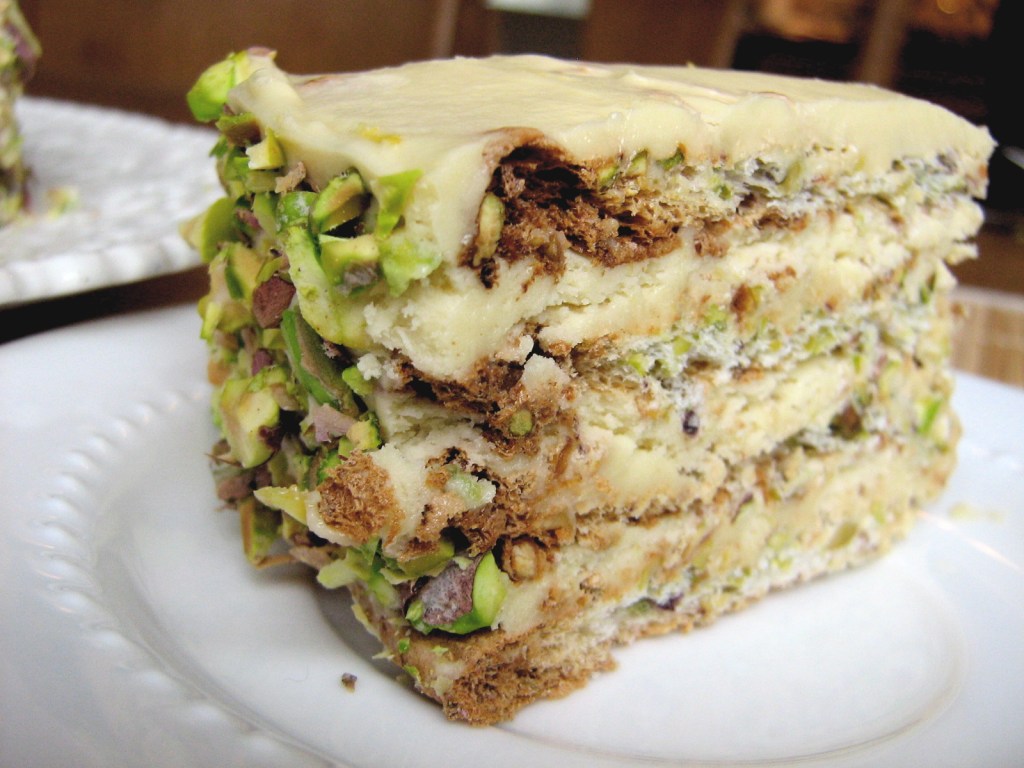
Daring Bakers: Filipino Sans Rival Cake
Insane Burgers and Poutine at La Belle Patate
Perfect Peanut Butter Chocolate Chip Cookies
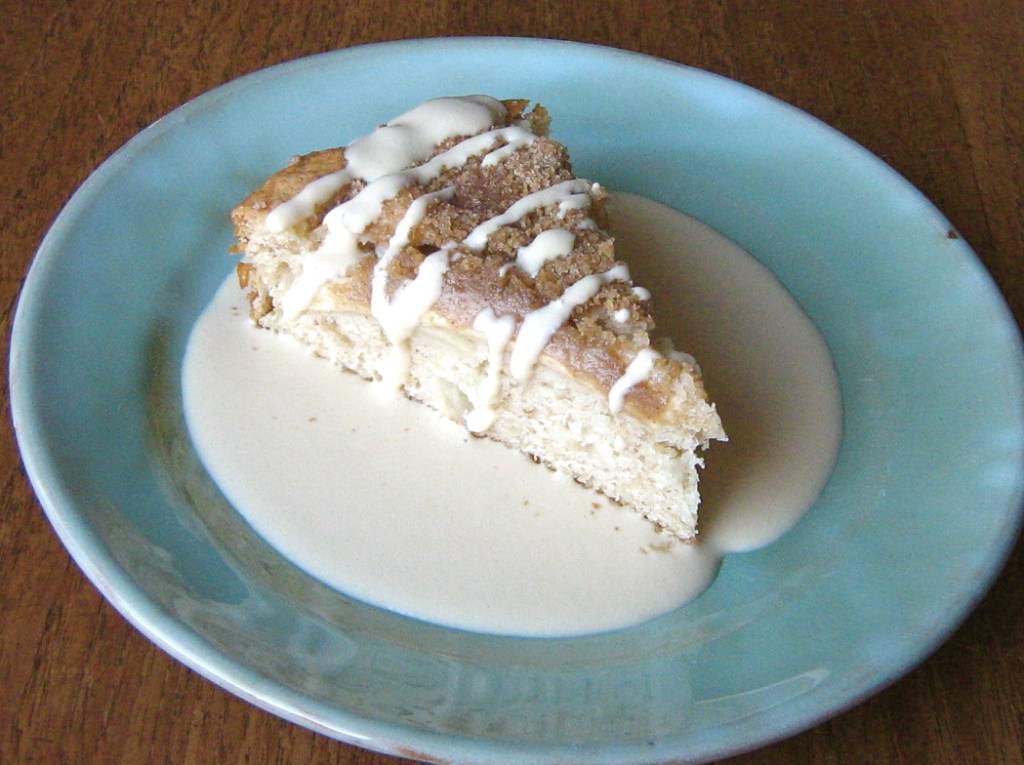
Apple Struesel Cake with Creme Anglaise
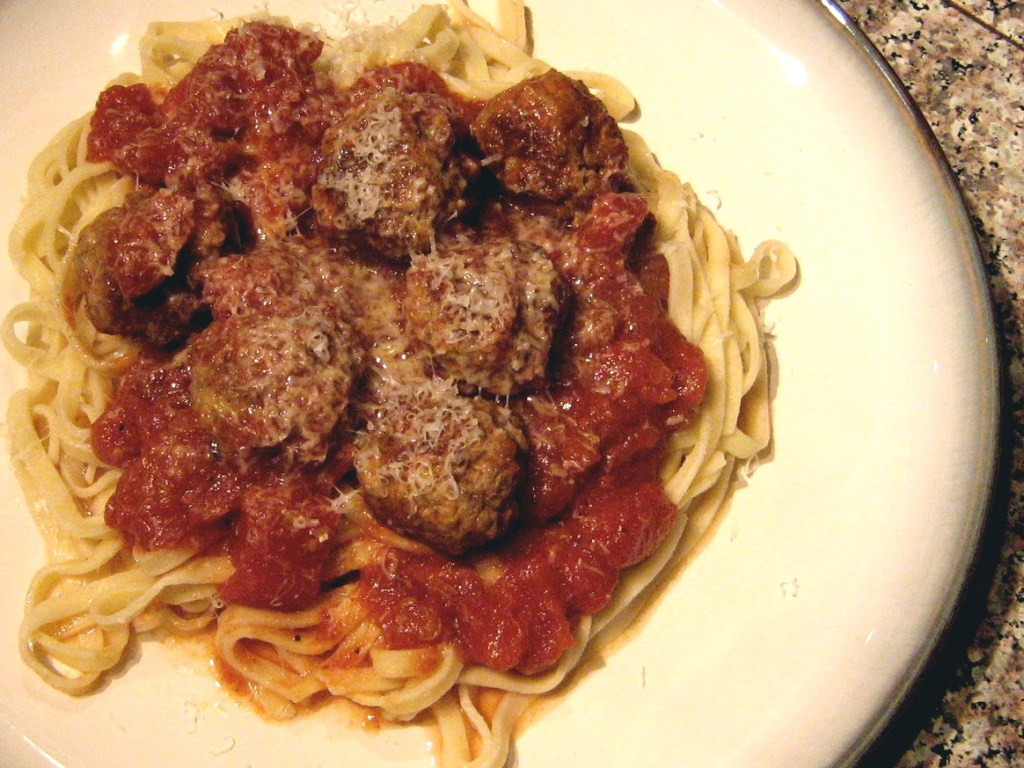
Spiced Meatballs in Tomato Sauce
Daring Bakers: Povitica
Pulled Molasses Taffy
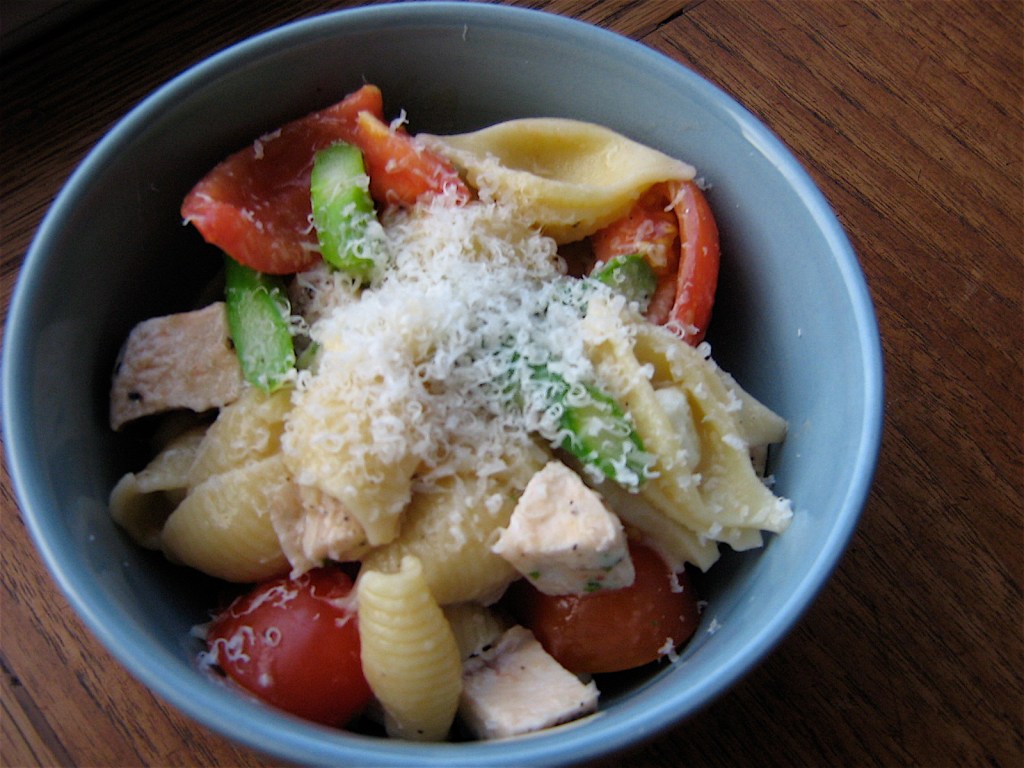
Pasta Shells with Chicken, Bocconcini, and Cherry Tomatoes
Pear-Filled Vanilla Birthday Cake with Chocolate Buttercream Frosting
Previous Page
Next Page
Subscribe
Subscribed
Korena in the Kitchen
Join 390 other subscribers
Sign me up
Already have a WordPress.com account?
Log in now.
Korena in the Kitchen
Subscribe
Subscribed
Sign up
Log in
Report this content
View site in Reader
Manage subscriptions
Collapse this bar