Skip to content
Korena in the Kitchen
Search
Home
About
Recipe Index
Contact
Author:
Korena in the Kitchen
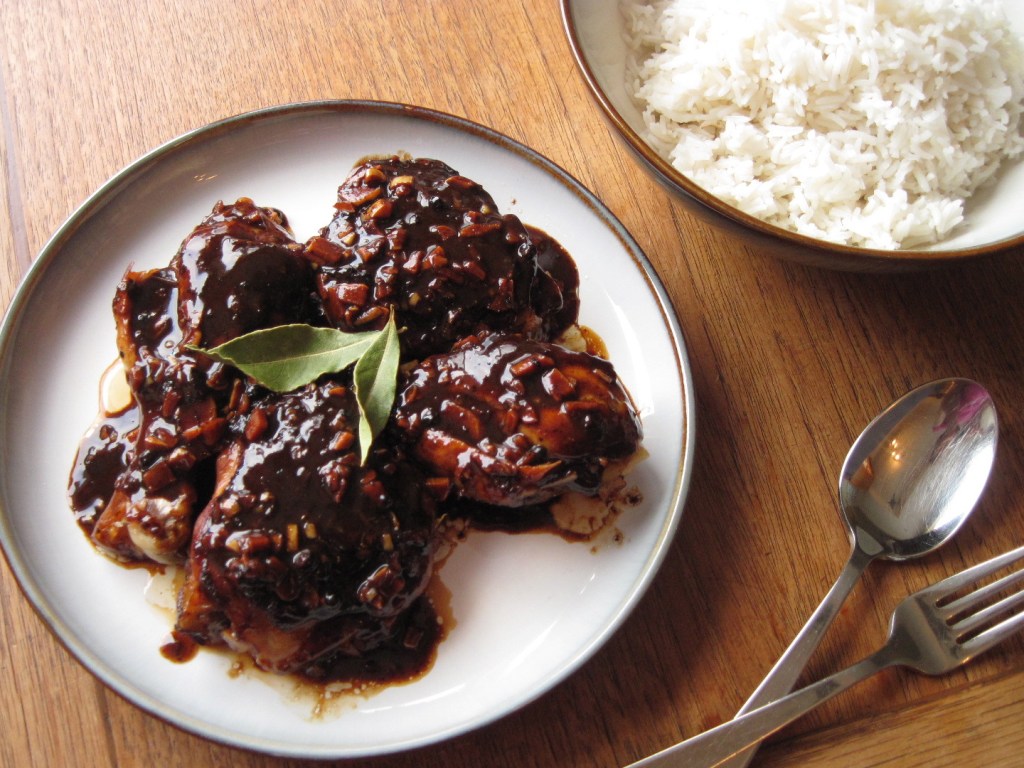
Filipino Chicken Adobo
Rebar Chocolate Cake
A recipe that will make you love lentils
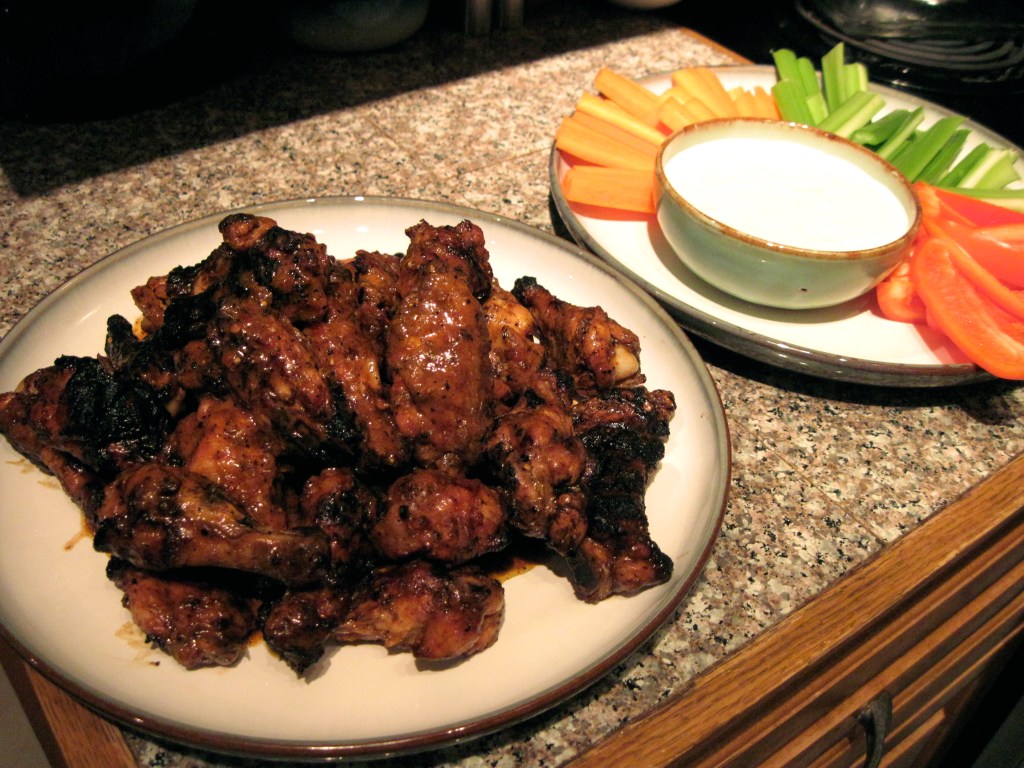
Grilled Hot Wings with Blue Cheese Dip
Homesick Texan Sloppy Joes
Resolution
Devonshire Cream
Daring Bakers: Scone Mojo
Variation on a Theme
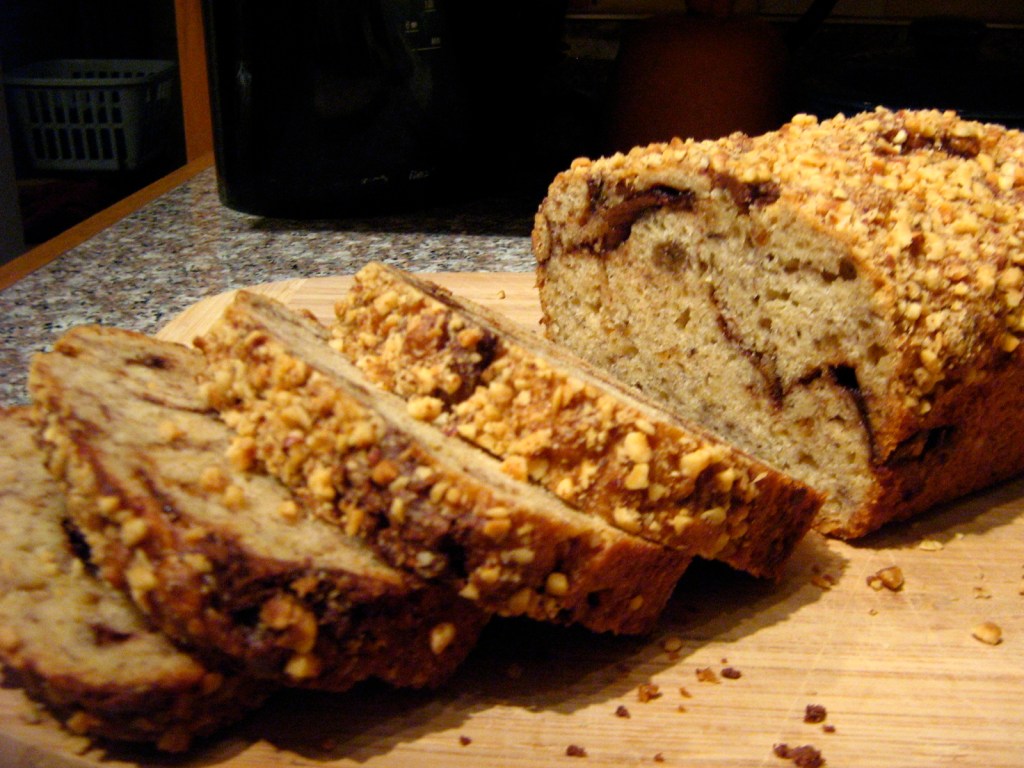
Chocolate Hazelnut Banana Bread
Previous Page
Next Page
Subscribe
Subscribed
Korena in the Kitchen
Join 390 other subscribers
Sign me up
Already have a WordPress.com account?
Log in now.
Korena in the Kitchen
Subscribe
Subscribed
Sign up
Log in
Report this content
View site in Reader
Manage subscriptions
Collapse this bar