Skip to content
Korena in the Kitchen
Search
Home
About
Recipe Index
Contact
Author:
Korena in the Kitchen
Daring Bakers: Dutch Crunch Rolls
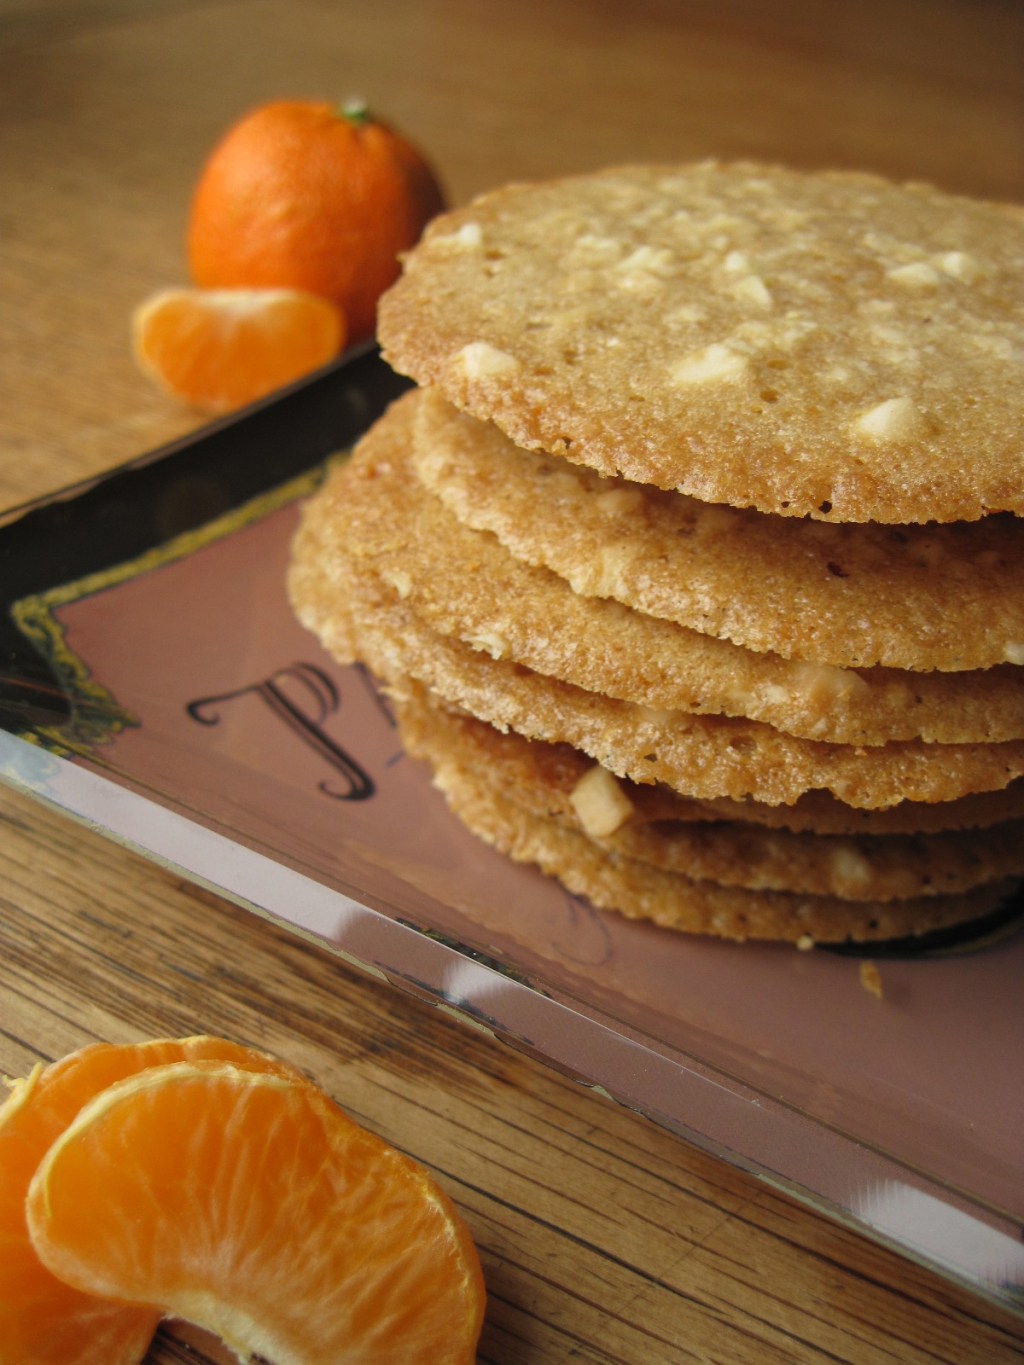
White Chocolate Orange Thinsees
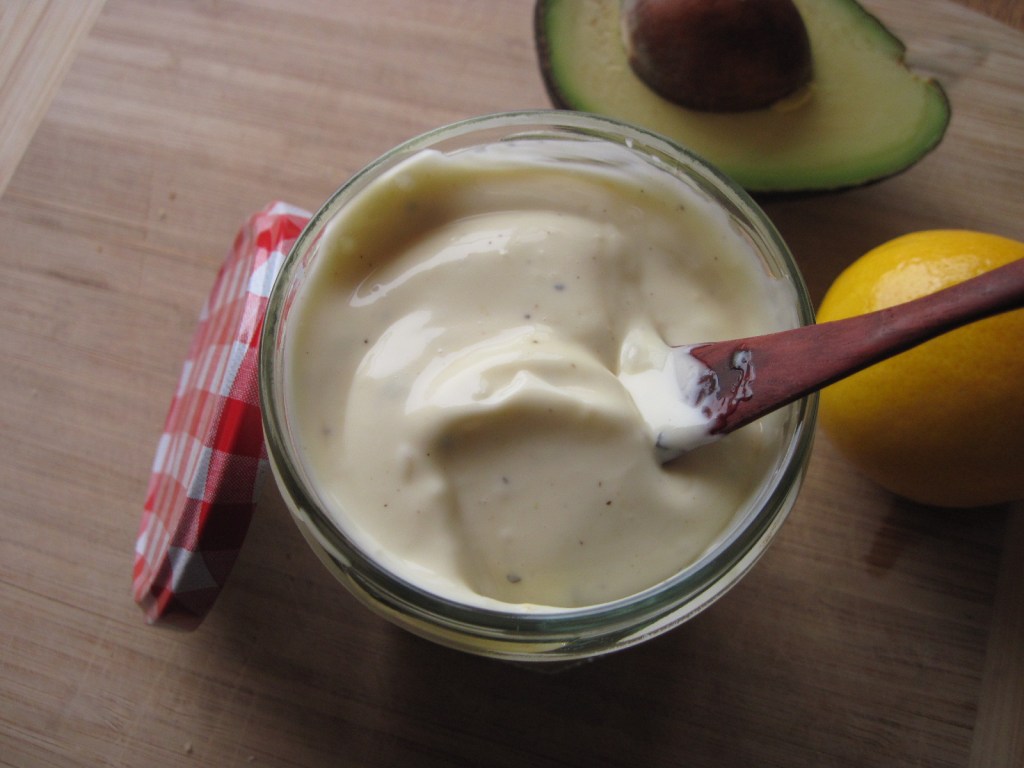
Posh Mayonnaise
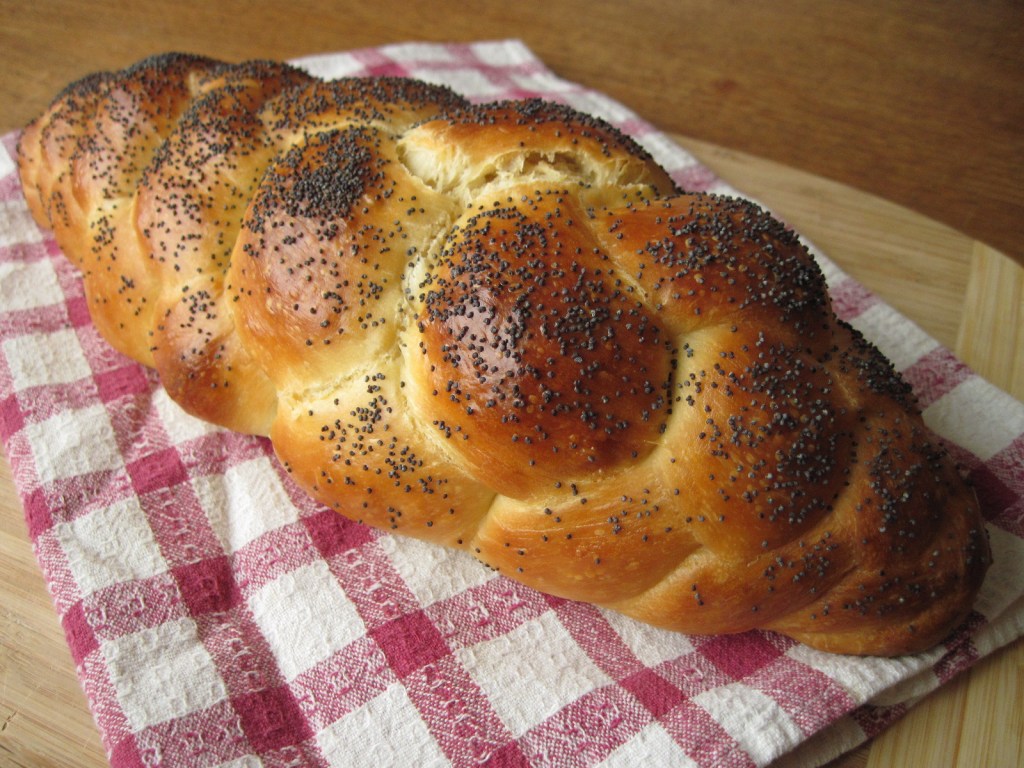
6-Strand Braided Challah Loaf
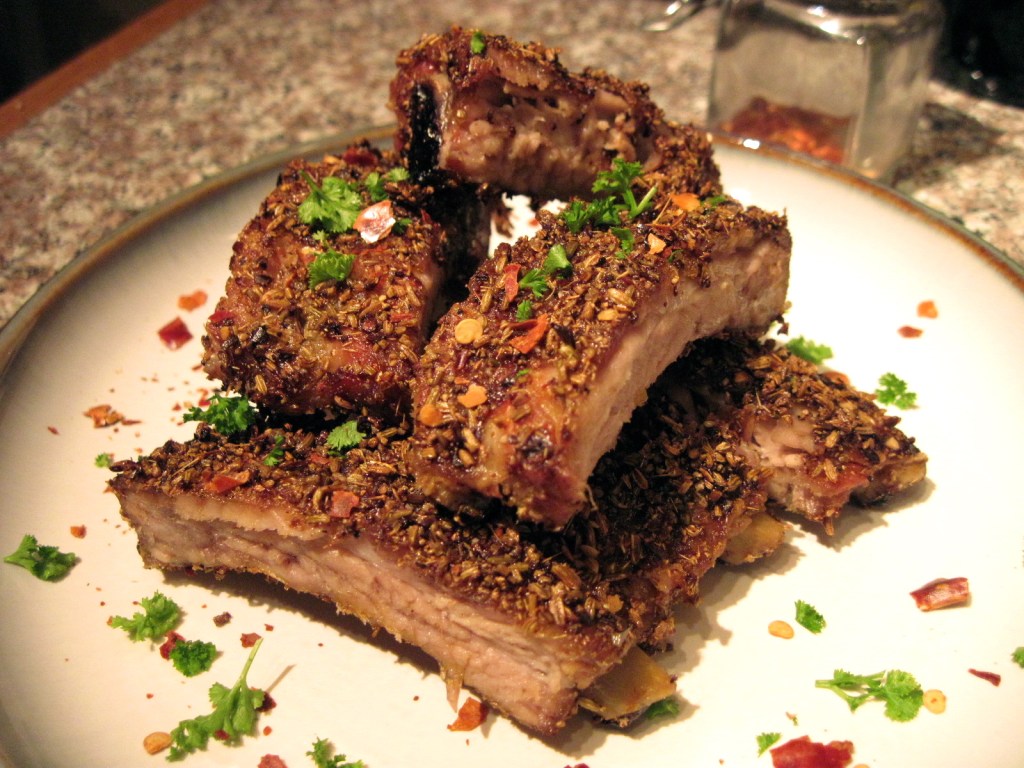
Fennel & Chili Spiced Ribs
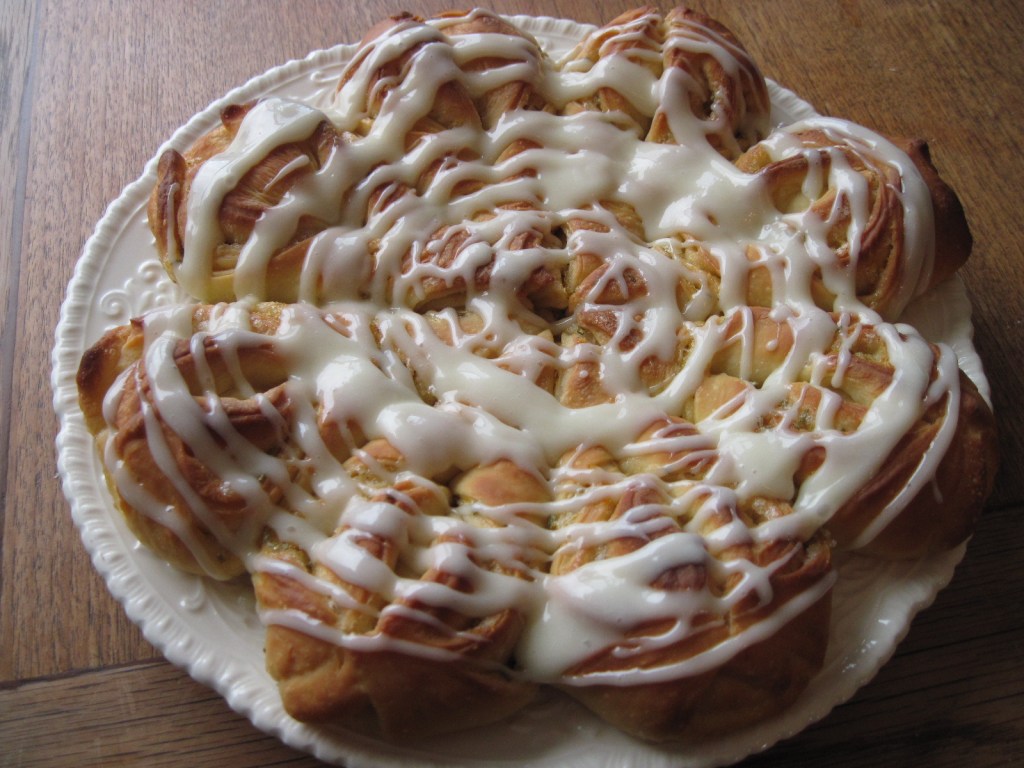
Lemon Rosemary Sticky Bun Twists
Turkey Pie with Parmesan & Black Pepper Biscuits
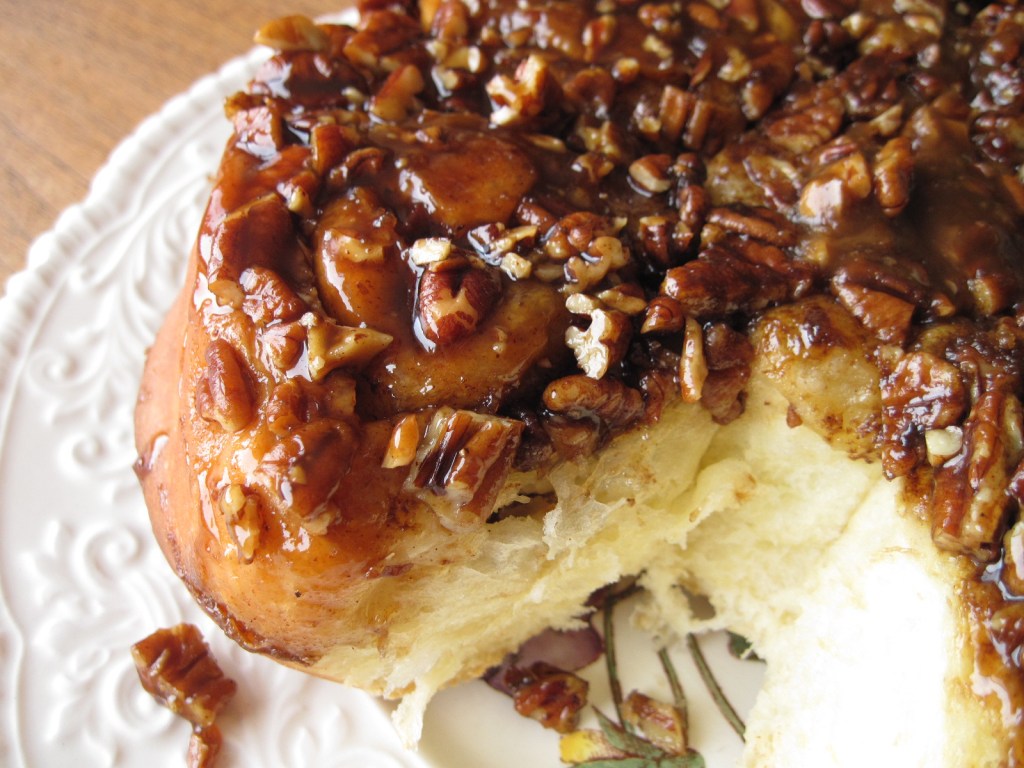
Caramel Pecan Sticky Buns
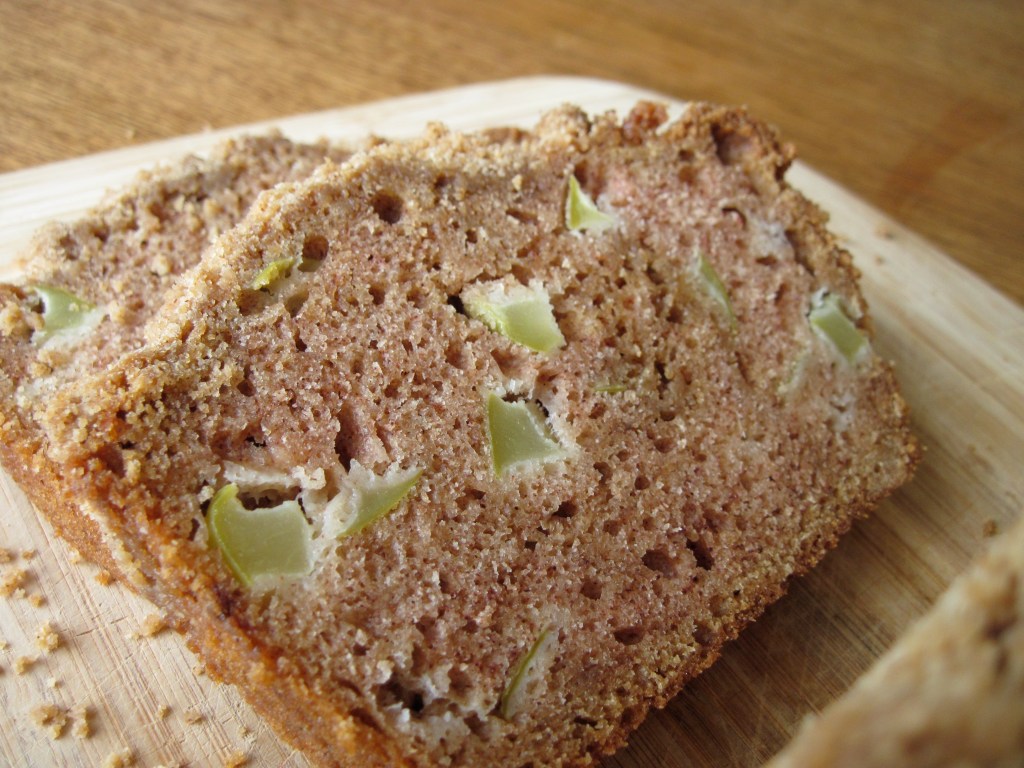
Daring Bakers: Quickbread
Challah Dough
Previous Page
Next Page
Subscribe
Subscribed
Korena in the Kitchen
Join 390 other subscribers
Sign me up
Already have a WordPress.com account?
Log in now.
Korena in the Kitchen
Subscribe
Subscribed
Sign up
Log in
Report this content
View site in Reader
Manage subscriptions
Collapse this bar