
I’ve had this sourdough bread post drafted for months now, but there’s a lot going on in the world and it has felt kind of futile to post baking recipes in the midst of it all. The cookies I made or the cake I baked seem to pale in importance against the current major civil unrest due to systemic racism and police brutality. As a Canadian, it’s tempting to sit back and smugly think that the rampant anti-Black racism we see in the US is not a problem here, but as a WHITE Canadian, I have to seriously check that impulse because we have our own terrible history and ongoing legacy of institutional racism and police violence against Indigenous, Black, and people of colour in this country.
Add all this to the fact that I am a little bit distracted at the moment because – SURPRISE! – I’m currently very pregnant and expecting a baby fairly imminently, and you might understand why I haven’t posted anything in a while 😉
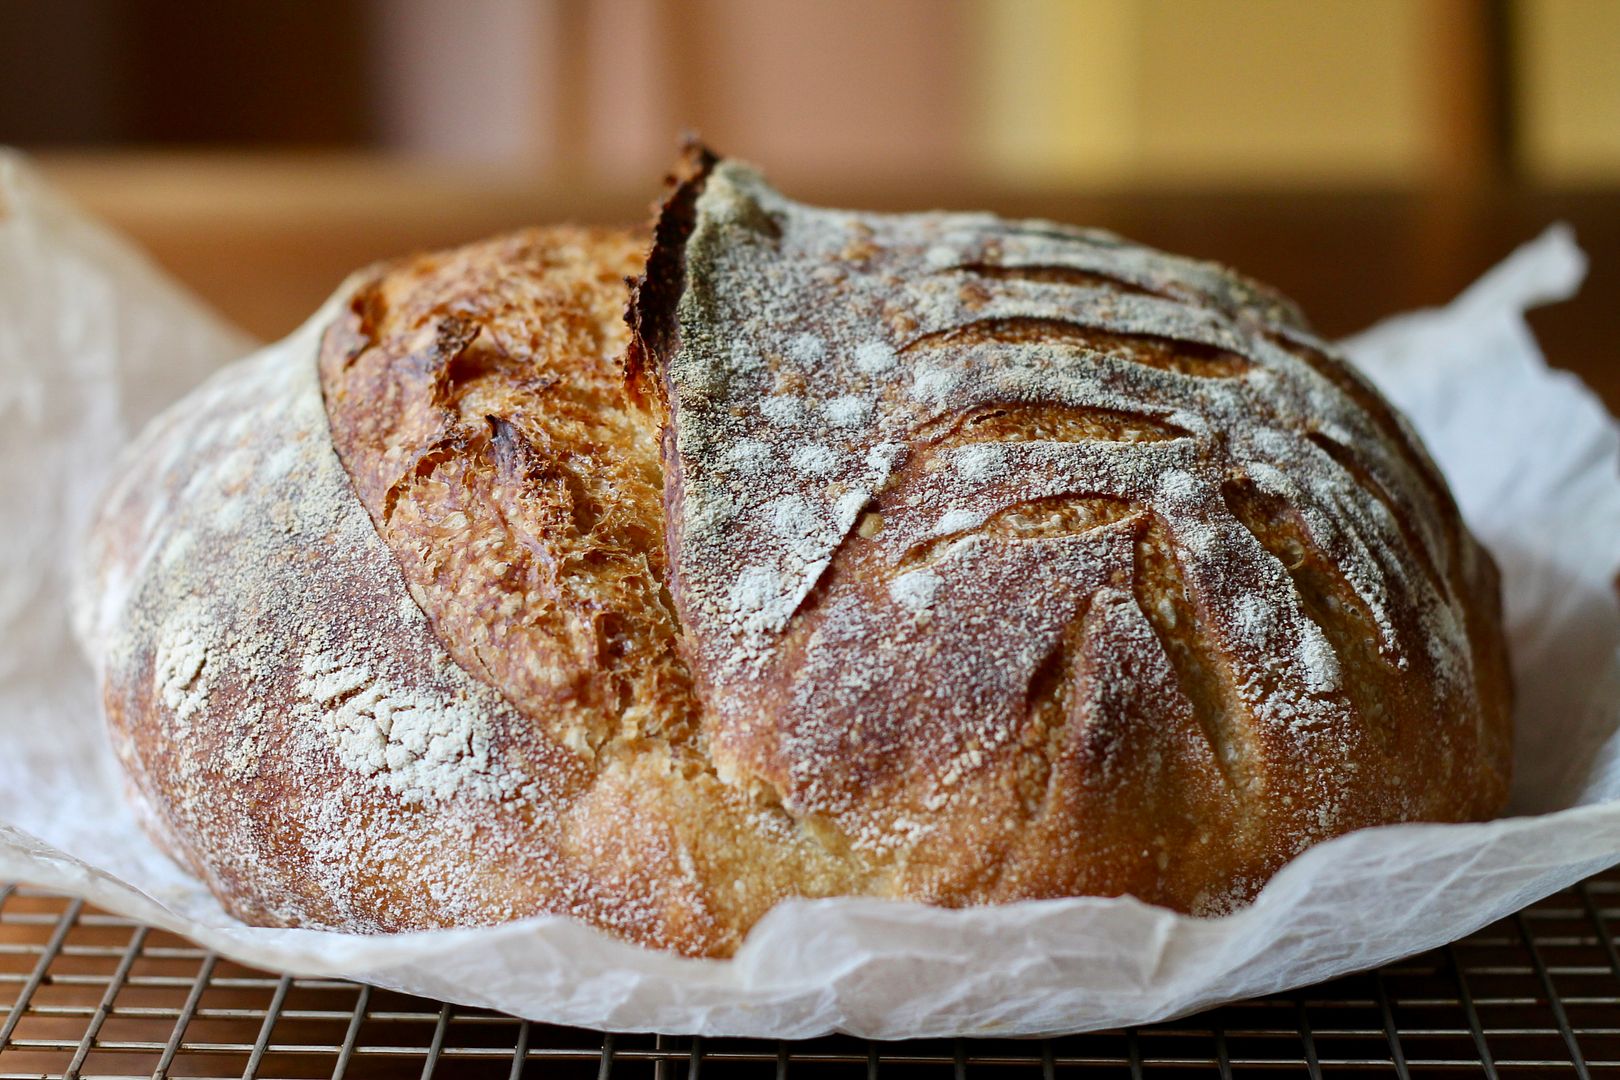
As I contemplate what it means to bring a baby into the current world and what it will be like to parent a human born in 2020 – a year that is only half over but that has already forced us to reconsider our “normal” in so many, many ways – I realize that I have a huge opportunity and responsibility to make a positive impact on the future in the way I raise my kid. I’ve always intended for any child of mine to be decent, respectful, and caring – but current events have really made me think harder about what this means, exactly. In seeing the despicable reactions of so many adult white people to the Black Lives Matter movement, I want to make sure I teach my kid to understand systemic racism and to be anti-racist (recognizing that I have a lot of learning / unlearning to do here myself); to value equality and care more about people than things; to understand social responsibility and his role in the collective good and welfare of others; to think critically, seek out subject-matter experts, and not be afraid to change his opinion when he learns new information; and to recognize his privilege and use it to lift up other people and make their voices heard.
And while not as vitally important to the world as the things I listed above, I also want to teach him how to bake bread.
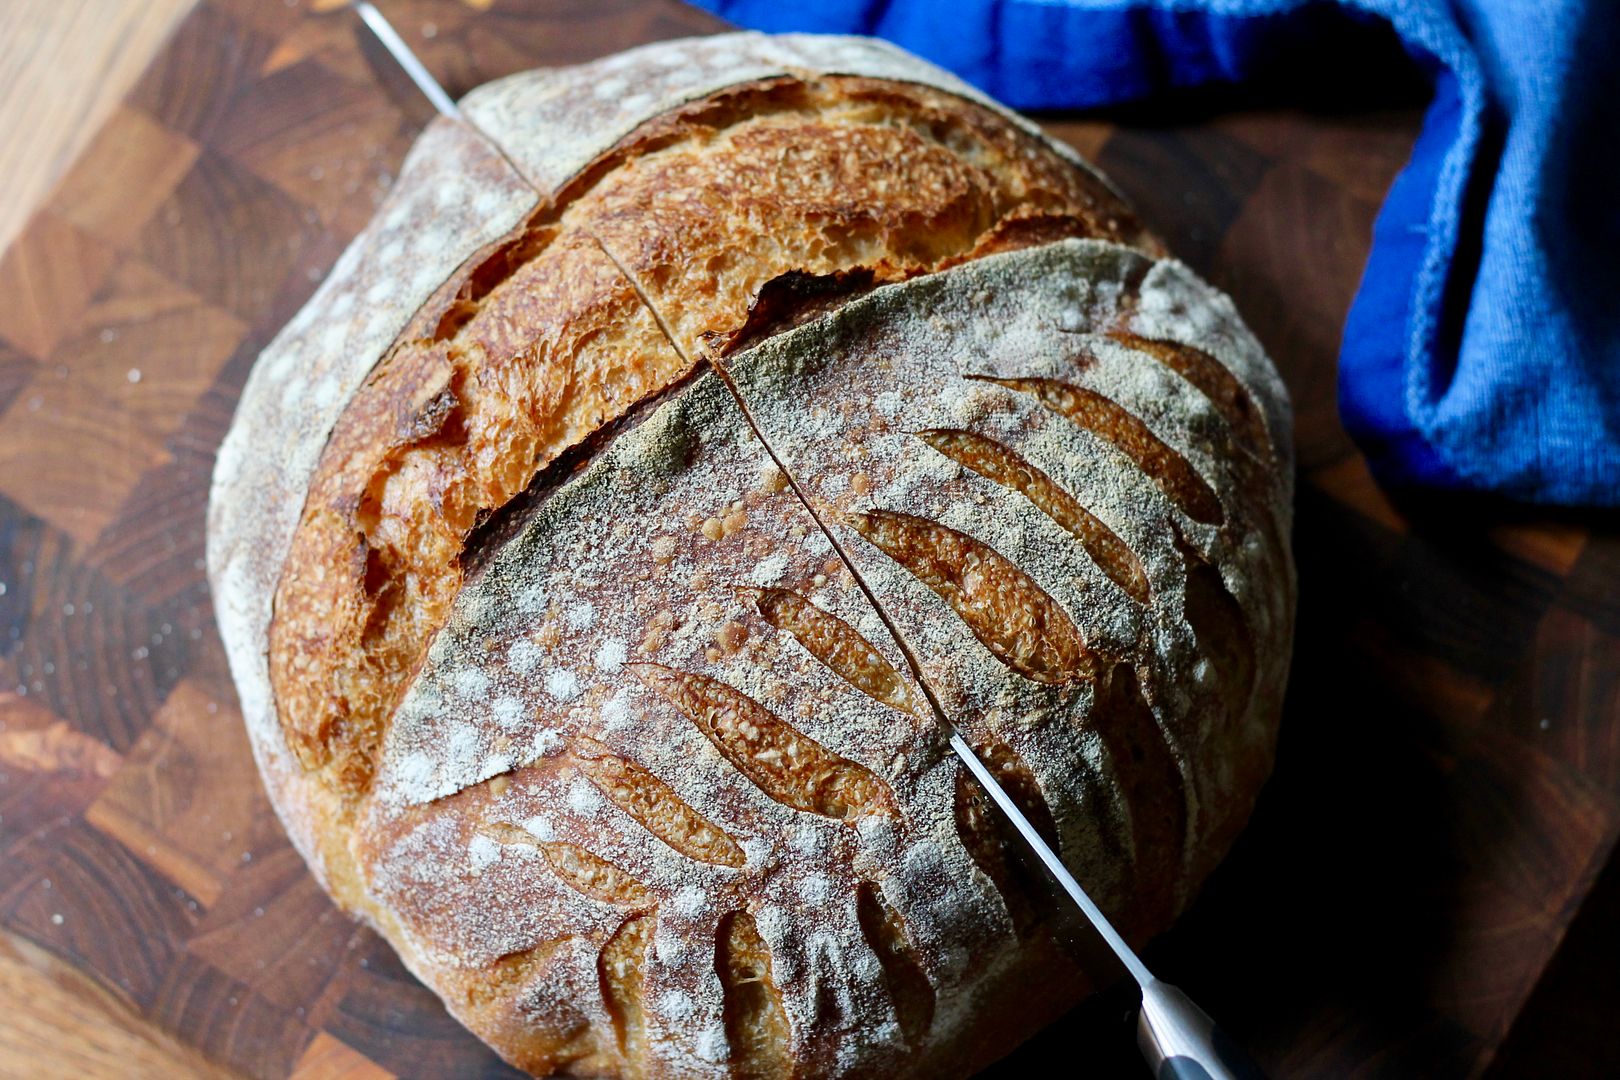
I’ve been the caretaker of my little sourdough starter for over a year now, and in that time I’ve stuck to making one single recipe as our “daily bread” (actually more like bi-weekly bread, or sometimes only monthly!). It’s just a simple rustic white loaf, but making it repeatedly over a long period of time has really helped me get the process dialled and understand how my starter likes to behave. It also helps that during my sourdough hiatus, sourdough artisan bread making has really taken off, and the internet and social media (particularly Instagram) are rife with both professional and amateur bakers sharing so much information about bread dough, hydration levels, structure, fermentation, shaping, scoring, and baking.
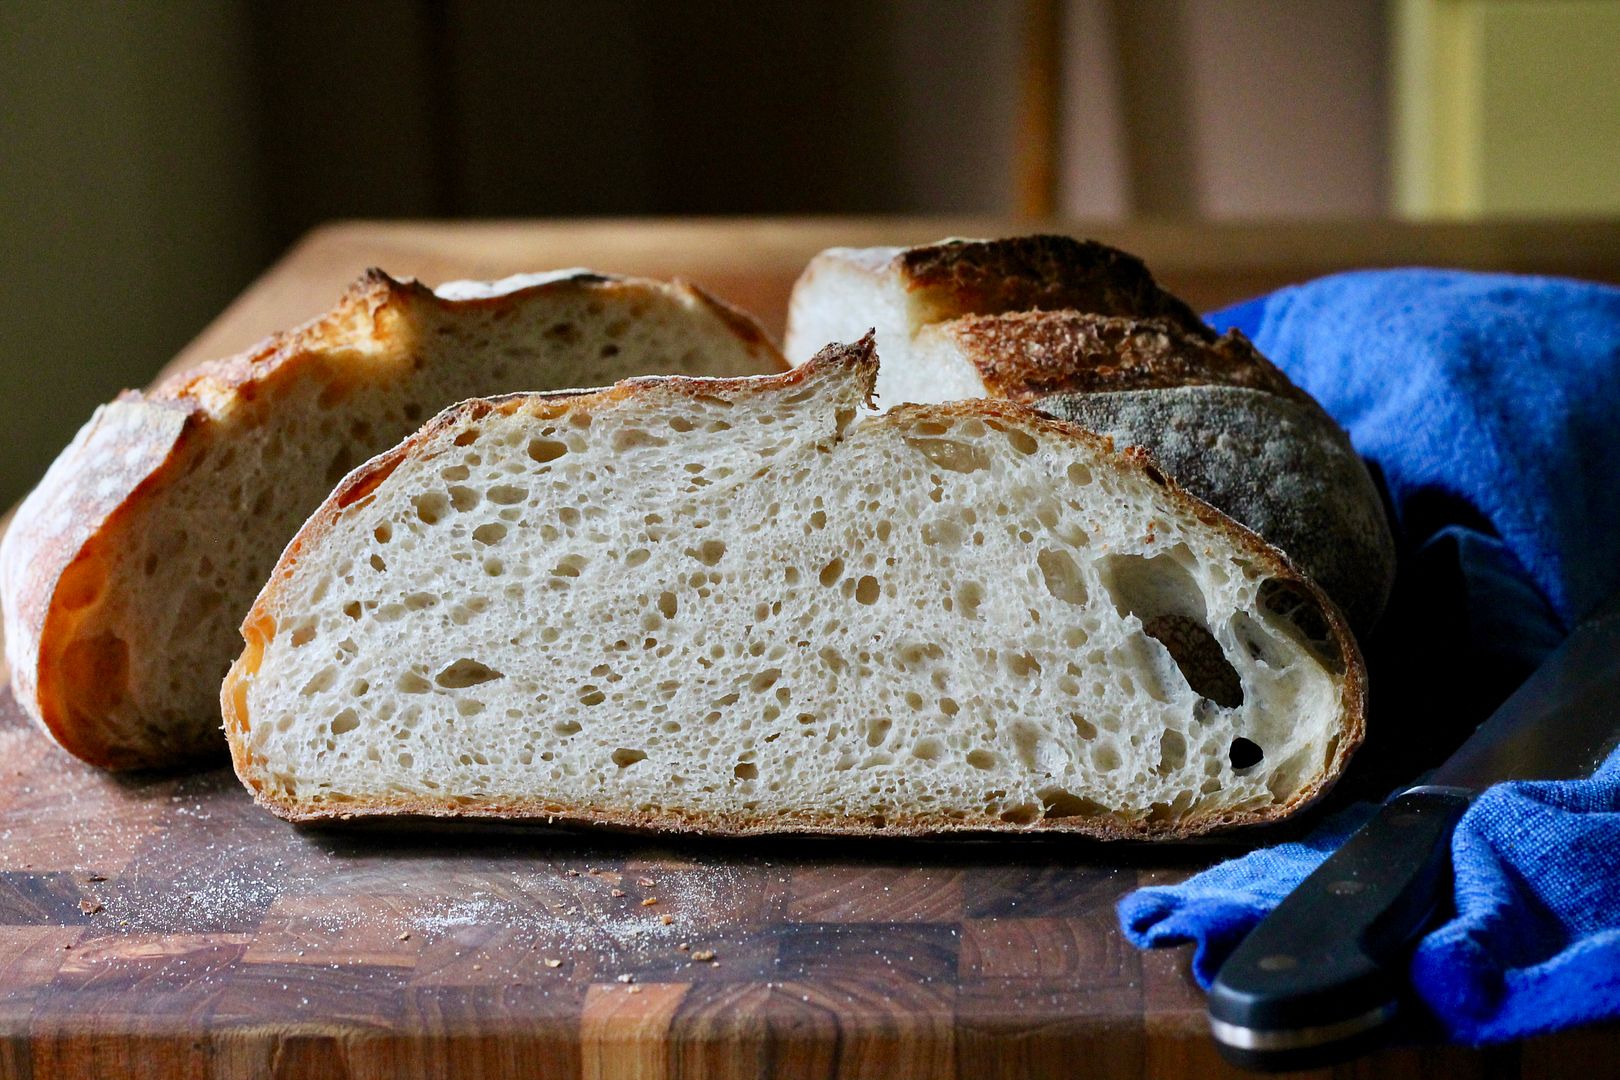
The biggest thing I’ve learned so far is that sourdough prefers warmer temperatures. With my previous sourdough baking, I tended to go for loooooong, slooooooow, and cooooooool, and as a result my sourdough breads tended to take forever and didn’t always achieve their best in terms of fermentation and rise. In fact, they were often overly sour and a bit dense, whereas I much prefer a subtle sourdough tang and fluffy crumb. In the winter months when my kitchen is quite cold, it can be a challenge to keep bread dough warm enough to rise properly, so since getting a new oven a few months ago, I’ve been taking full advantage of the “proofing bread” feature, which turns the oven into a lovely warm spot that is perfect for bringing sourdough-leavened bread to its full potential (I’m sure there are some sourdough purists out there who would shake their heads at this, but whatever – do what makes you and your bread happy!). If you don’t have this particular feature on your oven, a trick is to put the dough in a cold oven with the oven light on – this keeps things just warm enough and makes for happier bread.
As with most sourdough recipes, this one takes a bit of forethought – you need to mix the starter together the night before, but the actual building of the dough, fermentation, shaping, and baking can all be done in one day, and the schedule can be pretty flexible. I hope you give it a try 🙂
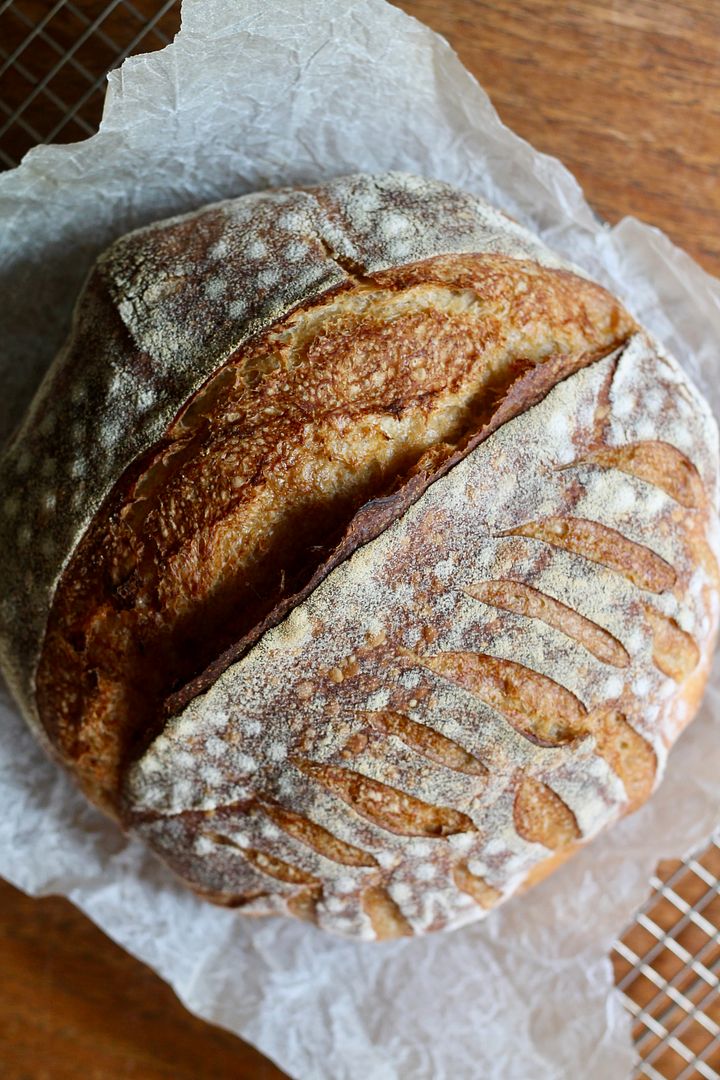
Simple Sourdough Boule
Recipe adapted slightly from My Daily Sourdough Bread. Makes 1 round boule. Click here for a printable PDF of the recipe.
The night before:
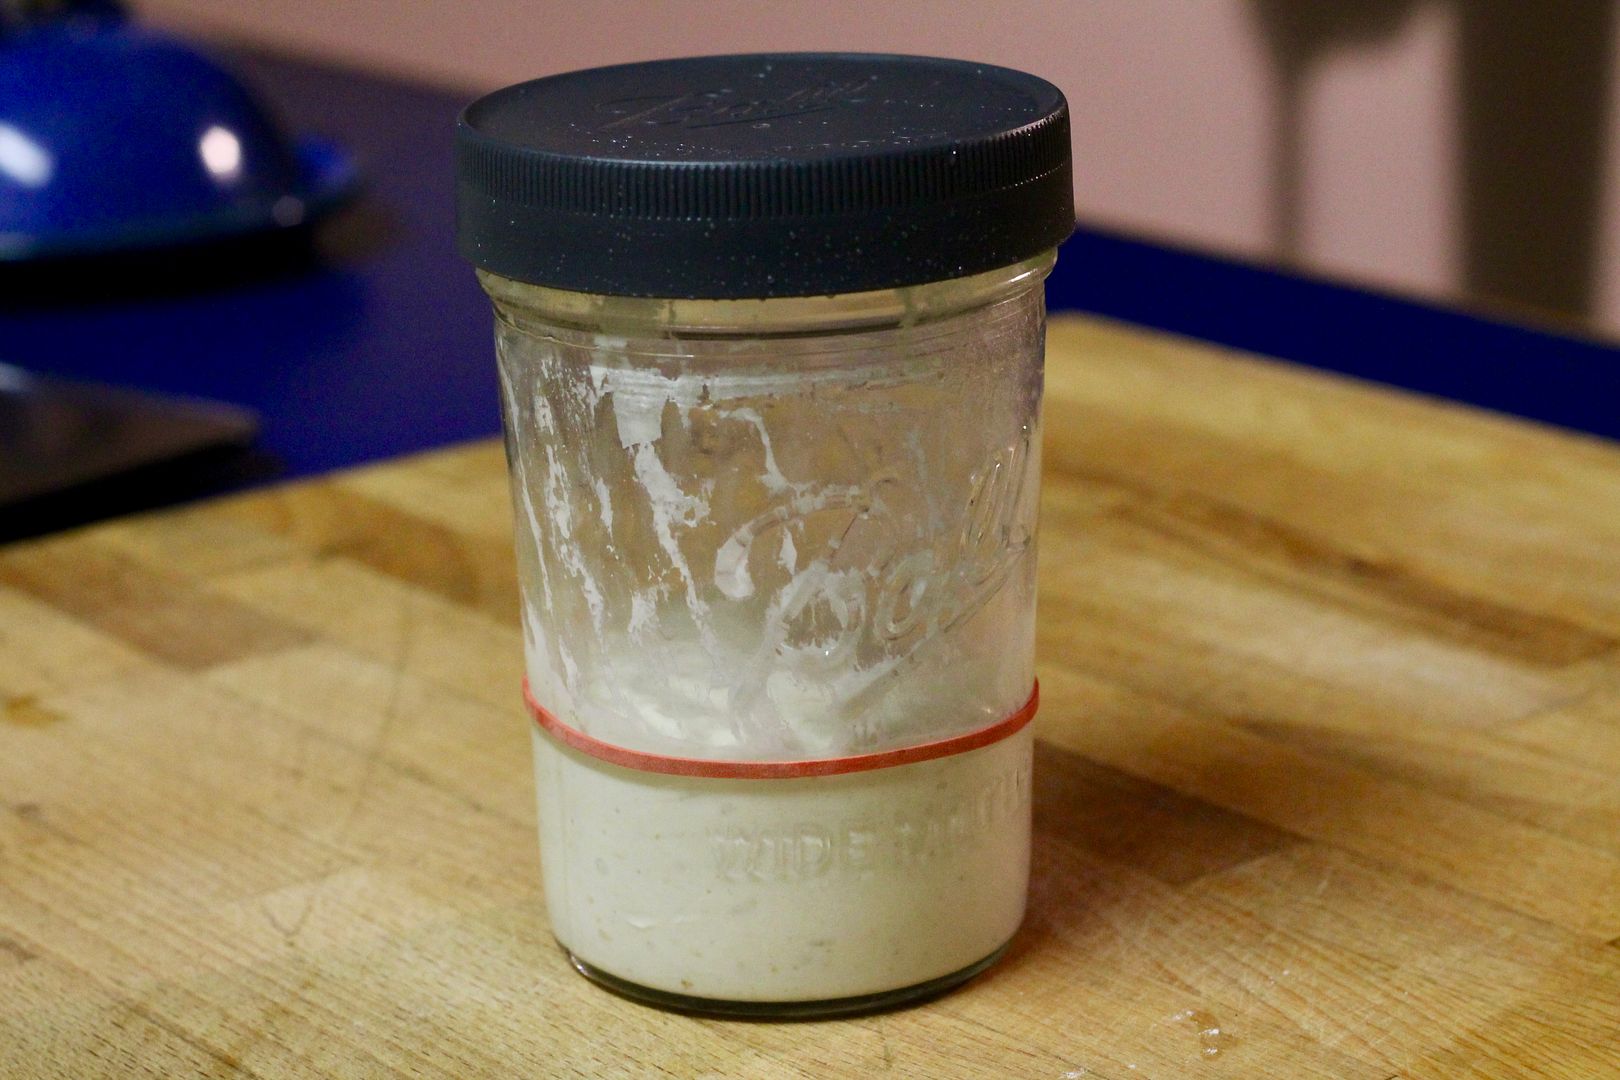
In a medium lidded container (I use a pint jar), mix together:
75 g unbleached AP flour
75 g water
1 tablespoon of ripe mother sourdough starter
Put the lid loosely on the jar and let it ferment overnight (about 8 hours) at room temperature.
At the same time, combine together in a large bowl:
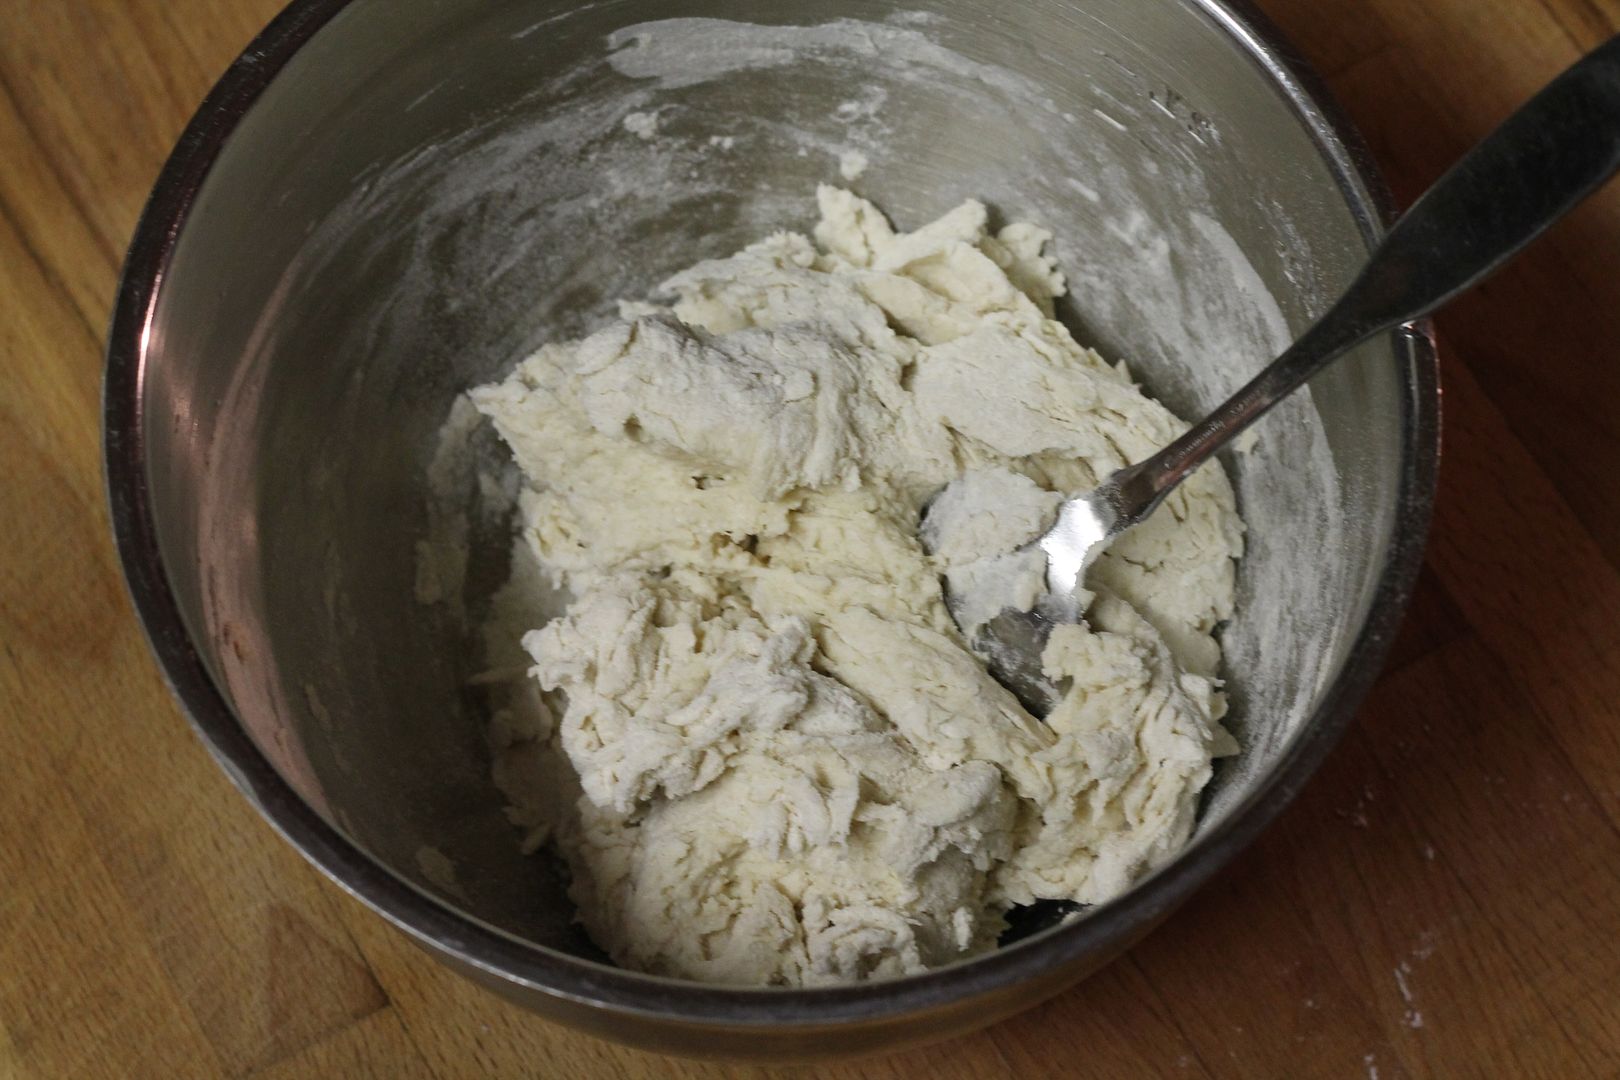
400 g unbleached organic all purpose flour (I sometimes replace up to 100 g with whole grain flour such as whole wheat or rye)
280 g water
Mix together until evenly moistened, then cover the bowl with a lid or plastic wrap and let autolyse overnight.
The next morning:
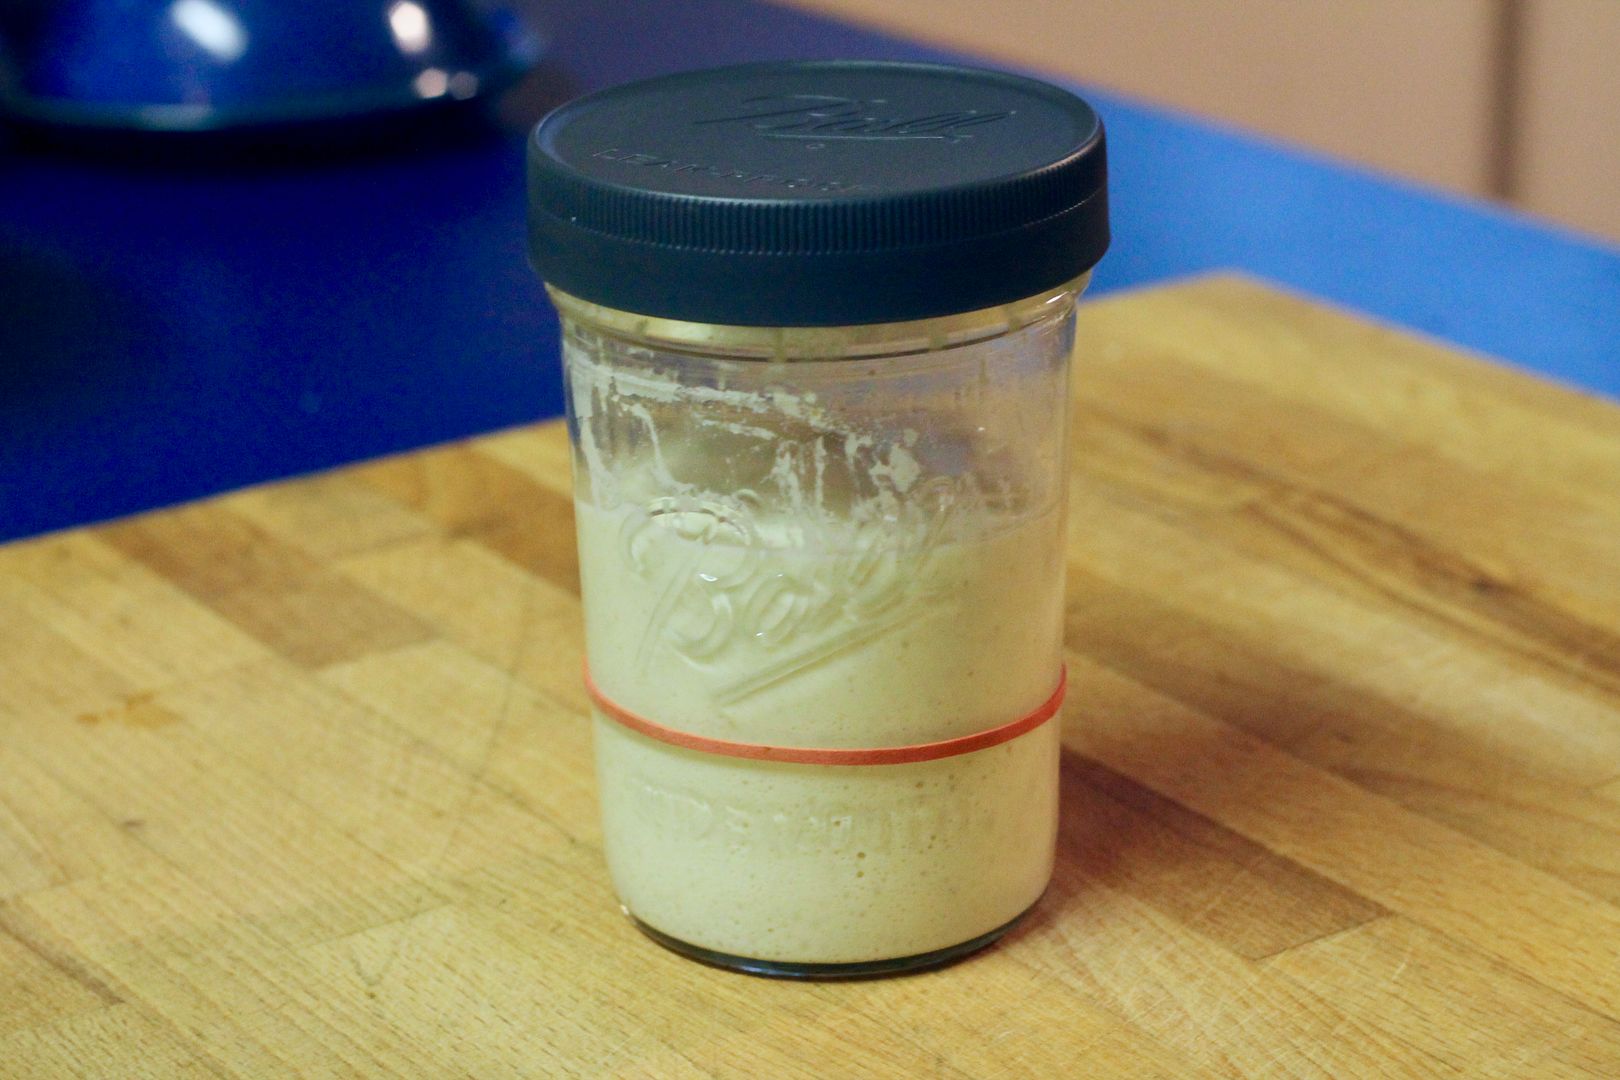
Your starter should have doubled (at least) in volume.
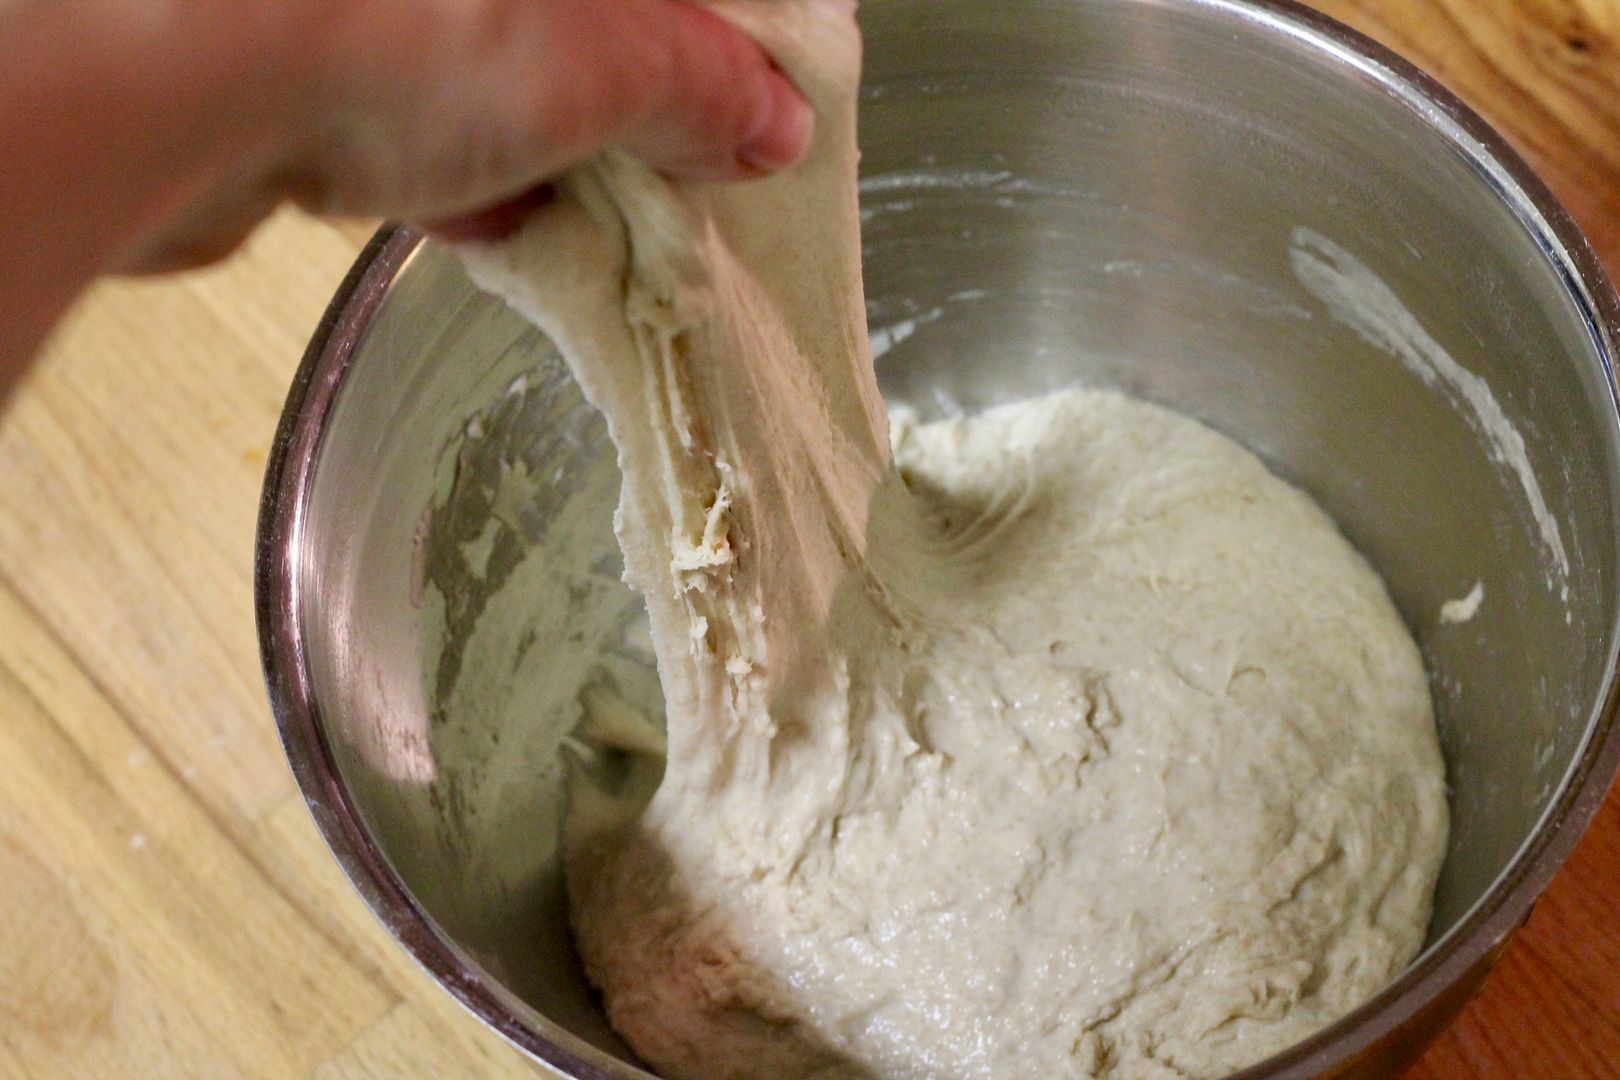
The mixture of flour and water should have relaxed overnight and become a very stretchy dough.
Mix the fermented starter into the autolysed flour and water mixture. I do this by squishing and squeezing the dough with my hands until it is evenly mixed and cohesive.
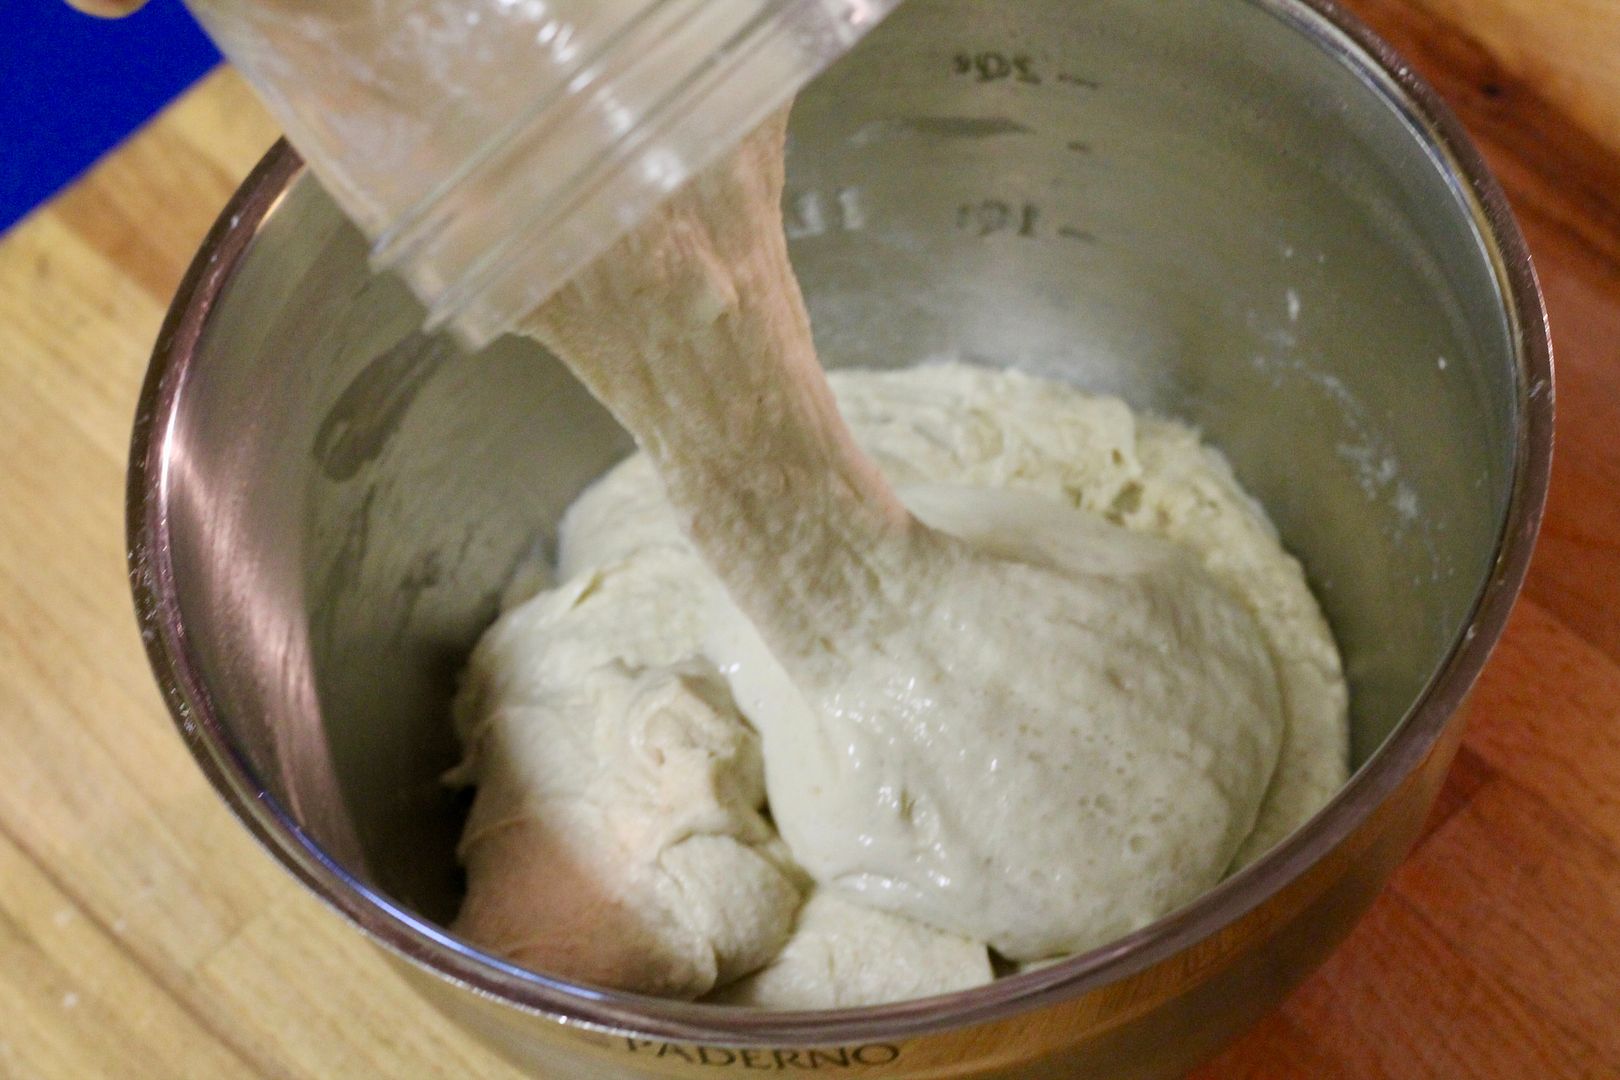
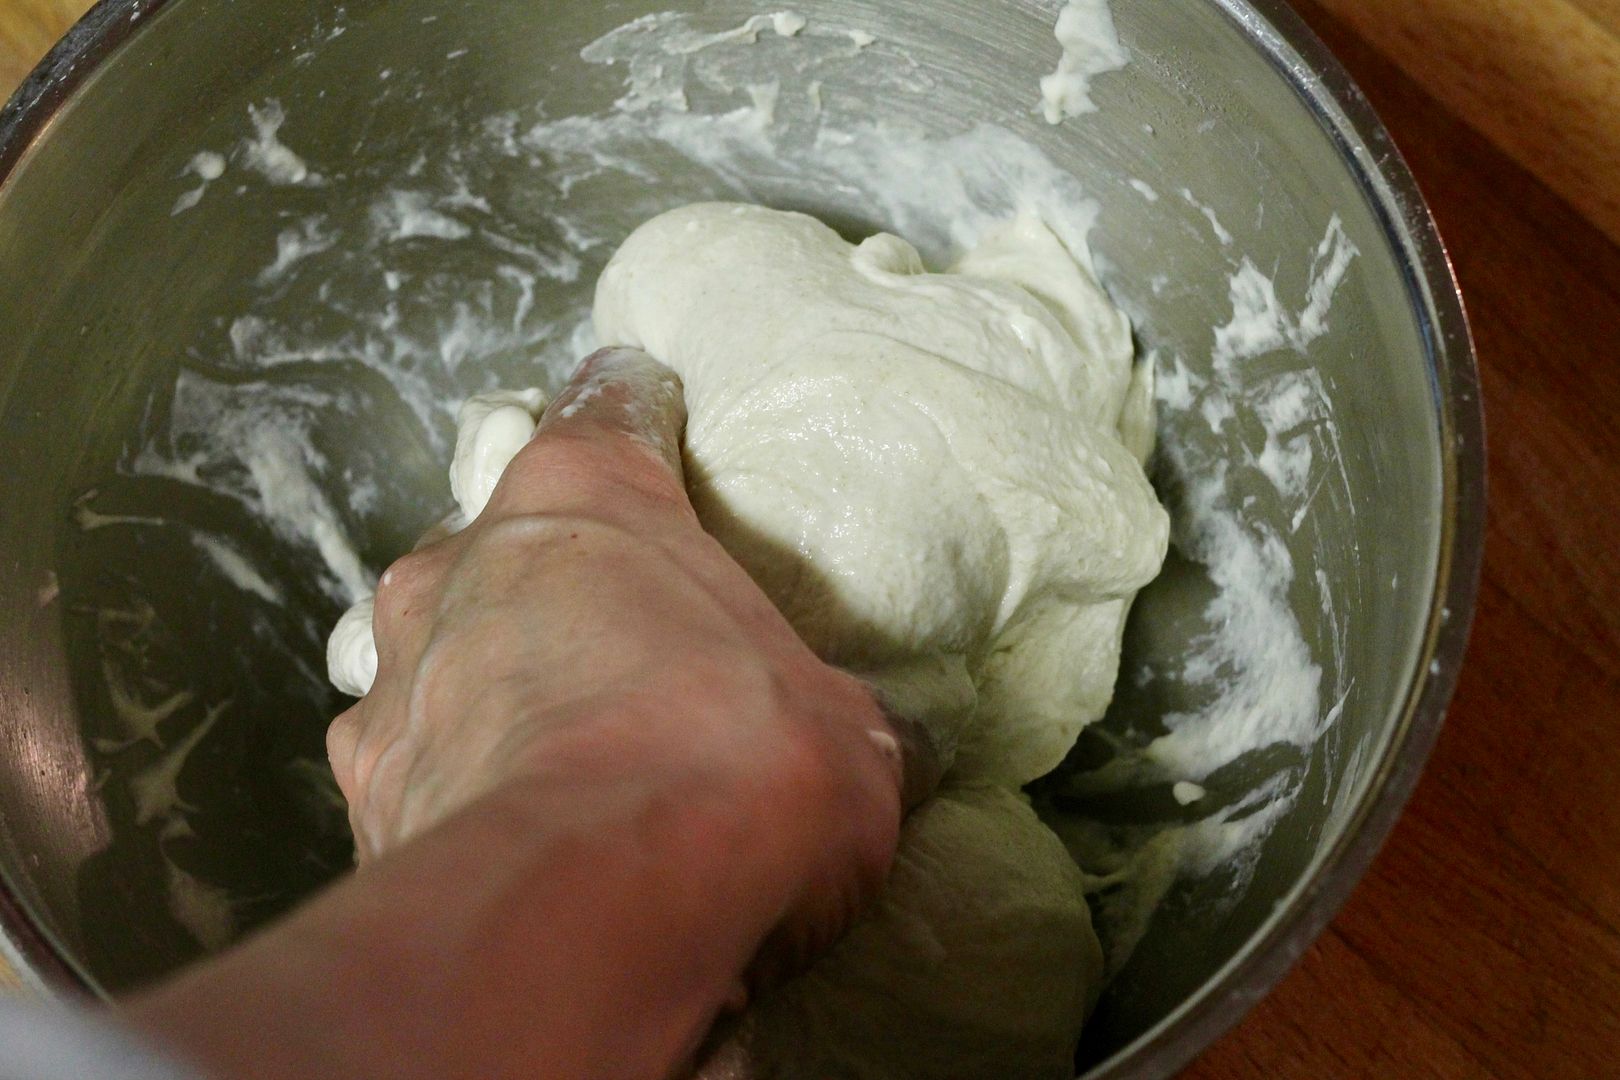
Let the dough rest 1 hour at room temperature to begin fermentation.
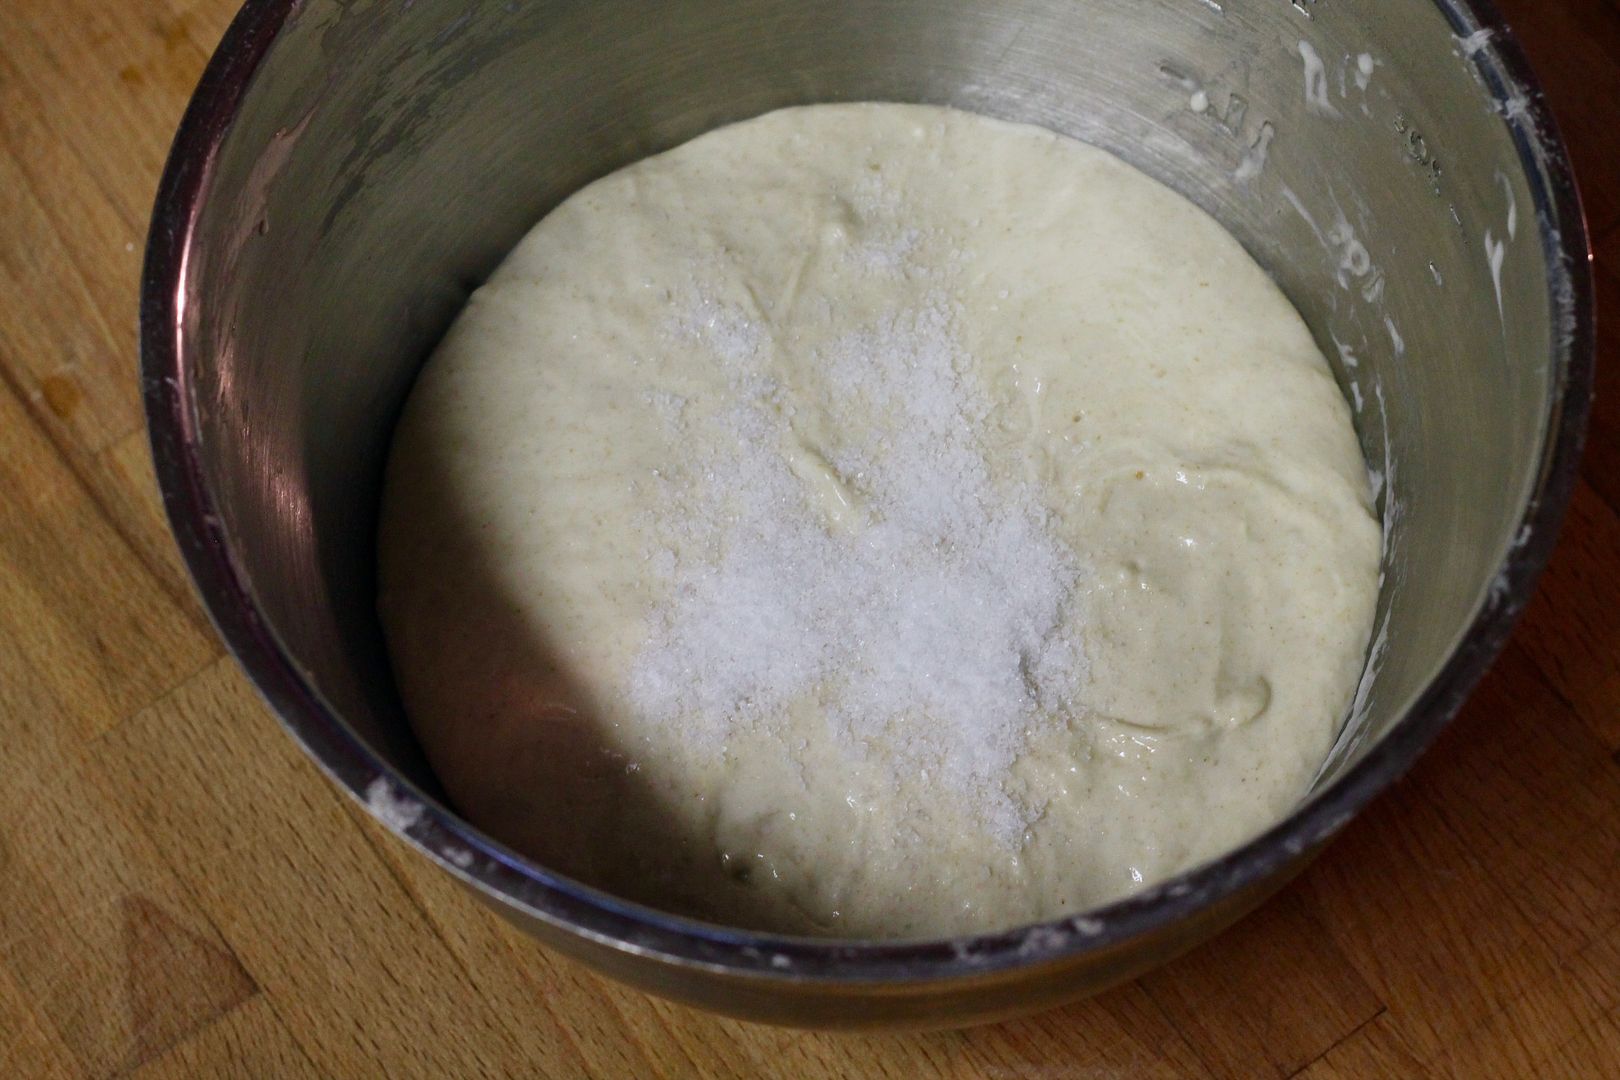
After 1 hour, mix in 8 g fine sea salt and if needed, an additional 10 g water with the same squishing and squeezing technique. I usually don’t need to add the extra water, but this is something you’ll learn to get a feel for depending on the flour you use, humidity, etc.
Bulk ferment:
Let the dough sit at (warm) room temperature for 3-5 hours for the bulk ferment. The exact length of the bulk ferment will depend on the ambient temperature. In the summer, my kitchen is the perfect temperature for this, but in the cooler months, I will use the “proofing bread” feature on my oven, or put the dough in a turned-off oven with just the light on to give it just a touch of warmth to keep fermentation moving.
During the bulk fermentation, stretch and fold the dough every 45-60 minutes (3-5 times total) to help build dough structure. To do this, slide your hand under the edge of the dough and pull up, then fold over on itself. Repeat 5-6 more times until all the edges of the dough have been stretched and folded in.
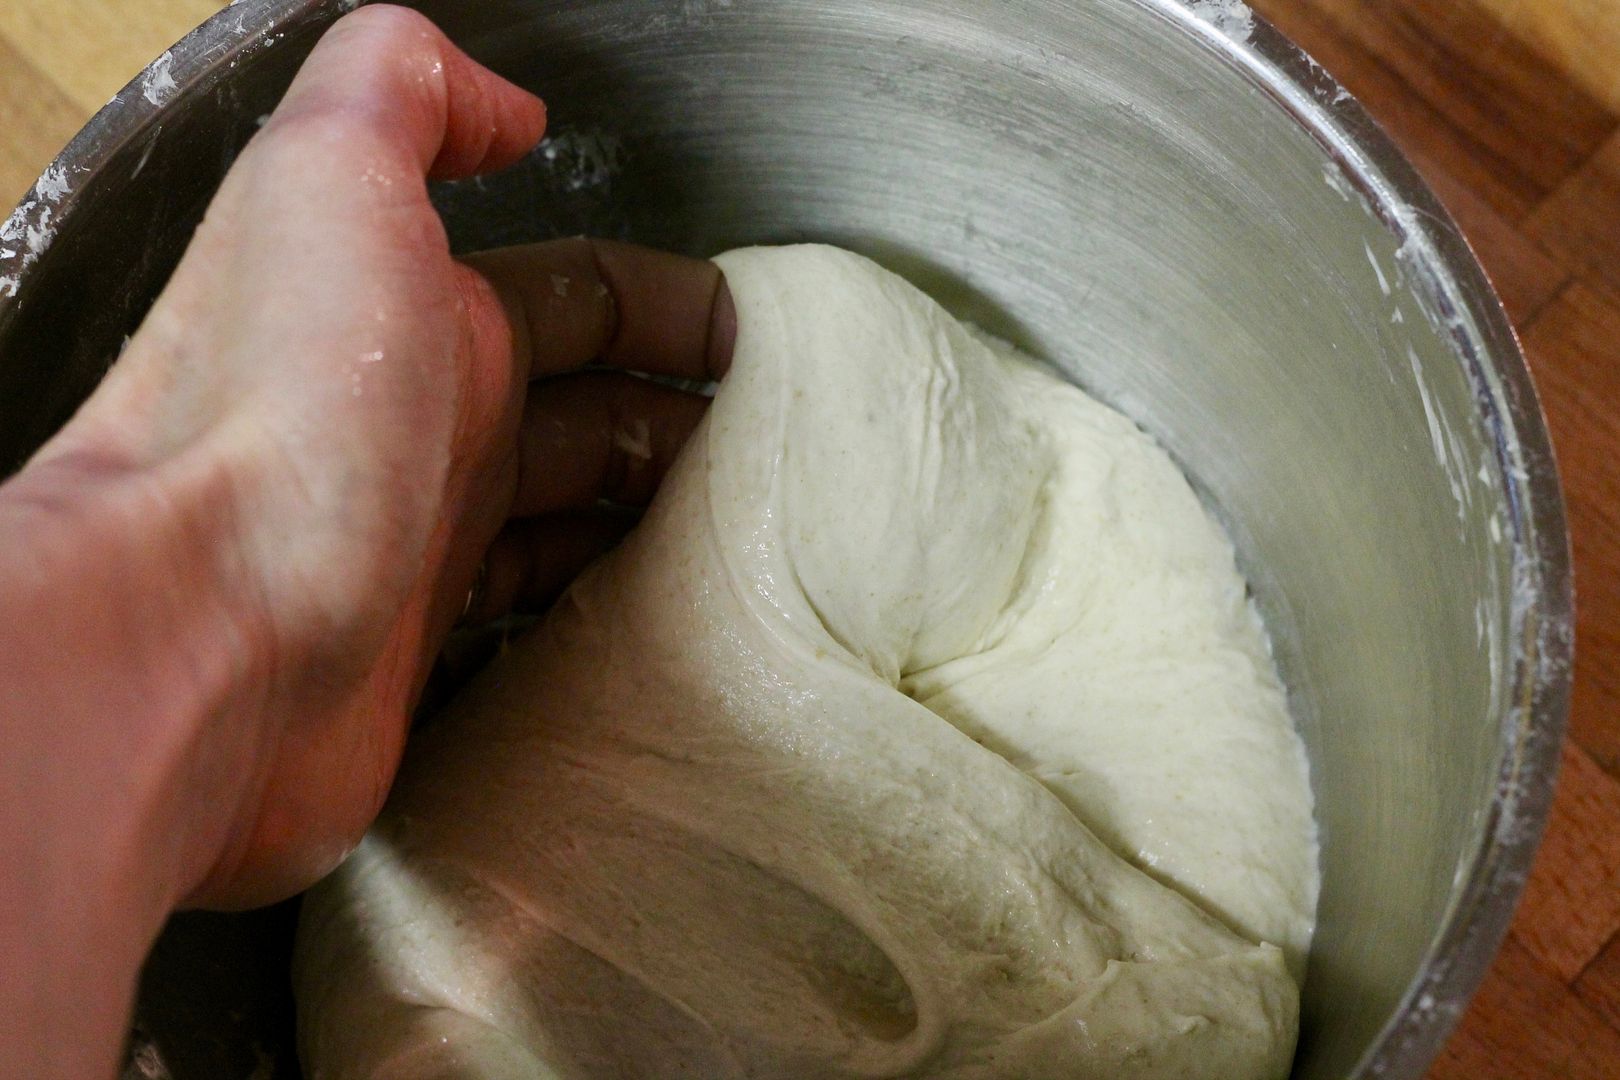
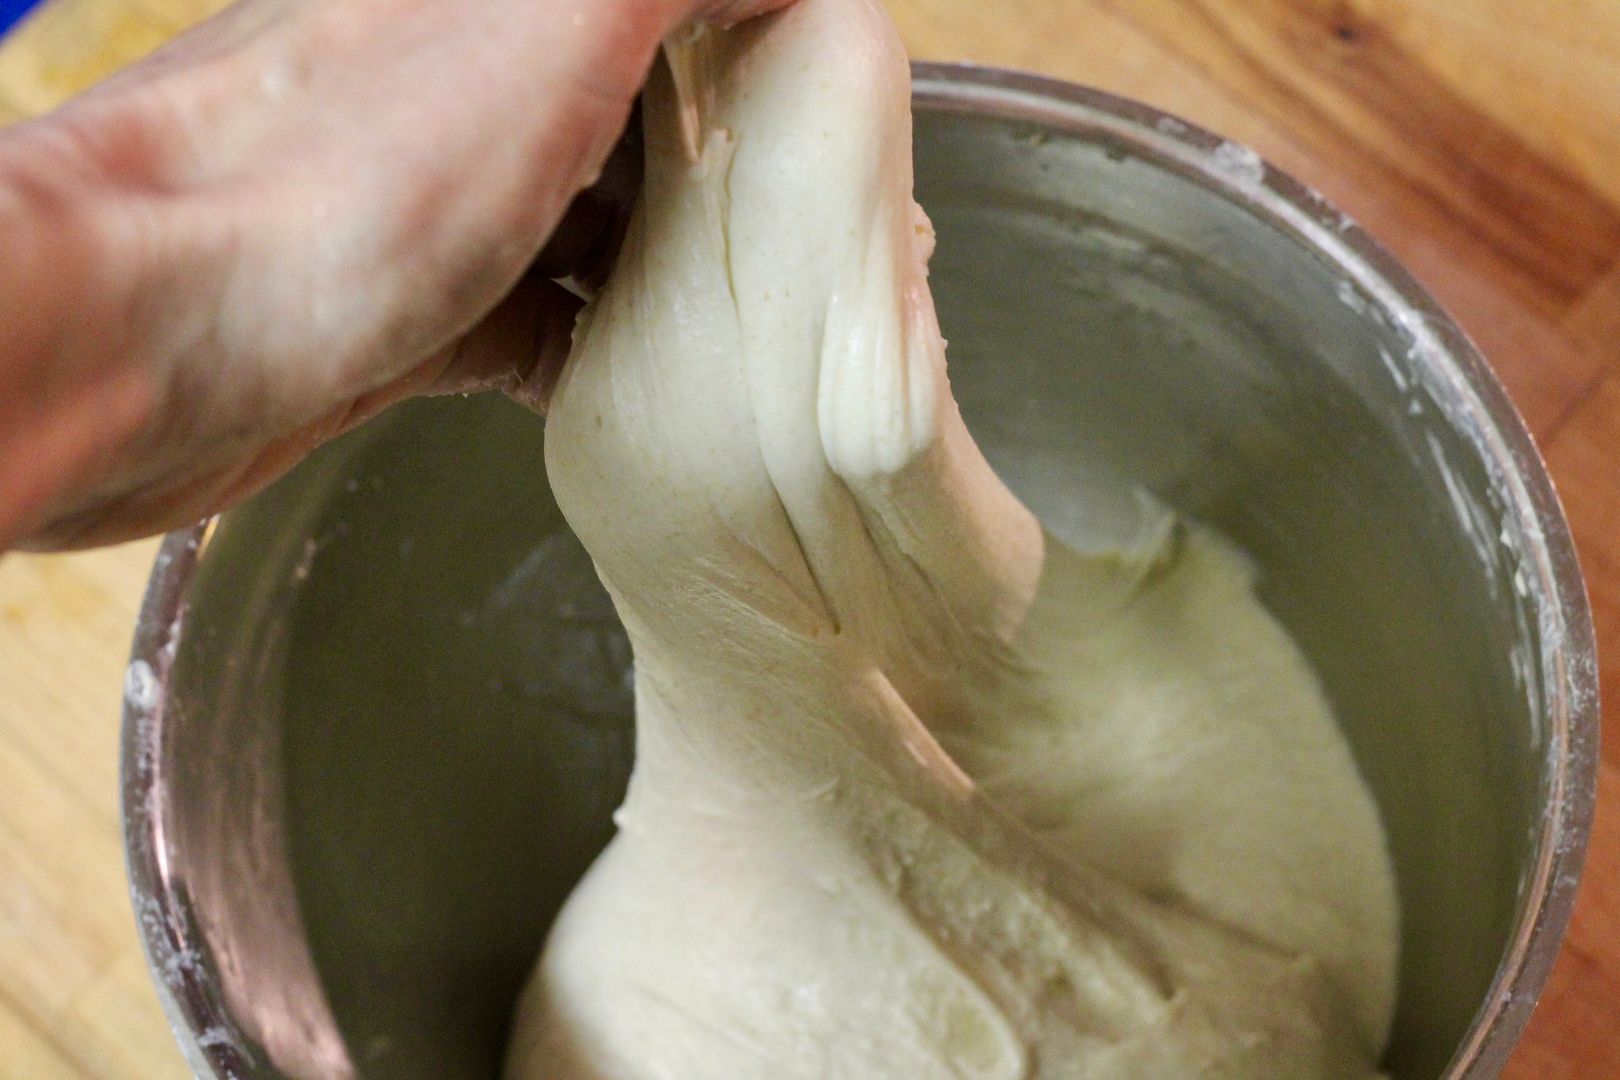
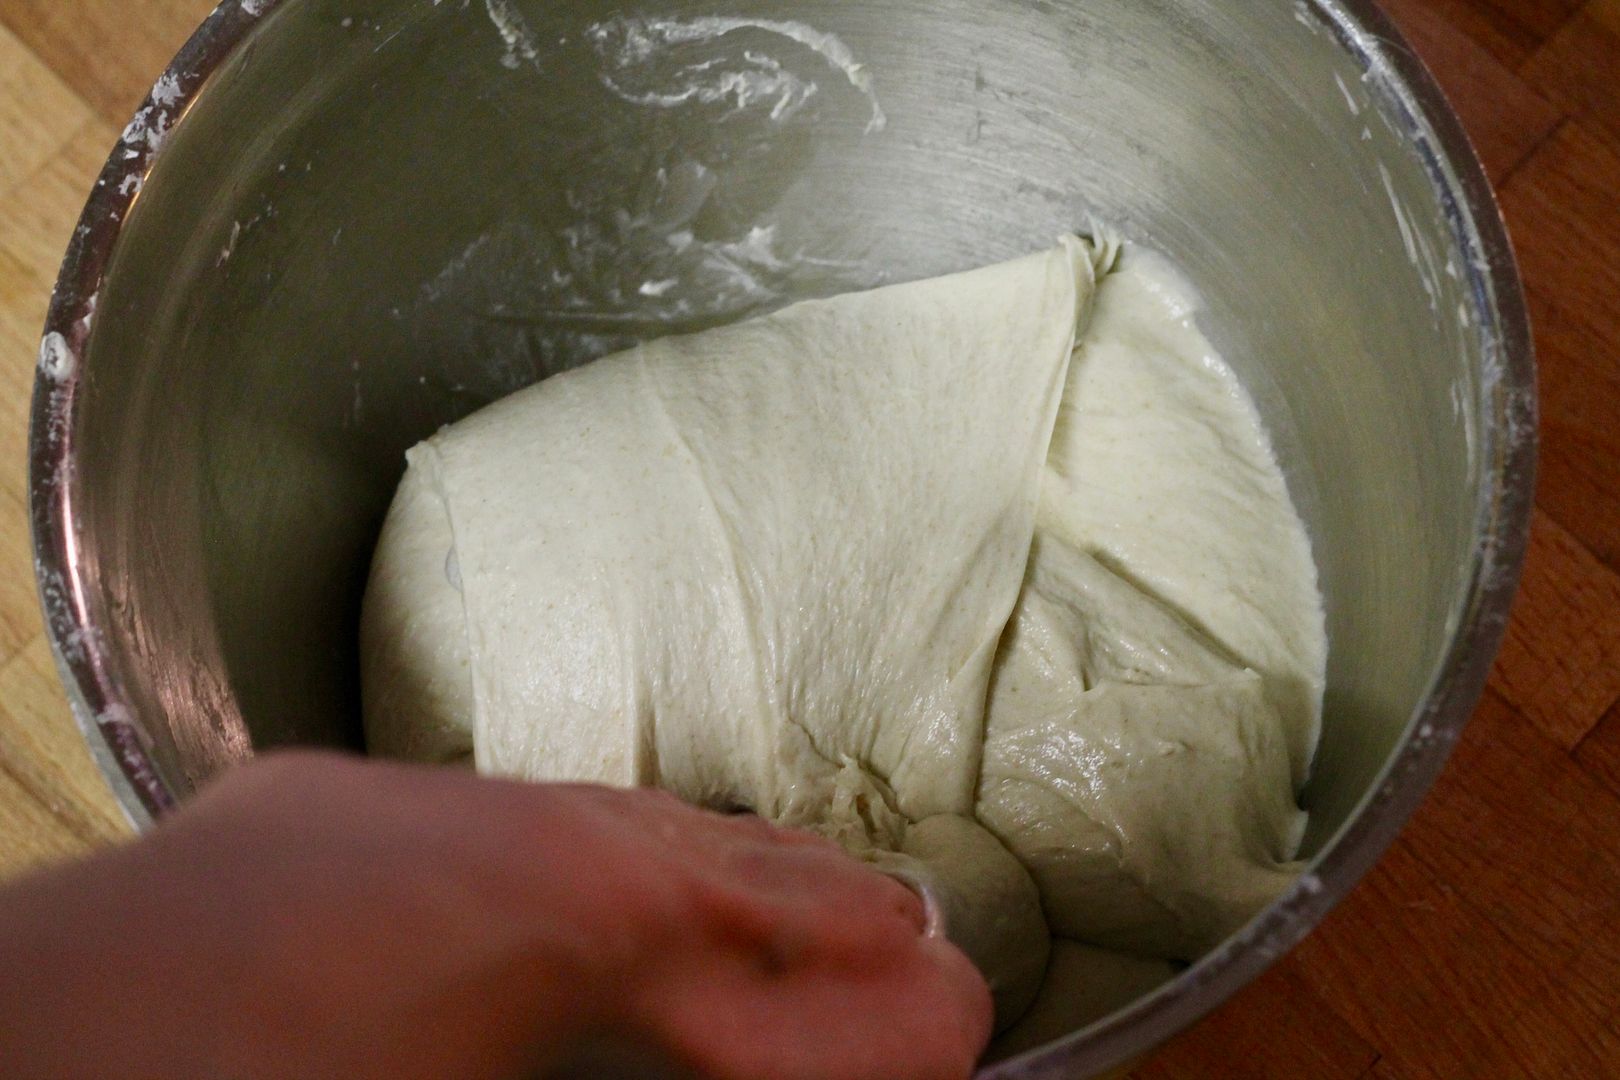
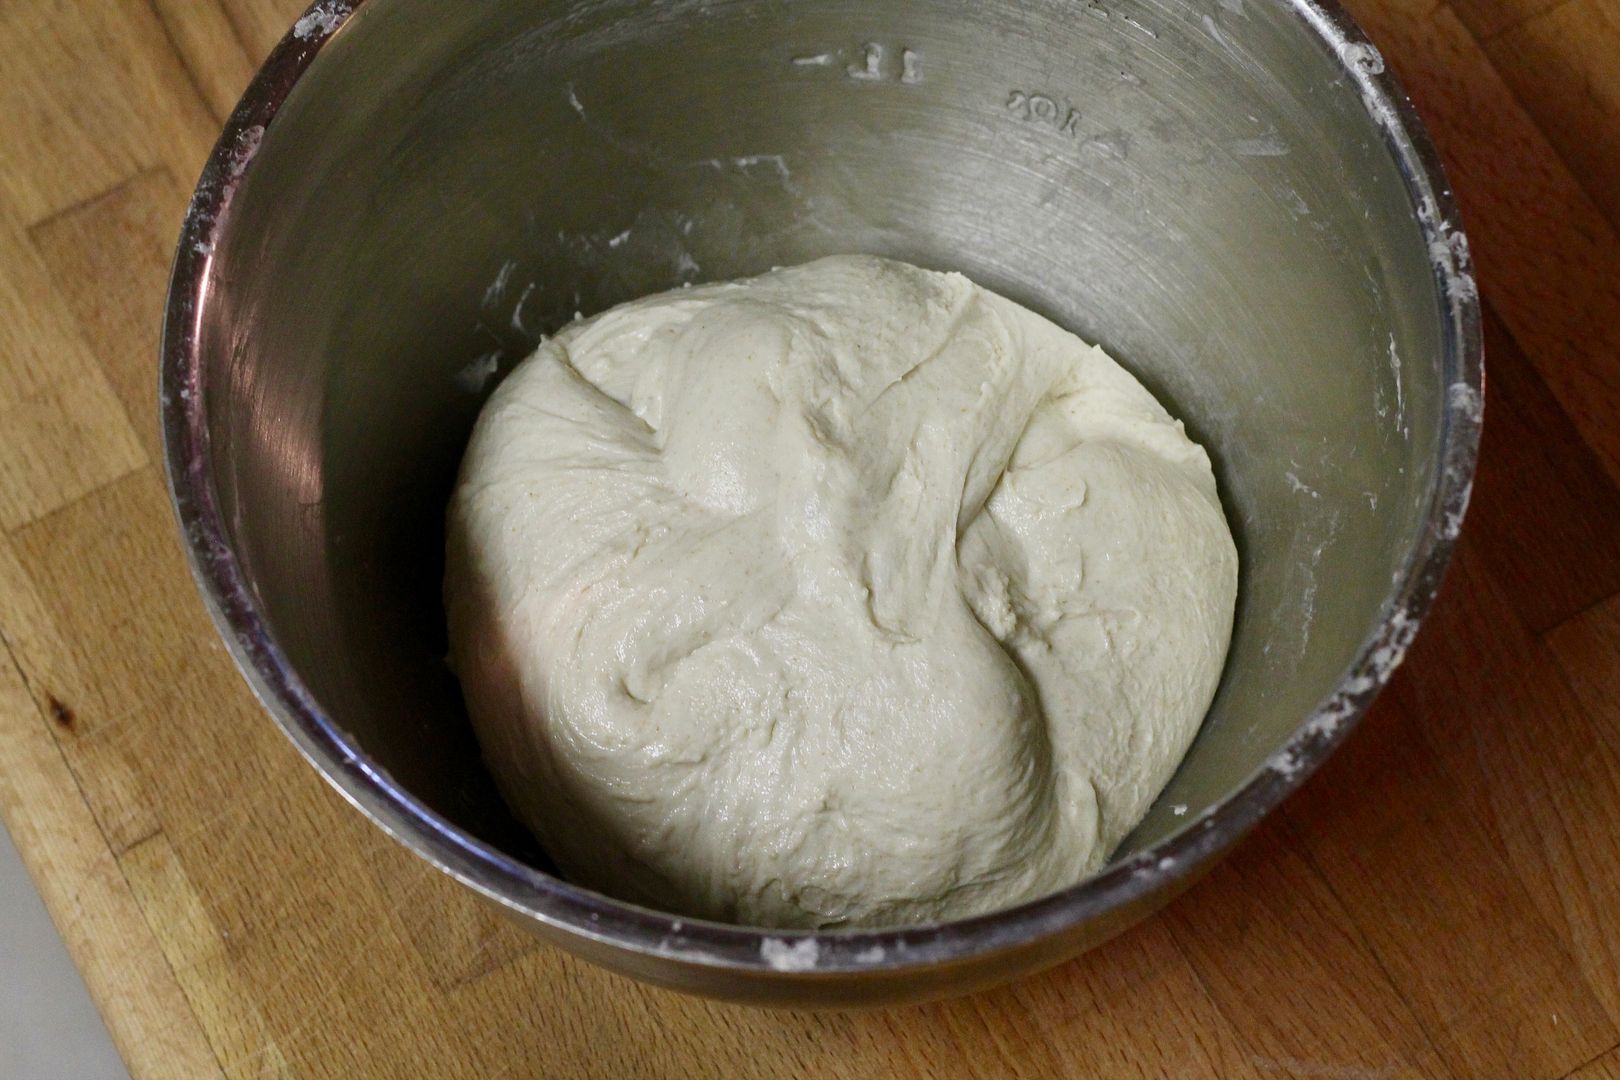
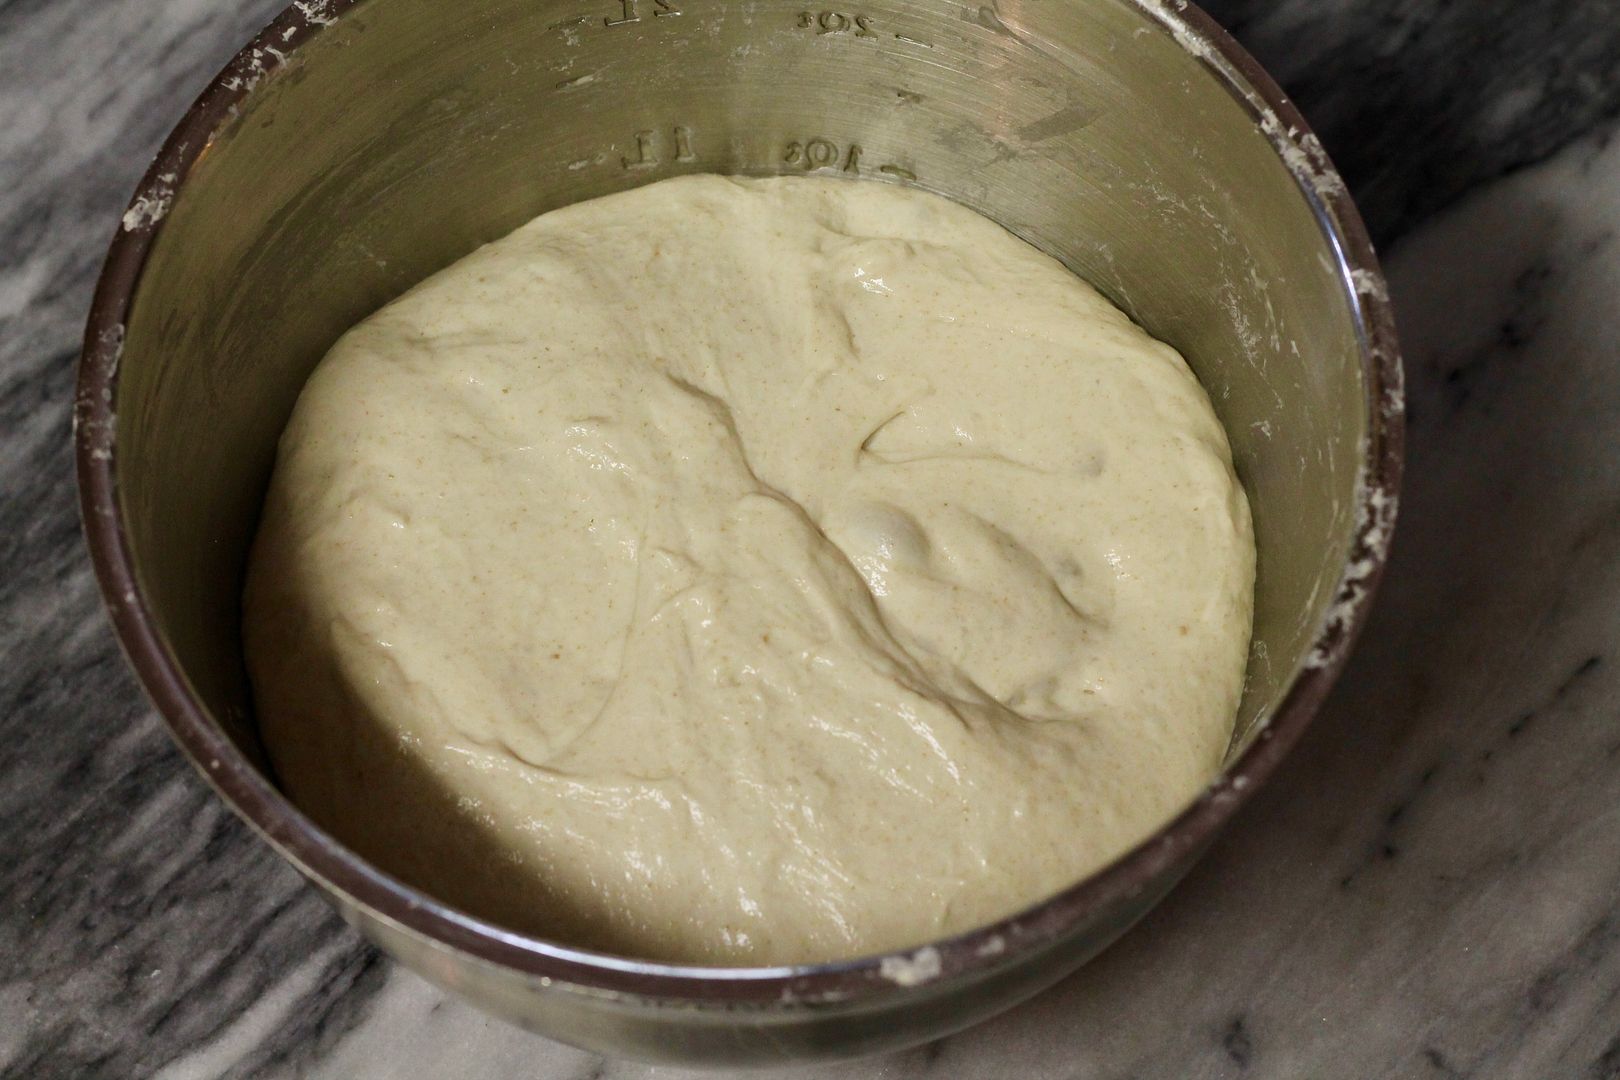
At the end of the bulk fermentation the dough should feel puffed and airy (increased in volume by about 30-40%), strong and greasy to the touch, and should have nice pleasant sweet smell. You should see some fermentation bubbles on the surface of the dough. (Undeveloped dough in the bulk fermentation could be one of the reasons for underproofed bread.)
Pre-shape/shape/final rise:
Turn the fermented dough out onto floured surface, using a flexible plastic dough scraper to help get the dough gently out of the bowl without deflating it. Lightly dust the dough with flour and with the help of your dough scraper, turn it over, flour-side down. To pre-shape for a boule, bring the edges into the centre and pinch them together to form a round.
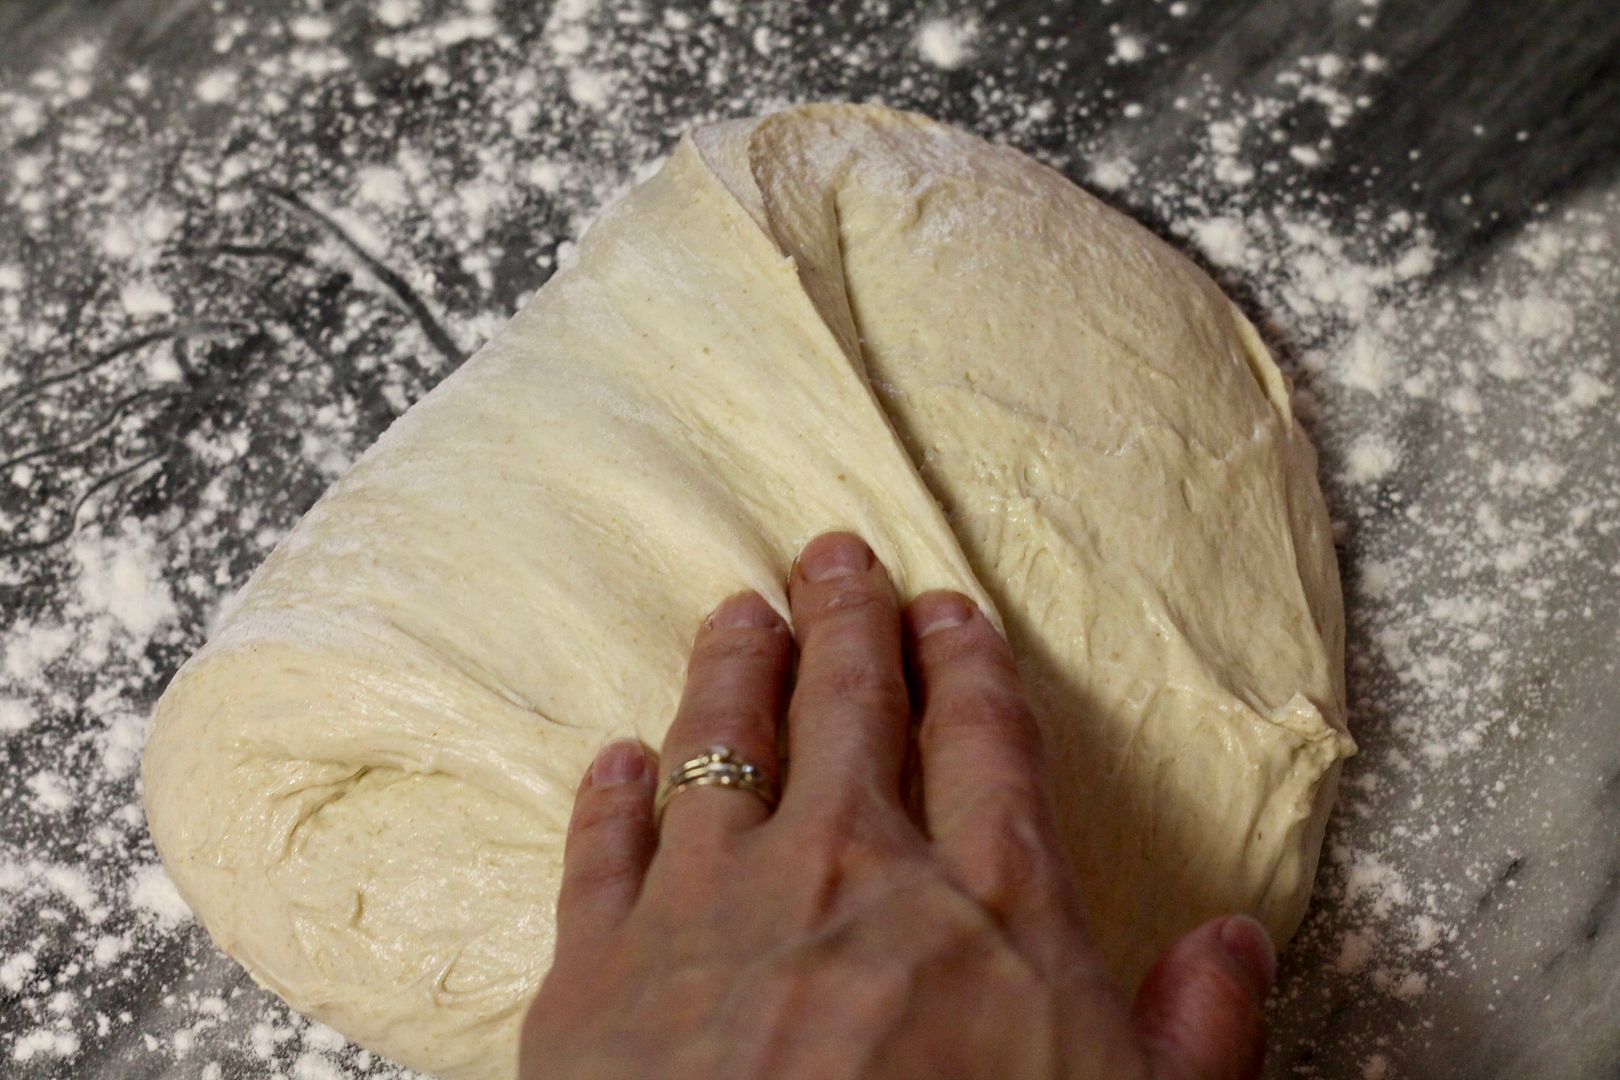
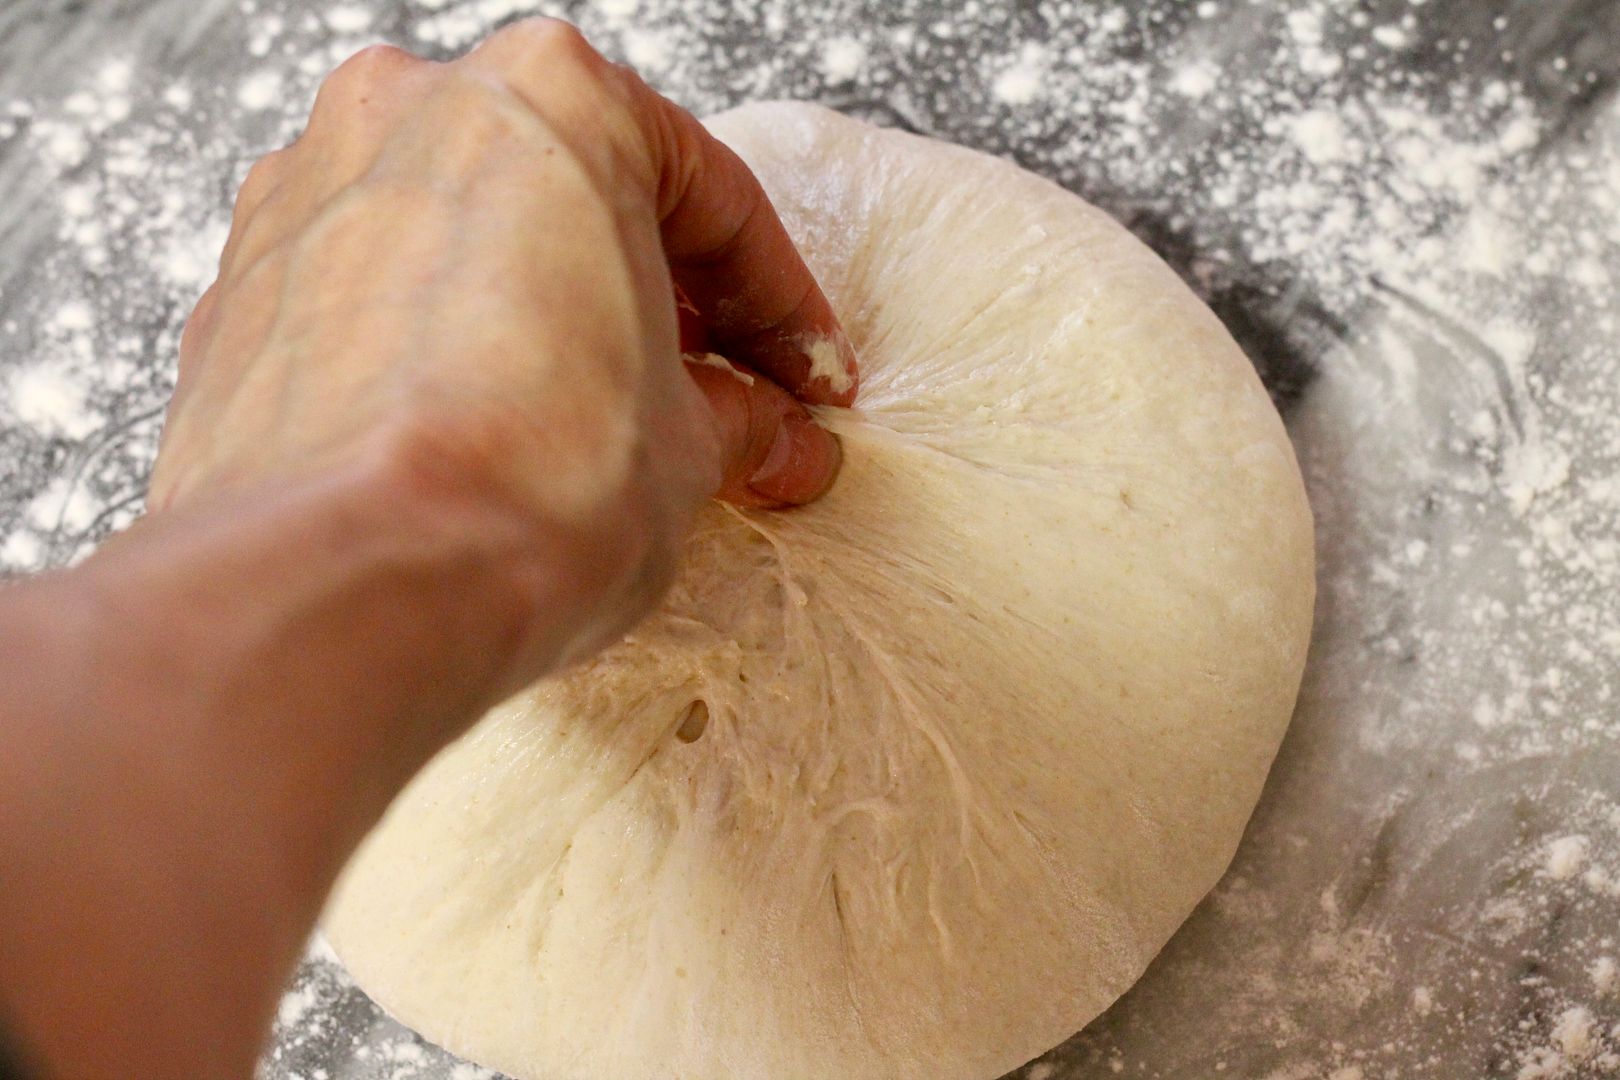
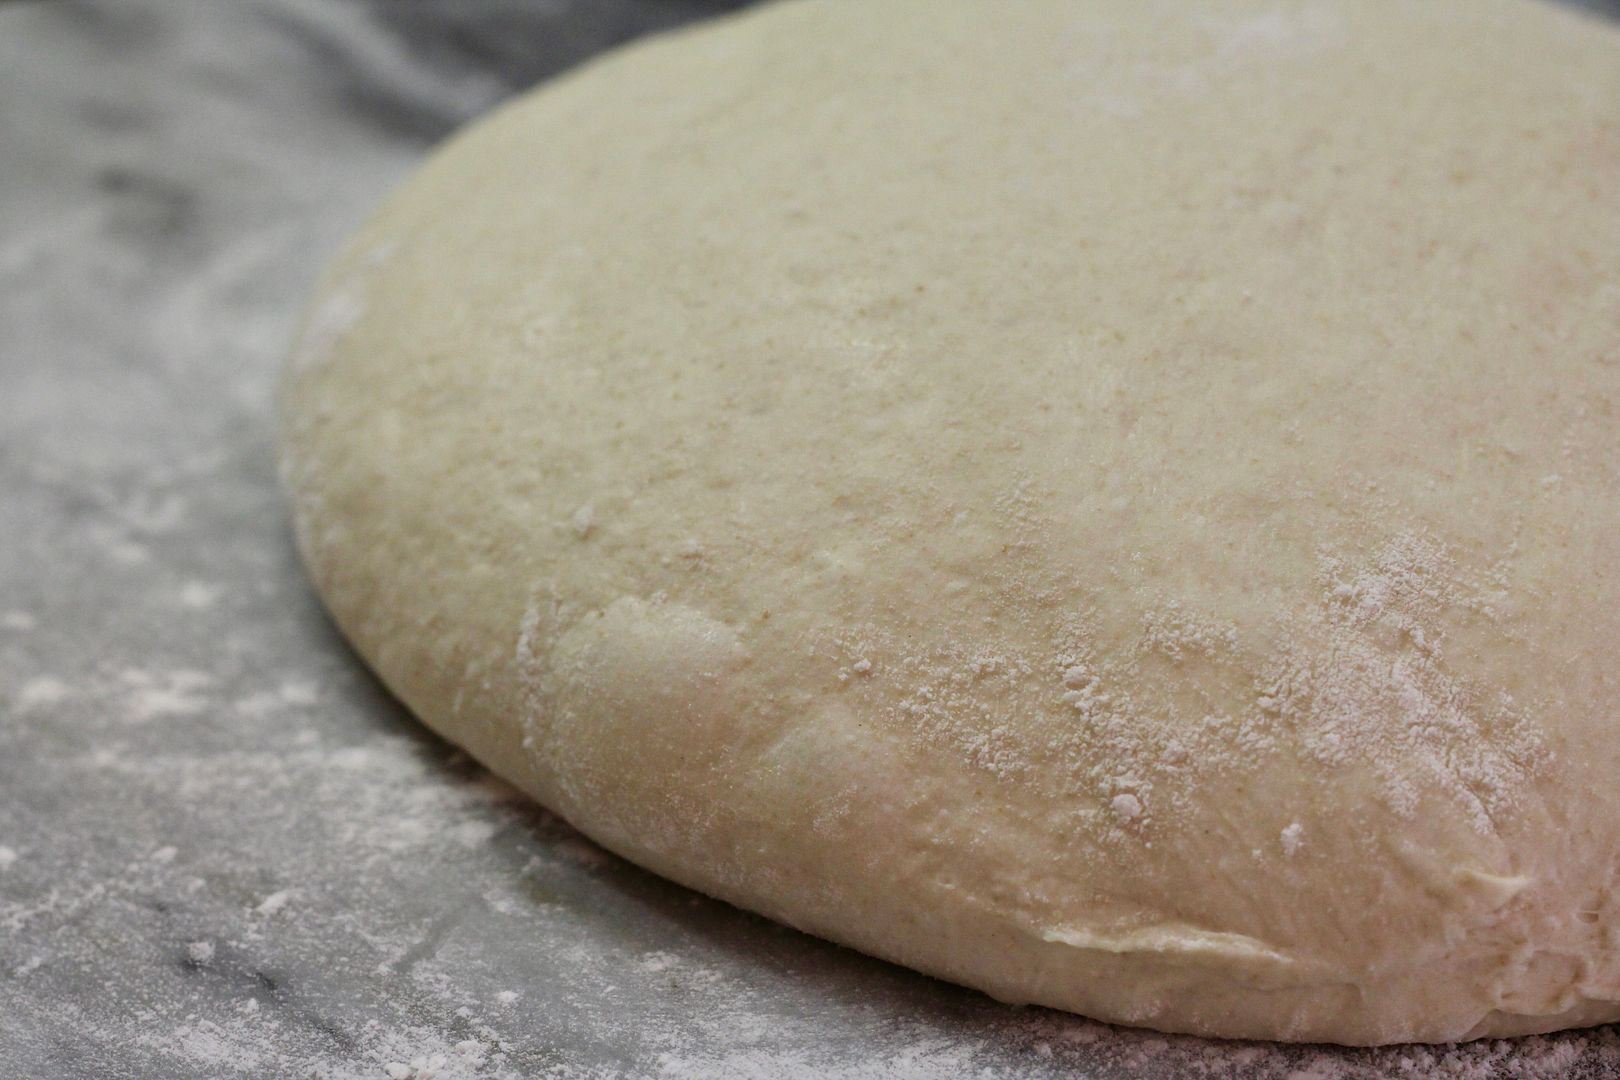
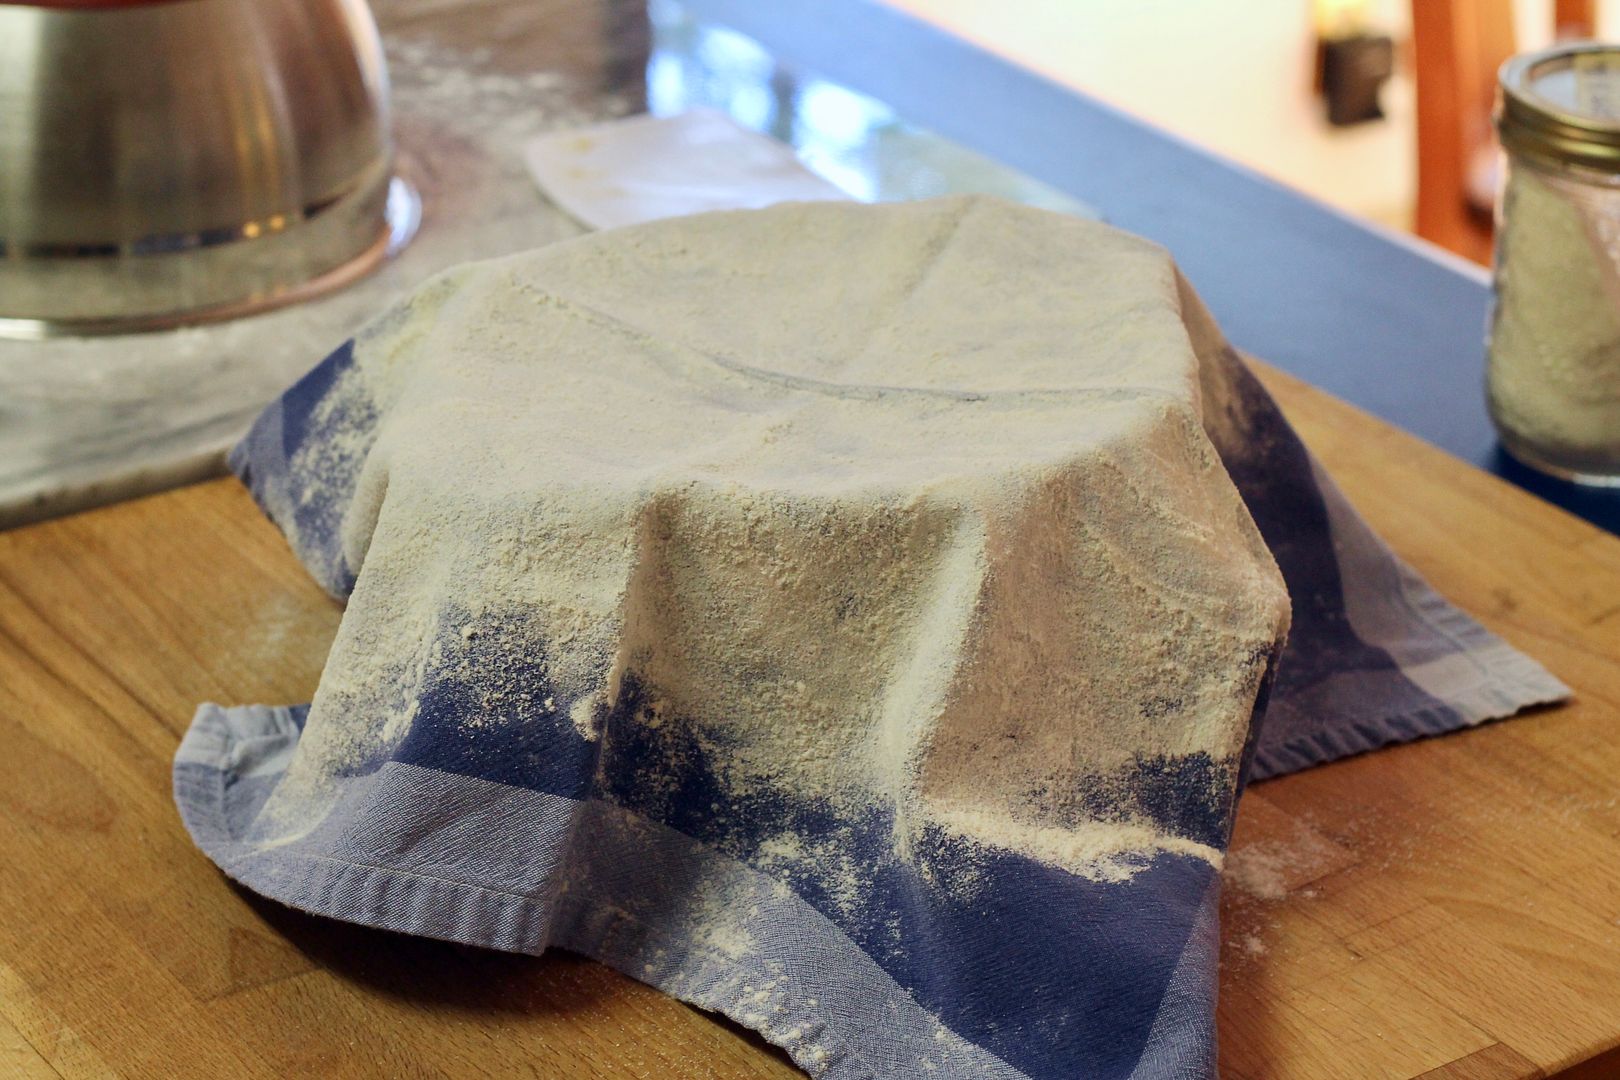
Use your dough scraper to flip it over seam-side down. Cover the dough with the upside-down bowl and let rest for 10-15 minutes (aka, the “bench rest”). After the bench rest, properly fermented dough should have bubbles on the surface.
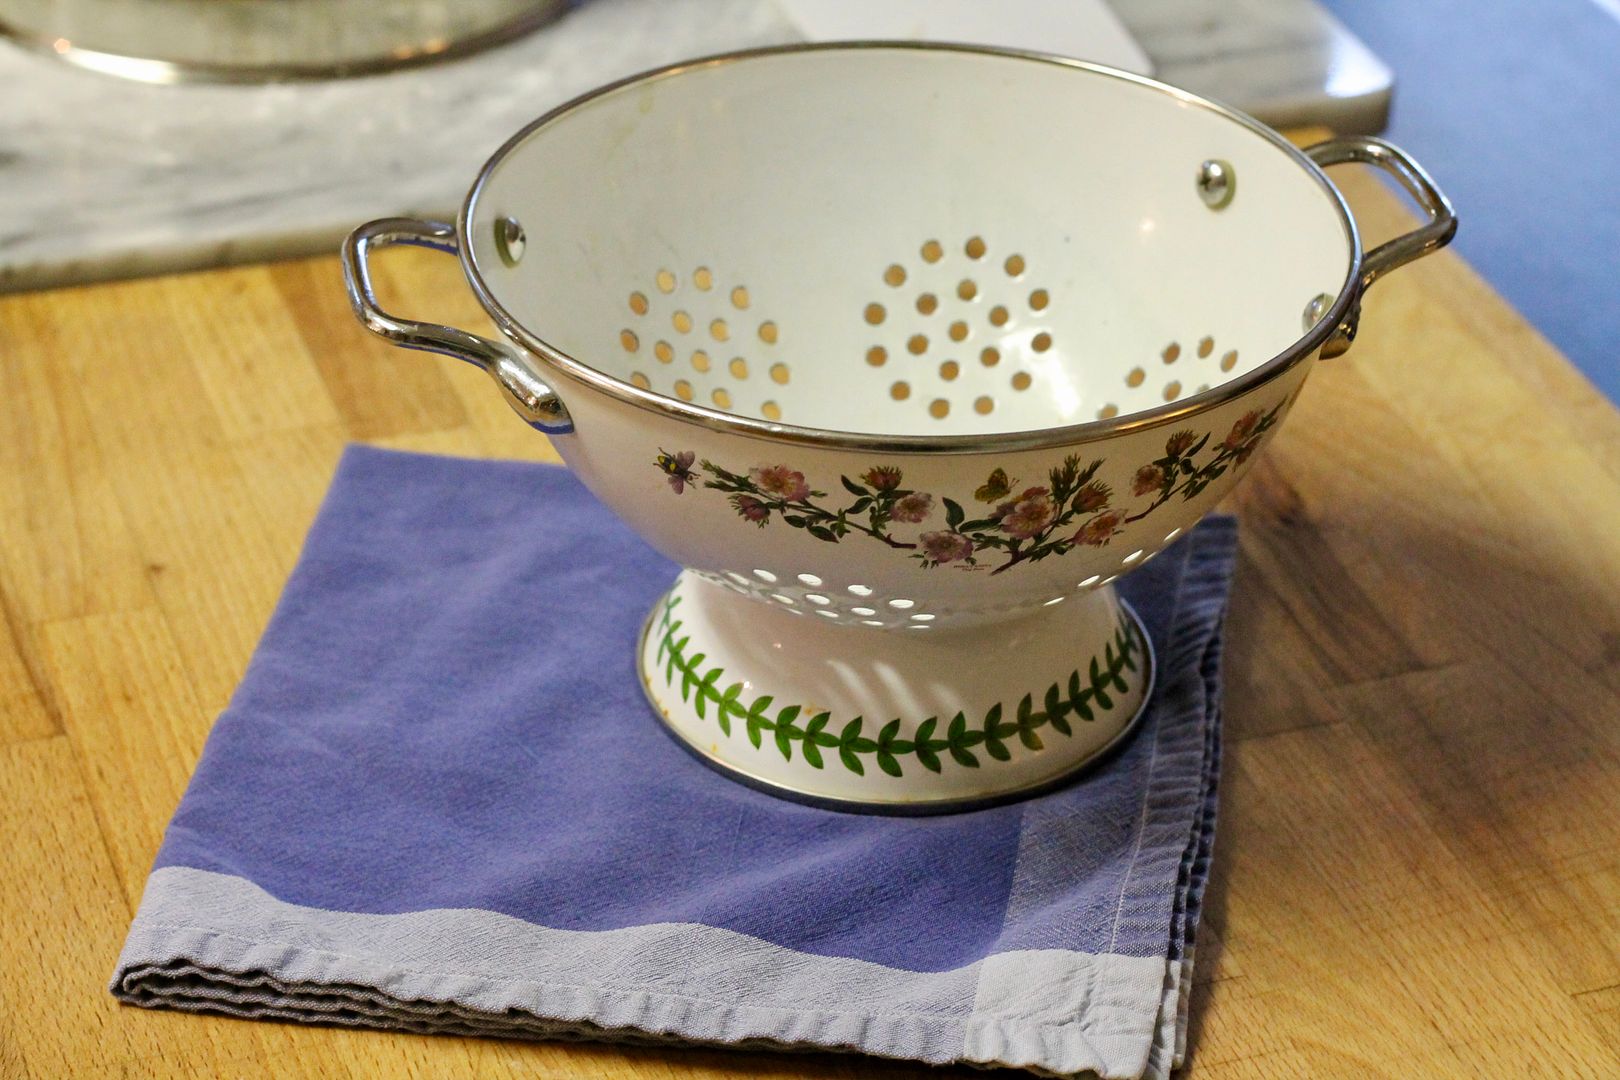
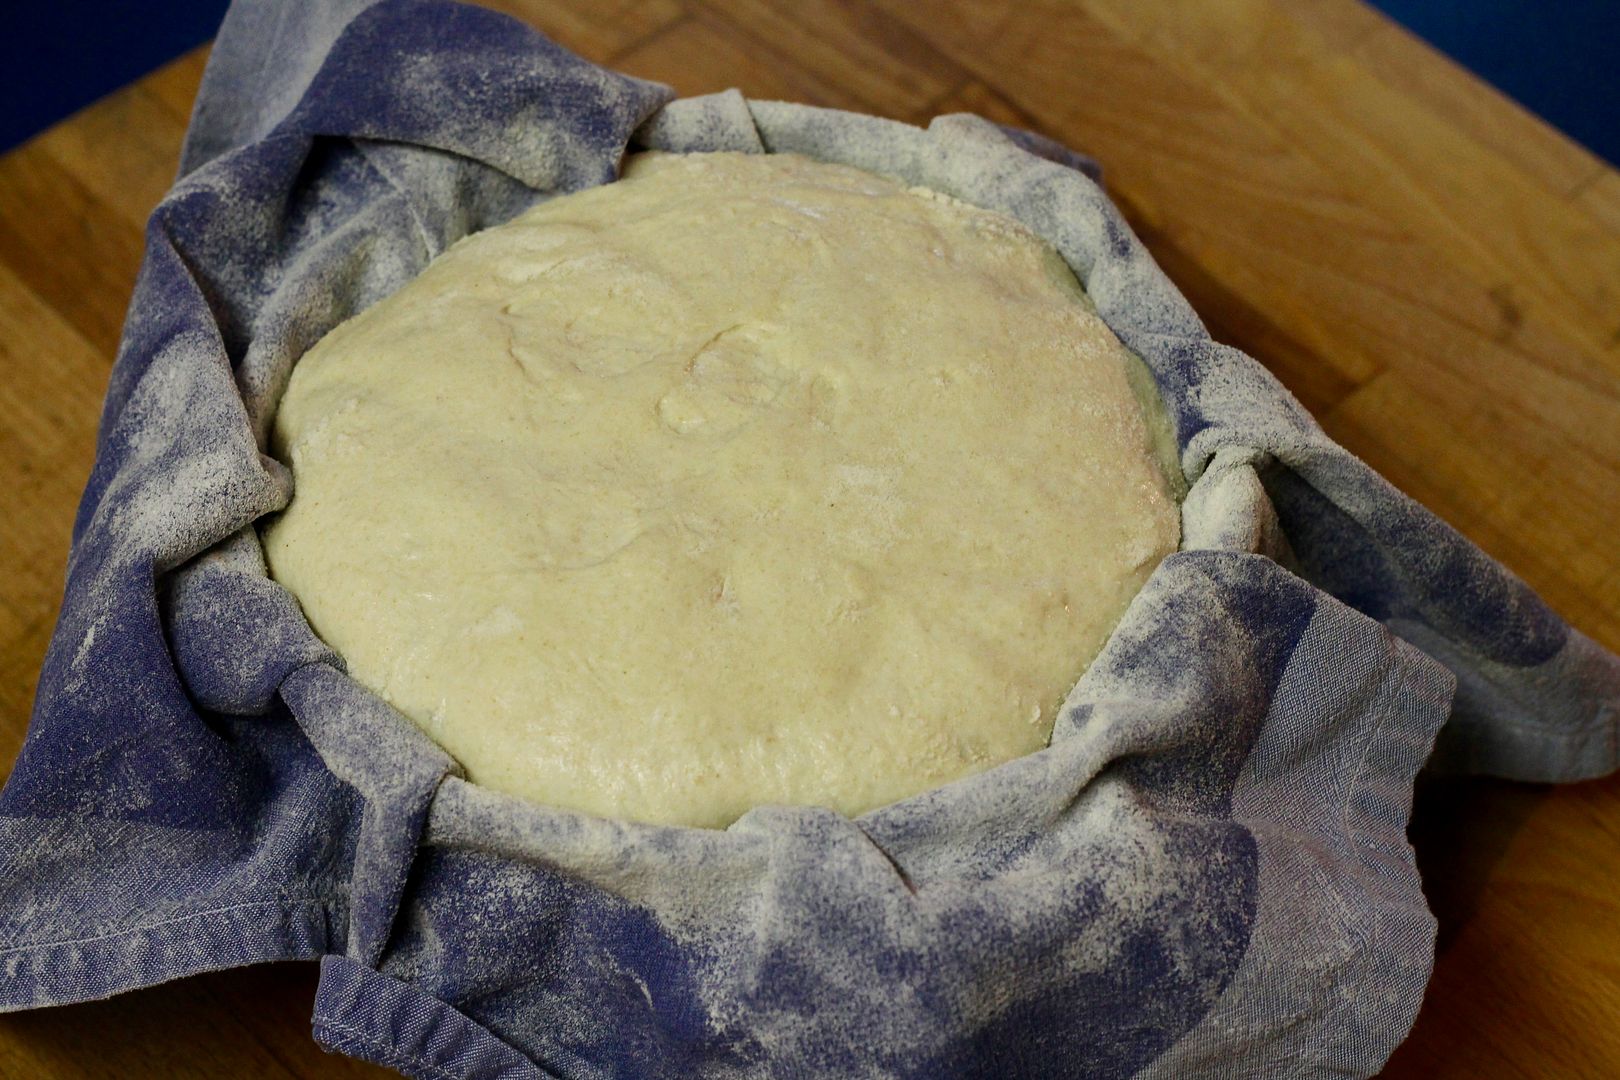
Prepare your proofing vessel. I use a small colander (about 8″ across and 4″ deep) for this, but you can use a real proofing basket if you have one 😉 Generously dust a linen/cotton cloth (something with a tight, smooth weave – NOT Terrycloth) with a mix of brown rice flour and all purpose flour and drape it over the colander/proofing vessel.
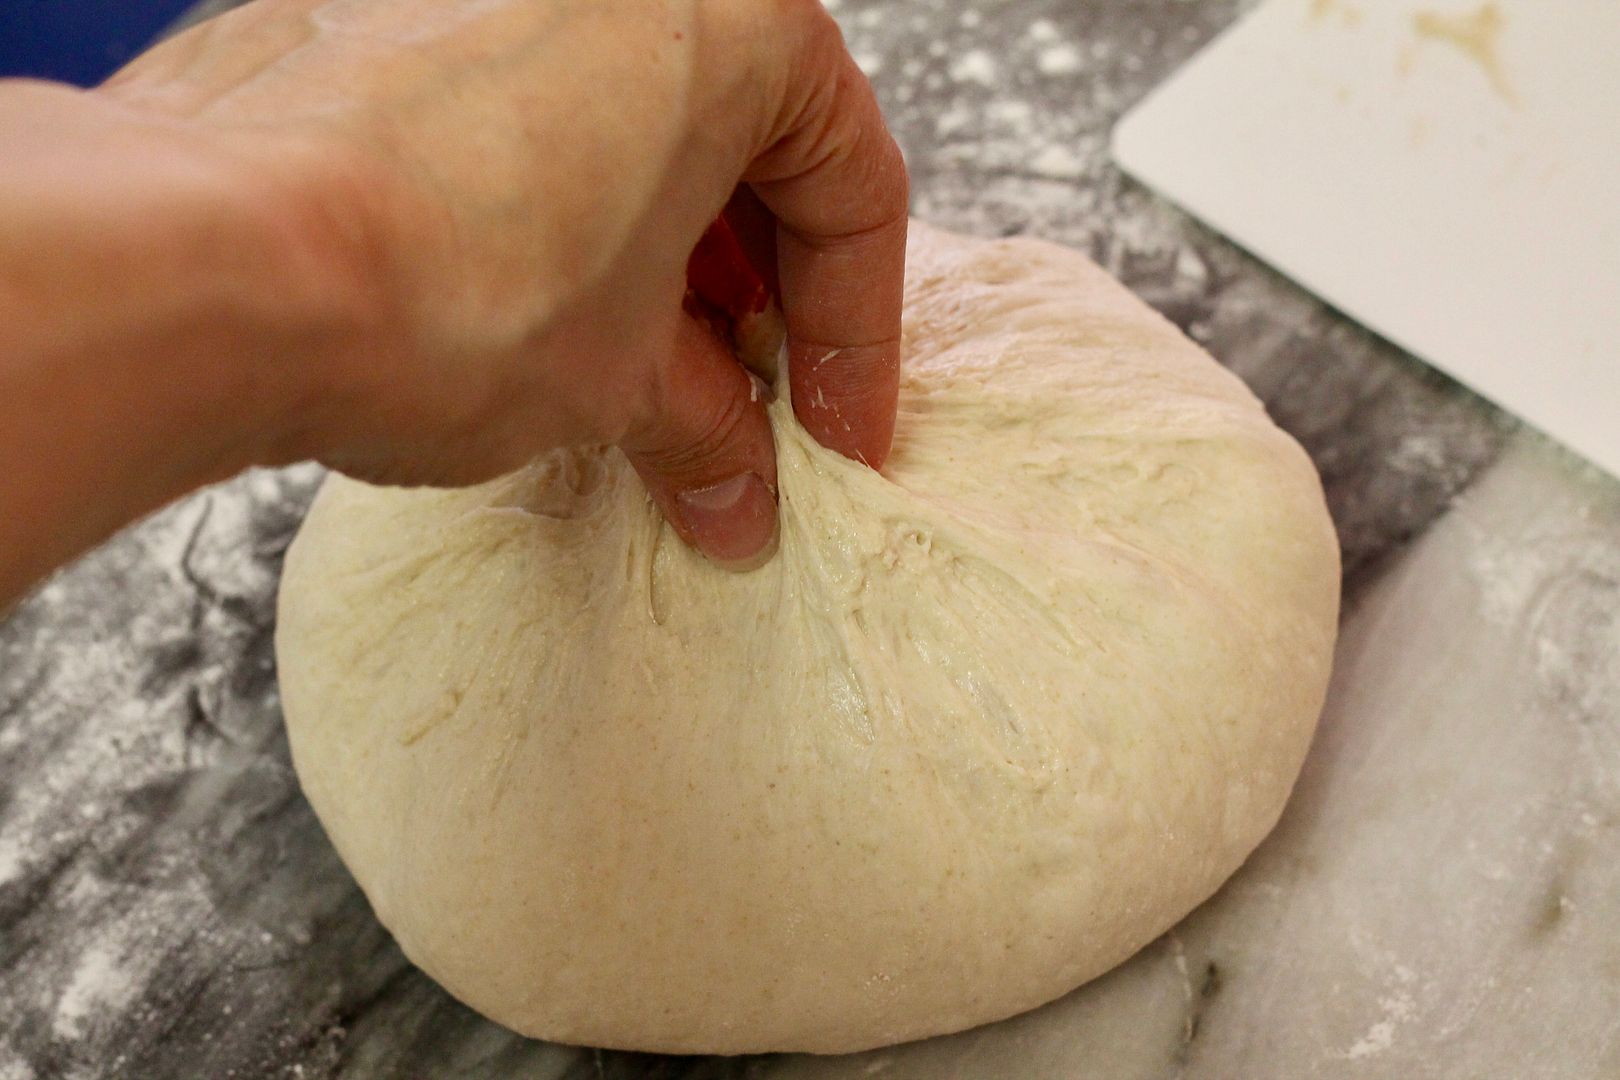
With your bench scraper, flip the rested dough over (seam-side up) and shape it gently but firmly into its final shape to create surface tension. For a boule, you again want to pull and pinch the edges of the dough in toward the centre. To tighten up the boule shape, place the pinched dough seam-side down on an unfloured surface and with your hands on either side of the dough, twist it several times to draw the dough together and create some surface tension on the outside of the dough.
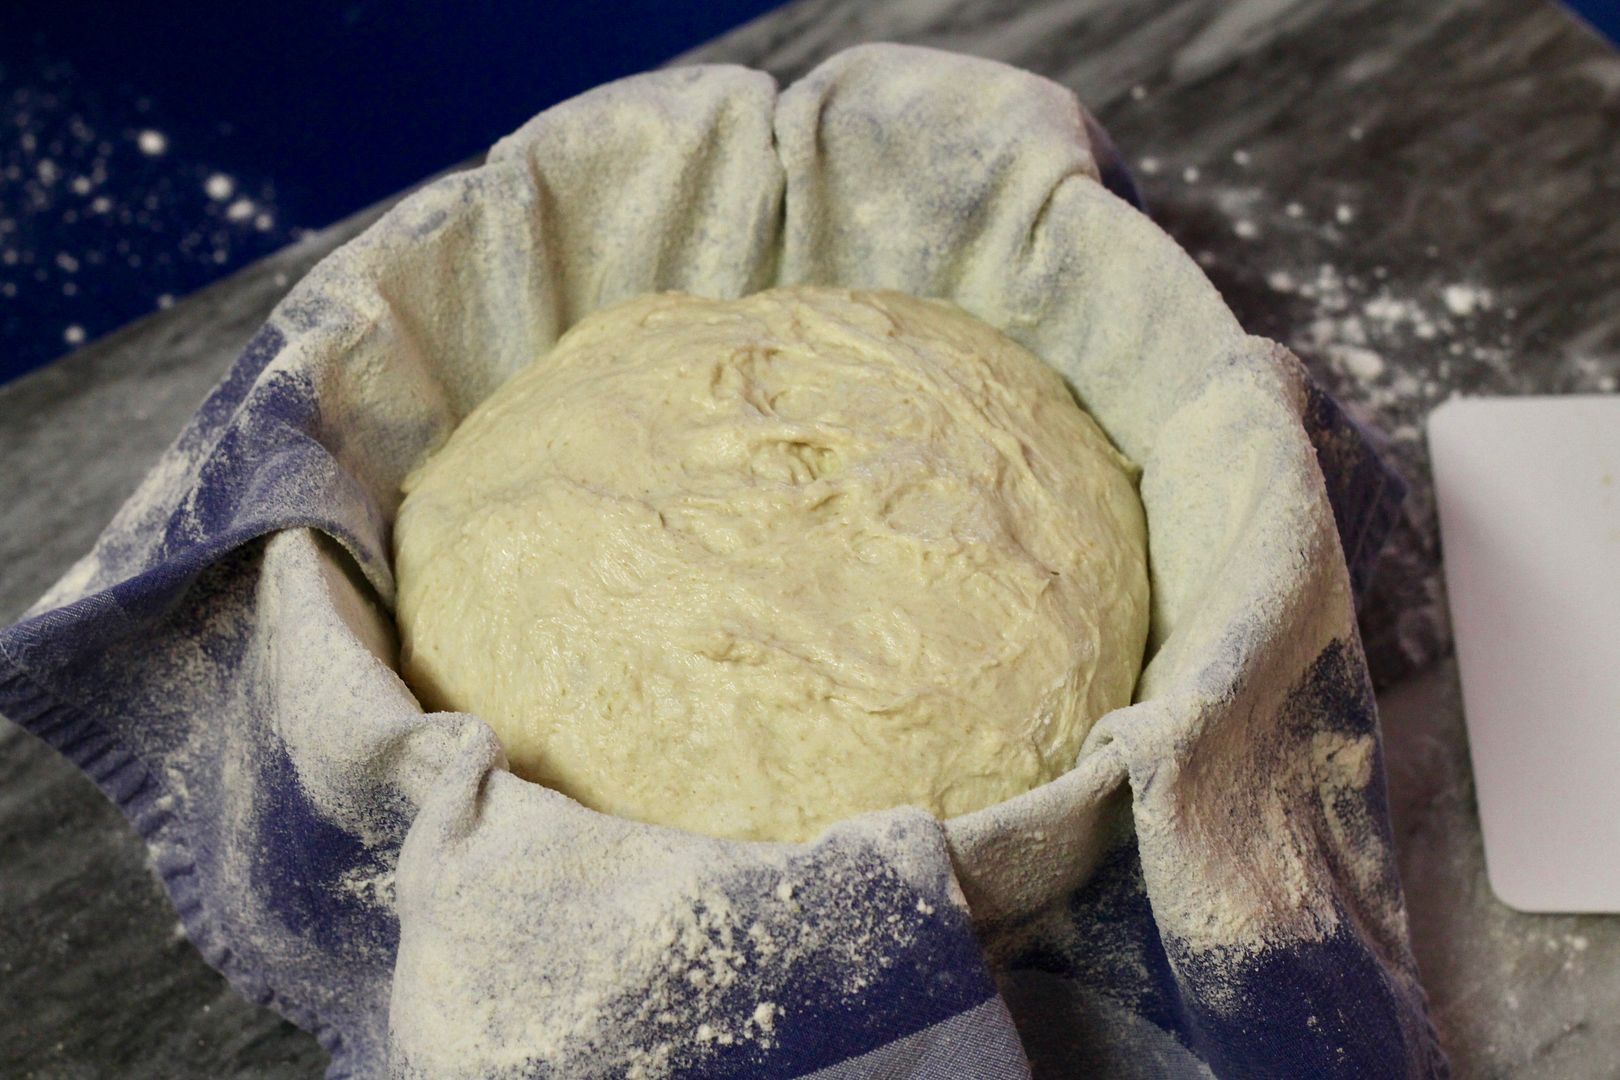
Place the shaped dough seam-side up on the floured cloth in the rising vessel. Dust with flour, fold over the ends of the cloth, and seal inside a large plastic bag.
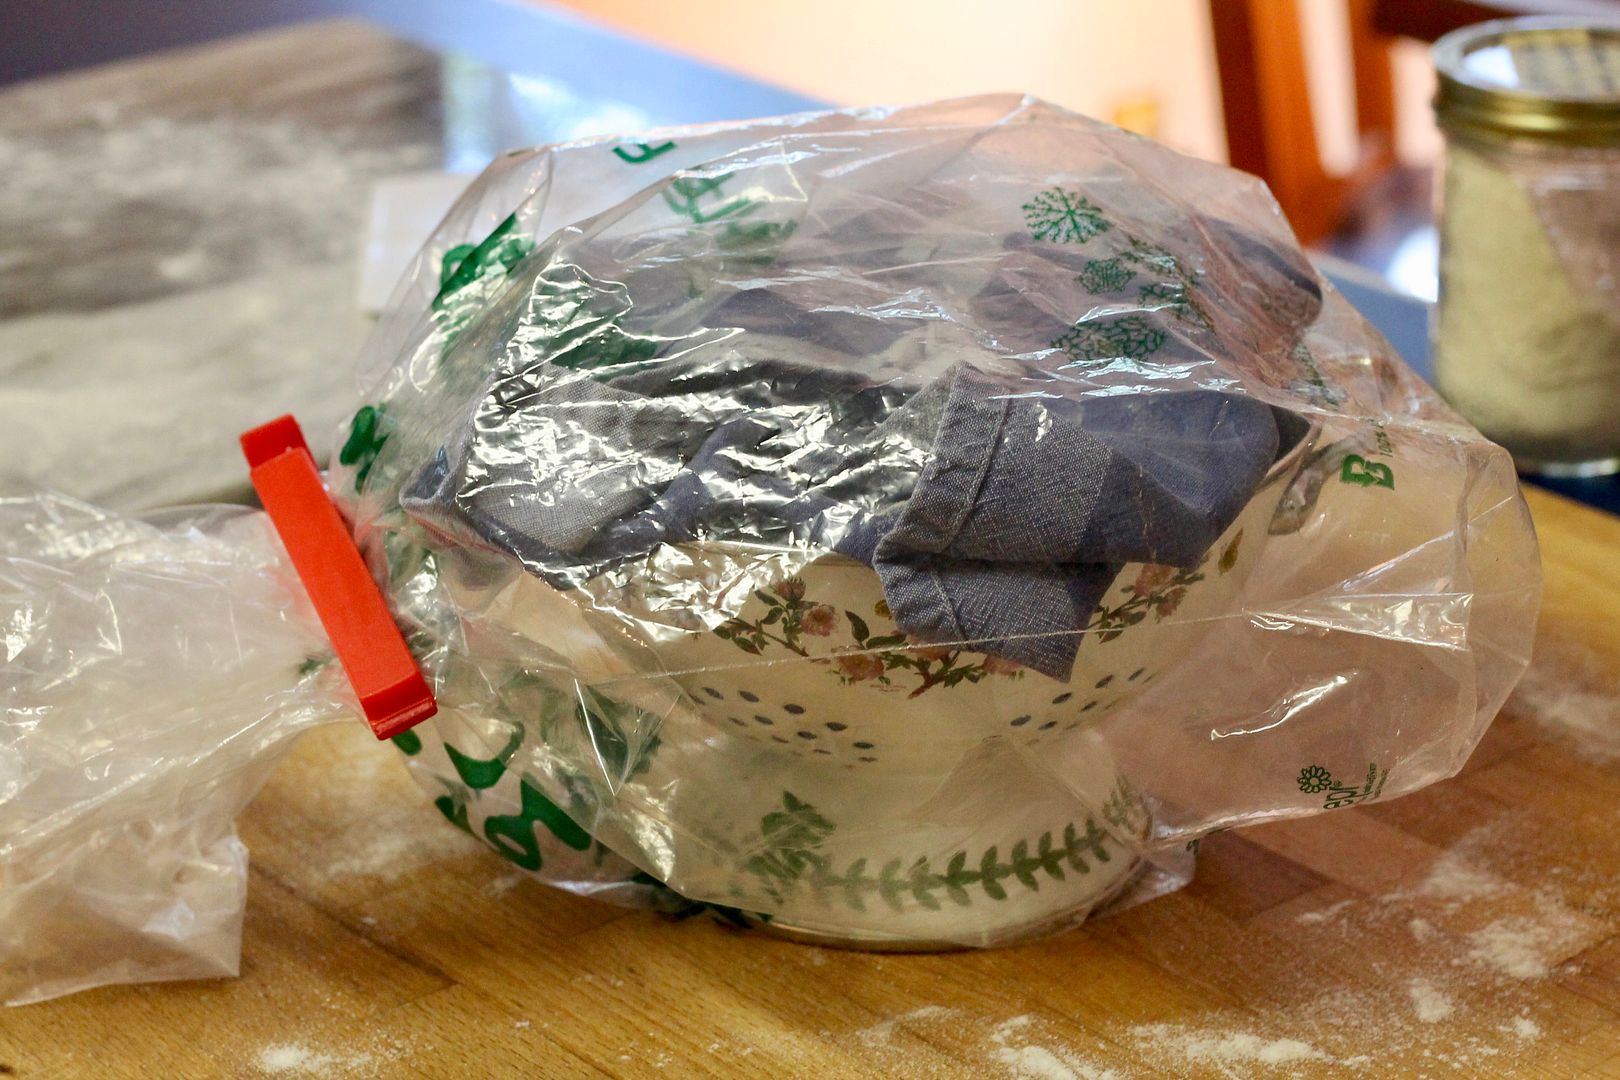
Rise at room temperature until increased in volume by ~30% and it pushes back slowly when poked with a finger (3-4 hours, temperature depending). Chill in the fridge for 1 hour at the end of the rise to make it easier to score.
Baking:
At least 30 minutes before the dough is ready, put a lidded Dutch oven on the middle rack of the oven and preheat to 450˚F.
Turn the risen dough out onto a piece of parchment paper. Score the top with a lame (or a razor blade, or a sharp knife) – I prefer one deep score on one side of the boule to give the loaf room to expand, plus some shallower scoring as decoration.
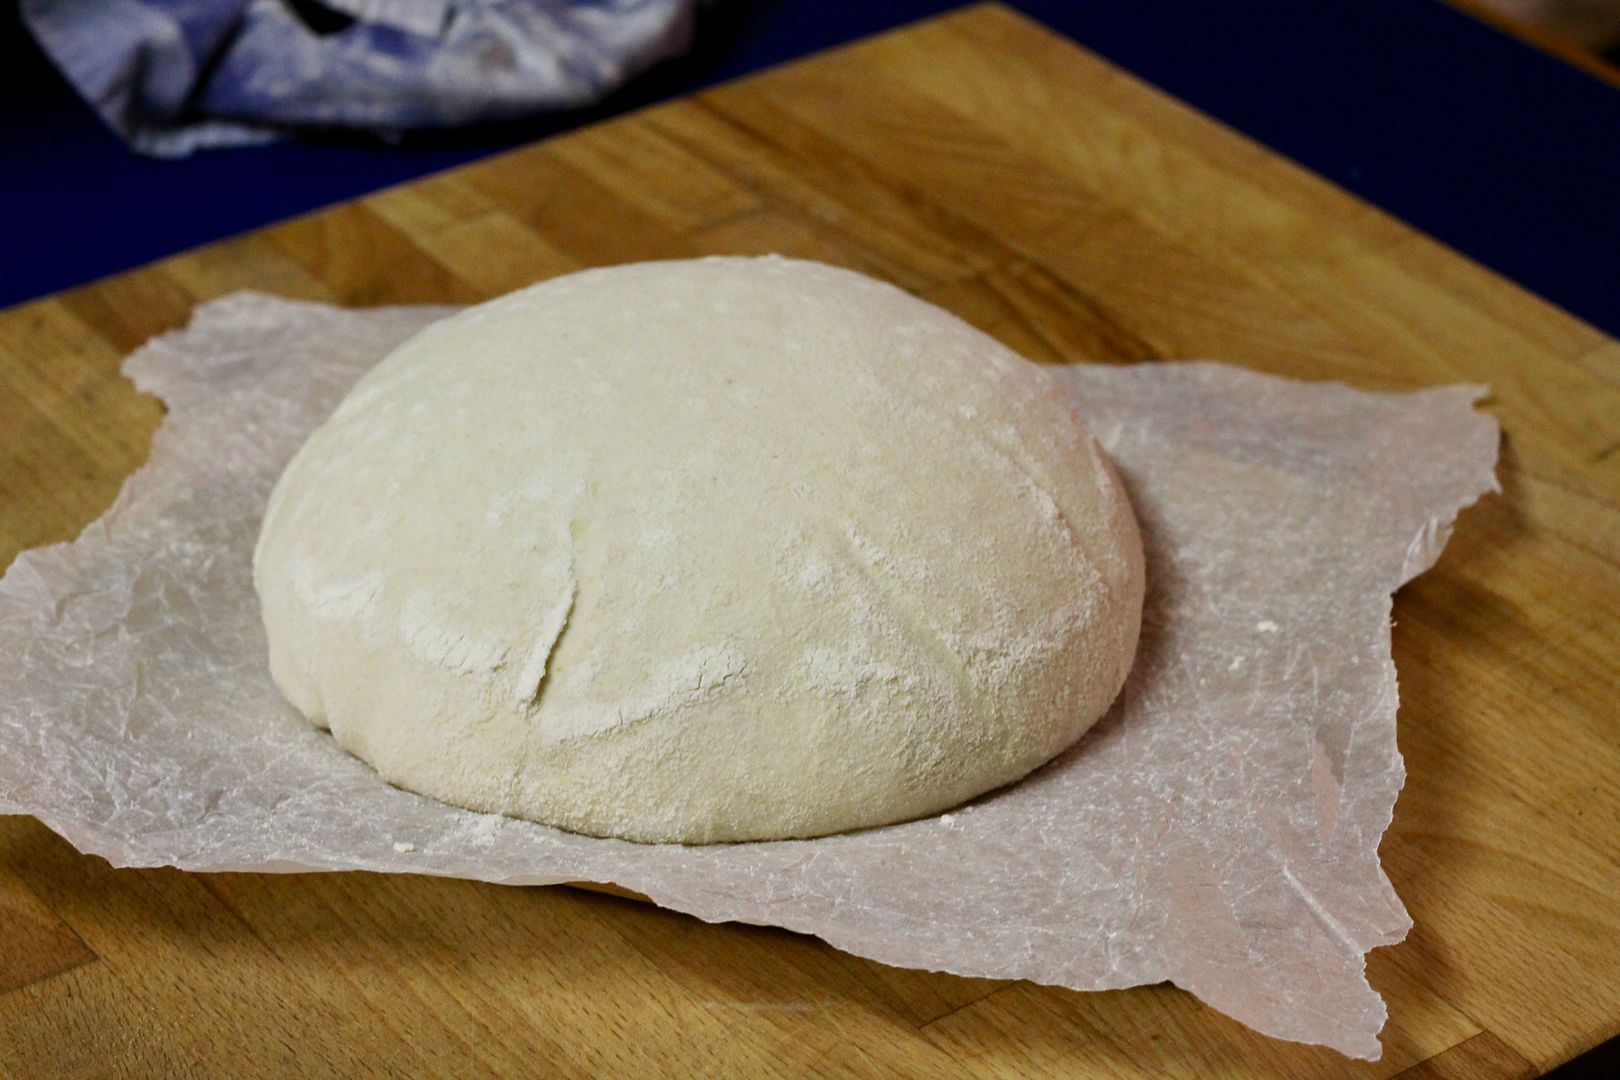
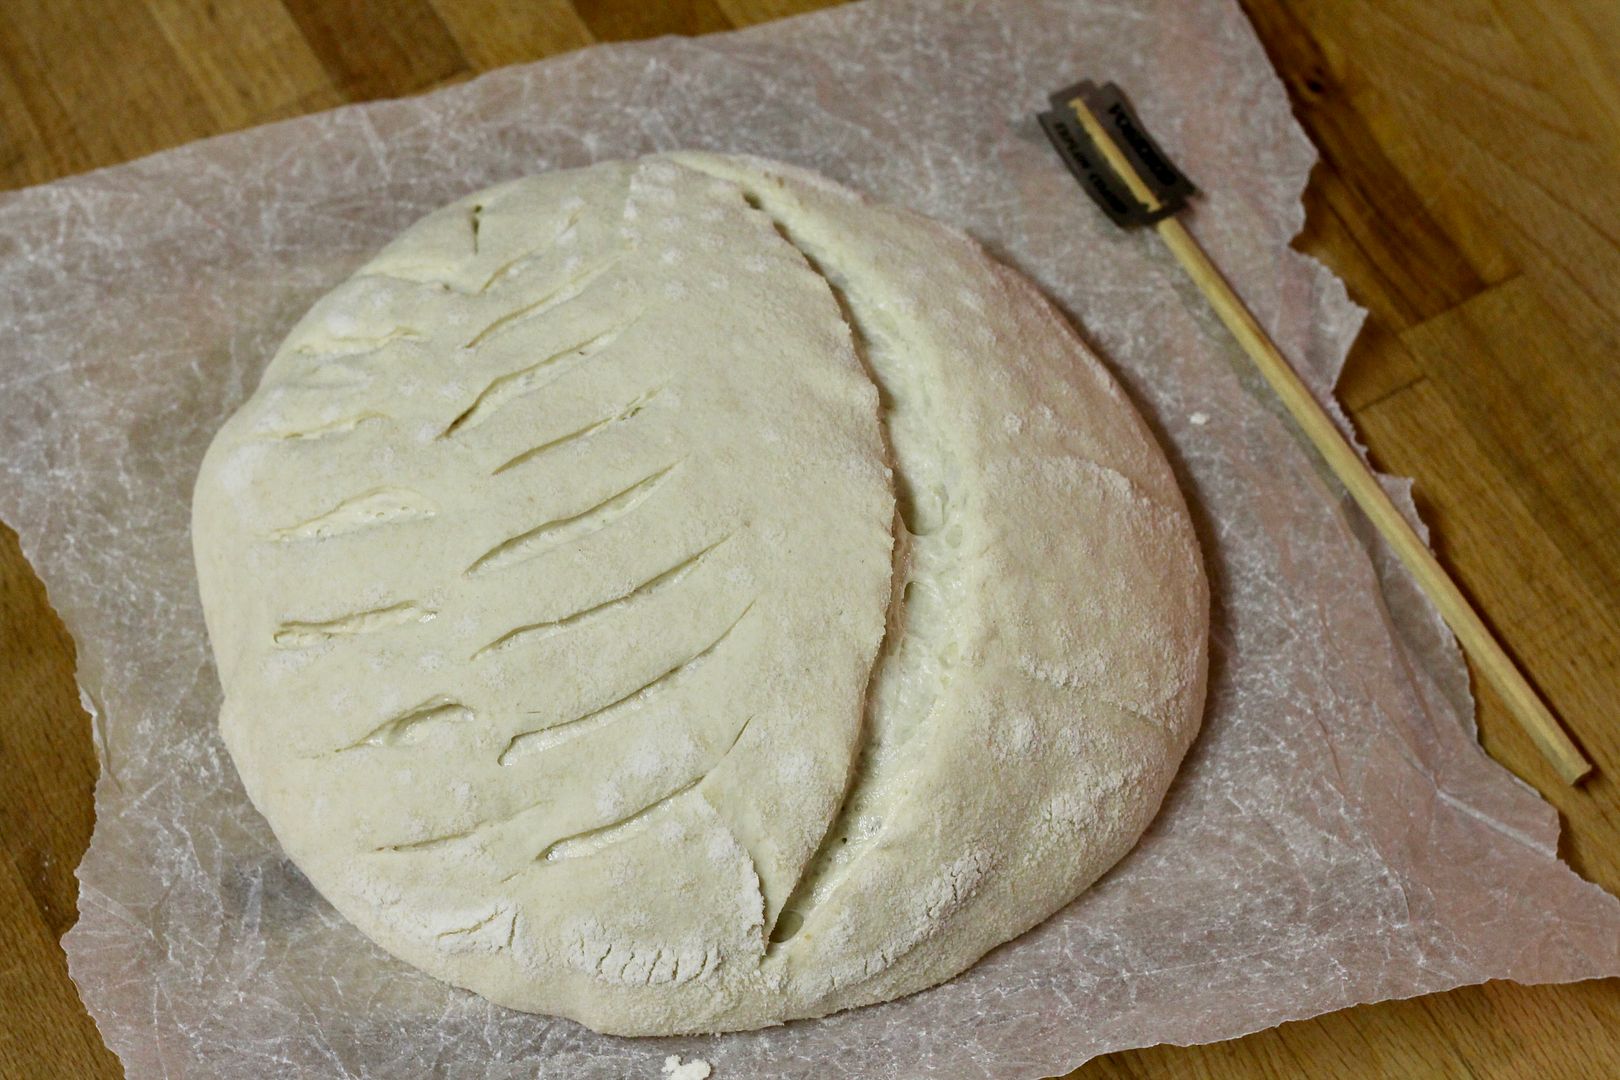
Transfer the dough and parchment paper to the preheated Dutch oven in the oven, put on the lid, and bake at 450˚F for 20 minutes.
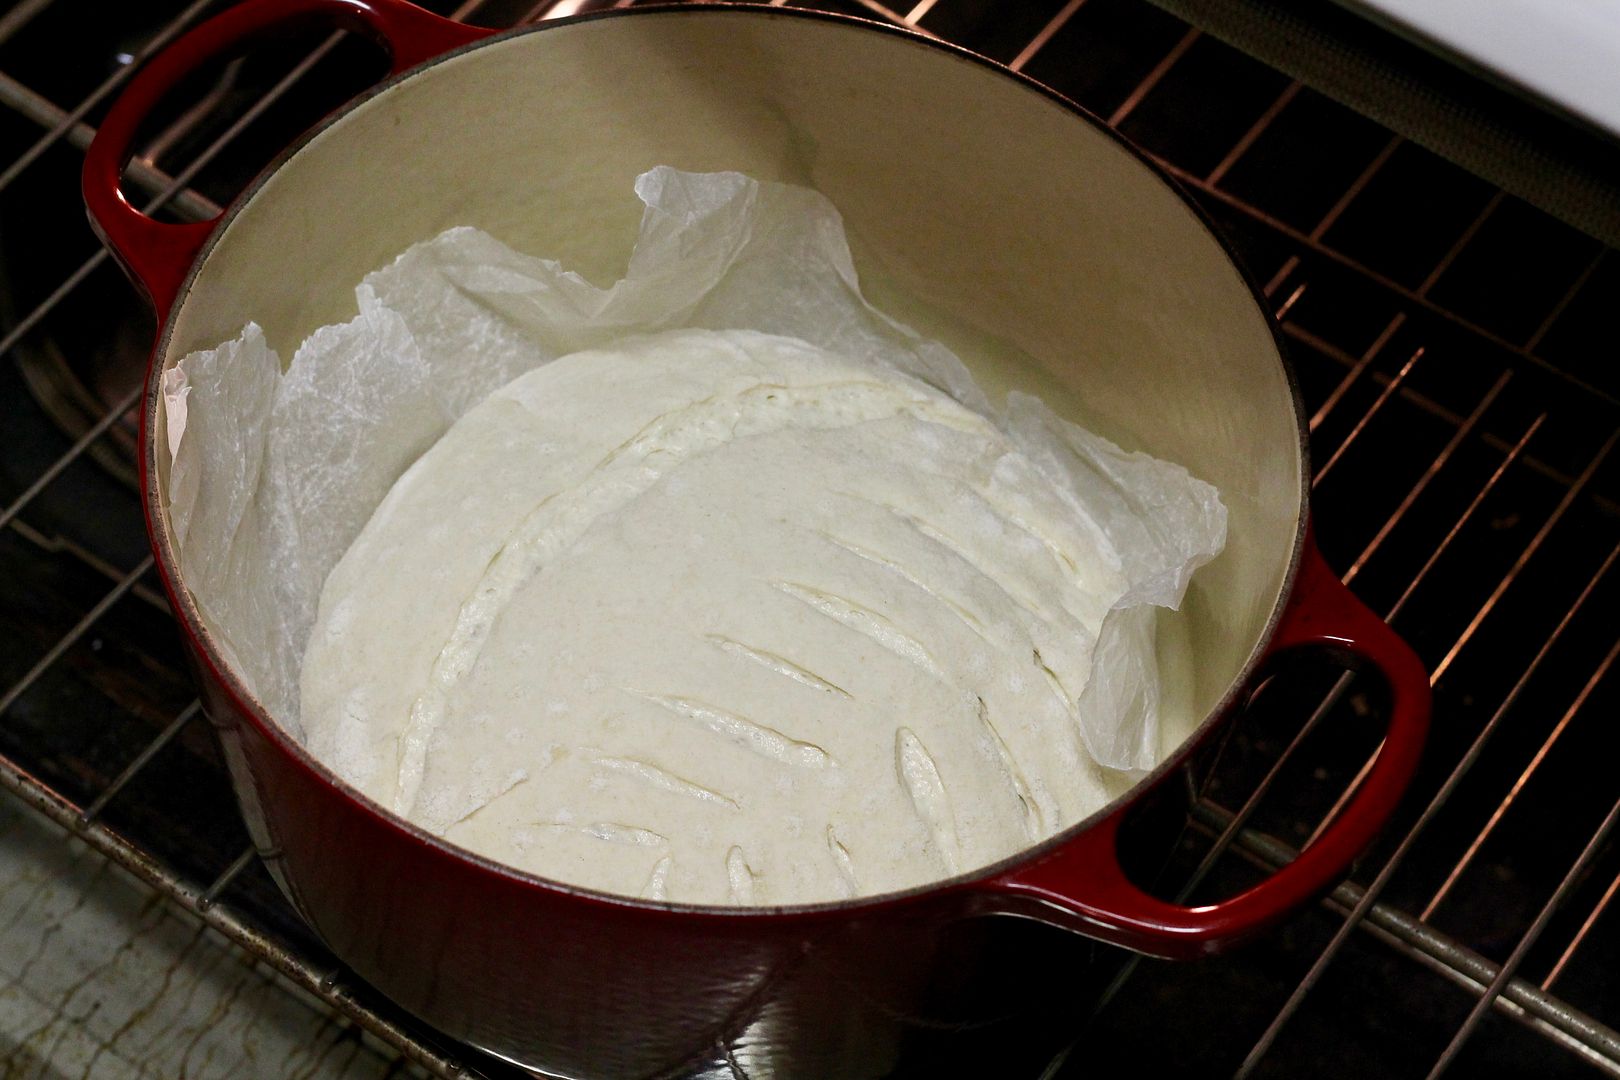
Remove the lid, reduce the heat to 425˚F and bake 20-25 minutes more, until deeply browned.
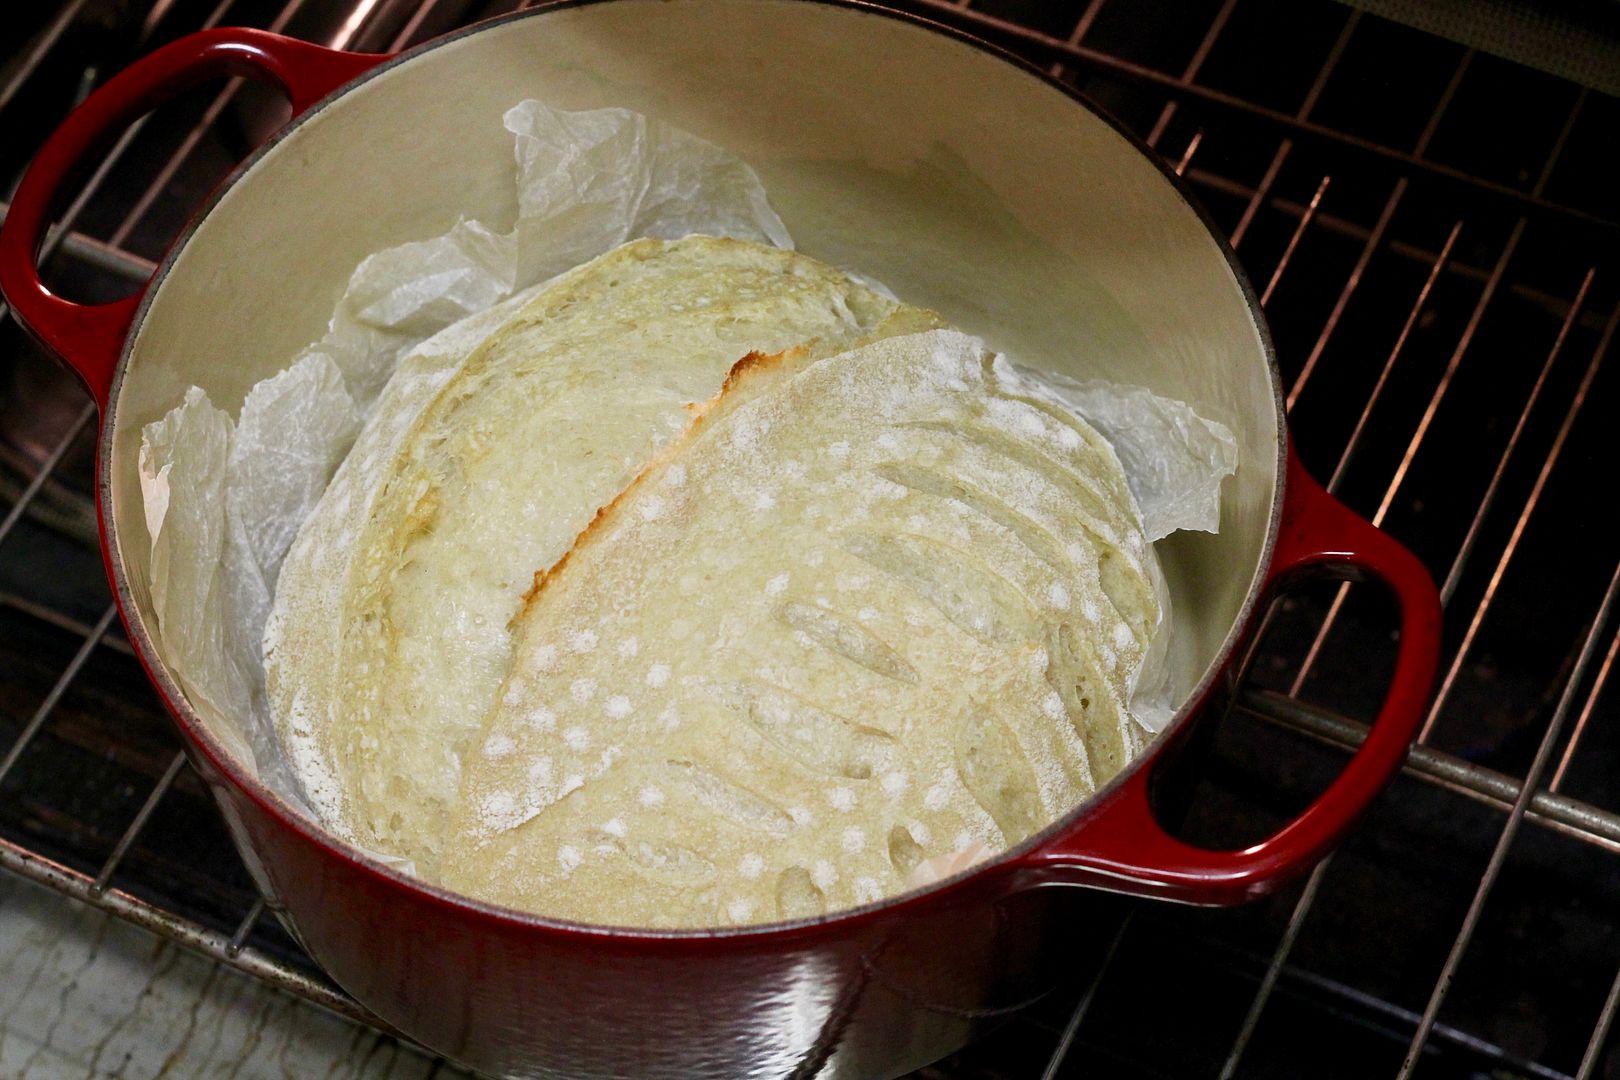
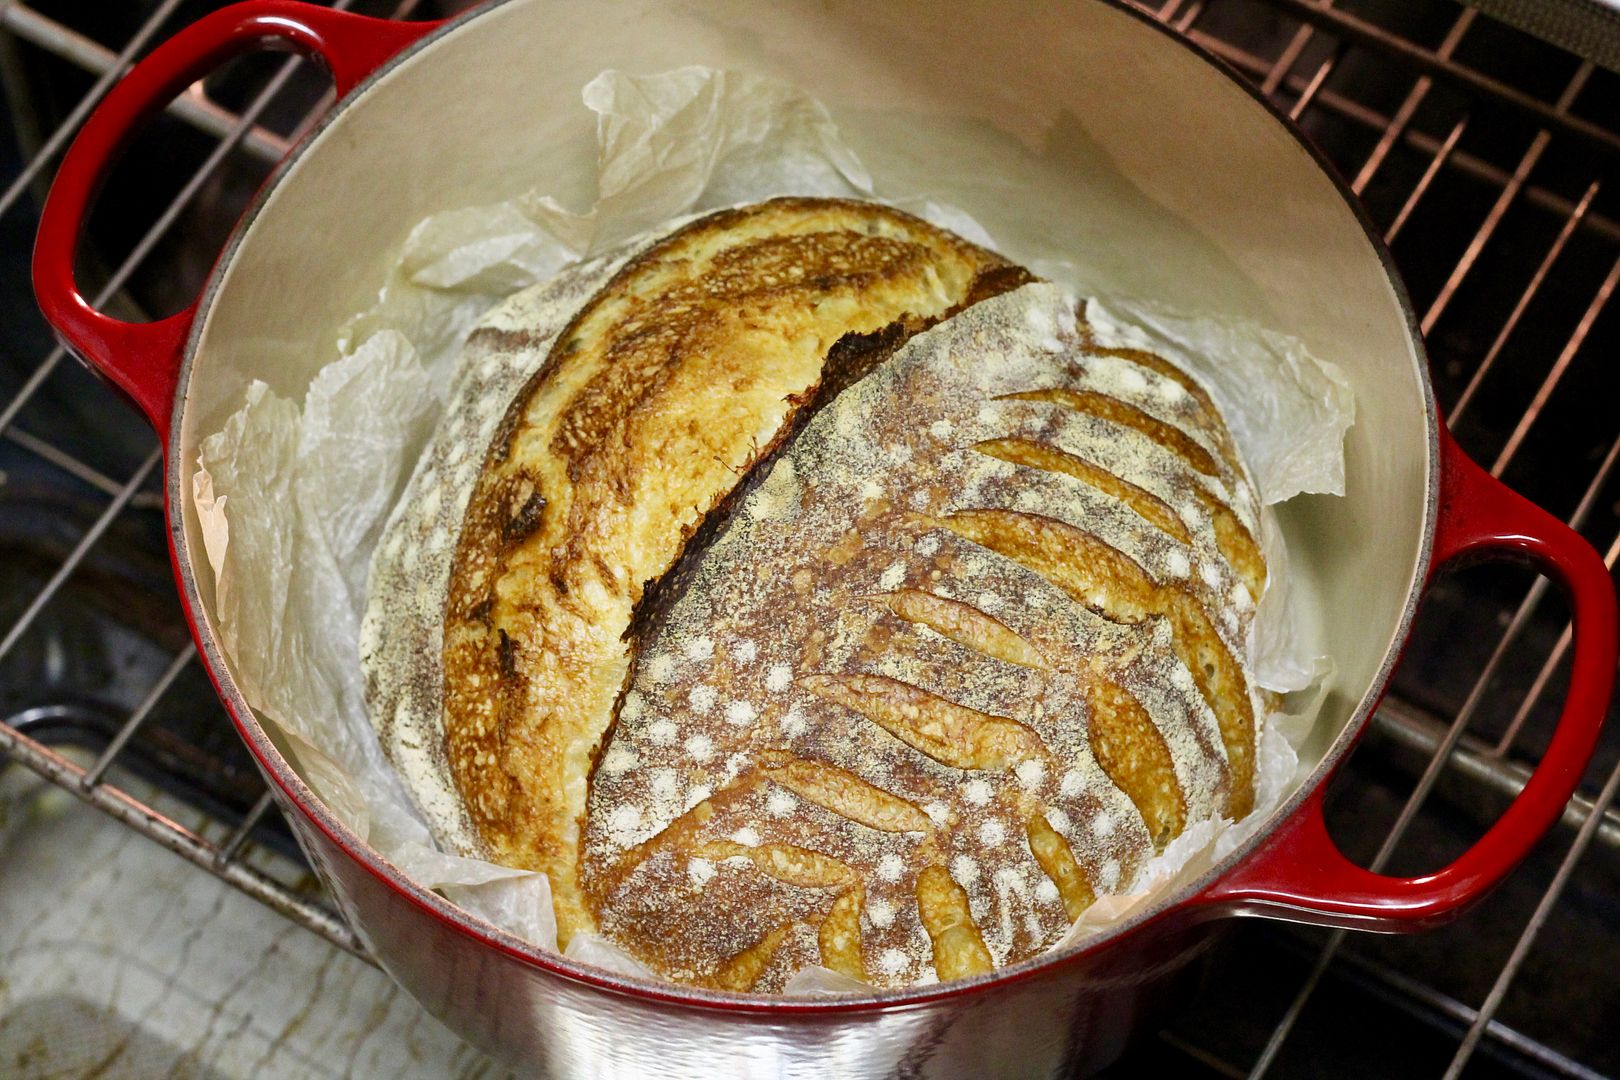
When baked, lift the bread out of the Dutch oven and cool completely on a rack before slicing.
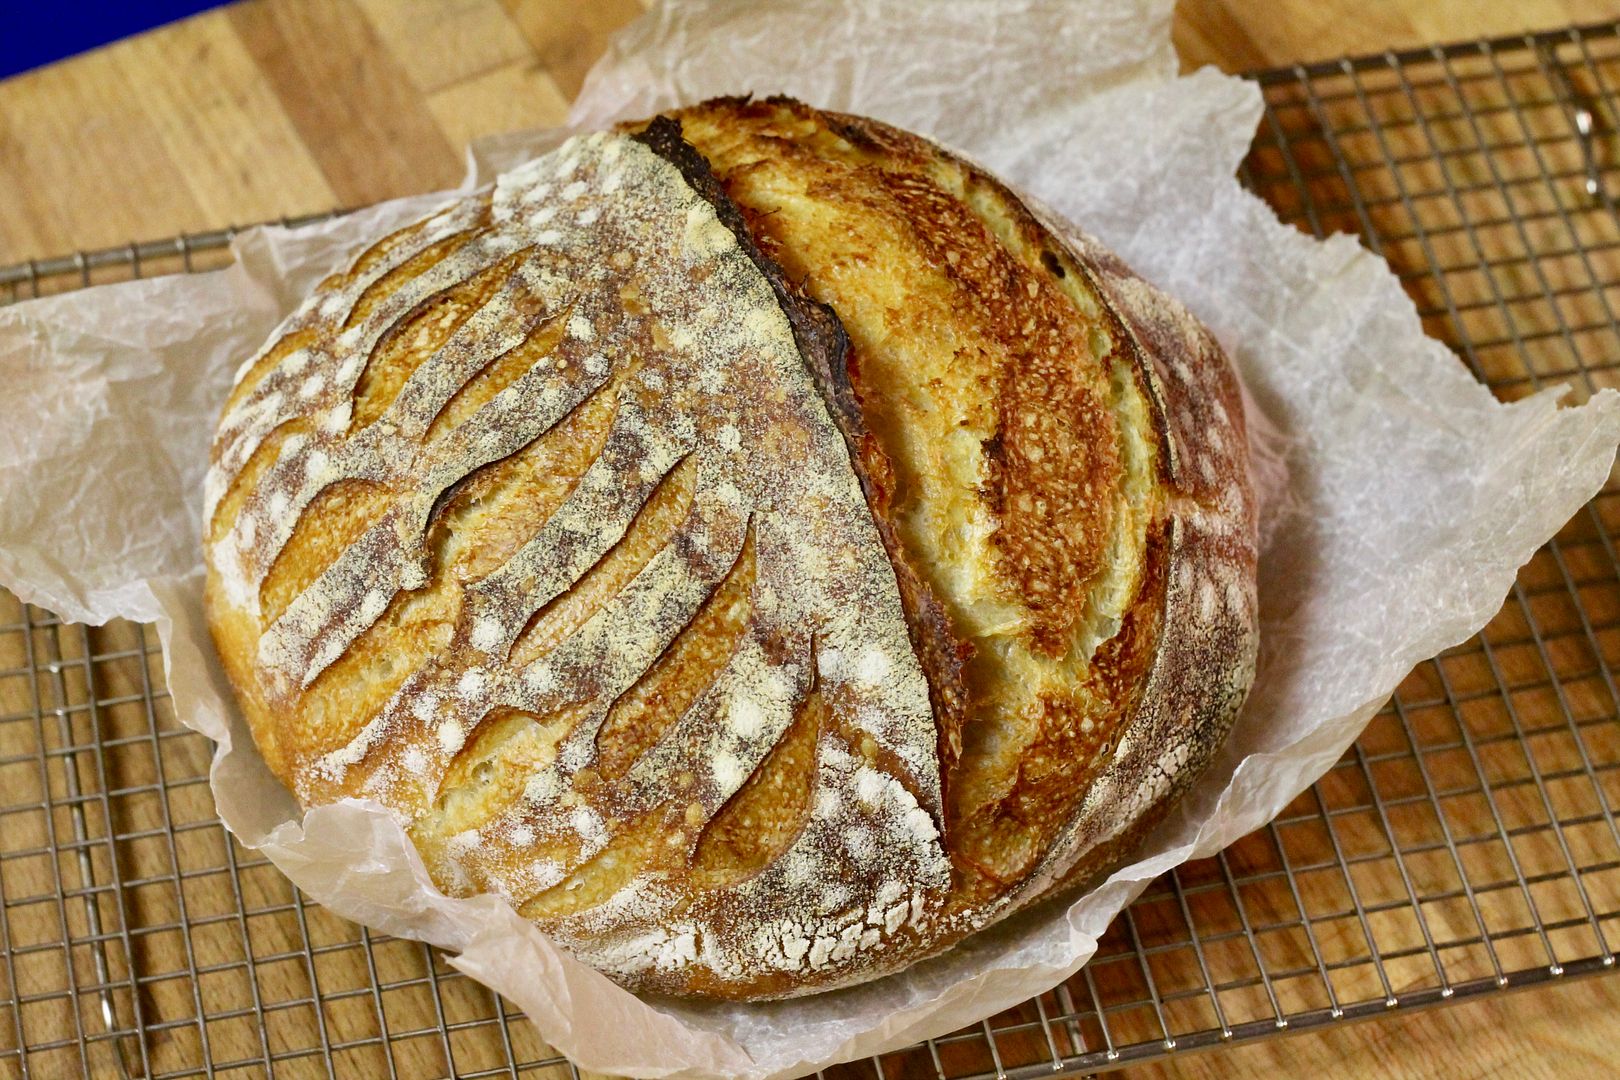
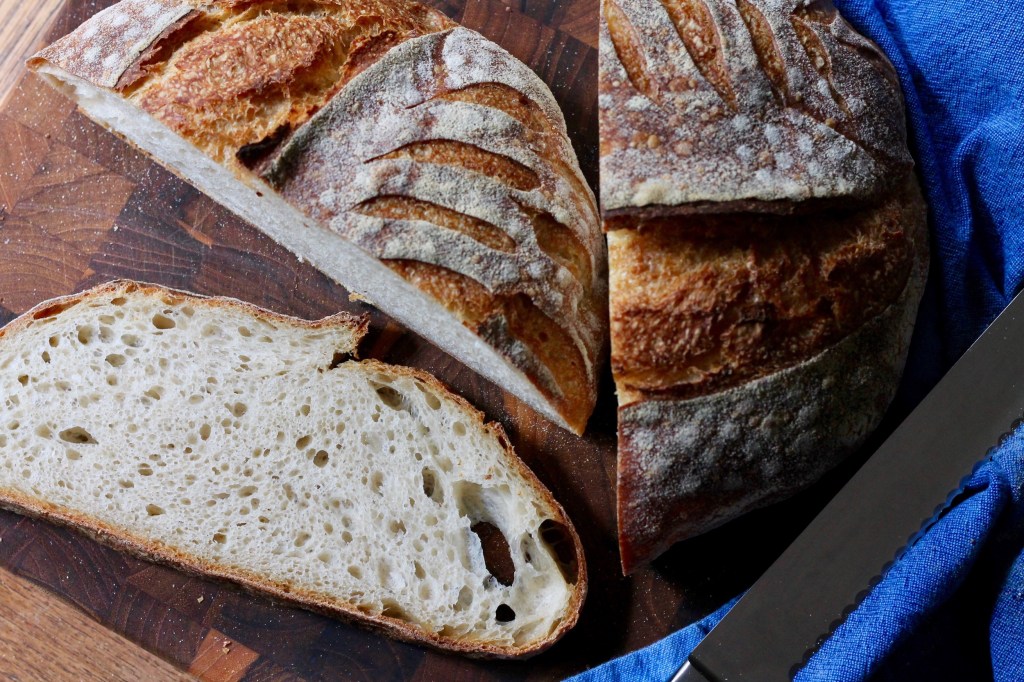
I like to store the bread uncovered, cut side-down on a cutting board for the first day, then sealed in a large Ziplock bag from day 2 onward. Day old or older bread makes excellent toast, and really great croutons.




Leave a comment