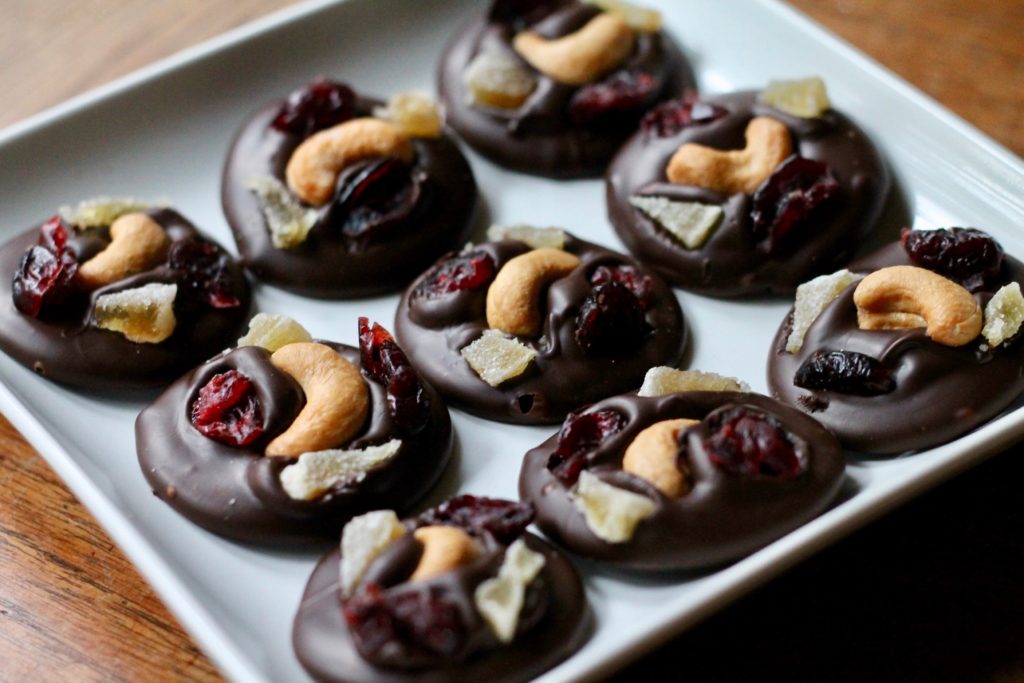
Mendiants are a French confection of chocolate topped with dried fruit and nuts, the name being derived from the Latin word for “begging” in reference to begging for alms by monks or friars of religious orders who have taken vows of poverty. The fruit and nut toppings are supposed to represent the four Roman Catholic monastic orders who partook in this activity. But beyond the history lesson, mendiants are a delicious and easy way to make chocolate candies – the only challenge is that you have to temper chocolate, which, if you’ve ever watched an episode of Bon Appetit’s Gourmet Makes when Claire has to temper chocolate, you might assume is an impossible task. Every time she hauls out the vacuum sealer and sous vide immersion circulator thing I cringe, because tempering chocolate is NOT THAT HARD, I swear!

Tempering chocolate is a process of melting, heating, and cooling chocolate to certain temperatures to re-align its crystalline structure so that it is shiny, smooth, and snappy when it sets. You might be thinking, “why would I ever want to do this? It sounds like a lot of work / trouble.” Well, if you’re melting chocolate to dip or drizzle or pipe on anything, properly tempered chocolate will stay shiny and hard at room temperature and won’t melt all over your hands. If you simply melt chocolate without tempering it, it will be soft and melt-prone at room temperature and it may have a grainy texture with a cloudy, greyish “bloom” on its surface (this is just the cocoa butter separating out – it’s still fine to eat). For things like dipping truffles or cookies or making chocolate decorations, tempered is the way to go.
There are a couple different methods for tempering chocolate, but my favourite is the seeding method. You chop up a bunch of chocolate and melt two-thirds of it to a certain temperature, then “seed” it by adding the remaining third of chopped chocolate and stirring to cool it to another certain temperature. This “seeding” chocolate has to be already tempered (most bars of chocolate that you purchase are tempered) because it essentially spreads its tempered chocolate crystals throughout the melted chocolate and helps it all come into temper (there is definitely a more scientific explanation, but this is basically what you need to know!).
And once you have your tempered chocolate, you can dip, drizzle, pipe, or dollop to your heart’s content – or until it cools too much to use anymore! To make mendiants, spoon out circles of chocolate and top them with dried fruit, nuts, and seeds or whatever else you can think of. Properly tempered chocolate should start to set within a couple minutes, so it’s important to work quickly – but it also means that this is a pretty speedy project with an impressive payoff!

Tempering Chocolate
Click here for a printable PDF of the recipe.
You will need:
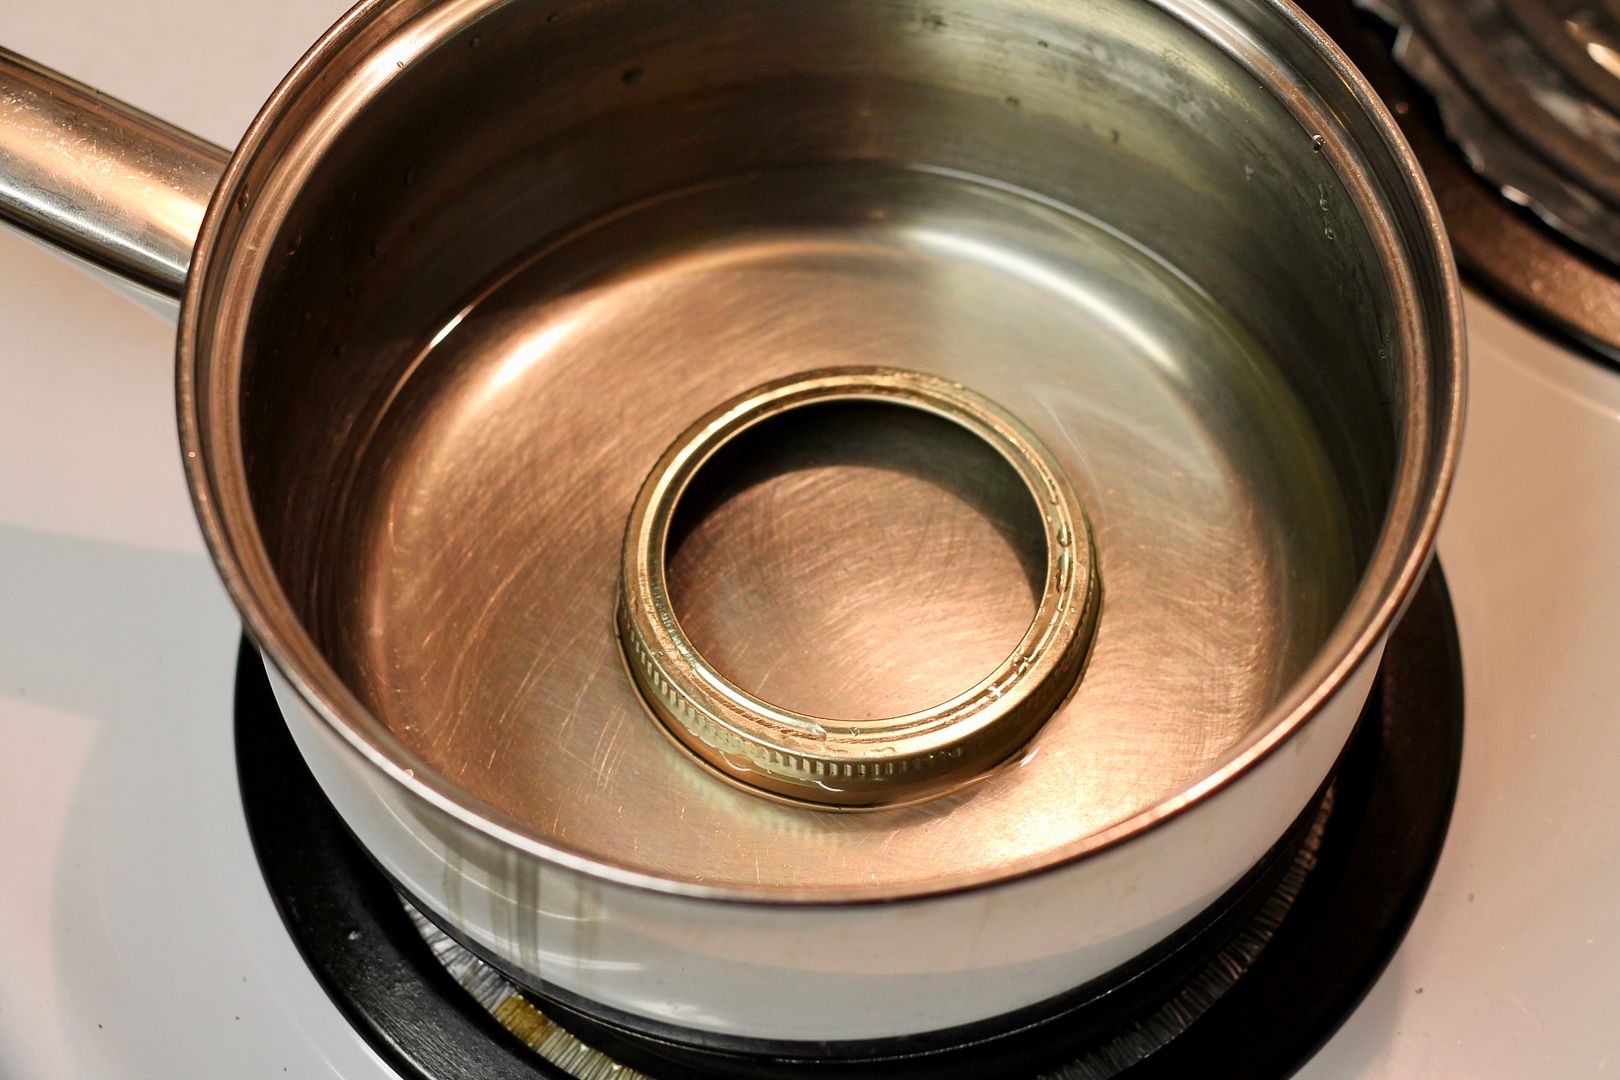
- A double boiler or bain marie – you can easily construct one using a pot with about 1 inch of barely simmering water, over which you will place a bowl. The steam from the water will gently heat the contents of the bowl, in this case chocolate. I like to make a double boiler with a pot large enough to fit the entire bowl inside it – this allows the steam to heat the bottom and sides of the bowl. I put a canning ring in the bottom of the pot and make sure the water level is below it, so the bottom of the bowl can rest on the canning ring without touching the water (you could also use a crumpled up ball of foil to do this).
- A metal bowl – NOT ceramic or glass. Metal conducts heat easily but does not retain it, whereas glass and ceramic are insulators and will hold onto the heat from the double boiler. Tempering chocolate requires heating it to specific temperatures, so when you remove the bowl of chocolate form the heat source, you want it to stop heating immediately – you can achieve this with a metal bow, but glass and ceramic will actually keep heating the chocolate even after you take the bowl off the double boiler.
- A digital thermometer – this will probably set you back about $20, but honestly I use mine all the time and it is worth every penny.
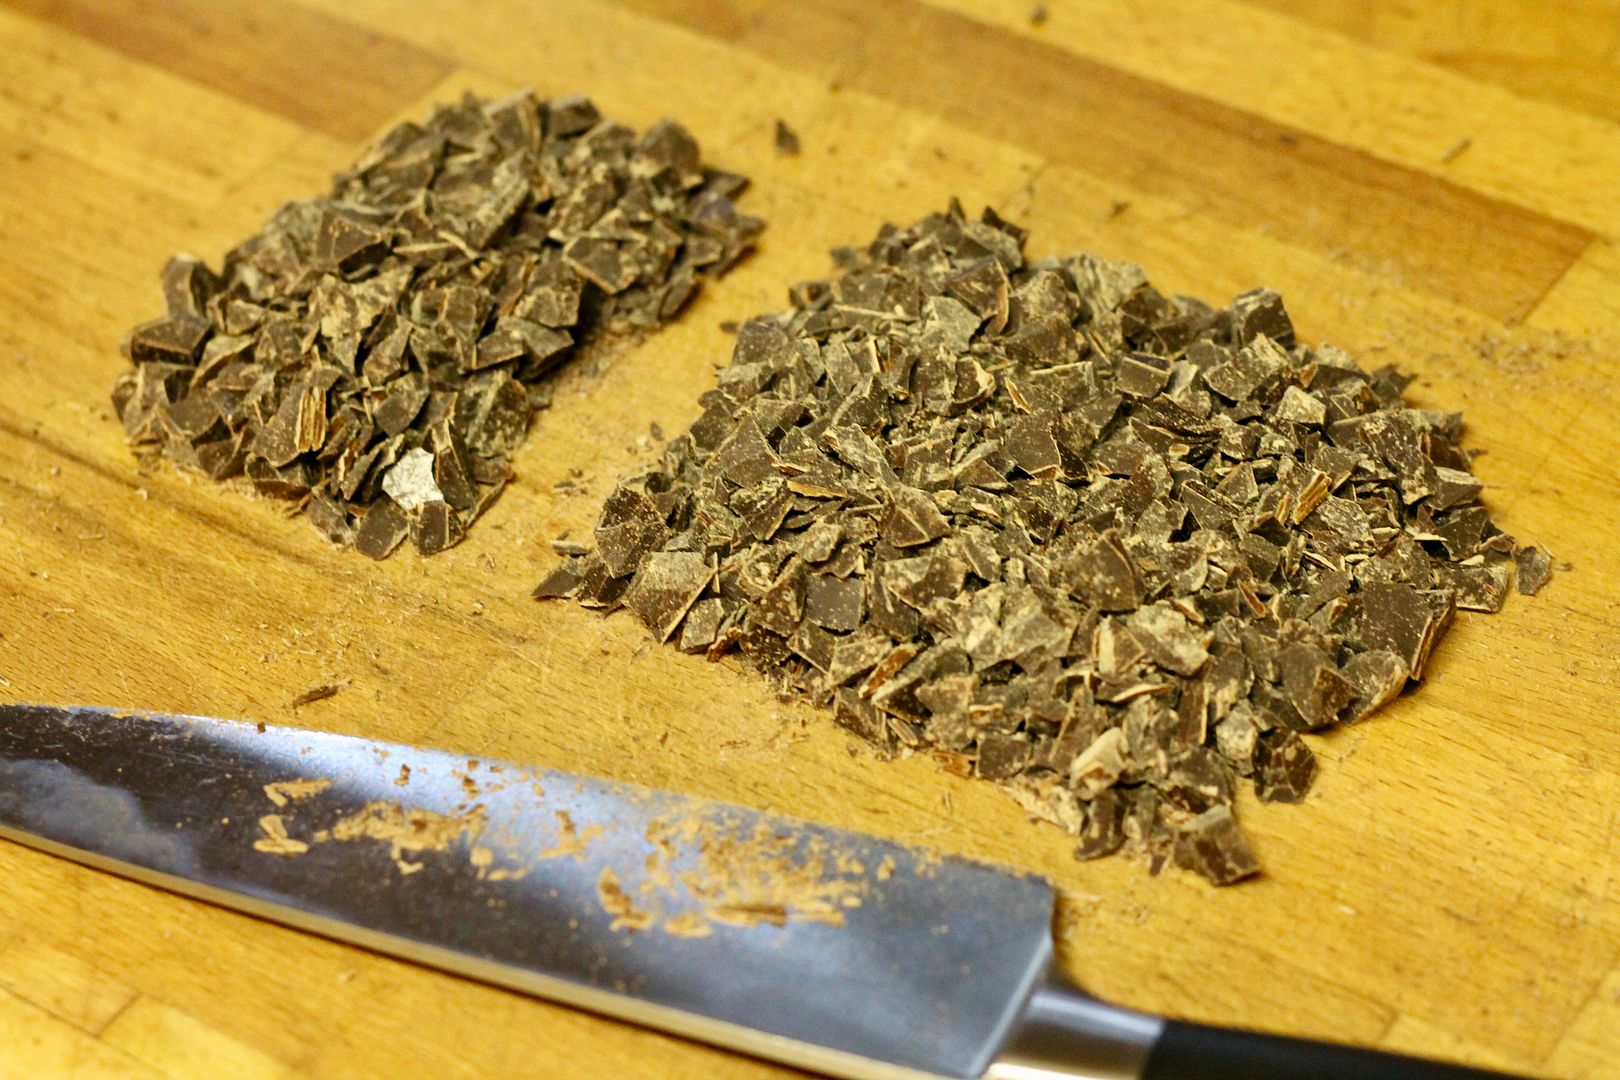
- Chocolate! You can use dark, milk, or white chocolate. For dark chocolate, I find about 60-70% cocoa solids to be the sweet spot (higher than that can be temperamental). It is much easier to temper a large amount of chocolate (like, 250 g or more) than a small amount, so I would always err on the side of more chocolate than you need (is there even such a thing?!) because you can just let the extra cool to use again next time. Chop the chocolate finely and evenly – this will help it melt more quickly and uniformly. As mentioned above, the seeding portion of the chocolate needs to be already tempered – but for the initial chocolate that you melt, you can use non-tempered chocolate. Just as long as the seeding chocolate (which must be 1/3 of the total volume of chocolate) is tempered!
Initial Melt:
Divide your finely chopped chocolate into thirds (you can just eyeball this). Place 2/3 of the chocolate in a metal bowl, and set aside the remaining 1/3 (remember, this third must be already tempered).
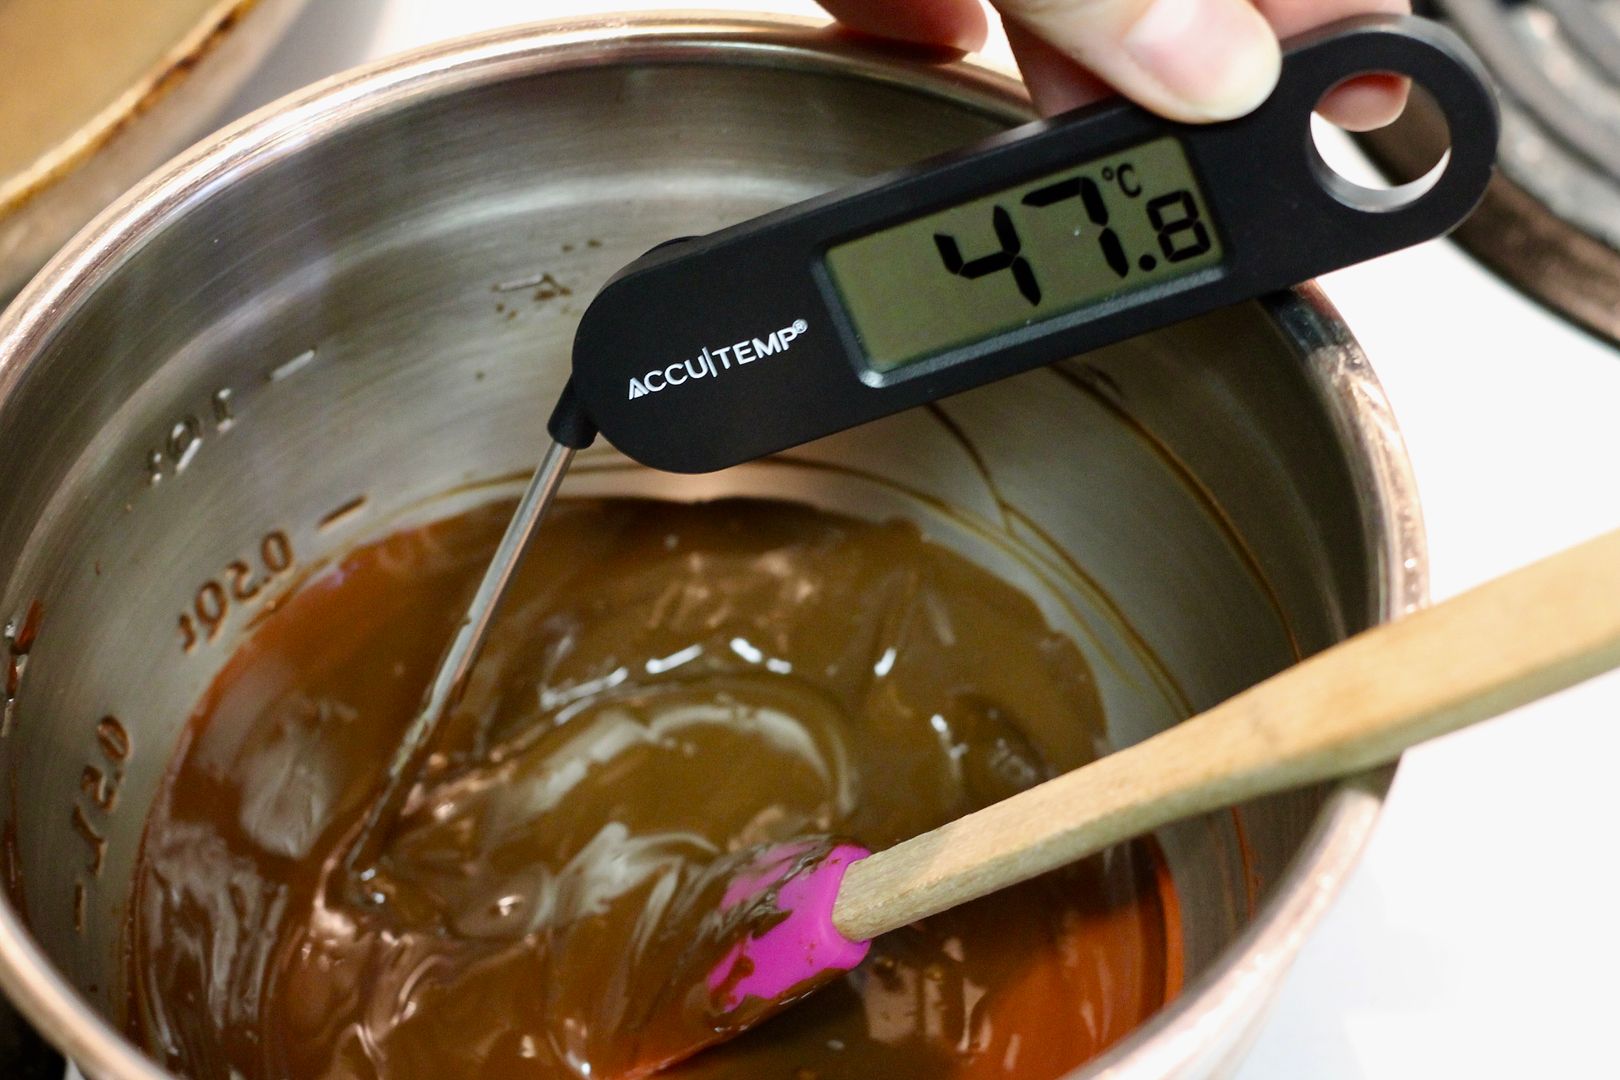
Place the bowl of chocolate over a double boiler with gently simmering water, and stir with a heatproof spatula until the chocolate melts and reaches the following temperature on a digital thermometer:
- Dark chocolate: 46-48˚C / 114-118˚F
- Milk chocolate: 40-45˚C / 105-113˚F
- White chocolate: 37-43˚C / 100-110˚F
Seeding:
Remove the bowl from the double boiler and immediately stir in the remaining finely chopped chocolate.
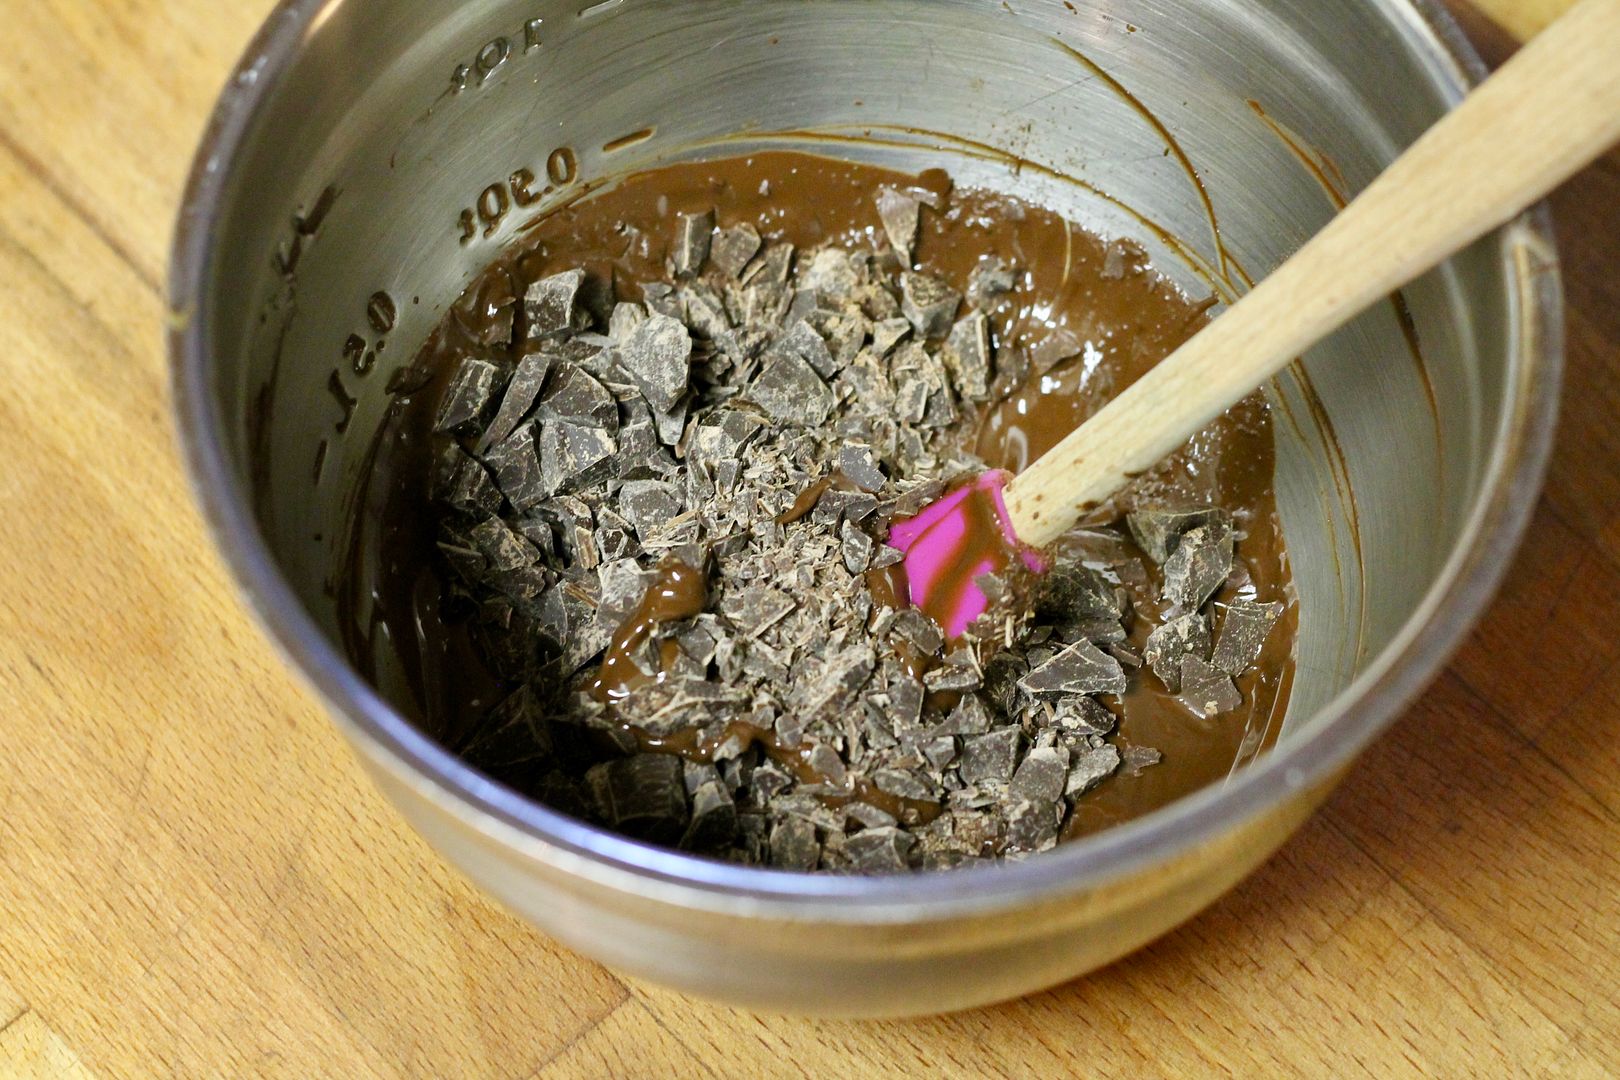
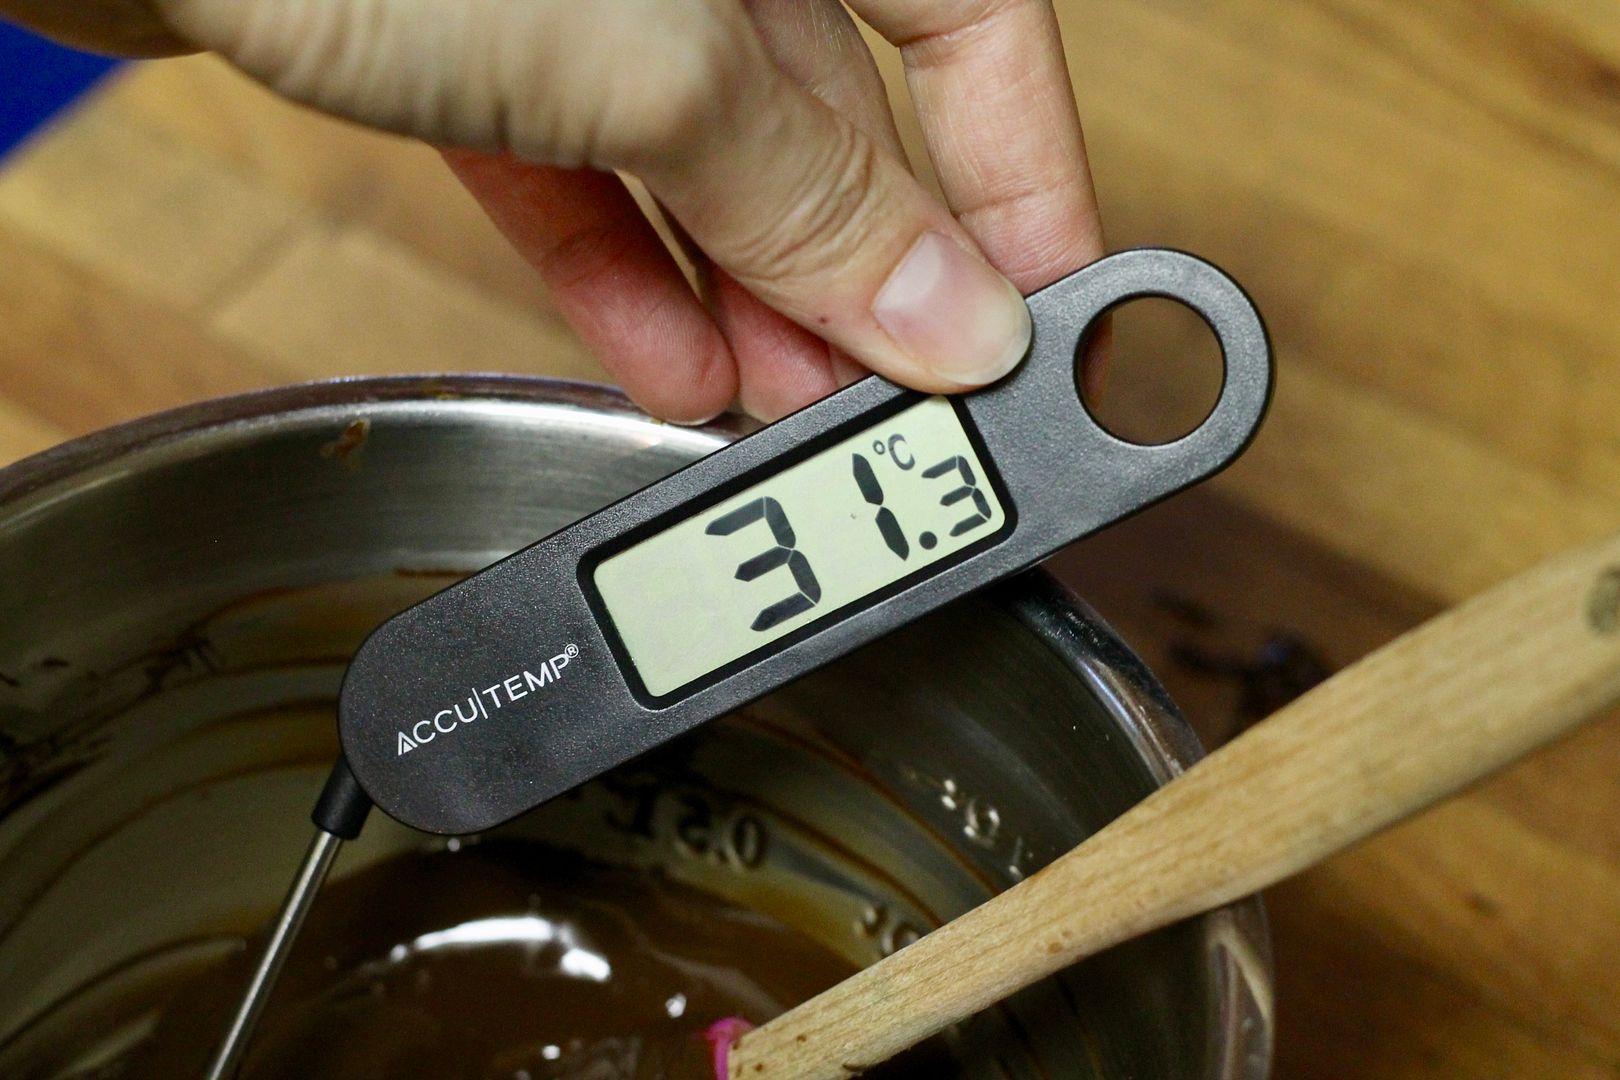
Stir well to melt the seeding chocolate (more agitation = better distribution of tempered chocolate crystals = better tempered chocolate results) and allow the chocolate to cool to the following temperature (aka, the holding temperature):
- Dark chocolate: 31˚C / 88-89˚C
- Milk and white chocolate: 29-30˚C / 84-86˚F
Working with the chocolate:
Once the chocolate reaches the above temperature, it is ready to be used for dipping / drizzling / piping, etc. You can use it immediately, or maintain it at or slightly under the holding temperature while you work – if it starts to cool too much to be fluid, place it back over the double boiler to warm gently – but DO NOT allow it to heat above the holding temperature, or you will have to start over (which is not the end of the world – simply re-heat to the initial melt temperature, add some new seeding chocolate, and follow the steps again).
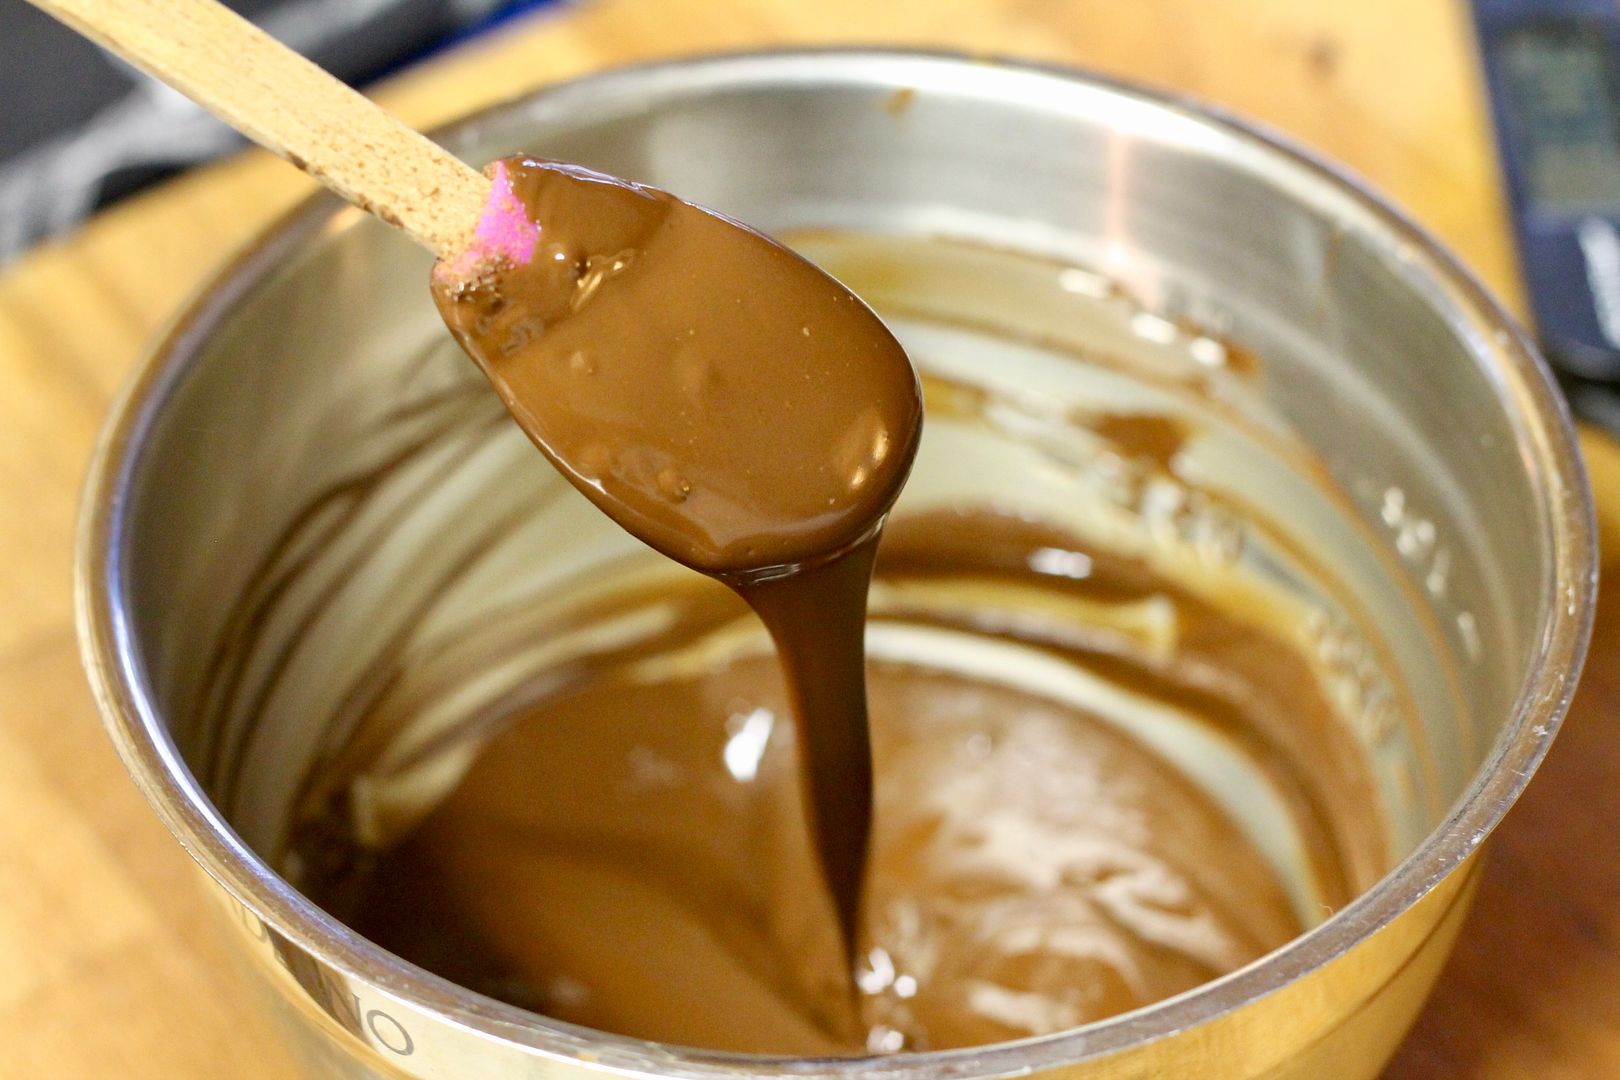
Properly tempered chocolate should begin to harden at room temperature after about 2-3 minutes, and once hard, it will be shiny and will break cleanly with an audible snap.
Mendiants
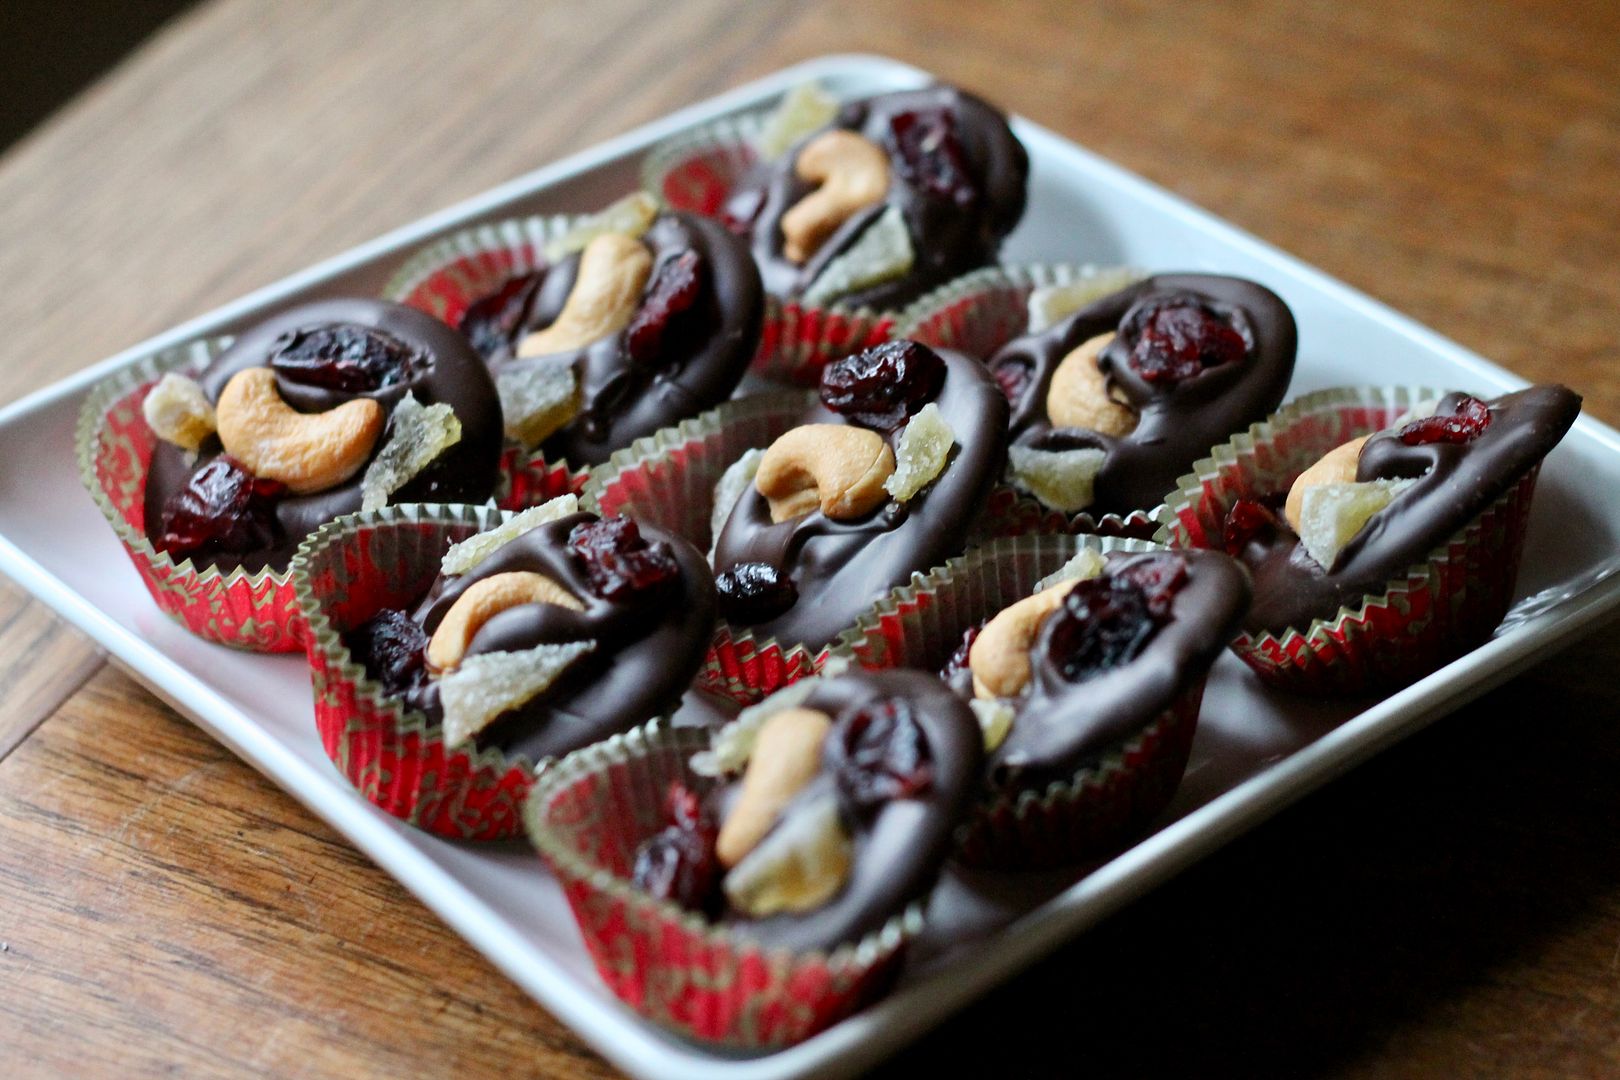
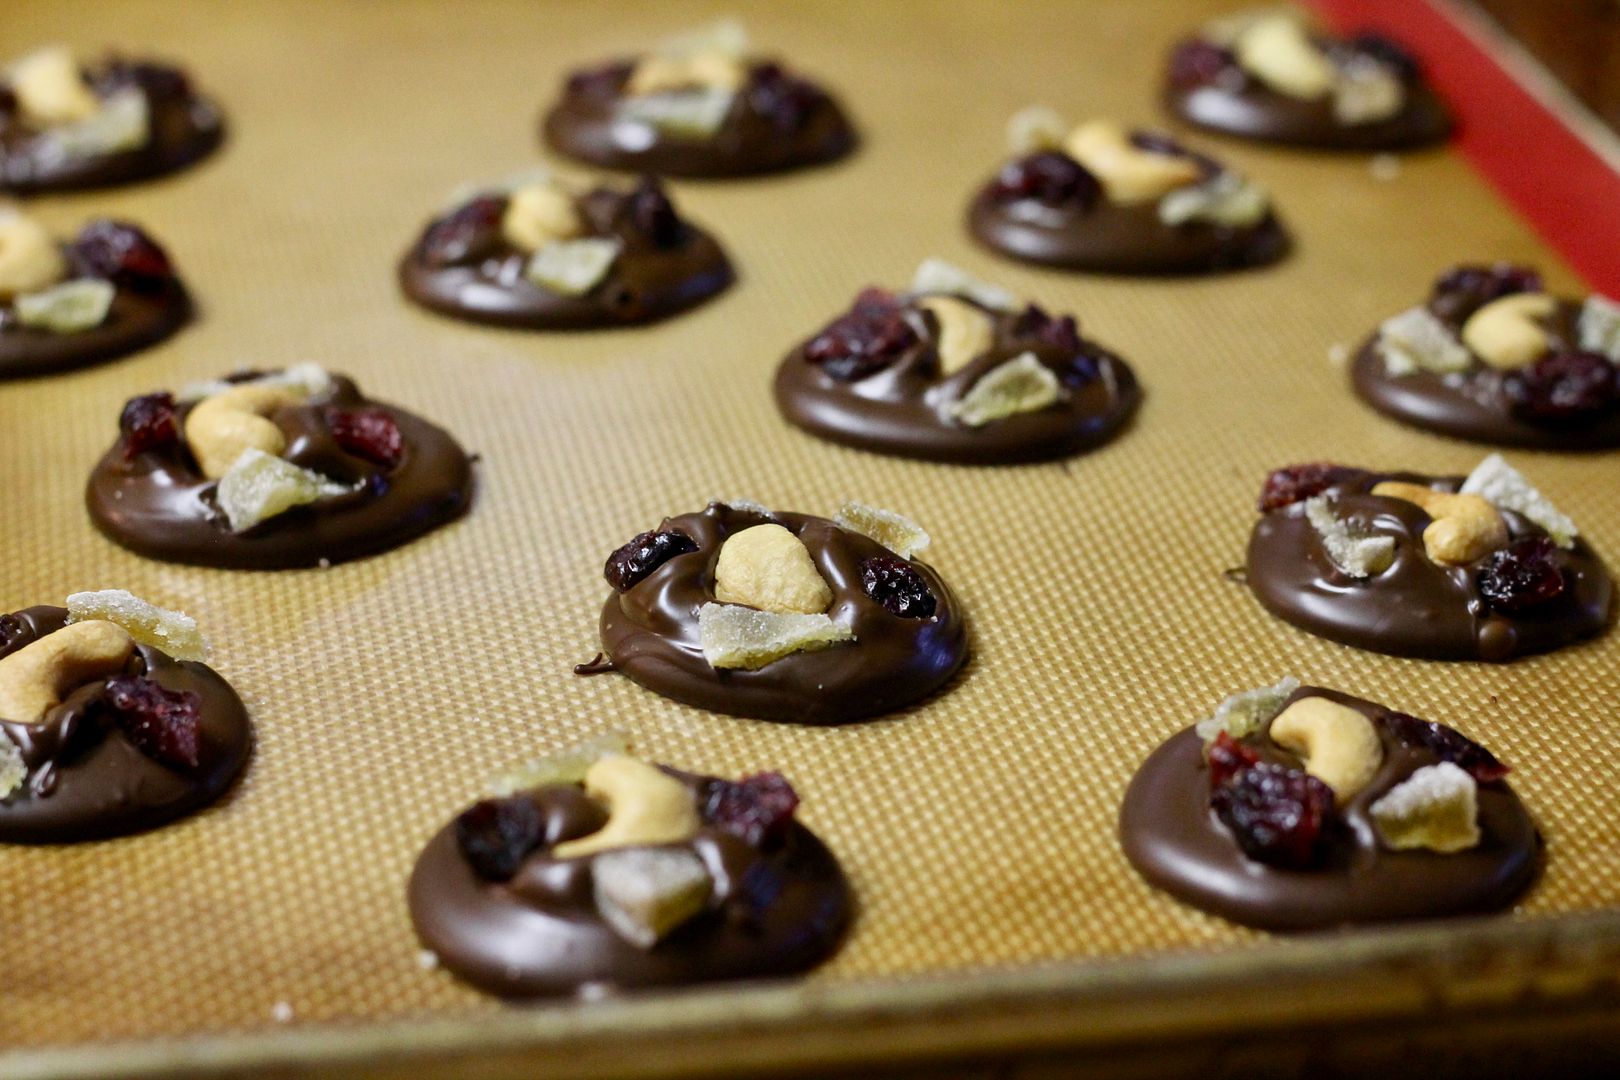
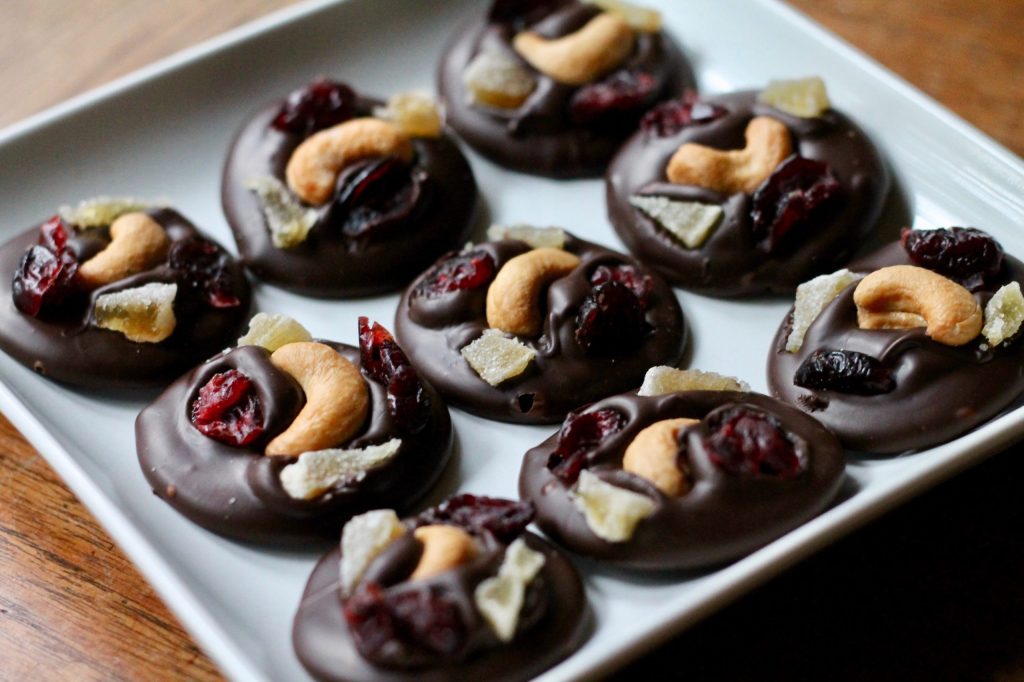
Before you start tempering the chocolate, select your dried fruit and nut (or whatever!) toppings and have them ready to go – I used roasted cashews, dried cranberries, and chopped candied ginger.
Dollop the melted, tempered chocolate in twoonie-sized rounds on a silicone mat or parchment paper.
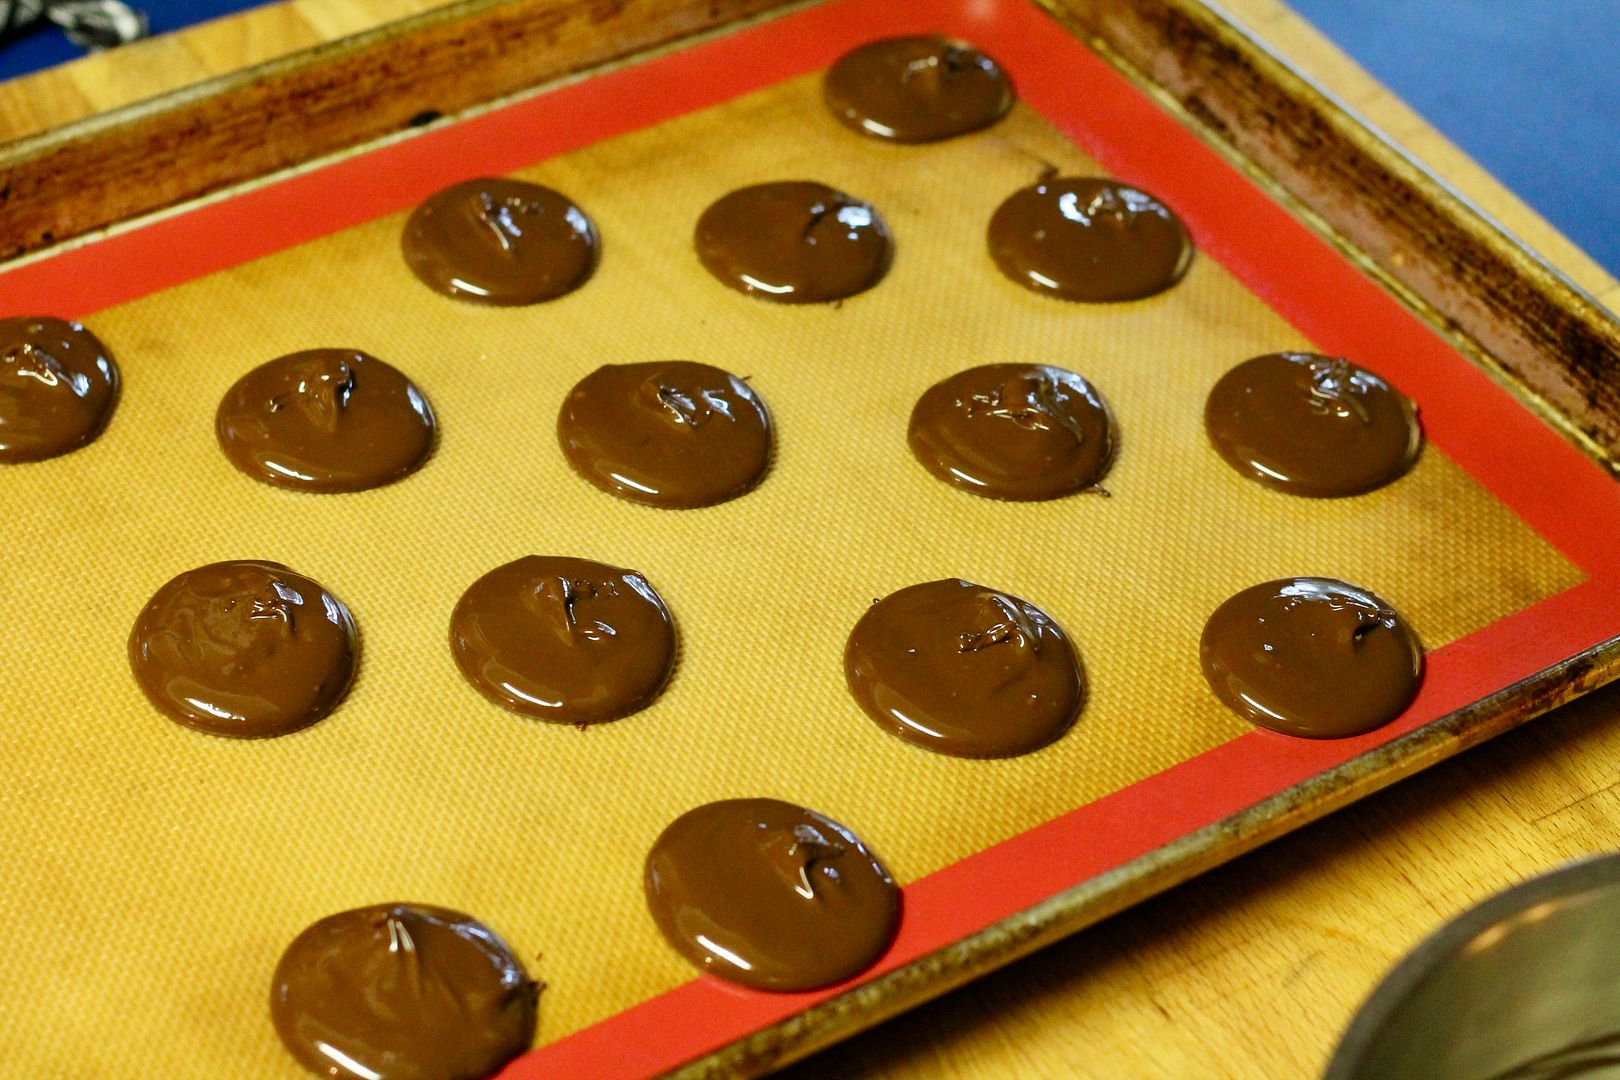
Quickly top with the fruit and nuts of your choice. My chocolate started hardening before I was finished dolloping, so I would suggest doling out the chocolate for 3-4 mendiants and putting on the toppings before the chocolate sets.
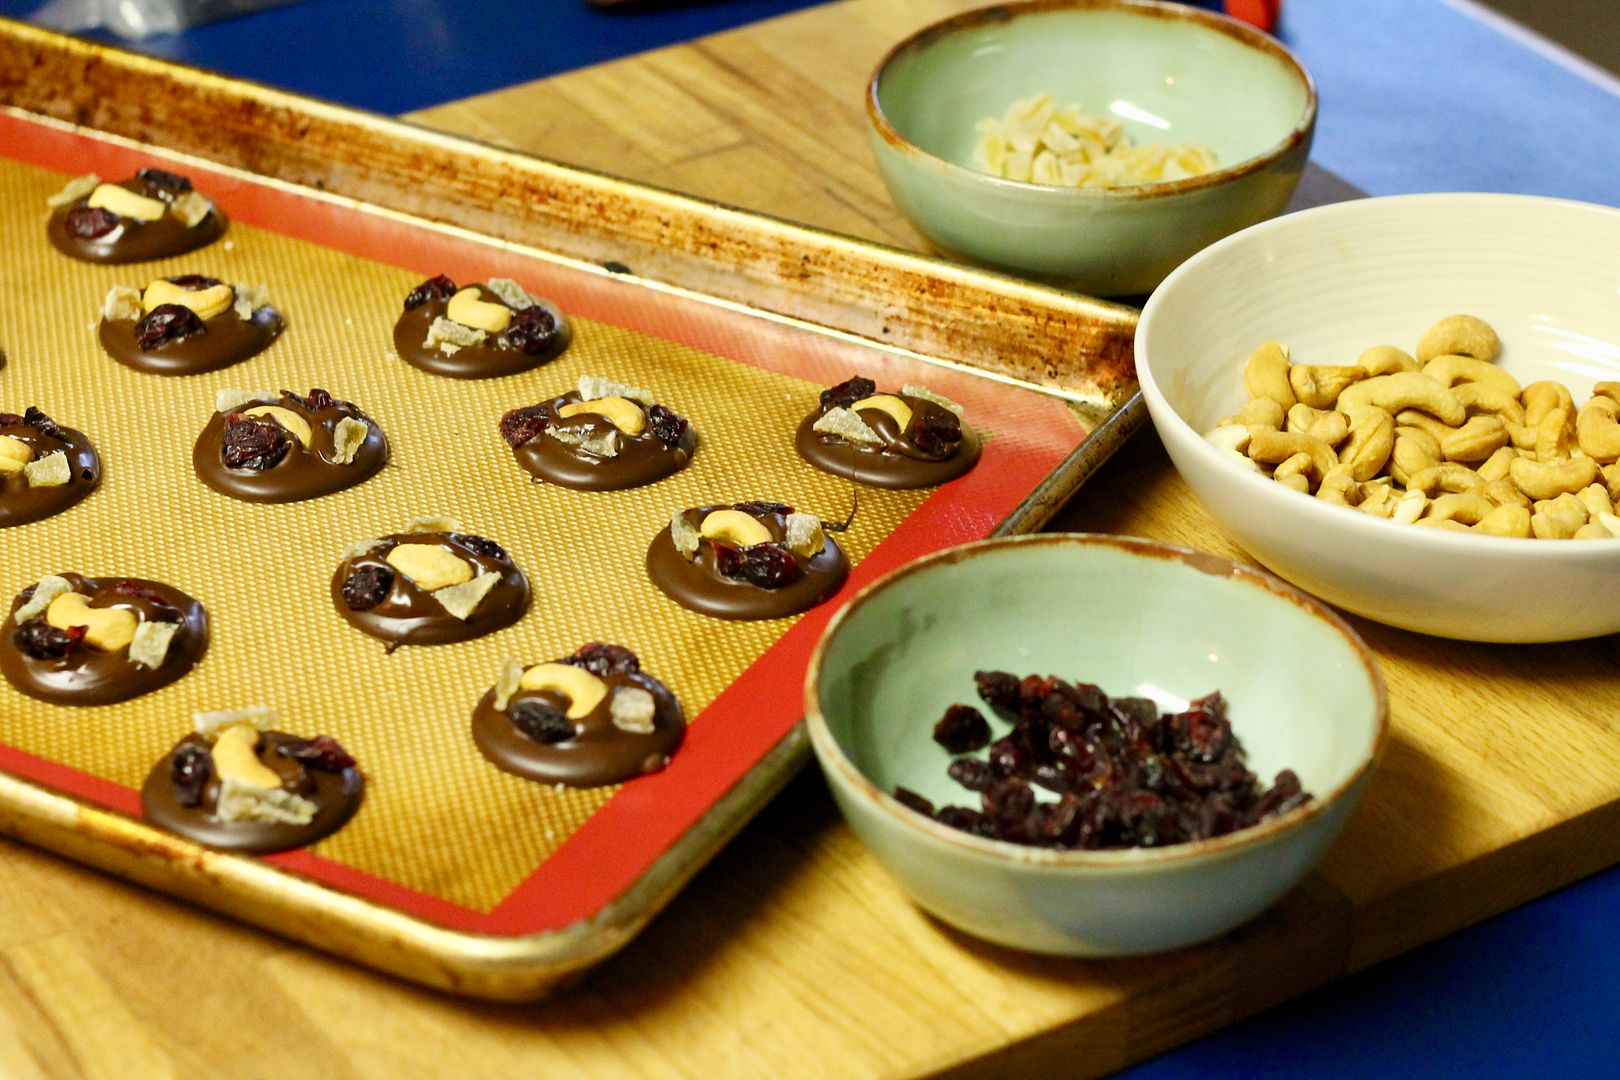
Allow the finished mendiants to set and fully harden at a cool room temperature for at least an hour, then store in an airtight container at room temperature.




Leave a comment