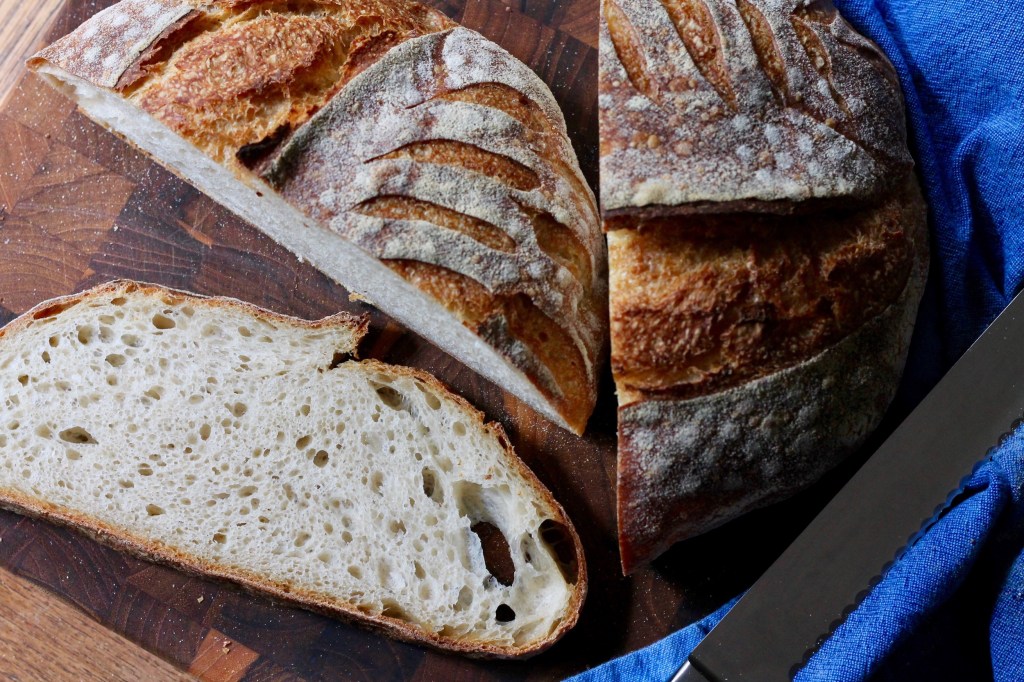
 After being sorely neglected the past month or so, my sourdough starter got a workout this weekend: not only did I make these sourdough buns, but I also baked Barbara’s Perfect Italian Sourdough Loaf and used a bunch of discard sourdough in a batch of waffles for the freezer. When the sourdough urge hits, it hits hard.

The Sourdough Surprises project this month was to make buns – for burgers, hotdogs, whatever. With a recent two-for-one sale on pork shoulder roasts at the local grocery store, I had it in mind to make pulled pork, for which I would need soft, delicious buns. I did a random internet search for “sourdough hamburger buns” and after being disappointed by the photos accompanying many of the recipes (what can I say, I eat with my eyes first – my favorite cookbooks have at least a picture per recipe, and my favorite food blogs have more pictures than words! She said, wordily.), I finally came upon one where the results looked as good as the description (which was “the perfect sourdough hamburger bun”).

Are they perfect? Pretty close, I think. Their crumb is a matrix of small-to-medium holes, giving them a satisfying honey-comb structure to catch the juices of whatever you choose to fill them with, and they have a deliciously chewy texture – not so much that they are hard to eat, but enough so that they are texturally interesting. To fancy things up, I knotted them into rosettes, making them look sort of like kaiser rolls. They came a little bit un-knotted during proofing and baking, but it just adds to their home-made charm – a charm further enhanced by slow-cooker pulled pork and creamy coleslaw with apple. Can you say YUM?

For all your sourdough bun needs this summer, check out the Sourdough Surprises collection below:
Sourdough Rosette Buns
Adapted from Chilly Frosting. Makes 6 medium-sized buns. Recipe could easily be doubled. The original recipe stated the these buns could be made in a single day, but mine took all day to rise and then proofed overnight – your starter will determine how long they take.
In the bowl of a stand mixer with the dough hook attachment, combine:
120 g active sourdough starter, 100% hydration
150 ml water
Stir to dissolve the starter, then add:
40 g granulated white sugar
40 g melted unsalted butter
1 egg yolk (reserve the egg white for glazing before baking)
8 g salt
Once mixed together, slowly add up to 330 g bread flour to get a dough that cleans the side of the bowl – you may need a little more flour, you may need less. Continue to knead with the dough hook on medium speed for about 10-15 minutes, until the dough is smooth and stretchy.

Gather the dough into a ball, cover the bowl with plastic, and let rest for 30 minutes.
After 30 minutes, perform a stretch and fold of the dough: grab one quadrant of the dough and stretch it up, then tuck it over on top of itself. Repeat in all 4 directions. Cover the bowl with plastic wrap again and leave at room temperature until doubled in size (several hours or all day).

Turn the doubled dough out onto a lightly floured surface and divide into 6 equal pieces. Shape each one into a ball and roll each ball into a log about 12″ long.

To form the rosettes, grasp the dough log in the middle with both hands and tie it in an over-hand knot. You will be left with two tails of dough: one sticking out from underneath, and the other sticking out from the top. Bring the underneath tail up and tuck it firmly into the middle of the rosette (make sure it goes all the way through the middle so it stays put while proofing and baking). Tuck the top tail underneath the bun, again making sure it is secured in the middle.

Place the shaped rosettes on a silicone or parchment paper-lined baking sheet a few inches apart. Cover loosely (I used a large plastic bag) and let proof several hours (or overnight) at room temperature until puffy. A slight indent should remain when you poke them with your finer. If their tucked-in tails have come loose, just gently press them back into the centre.

Preheat the oven to 375˚F (350˚F convection). Mix together a glaze of the reserved egg white + 1 tbsp water. Brush it gently over the surface of the buns and sprinkle with sesame seeds. Bake in the preheated 375˚F (350˚F convection) oven for 20-25 minutes, until a deep golden brown. Cool on a rack before slicing and filling – I recommend pulled pork!


Leave a comment