
This month’s Sourdough Surprises project was bagels, yet another item that just so happened to be on my “summer to-make” list. The recipe comes from Susan at Wild Yeast, a fantastic blog and resource for all things concerning bread and the home of YeastSpotting, a weekly round-up of user-submitted blog posts featuring bread and yeast (to which this post has been submitted!).
You should really head over to read Susan’s original post of this recipe, because not only is it witty, it is also very informative. I’ve never made bagels before, but I do agree with many of her opinions, including the one that the only good bagel is a chewy bagel. This means kneading the heck out of the dough, and unless you have arms of steel and a lot of free time, you’re going to “knead” a stand-mixer. (Sorry, that was terrible.)

I did most of the kneading in my KitchenAid mixer (about 15 minutes worth), but after a while the dough was just kind of slapping around the bowl and not getting worked, so I turned it out onto the counter and went for it. The dough was very stiff but incredibly satisfying to knead/beat up, and I kneaded it by hand until it was super smooth and rubbery and the bottom surface no longer split when I folded over and pressed down on the top. Perfect.
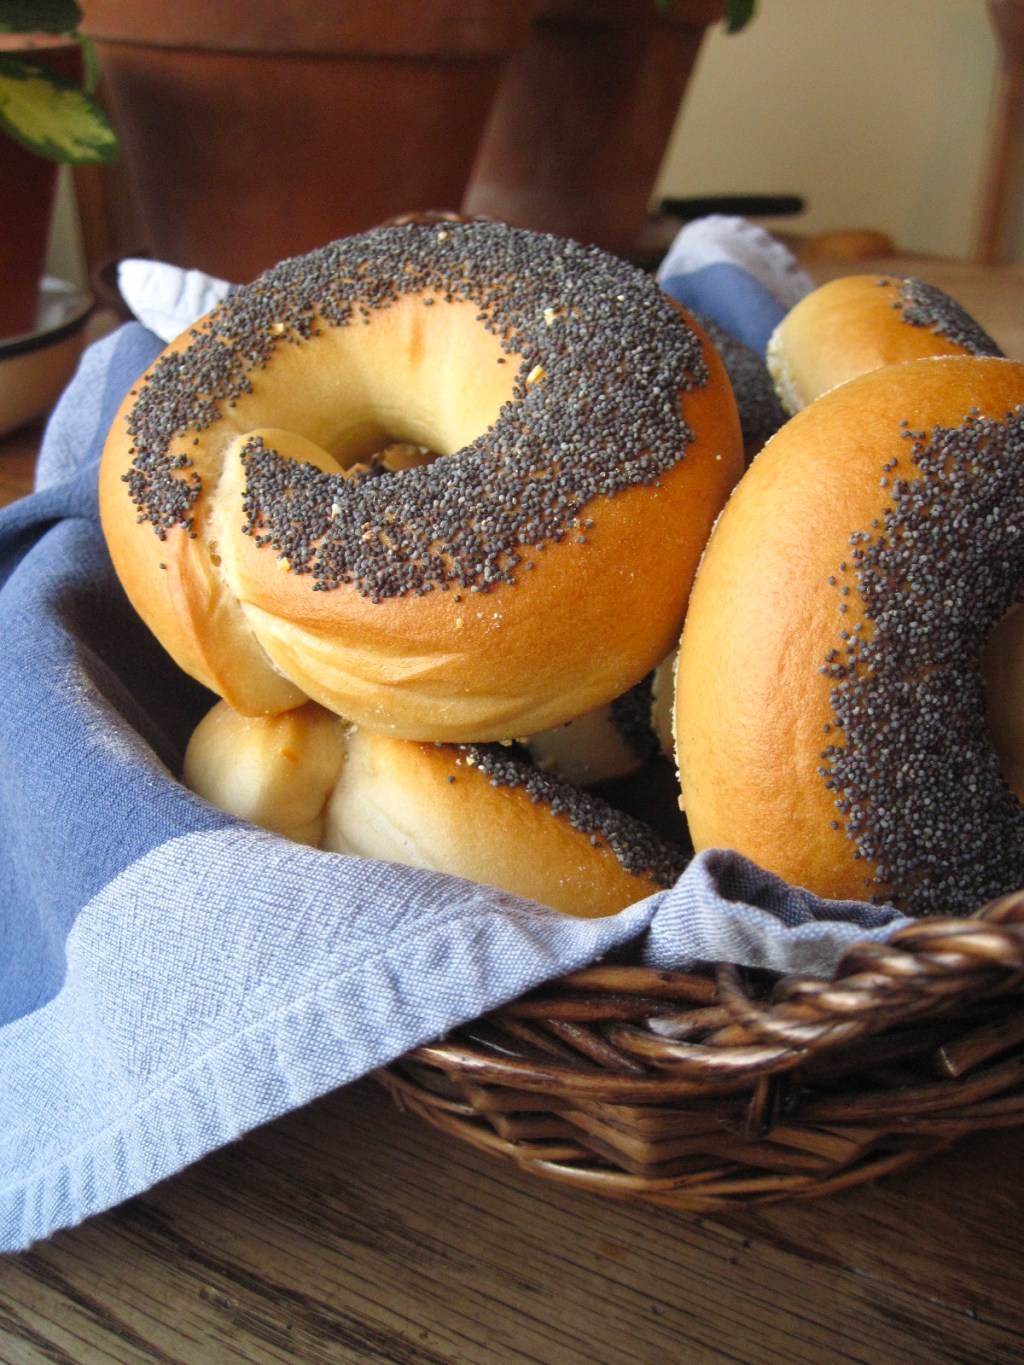
And then they came out of the oven looking like real bagels. So proud.

A few notes:
The recipe calls for “non-diastatic malt powder”. This is a natural sweetener that comes from malted barley, and non-diastatic means that the enzymes are deactivated. All I could find was powdered “barley malt extract” at the natural foods/bulk store and I have no idea if it was diastatic or not. It seems to have worked out, whichever it was. Some internet research indicates that diastatic malt powder is often used in bread baking, so I’m not sure why non-diastatic is called for here?
The dough should be very smooth and very stiff. Very very very. It is supposed to be that way. You won’t need extra flour on the counter if you do any hand-kneading.
The bagels require 4 hours of proofing followed by 4 – 8 hours refrigeration before baking, so schedule your day accordingly! The ideal situation would be to refrigerate them overnight and bake them the next morning for fresh breakfast bagels. 🙂
Check out the Sourdough Surprises blog to see the other participants’ bagels!

Wild Yeast’s 100% Sourdough Bagels
Adapted very slightly from Wild Yeast. Makes 8 bagels.
In the bowl of a stand mixer, combine:
301 grams active 100% hydration sourdough starter (I refreshed mine the day before)
121 grams cold water
349 grams bread flour (high gluten content is important)
28 grams powdered milk
16.4 grams non-diastatic malt powder (I rounded up to 17 grams)
10 grams salt
Stir with the dough hook on low speed to combine, then increase the speed to medium-low and knead until the dough is smoother and very strong (ie, lots of gluten formation). This took about 15 minutes for my mixer.

Turn the dough out onto an unfloured surface and knead by hand for a few turns, until very smooth and rubbery. Form the dough into a ball and cover with a towel or plastic wrap. Rest 10 minutes.
Divide the dough into 8 pieces, each about 100 grams. Roll each piece into a ball, cover, and rest another 10 minutes.

Roll each ball of dough into a snake about 10 inches long without tapering the ends. Wrap the snake around your hand and overlap the ends slightly on your palm. Lightly roll your palm on the counter to stick the ends together. If the dough is dry, mist the counter and the dough lightly with water. This will make it easier to roll and will make the ends stick together better. I was worried that my ends weren’t stuck together well enough, but they got a lot more solid after proofing.
Line a baking sheet with parchment paper and sprinkle it liberally with cornmeal (the finer the better). Place the shaped bagels on the sheet, cover then with plastic, and place them somewhere warm to proof for 4 hours, until they look puffy (I put them in the oven (turned off) with just the oven light on). Once proofed, refrigerate the bagels for 4 – 8 hours.

When you are ready to bake, preheat the oven to 425˚F. Put a large pot of water on to boil over high heat. Take the bagels out of the fridge, brush the cornmeal off the bottoms, and place them on a cooling rack set over a tea towel near the boiling pot.
When the water boils, add:
1 tbsp baking soda
The water will get very excited for a few seconds and then die down to a vigorous boil. Use a slotted spatula to place 2 – 3 bagels at a time in the boiling water for 20 seconds, after which time they should float. If they float right away, turn them over after 10 seconds so that both sides get submerged. Remove the bagels to the cooling rack and let the water drain off.

If desired, dip the damp tops of the bagels in poppy or sesame seeds. Place them back on the cornmeal-dusted, parchment-lined baking sheet and put them in the oven. Turn it down to 400˚F and bake for 24-28 minutes, until golden brown. Vent the oven halfway through baking to let the steam escape (I cracked open the door for about a minute). Cool on a rack.


Leave a comment