 May 19 is Food Revolution Day. This is a “day of action” organized by the Jamie Oliver Foundation to promote better food and food education – essentially, to get more people engaged in the acts of growing, buying, cooking, and eating real food. Food enthusiasts are encouraged to take part by hosting Food Revolution events that focus on getting back to basics, learning healthy food habits, and understanding the importance of where food comes from (ie, grown on a farm and prepared at home from scratch versus industrially processed, individually wrapped, and sold ready-to-eat at the store). I am currently re-reading Michael Pollan’s The Omnivore’s Dilemma, which relates to these issues, and Food Revolution Day really struck a chord with me. I wanted to “host” something on my blog, but I wasn’t sure what.

Just after I heard about Food Revolution Day, I came across the Food Matters Project, which is a group of bloggers who are cooking their way through Mark Bittman’s Food Matters Cookbook, the philosophy of which is “eating more plants and fewer animal products and processed foods — and the positive impact this has on our health and the environment.” This ties into the whole Food Revolution idea: cooking and eating real food and reaping the benefits physically and environmentally. As I read more about the Food Matters Project, the incredibly simple recipe for Mark Bittman’s no-knead Real Whole Wheat Bread gave me an idea of what I wanted to do for Food Revolution Day.

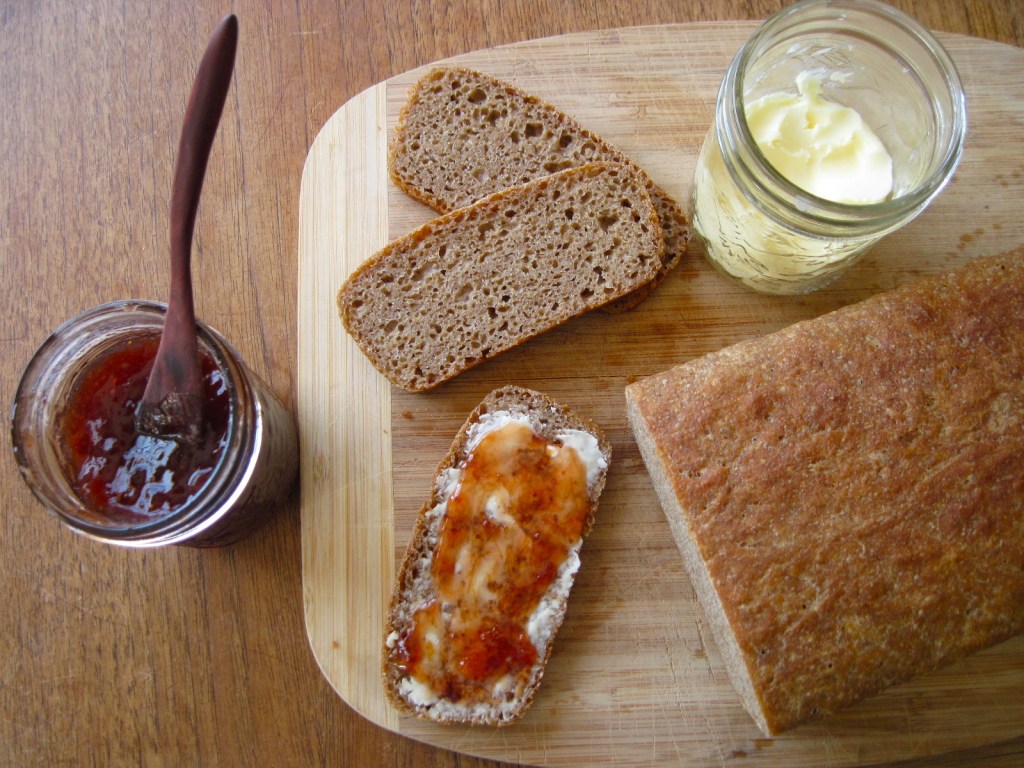
I decided that I would share three things made from scratch; three things that are so everyday mundane that many might not even think to make them: bread, butter, and jam. Bread is, at its simplest, flour, water, yeast, time, and heat. Jam is fruit, sugar, and heat.

Butter, the easiest of all, is cream and mechanical action. Granted, if you are a regular reader here and share my interests in cooking and eating, you may have made or contemplated making bread or jam, but when was the last time you made your own butter?

On May 19, I invite you to give it a try. Make something totally from scratch and share it with someone. I think that’s a pretty great way to spread a Food Revolution!
If you join in, please leave a comment (and a link if possible) to let me know what you made!

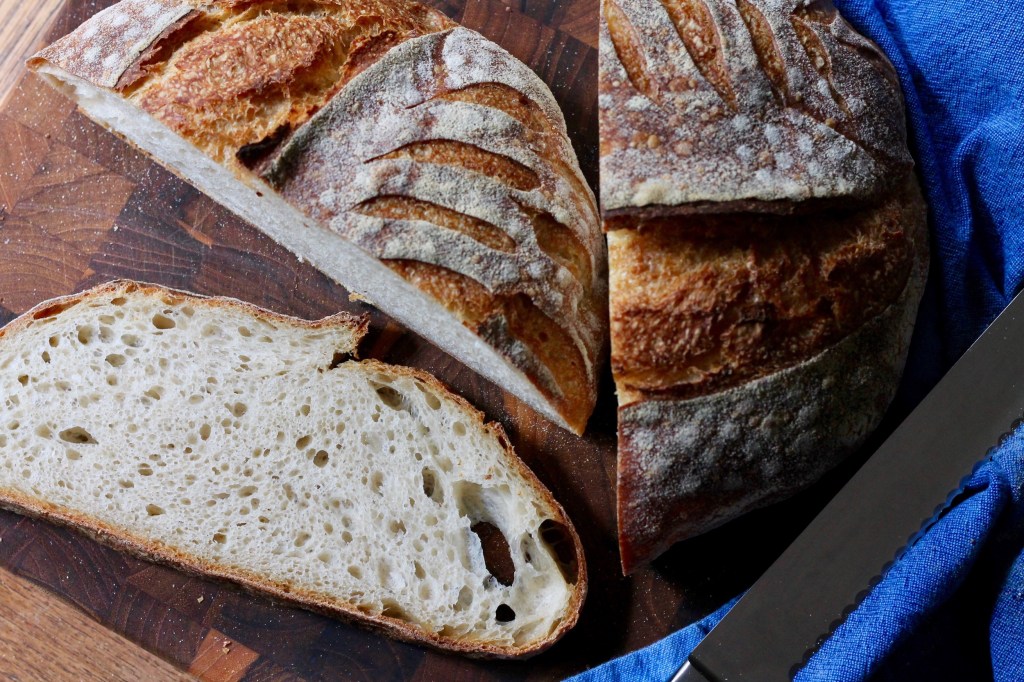
Real Whole Wheat Bread
Recipe adapted from the Food Matters Cookbook by Mark Bittman, via The Faux Martha. This bread was made by the Food Matters Project group and after reading some of their comments, I made a few changes – reduced the salt and added some honey. The result is a dense, chewy, flavourful loaf, the perfect vehicle for butter, jam, and a whole host of other things. It also makes great toast.
In a bowl, combine:
3 cups whole wheat flour
1/2 tsp instant dry yeast
1 tsp coarse salt
In a measuring cup, mix together:
1 1/2 cups warm water
2 tbsp honey
Pour the water mixture into the flour mixture and stir to create a wet, batter-like dough (you may need a little bit more water – it should be stiff to stir but you won’t have to knead it). Cover the bowl with plastic and let it rest/rise for 12 – 24 hours (the longer it rests, the more the flavour will develop). It is ready when the surface is flat and dotted with bubbles.

Line a 9″ x 5″ loaf pan with parchment paper and grease it well with olive oil. With a spatula, very gently scrape the dough into the prepared pan, trying not to deflate the dough. Settle the dough in evenly and drizzle a scant 2 tbsp olive oil over the top. Brush or spread the olive oil over the dough, then cover the pan with a towel and let the bread rise somewhere warm for up to 2 hours, until it is about doubled in size (it won’t reach the top of the pan).

Bake the loaf in a preheated 350˚F oven for 45 – 50 minutes, until deeply browned and it sounds hollow when tapped (and the inside reads 200˚F on an instant read thermometer). Immediately remove the loaf from the pan (you may need to run a knife around the edge) and cool completely on a rack before cutting.

Homemade Butter
Method from Eating from the Ground Up. You can use any kind of cream you want – raw, pasteurized, organic, whatever – as long as it’s heavy cream. I used 1 cup of pasteurized heavy whipping cream and got about 1/3 cup of butter. For this reason, I’m not suggesting that anyone start making their own butter for regular consumption (unless maybe you have your own cow!) but it was pretty fun to make in a, “hey, I just made butter!” kind of way. And if you don’t have a mixer, you can just put some cream in a jar and shake the bejeezus out of it!
Pour some heavy whipping cream into a mixer bowl with the paddle attachment (if you want salted butter, add a pinch of salt to the cream). Cover the mixer with a tea towel to protect from splatters, turn it on to high speed, and let the cream whip. Take a peek every few minutes – you will see it go from softly whipped, to over-whipped, to curdled looking, and finally to separated into butter and watery buttermilk. Scrape down the sides of the bowl with a spatula a few times during this process.

Once you’ve got butter and buttermilk, gather up the butter with clean, cold hands and squeeze out the buttermilk. Keep doing this until there is almost no liquid coming out of the butter. Save the buttermilk for baking or pancakes (this is not like the cultured buttermilk you get from the store!). Rinse the butter under cold water and keep squeezing it to remove any remaining buttermilk – you’re done when the liquid coming out of the butter is clear rather than milky white. Put your butter in a container and store it at room temperature for up to 5 days, or up to a week in the fridge.

Strawberry Rhubarb Jam
Adapted from Food in Jars and The Complete Canadian Living Cookbook. Makes about 2 pints plus a bit extra. I made a double batch and didn’t have the heat turned up high enough so my jam took far longer than it should have and ended up tasting a lot more cooked that I was expecting, but it’s still delicious! You can freeze or can this jam. If you are canning, be sure to follow proper canning procedures. Botulism is nobody’s friend!
In a large heavy pot, combine:
2 cups chopped rhubarb, fresh or frozen
4 cups chopped strawberries, fresh or frozen
3 cups sugar
Mix the fruit and sugar together and let it sit for a few hours or overnight until the sugar starts to dissolve.

Bring the mixture to a boil on the stove over high heat. Add:
juice and zest of 1 lemon
Continue to boil vigorously for about 10 minutes, stirring often. Crush the fruit against the side of the pan if you prefer a smoother finished jam.

To test the setting point of the jam, place a plate in the freezer. When it is very cold, put a little dollop of jam on it. If the jam sets – ie, firms up to a consistency you could spread on toast and is not runny – it is ready. If not, put the plate back in the freezer and repeat the test every few minutes. To can the jam, pour it into hot, sterilized jars and process in a water bath for 10 minutes. Allow to cool completely and store any jars that don’t seal properly in the fridge. I followed Canadian Living’s canning procedure (see here for pictures of the process). OR you can pour the jam into small airtight containers and freeze it.

* * *


Leave a comment