We just got a really nice, new-to-us barbeque from Nate’s parents, and today I christened it with grilled pizzas. I’ve done this before with moderate success (minus the charred bits 😉 ). My technique needs refining, but this is the basic idea!
For some reason I made four pizzas for only two of us. I get over-zealous with cooking sometimes. (OK, often.)
 First, grill the veg for toppings (everything has been doused in olive oil, salt and pepper). This nifty veggie grilling rack is awesome. Look at those grill marks! I’m so proud.
 Grill the tomatoes until they’re nice and soft and bursty – you then sort of smear them on the pizza base to make the “sauce”, but we’ll get to that later.
 Roll out the dough. I used this recipe.
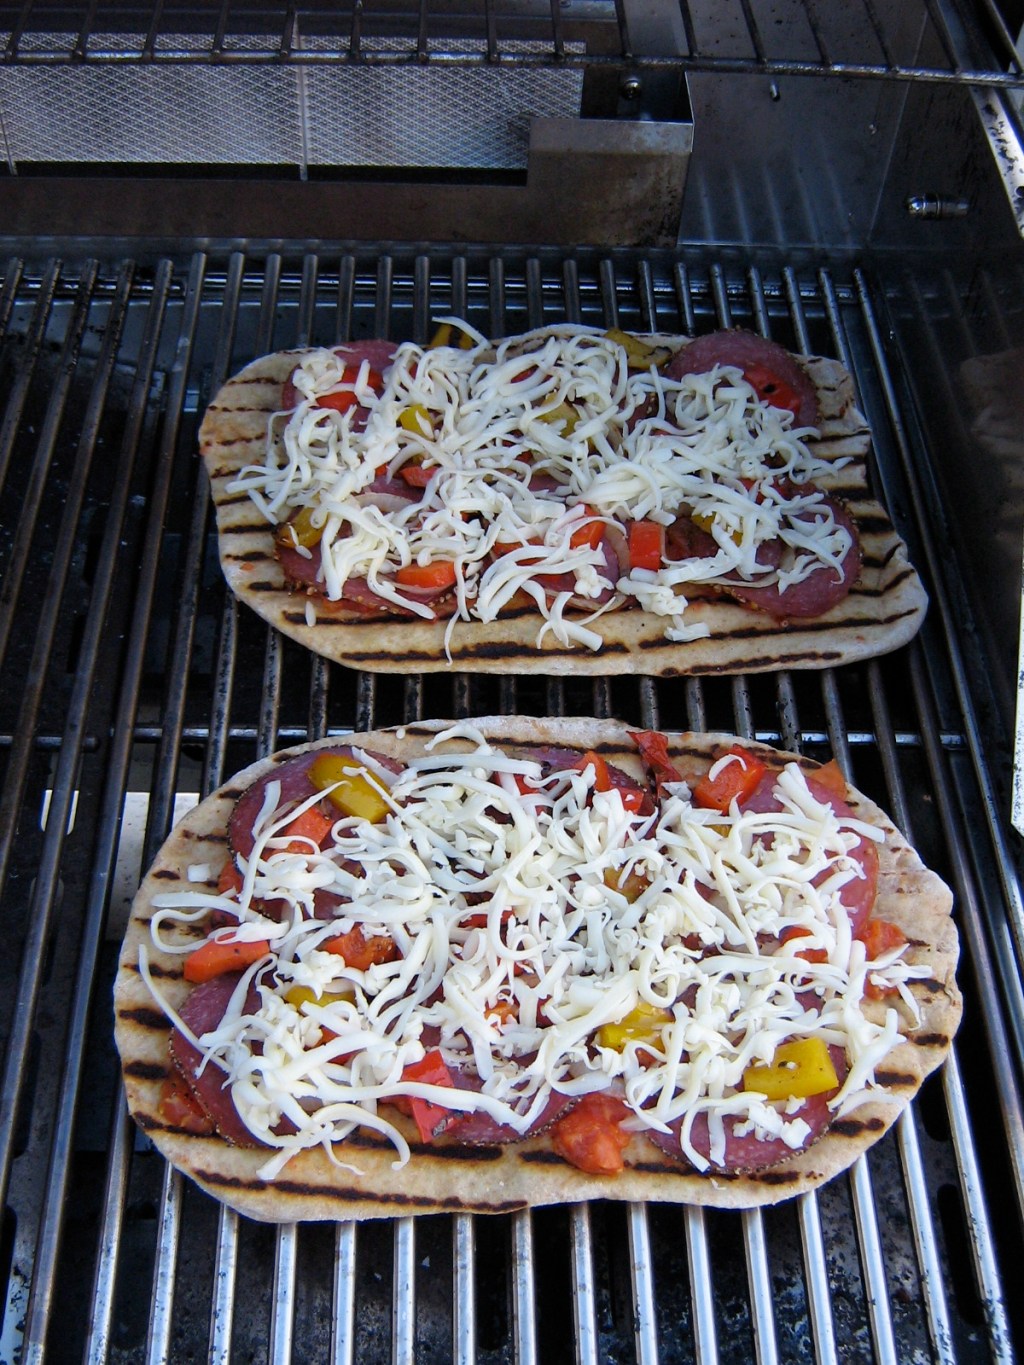
Before going any further, get everything all ready to go and assembled near the barbeque: toppings, grated cheese, sauces and oils, cooking implements, etc. Have the grill preheated and set on low to medium-low heat. For these first pizzas, I had the heat too high so the dough was almost burning before it was fully cooked, although the grill marks look pretty.
 Brush one side of the dough with olive oil.
 If it immediately starts to bubble up like this, your grill is too hot! (Hindsight is 20/20 😉 ) Brush the dough with olive oil.
 Check the bottom of your crust. Ideally it will turn a nice golden brown with slightly darker grill marks (see the next pizza for a good example of this!). If your grill is too hot, you will end up with dark grill marks and undercooked dough. Oh well, it all worked out in the end. Take it off the heat, flip it grilled-side-up, and add the toppings: smash the grilled tomatoes with your hands and smear them on the dough (or you could use a fork, but I like to play with my food), top with salami, grilled onions, and grilled peppers.
 Add cheese (my favorite part!) and place back on the grill. At this point I clued in and turned the heat down – actually I turned off the two right-side burners and let it cook via indirect heat from the two left-side burners (on medium-high to high) so that it didn’t get any more charred and the dough had a chance to cook. Close the lid and let the cheese melt and bottom crust get brown and crisp. Try not to peek too often or all the heat will escape and it will take forever. (Ask me how I know this!)
Take 2: This time I started with low heat. Much more successful! Also the sun was going down so these pictures are getting progressively darker…
 Instead of bubbling up in little bubbles, this time the dough inflated like a balloon (or a pita pocket – now I know how they do that!). I just smushed it back down with a spatula.
 When the bottom looks like this, take it off the grill and add the toppings on the grilled side (don’t forget to brush the un-grilled side with olive oil first).
 These ones had pesto, grilled asparagus, shrimp, sundried tomatoes, and ricotta cheese.
 Cheesed and back on the grill. By now the grill had cooled down so I had these directly over the burners on low heat. Lid down and wait for the cheese to melt!
 It was getting dark and starting to rain, and it took a while for these babies to cook (at least nothing was burning this time!). I think it would have been faster if all four burners had been on low. As soon as the cheese was melted I pulled these off the grill…
 …and voila again! Delicious. Even Nate agreed, and he doesn’t like shrimp on pizza.
The resources I used for this method come from Martha Stewart (although maybe I should have read the directions more carefully – it might have saved me from almost-burnt pizza!) and Alton Brown of Good Eats. They both explain how to grill a pizza much better than I do. I hope the pictures make up for it! 😉
Totally unrelated to pizza:
You might have noticed that the domain of this blog has changed to korenainthekitchen.com – no more WordPress in there. Thanks to Barb and Bryce for their generosity in making this happen, and to Jason for his help 🙂
Also, I added an RSS feed. Subscribe! Tell your friends!


Leave a comment