Skip to content
Korena in the Kitchen
Search
Home
About
Recipe Index
Contact
Category:
Daring Bakers Challenges
Oliebollen {Dutch Doughnuts}
Torta Della Nona
Decorated Swiss Rolls
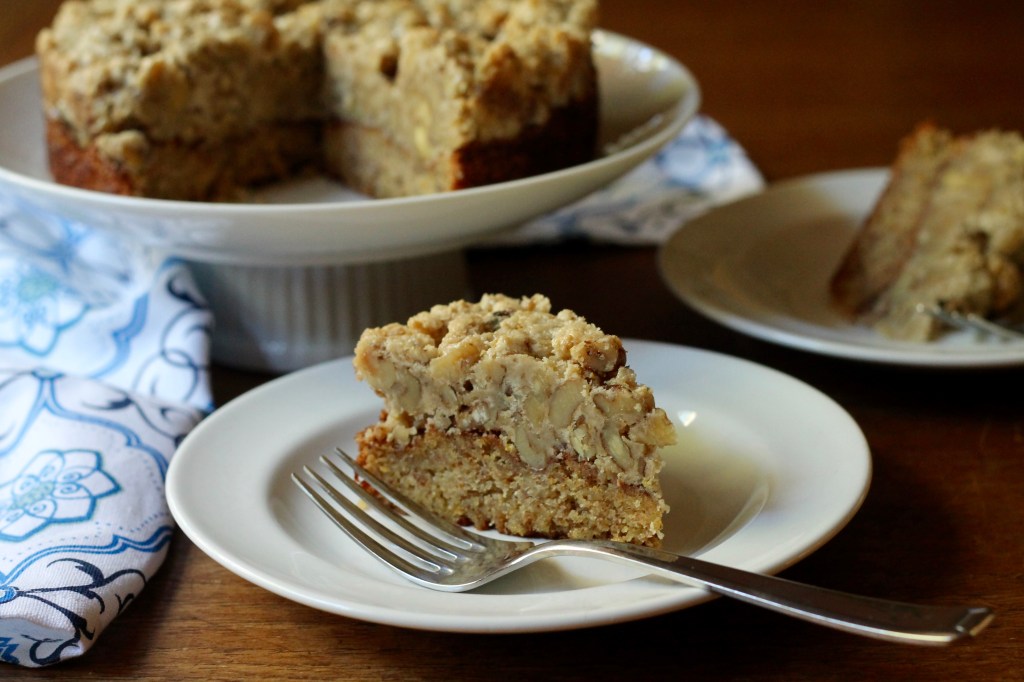
Torta Hrapocusa (Dalmatian Dol Cake)
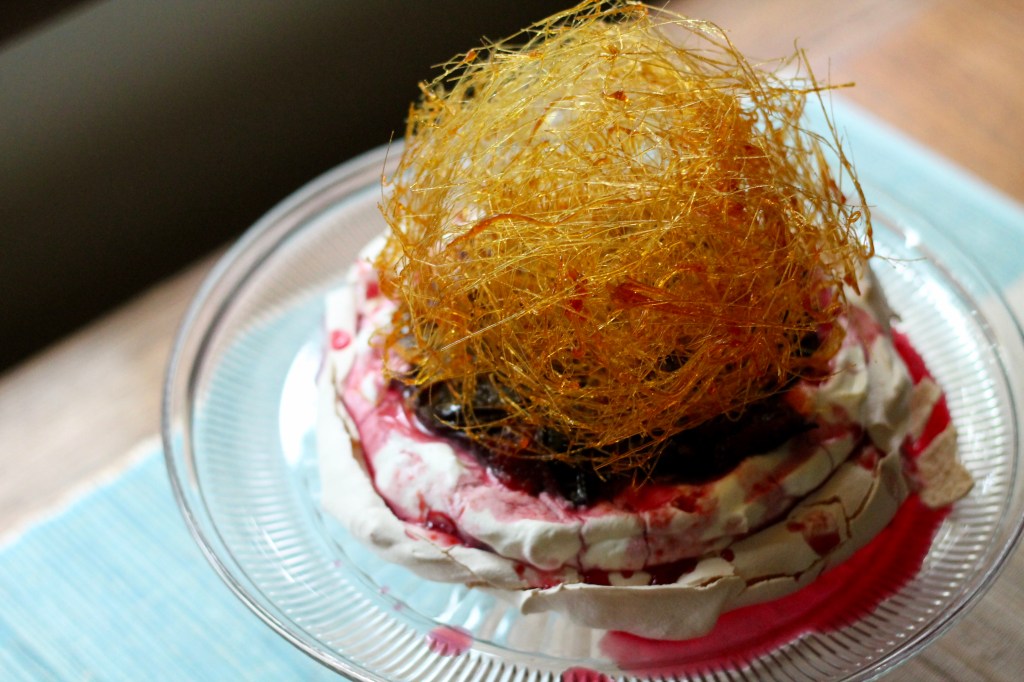
Poached Plum Pavlova with Spun Caramel
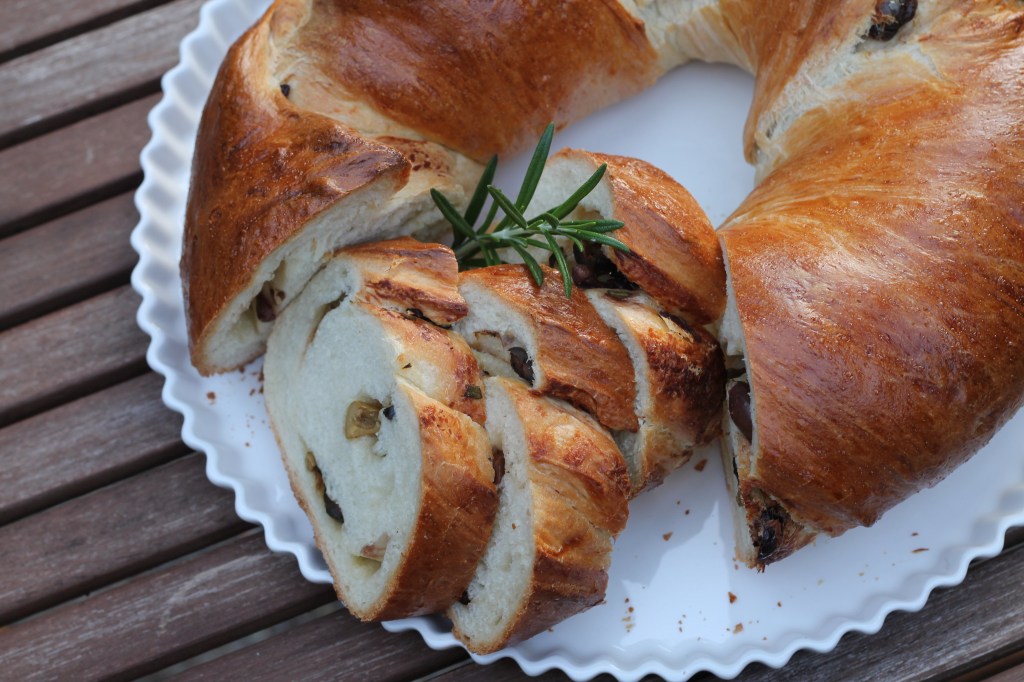
Olive, Rosemary & Parmesan Twist Bread
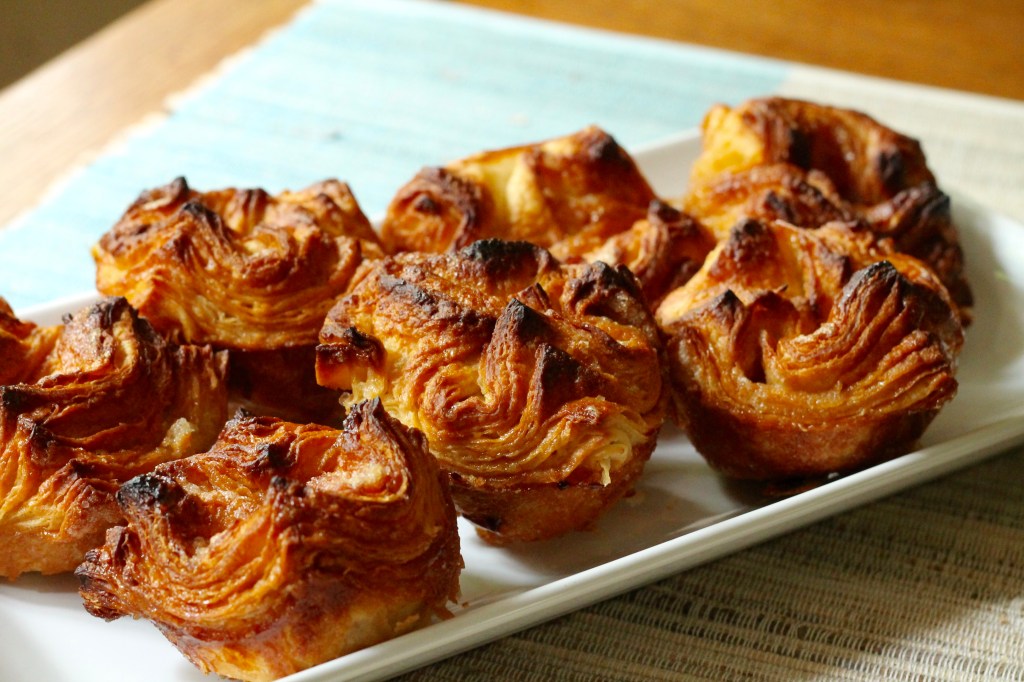
Kouign Amann
Maple Stroopwafels
Serbian Katmer Pie
How to Make a White Chocolate Peony
Next Page
Subscribe
Subscribed
Korena in the Kitchen
Join 390 other subscribers
Sign me up
Already have a WordPress.com account?
Log in now.
Korena in the Kitchen
Subscribe
Subscribed
Sign up
Log in
Report this content
View site in Reader
Manage subscriptions
Collapse this bar