I’ve been feeling a little bereft after the disbanding of the Daring Kitchen last month – those challenges have been a constant in my life and on this blog for the past six (!!) years, and they always provided me with that nudge to get in the kitchen, make something, and post about it, no matter how busy or unmotivated I might otherwise be. So, I’m pleased to have found a new monthly challenge to take part in, hosted by Gabby, aka The Food Girl in Town. Myself and eight other bloggers will be cooking, baking, and eating our way “Around the World in 12 Plates” (or ATW12P), expanding our horizons and learning about other cultures through my favourite medium: food! Each month will feature the cuisine of a different country and our task is to do some research, choose a recipe (or several), and make something we haven’t made before. I am all about baking, so that’s how I’ll (most likely) be participating.
With Chinese New Year beginning on January 28, we fittingly begin our journey around the world this month in China. Chinese baking isn’t something I’m super familiar with beyond the delicious honey buns and barbequed pork-stuffed buns available in Chinatown, so I first did a Google search to figure out 1) what is out there, and 2) what is authentically Chinese. I discovered that Chinese baking favours buns of all kinds – steamed or baked, plain or stuffed with sweet or savoury fillings or wrapped around hotdogs, topped with crunchy sweetness or even rolled in pork jerky fluff. I’ve made a few Asian-style buns in the past – steamed and filled with barbequed pork, and baked and filled with coconut custard – but they were both pretty loose interpretations of anything authentic. So, after reading several delicious-sounding descriptions and finding out that it is #440 on the list of Hong Kong’s 480 living heritage items and therefore reliably authentic, I settled on the pineapple bun (you can read an interesting history of the bun in Hong Kong here).
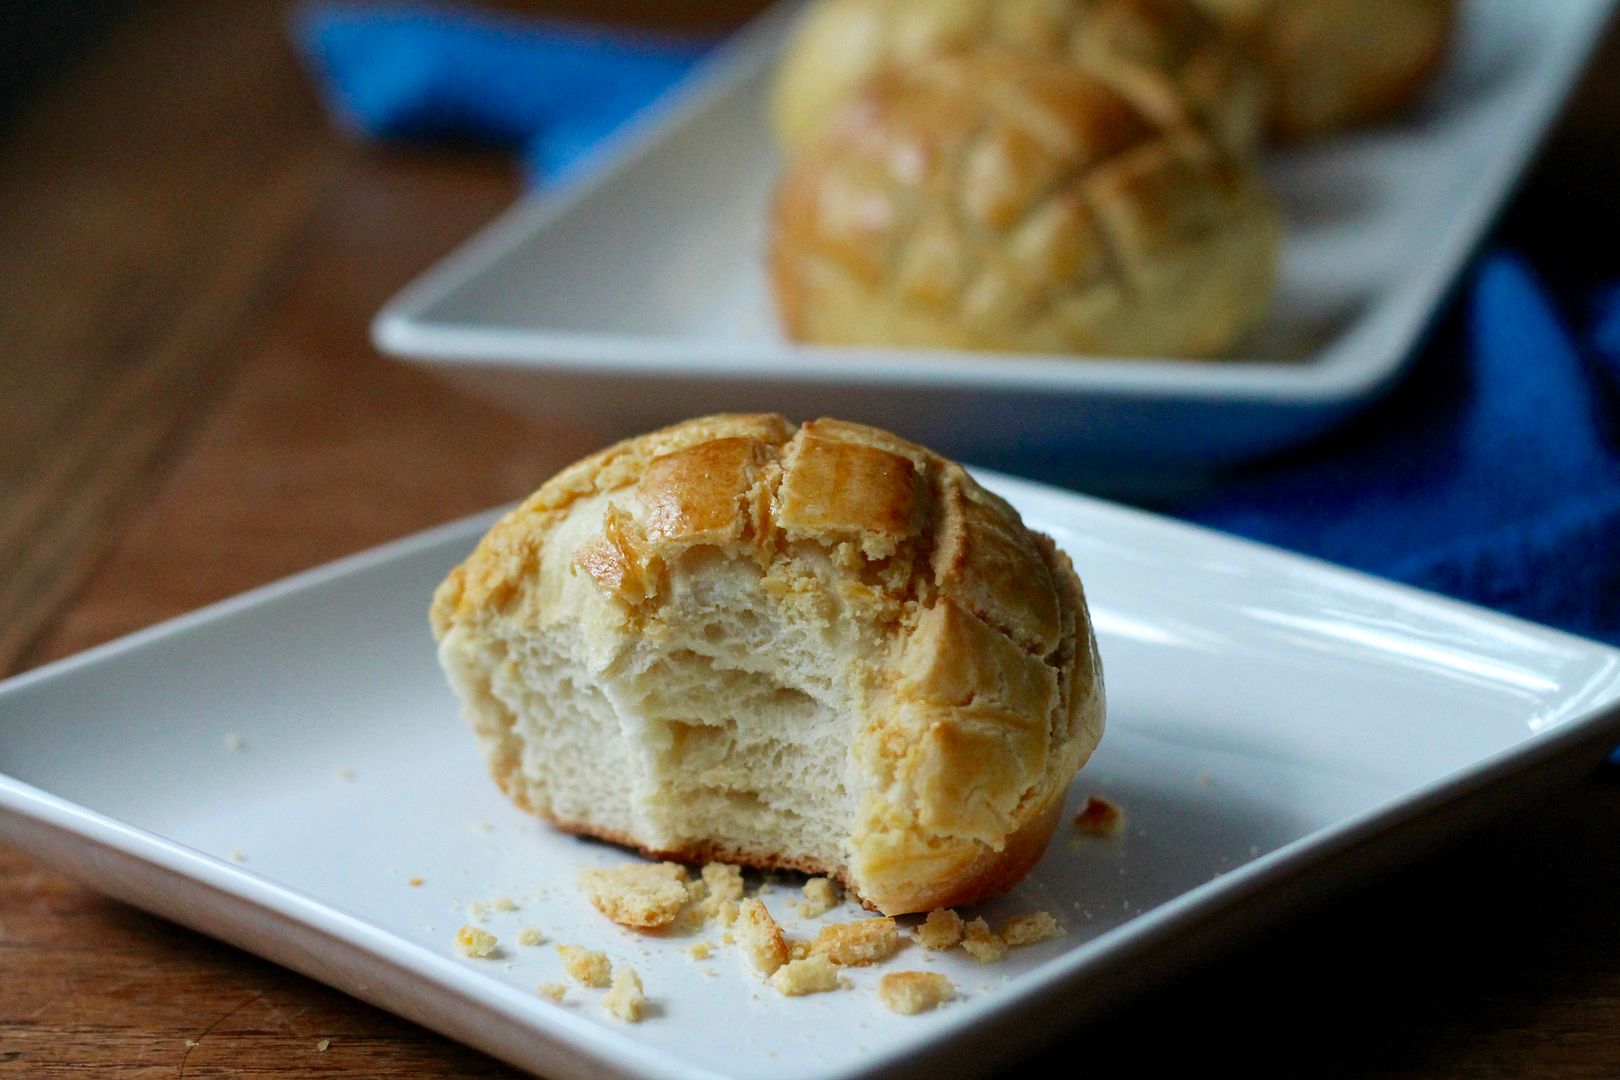
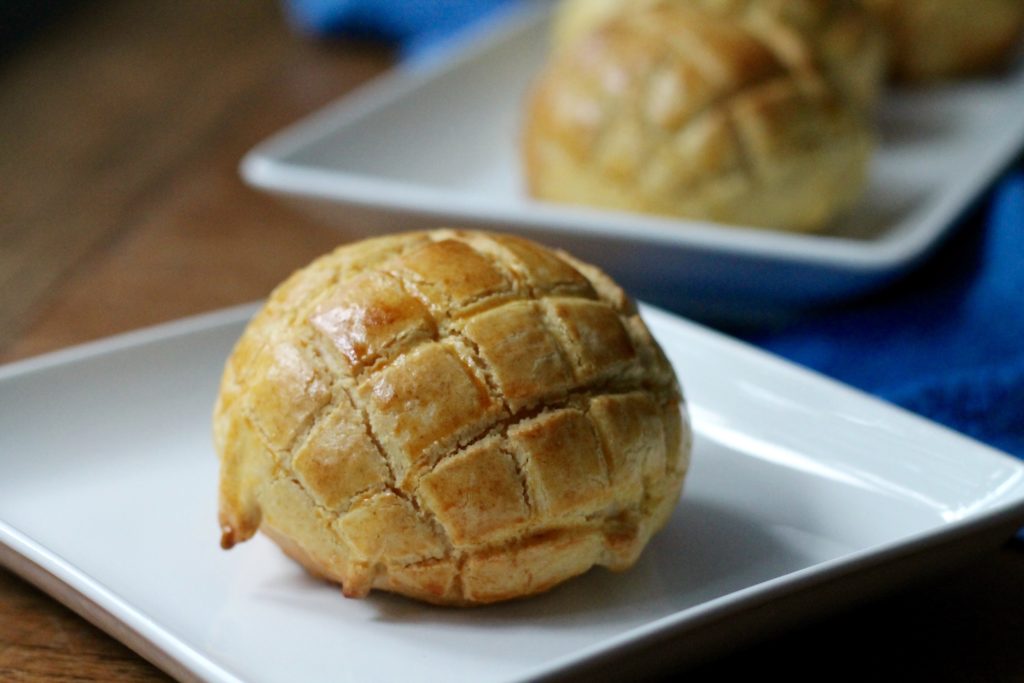
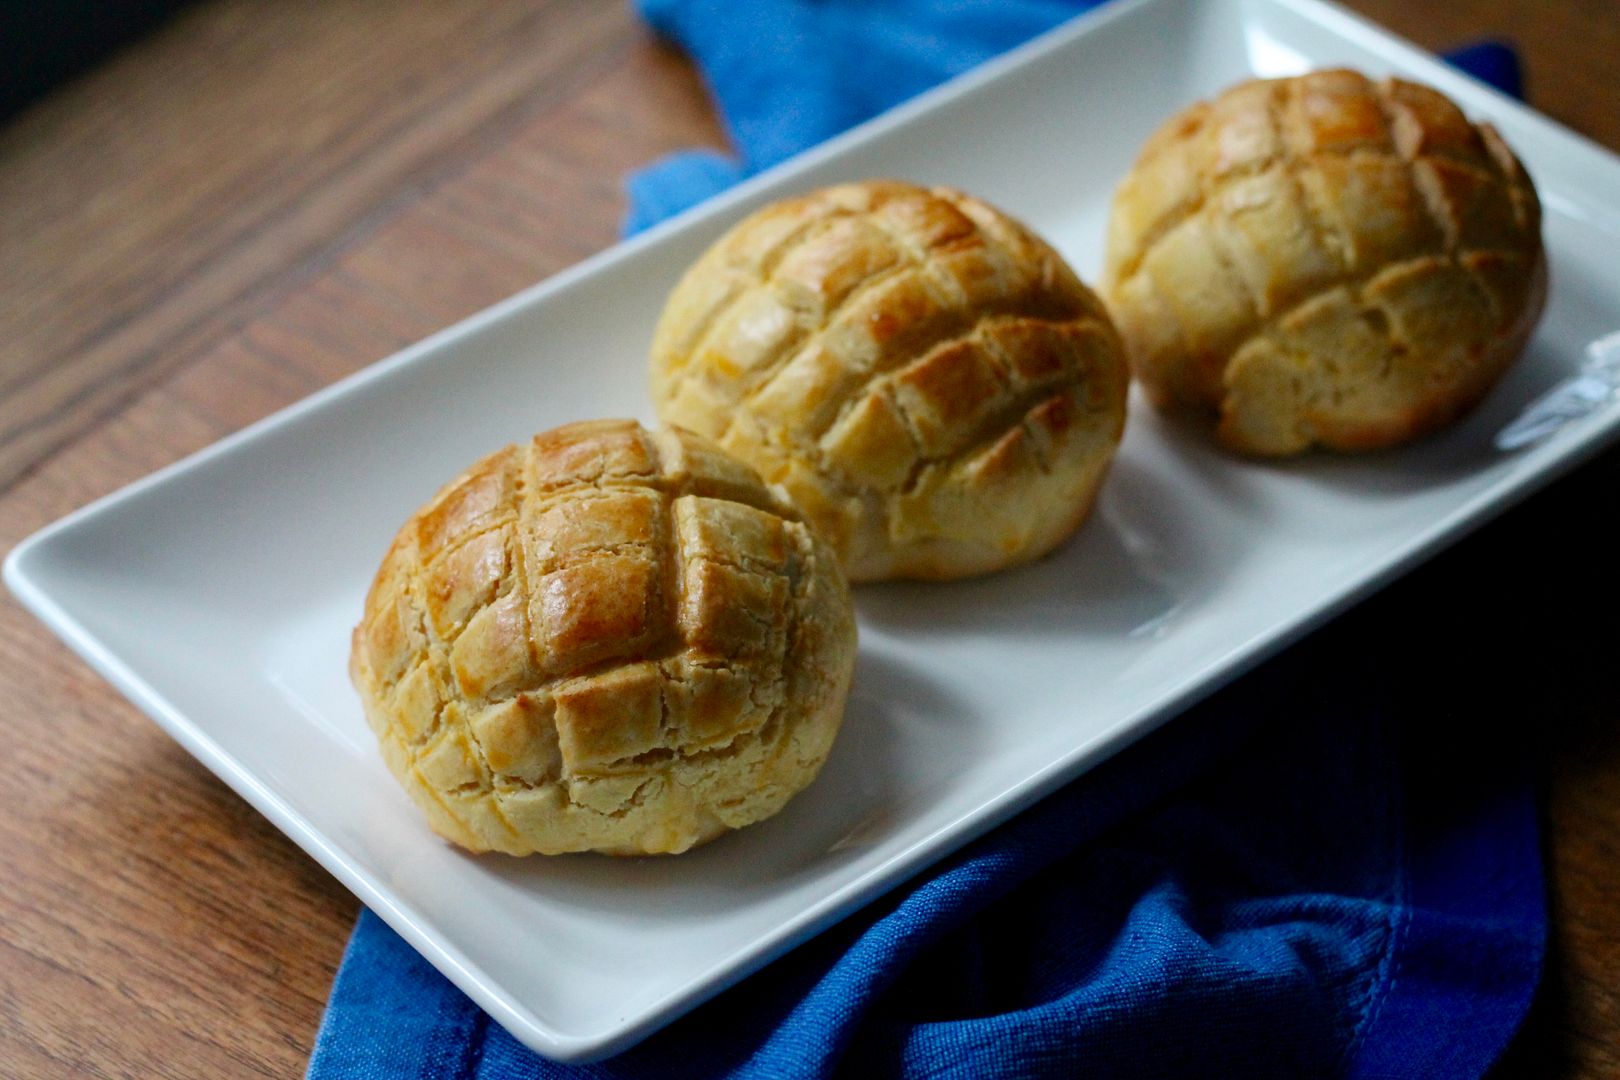
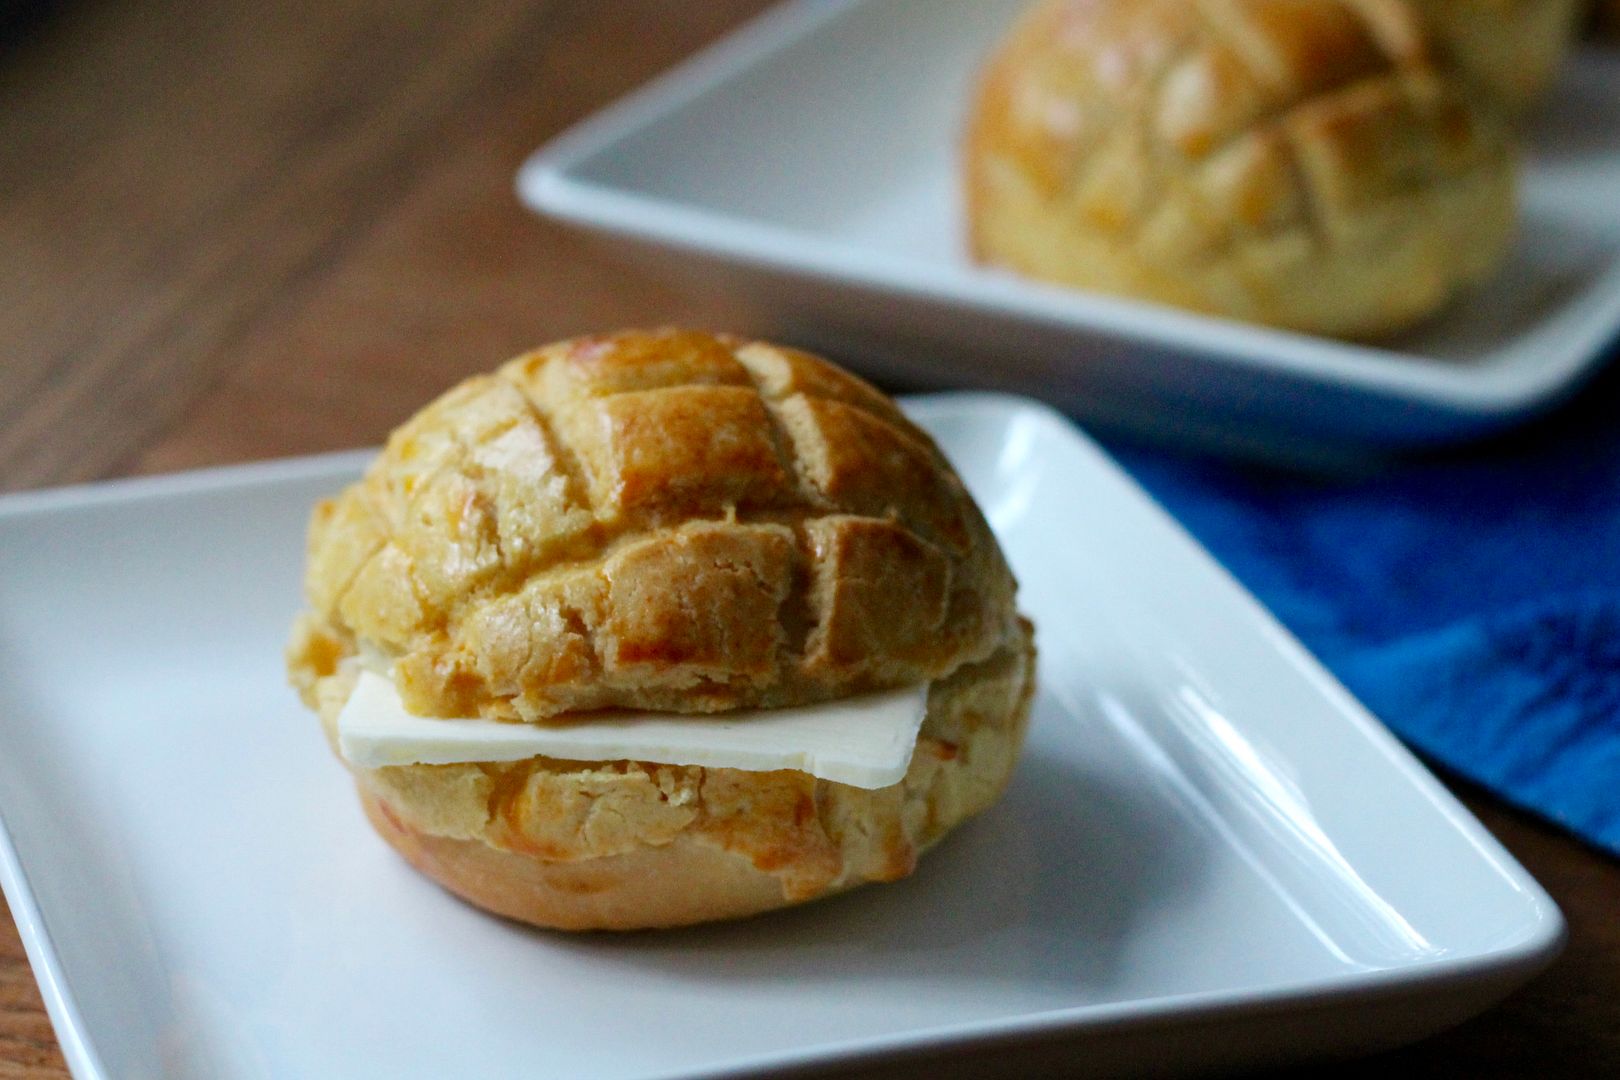
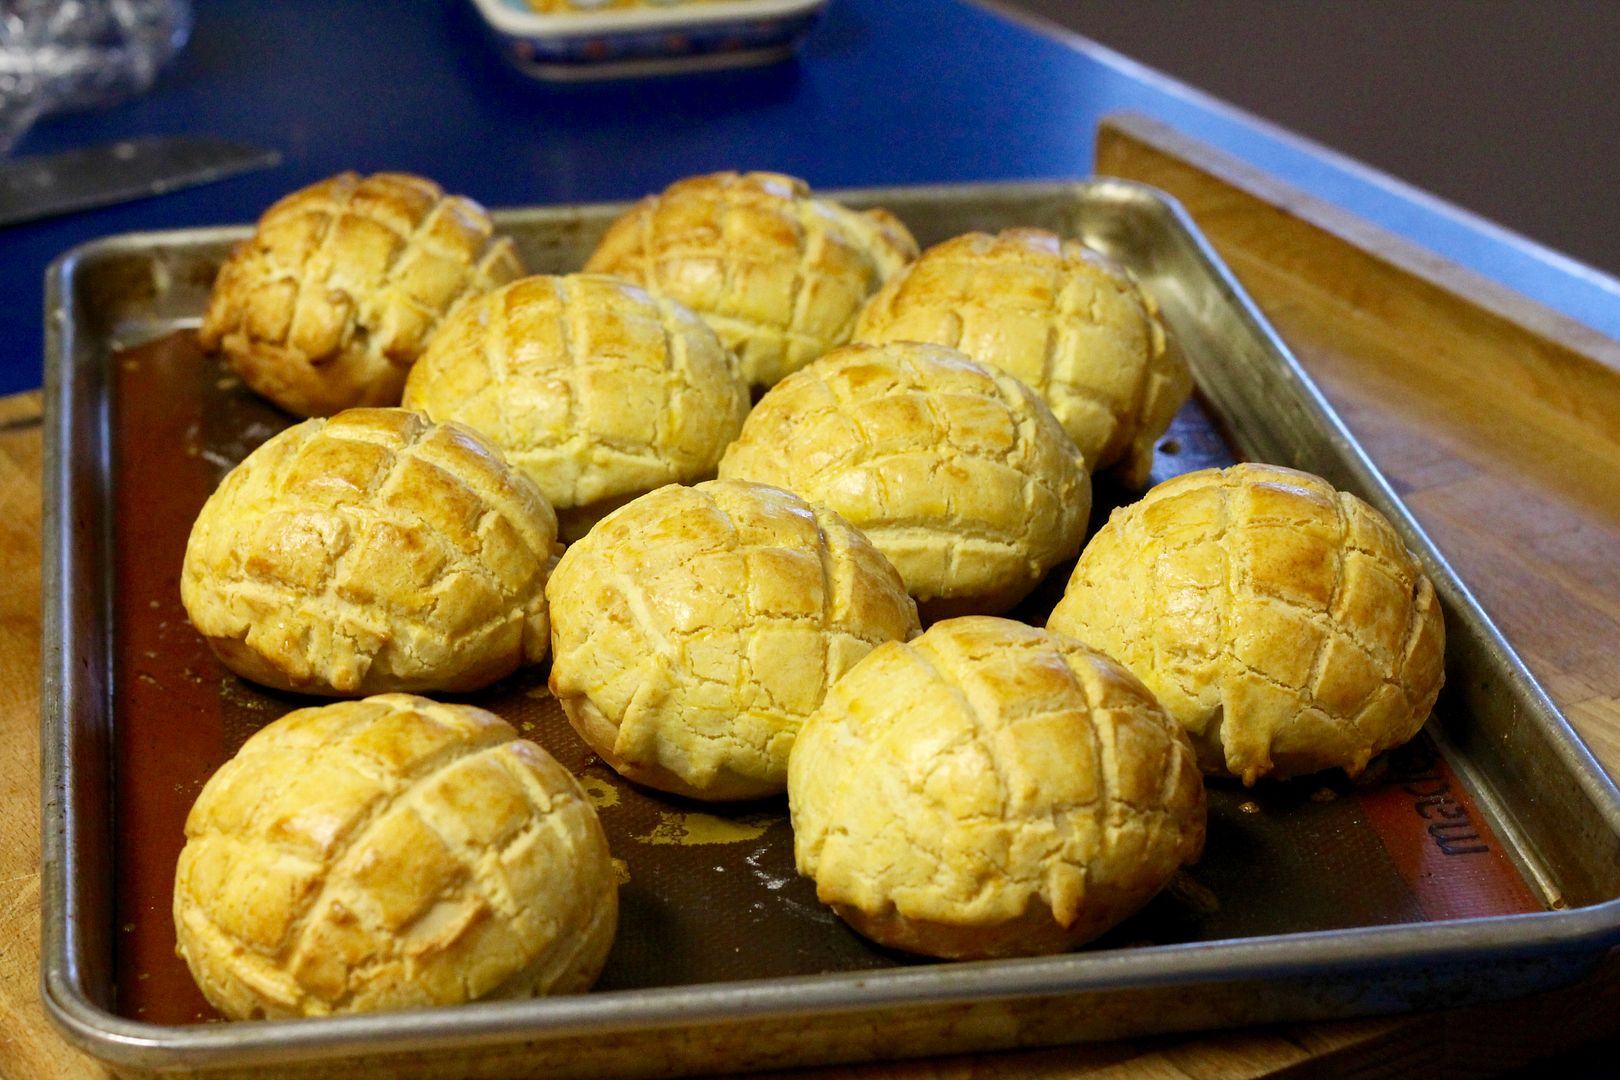
Despite its name, the pineapple bun contains no actual pineapple: instead, it is a soft, sweet bun covered in a crunchy, cookie-like topping that bakes up golden brown and textured and is supposed to resemble the rind of a pineapple. And though it is pineapple-less, it is very, very good. Traditionally eaten for breakfast or with dim sum, these buns are either served plain or split and sandwiched around a slab of butter. No, not a smear of butter – a slab! I can attest that it is delicious (but really, how could it not be?!). Most Chinese buns and baked goods are meant to be consumed as soon as possible and preferably warm out of the oven, as they tend to lose their freshness quickly, however this recipe adds tang zhong, or water roux, to the traditional milk dough, giving it an improved shelf life as well as a light, fluffy texture. You can store any leftover buns on an airtight container, where the crunchy topping softens a little and becomes almost cakey and crumbly. Mmmmm.
Want to see more Chinese cuisine? Check out the other ATW12P blog posts:
- Dish ‘n’ the Kitchen
- The Tasty Gardener
- My Organic Diary
- All Things Nice!
- SugarLovesSpice
- The Food Girl in Town
And if you want to follow along on social media, check us out #ATW12P 🙂
Hong Kong Style Pineapple Buns
Adapted from Yi Reservation. Makes 10 buns.
Bun Dough
First, make the tang zhong (water roux). In a small saucepan, whisk together:
80 ml milk
20 g all purpose flour
Place the saucepan over medium heat and whisk the mixture as it heats up and starts to thicken. As it reaches a boil, it will turn into a thick paste. Cook for a minute or two until it is thick enough to form “soft peaks”.
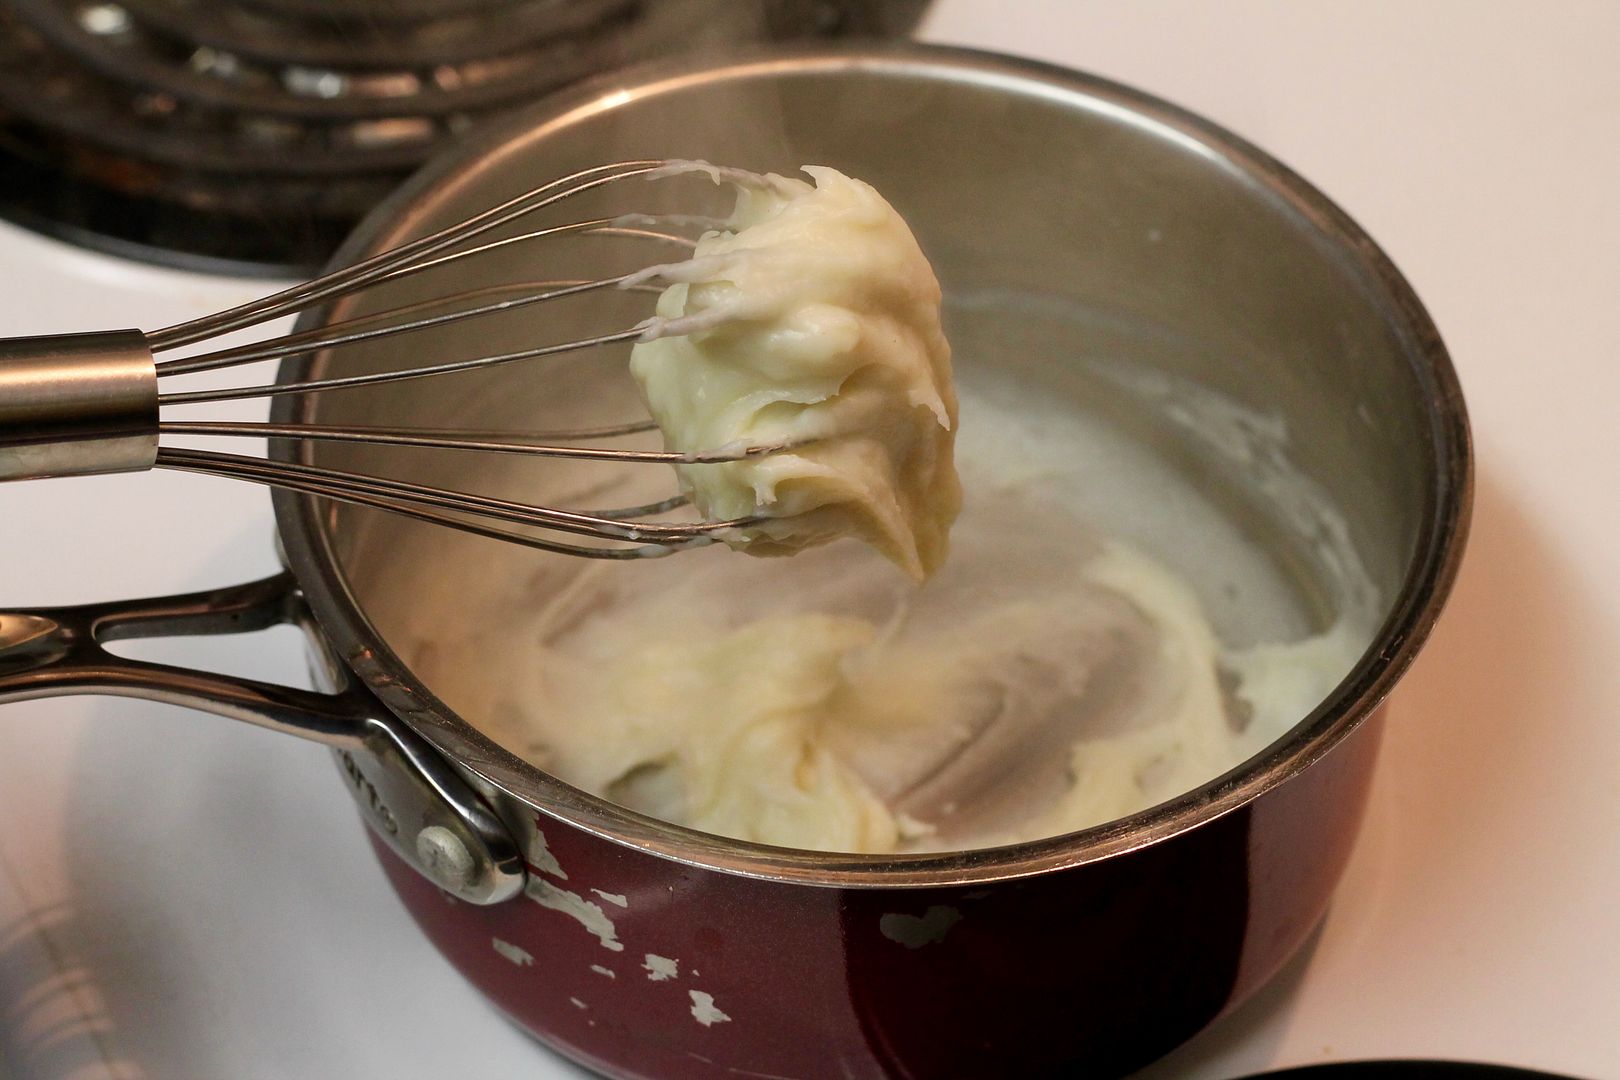
Scrape the tang zhong into a bowl, press a piece of plastic to the surface (this prevents a skin from forming), and chill in the fridge until cool. This can be done the day before if you prefer.
When the tang zhong is cool, continue with the rest of the dough recipe. In the bowl of an electric mixer, stir together:
310 g bread flour
50 g granulated white sugar
5 g instant yeast
3 g fine sea salt
Make a well in the center of the flour and add:
the cooled tang zhong
100 ml warm milk
1 large egg, lightly beaten
1 tsp vanilla extract
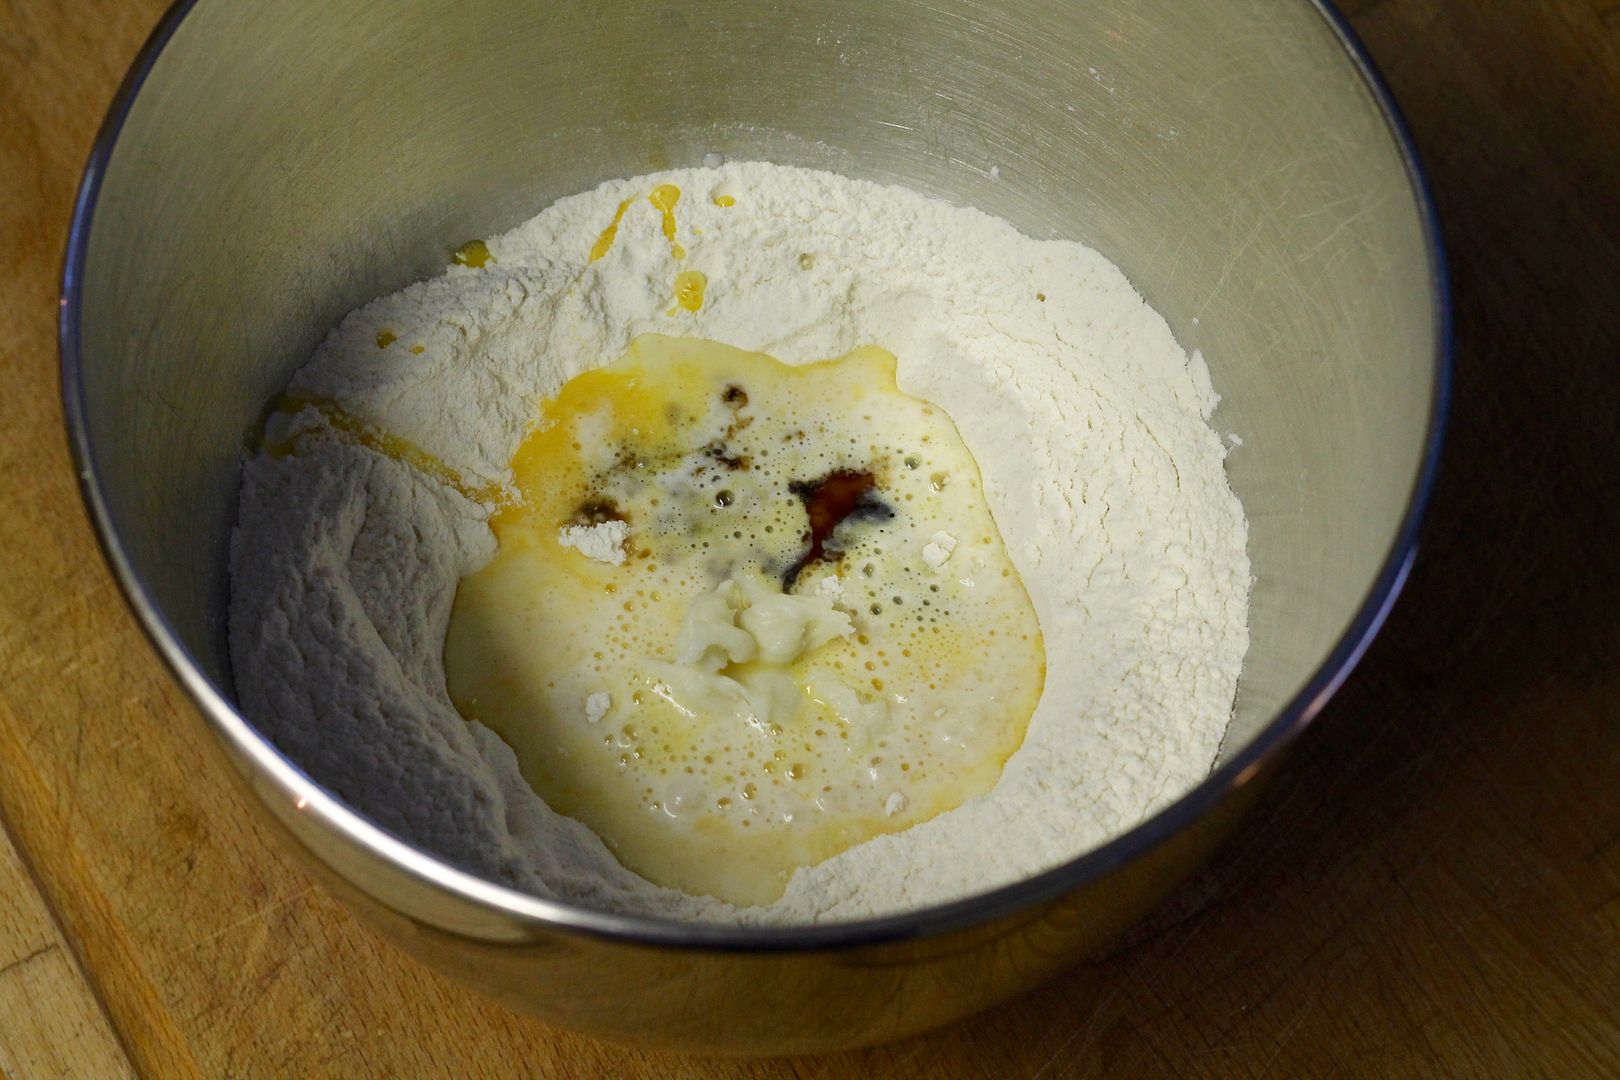
Mix with the dough hook on medium speed to bring the dough together – it may seem crumbly at first but should come together in a soft, slightly sticky dough that cleans the sides of the bowl. I added about 2 tsp water to achieve this. Continue to knead for about 10 minutes, until the dough is smooth and elastic.
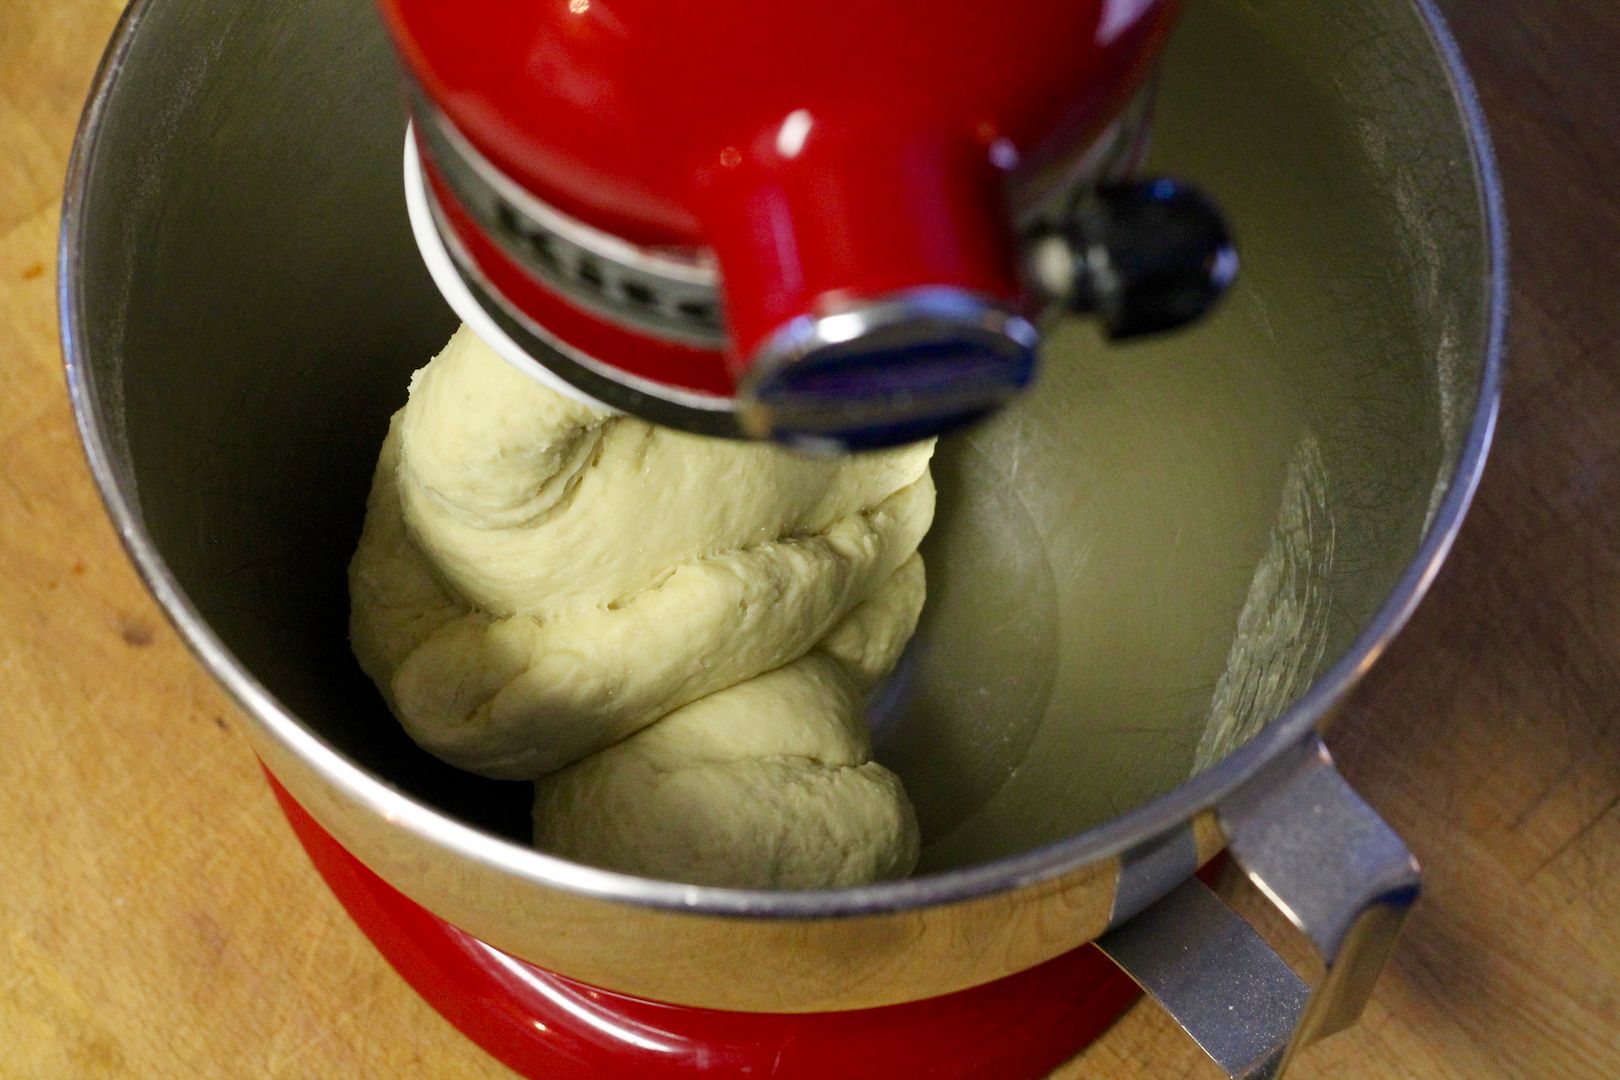
Add 50 g soft unsalted butter. The dough will get really messy so scrape down the sides of the bowl and pull the dough off the dough hook several times during kneading to make sure it is mixed evenly.
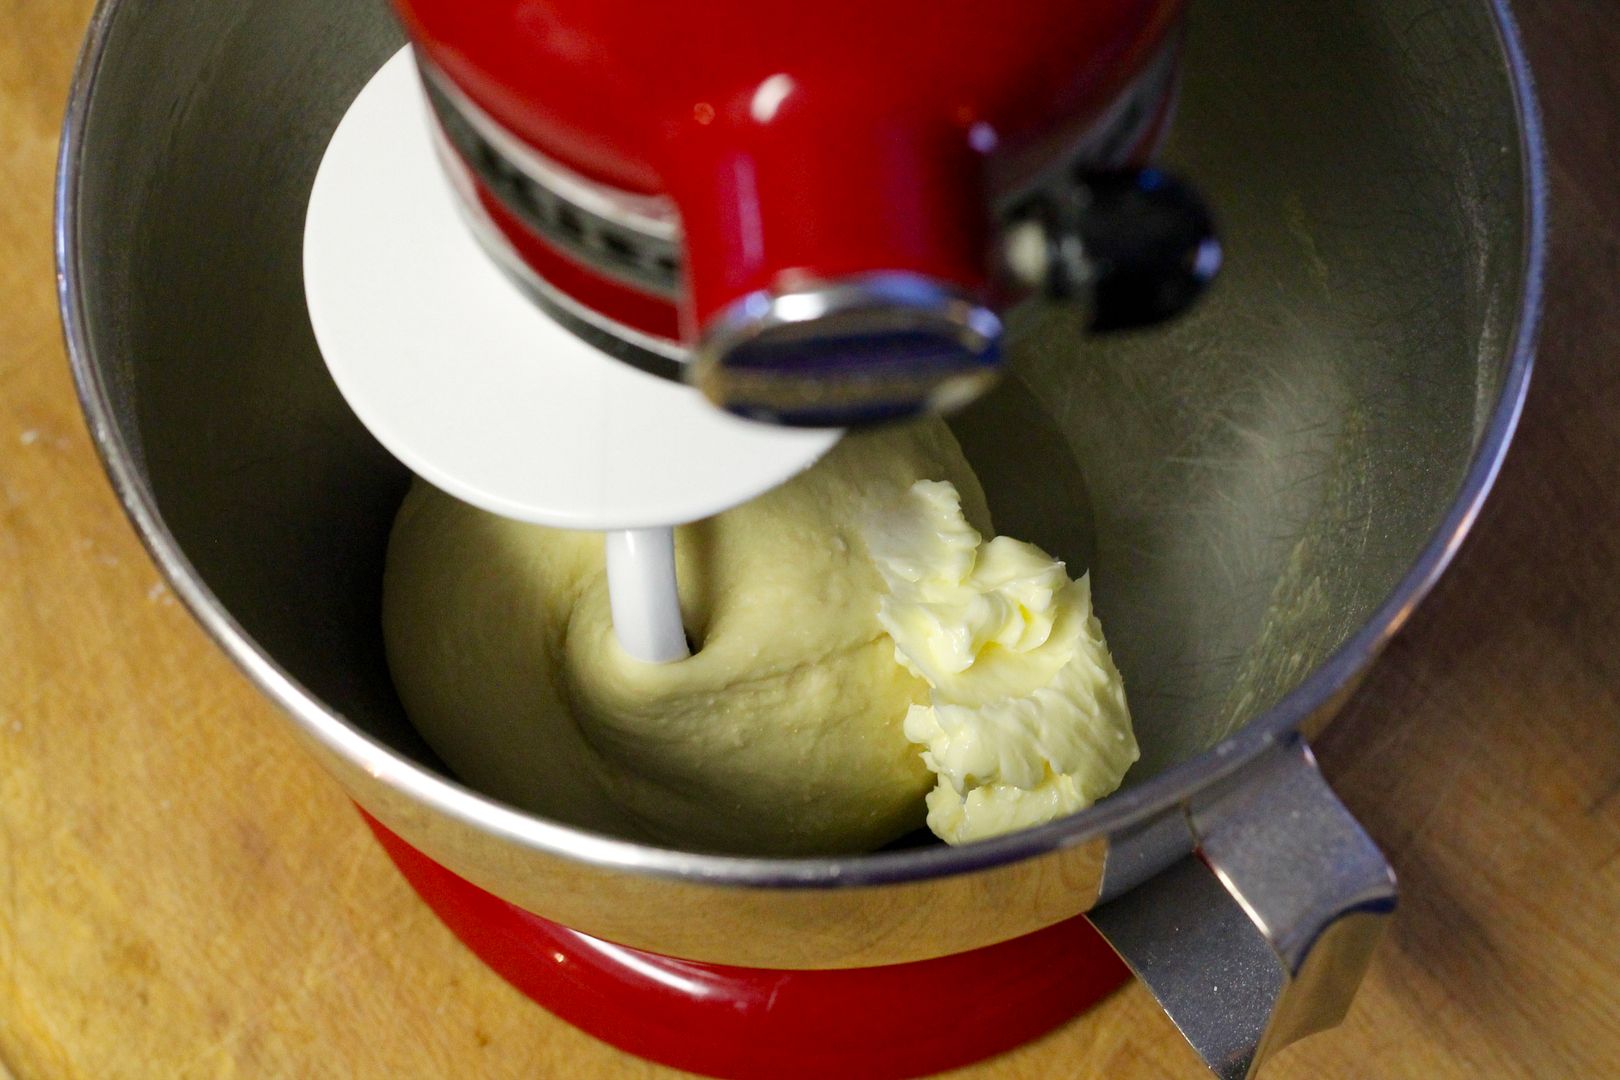
Knead until the dough is again smooth and cohesive.
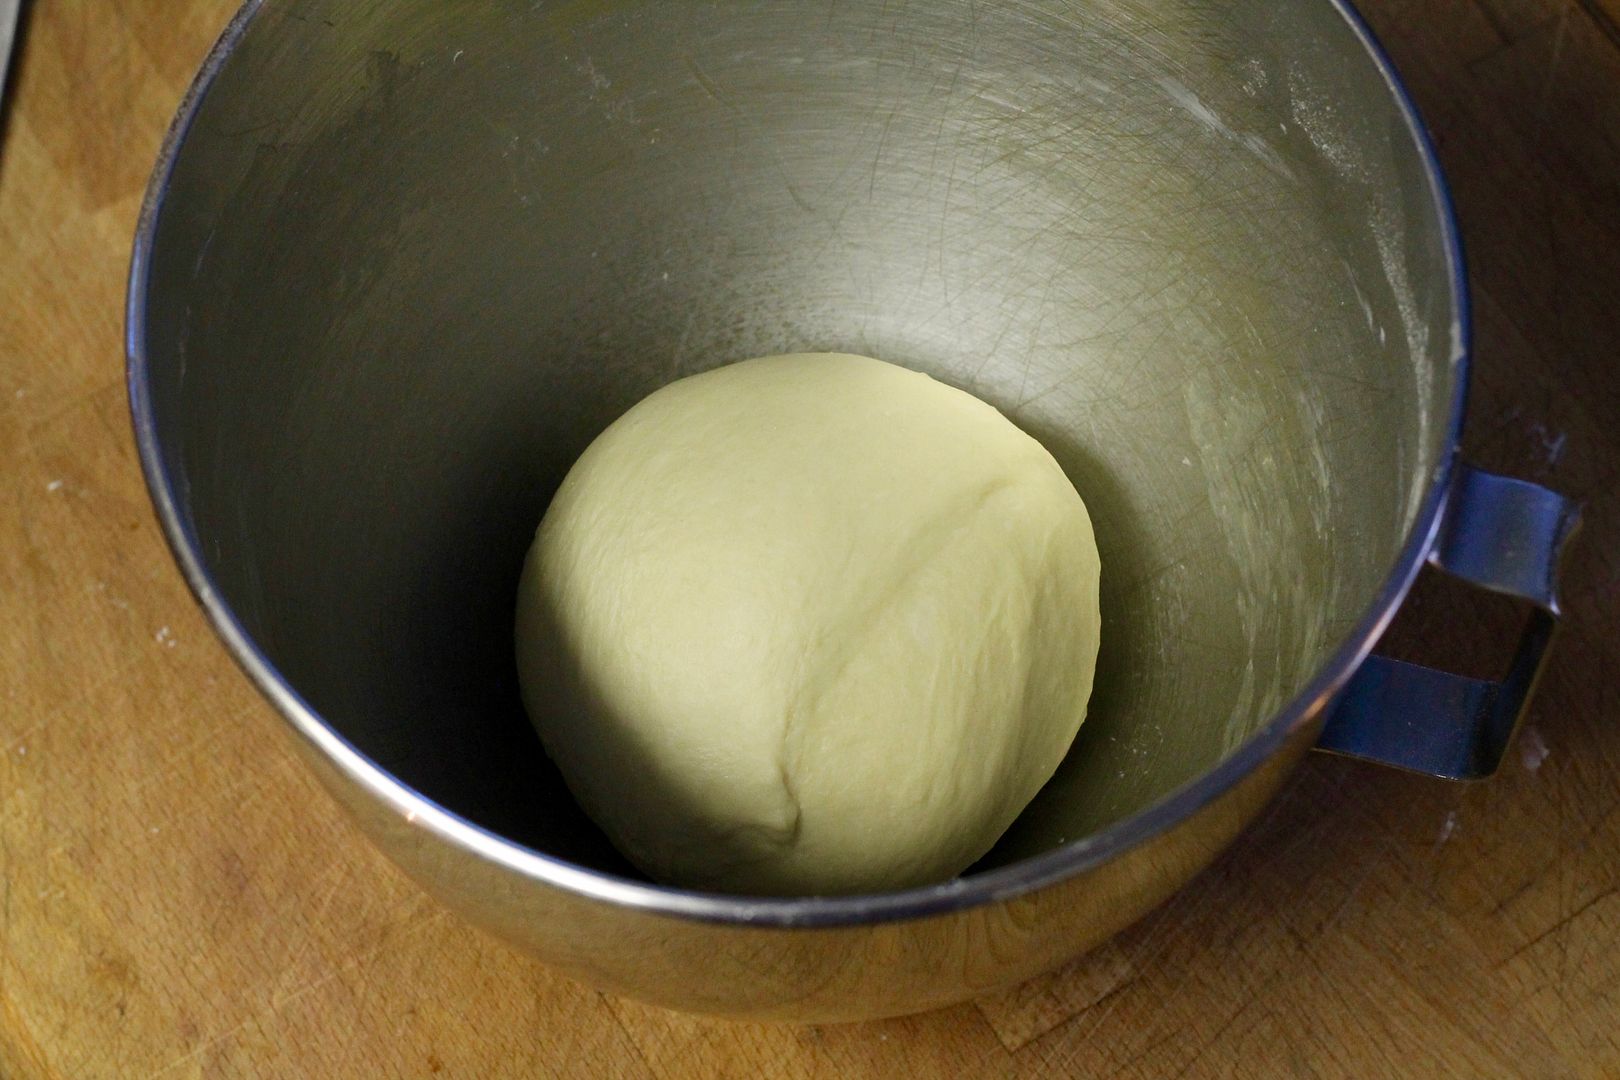
Cover the bowl with plastic wrap and let the dough rise in a warm place until doubled, about 45 to 90 minutes.
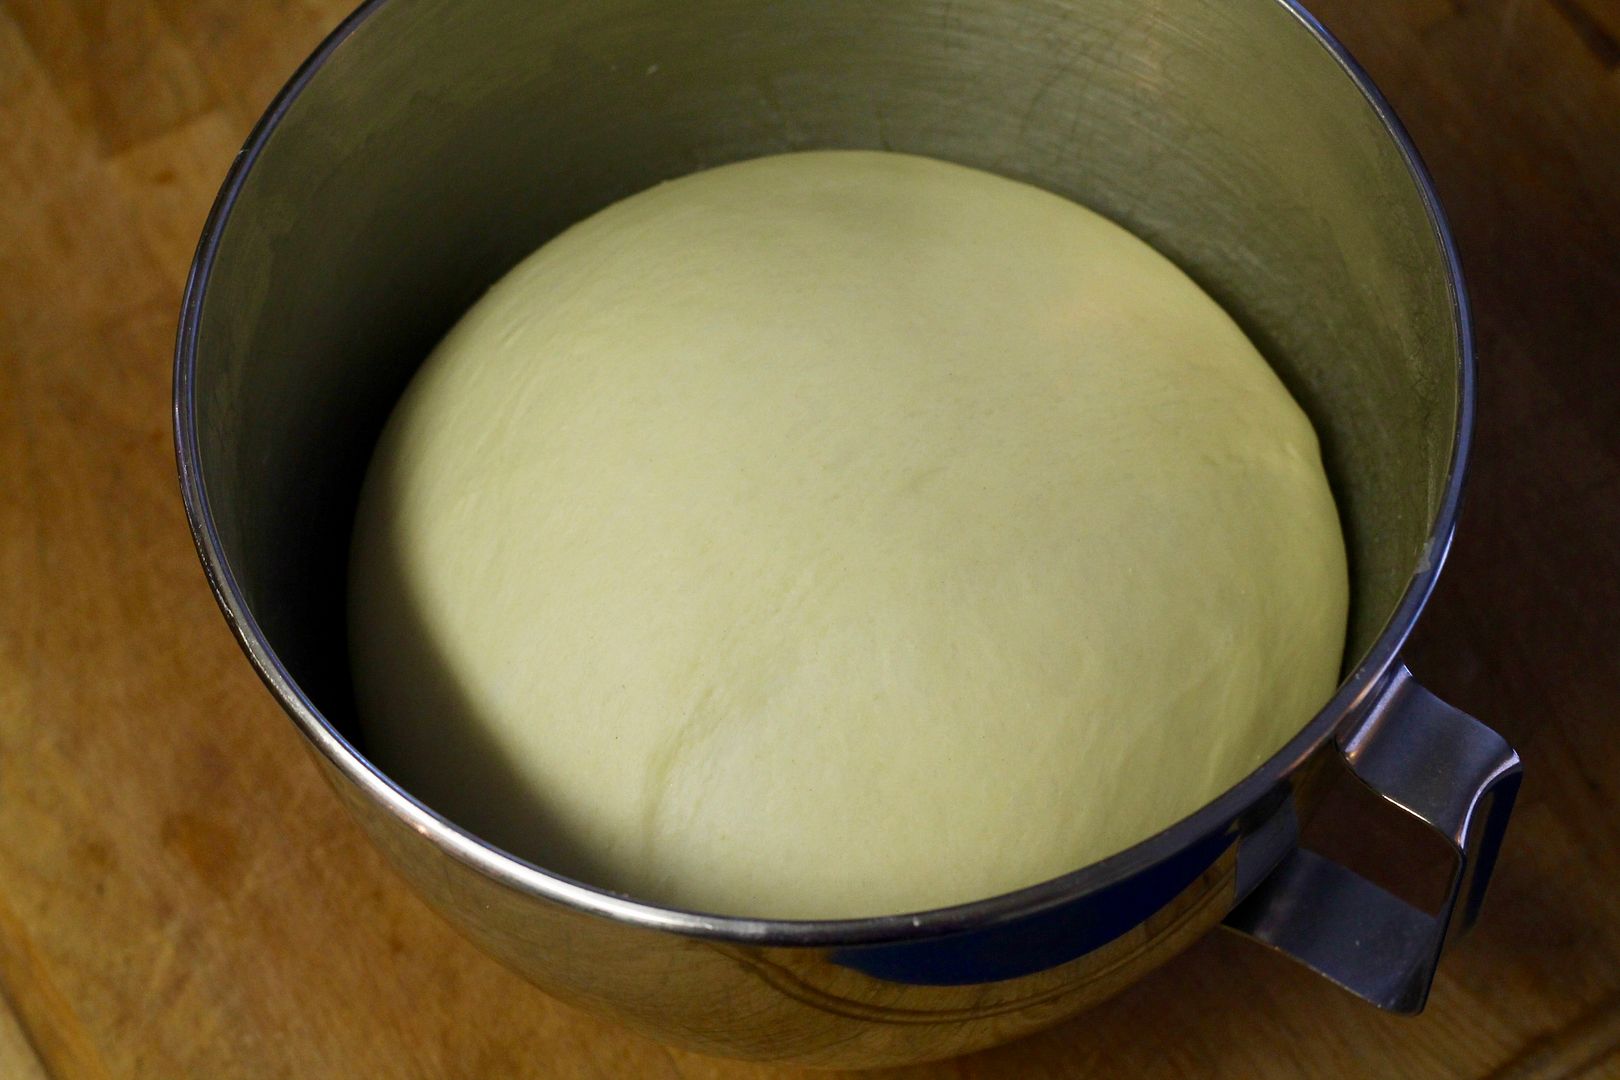
While the dough rises, prepare the pineapple topping.
Pineapple Topping
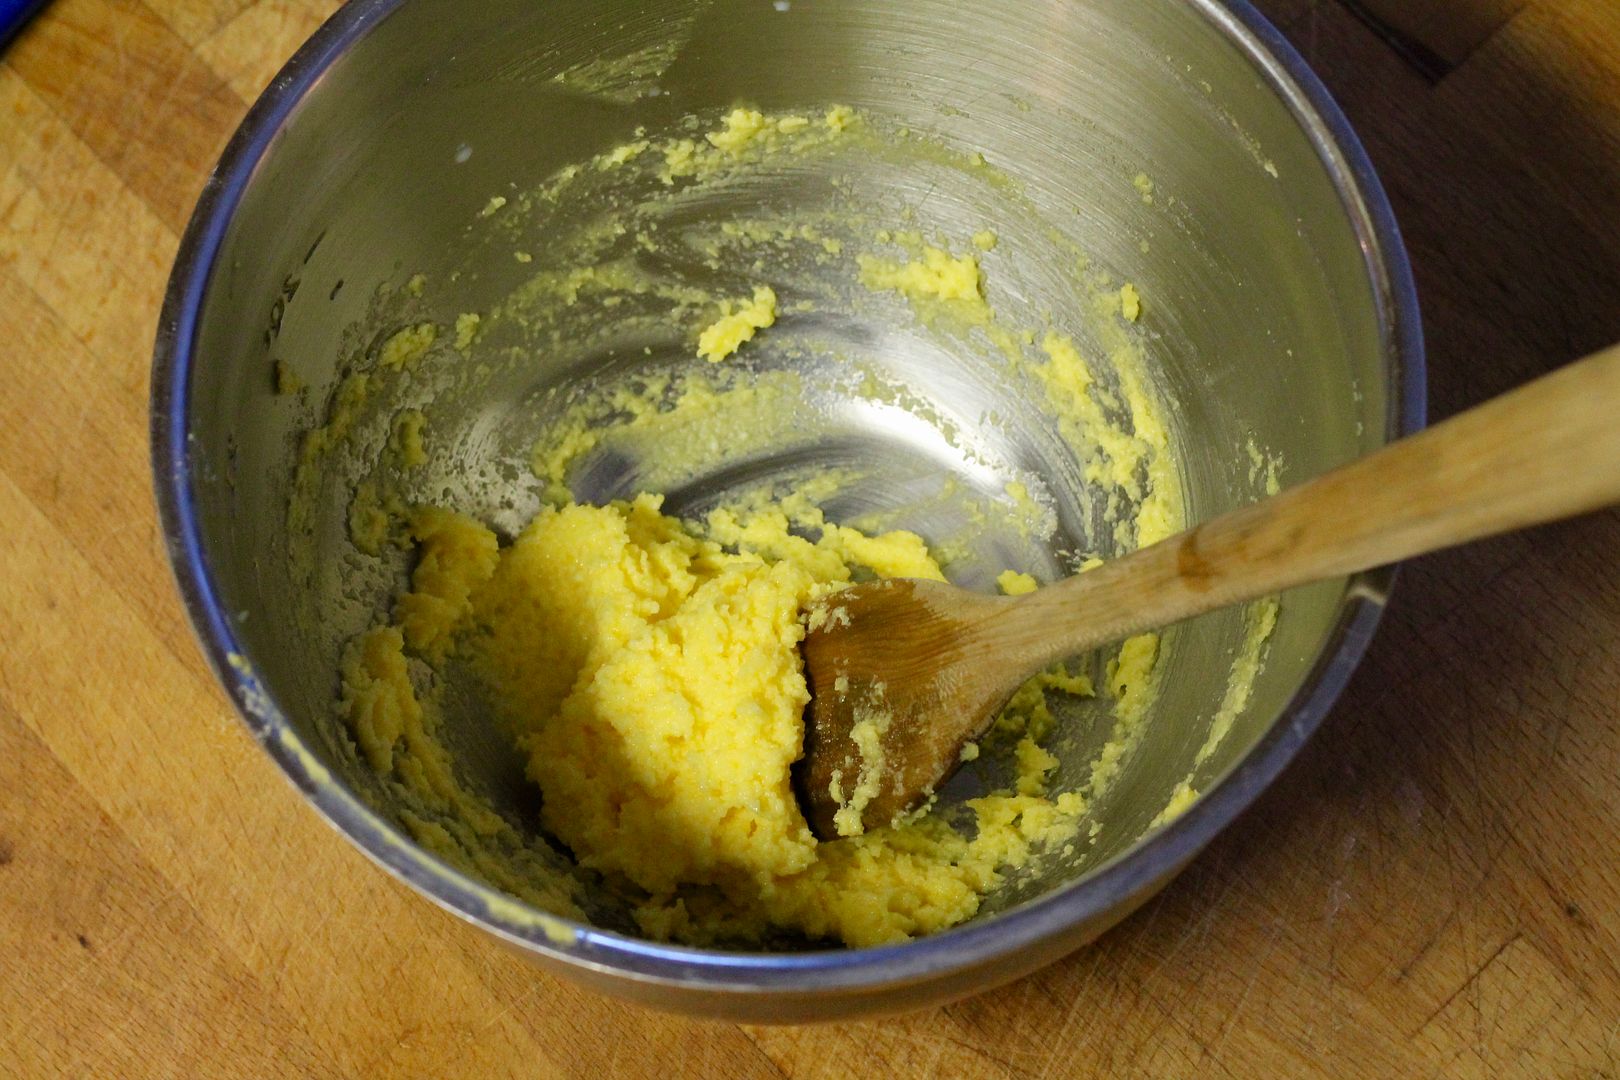
In a medium bowl, cream together until well combined and fluffy:
50 g soft unsalted butter
1 egg yolk
45 g granulated white sugar
Add 2 tsp milk and beat until combined.
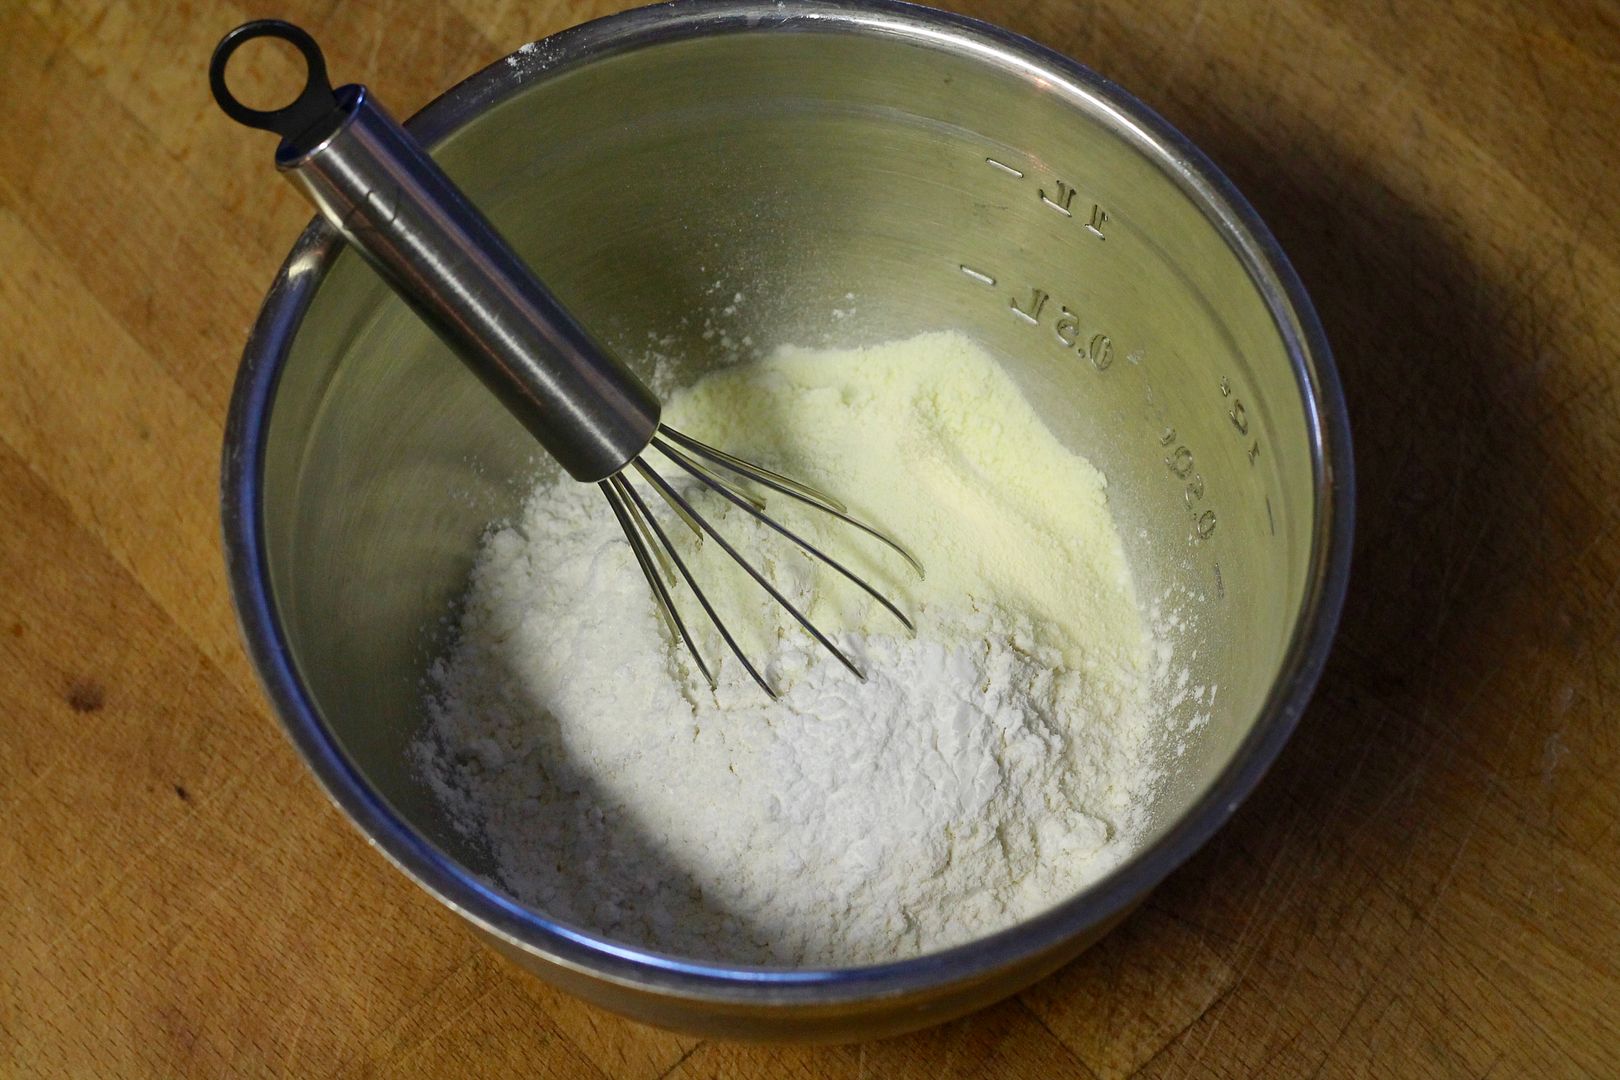
In a bowl, whisk together:
110 g cake flour
10 g powdered milk
2 g salt
slightly heaped 1/2 tsp baking powder
Add the dry ingredients to the cream butter mixture and stir to combine – it should resemble cookie dough. Shape into a disc, wrap in plastic, and chill while the dough rises.
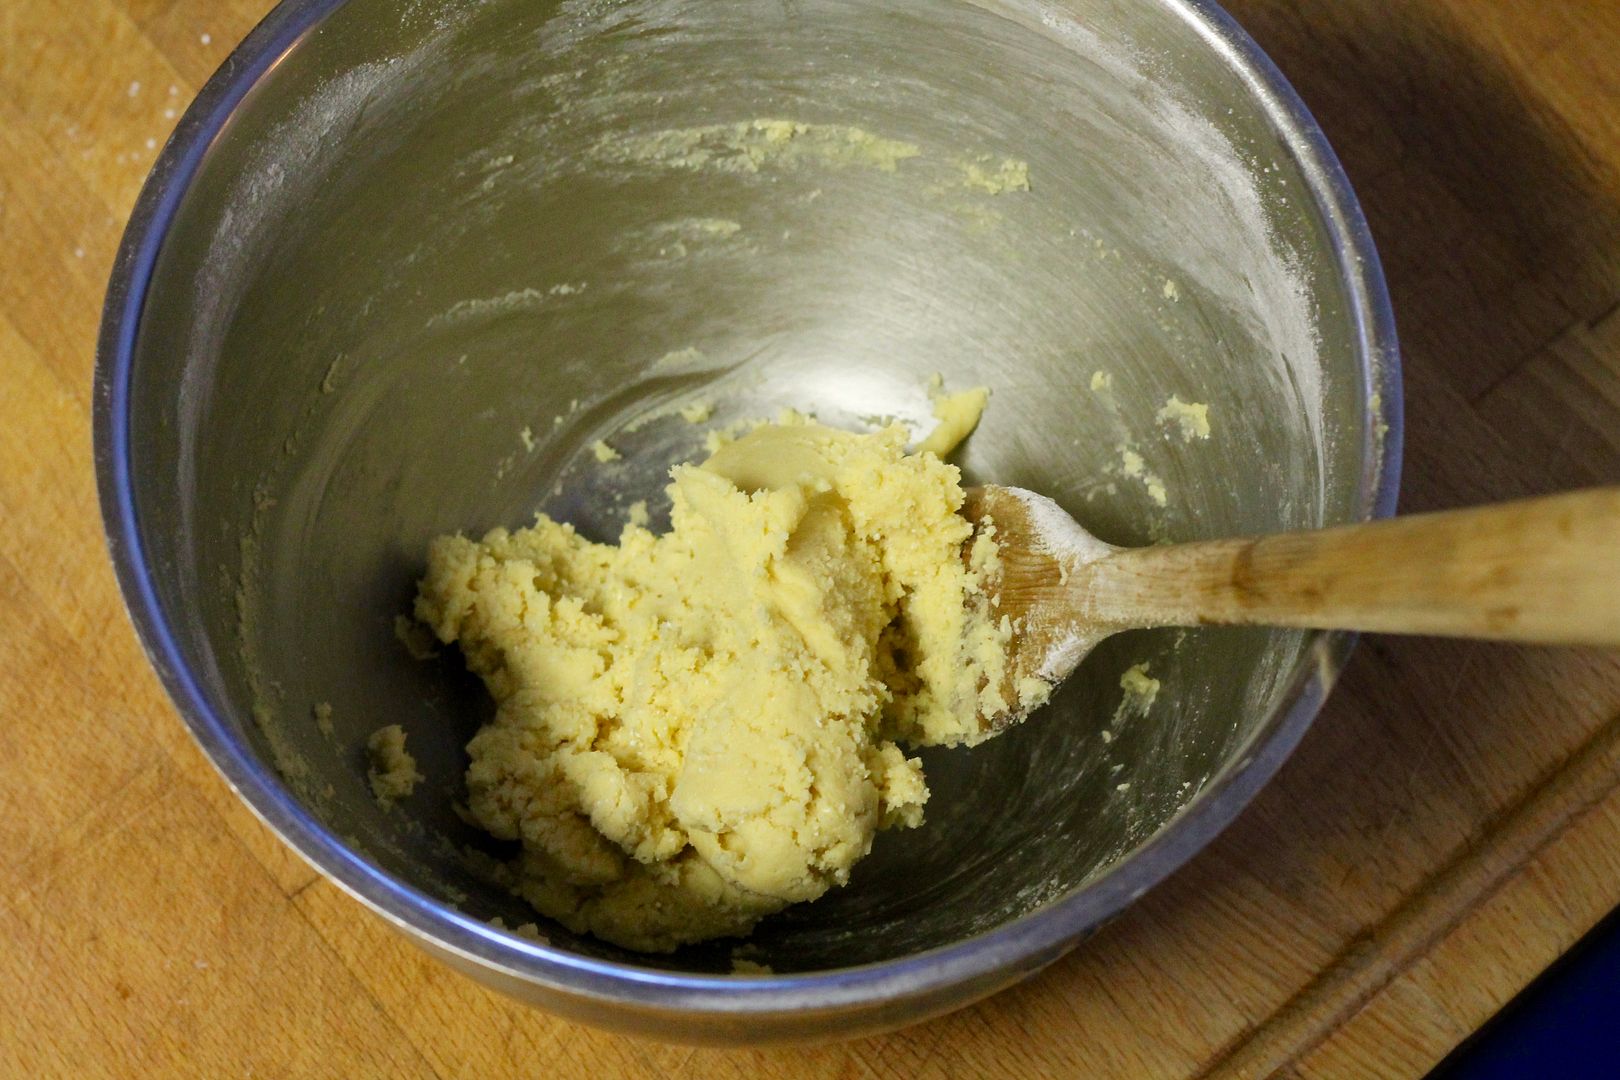
Bun Assembly
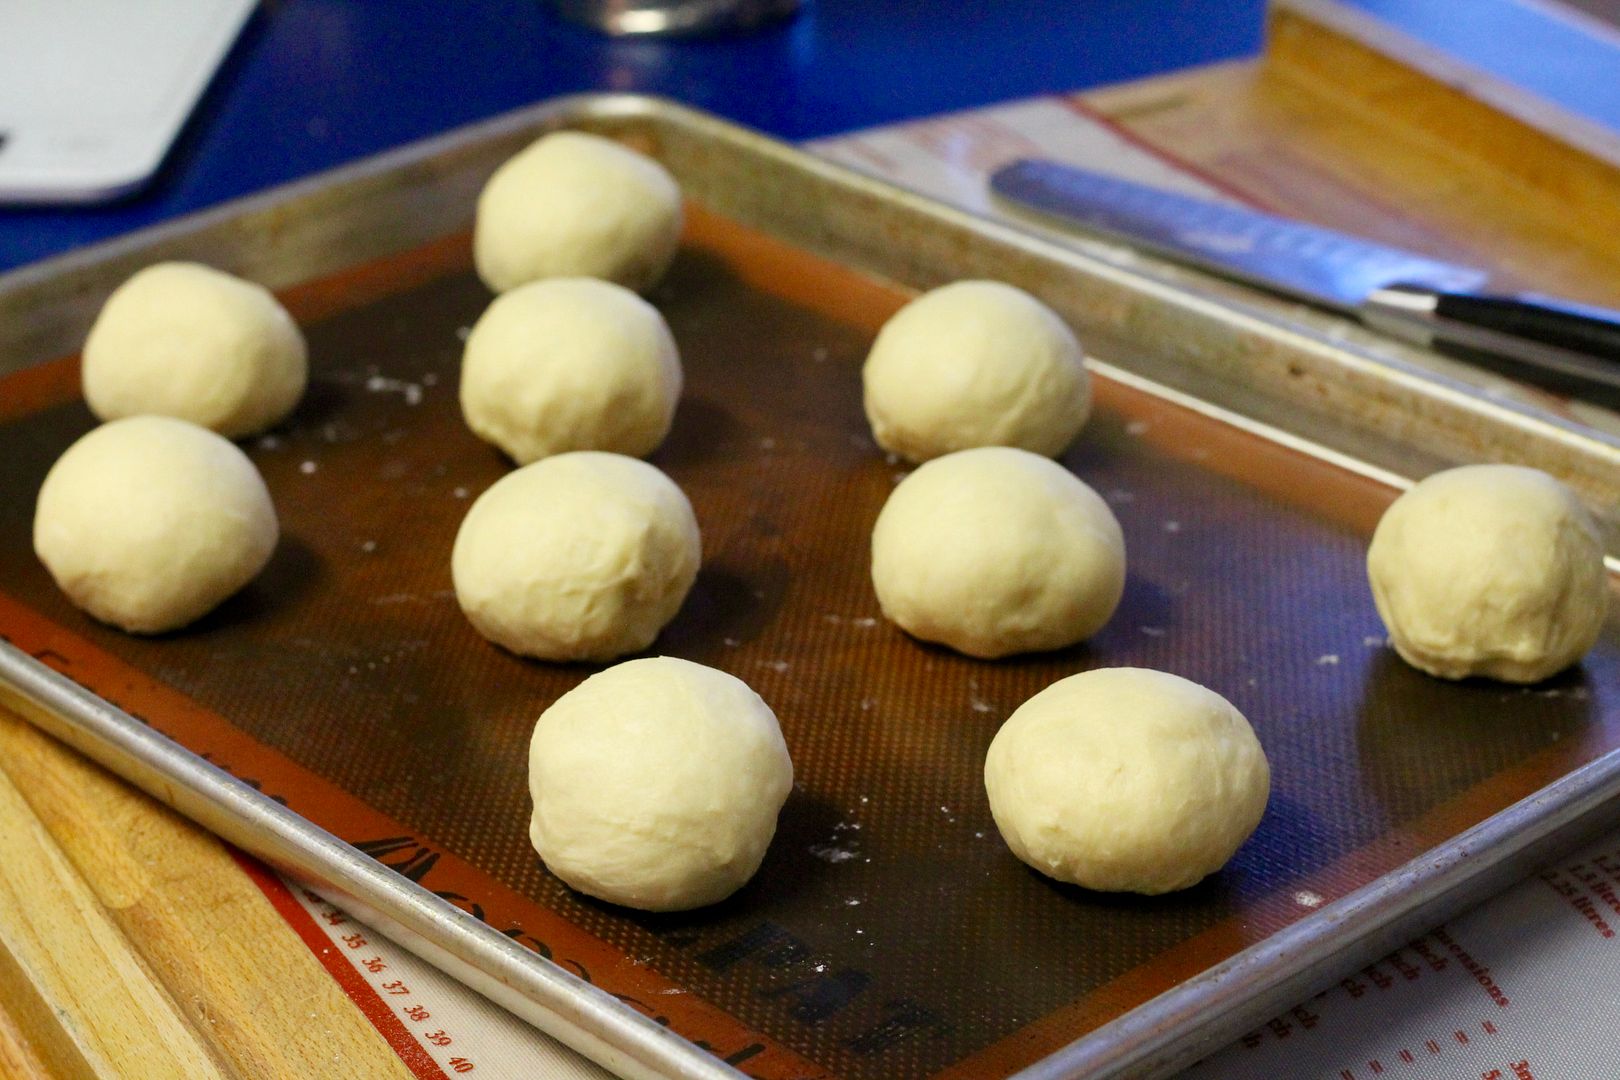
Turn the risen dough out onto a flour surface and knead a few times to deflate. Shape into a ball and cut into 10 equal pieces. Shape each piece into a ball and place on a baking sheet lined with a silicone mat or parchment paper. Let rest for about 15 minutes.
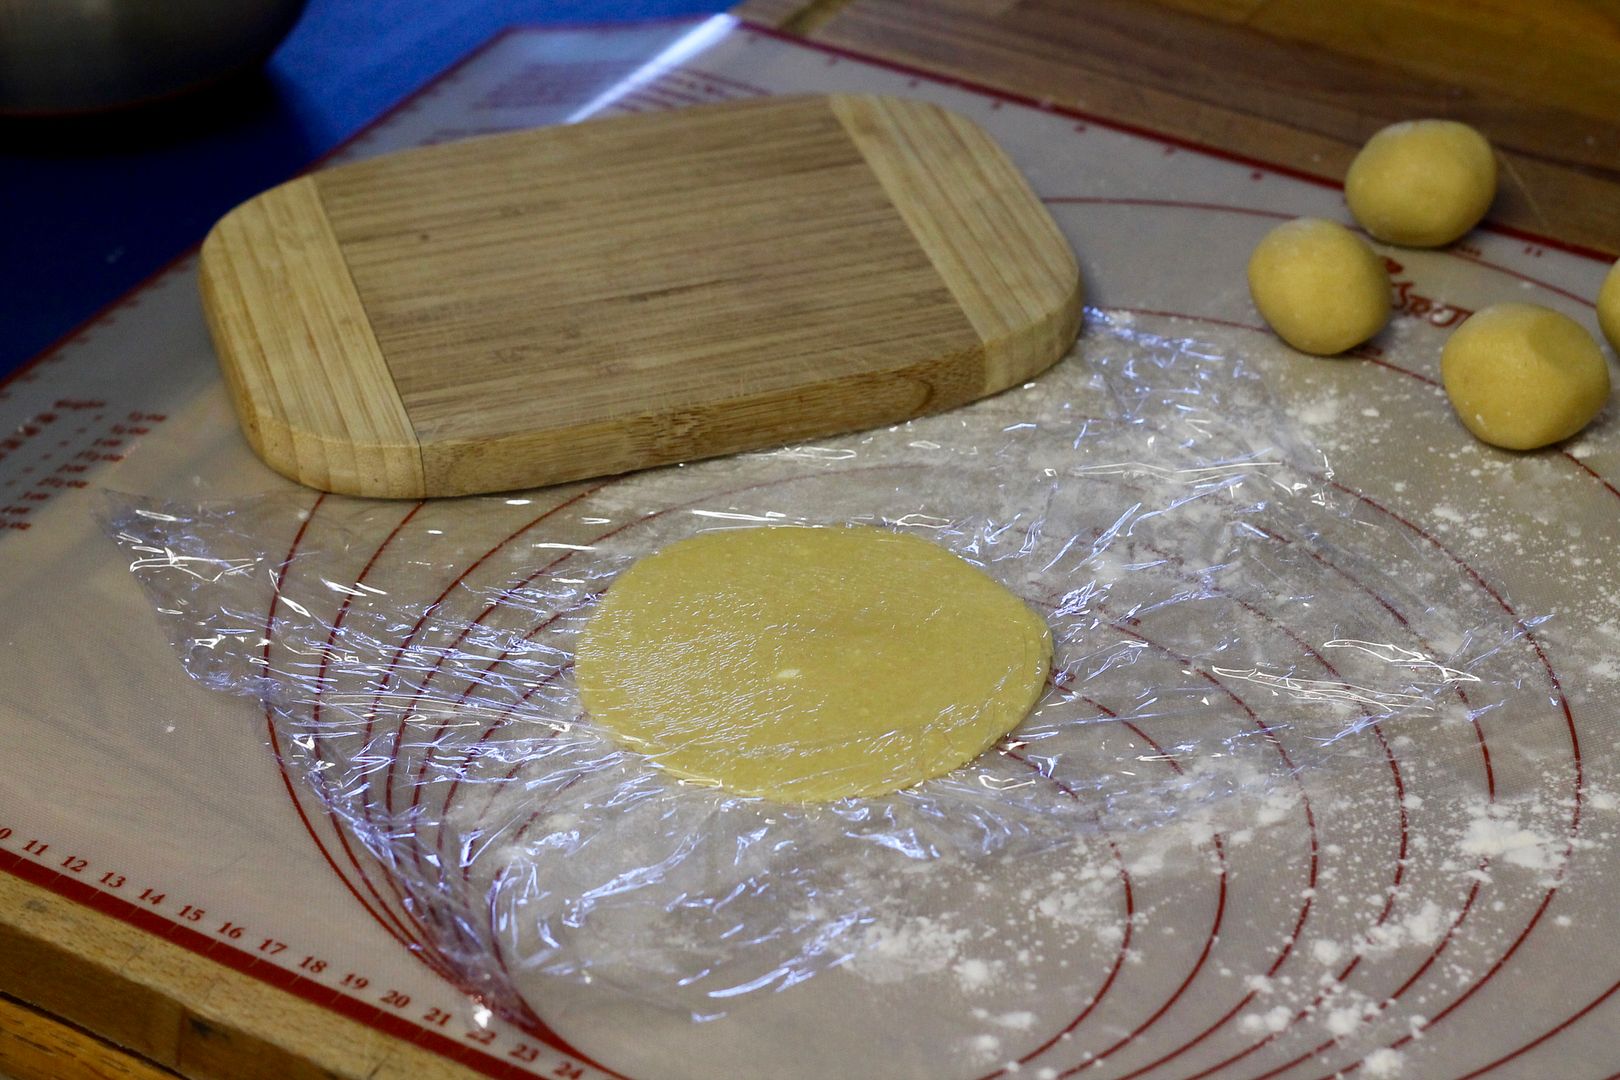
Meanwhile, divide the pineapple topping into 10 equal pieces and roll each into a ball. Place one ball between two pieces of plastic wrap and using a small cutting board or bottom of a plate, press down and squish the ball into a 4″ circle.
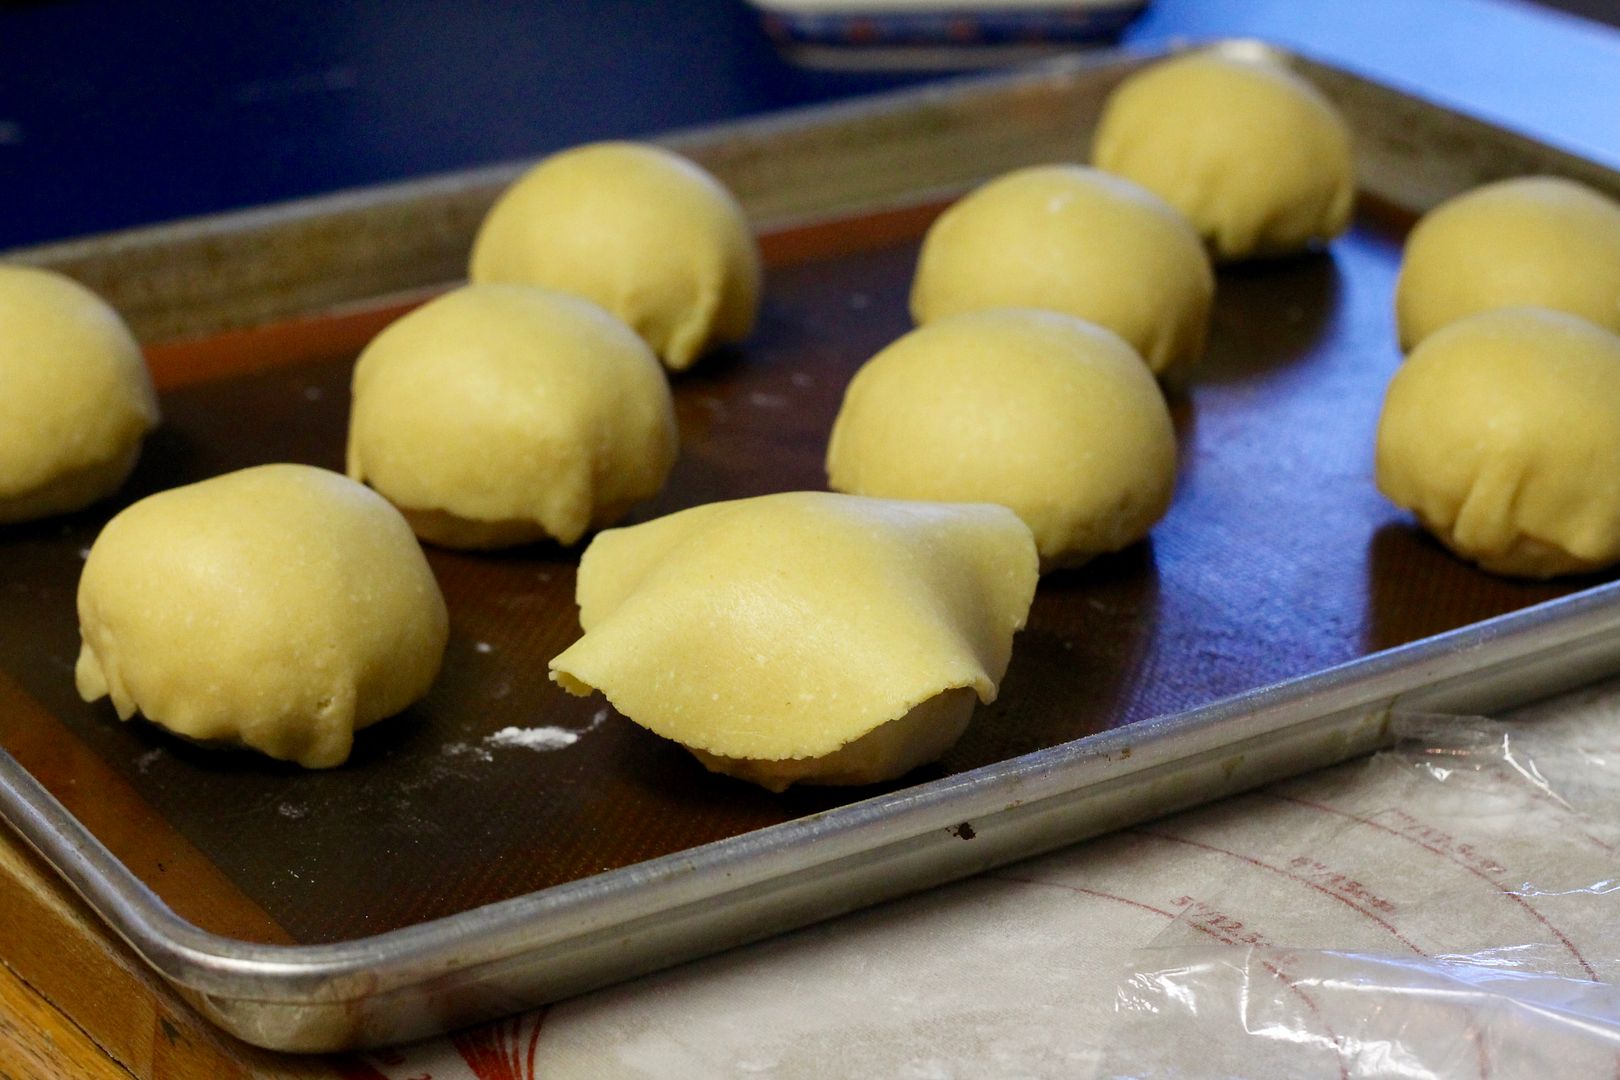
Peel the pineapple topping off the plastic wrap and drape it over one of the shaped buns, pressing gently to adhere and tucking and folding the edges to fit around the bun. Repeat with the remaining pineapple dough and buns.
With the blunt edge of a dinner knife, score a crosshatch pattern over each bun, taking care not to cut all the way through the pineapple topping.
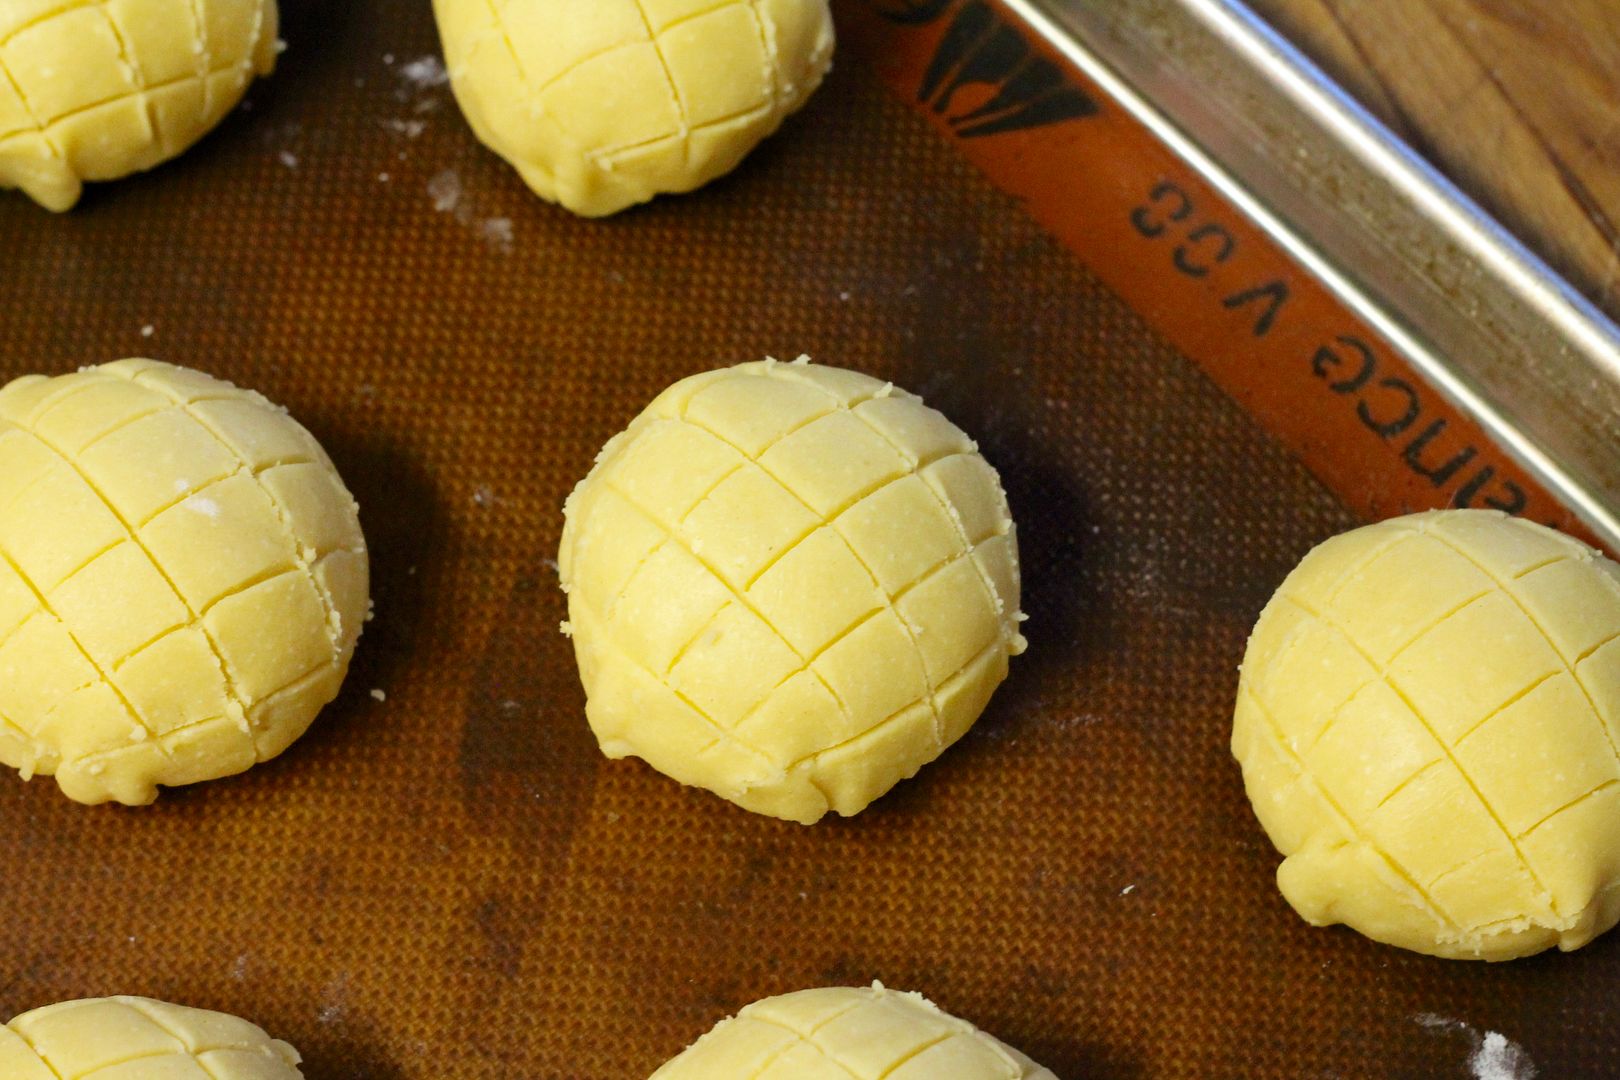
Cover the buns lightly with plastic wrap and set them somewhere warm to rise for 30-45 minutes, until almost double in size.
Preheat the oven to 380˚F (355˚F convection). Whisk together an egg wash of 1 egg yolk + 2 tsp water and brush it over the pineapple topping on the buns – this will make them extra yellow and shiny.
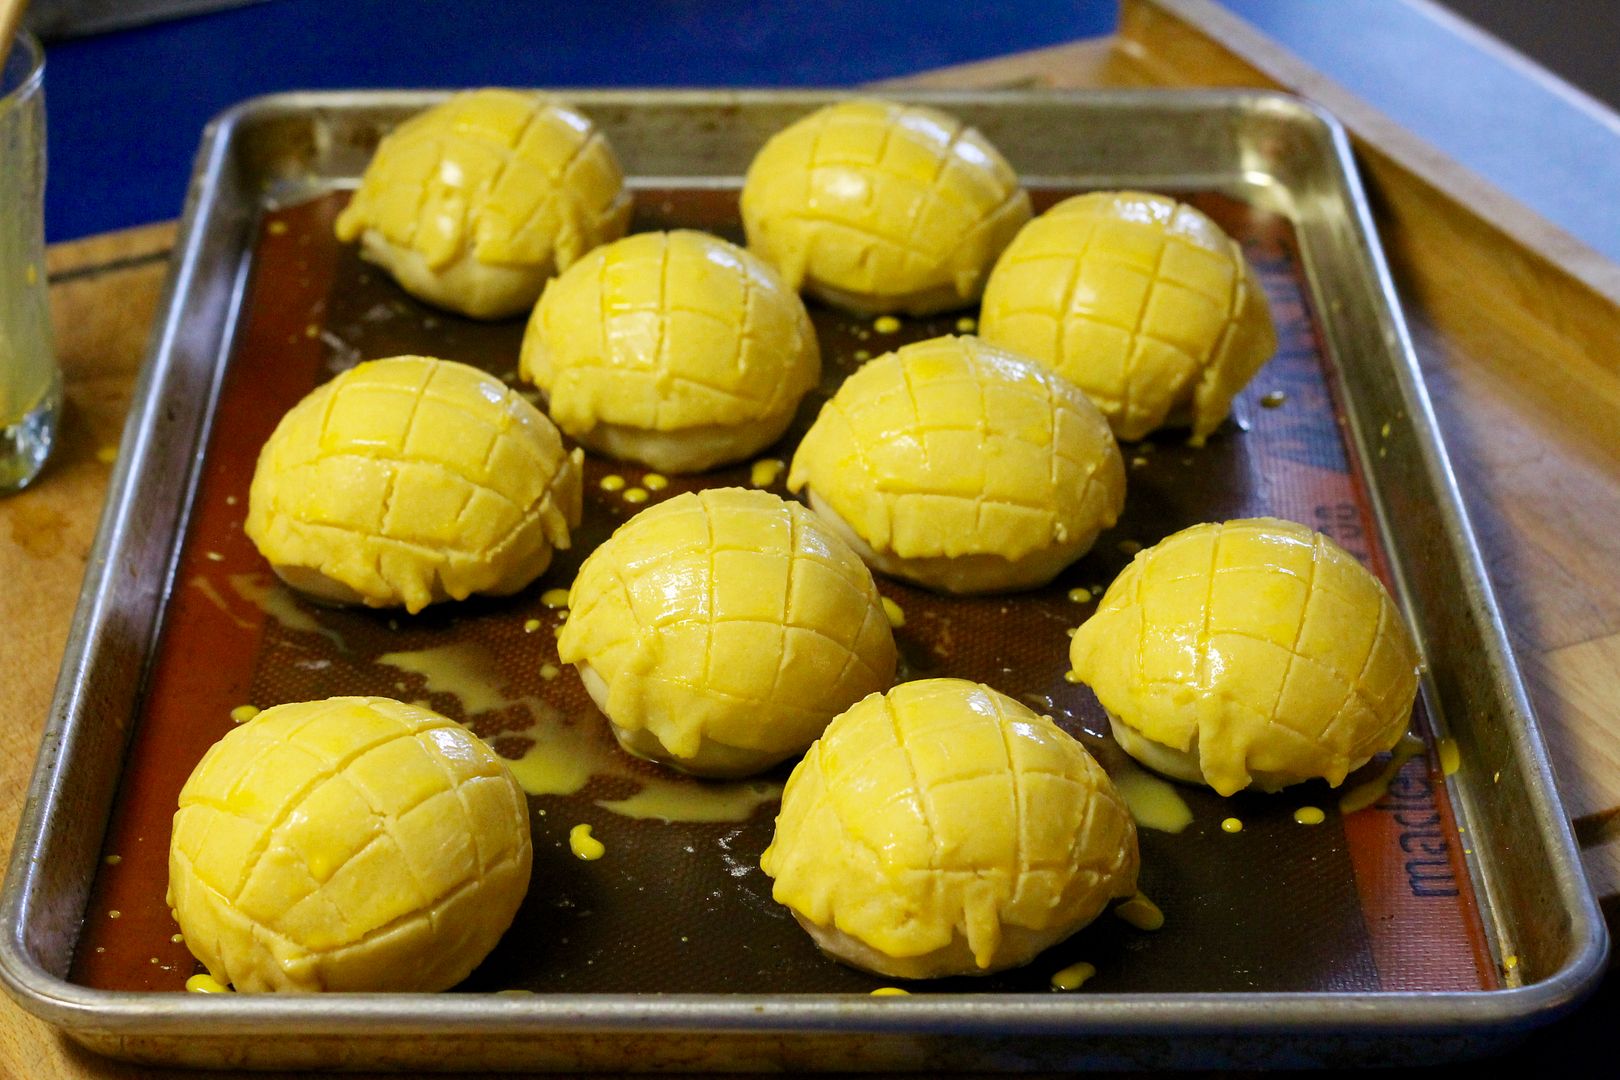
Bake for 8 minutes at 380˚F (355˚F convection), then reduce the heat to 350˚F (325˚F) and bake an additional 10 minutes, until golden on top and hollow sounding when tapped on the bottom. Cool on a rack and serve while still warm if possible. Leftovers can be stored in an airtight container for a few days.
I’m SO glad you have found another challenge to participate in! We all benefit from it! These look fantastic. I will check out the other blogs, too. Thanks, Korena!
They look beautiful! And I’m sure taste even better! So fun to participate in this monthly challenge!
That’s nice that you found another cooking/baking group. These pineapple buns are adorable and delicious looking. Well done!
Wow!! You made pineapple buns…how cool is that?! They look amazing. Funny, for the amount of times I’ve been to a Chinese bakery and have NEVER bought them so I didn’t know that they don’t have pineapple in them.
Thanks for sharing this really great recipe. I’m excited for February’s challenge, aren’t you?
Very excited for February! 🙂
These look amazing, of course. I’ve been experimenting with tang zhong and scalded dough so I was thrilled to see you try it out here. There’s also a Japanese version of this – melon pan and a Malaysian version which I think they call rotiboy buns or Mexican coffee buns. Would you be interested in trying these out as well? I would love to hear what you think of the differences between the three methods.
I knew that there was a Mexican bun similar to these, but not about the Japanese and Malaysian versions! Who knows – maybe someday I’ll do a comparison…