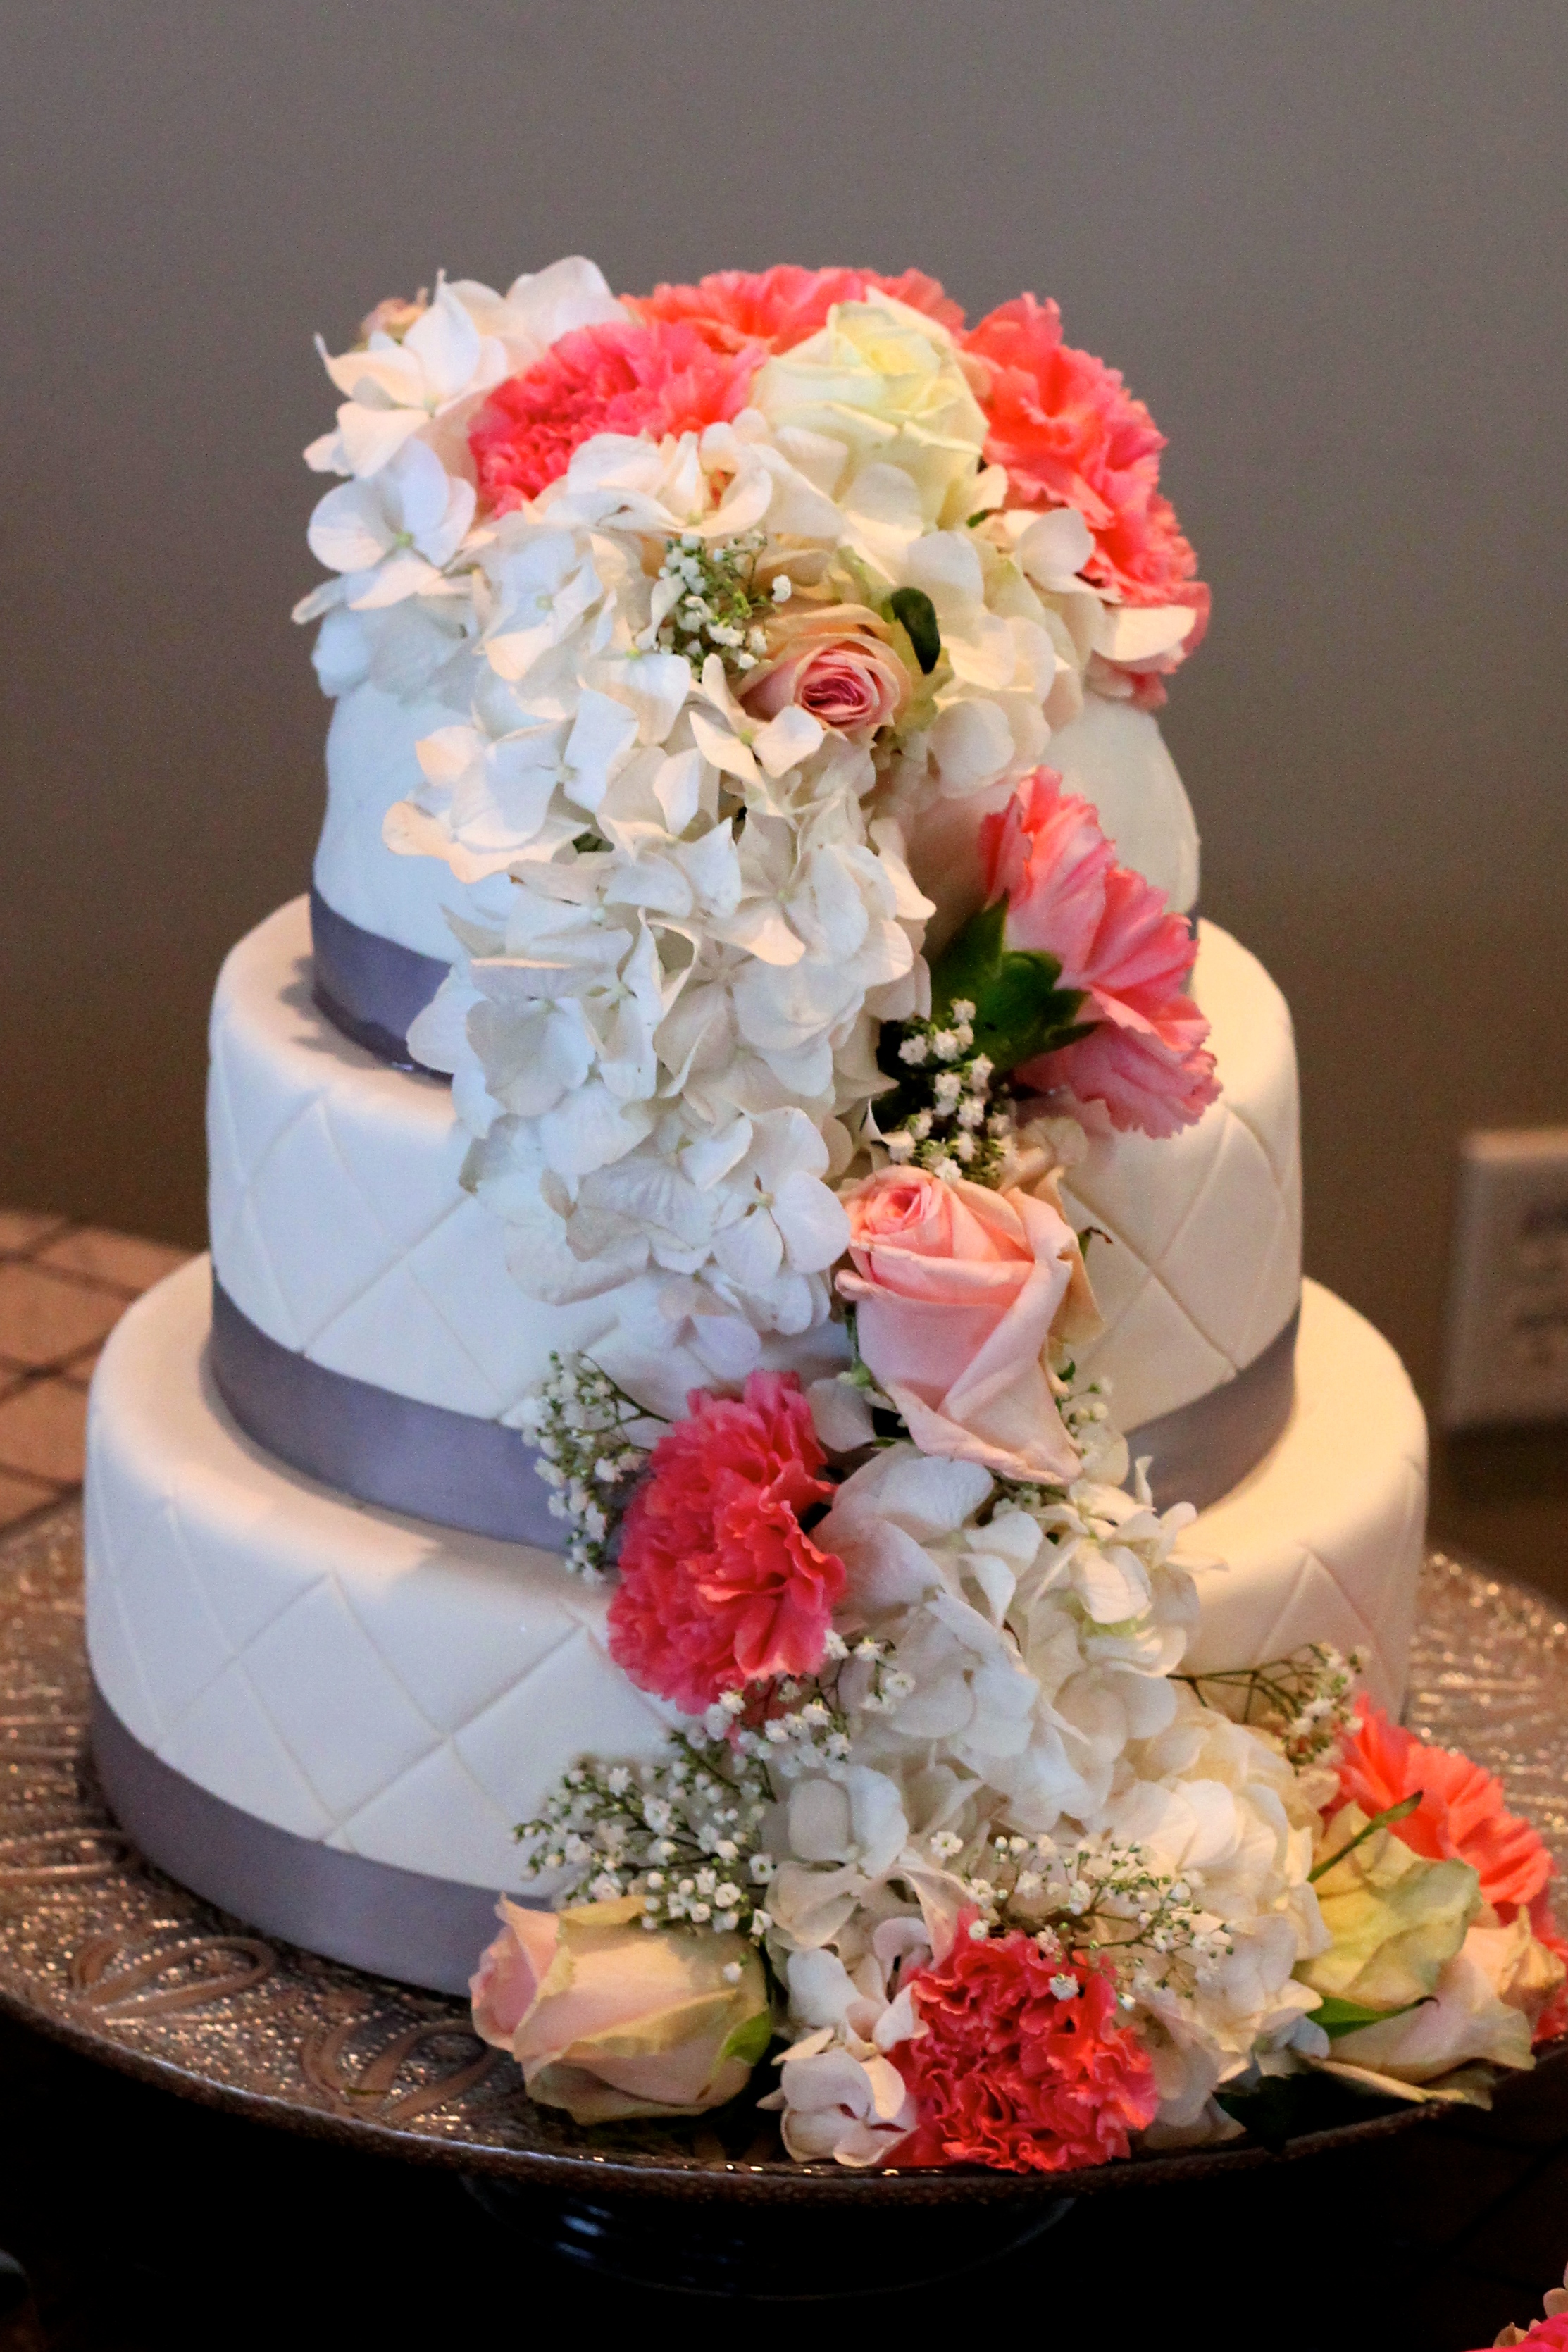
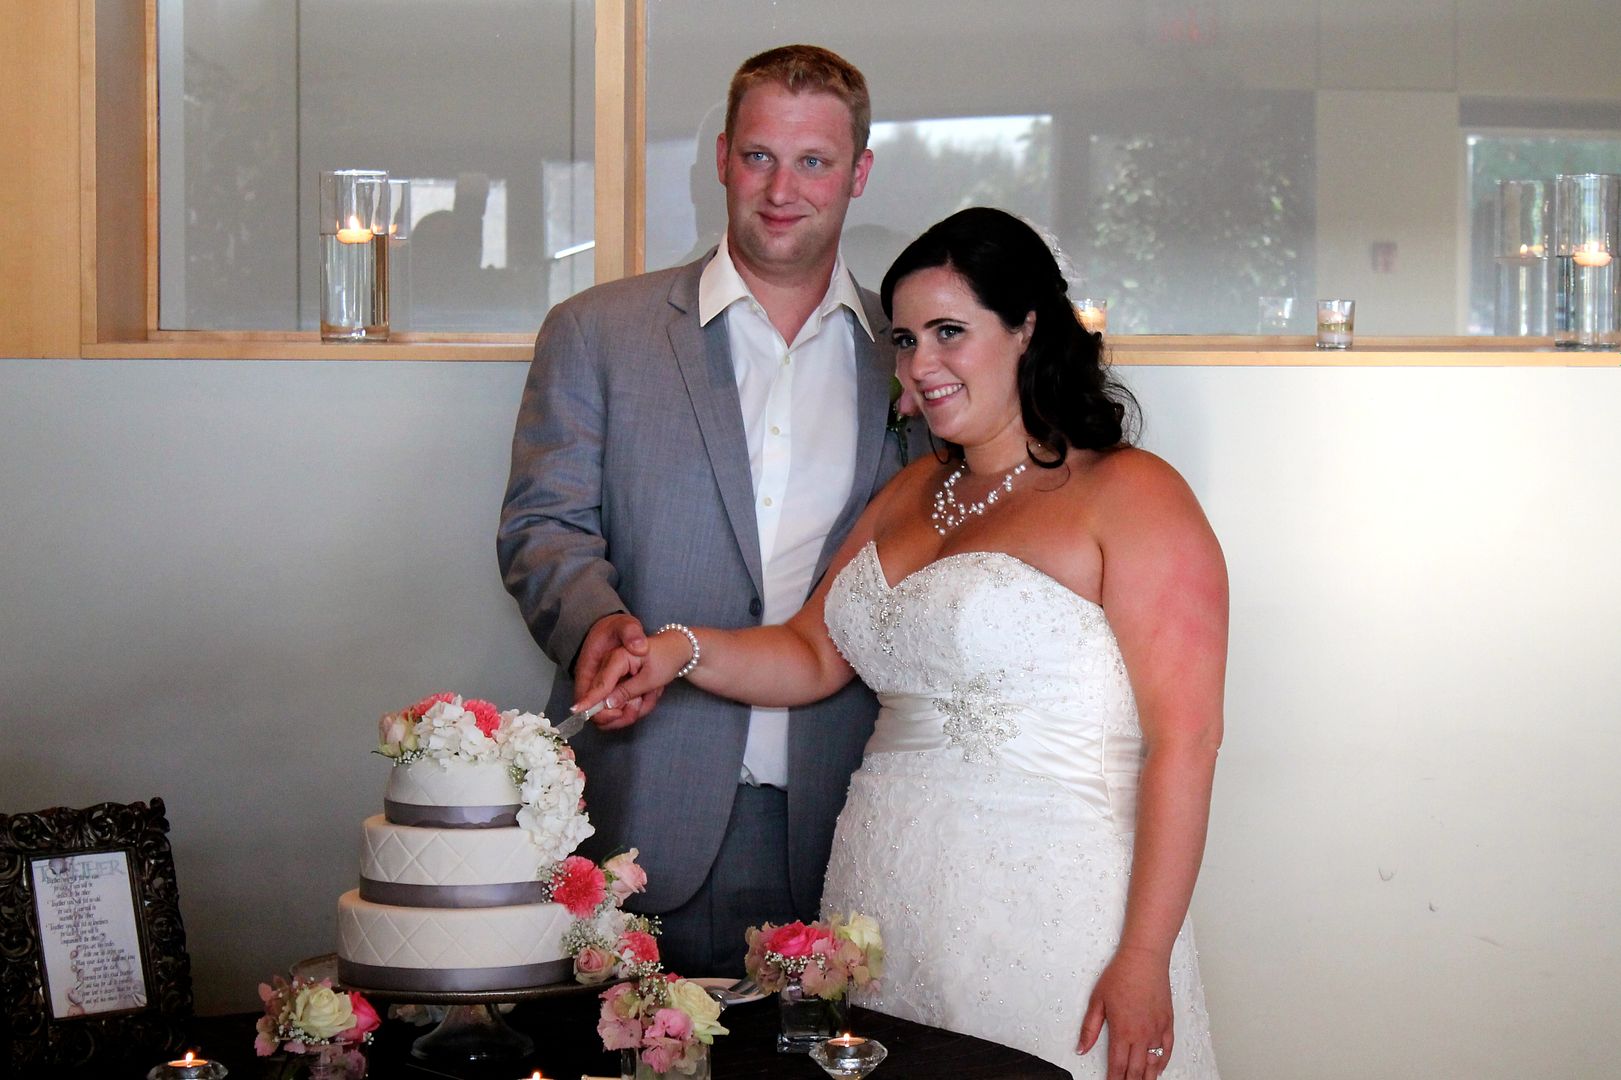
 And so, finally, here is the wedding cake I made for my friends Sam and Whittney. This is the second wedding cake I’ve made now, and somehow both of them have required me to transport all of the necessary components and equipment via ferry and cooler to Vancouver and assemble them in someone else’s kitchen in the middle of the summer heat. It just adds to the challenge, right? 😉
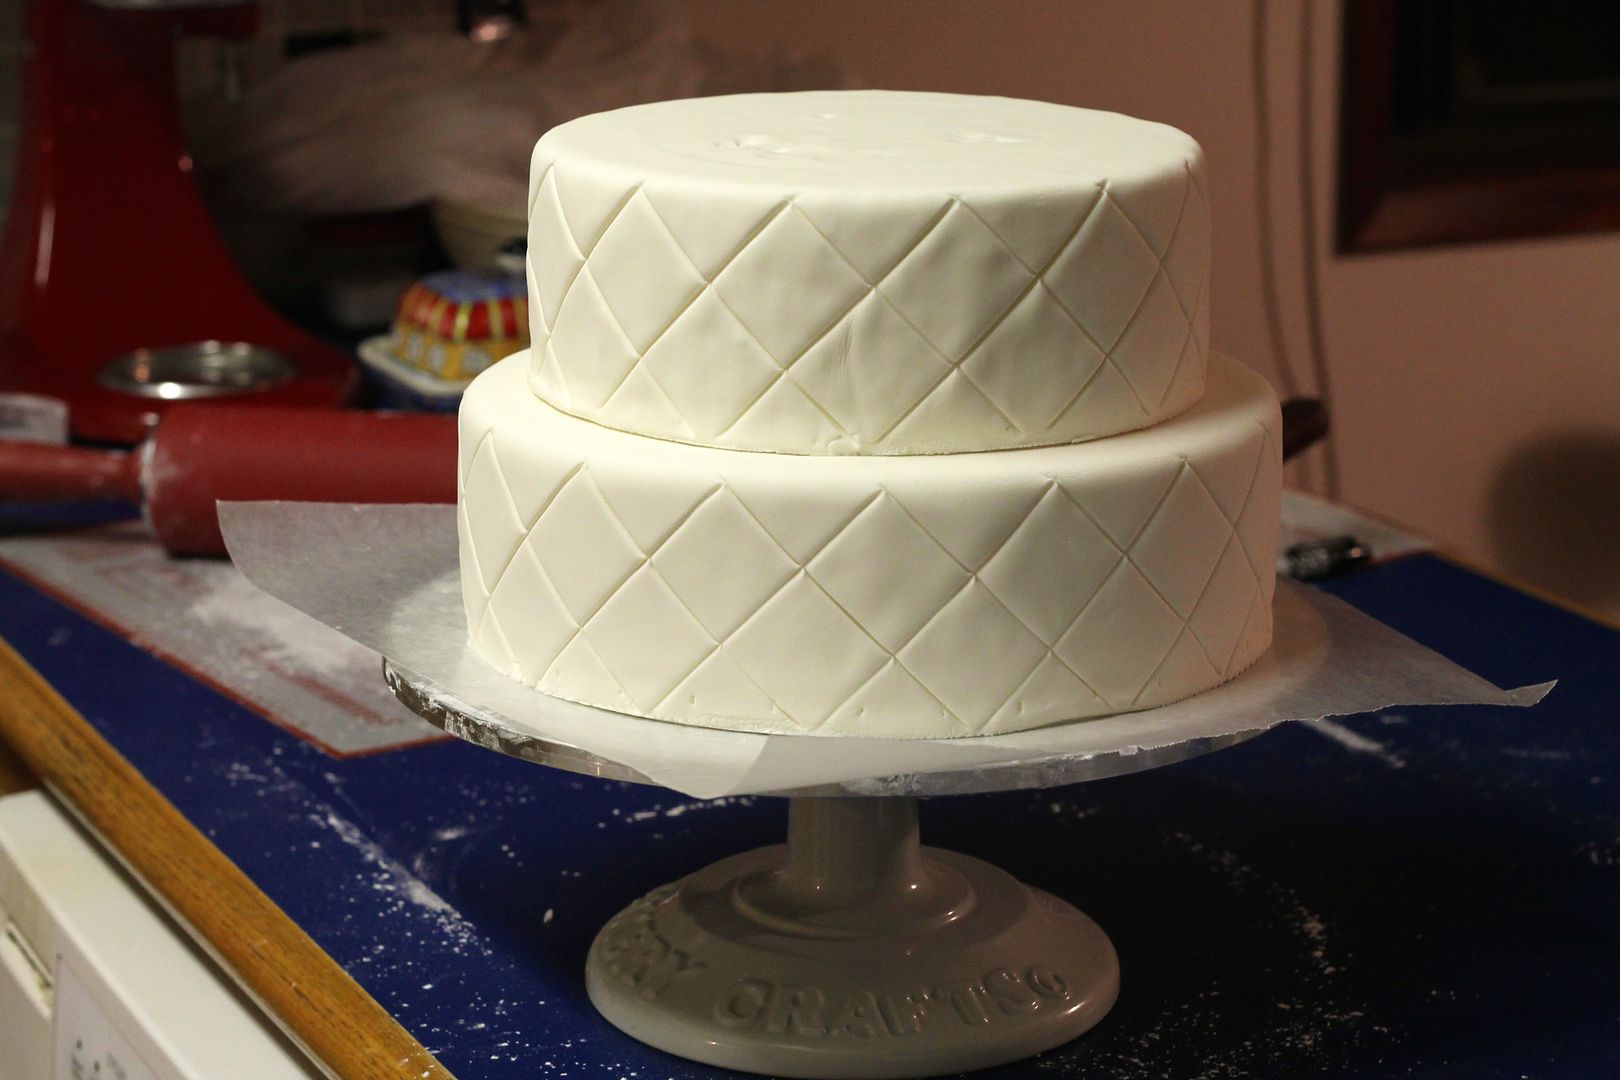
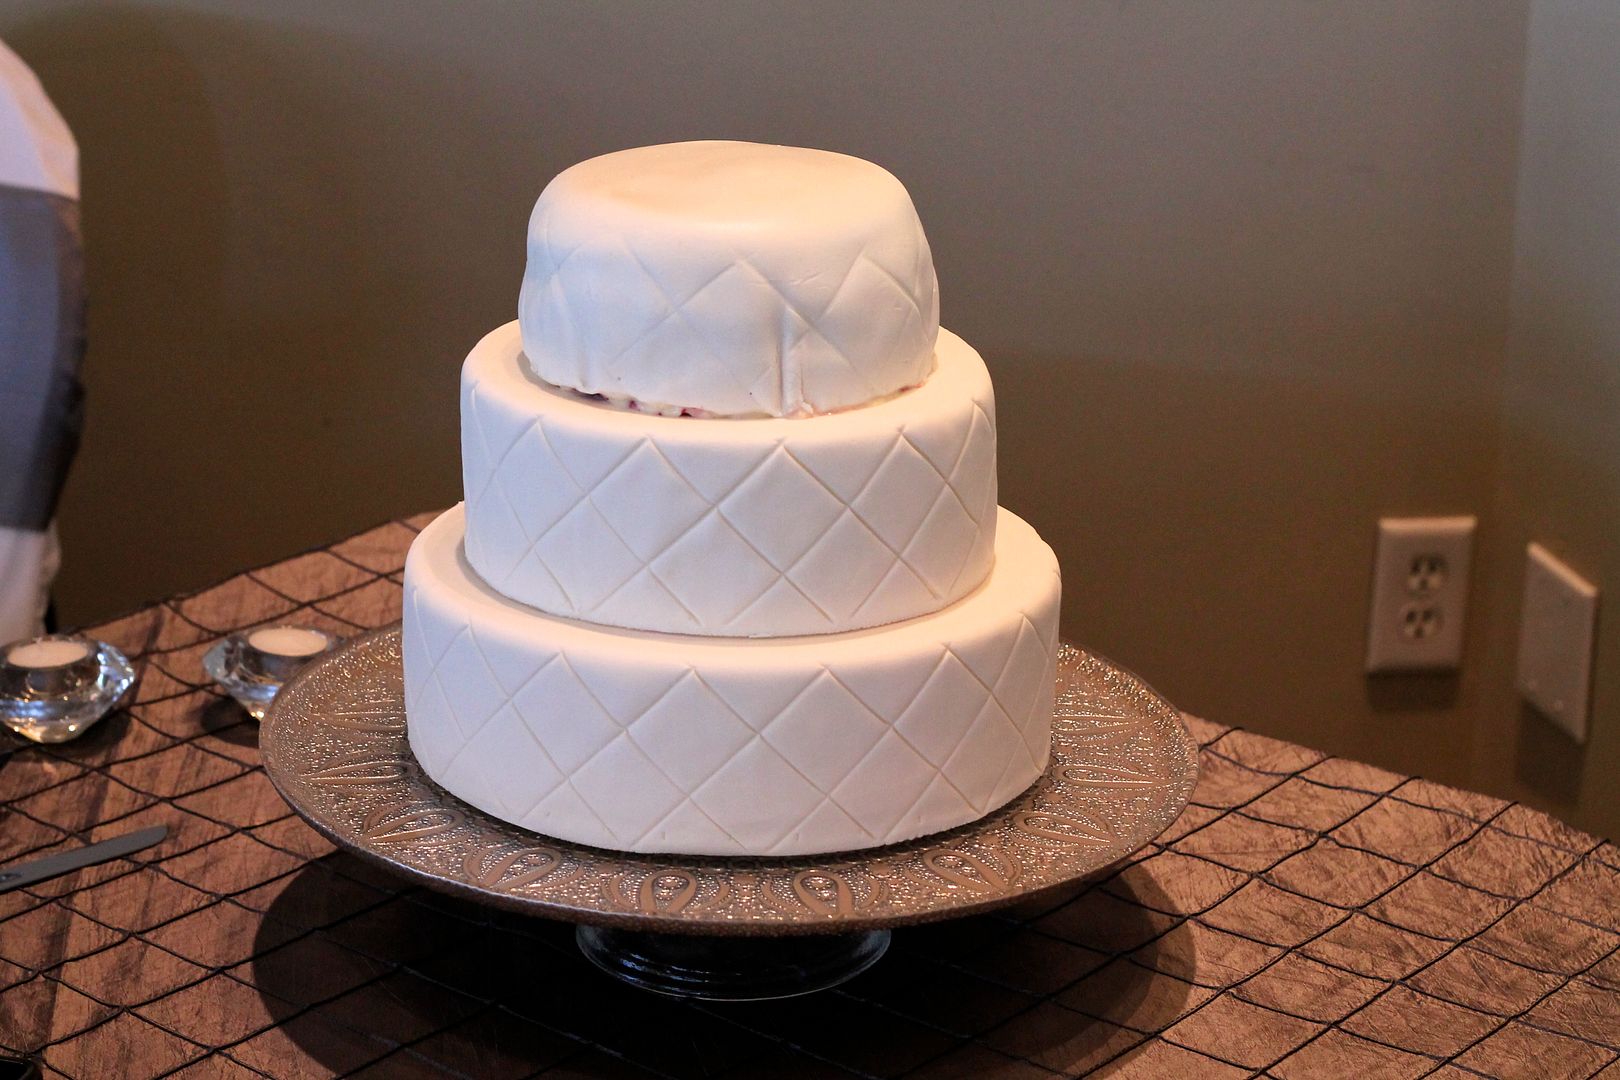
This was the first cake I’d ever covered in fondant, but I’ve covered a cake in marzipan before, and it wasn’t much different. Fondant-covered cakes don’t do very well in the fridge – I did a test-run and the moisture in the frosting caused the fondant to weep and get soggy – so it meant that I had to do the entire assembly the morning of the wedding (more on that in a minute). Thankfully (in this case, anyway), this cake was mostly just for show and only the very top tier was real cake (red velvet with cream cheese frosting) for the bride and groom to cut, and the bottom two tiers were styrofoam. This meant I could cover them in fondant a few days in advance because they didn’t have to be refrigerated. I chose to make marshmallow fondant, which was pretty easy and relatively inexpensive (it’s just marshmallows and icing sugar). The styrofoam rounds were super easy to cover with fondant because they were nice and solid, and I was able to imprint them with a quilted square pattern. The real cake, on the other hand, was a whole ‘nother story…
I had several factors working against me – it was VERY HOT, I had a limited amount of time (I was also frosting and decorating mini cupcakes), and my frosting was being difficult and VERY soft – which resulted in a substantially-less-than-ideal cake to cover in fondant. I was feeling so panicked about the whole thing that I didn’t even take any pictures (!!!). In a perfect world, your assembled cake would be filled, stacked, crumb-coated, and fully chilled before you go anywhere near it with fondant, but my only option was to assemble it from scratch that morning, and unfortunately the cake was super soft and squishy. I stashed it in the freezer while I rolled out the fondant, hoping that it would solidify somewhat, and then held my breath and tried not to swear out loud (I was in a friend-of-the-bride’s kitchen) as I did my best to smooth the fondant over the cake and indent it with the quilted square pattern. It sort of worked, but I was honestly fearing that it might end up being the sort of disaster you see featured on Cake Wrecks. But at that point there was nothing else I could do: I was running out of time and the longer the cake sat in the warm kitchen, the greater the likelihood was that it would melt and collapse on itself.
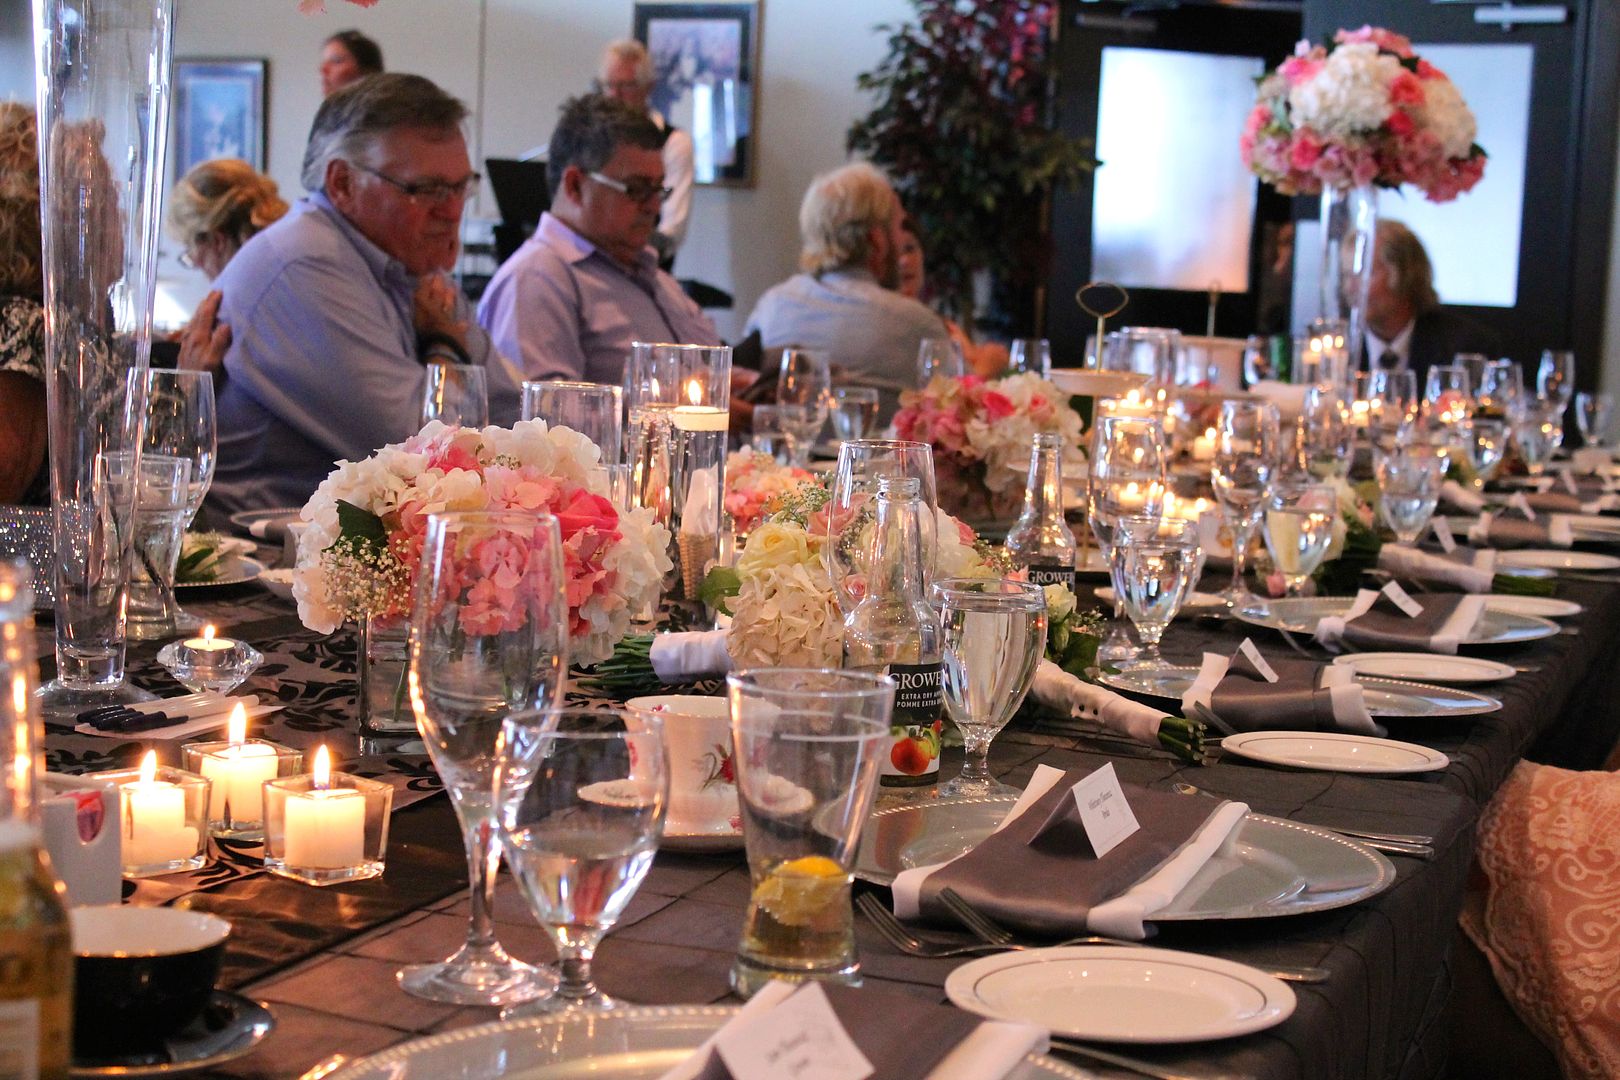
Obviously not cake, but this was how the tables were decorated. Pretty, right?
So I shoved it in a cake box, turned the A/C on high in the truck, and drove gingerly to the venue with my palms sweating the whole way. I pulled out the perfect styrofoam tiers and deposited them on the cake stand, then opened the box containing the cake only to discover that the layers had shifted sideways UNDERNEATH the fondant! I managed to press them back in place and straighten the cake out somewhat, but perched on top of the two immaculate bottom tiers, it looked misshapen and ridiculous. And it really didn’t help that the temperature in the venue was almost as hot (hotter, maybe?) as the heat-wave outside, so I was anticipating that the cake would just get softer and meltier and more prone to collapsing as time wore on.
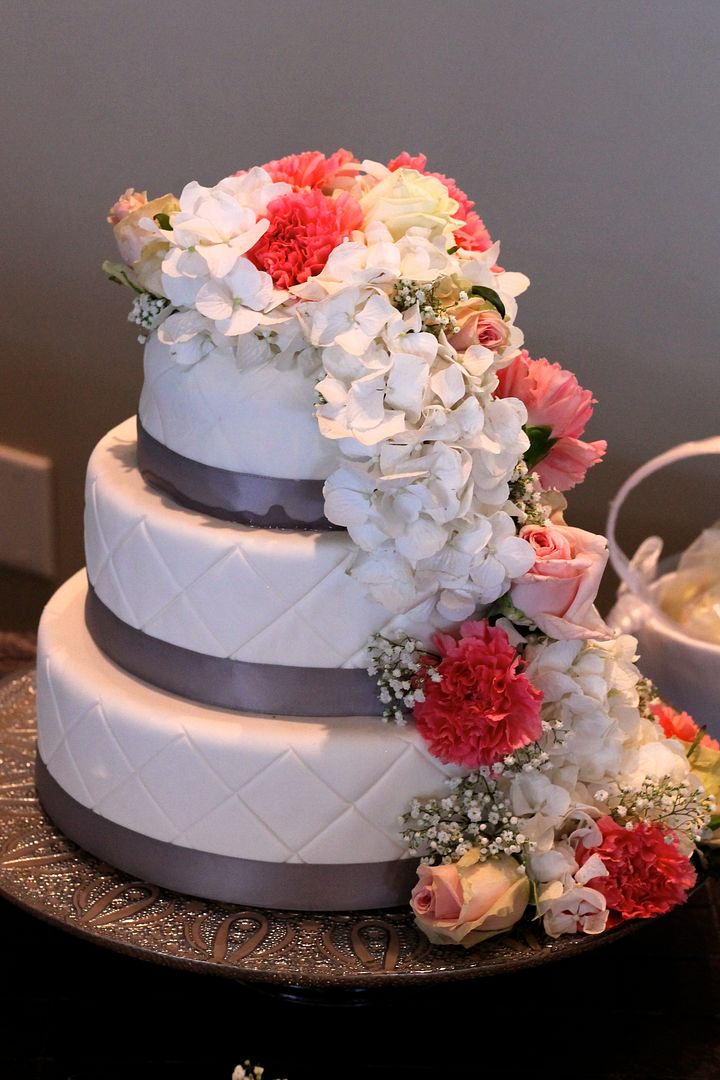
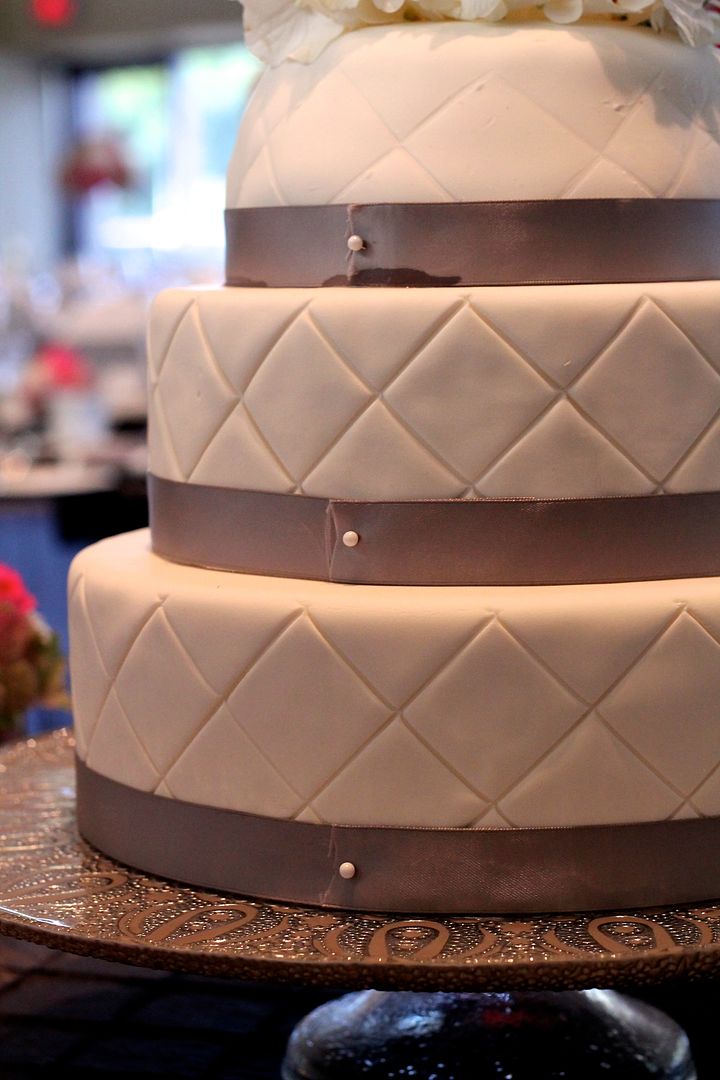
Thankfully, however, the ribbon wrapped around the bottom of the tier held it together and it was mostly hidden under the fresh flowers that the wedding planner arranged all over it, so the whole cake ended up looking quite beautiful.
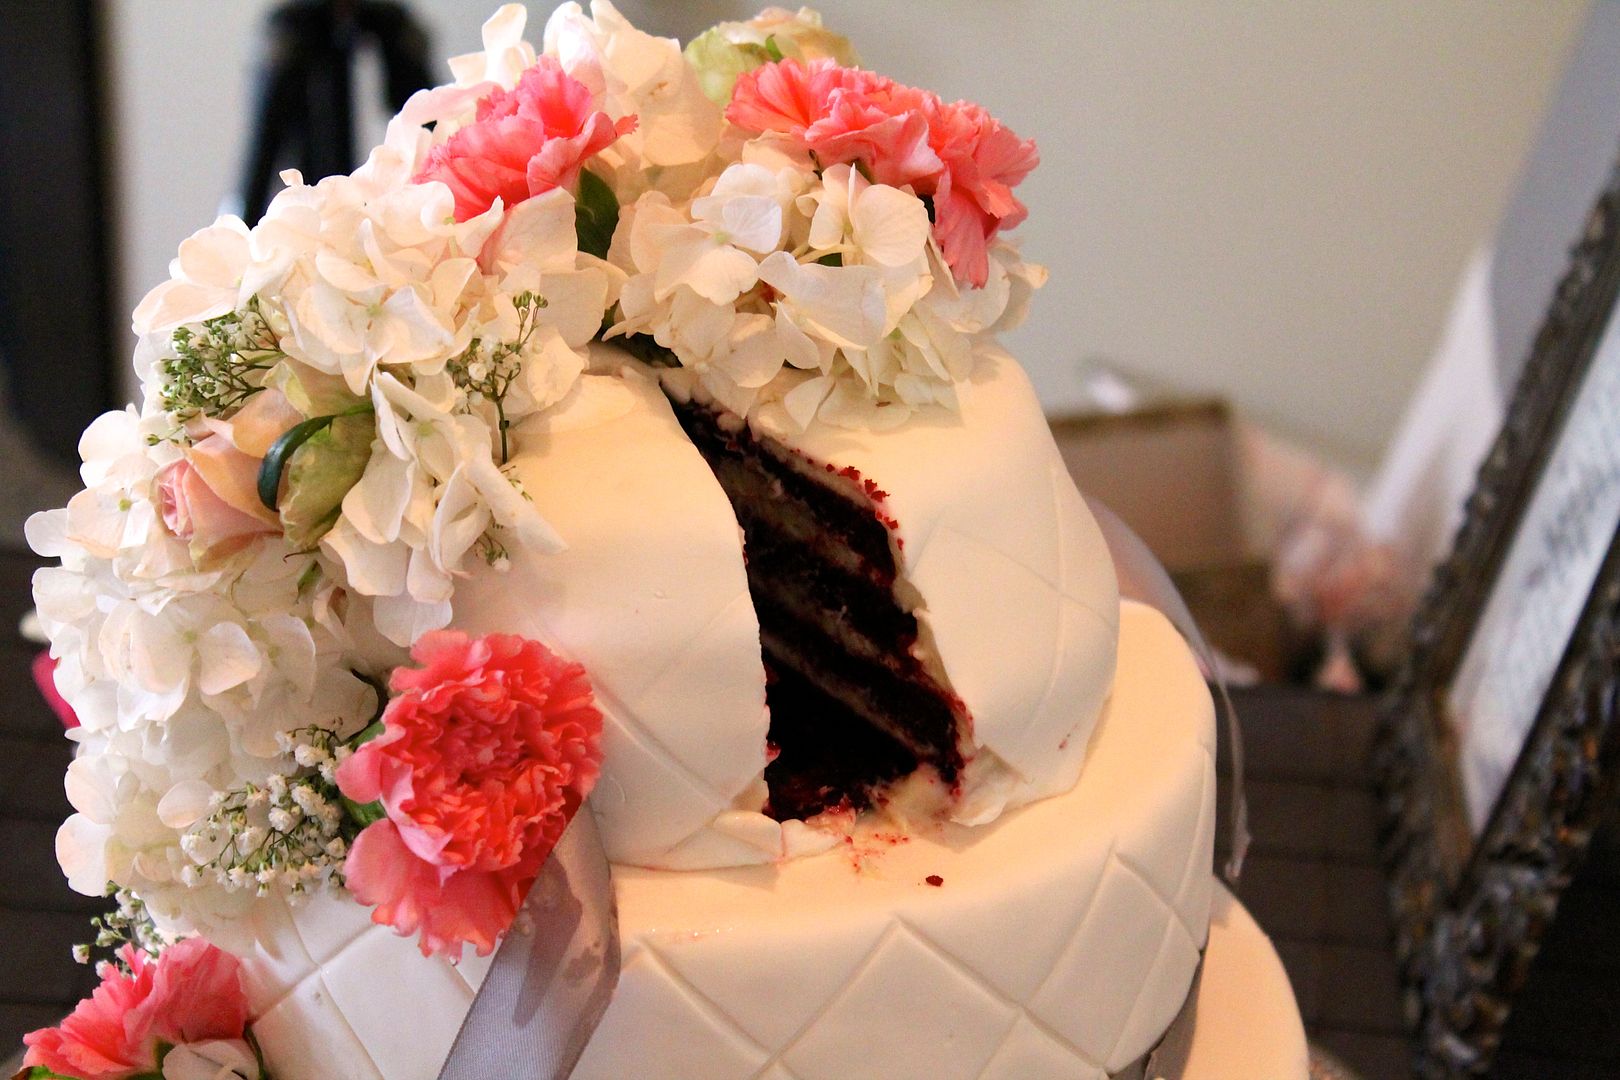
The bride and groom confirmed that it tasted amazing (but very melty), and everyone lived happily ever after. 🙂
Rolled Marshmallow Fondant
Adapted from All Recipes, with tips from all over the internets. Makes a little over 1.5 lbs of fondant (most recipes are for twice this amount, but I found this smaller batch easier to work with in both the mixer and by hand). Use this handy chart to see how much fondant you will need to cover cakes of different sizes.
Some notes on working with fondant:
- Have perfectly clean hands and an immaculate work surface when kneading and rolling the fondant, especially white fondant – it likes to pick up any traces of colour/lint/cat hair/whatever. I bought a silicon baking mat expressly for this purpose and made sure it was fastidiously clean.
- A non-wooden rolling pin is also essential. You can buy special plastic fondant rolling pins that are quite long to accommodate large pieces of fondant, and they have helpful guides on them to assure that you roll the fondant to even thickness. That said, I used a silicon rolling pin that did the job just fine.
- While I generally think that heavily processed, hydrogenated shortening is kind of scary, it is pretty helpful for kneading the fondant smooth.
In the bowl of an electric mixer, combine:
8 oz (1/2 lb) marshmallows (mini marshmallows melt faster)
2 tbsp water
1/2 tsp vanilla extract
pinch salt
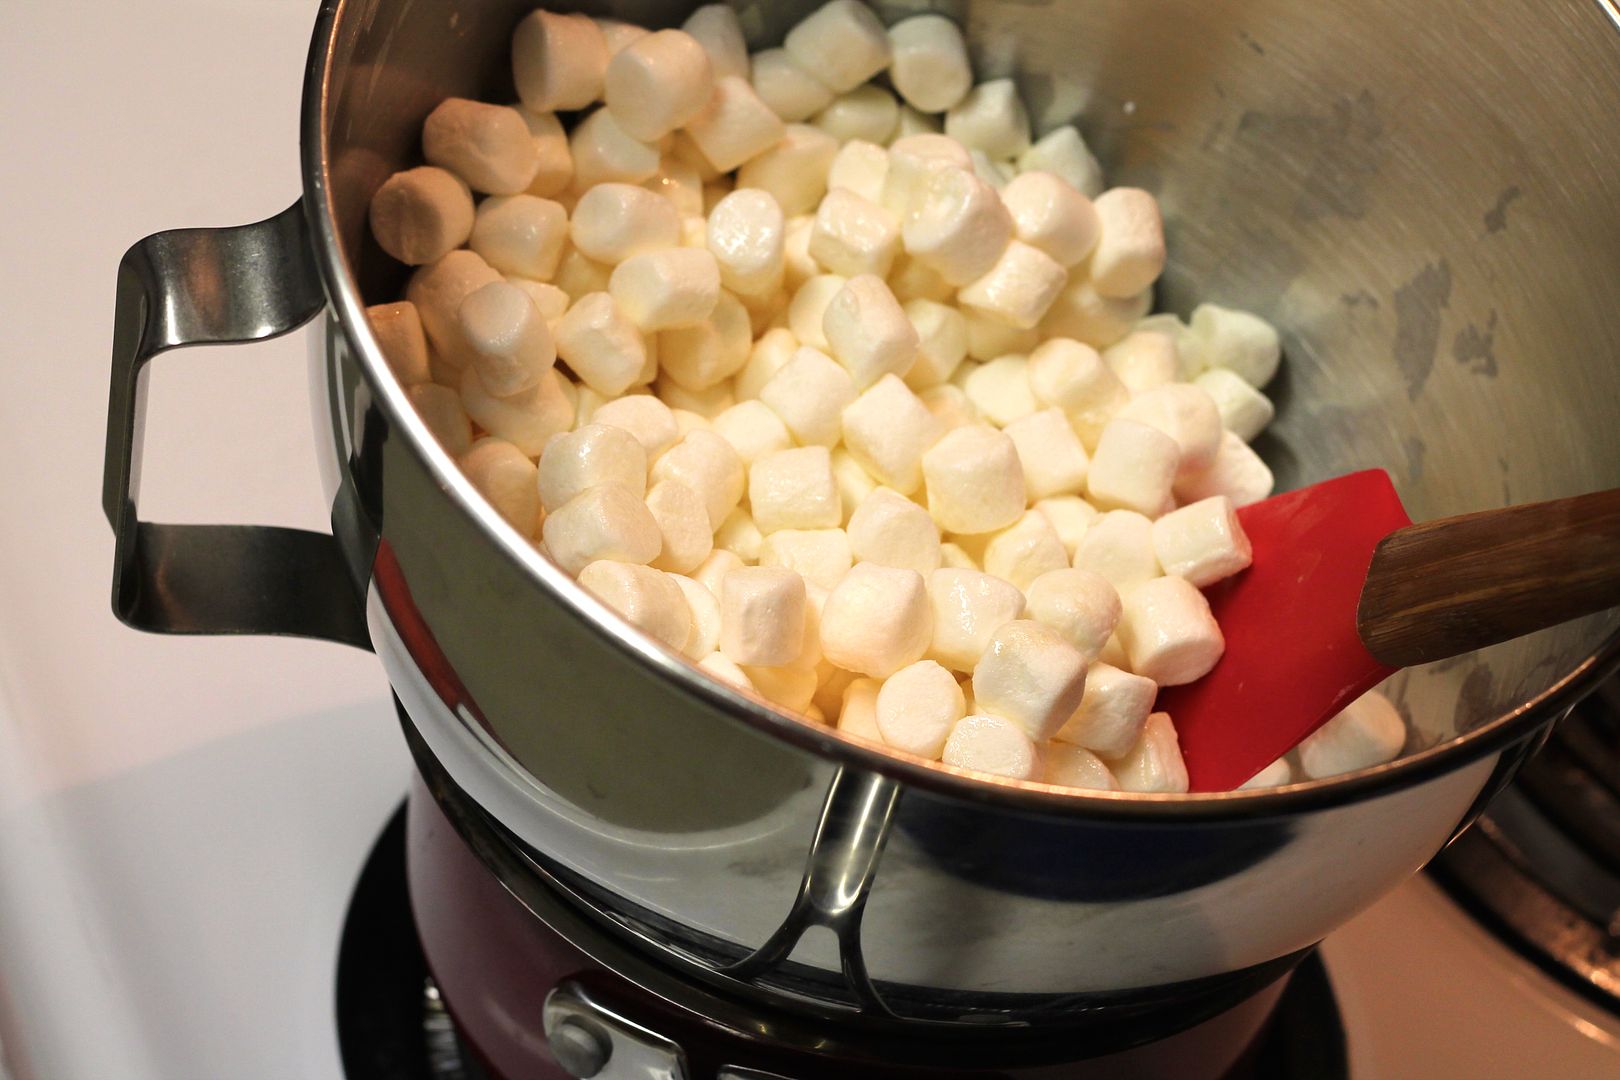
Place the bowl over a pot of simmering water à la bain marie and heat, stirring, until the marshmallows are about 2/3 melted. Remove from the heat and stir until completely melted and smooth.
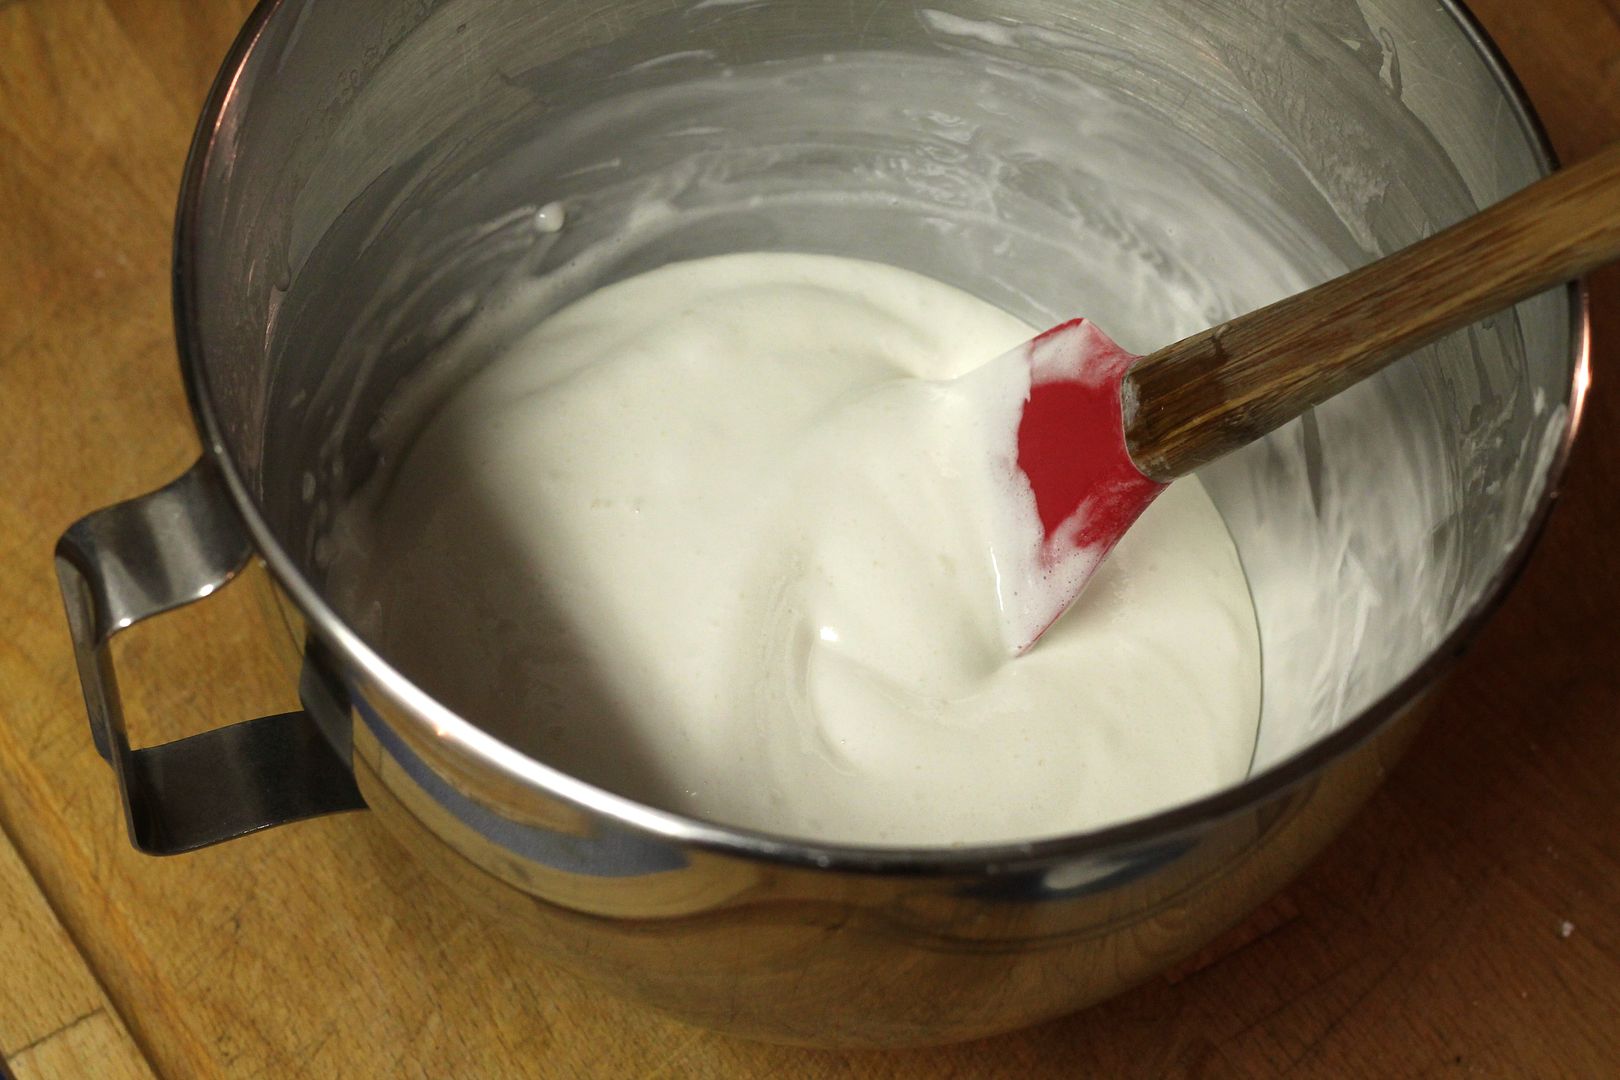
Attach the bowl to the mixer base and with the dough hook attachment on low speed, stir in 16 oz (1 lb) icing sugar, about 1 cup at a time.
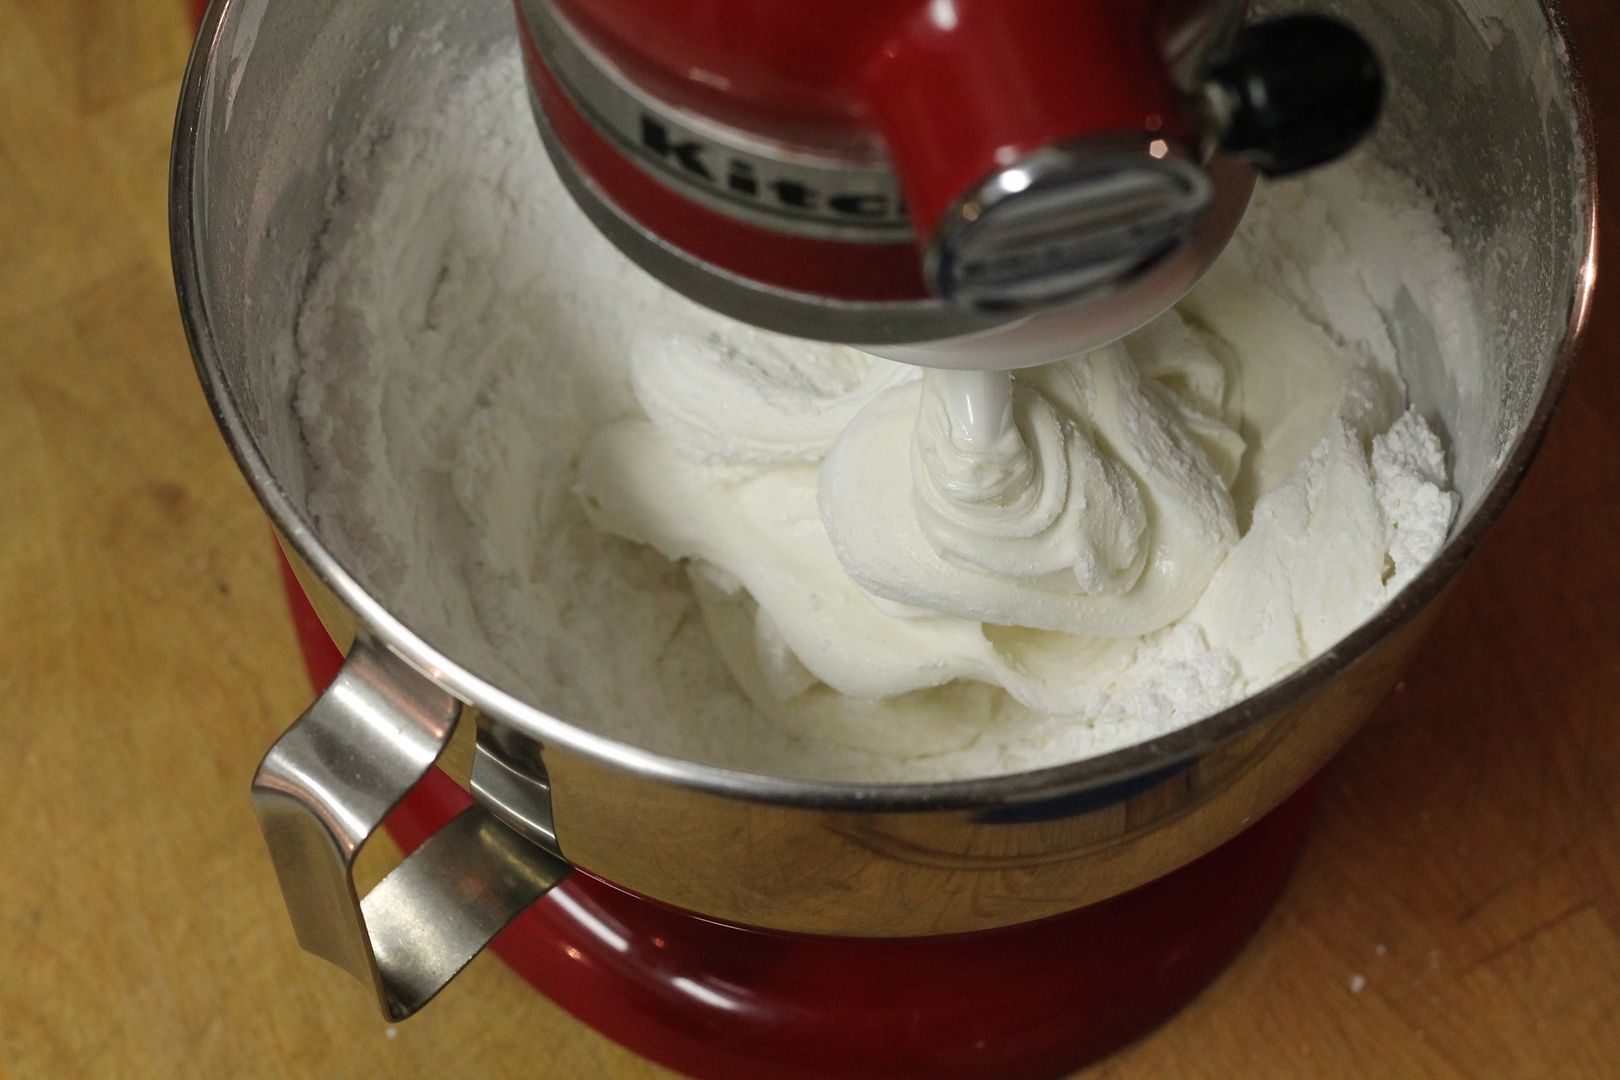
When all the icing sugar is completely incorporated (it should be stiff but sticky), turn the fondant out onto a very clean surface covered in another 3 – 4 oz icing sugar.
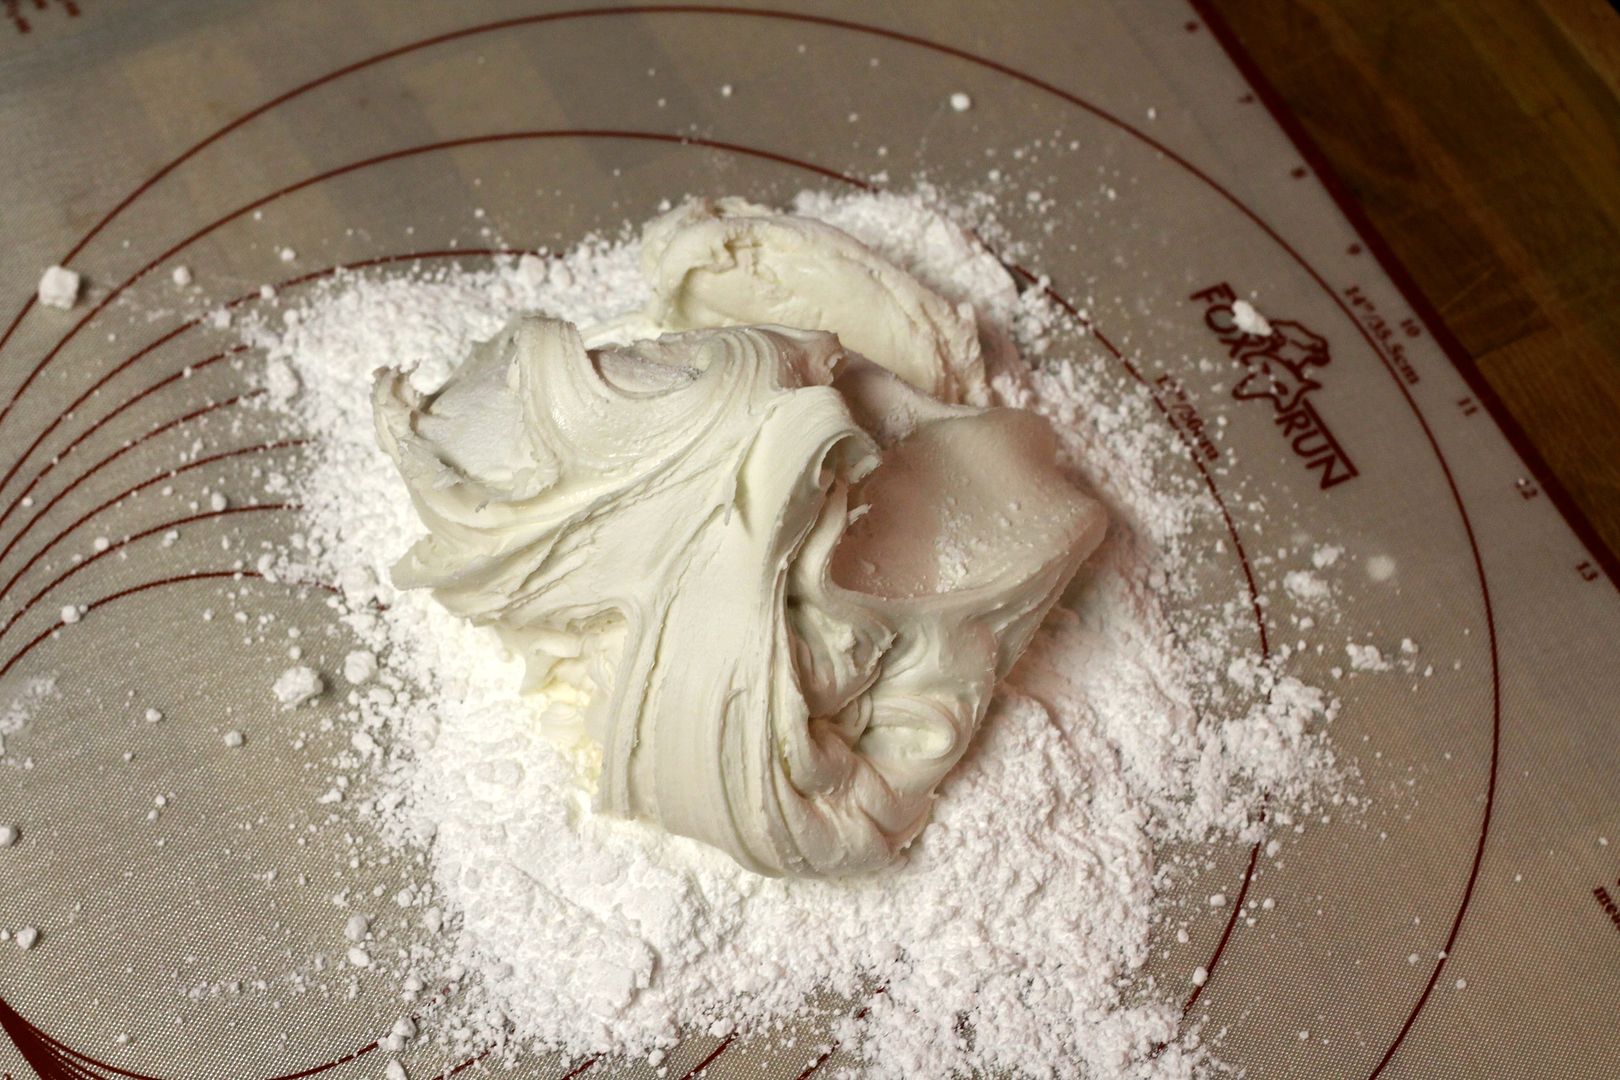
Knead the icing sugar into the fondant until it is quite stiff and no longer sticky – this might take a while, and you might need a little more or less icing sugar to get a stiff fondant.
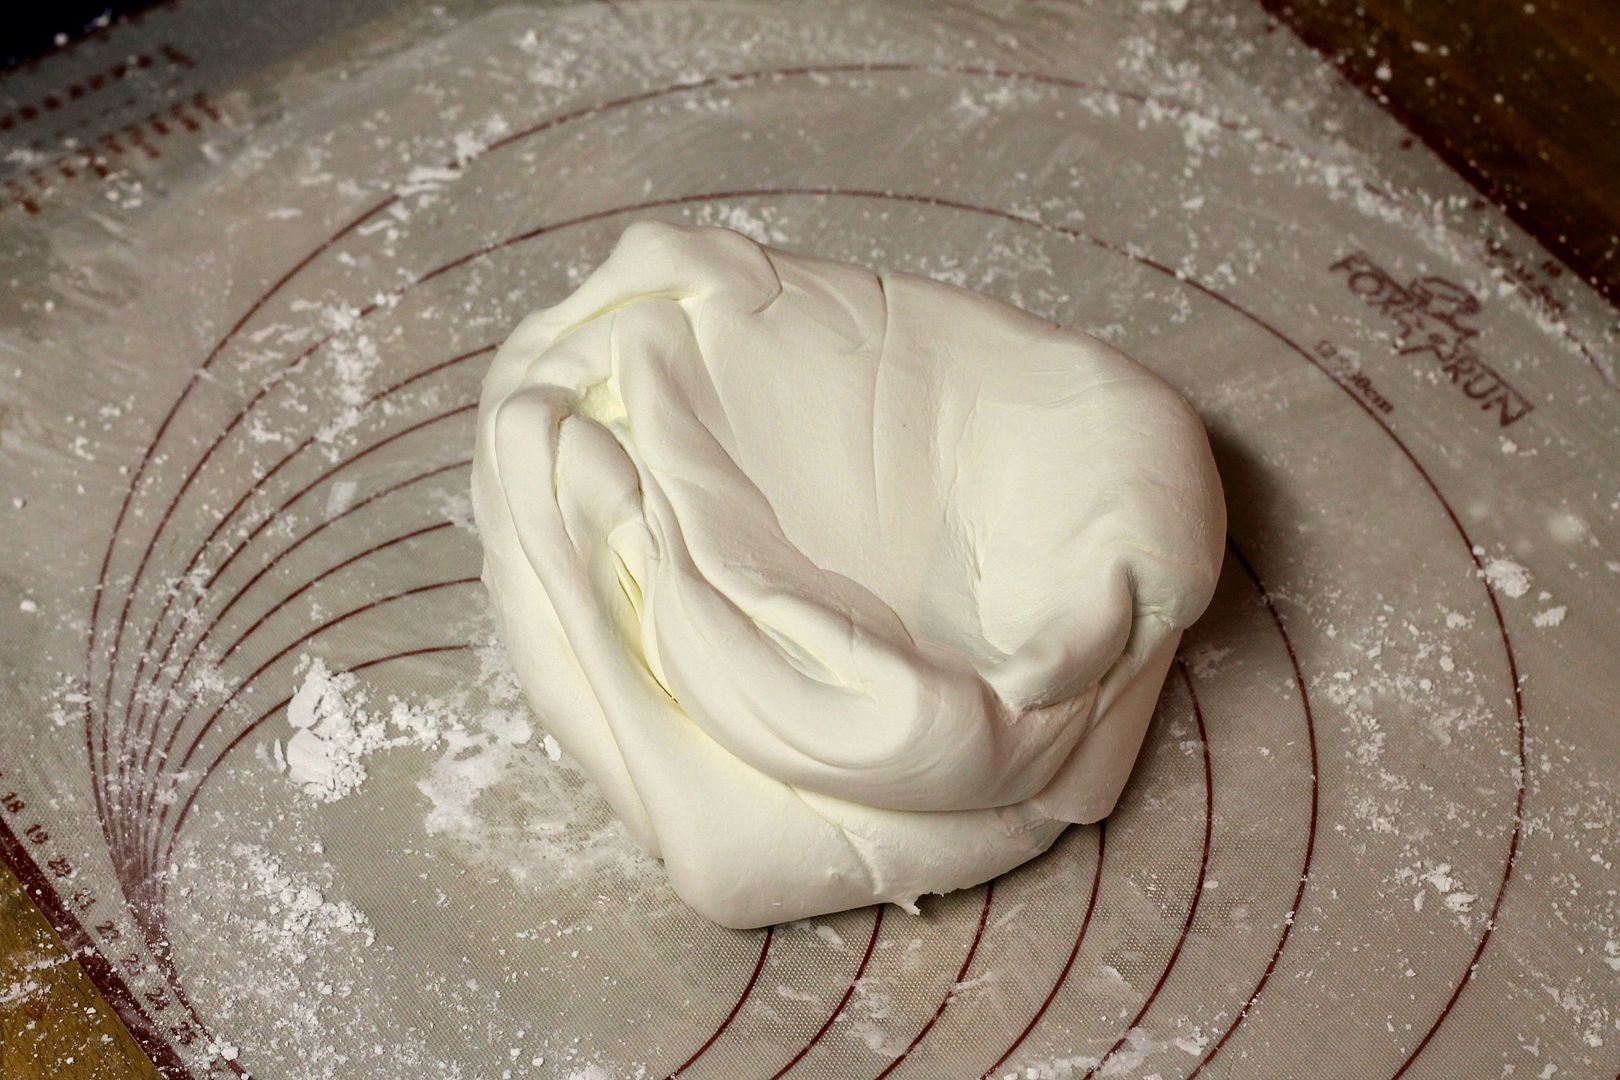
Wrap the fondant well in plastic, place it in a Ziplock bag, and refrigerate it for at least a few hours and up to a few weeks.
Before using the fondant, knead it on a surface dusted with equal parts icing sugar and cornstarch until it is very smooth. It might seem very crumbly at first, in which case you can knead in a bit of shortening to add “moisture” and make it nice and smooth.
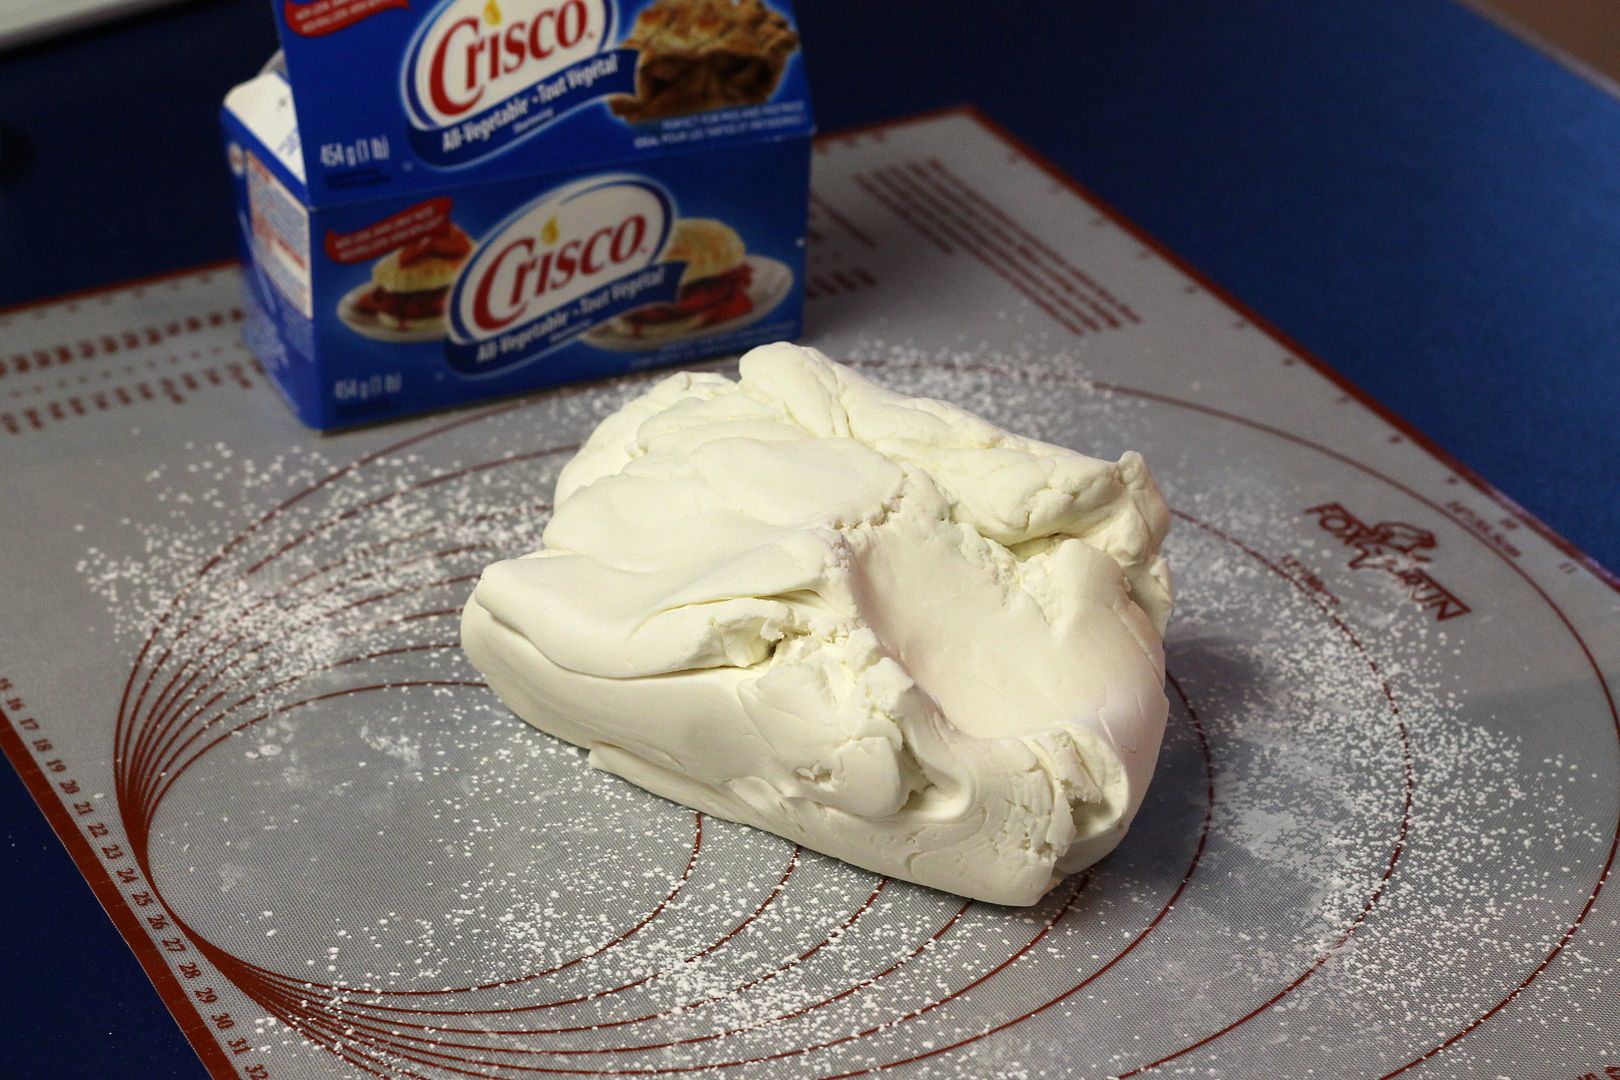
If you are not using the fondant right away, keep it covered to prevent it from drying out.
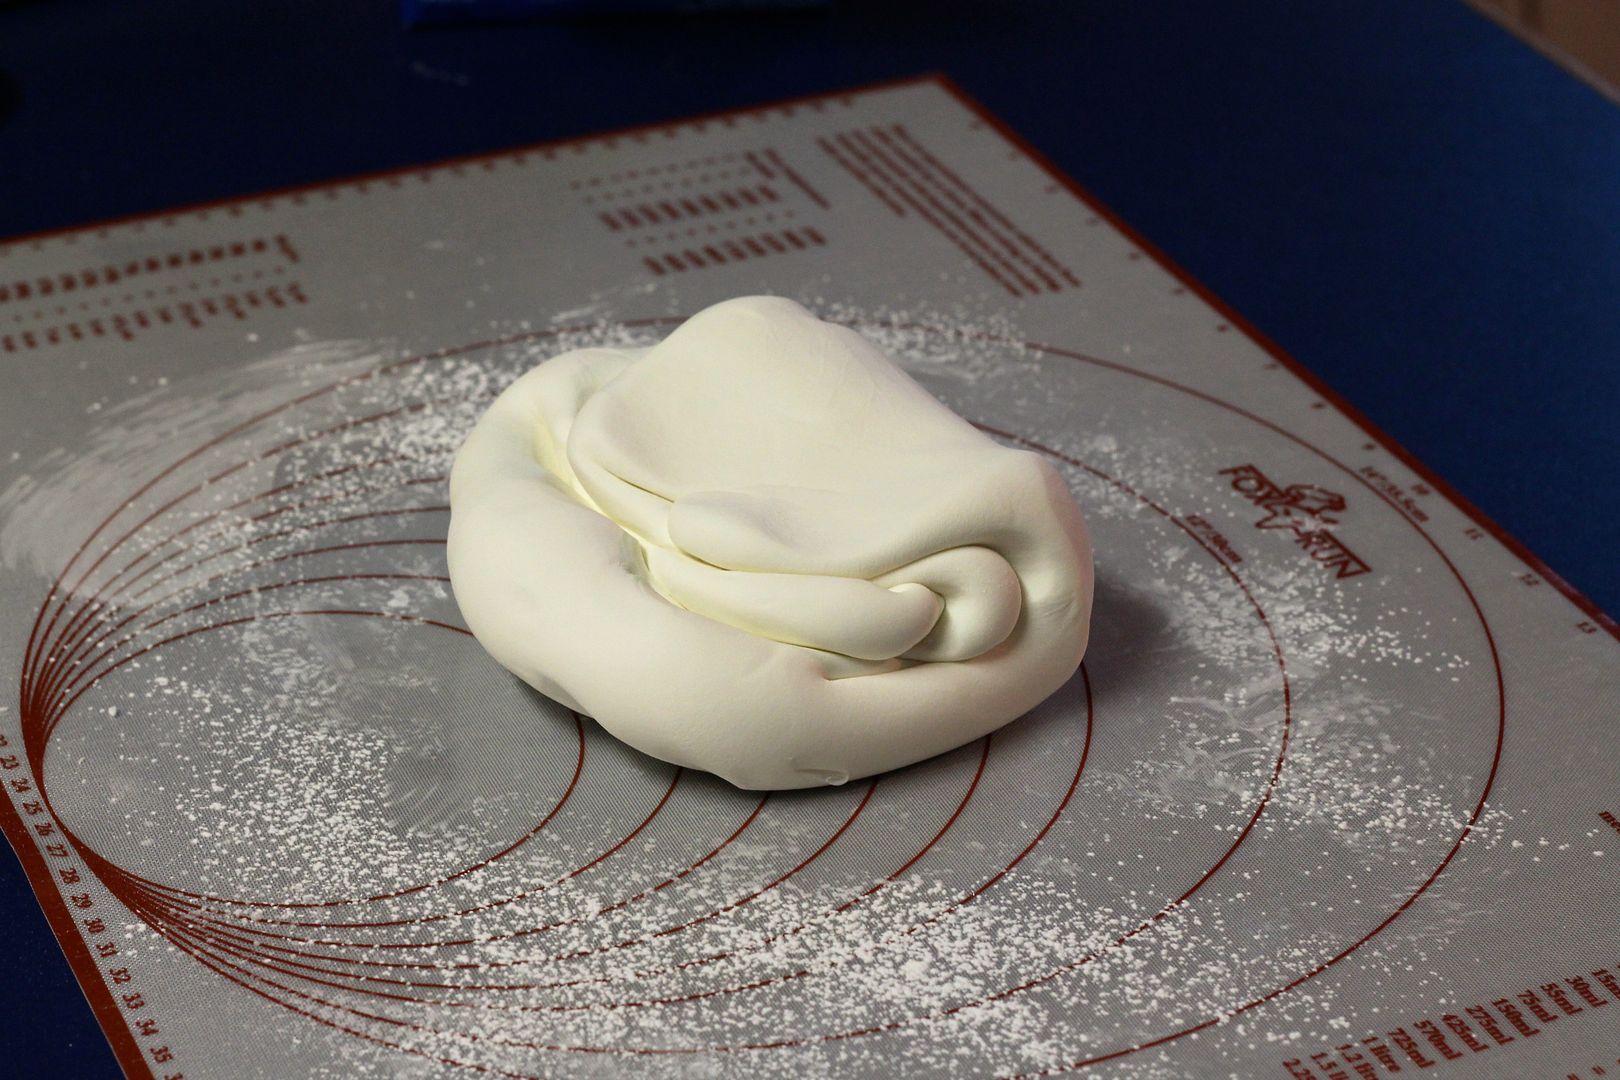
Covering a Cake with Fondant
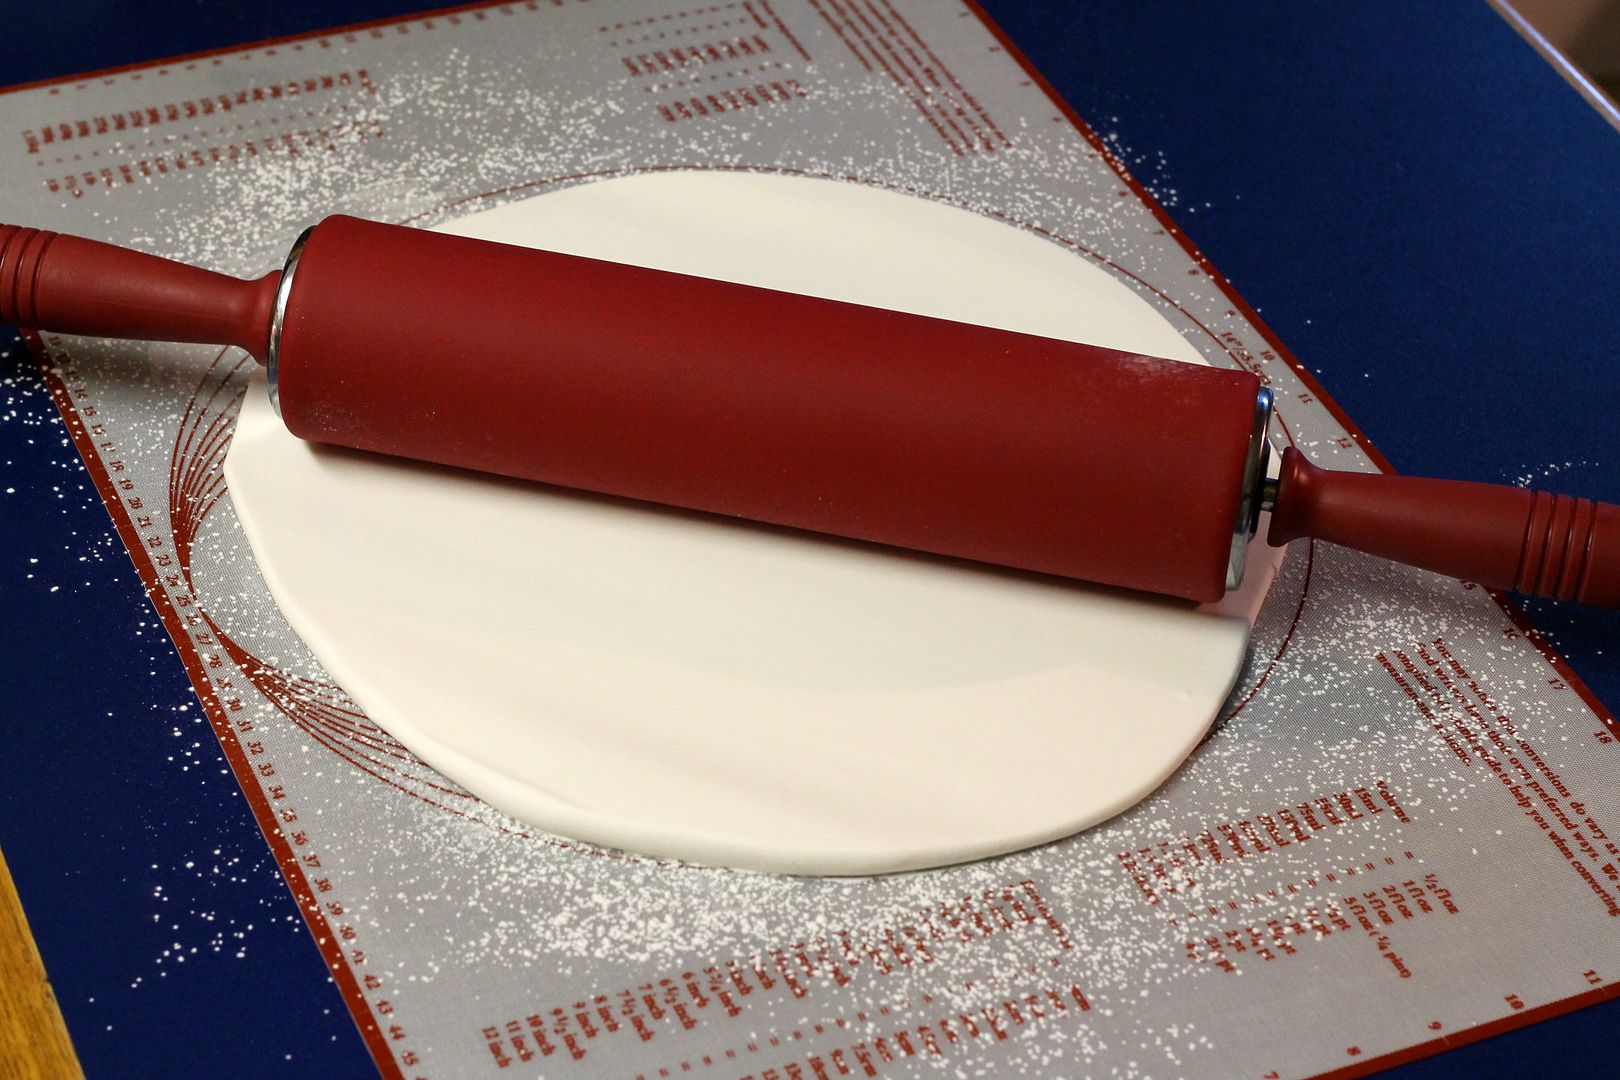
To roll out the fondant, dust your work surface lightly with the icing sugar-cornstarch mixture. Using a non-wooden rolling pin, roll it out about 1/8″ thick in a circle that is a little bit larger than the diameter of your cake + twice its height (ie, if you have a 10″ round cake that is 3″ high, you need a circle of fondant slightly larger than 16″, or 10″ + 3″ + 3″). As you roll, move the fondant around and keep dusting underneath it with the icing sugar-cornstarch mixture to prevent it from sticking.
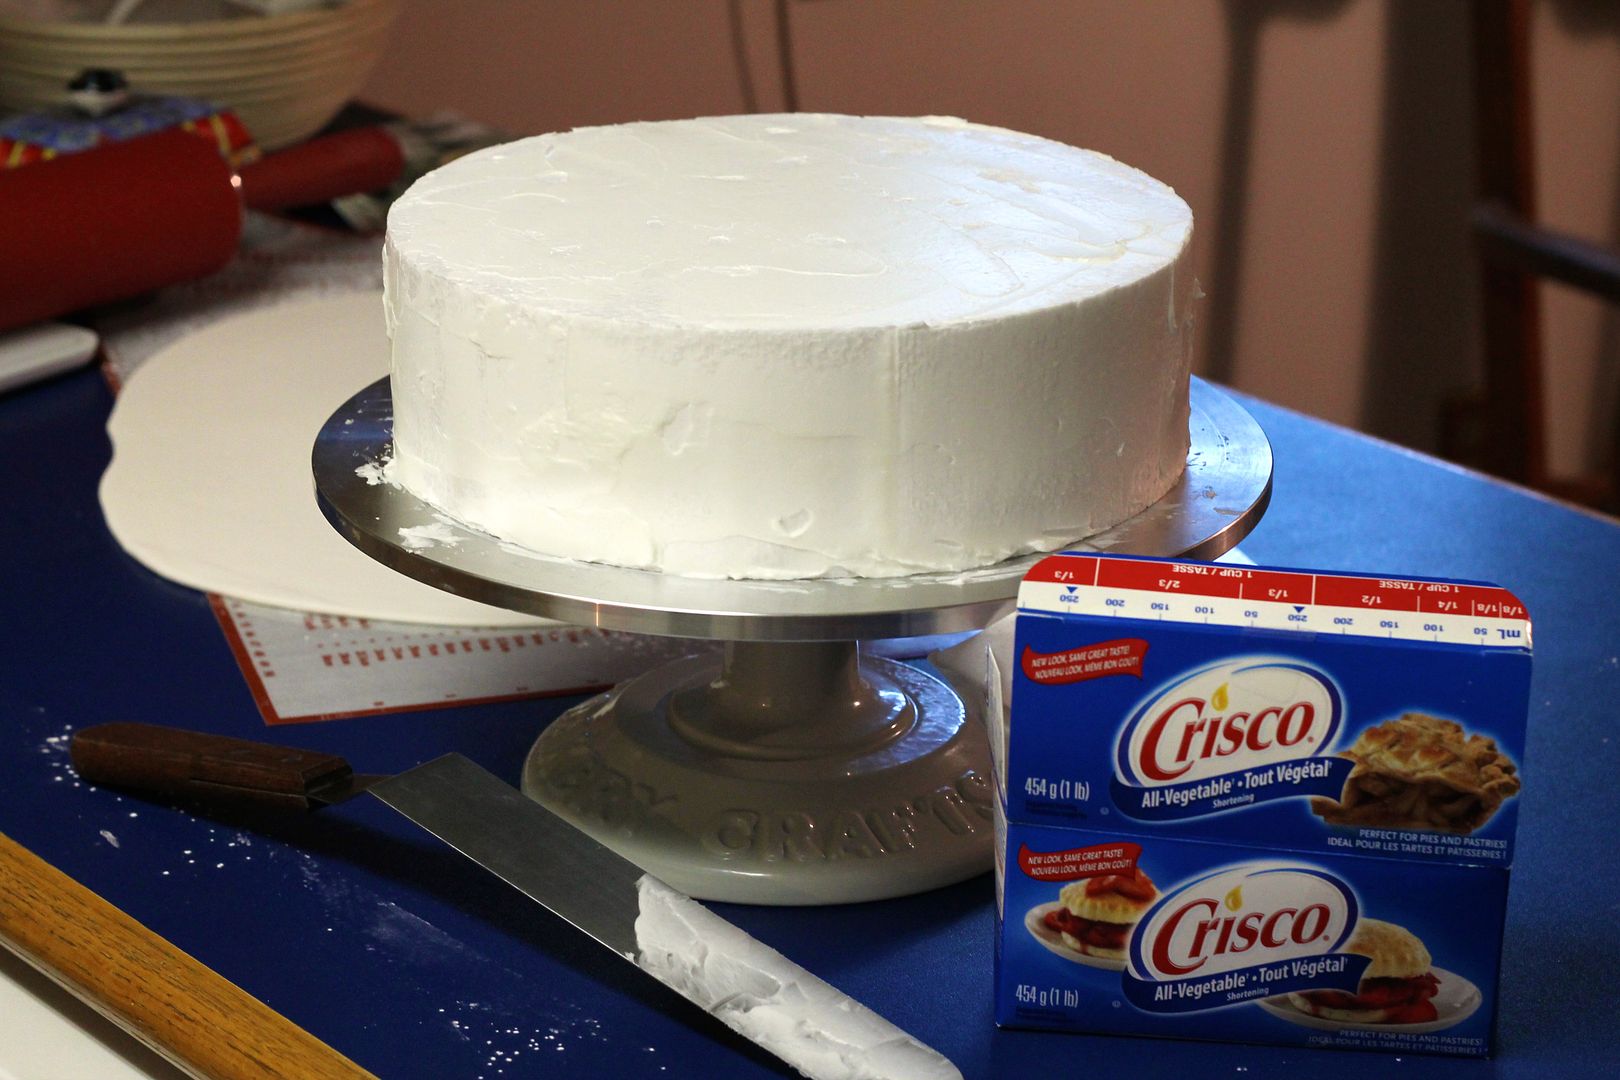
If you are covering a cake, you want it to be on a cake board, filled and crumb-coated with frosting and well-chilled and solid before putting the fondant on. If you are covering a styrofoam cake dummy, you can “frost” it with a thin later of shortening – this will make the fondant stick.
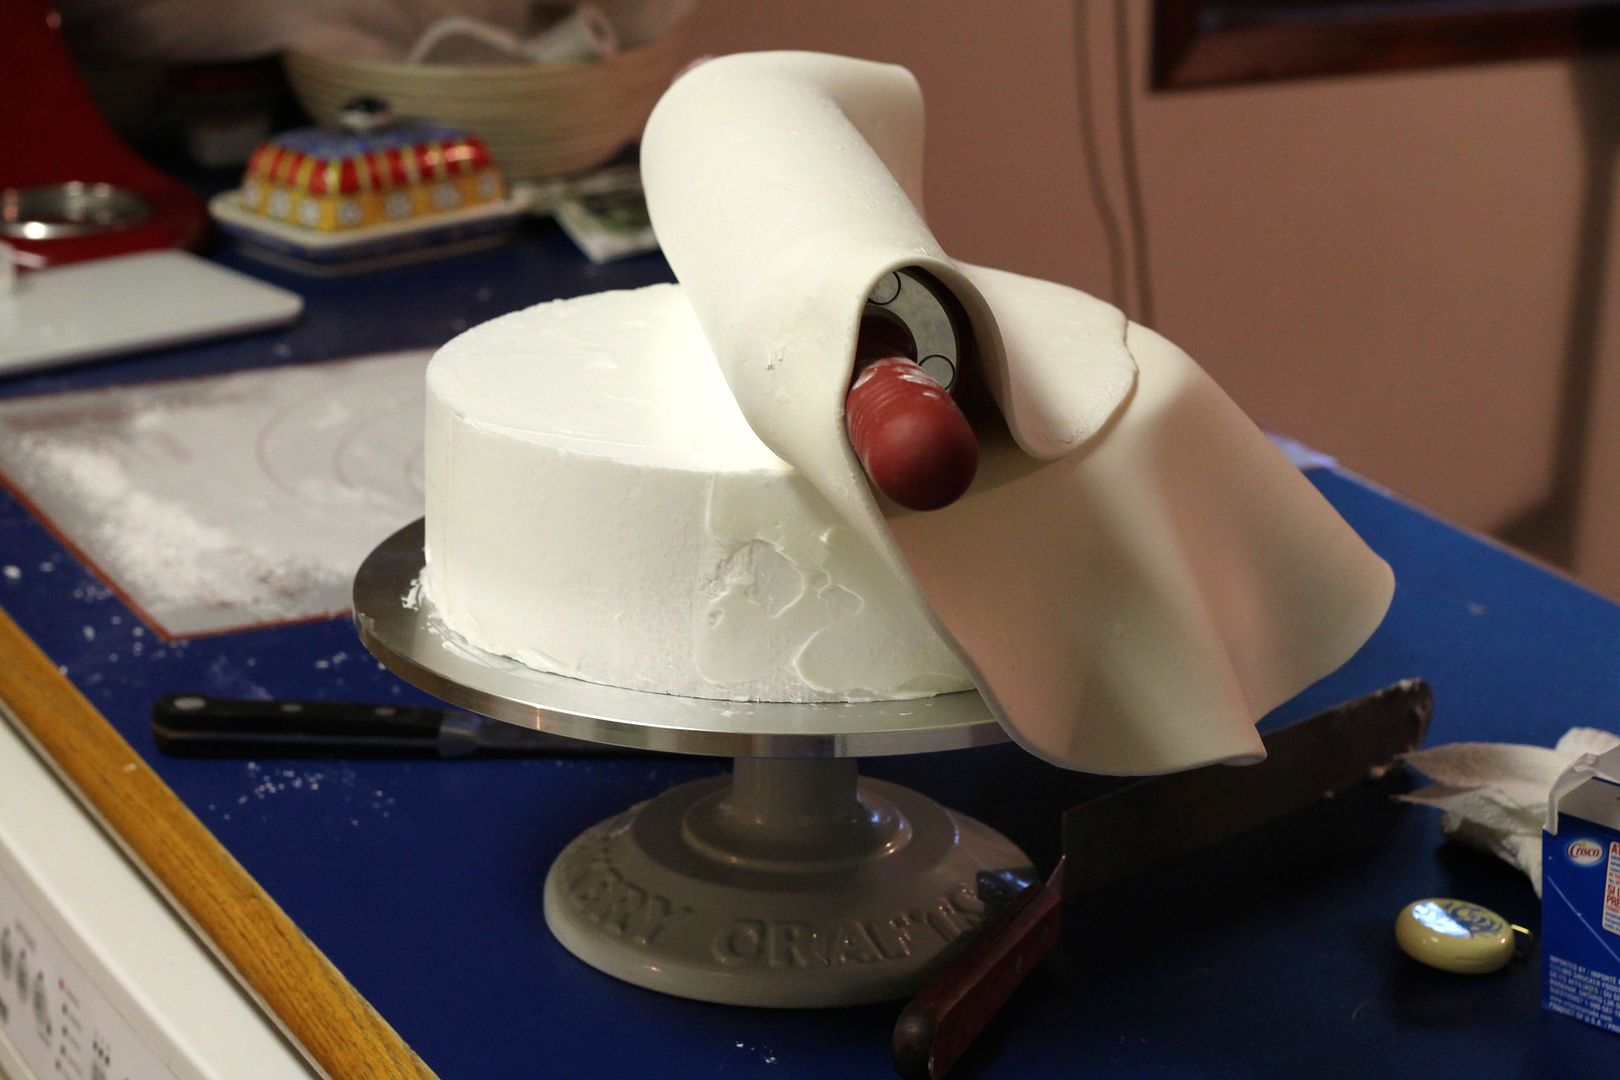
Transfer the fondant to the cake by loosely rolling it around the rolling pin, then draping it over the cake.
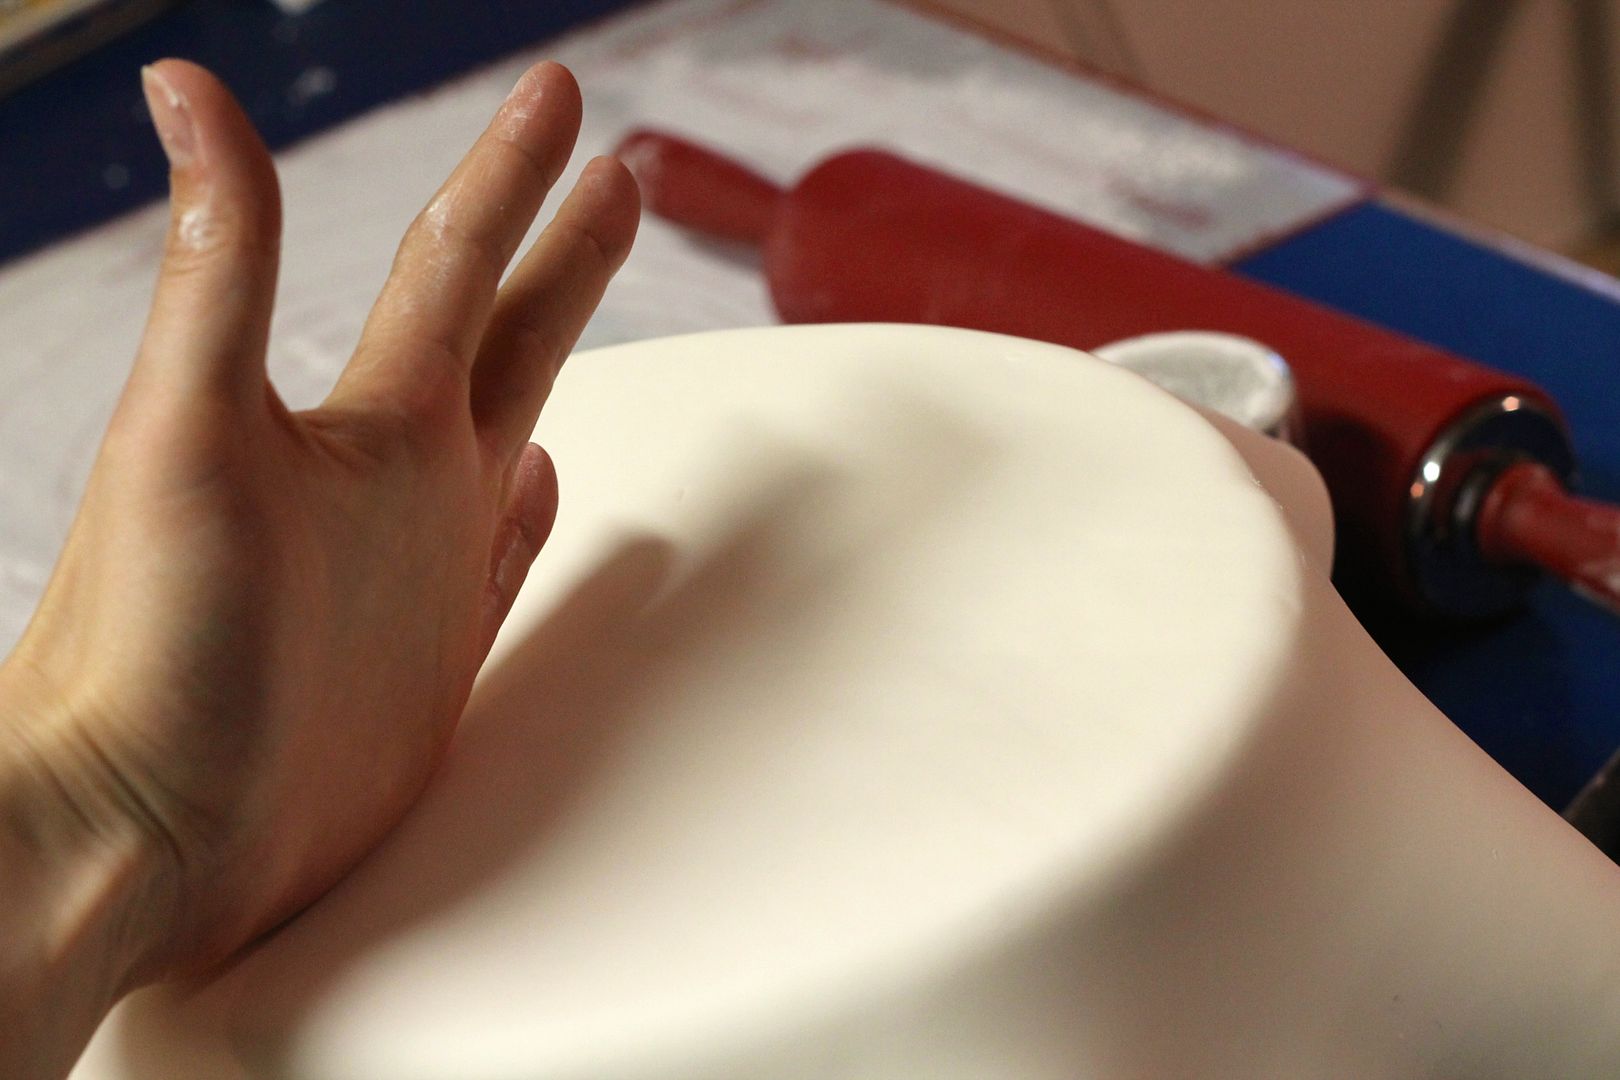
Use the fleshy part of the outside of your hand and light pressure to gently smooth the top of the cake from the center out.
Starting at the top and moving down, gently press and stretch the fondant down on the sides of the cake. Work slowly and gently to prevent it from puckering.
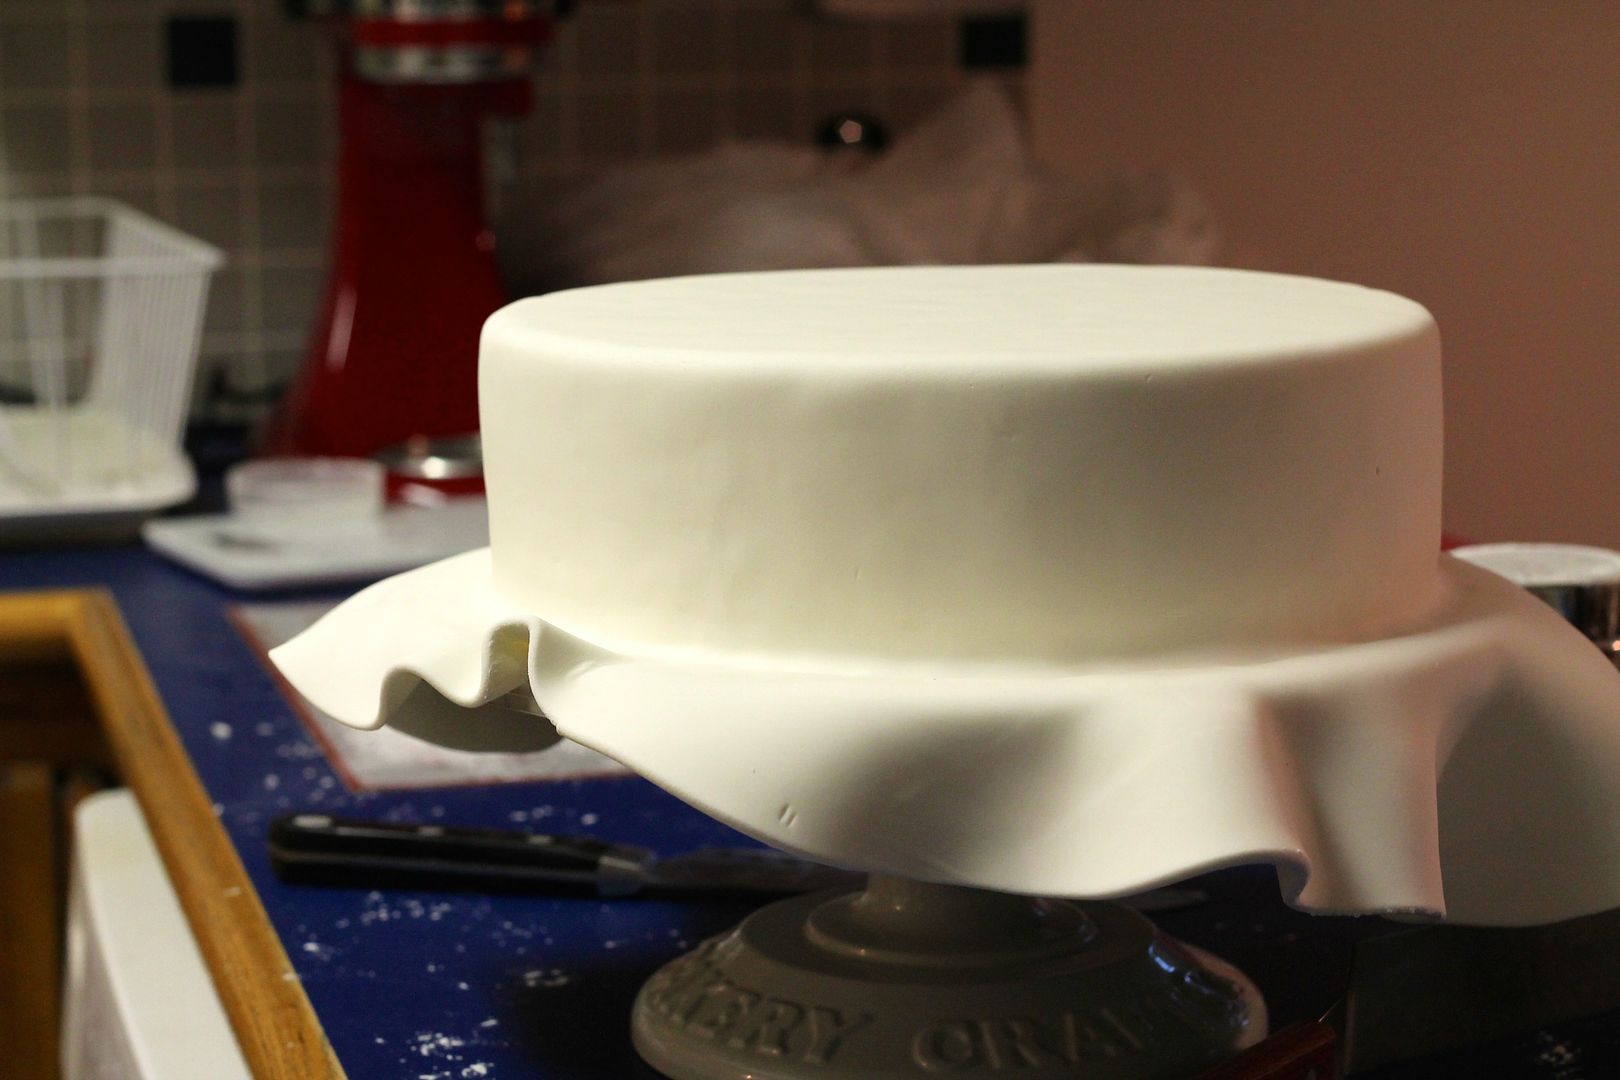
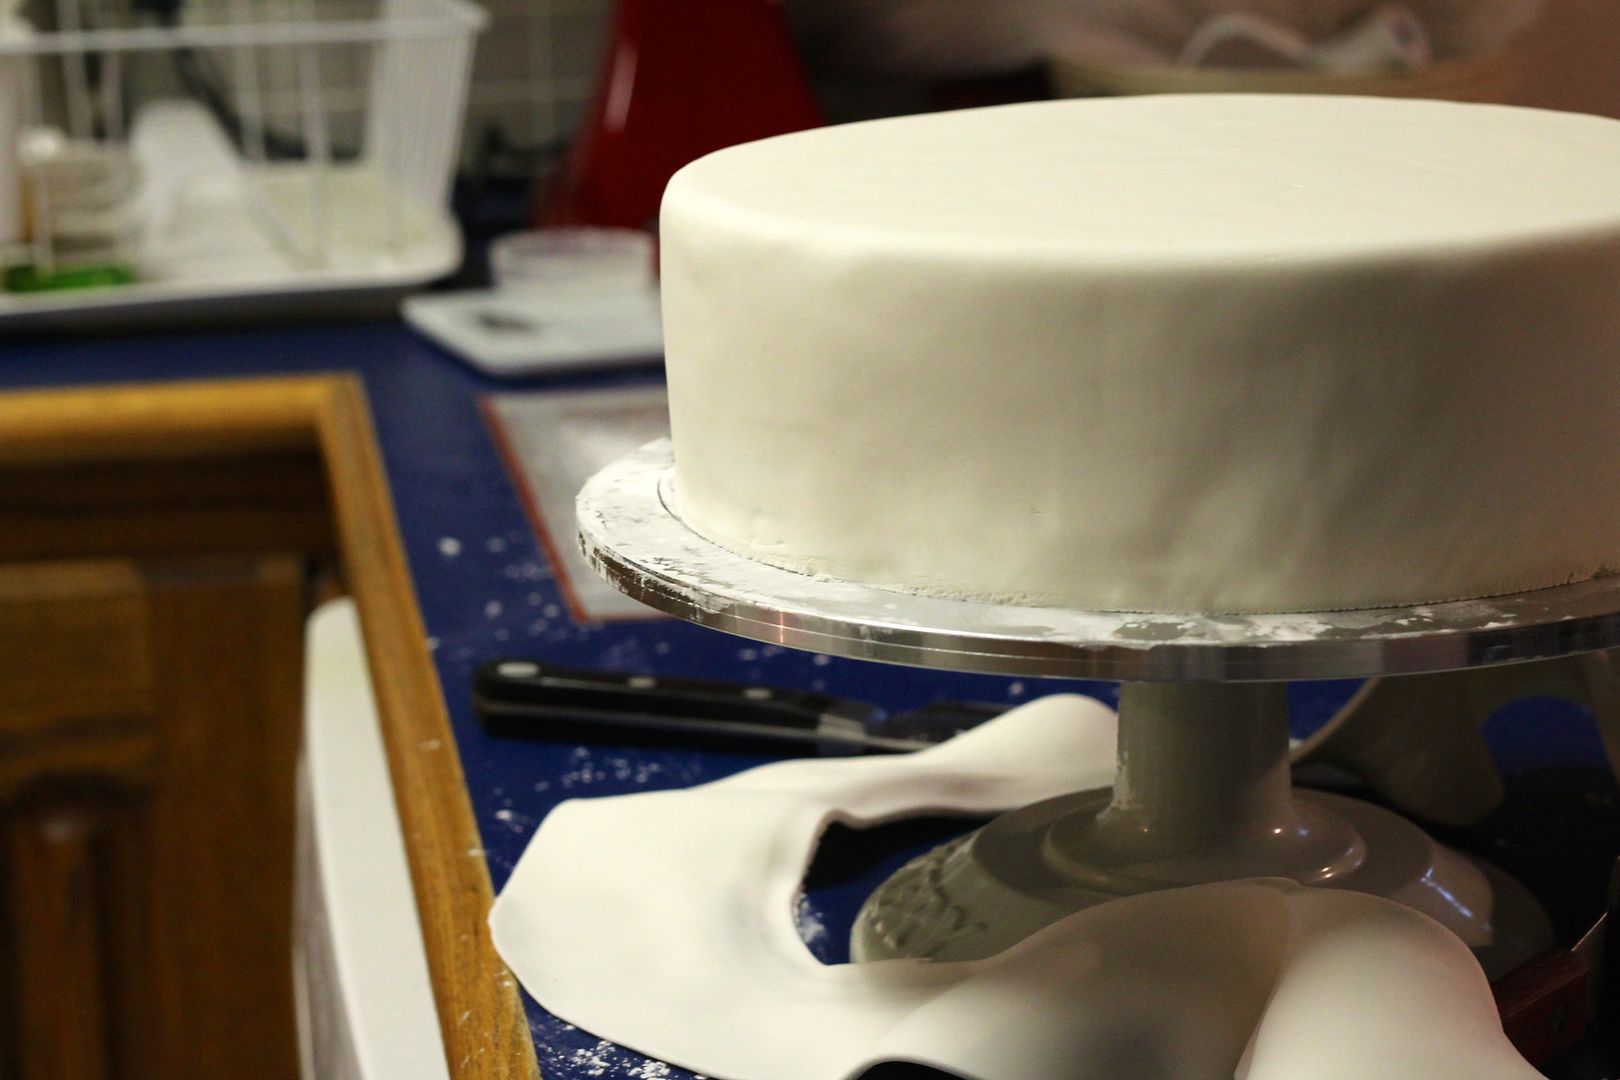
When the fondant is smoothly adhered to the entire cake, trim off the excess fondant around the bottom of the cake.
Quilted Square Pattern
Mark off the bottom of the cake in 2″ increments (1″ inch ended up being too small).
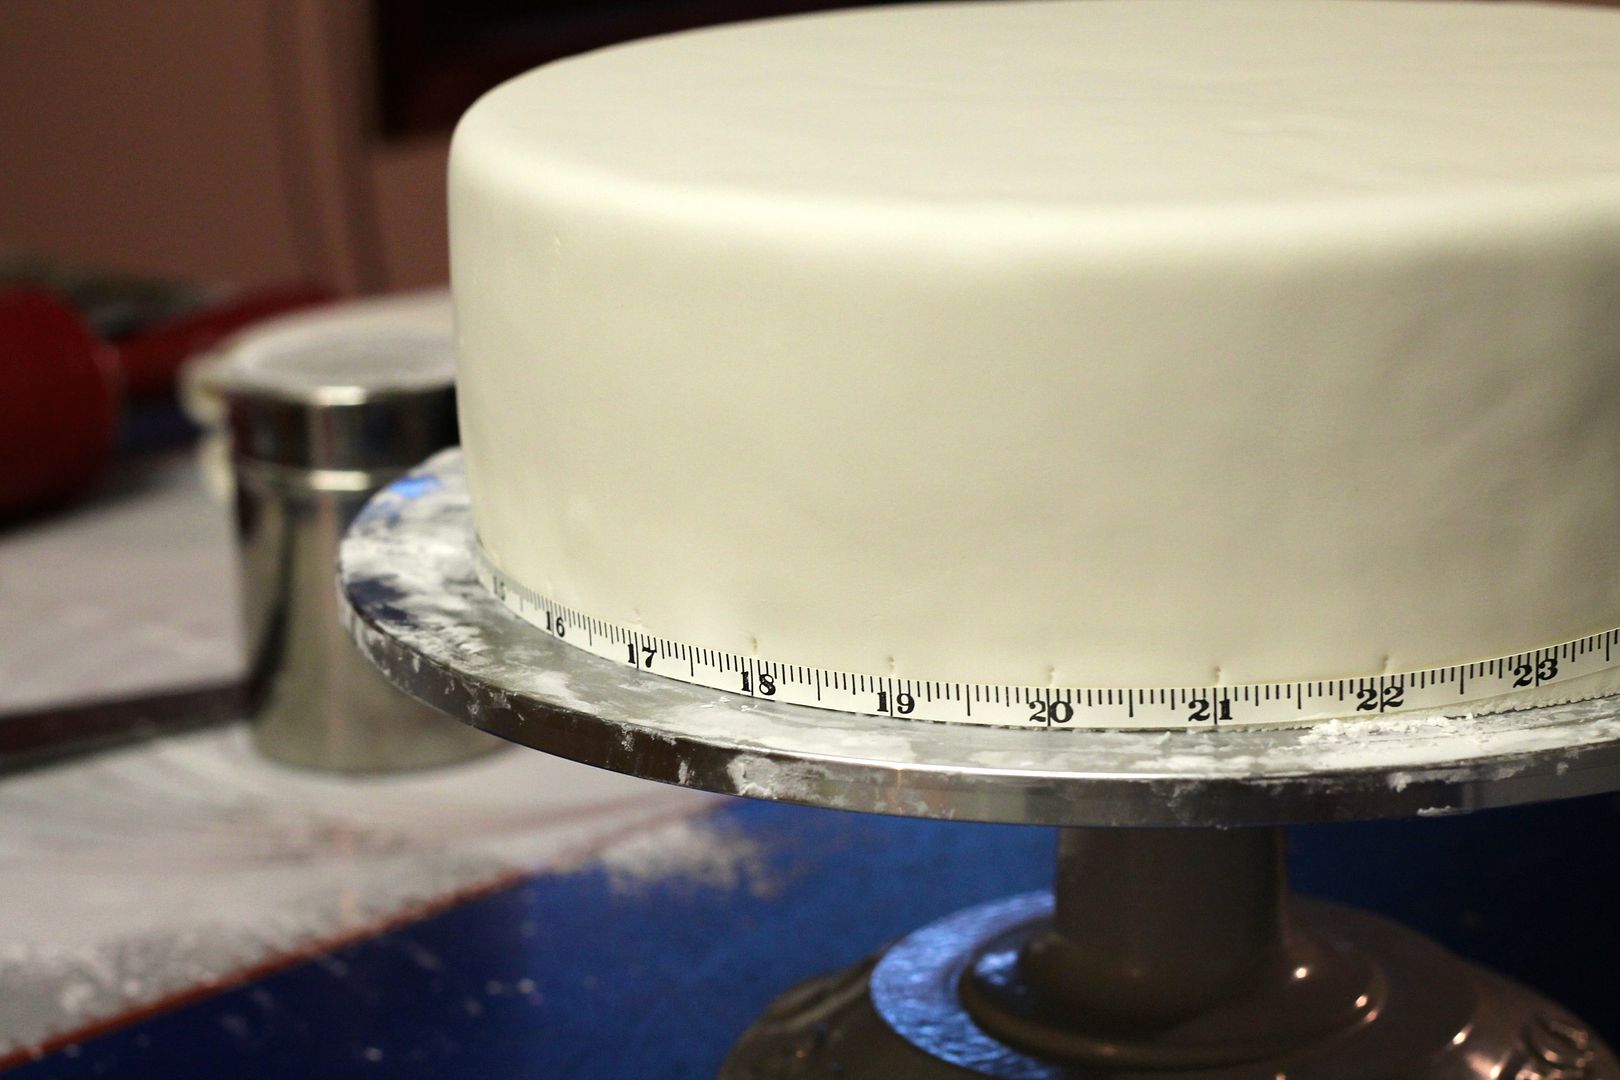
Fold a piece of paper in half on a diagonal so you have a 45-degree angle to use as your guide.
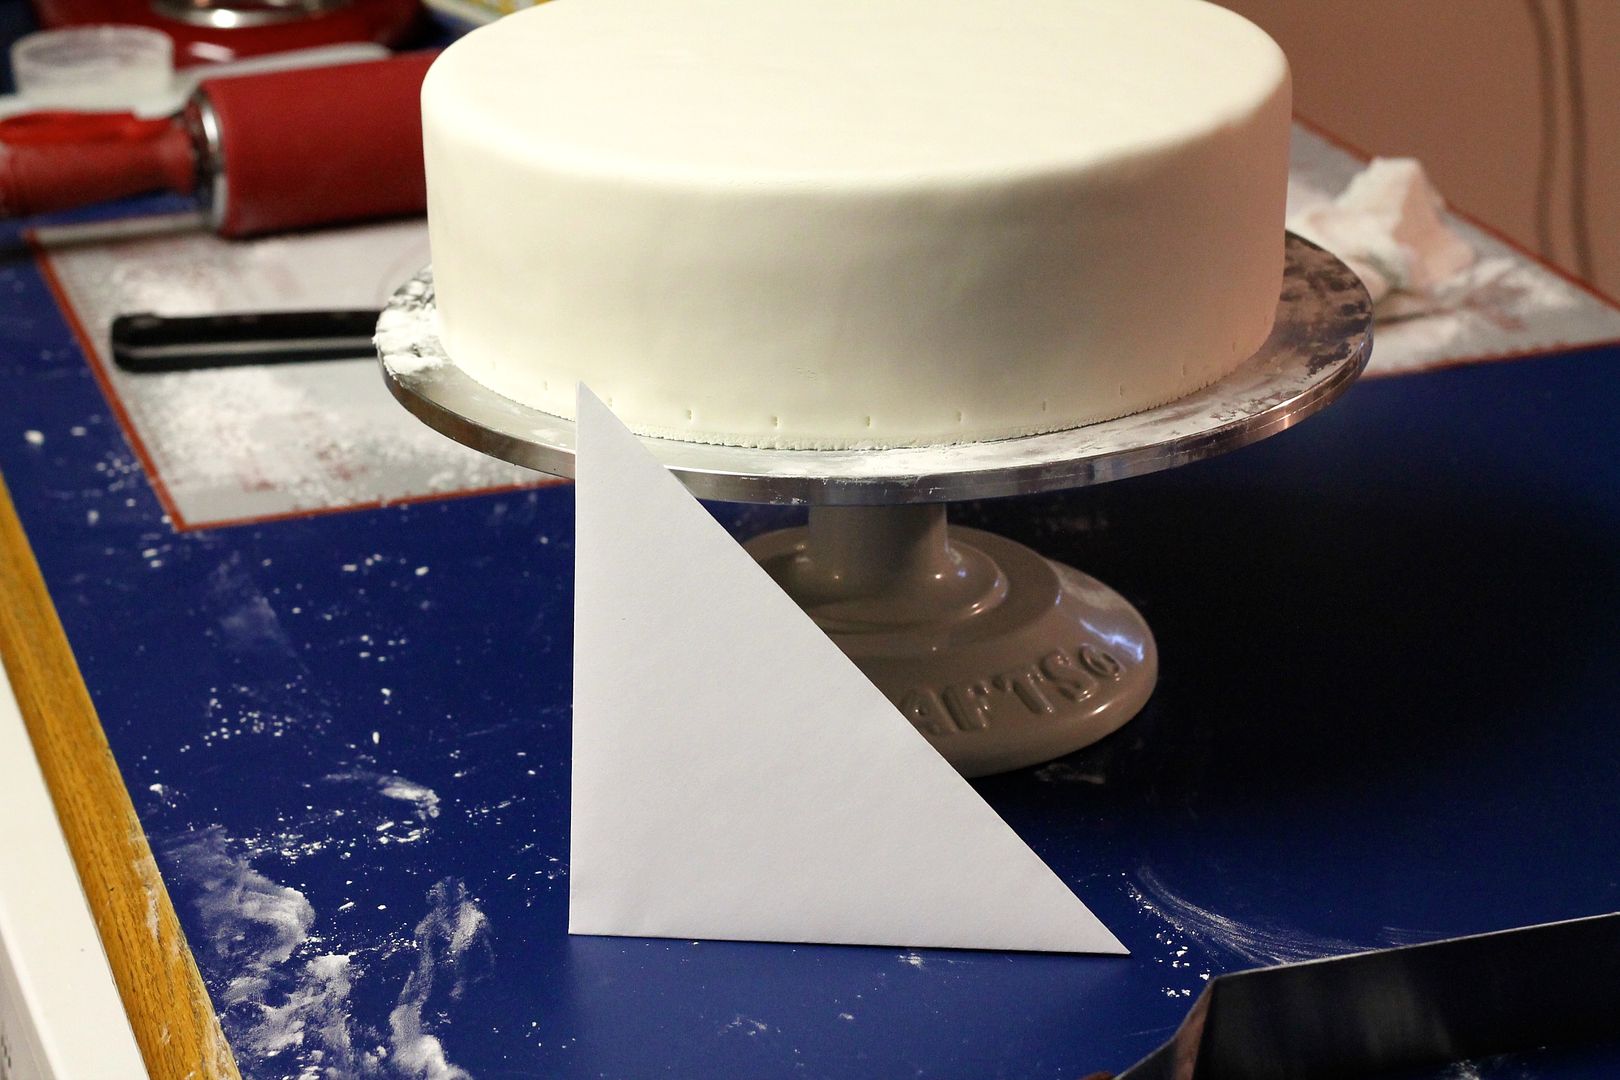
Line up the bottom of the guide with one of the 2″ markings and use a blunt knife blade to trace an indent in the fondant.
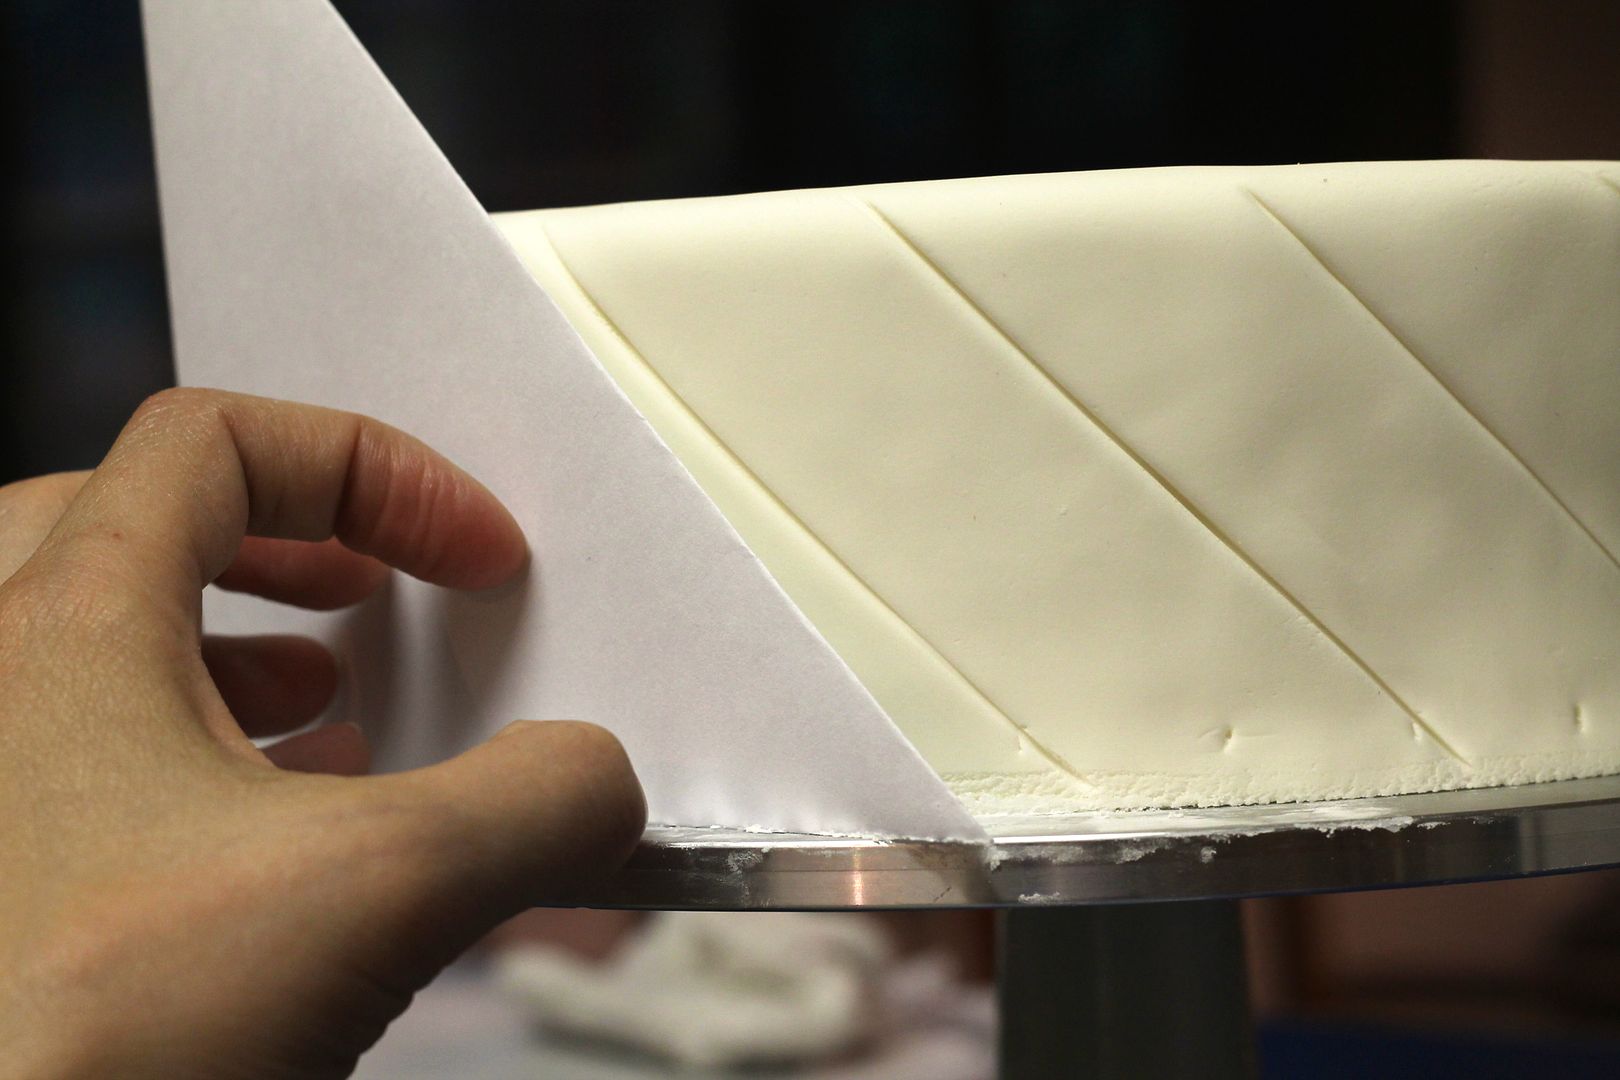
Move your guide to the next 2″ marking and repeat, making a series of parallel 45-degree lines all the way around the cake.
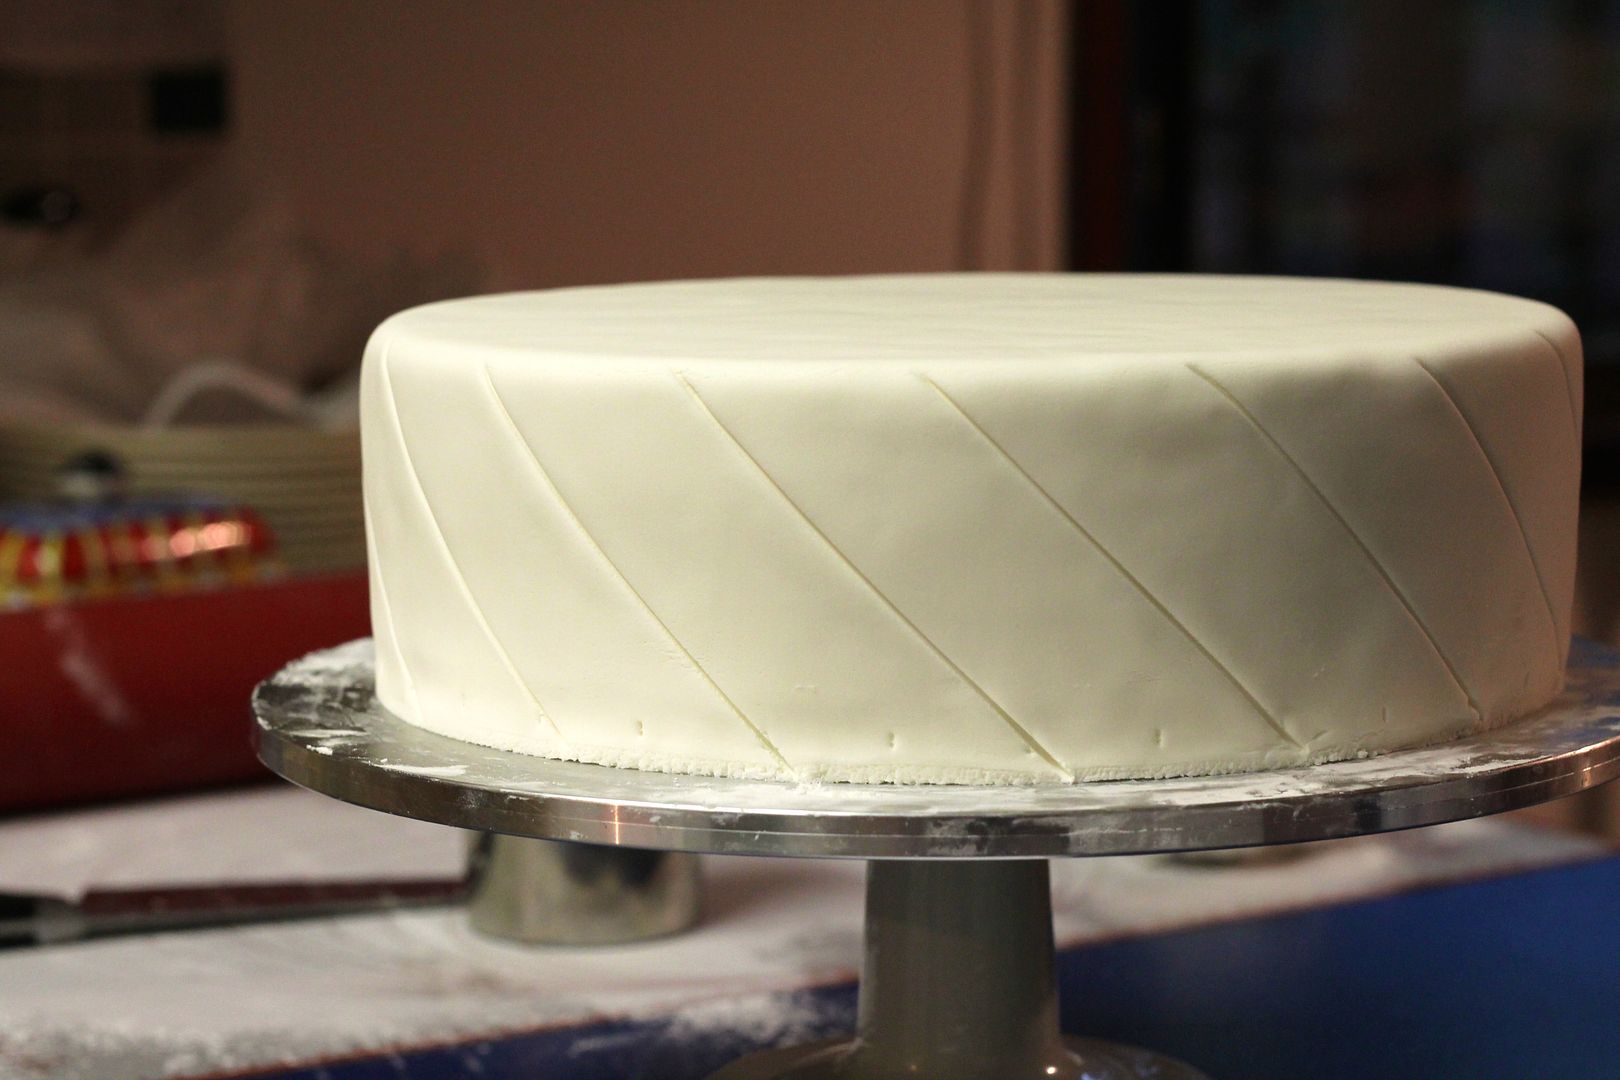
Flip your paper guide around the other way and line it up with the top of one of the existing lines in the fondant and again trace an indent in the fondant. It’s better to line up the pattern at the top rather than the bottom, because any imperfections can more easily be hidden at the bottom (with flowers, ribbon, etc) than at the top.
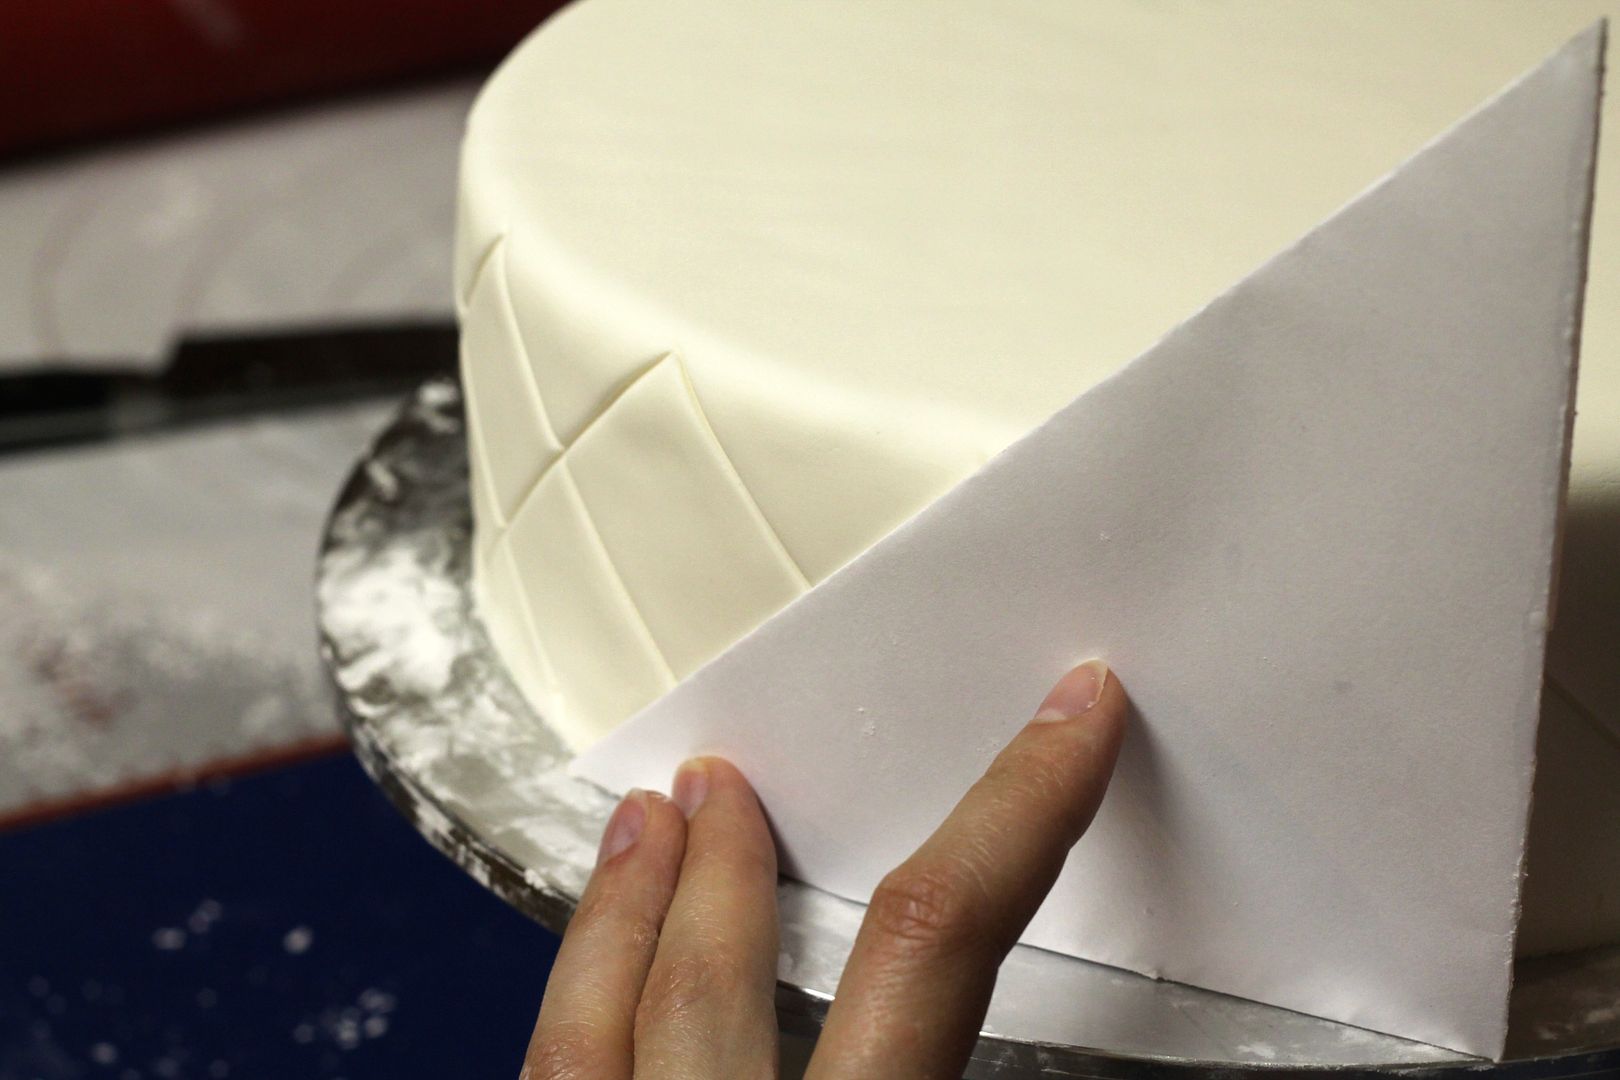
Repeat until the whole cake is covered in squares. Depending on the circumference of your cake, the pattern might match up perfectly, or you’ll have a weird little bit of overlap (just make that the back of the cake).
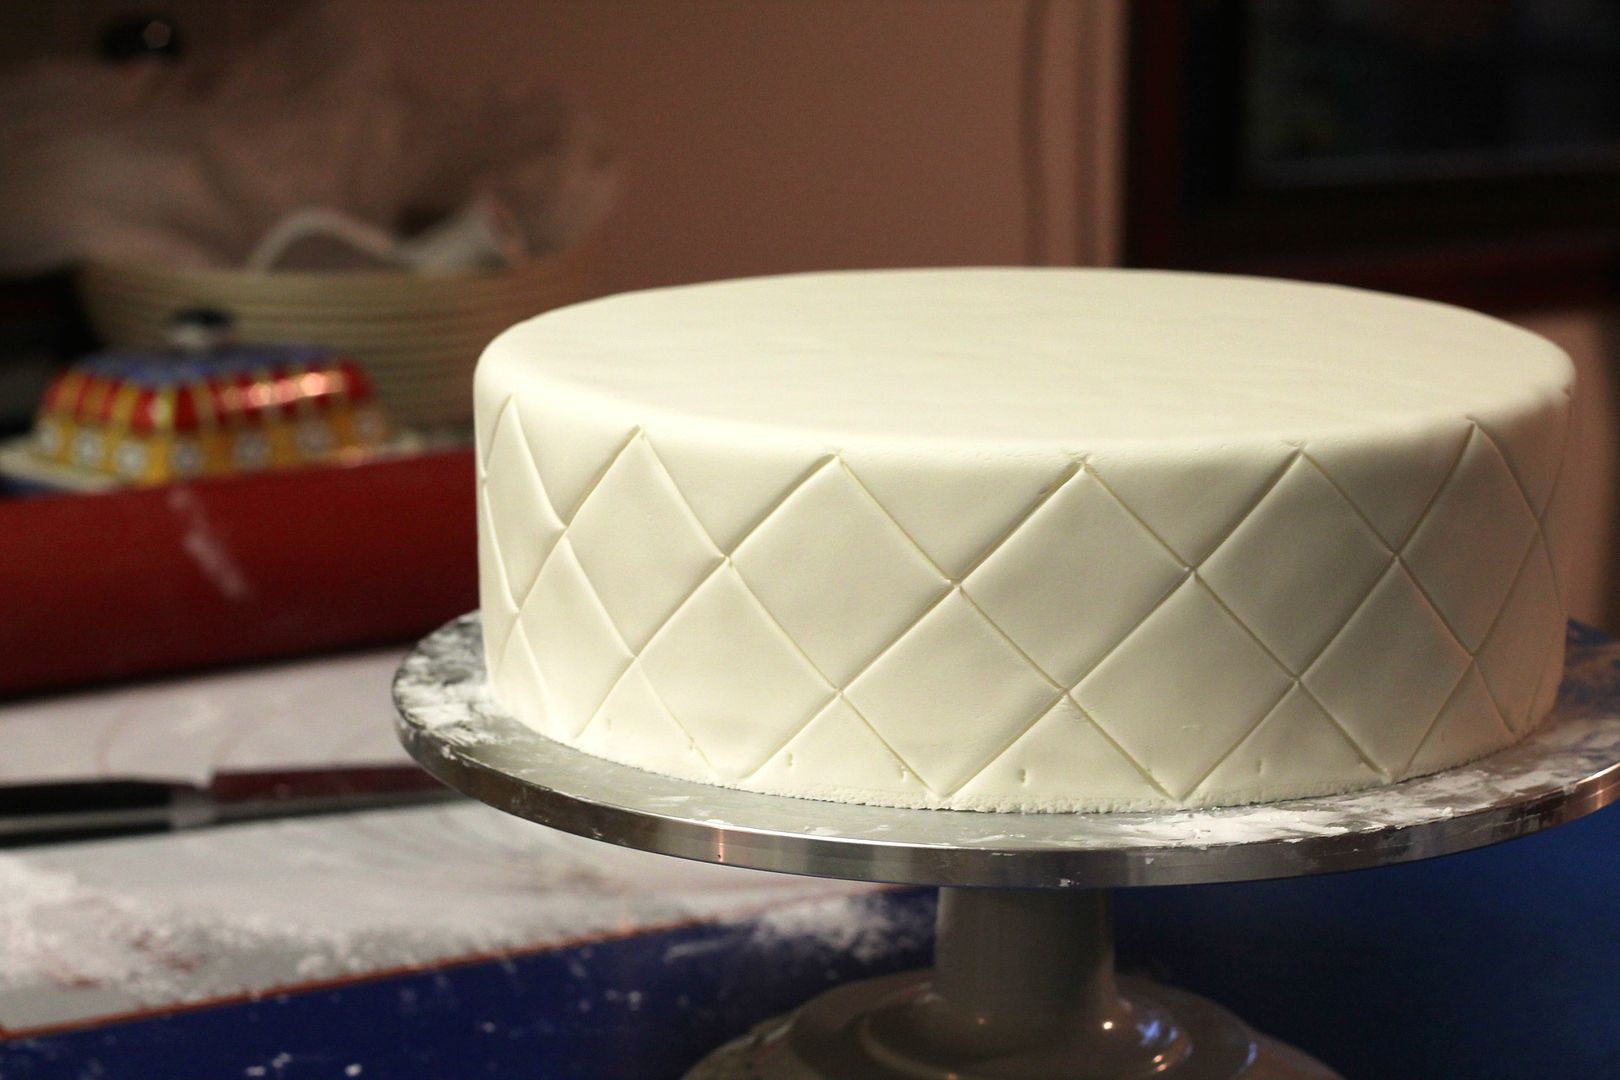
To finish the cake, stack the tiers (see this post for how to properly dowel a cake for stacking) and wrap a piece of ribbon around the bottom of each tier, securing it with a pearl-headed dressmaker’s pin (make sure you remove the pin before cutting and eating the cake!).
Korena, once again you confirmed it: you are amazing! 🙂 <3
Aw yes. Marshmallow fondant in a heat wave. Isn’t it fun to work with? I LOVE the taste compared to the rest but yes…next time I would advise buying Satin Ice fondant if you can, if its that hot. But really. For a second wedding cake, you did really good under the conditions! BRAVO! Above all it tasted good. We all know that is the most important thing of all.
You know, the fondant really wasn’t the problem – it was the frosting! It was soooooo soft and just wanted to ooze out from underneath the fondant, and it made it really difficult to cover the cake. But you’re right, the important thing is that it tasted good 🙂
Aw yes, now that I reread it you did say it was the frosting. My brain picked up in the fondant and forgot to really READ your sentence. SORRY!
I do love that diamond pattern. I have never had to use it on a cake yet. I am glad I now know an easy way to pull it off cleanly.
Lol, I do that too 😉 But the Satin Ice fondant is a good tip to bear in mind.
Yeah, the diamond pattern was easy! I was thinking I’d have to buy a special stamp, so was happy to discover otherwise. The bride suggested putting a little pearl dragée at every line intersection, which would be really pretty, but unfortunately I just didn’t have time!
Oh! YES that would have been GORGEOUS! Funny because I just finished 200 wedding cupcakes decorated with purls. They would have taken quite a while to hand place.
Korena – what type of frosting did you use to do the base coat on your cake? I have never worked with Marshmallow fondant as I prefer to make my own from scratch. It is not at all difficult and yields a far more reliable & sturdy product – I find even some of the Prefab ones are just too stretchy or soft! I always add lots of almond or white vanilla extract, some butter (but not too much – and sometimes None!) and salt for superior flavour. See Wilton’s website for a recipe. I use a decorator’s frosting which is basically half Royal Icing very stiff, and half fluffy butter icing – also quite stiff. I do not put on a thick coat under the fondant or it gets squishy and oozy! Up to now I also don’t put fillings in the tiers if it is hot weather and they’re covered in fondant. Too expensive, time consuming, and too much margin for error. As you discovered too hey? Unfortunately the Decorator’s Buttercream is more “American Sweet” Icing – and cannot even remotely be compared to RLB’s Swiss Meringues, Mousselines and Silk Meringues :-P… but for such occasions – stability & presentation have to take priority over flavour. So those are a few tips from me for future endeavours. Your cake looks very lovely & professional – excellent work for a 2nd wedding cake!!
Thanks for the tips Karin! I used a roux-based cream cheese frosting as the base coat/filling. The issue was that is was too cold when I tried to re-beat it the morning of the wedding, resulting in soft, soupy frosting (sort of the opposite of what you’d expect, but the fat in the frosting was too cold to emulsify properly). Had it been the right temperature and the correct thickness (and if I’d had the time to get it that way!) I think it would have been fine. What I should have done was fill and frost the cake the night before so that it was fully chilled and solid before putting the fondant on top. The fondant wasn’t really the problem – it was what was underneath the fondant that was the issue! I quite liked the marshmallow fondant (easy to make, easy to work with), but I might have to try making it from scratch one day, too!
Looks just stunning!
Outstanding. So risky but so well executed!
Risky – haha, yes!
Lol, I loved the bit about trying not to swear in the brides friends kitchen. The cake looked stunning, inspite of the problems. Next time someone asks you to do a wedding cake in the heat in Vancouver, just say sorry, I’m going sky diving.