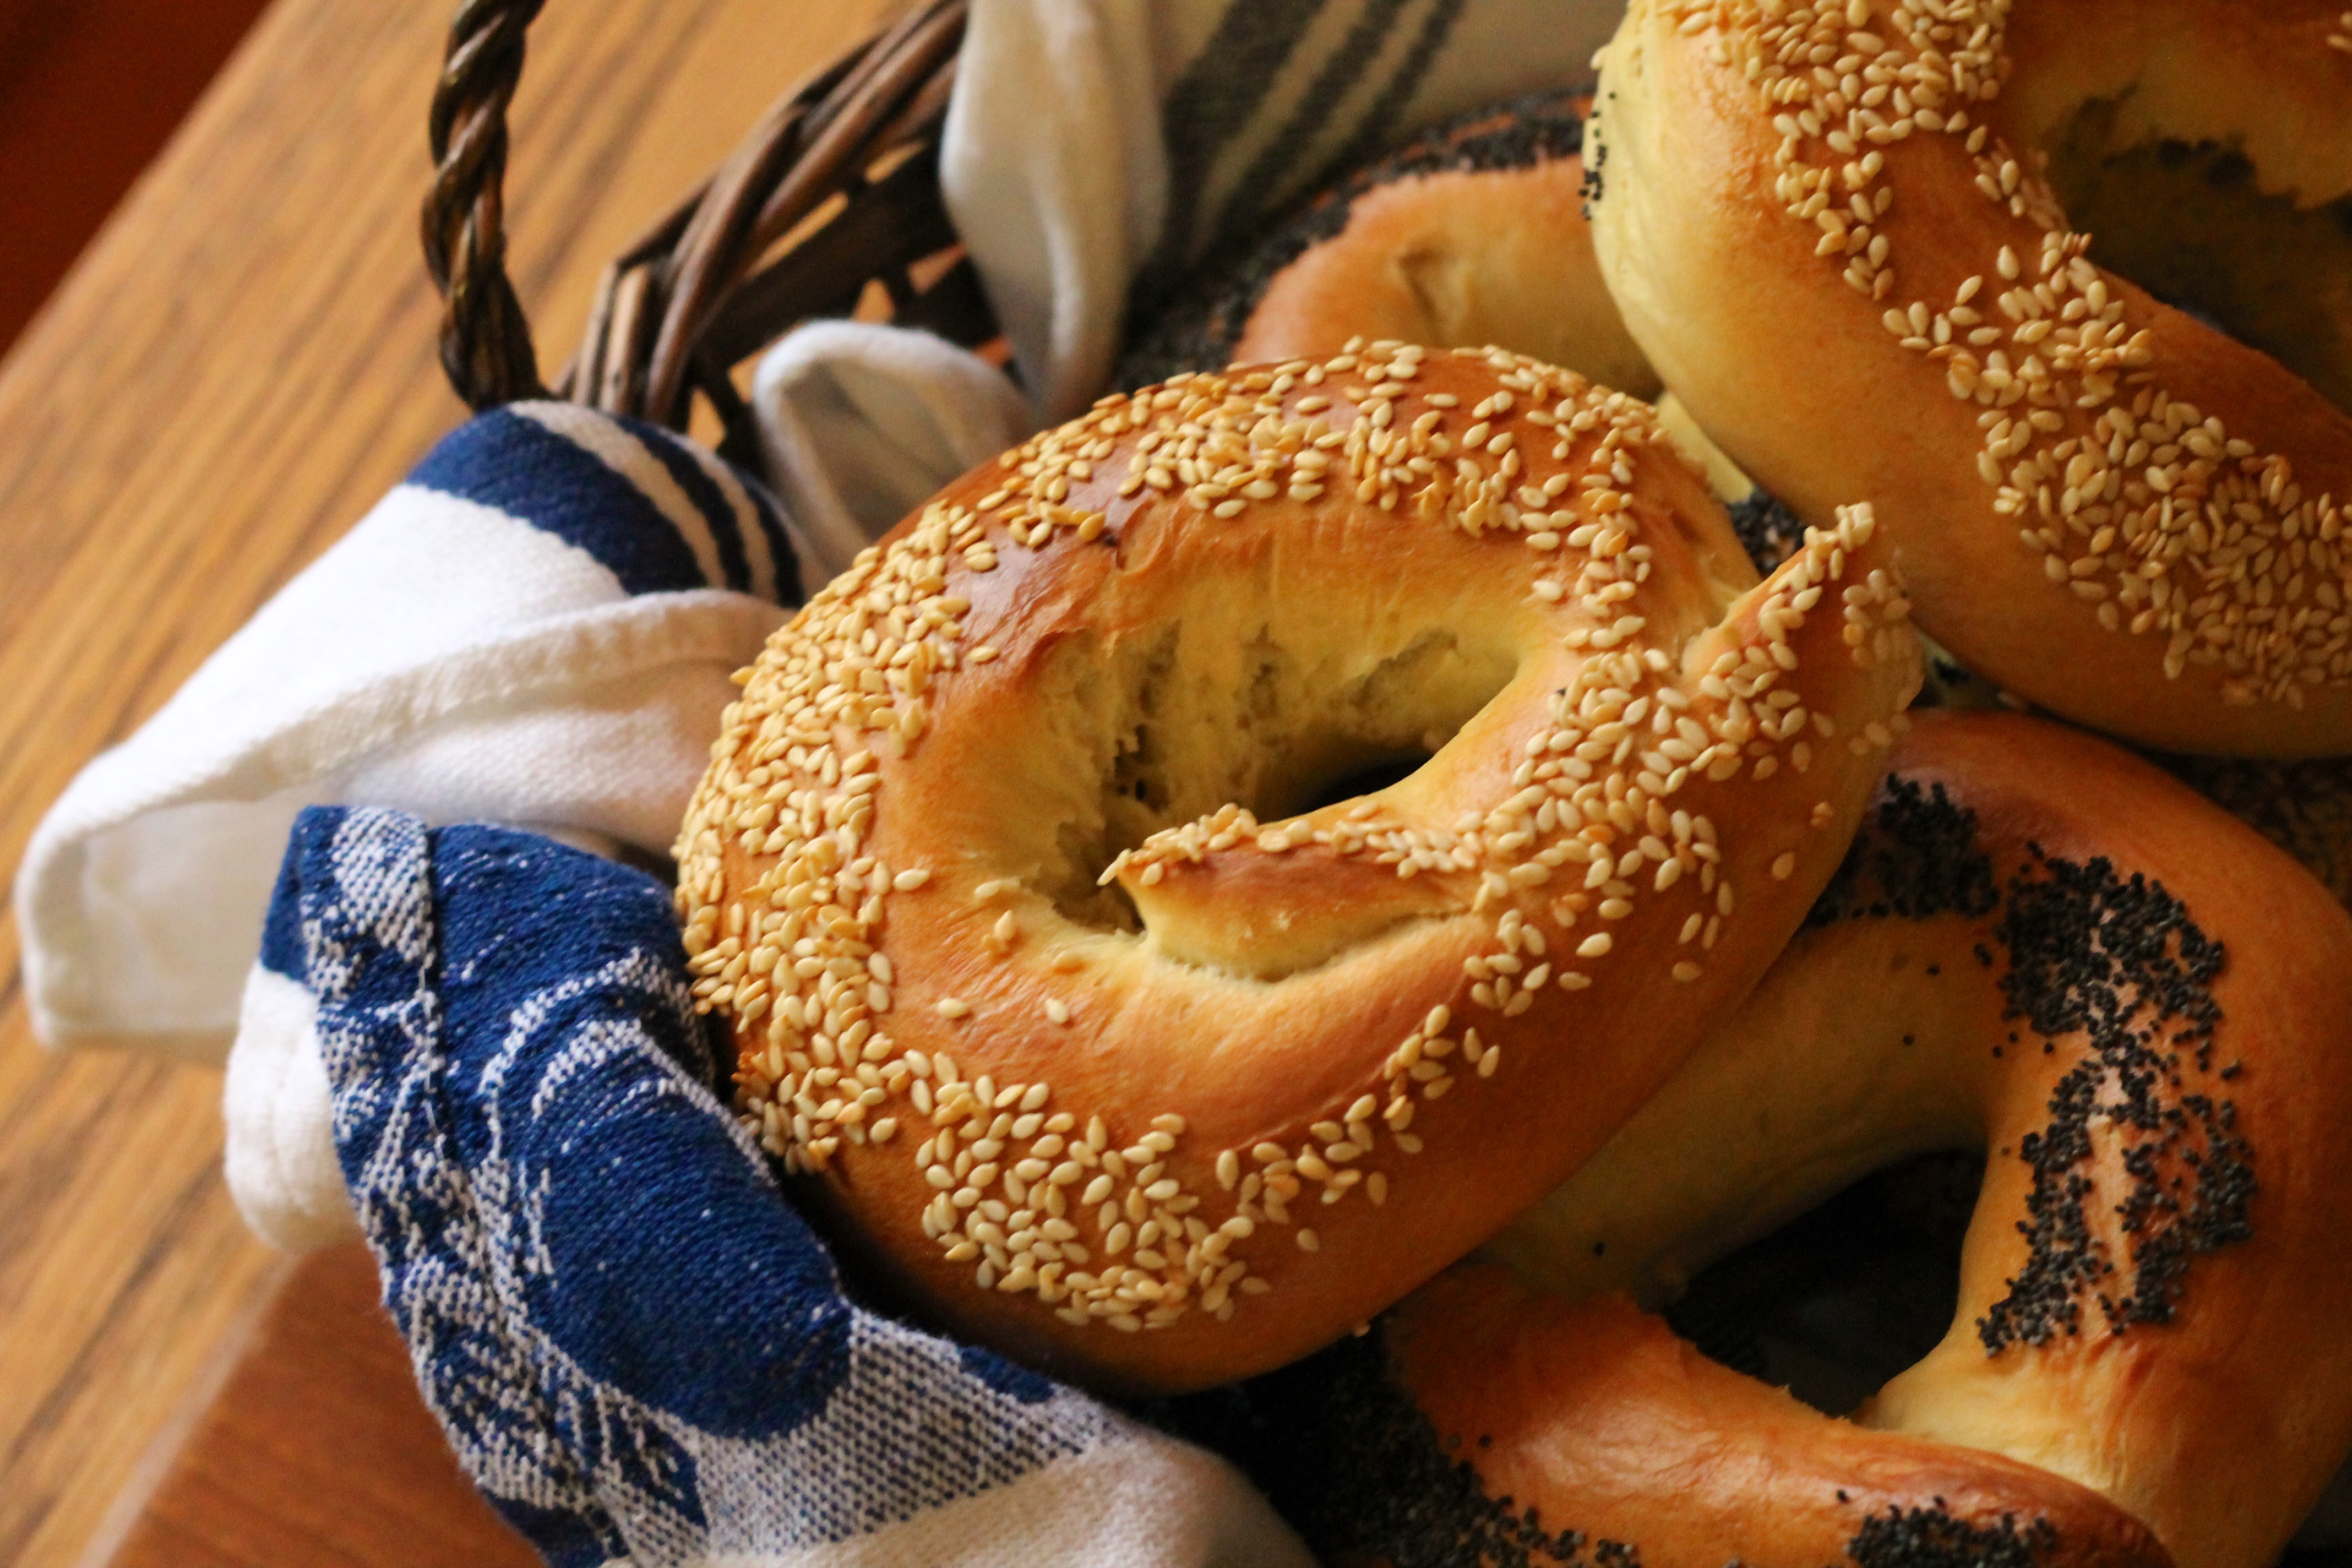
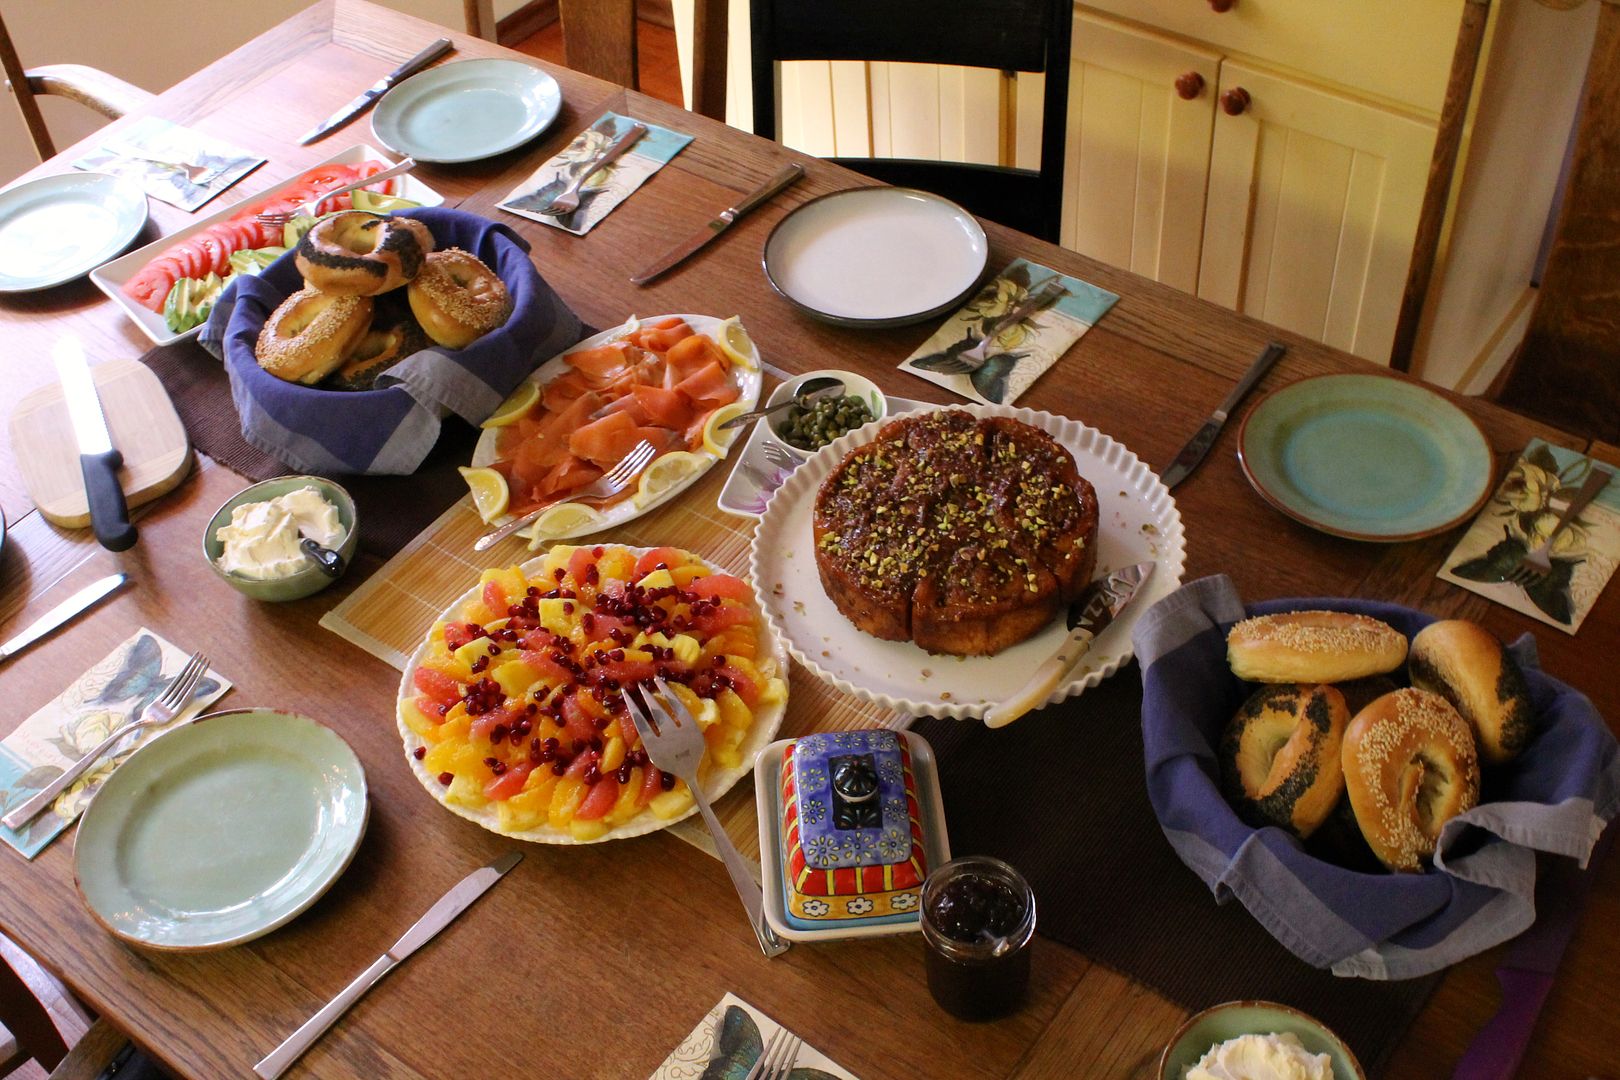
In the summer we started a little brunch tradition with friends, but in recent months have let it slide a bit. Now that another set of our friends have recently moved into the neighbourhood, January seemed the perfect opportunity to resurrect our brunch dates and put into action the homemade bagels I’ve have in my head ever since seeing this picture of a brunch starring the New York bagel. Only because I’m Canadian, my bagels would be of the Montreal variety, which, of course, meant looking up a million recipes in order to begin the agonizing process of picking the best one. I eventually came across a recipe on The Fresh Loaf posted by an alumnus of Vancouver Island University’s culinary arts program, who claimed that the formula was from the famed St Viateur Bagel bakery in Montreal, whose bagels are supposed to be the real deal.
A Montreal-style bagel is distinguished by its small rustic handmade shape, large central hole, and dense, chewy texture. It is boiled in a honey-water bath before baking, and to be a “real” Montreal bagel, it should be made with Montreal water and baked in a wood fired oven. Most interestingly (to me, anyway), the dough contains no salt, and as a result, Montreal-style bagels are on the sweeter side. In comparison, a New York-style bagel contains salt, is generally much larger, and is baked in a conventional oven, giving it a lighter, puffier texture. Both bagels were brought to their respective cities/countries by Jewish immigrants from Poland, however Montreal-style bagels are the only variety so far to have made it into space!
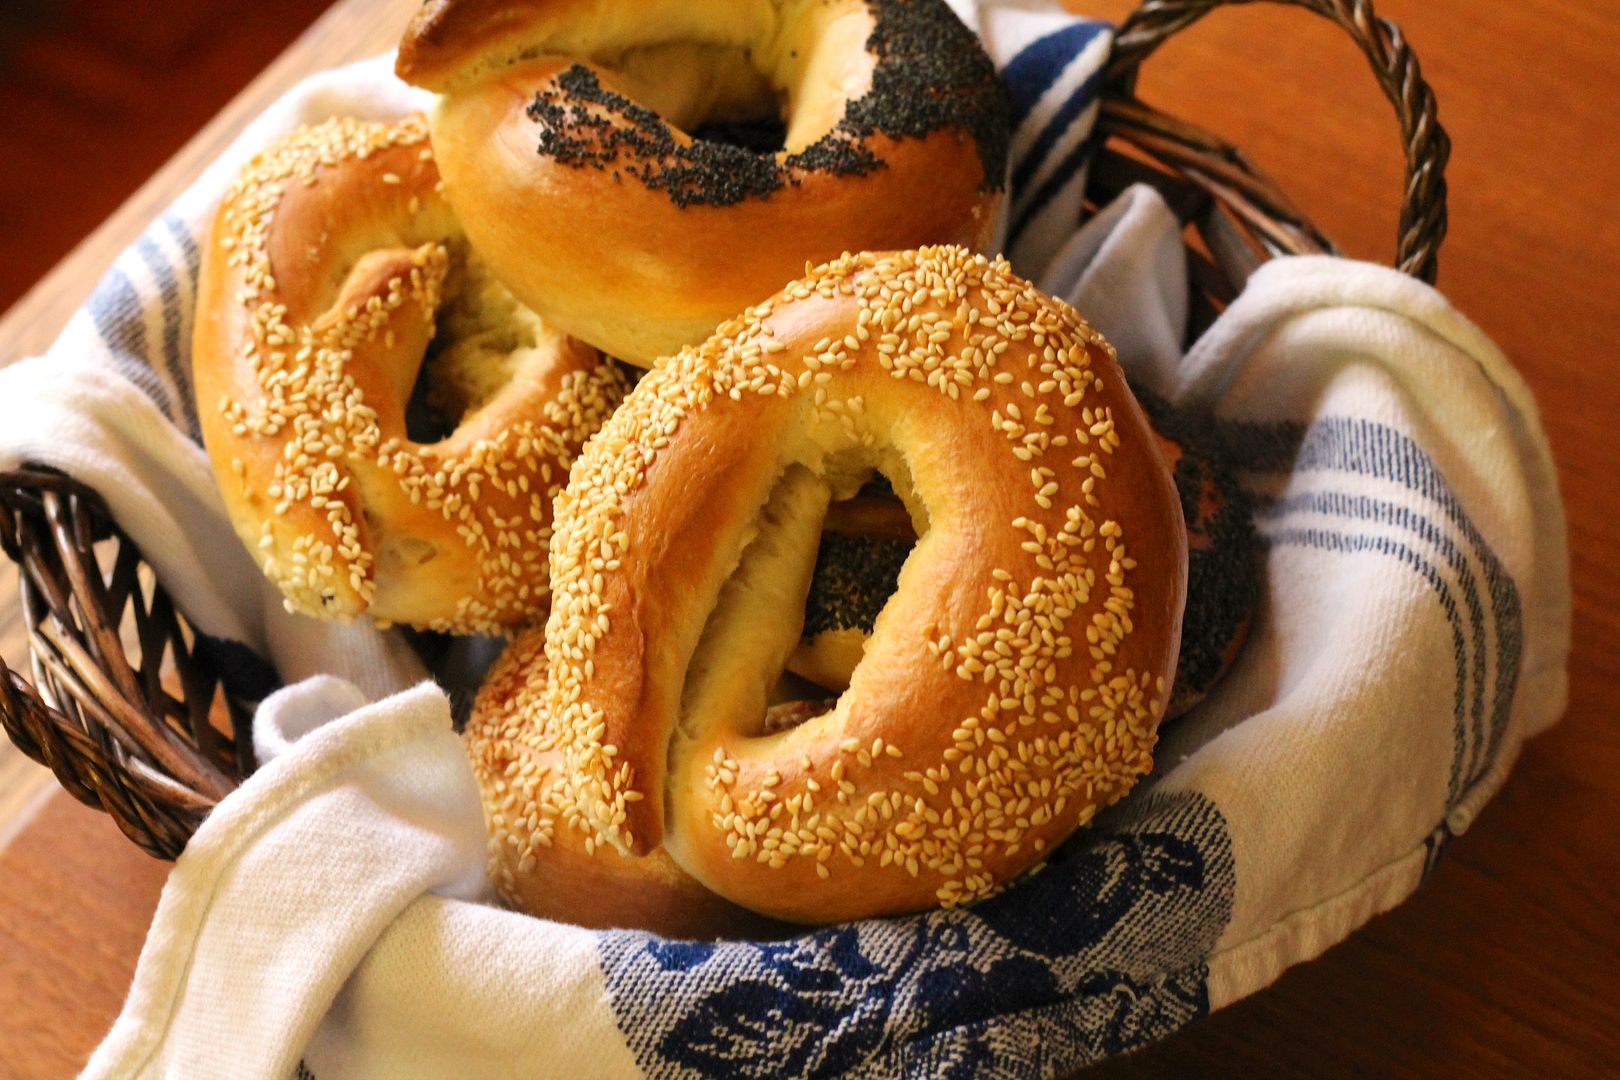
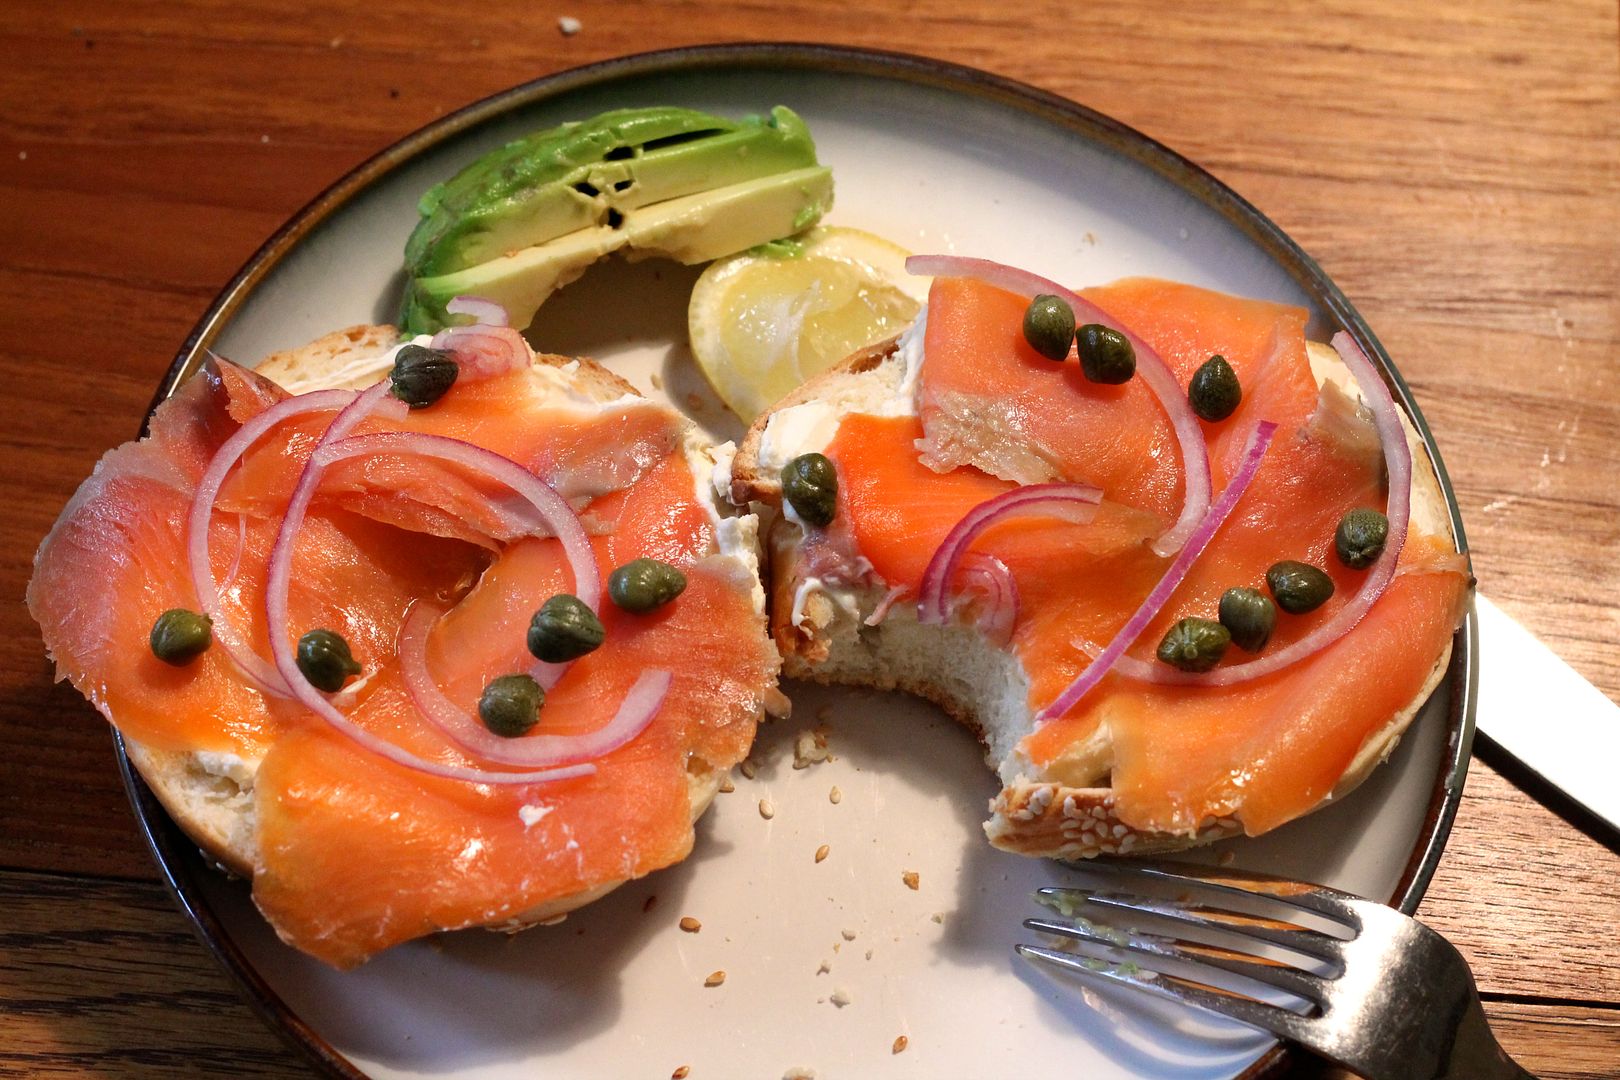
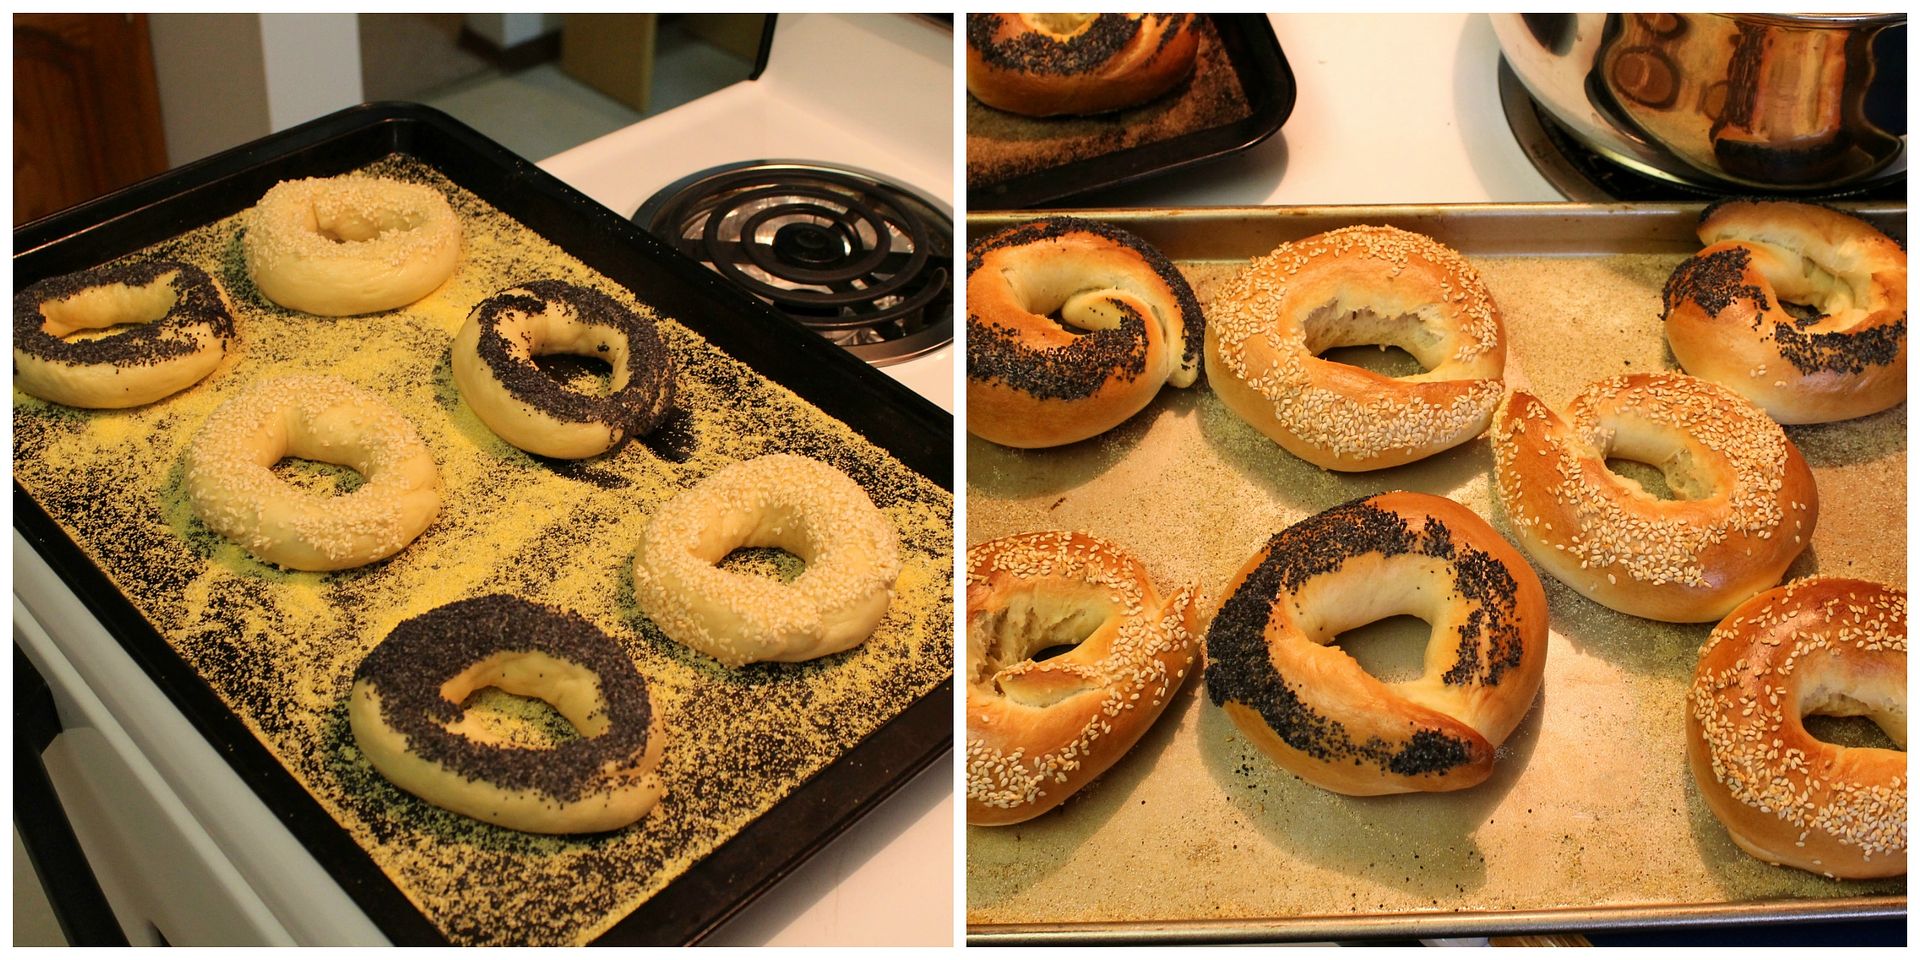
The best way to eat a bagel is fresh and hot out of the oven, so in order to serve bagels for brunch, I made the dough the night before, let it rise in the fridge overnight, and then shaped, boiled, and baked the bagels in the morning. It sounds like a lot to do before breakfast, but I only needed about an hour in the morning to accomplish it. It helps that the bagels do not need proofing, which contributes to their characteristic density. Because I have a terrible-horrible-no-good-very-bad electric oven and not a rustic wood-fired oven, my bagels did puff up more than they should have to be model Montreal bagels, but they tasted awesome: subtly sweet, hot and soft and just a little bit creamy inside with a slightly crisp, chewy crust. Topped with a smear of cream cheese, thinly sliced lox, capers, slivers of red onion, and appreciated by good friends, they were worth every bit of effort.
Montreal-Style Bagels
Adapted from The Fresh Loaf, apparently St Viateur’s formula. Makes 13 bagels.
In a large bowl, combine:
1 kilo bread flour
2 grams instant yeast
40 grams granulated white sugar
9 grams malt powder
Stir together, then add:
1 large egg, beaten
2 1/2 tsp vegetable oil
463 grams water
Stir with a wooden spoon until it starts to clump together in a shaggy dough, then turn it out onto a unfloured surface and begin to knead. The dough will seem dry at first but it will come together in a stiff dough. Continue kneading for about 30 10 minutes, until it is very smooth and elastic – it should spring back slightly when poked with a finger.
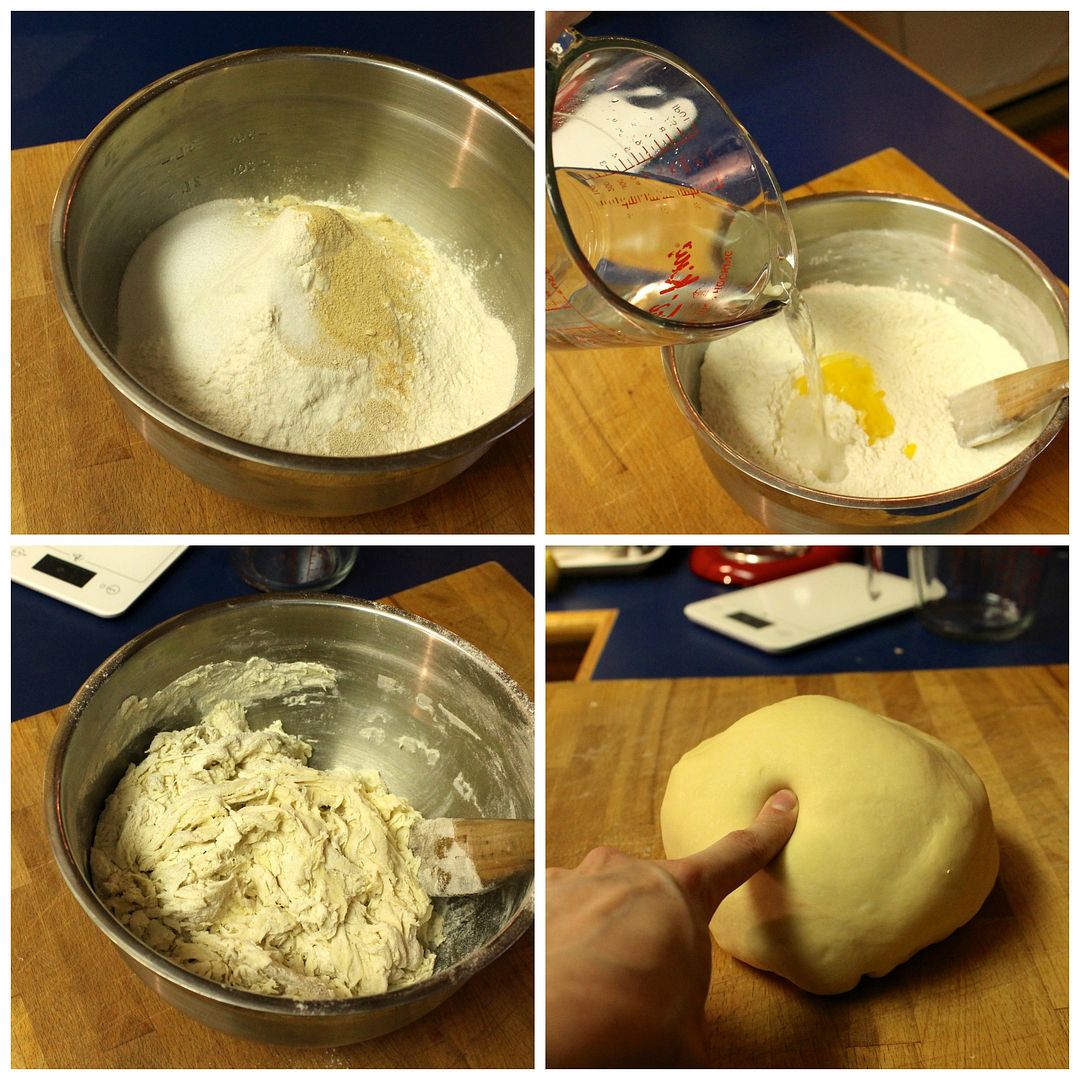
At this point you have two choices: either cover the dough and let it rest on the counter for 45 minutes, OR put it in a bowl cover with plastic, and let it rise in the fridge overnight. If you let it rest for only 45 minutes, it won’t rise much, which is fine. If you choose the overnight option, it may double or triple in volume – just scrape the dough out of the bowl and deflate it before continuing.
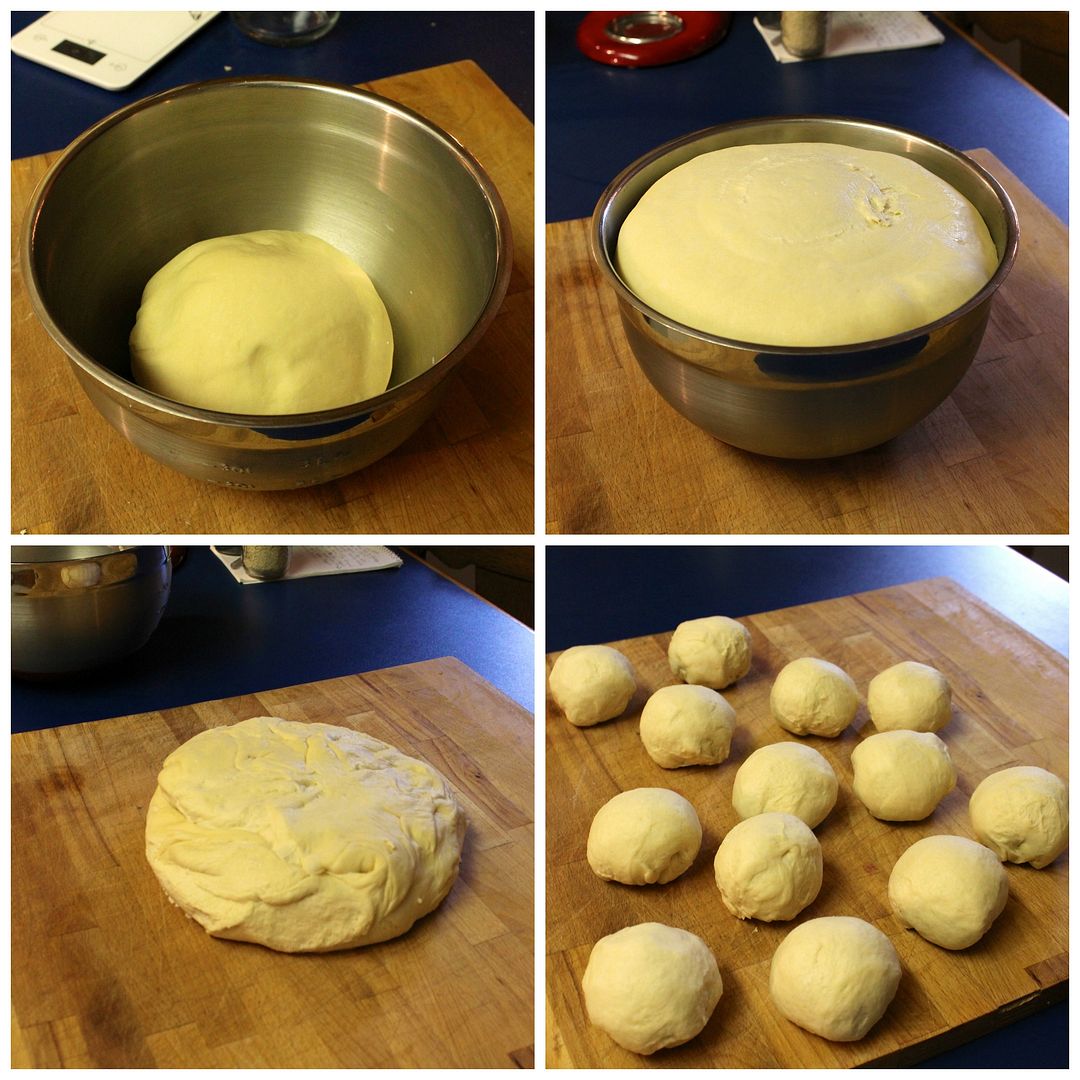
When you are ready to prepare the bagels, preheat the oven to 460˚F with racks in the top and bottom third. Put a large pot of water on to boil and add 1 – 2 tbsp honey to the water.
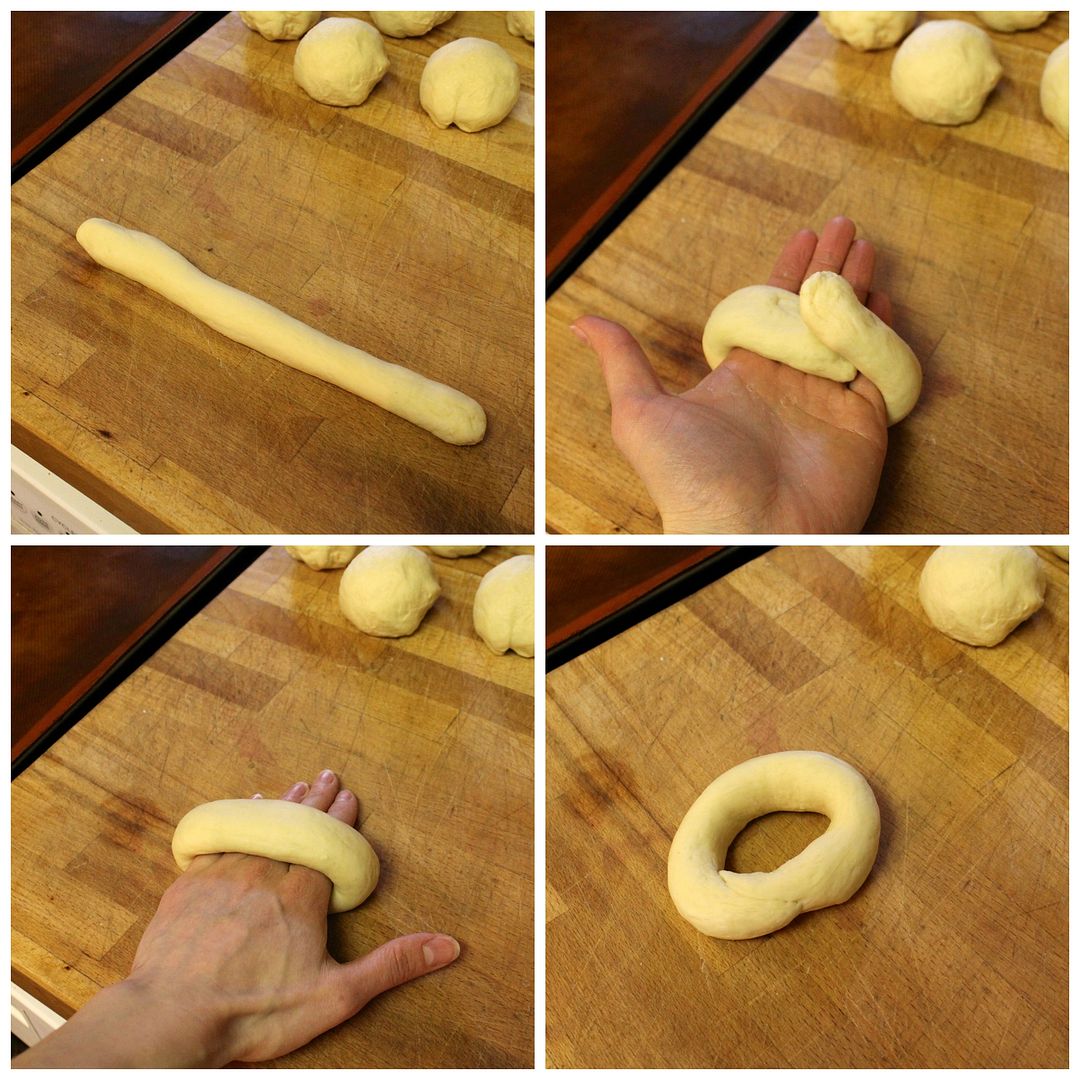
Divide the dough into 13 portions, 113 grams / 4 oz each. To shape the bagels, roll each portion into a long snake, wrap it around your hand so the ends overlap on your palm, then roll the ends together to secure. Place on a baking sheet while you shape the remaining dough.
As soon as all the bagels are shaped, drop them 2 – 3 at a time into the boiling water. As soon as they float, remove them and dip them in either sesame seeds or poppyseeds.
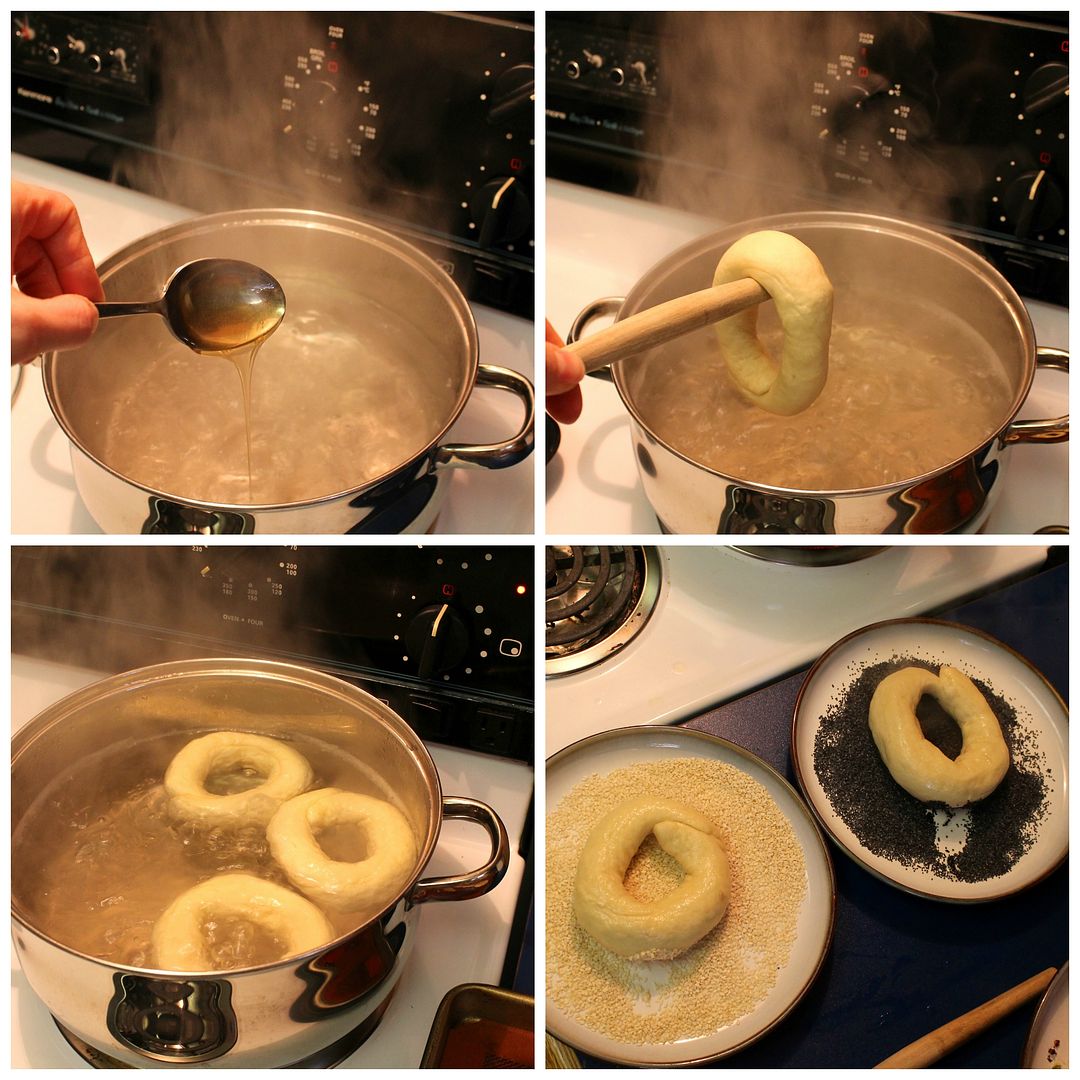
Place the boiled bagels on two baking sheets sprinkled with cornmeal and bake in the top and bottom thirds of the preheated 460˚F oven for about 20 minutes, switching positions of the baking sheets halfway through, until the bagels are nicely golden brown. Serve the bagels immediately if possible, hot from the oven, or let them cool and split and toast them to serve.
This post has been YeastSpotted and submitted to Barbara and Sandra‘s Panissimo, hosted this month by Sandra.
Those look great, Korena. I’ve yet to try making bagels, but I shall have to soon!
They’re a fun project, and so yummy 🙂
I know Nate gets sick of us talking about Montreal, but I just have to say we MISS the bagels. A real bagel, not a cross between a donut and a cake. A beautiful bagel, a vehicle for all sorts of deliscious toppings, or wonderful all by themselves. Good job on those, they look pretty real to me.
I’ll have to bring you guys a sample from my next batch to get your opinion on their authenticity! 😉
G’day! They look terrific Korena! GREAT photos; they always inspire me! Thank you!
Cheers! Joanne
Thanks Joanne 😀
They look great! Love that beautiful golden colour!
Oh wow, those look delicious, I love bagels and could eat one of those right now! 🙂
Check out my recent post, making Crème Brûlée.
http://michaelswoodcraft.wordpress.com/2014/01/23/making-creme-brulee/
I was blessed enough to enjoy a Montreal bagel when I was there last year – it was Out Of This World, and yes, quite sweet. I have never been able to replicate that taste, texture and wood-fired smokiness regardless how many times I make bagels! Love the look of smoked salmon and capers. And even more so, the idea of brunch tradition!
You’ve got me beat – I’ve never had a real Montreal bagel (ie, one made in Montreal), so I don’t really have anything to compare these too, other than storebought bagels. I think the wood fire plays a big role, but these were pretty good!
Awesome idea! And awesome looking bagels! We usually have a potluck type dinner with friends on Sunday nights – rotate houses and everyone brings a dish. They are a lot of fun, and we have done breakfast foods before, but doing it at actual brunch time is awesome!