Skip to content
Korena in the Kitchen
Search
Home
About
Recipe Index
Contact
Month:
February 2012
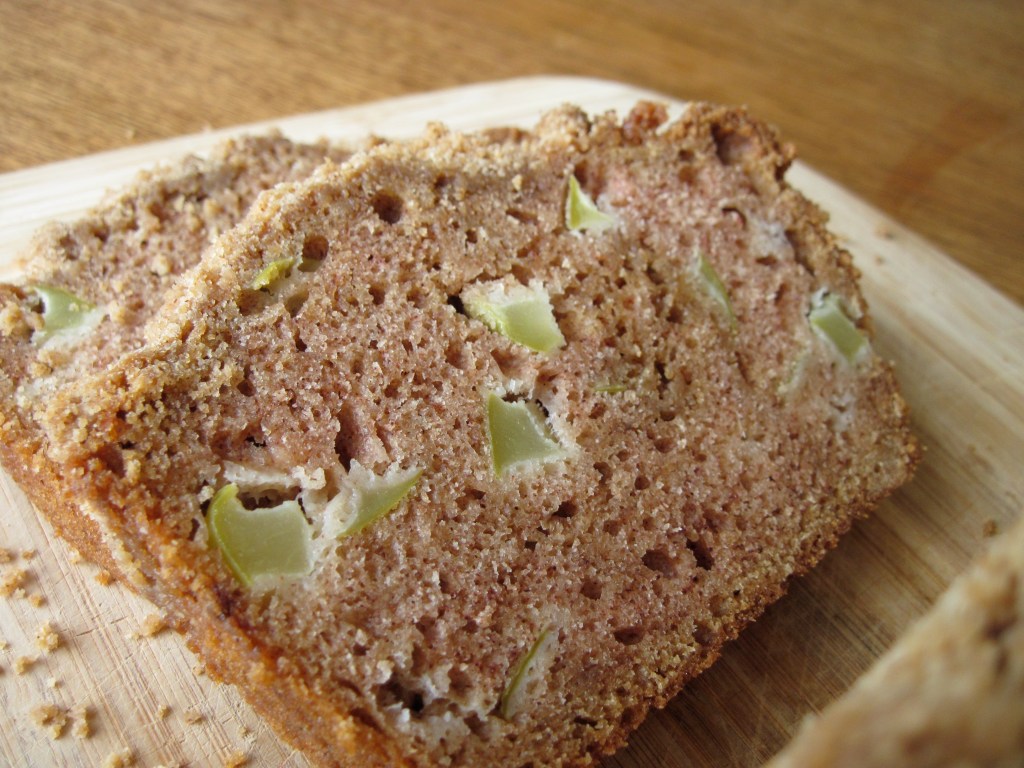
Daring Bakers: Quickbread
Challah Dough
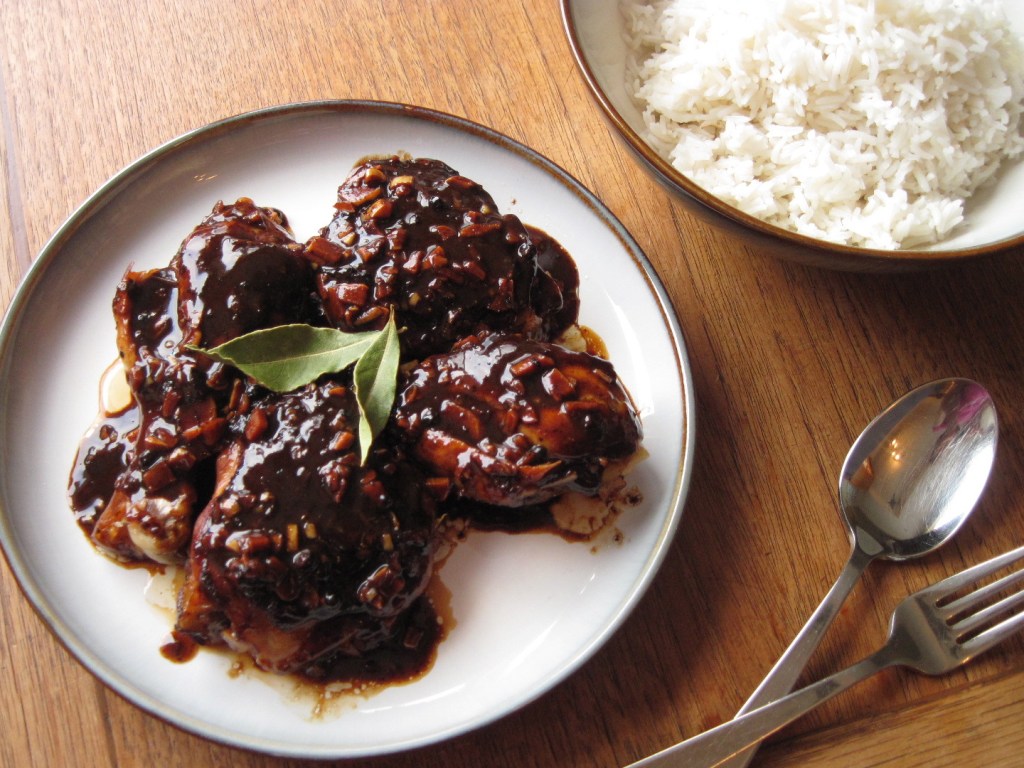
Filipino Chicken Adobo
Rebar Chocolate Cake
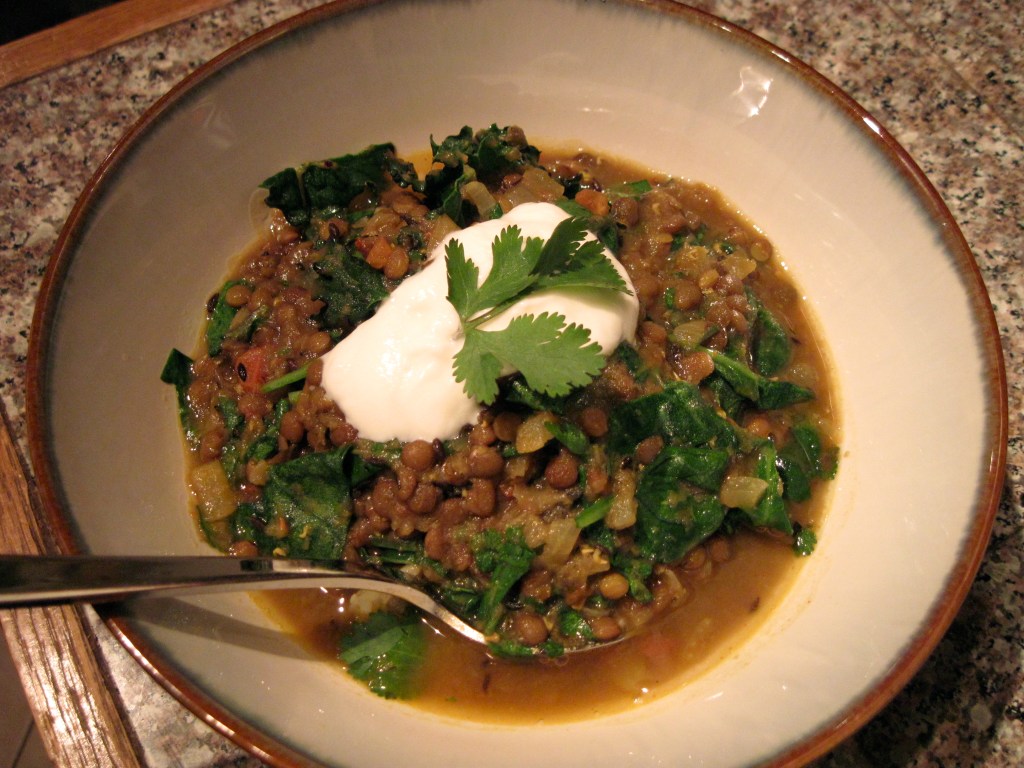
A recipe that will make you love lentils
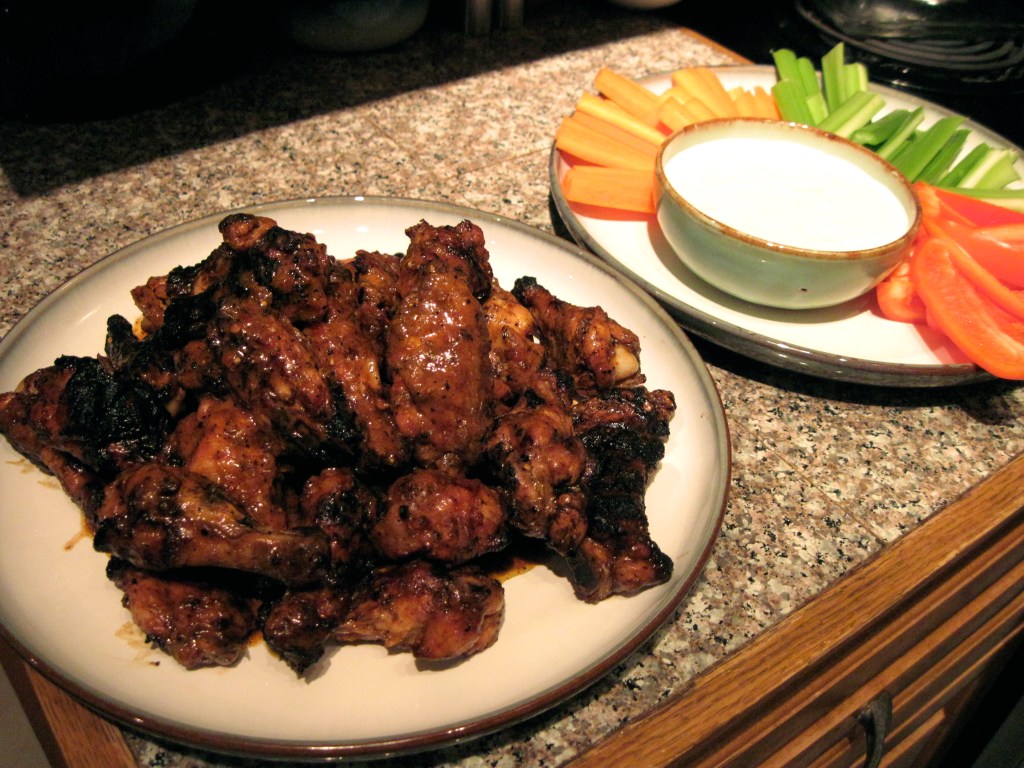
Grilled Hot Wings with Blue Cheese Dip
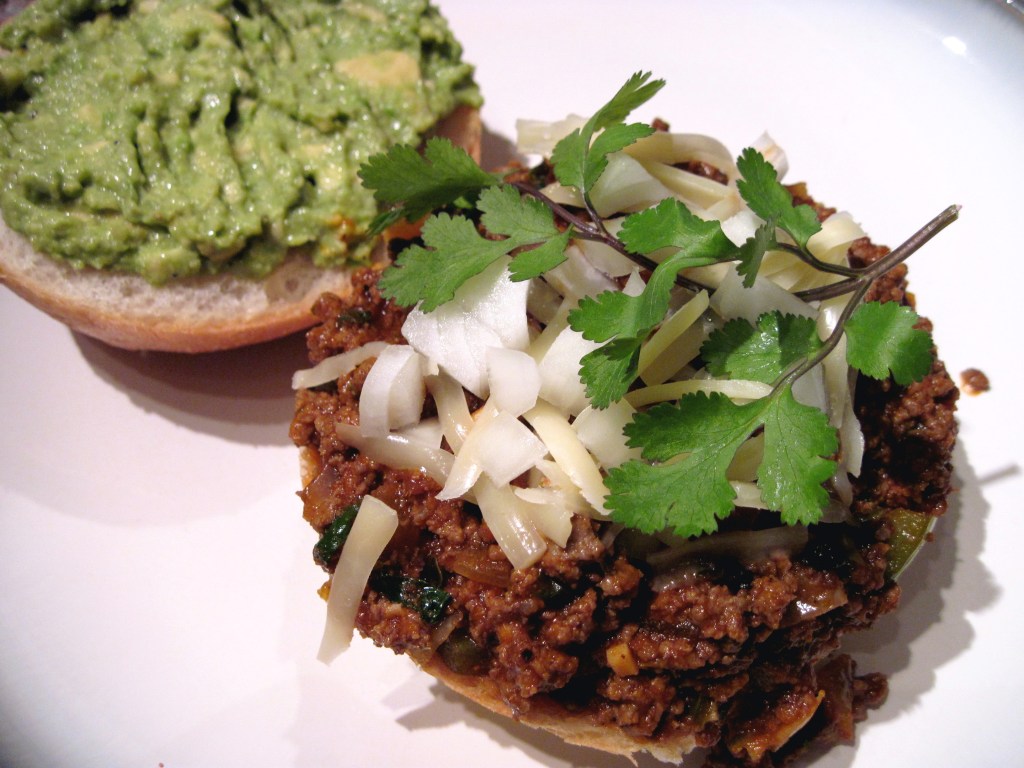
Homesick Texan Sloppy Joes
Resolution
Subscribe
Subscribed
Korena in the Kitchen
Join 390 other subscribers
Sign me up
Already have a WordPress.com account?
Log in now.
Korena in the Kitchen
Subscribe
Subscribed
Sign up
Log in
Report this content
View site in Reader
Manage subscriptions
Collapse this bar