Skip to content
Korena in the Kitchen
Search
Home
About
Recipe Index
Contact
Month:
January 2012
Devonshire Cream
Daring Bakers: Scone Mojo
Variation on a Theme
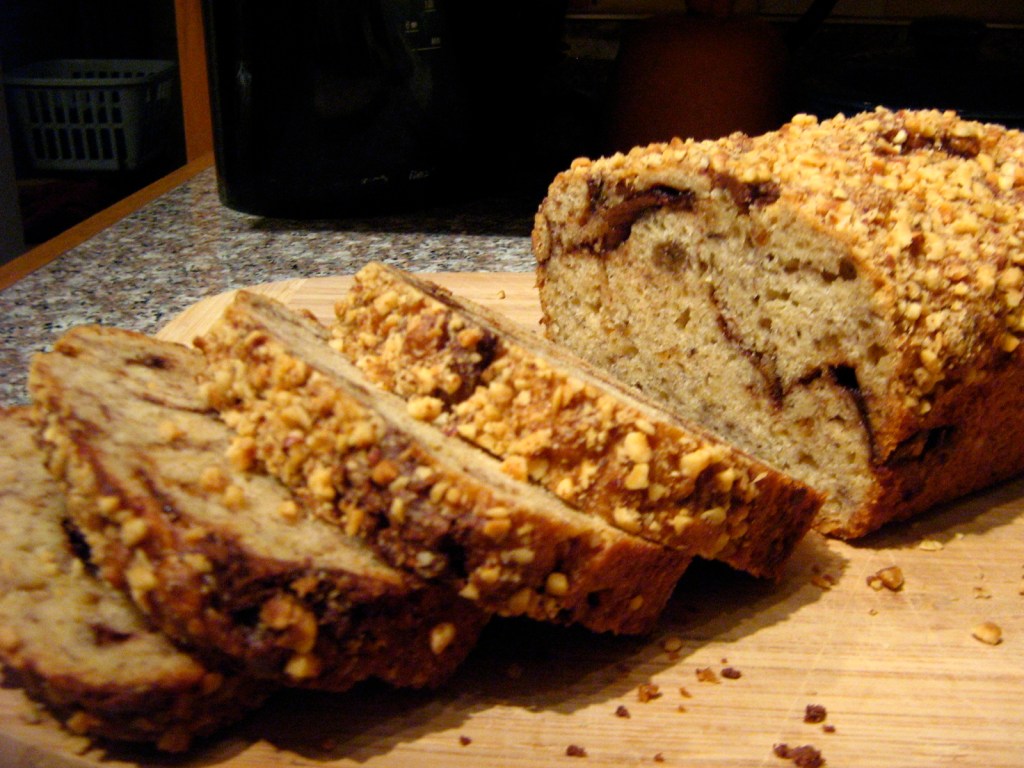
Chocolate Hazelnut Banana Bread
Comfort in Pastry Form
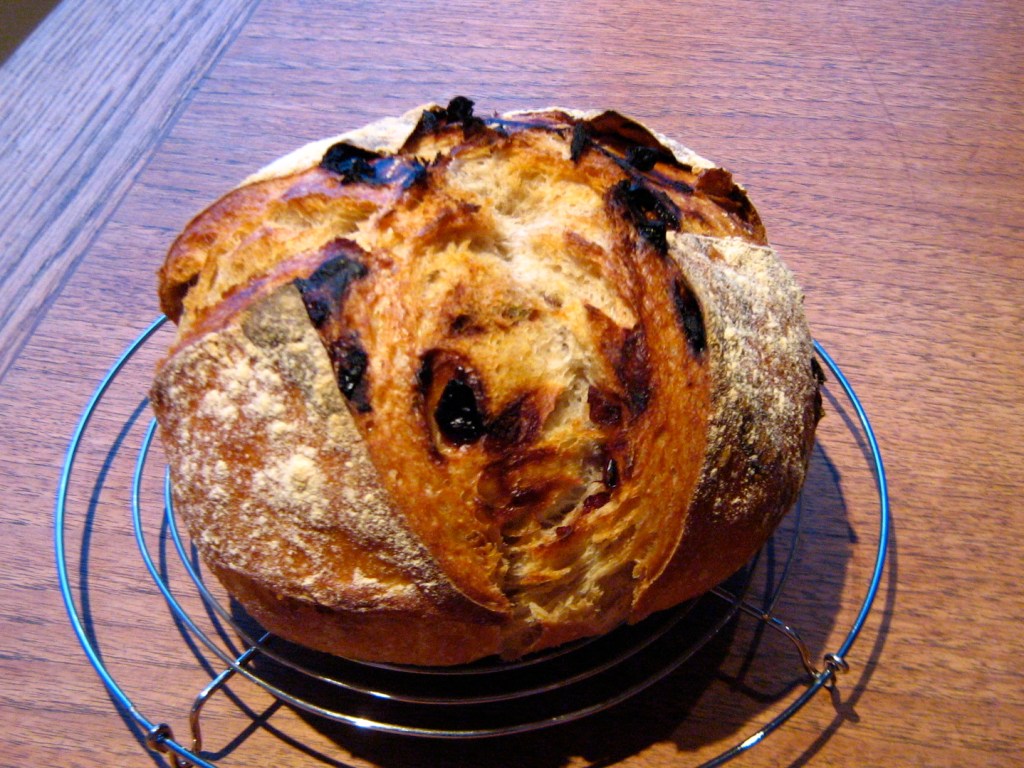
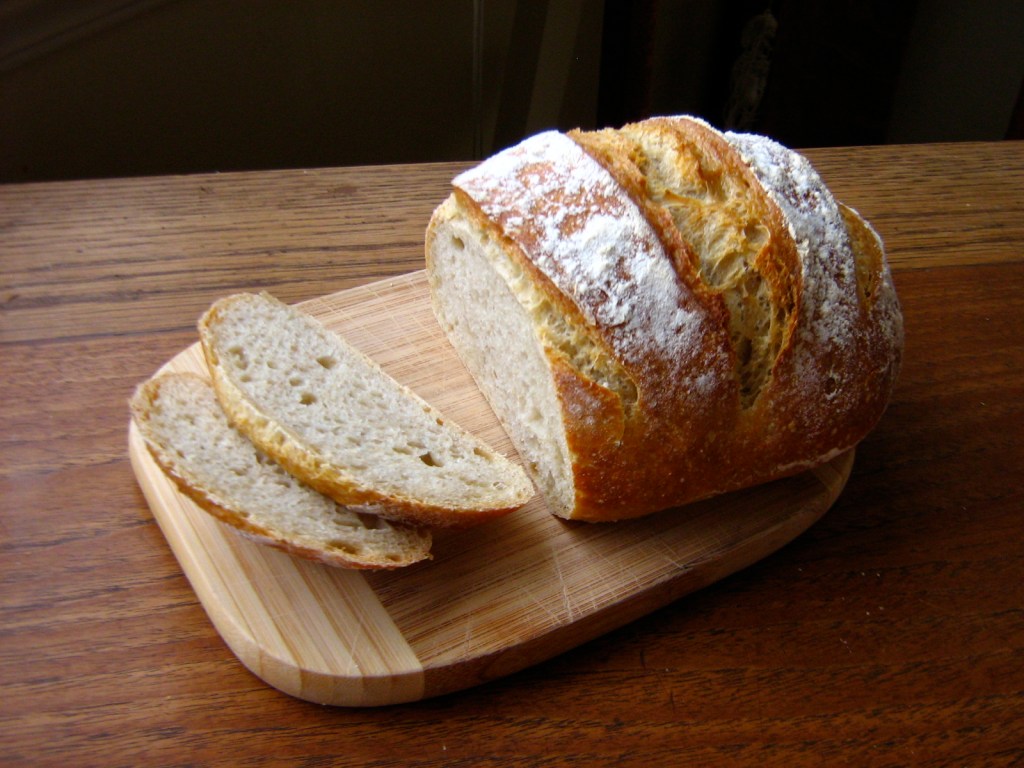
Crusty No-Knead Bread… in 5 Minutes a Day!
Sourdough Pancakes
Subscribe
Subscribed
Korena in the Kitchen
Join 390 other subscribers
Sign me up
Already have a WordPress.com account?
Log in now.
Korena in the Kitchen
Subscribe
Subscribed
Sign up
Log in
Report this content
View site in Reader
Manage subscriptions
Collapse this bar