Skip to content
Korena in the Kitchen
Search
Home
About
Recipe Index
Contact
Month:
December 2011
Chocolate Hazelnut & Almond Yule Log
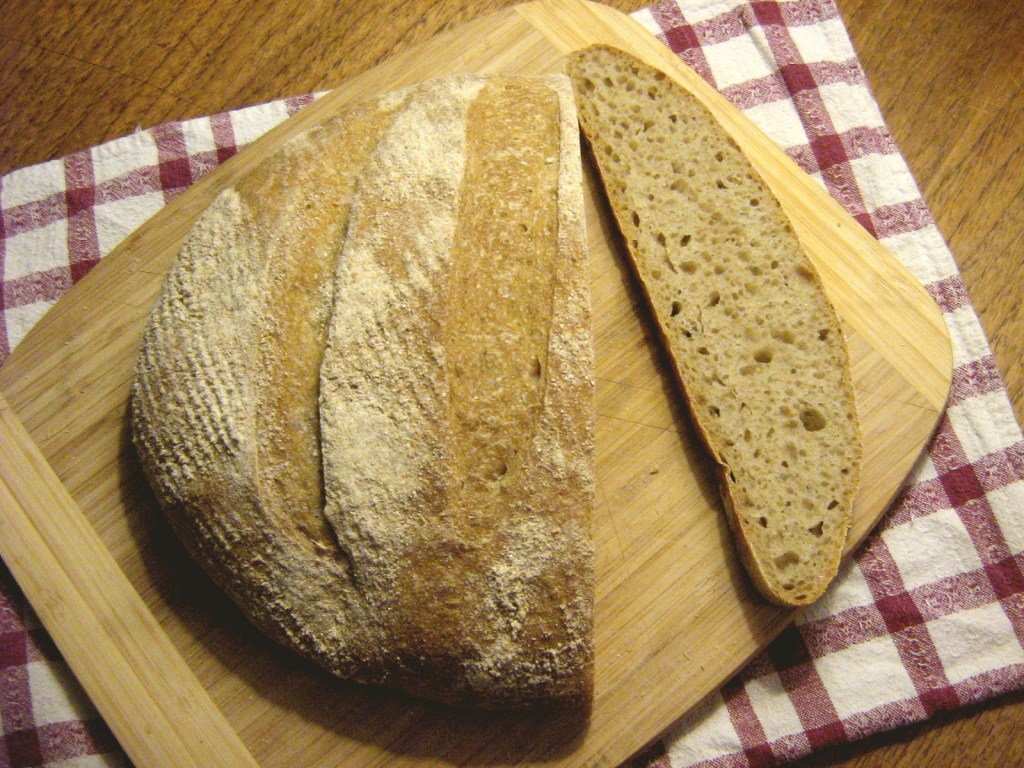
Daring Bakers: letting nature do the work…
Christmas Baking 2011: Eggnog Macarons
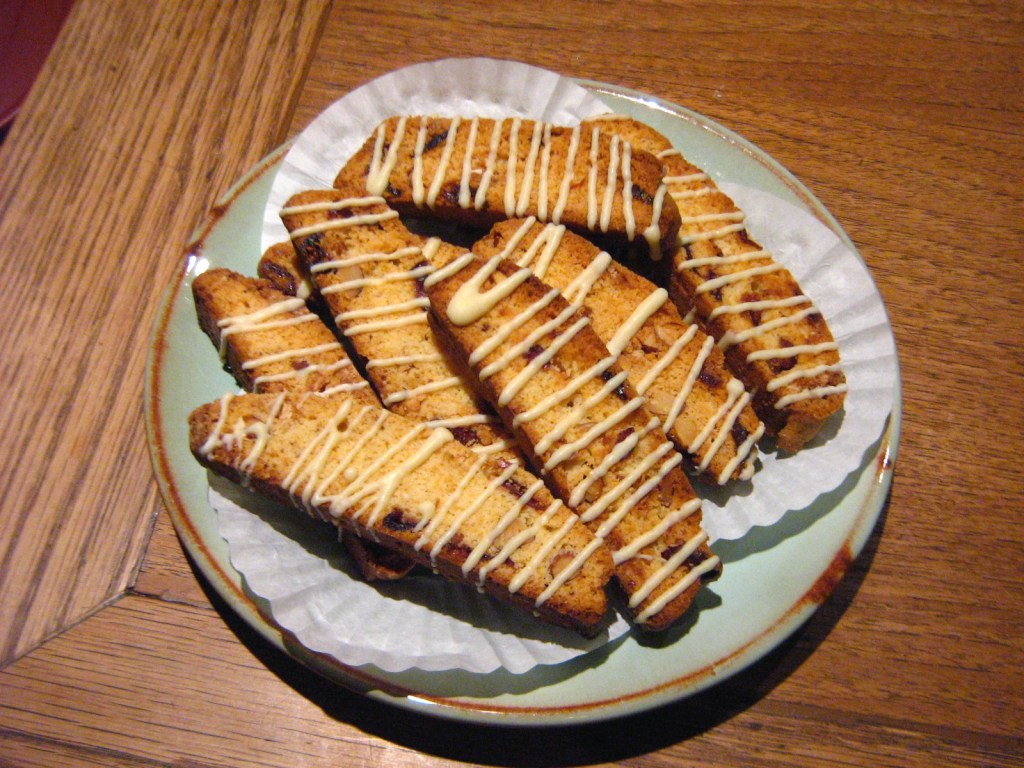
Christmas Baking 2011: White Chocolate Cranberry Almond Biscotti
Leek, Swiss Chard & Prosciutto Quiche (and a non-shrinking tart crust!)
Ingredients Health Food Store & Apple Café
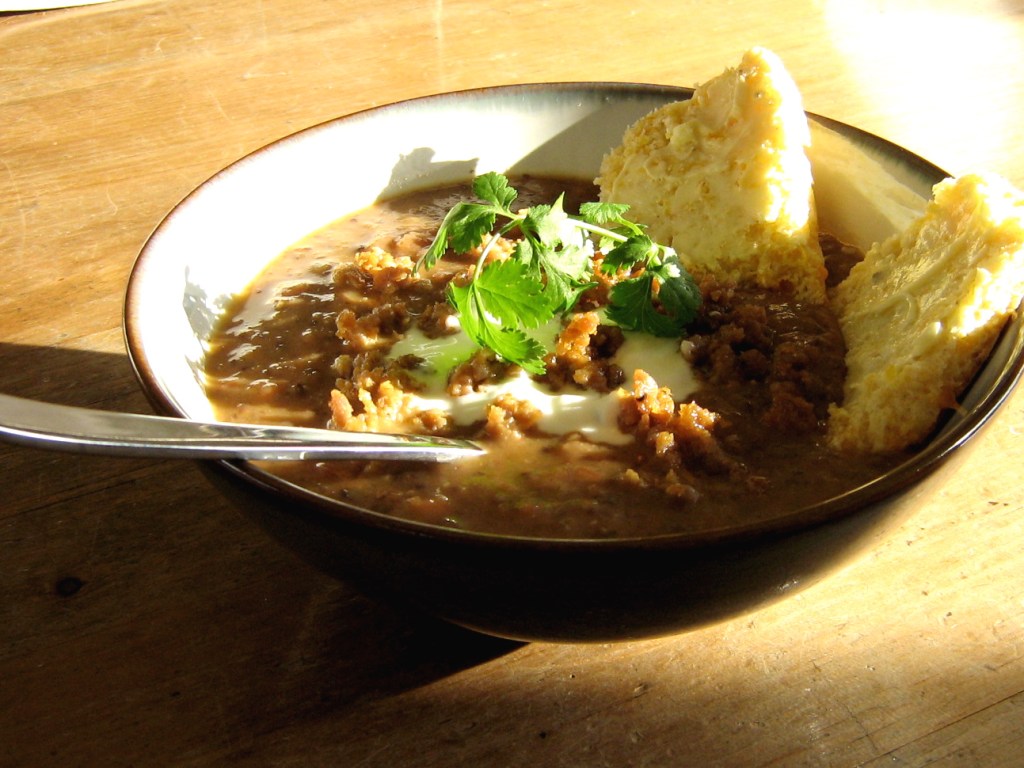
Black Bean Soup with Chipotle and Orange
Subscribe
Subscribed
Korena in the Kitchen
Join 390 other subscribers
Sign me up
Already have a WordPress.com account?
Log in now.
Korena in the Kitchen
Subscribe
Subscribed
Sign up
Log in
Report this content
View site in Reader
Manage subscriptions
Collapse this bar