Skip to content
Korena in the Kitchen
Search
Home
About
Recipe Index
Contact
Month:
August 2011
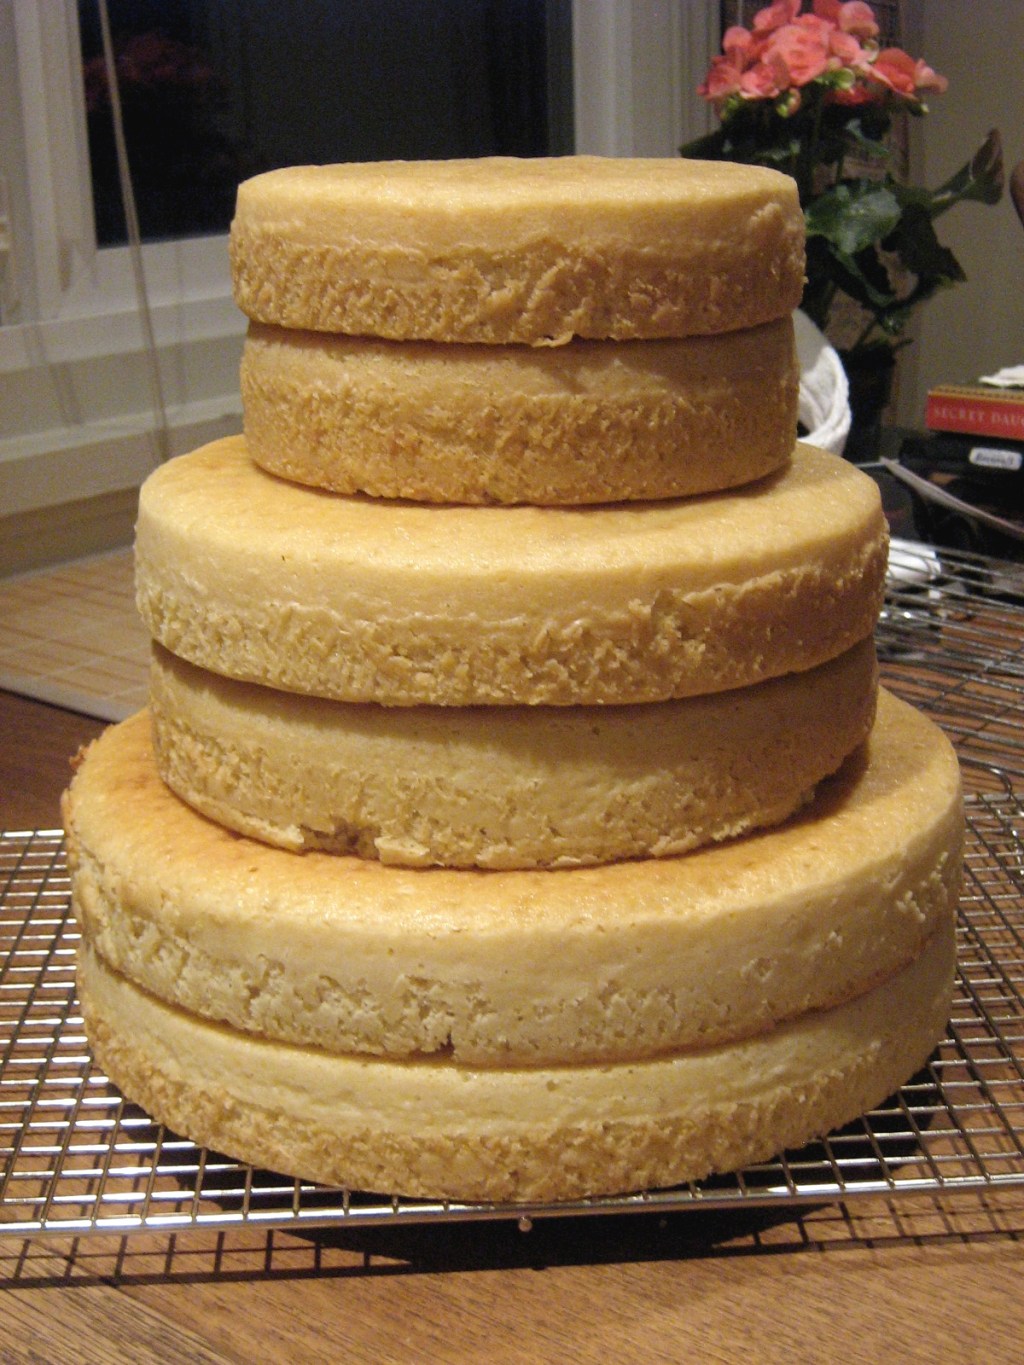
The Wedding Cake
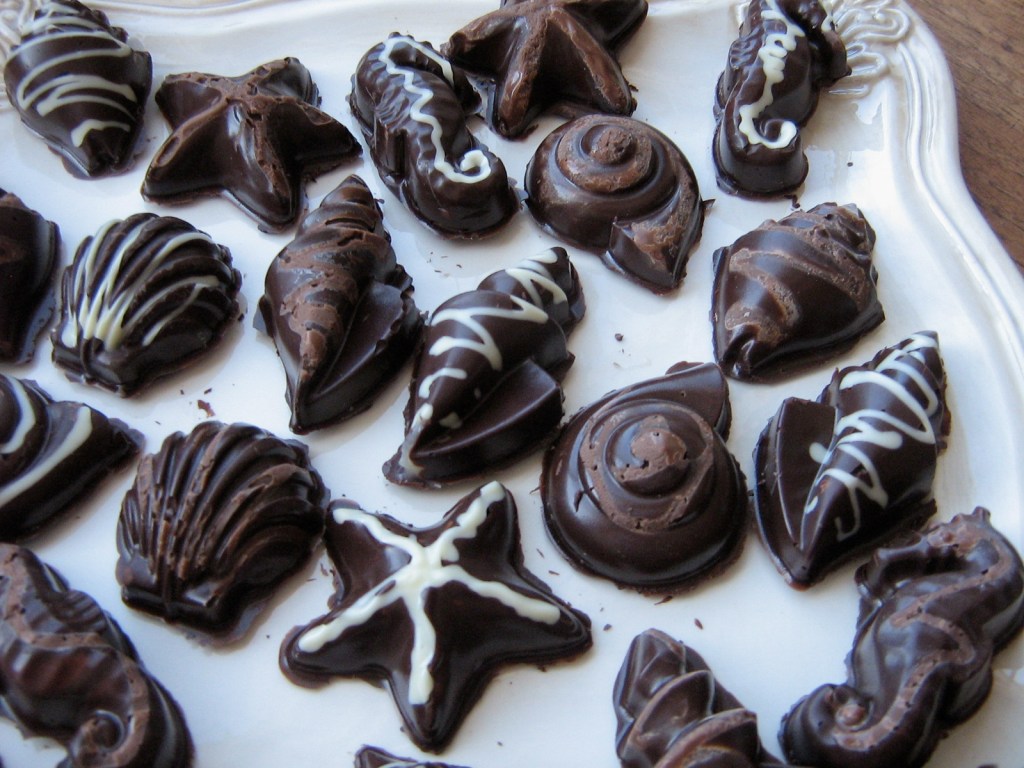
Daring Bakers: Chocolate and Candy!
Wedding Cake Teaser
Banff Cobbler
Chicken Fajita Lettuce Wraps
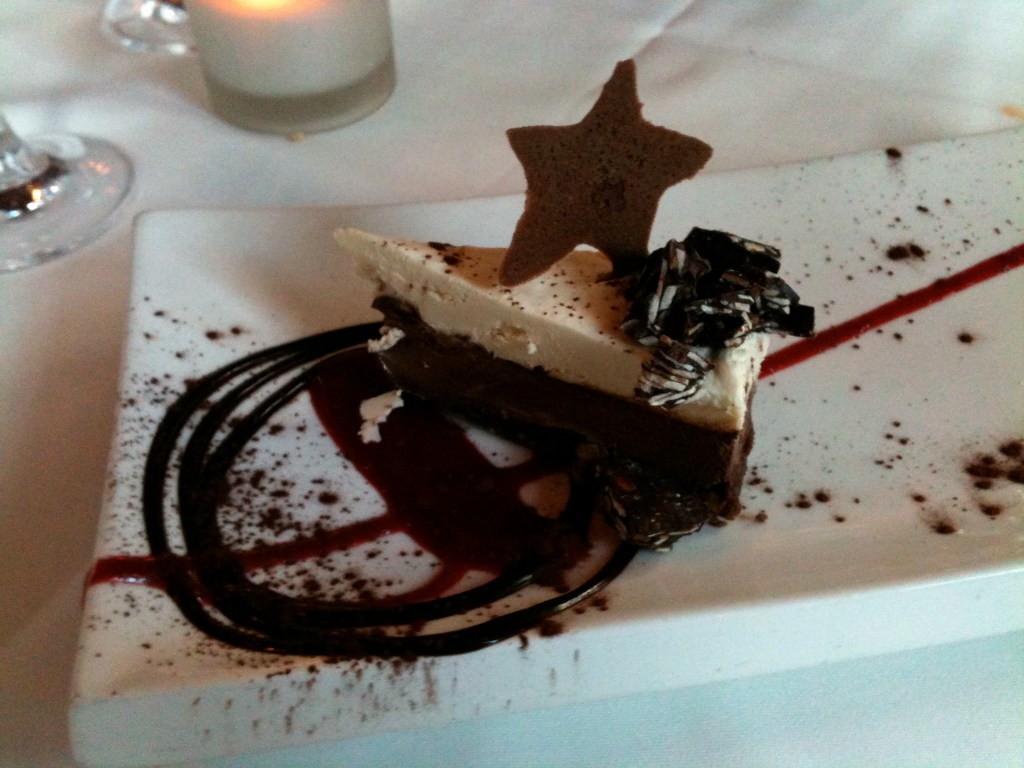
Eating Out in San Francisco, Part II: Dinner at Millennium
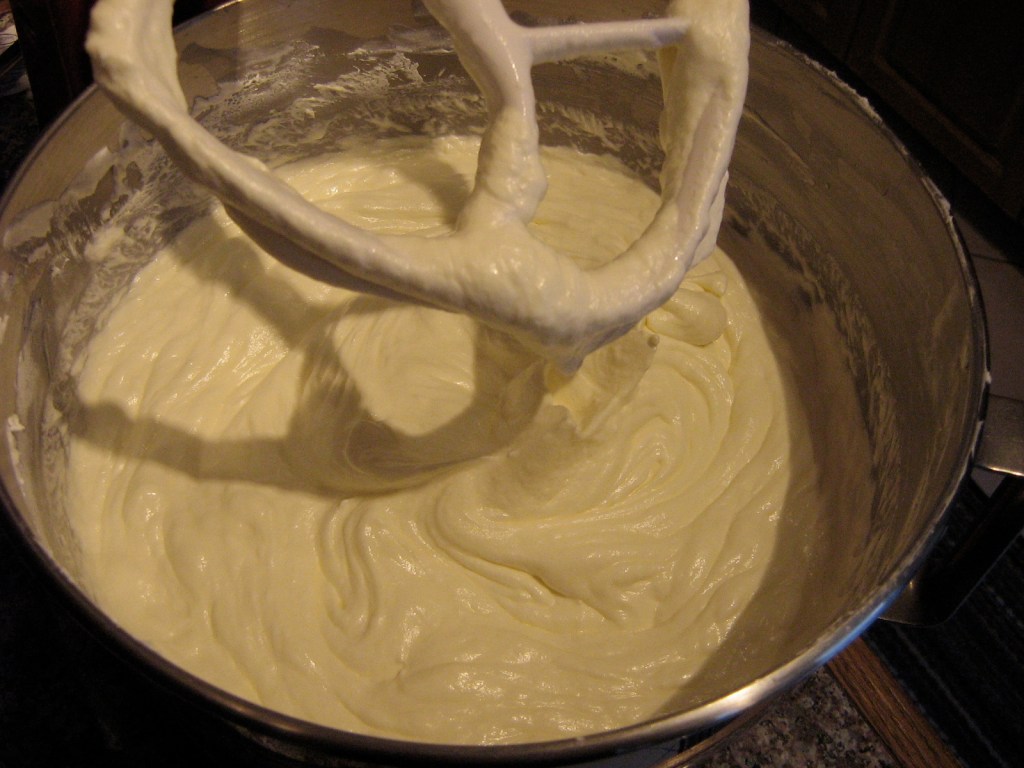
Cream Cheese Swiss Meringue Buttercream: An Exercise in Perseverance
Cake for 60
Subscribe
Subscribed
Korena in the Kitchen
Join 390 other subscribers
Sign me up
Already have a WordPress.com account?
Log in now.
Korena in the Kitchen
Subscribe
Subscribed
Sign up
Log in
Report this content
View site in Reader
Manage subscriptions
Collapse this bar